✨¡Hola amigos amantes de la creatividad! Espero que estén todos bien.✨
🔸Sin más que añadir, a continuación los dejo con el paso a paso:
✨¡Hello friends who love creativity! I hope you are all well.✨
Good afternoon, friends! I hope you're having a great week. For my part, I'm happy to stop by to share a lovely idea with you. This time, I'm sharing the step-by-step instructions for making a cute bee-themed keychain. I wanted to make the bee house, but in this case, it wasn't the typical honeycomb, but a wooden house, with, of course, the bee on one side, with a frosted green background that, when I added the details, turned out very pretty.
🔸Without more to add, then I leave you with the step by step:

♥️ESPERO QUE TE GUSTE,
¡Empecemos!
♥️I HOPE YOU LIKE IT,
Let's start!

✂️ MATERIALES | ✂️ MATERIALS
- Foami escarchado dorado.
- Foami verde.
- Foami marrón.
- Foami salmón.
- Foami amarillo.
- Foami blanco.
- Aro metálico.
- Pinturas y marcadores.
- Pegamento.
- Tijeras.
- Regla.
- Hoja blanca.
- Lápiz.
- Gold frosted foam.
- Green foam.
- Brown foam.
- Salmon foam.
- Yellow foam.
- White foam.
- Metal ring.
- Paints and markers.
- Glue.
- Scissors.
- Ruler.
- White sheet of paper.
- Pencil.
🌟 PROCEDIMIENTO | 🌟 PROCESS
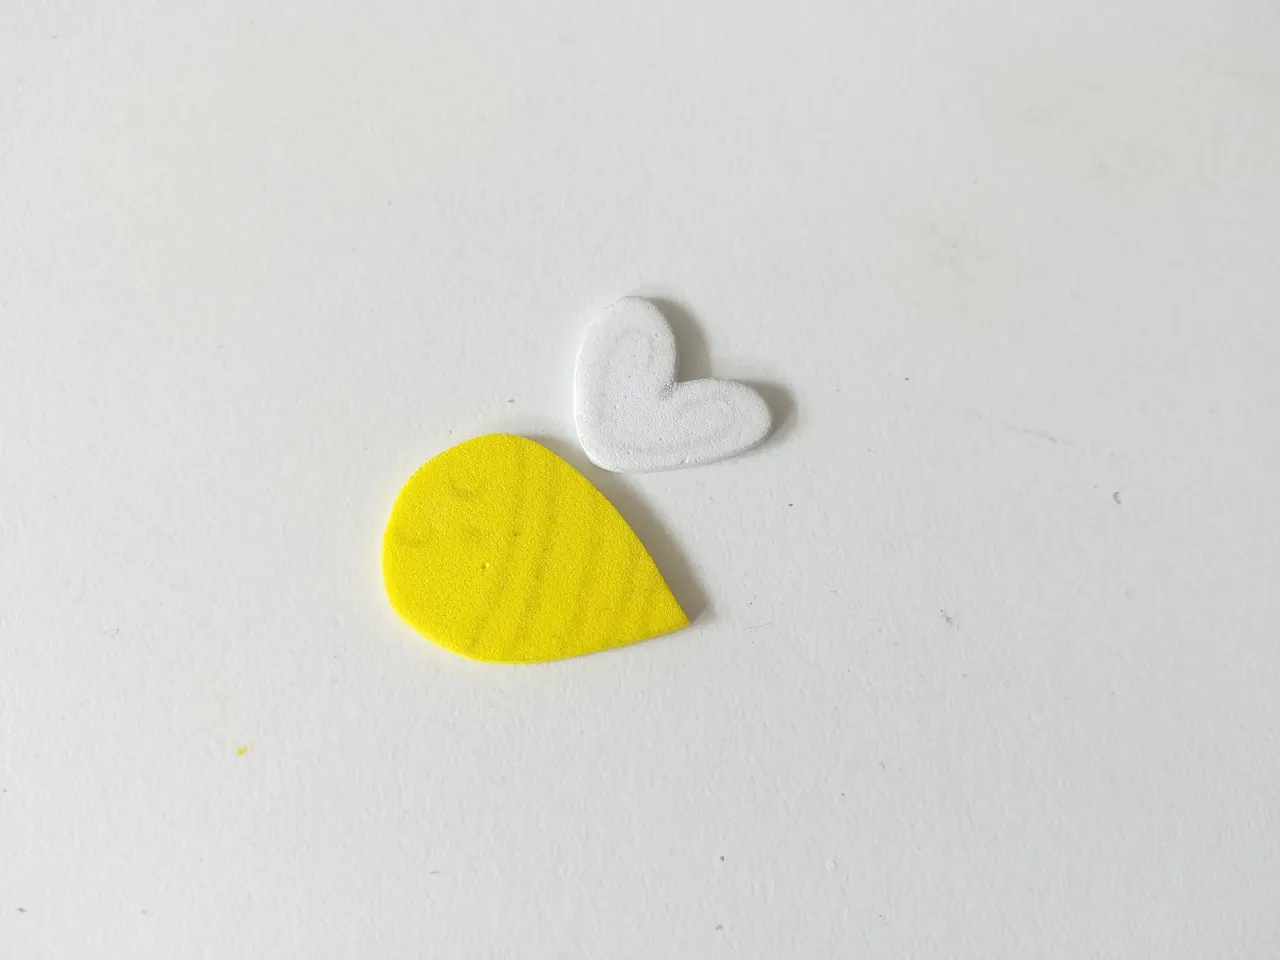
✨PASO 1:
Lo primero que comencé a hacer fue el diseño que quería para el llavero en una hoja blanca. Así que dibujé la idea que tenía en mente, la cual, como dije al inicio, era una casita de madera y una pequeña abejita. Al tener dibujada la idea en la hoja blanca, es momento de transferir a los colores correspondientes de foami, como explico a continuación:
✨Cuerpo de abeja: 3 cm x 2 cm en foami amarillo.
✨Alas: 2 cm x 1.5 cm en foami blanco.
✨Casa: 3.5 cm x 3 cm en foami marrón.
✨Techo: 3.7 cm x 0.6 mm en foami salmón o marrón claro.
✨Base: 3 cm x 0.5 mm en foami salmón o marrón claro.
✨Patas: 0.7 cm x 1 cm en foami salmón o marrón claro.
✨STEP 1:
The first thing I started doing was the design I wanted for the keychain on a white sheet of paper. So I drew the idea I had in mind, which, as I said at the beginning, was a little wooden house and a little bee. Once I've drawn the idea on the white sheet, it's time to transfer it to the corresponding colors of foam, as explained below:
✨Bee body: 3 cm x 2 cm in yellow foam.
✨Wings: 2 cm x 1.5 cm in white foam.
✨House: 3.5 cm x 3 cm in brown foam.
✨Roof: 3.7 cm x 0.6 mm in salmon or light brown foam.
✨Base: 3 cm x 0.5 mm in salmon or light brown foam.
✨Legs: 0.7 cm x 1 cm in salmon or light brown foam.
 |  |
|---|
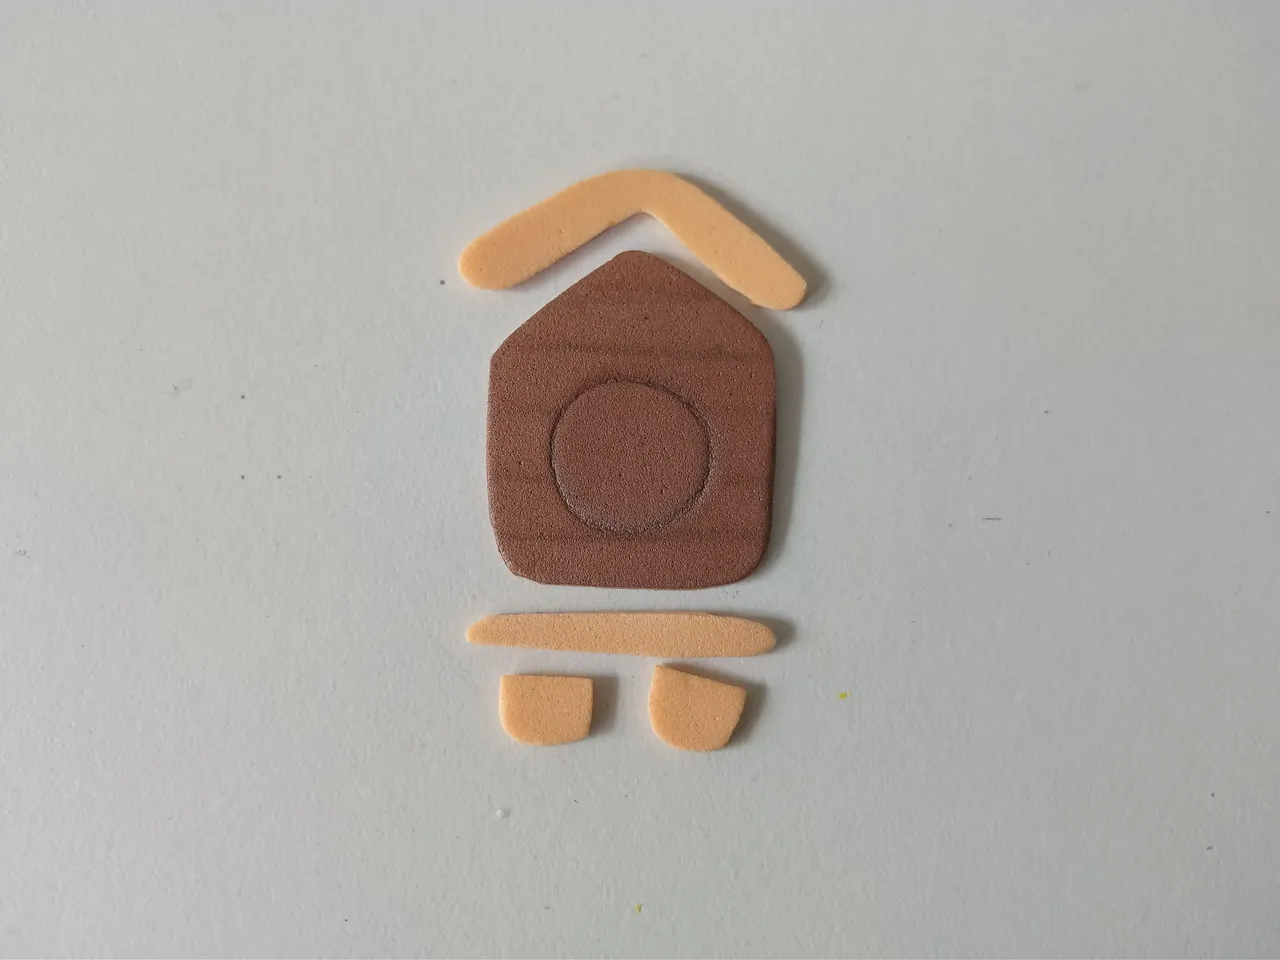
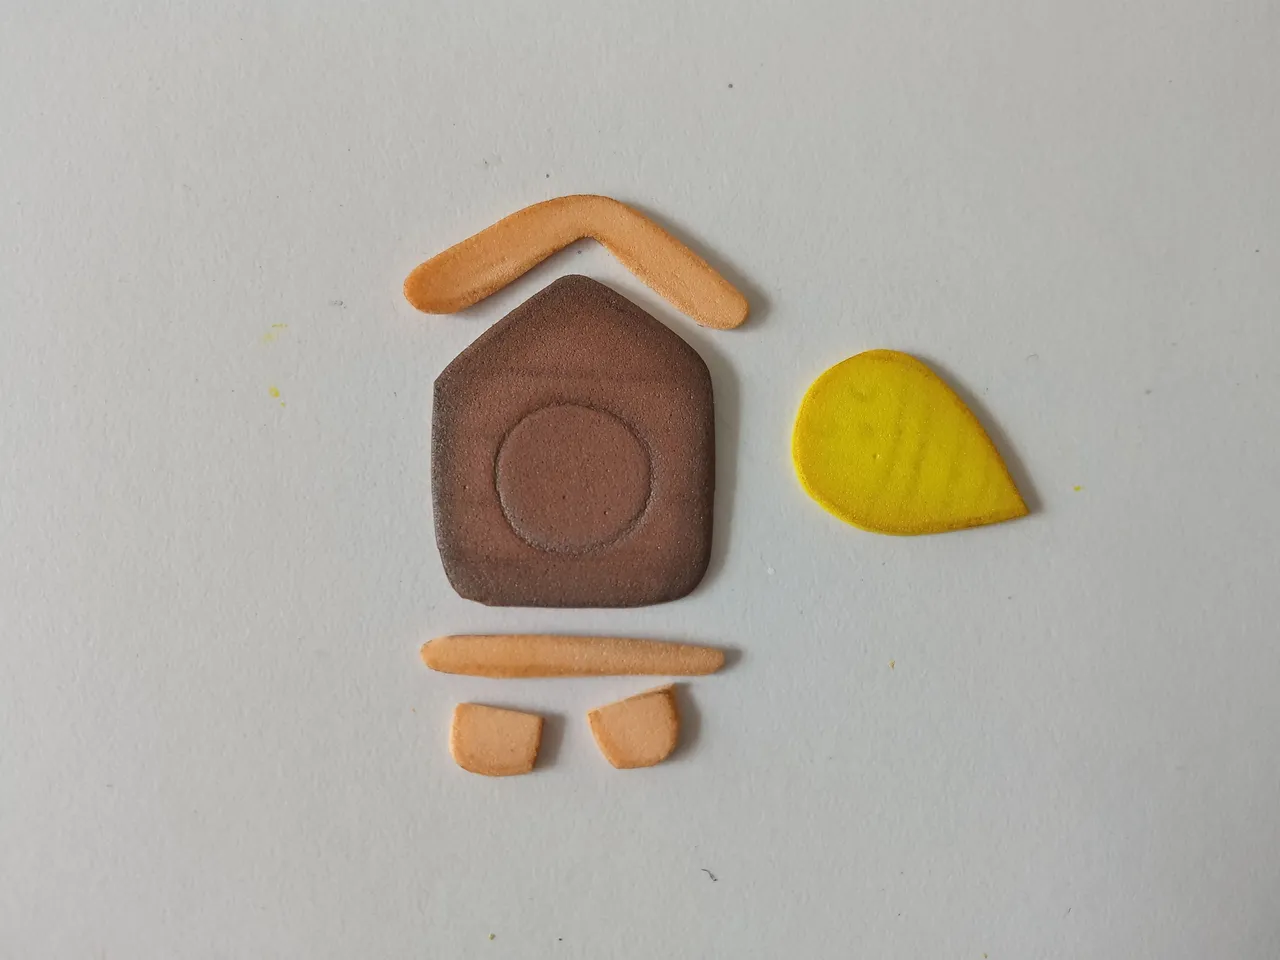
✨PASO 2:
Al tener todas las piezas recortadas, es momento, como siempre, de dar color a los bordes con pinturas o marcadores y utilizando colores que hagan contraste. En el caso de la casa, utilicé un tono negro; para el techo, base y patas, utilicé un tono marrón; para la abeja, también un marrón clarito, y para las alas puede ser un azul, amarillo o negro, pero no quise ponerle color al final. Al estar secas las piezas, es momento de dar mas detalles con marcadores, como seria el caso de la madera de la casa, la entrada, los detalles del techo y obviamente, los detalles del cuerpo y alas de la abeja.
✨STEP 2:
Once I have all the pieces cut out, it's time, as always, to color the edges with paints or markers and using contrasting colors. For the house, I used black; For the roof, base, and legs, I used a brown shade; for the bee, also a light brown, and for the wings, it could be blue, yellow, or black, but I didn't want to add color at the end. Once the pieces are dry, it's time to add more details with markers, such as the wood of the house, the entrance, the details of the roof, and obviously, the details of the bee's body and wings.
 |  |
|---|
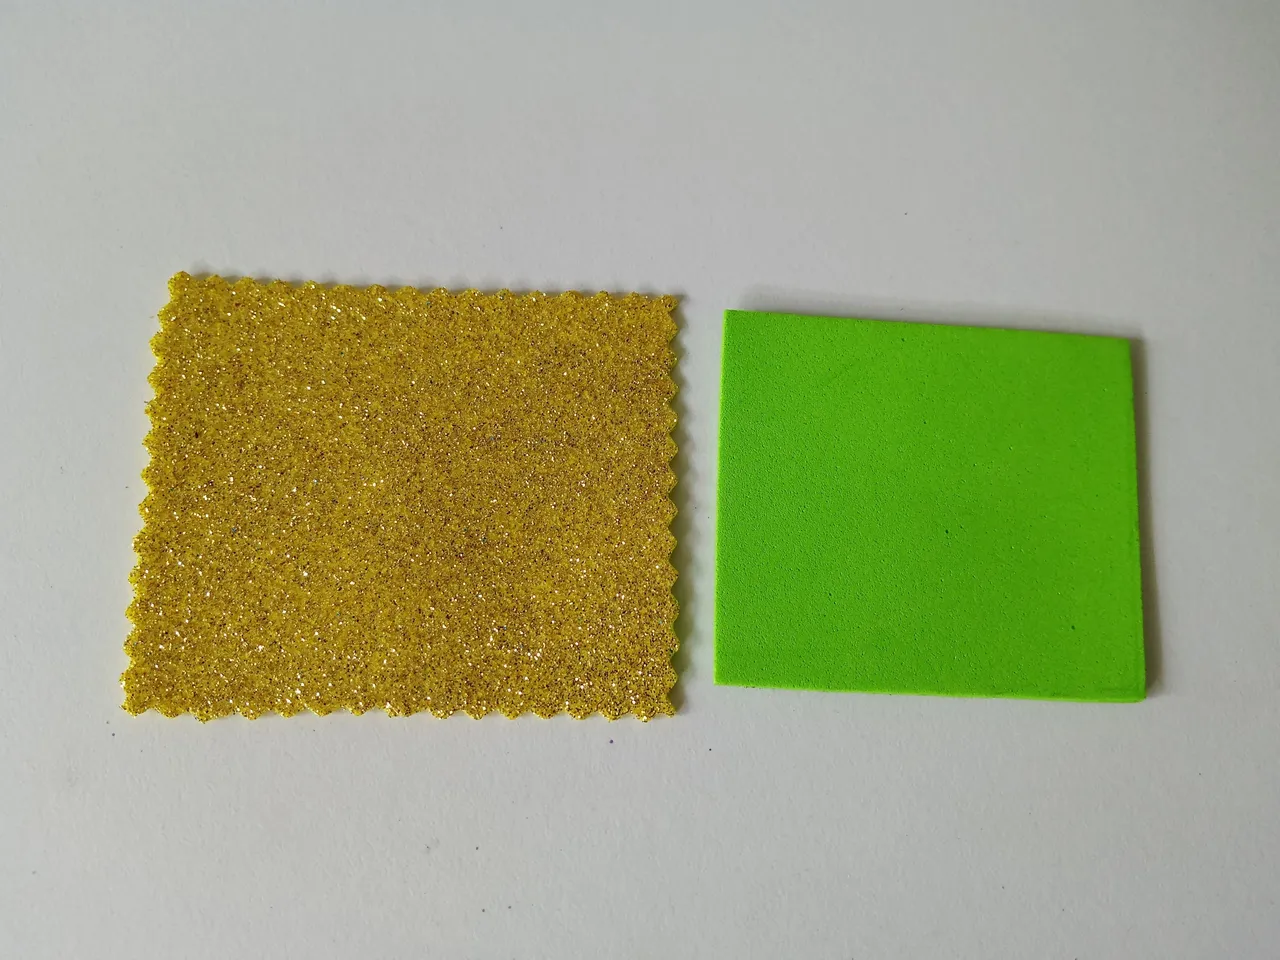
✨PASO 3:
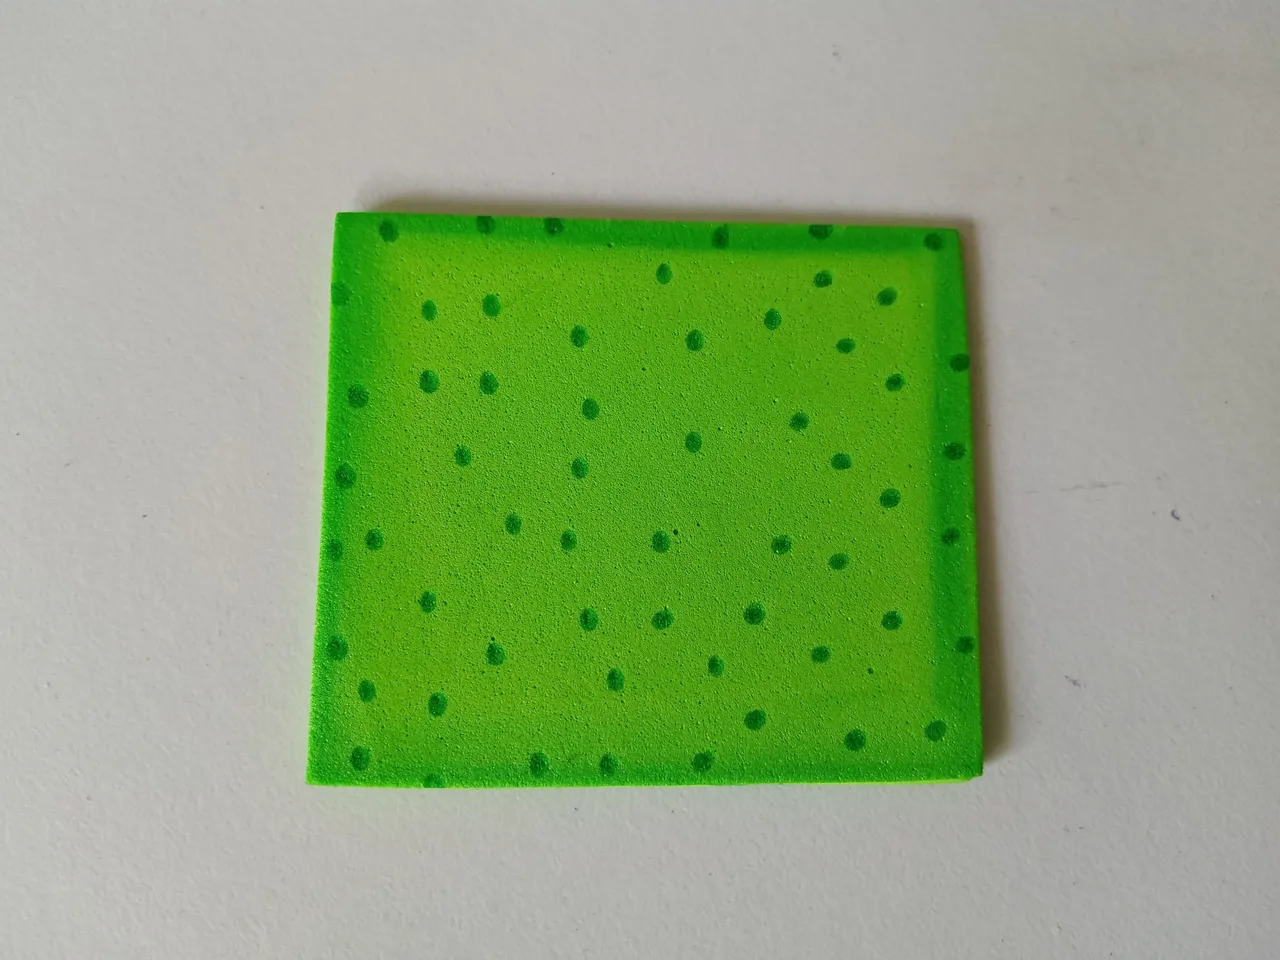
Al estar secas todas las piezas, es momento de recortar la base para el llavero. En este caso, quería darle un poco de brillo con el foami escarchado dorado, así que recorté un rectángulo de 7 cm x 5 cm con tijeras de diseño y otro rectángulo, pero en foami liso verde, de 6 cm x 4 cm. A la base en foami verde le di color a los bordes con un tono mas oscuro en los bordes e hice un par de puntos con el mismo tono oscuro a toda la base.
✨STEP 3:
Once all the pieces are dry, it's time to cut out the base for the keychain. In this case, I wanted to give it a little shine with the gold frosted foam, so I cut a 7 cm x 5 cm rectangle with designer scissors and another 6 cm x 4 cm rectangle from plain green foam. I colored the edges of the green foam base with a darker shade and made a couple of dots with the same dark shade all over the base.
 |  |
|---|
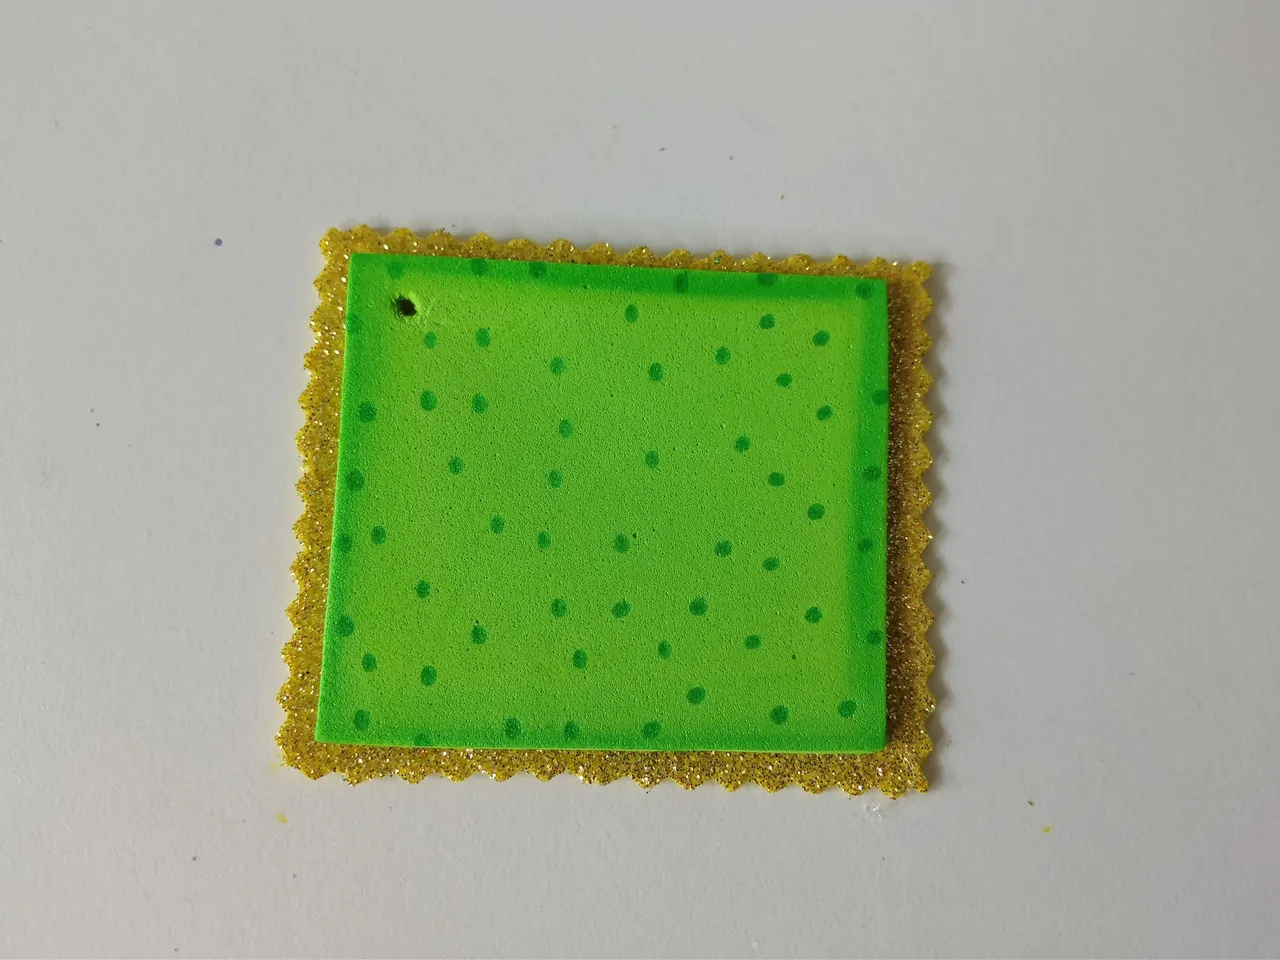
✨PASO 4:
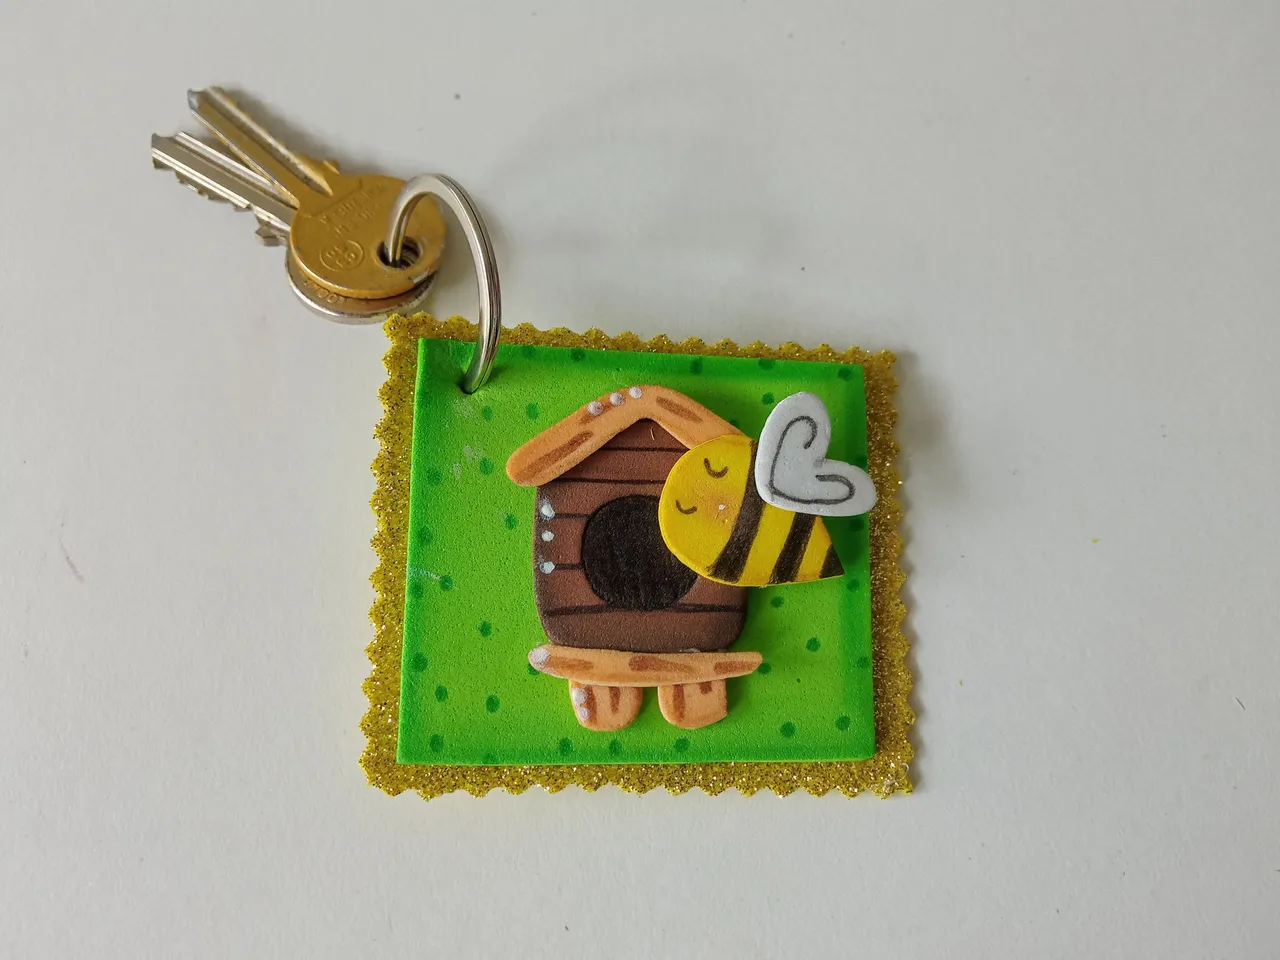
Al estar seco, pegué en medio de la base en foami escarchado dorado y abrí un agujero en una de las esquinas de la base verde. Para finalizar, pegué la abeja a uno de los lados de la casa y luego, pegué en el centro de la base que hicimos en el paso anterior. Por último, introduje el aro metálico junto con las llaves, por el agujero de la esquina.
✨STEP 4:
Once it was dry, I glued the gold frosted foam to the middle of the base and cut a hole in one corner of the green base. Finally, I glued the bee to one side of the house and then glued it to the center of the base we made in the previous step. Finally, I inserted the metal ring, along with the keys, through the hole in the corner.
 |  |
|---|
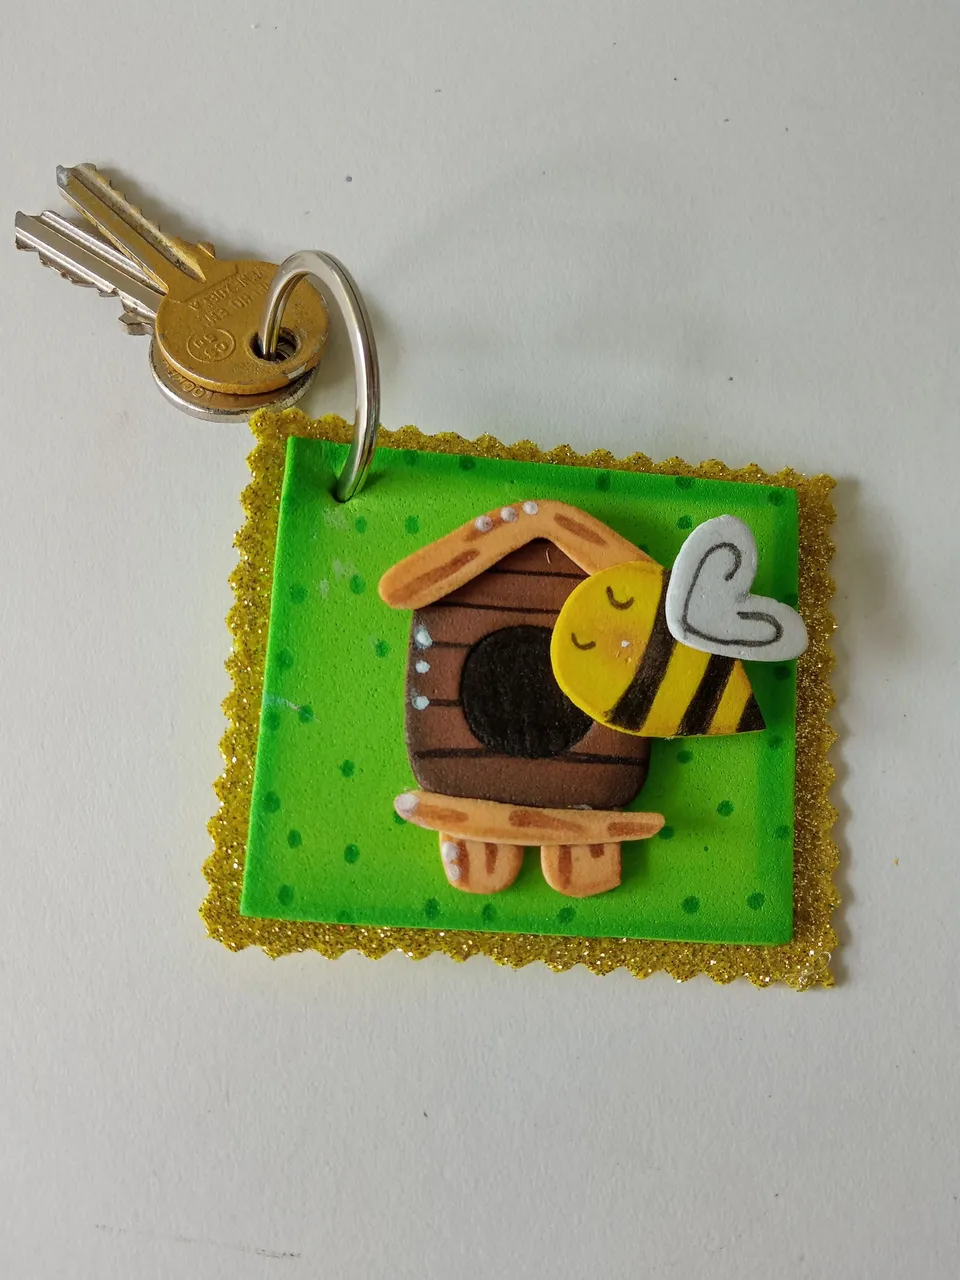
✨And that's it, friends! This is how you can make a cute and easy keychain, with your favorite theme, either to personalize your own keychains or to give as a nice gift to a loved one. I hope you enjoyed it and are encouraged to try the step-by-step instructions.
❤️Until the next post.
✨RESULTADO: | ✨RESULT:
 | |
|---|

Todas las fotografías son de mi propiedad.
Separador y Fotos editadas en Canva
All photographs are my property.
Photos edited in Canva