✨¡Hola amigos amantes de la creatividad! Espero que estén todos bien.✨
🔸Sin más que añadir, a continuación los dejo con el paso a paso:
✨¡Hello friends who love creativity! I hope you are all well.✨
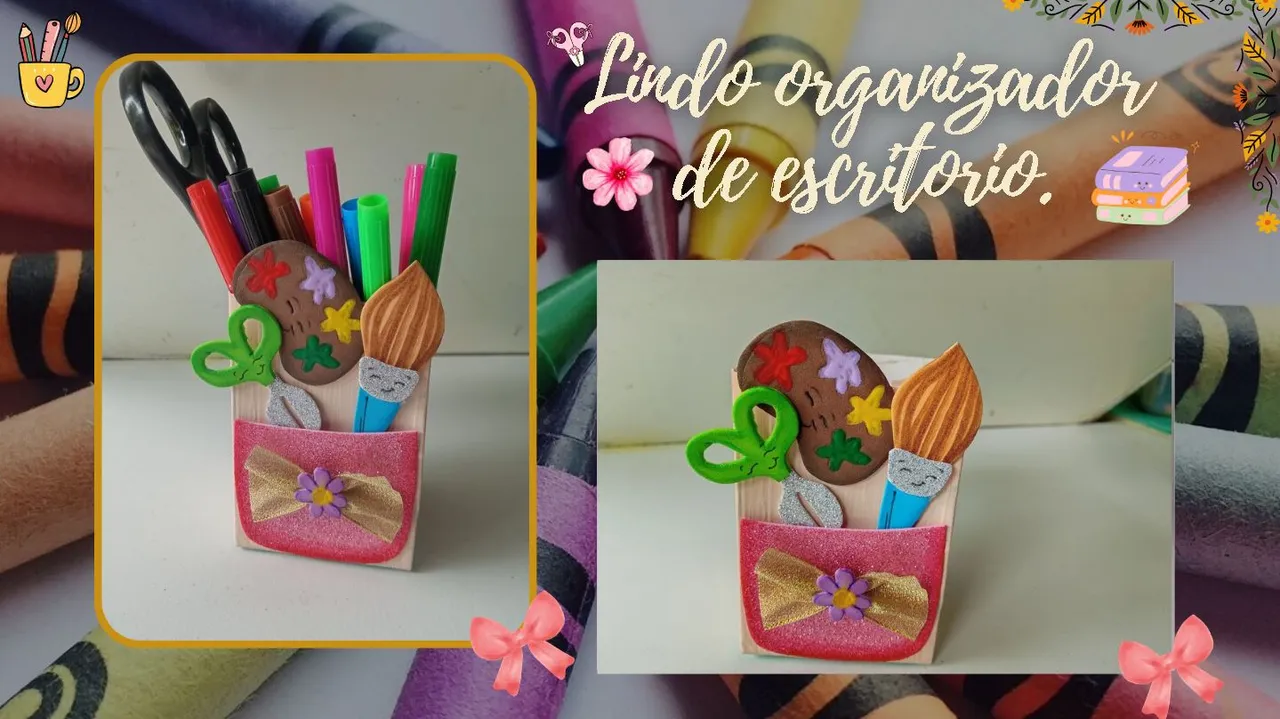
Good afternoon, friends! I hope you're having a great week. For my part, I'm happy to stop by here to share a lovely idea with you. This time, I'm sharing the step-by-step instructions for making a cute desk organizer. I've always loved making this type of foam decoration; whether it's school supplies, flowers, or items with popping colors, I love working with them and adding details. So, since it's been a while since I've made something for school, I wanted to share this lovely idea with you.
🔸Without more to add, then I leave you with the step by step:
♥️ESPERO QUE TE GUSTE,
¡Empecemos!
♥️I HOPE YOU LIKE IT,
Let's start!

✂️ MATERIALES | ✂️ MATERIALS
- Caja de cartón.
- Foami escarchado rosa.
- Foami escarchado plateado.
- Foami verde.
- Foami azul.
- Foami lila.
- Foami crema.
- Foami marrón.
- Cinta para lazo.
- Pinturas y marcadores.
- Pegamento.
- Tijeras.
- Regla.
- Hoja blanca.
- Lápiz.
- Cardboard box.
- Pink frosted foam.
- Silver frosted foam.
- Green foam.
- Blue foam.
- Lilac foam.
- Cream foam.
- Brown foam.
- Ribbon for bow.
- Paints and markers.
- Glue.
- Scissors.
- Ruler.
- White paper.
- Pencil.
🌟 PROCEDIMIENTO | 🌟 PROCESS
✨PASO 1:
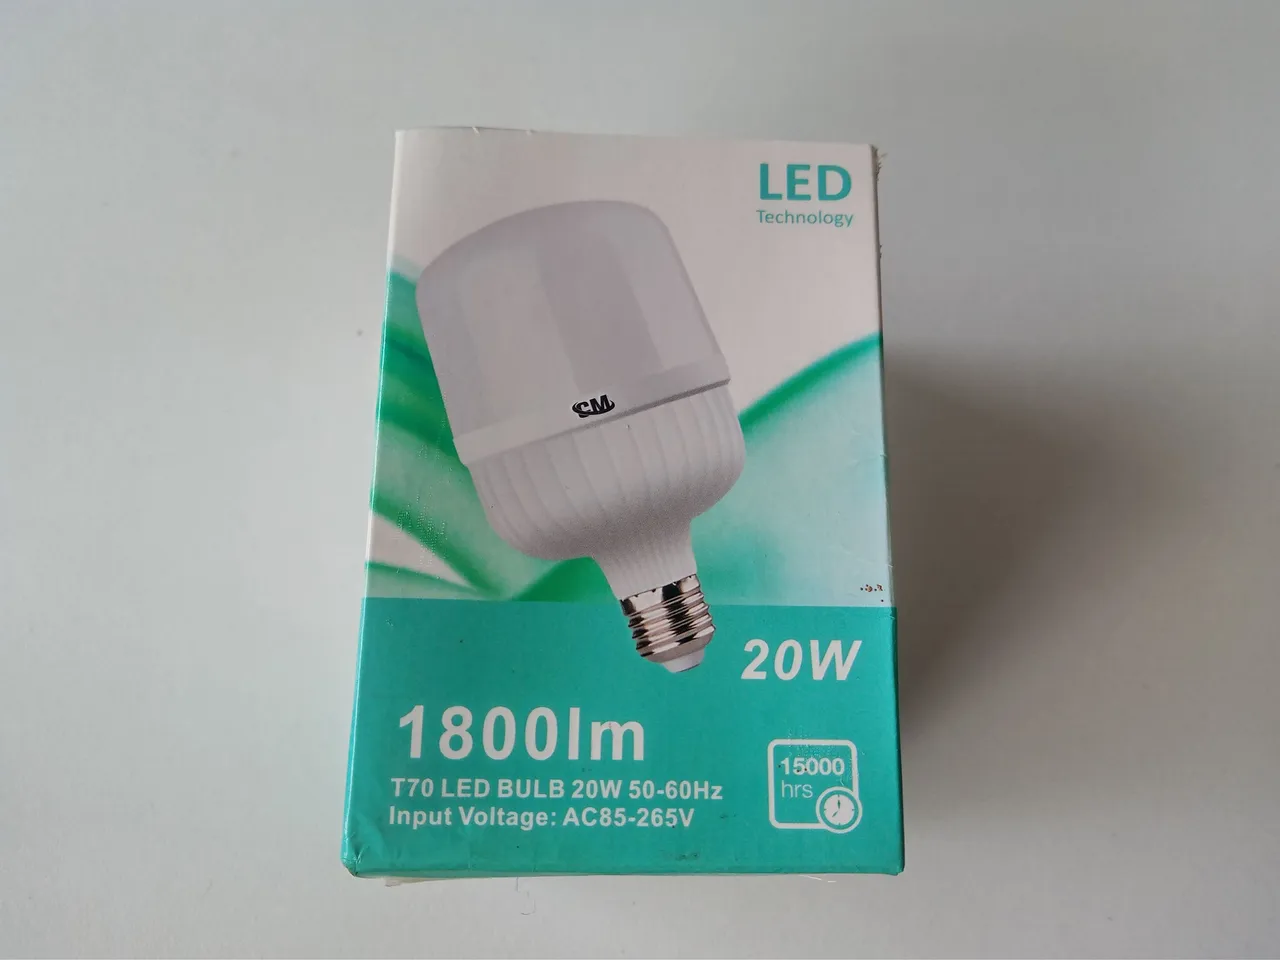
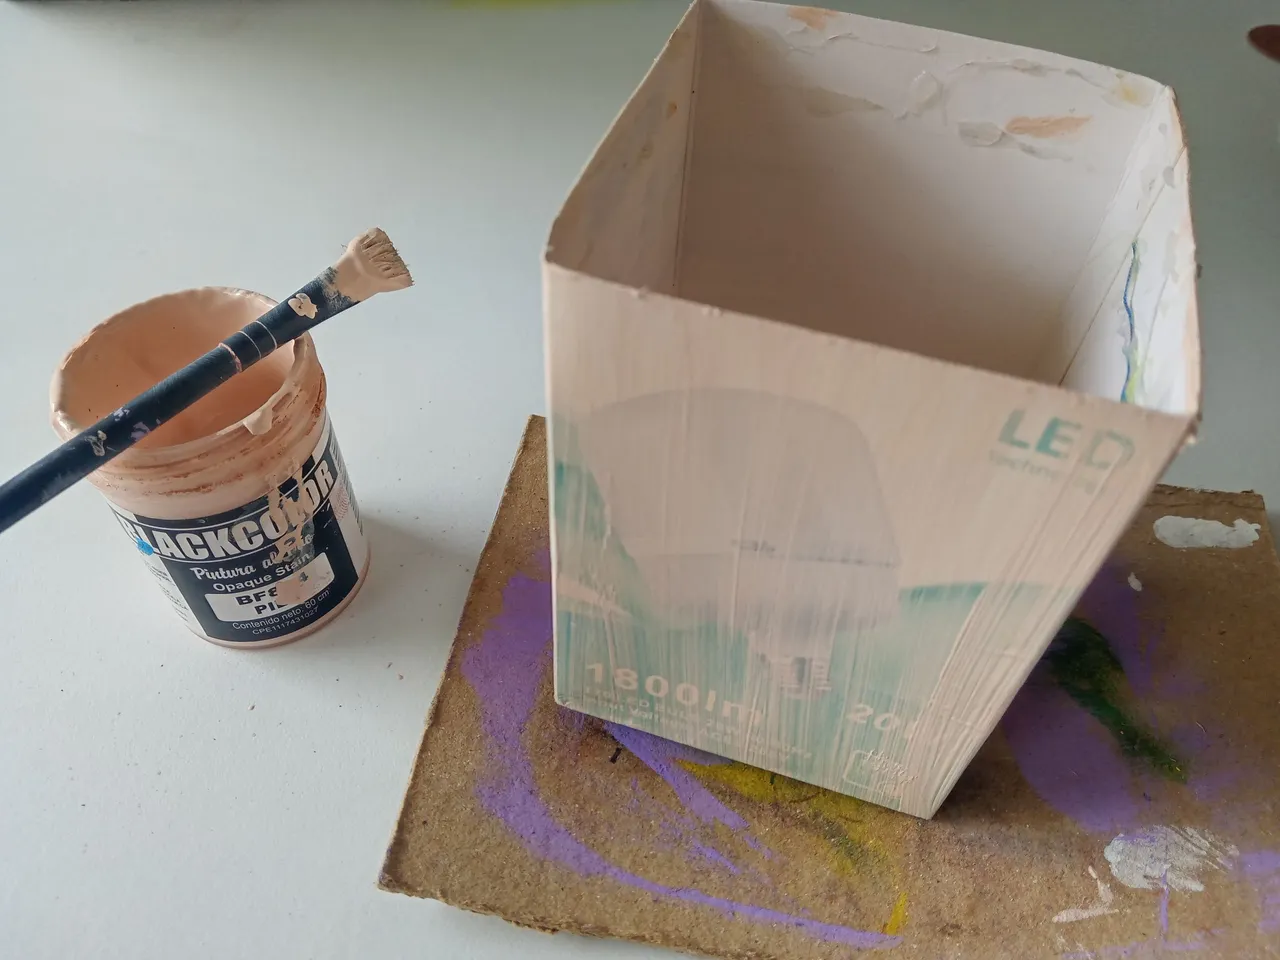
Lo primero que hice fue tomar la caja que iba a estar utilizando para la base de este organizador, que en mi caso es una caja de bombillo de 10 cm x 7 cm. Al tener mi caja o base, lo que hice fue retirar la tapa y pestañas con tijeras. Luego, con una pintura crema, comencé a pintar la caja, dando un par de capas hasta cubrir.
✨STEP 1:
The first thing I did was take the box I was going to use for the base of this organizer, which in my case was a 10 cm x 7 cm light bulb box. Once I had my box or base, I removed the lid and tabs with scissors. Then, using cream paint, I began painting the box, applying a couple of coats until covered.
 |  |
|---|
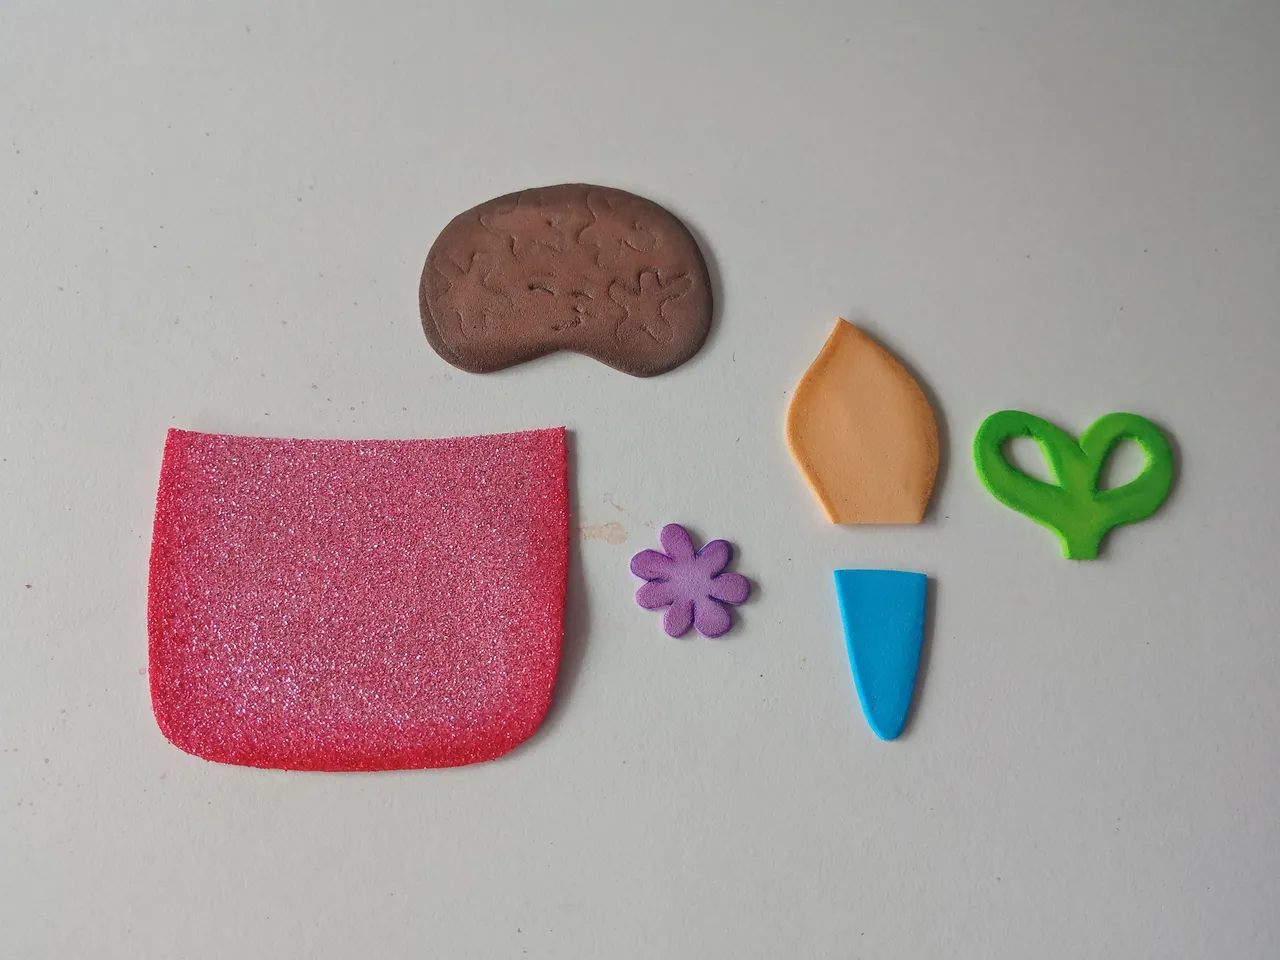
✨PASO 2:
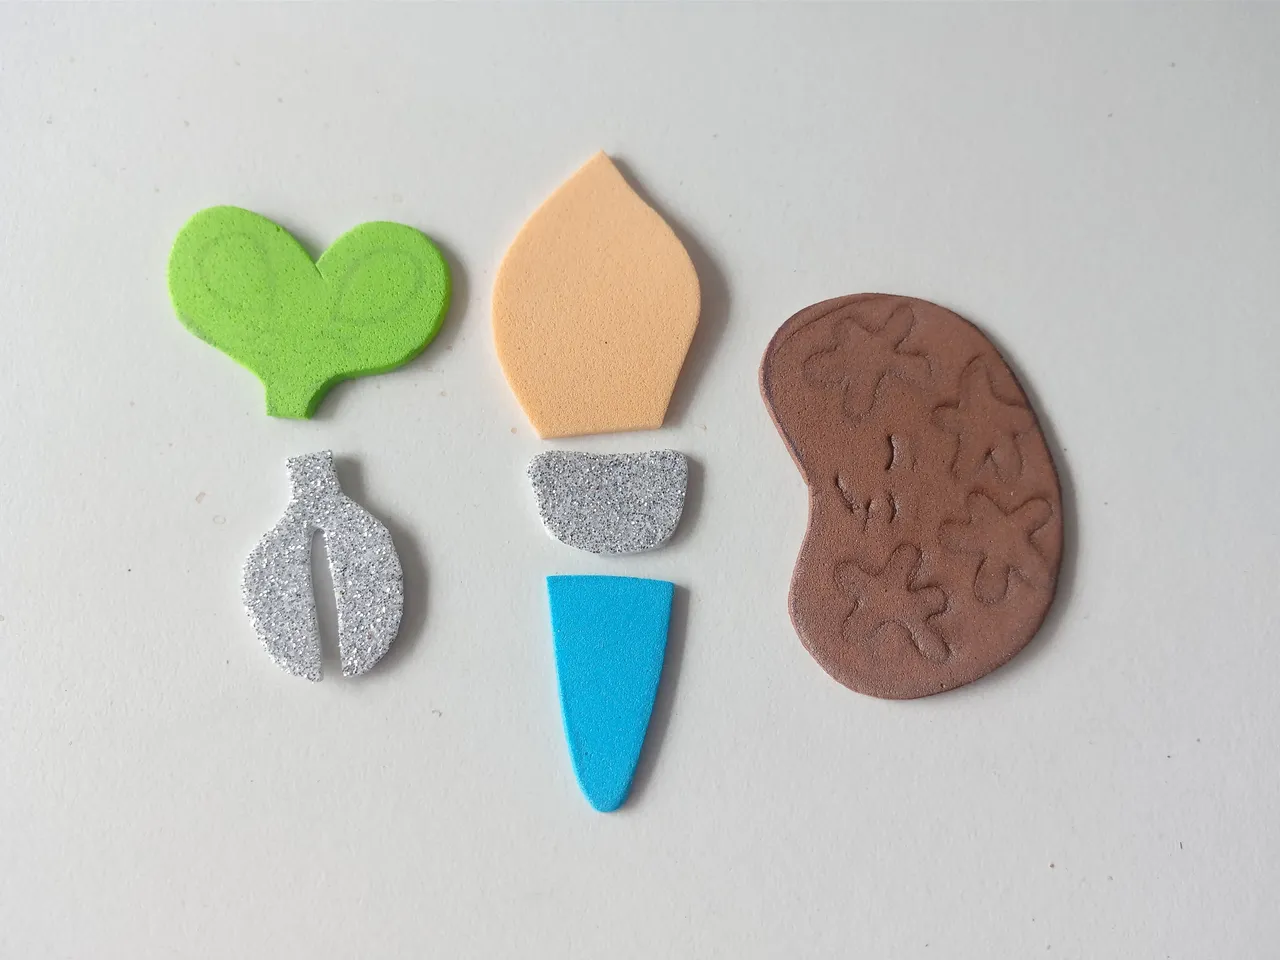
Mientras la pintura seca, comencé a dibujar el diseño de las decoraciones que quería en una hoja blanca. Al tenerlas listas y del tamaño deseado, transferí a los colores correspondientes de foami, como explico a continuación:
✨Parte superior de las tijeras: 3.5 cm x 3 cm en foami verde.
✨Tijeras: 3 cm x 2 cm en foami escarchado plateado.
✨Parte superior del pincel: 3 cm x 1.5 cm en foami azul.
✨Parte central del pincel: 2 cm x 1.5 cm en foami escarchado plateado.
✨Pincel: 4 cm x 3 cm en foami crema.
✨Paleta de pintura: 5 cm x 3.5 cm en foami marrón.
✨Base de decoración: 6.5 cm x 5.5 cm en foami escarchado rosa.
✨Flor central: 2 cm.
✨STEP 2:
While the paint was drying, I began drawing the design of the decorations I wanted on a white sheet of paper. Once I had them ready and the desired size, I transferred them to the corresponding colors of foam, as explained below:
✨Upper part of scissors: 3.5 cm x 3 cm in green foam.
✨Scissors: 3 cm x 2 cm in silver frosted foam.
✨Upper part of brush: 3 cm x 1.5 cm in blue foam.
✨Middle part of brush: 2 cm x 1.5 cm in silver frosted foam.
✨Paintbrush: 4 cm x 3 cm in cream foam.
✨Paint palette: 5 cm x 3.5 cm in brown foam.
✨Decoration base: 6.5 cm x 5.5 cm in pink frosted foam.
✨Center flower: 2 cm.
 |  |
|---|
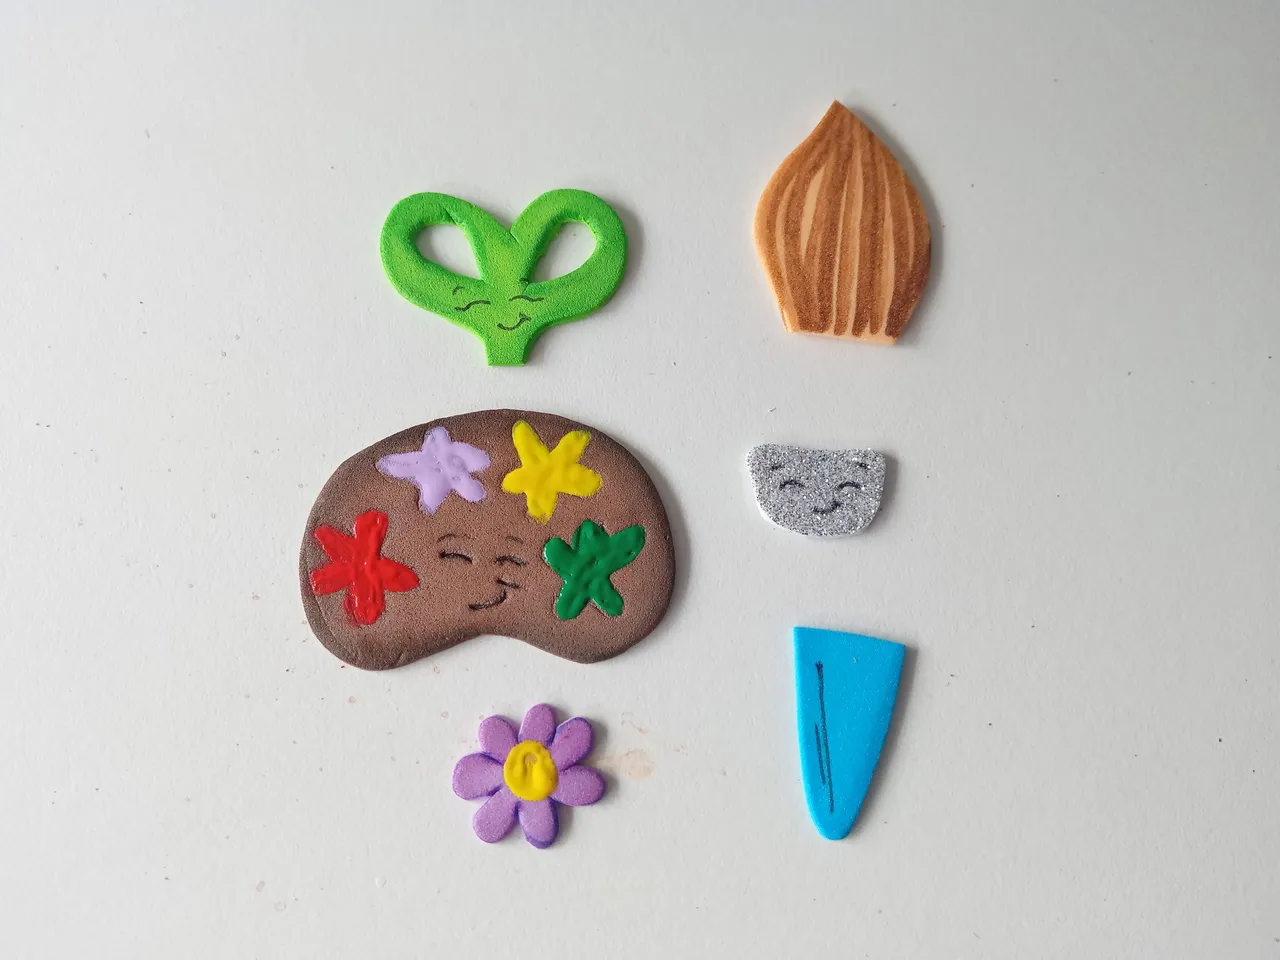
✨PASO 3:
Al tener recortadas todas las piezas, es momento de dar color a los bordes, ya sea con pinturas o marcadores. Decidí darle color a un foami escarchado, en este caso a la base de la decoración con un tono rojo, para que, al momento de difuminar, se viera como un rosa intenso. En cuanto al resto de las decoraciones, utilicé colores de un tono más oscuro. Al estar secas todas las piezas, fue momento de dar detalles más específicos con marcadores, como al pincel, las caritas y, en el caso de la paleta de pintura, pinté cada color con pinturas, al igual que al centro de la flor.
✨STEP 3:
Once all the pieces are cut out, it's time to color the edges, either with paints or markers. I decided to color a frosted foam, in this case the base of the decoration, with a red hue so that when blended, it would look like a deep pink. For the rest of the decorations, I used darker colors. Once all the pieces were dry, it was time to add more specific details with markers, such as the brush and the faces. In the case of the paint palette, I painted each color with paints, as well as the center of the flower.
 |  |
|---|
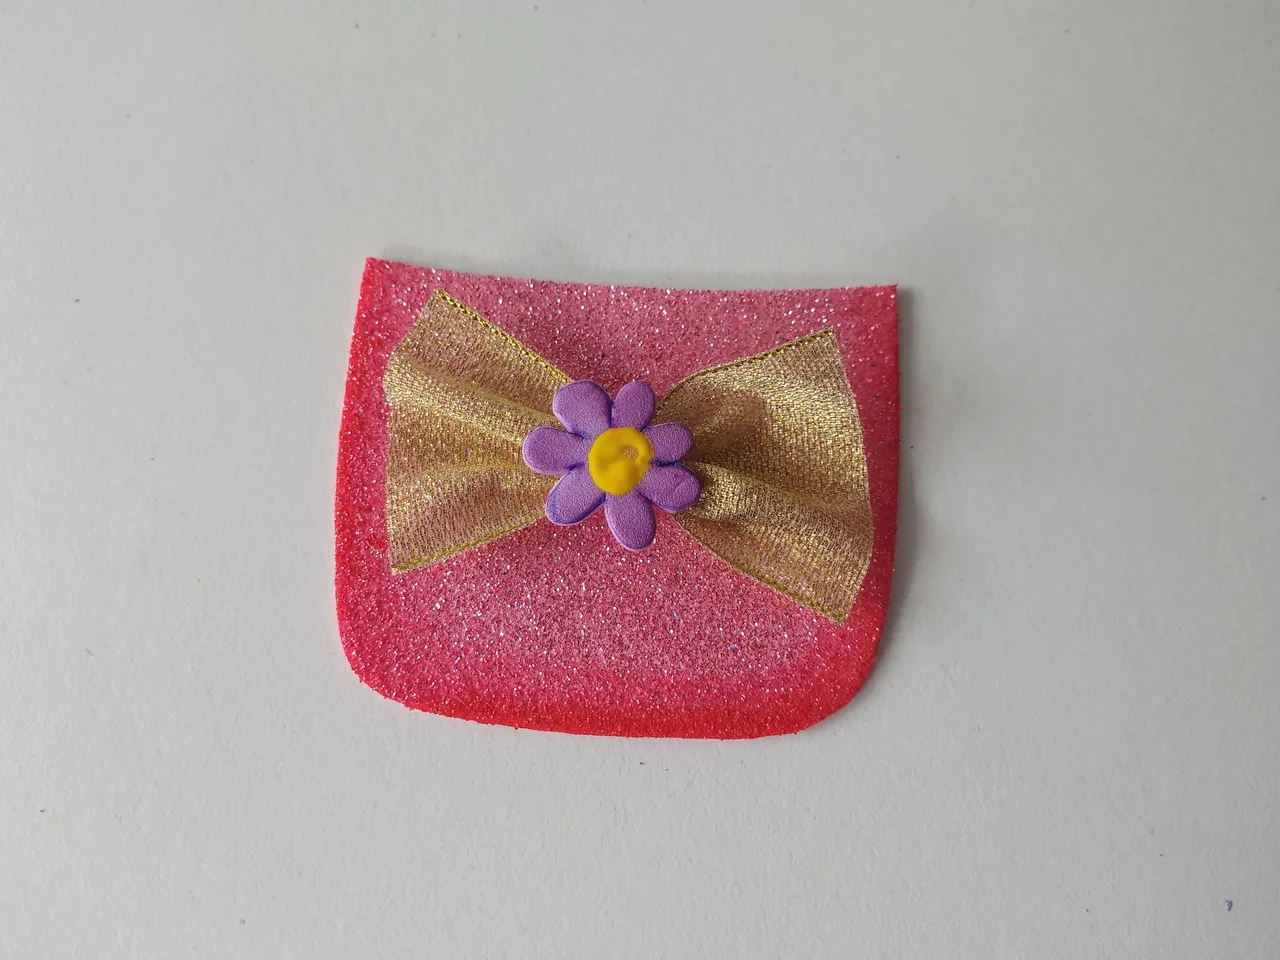
✨PASO 4:
Una vez están secas las piezas, hice un lazo con la cinta de 5.5 cm, así que simplemente recorté y amarré un hilo en medio para darle la forma. Al estar listo, pegué en medio de la base para la decoración y en medio, pegué la flor lila. Seguidamente, fui pegando la tijera, el pincel y vi que la paleta de pinturas quedaba bien más arriba. Así que, al tener el orden deseado, pegué a la base que pinté en el primer paso.
✨STEP 4:
Once the pieces were dry, I made a bow with the 5.5 cm ribbon, so I simply cut it and tied a string in the middle to give it the shape. Once it was ready, I glued it to the middle of the decorative base, and in the middle, I glued the lilac flower. Next, I glued the scissors and paintbrush, and I noticed that the paint palette looked nicer on top. So, once I had the desired order, I glued it to the base I painted in the first step.
 |  |  |
|---|
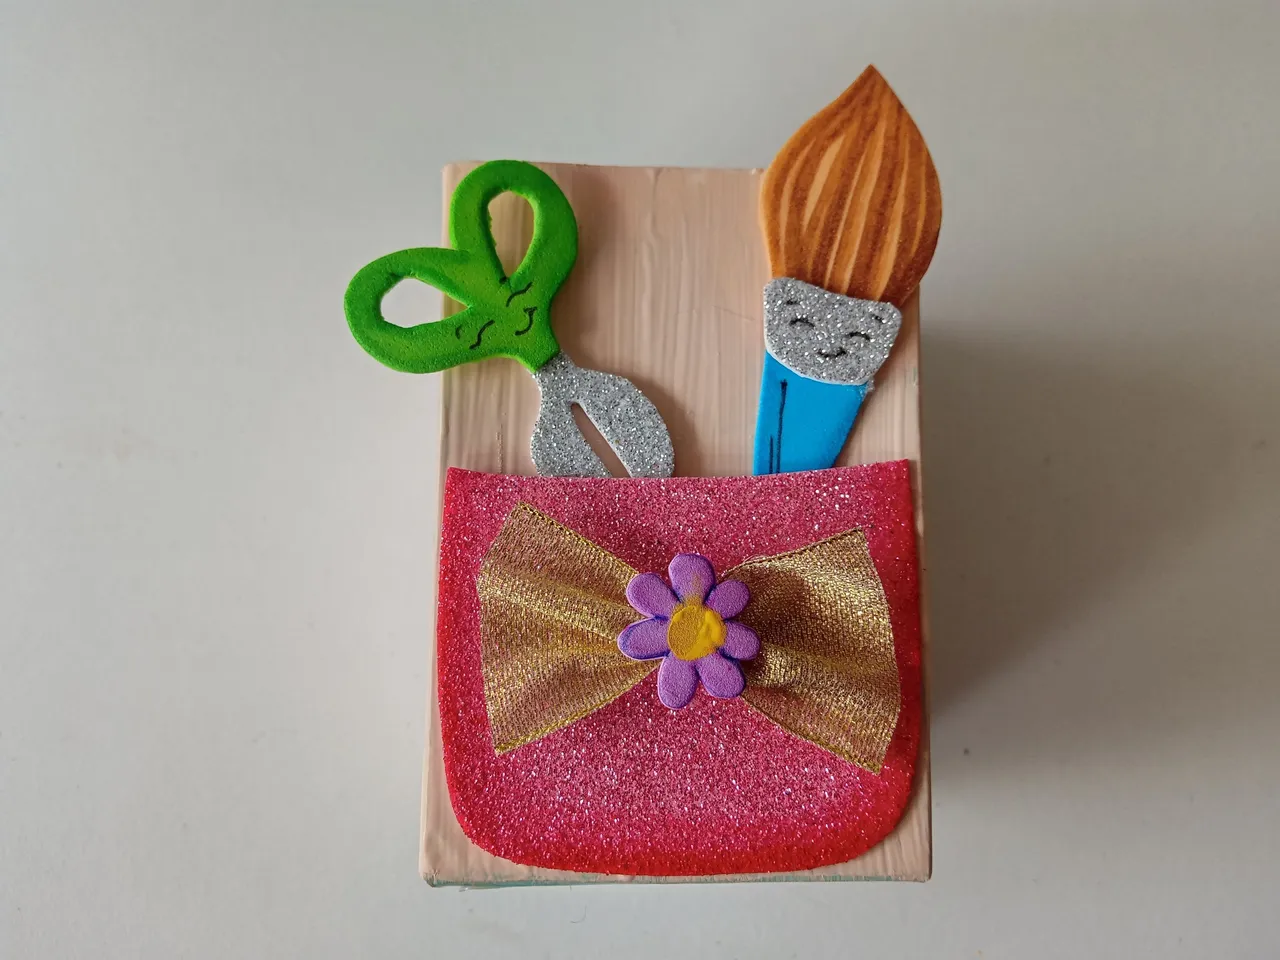
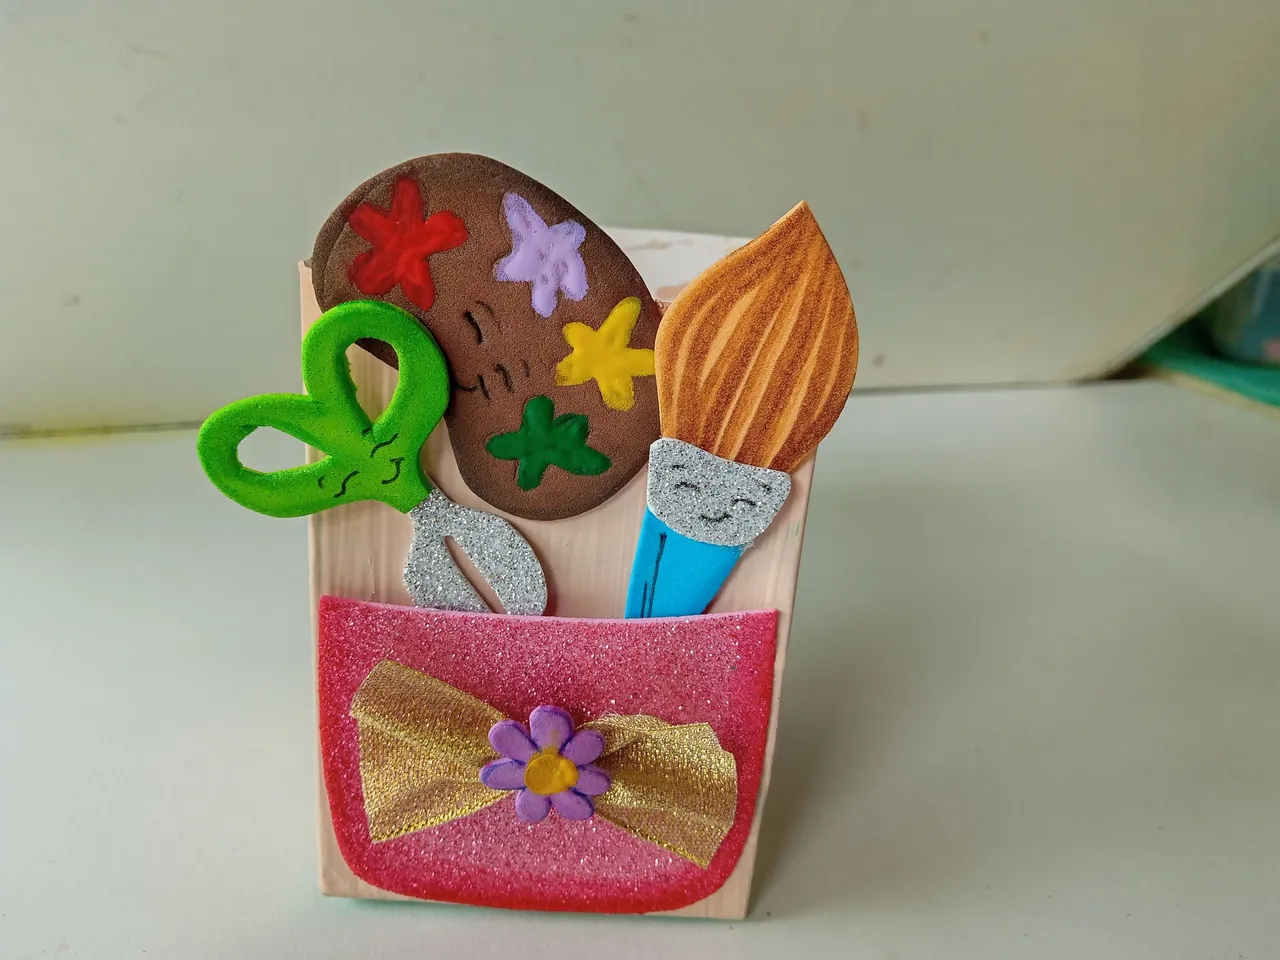
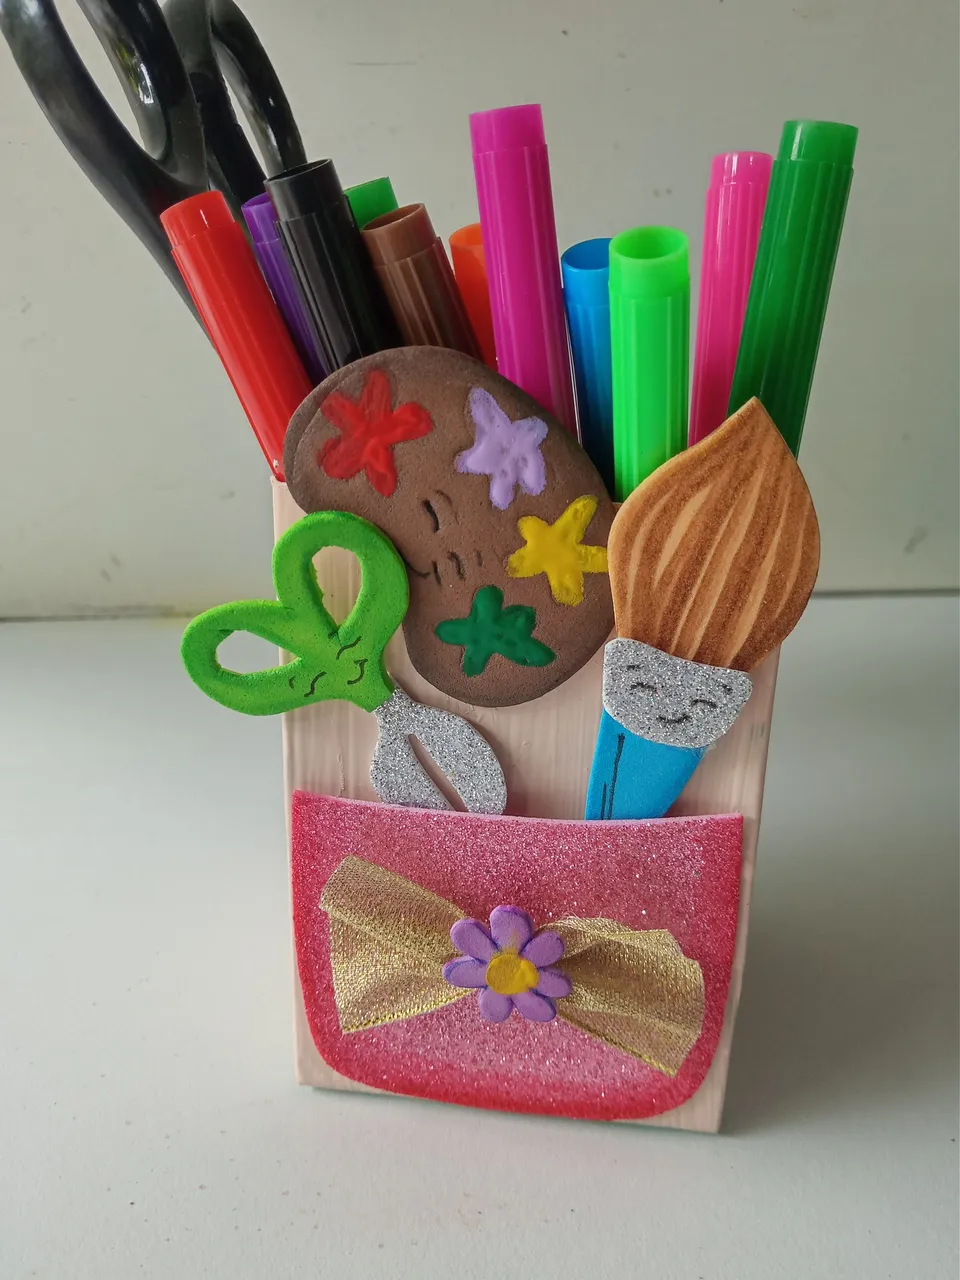
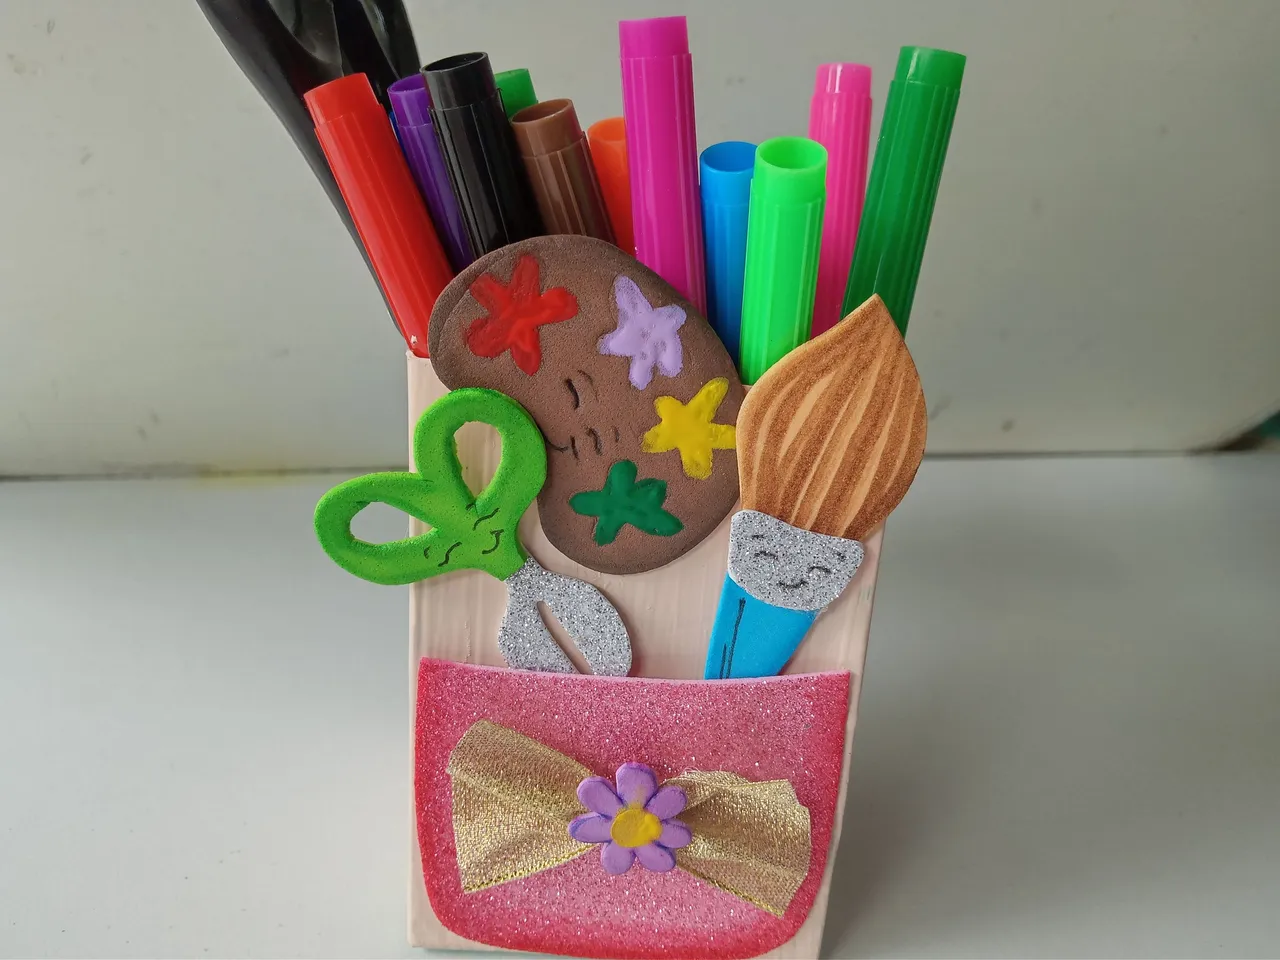
✨And that's it, friends! All that's left is to place the markers, crayons, or materials you want to organize in this beautiful space. As I said at the beginning, I loved this theme and really enjoyed the process. Plus, it's very easy to make this type of organizer, and you can decorate it however you want. I hope you enjoyed the step-by-step instructions and are inspired to try it.
❤️Until the next post.
✨RESULTADO: | ✨RESULT:
 |  |
|---|

Todas las fotografías son de mi propiedad.
Separador y Fotos editadas en Canva
All photographs are my property.
Photos edited in Canva