¡Bienvenidos amigos creativos!👩🎨
Antes de empezar me gustaría felicitar a todos los padres que se encuentran orgullosos por sus graduandos, en mi caso me siento orgullosa por mi sobrino mas pequeño el cual ha pasado a primer grado y con ello me puse manos a la obra para realizar su birrete. Sin más a que hacer referencia…
Welcome creative friends!👩🎨
🙋♀️ Hello, beautiful and creative people! I send you my warmest regards and best wishes. I hope you are having a wonderful time. On this side of the screen, everything is fine, thank God✨.
Before I begin, I would like to congratulate all the parents who are proud of their graduates. In my case, I am proud of my youngest nephew, who has moved up to first grade, and so I set to work making his graduation cap. Without further ado...
¡Llegó la hora de crear! / It's time to create!✨❤️.
|
|---|
¿Cuál es el proceso?/ What is the process?⬇️
🎓 Paso 1 / Step1
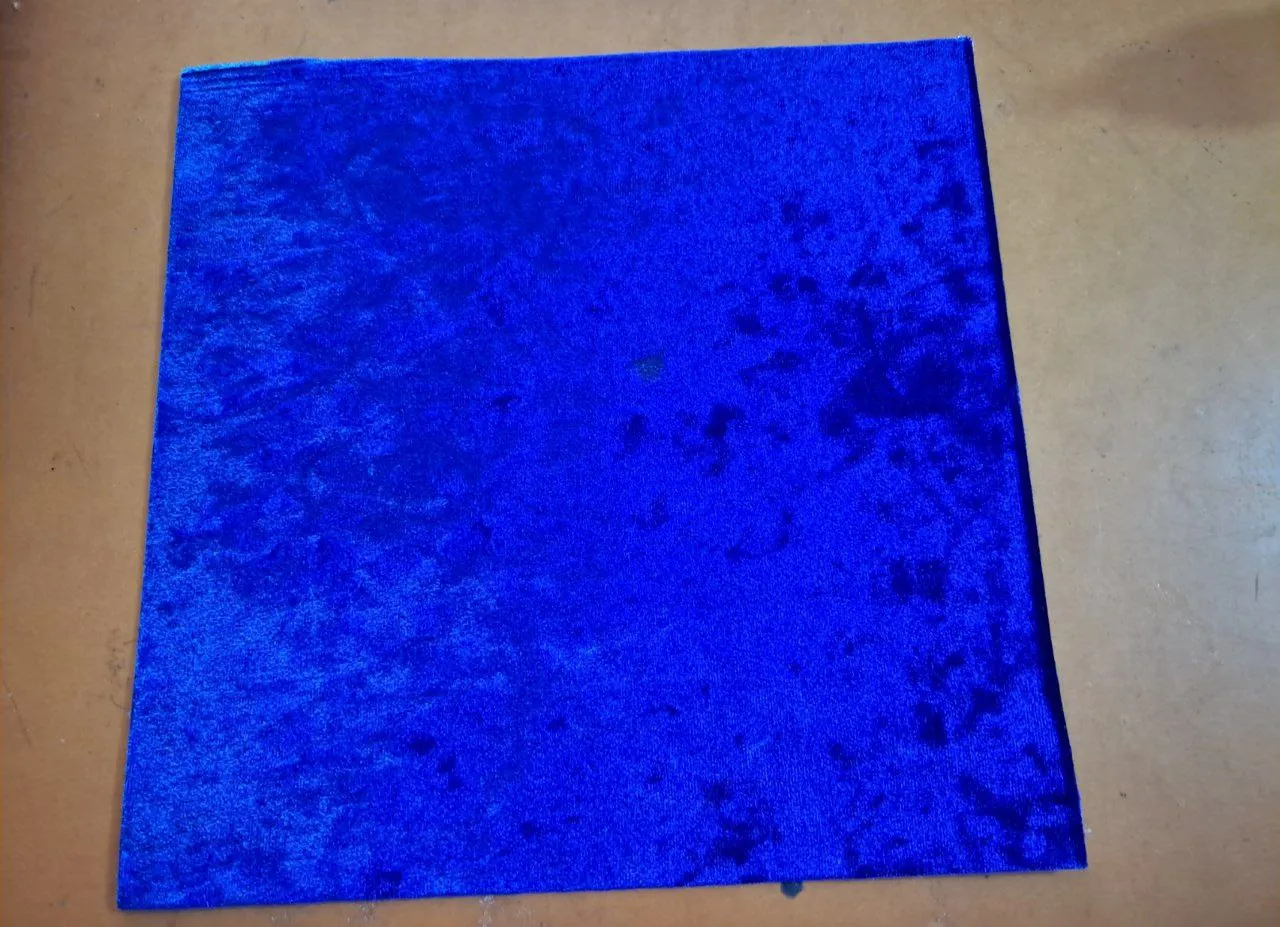
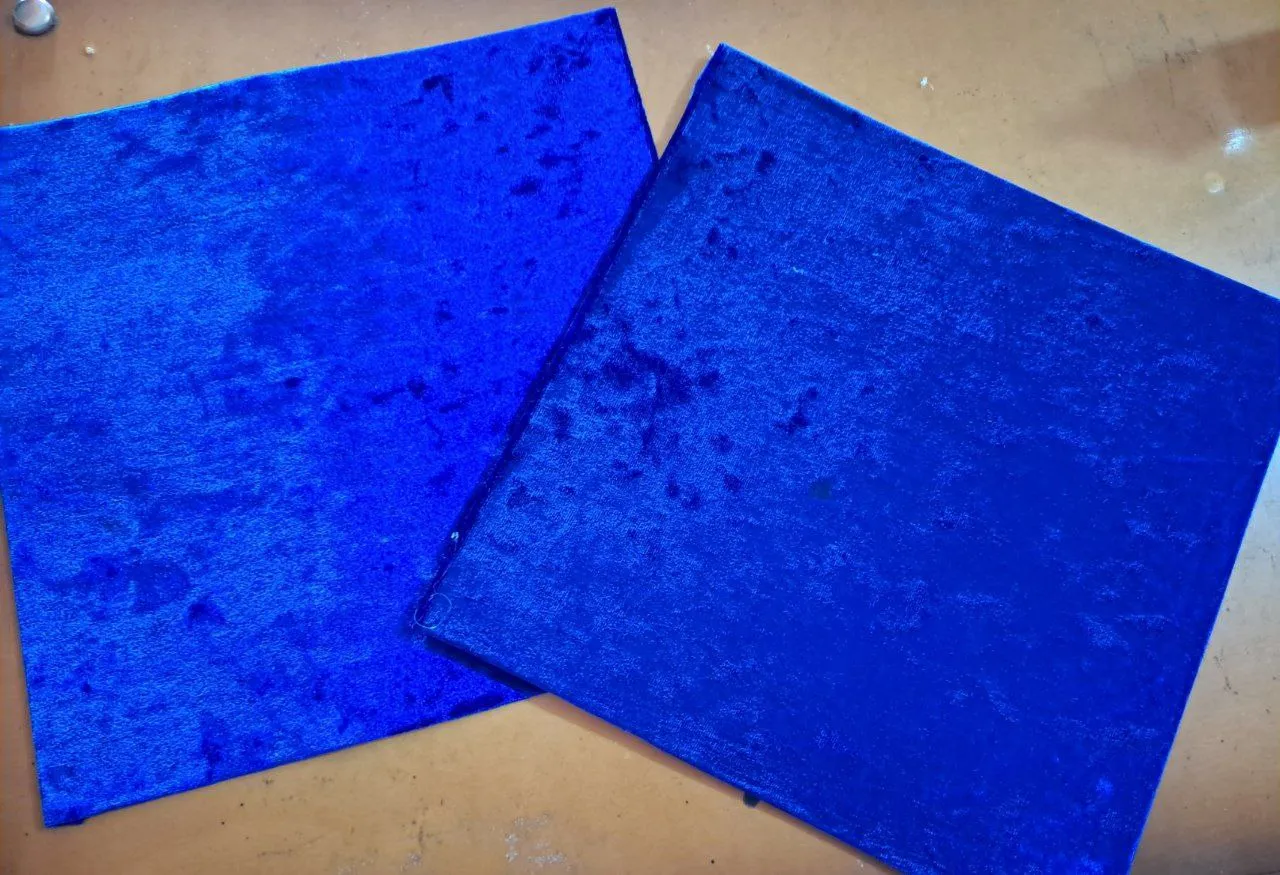
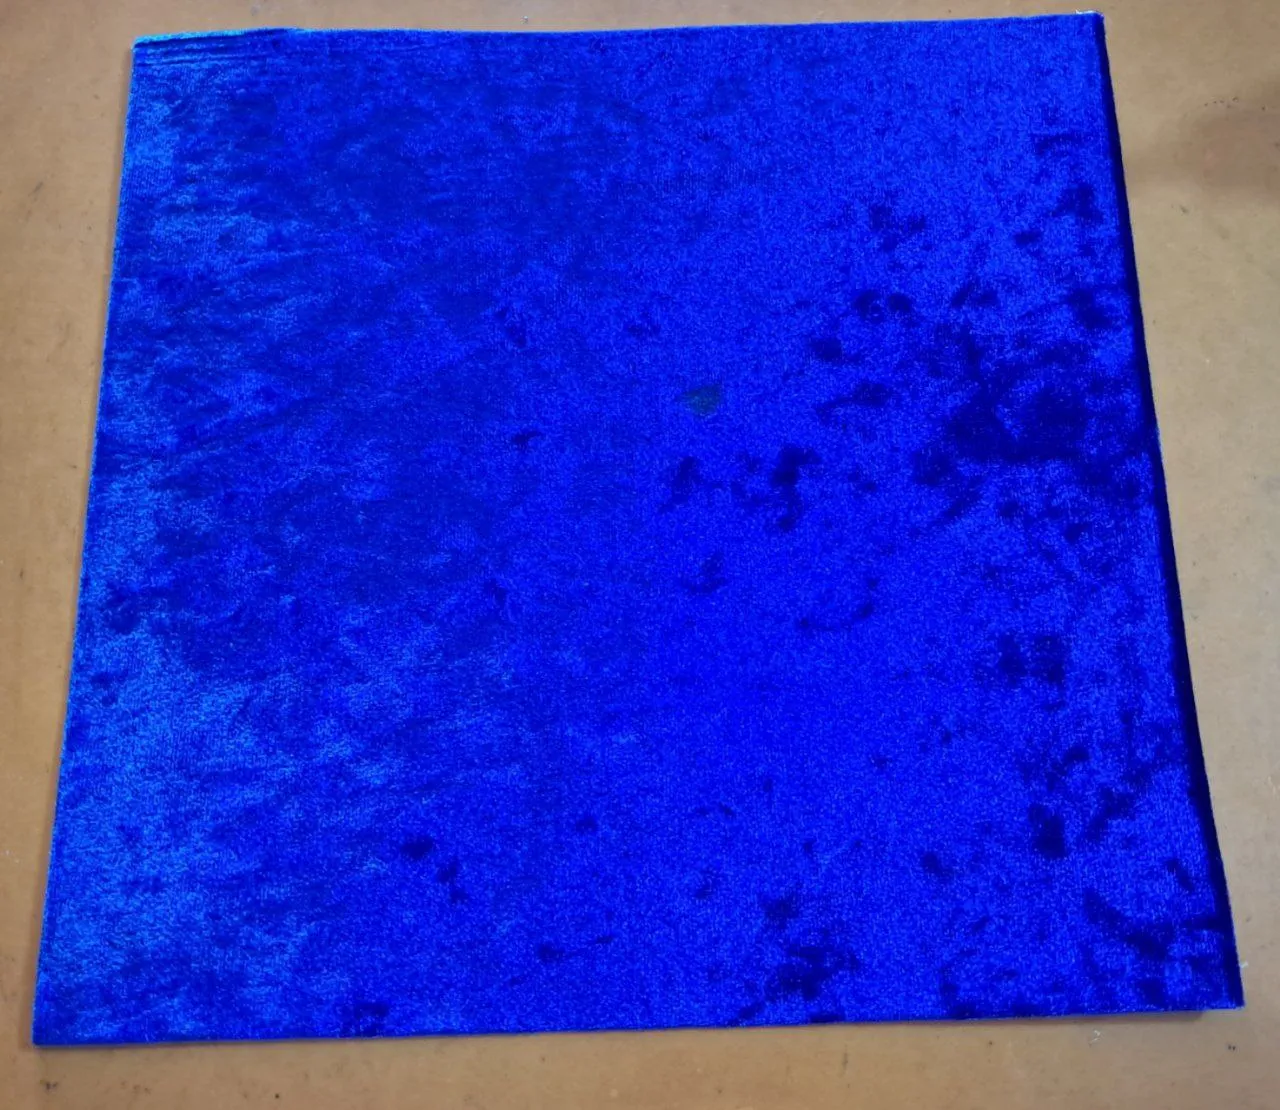
En cartulina blanca comencé por realizar dos cuadrados de 25cm x 25cm, y ambos forre con tela terciopelo color azul rey, cubriendo totalmente una parte del cuadrado, dejando por el otro lado solo un pequeño borde para pegar y de esa forma ahorrar la tela.
On white cardboard, I started by making two 25cm x 25cm squares, and I covered both with royal blue velvet fabric, completely covering one side of the square and leaving only a small edge on the other side to glue, thus saving fabric.

 |  |
|---|
 |  |
|---|
🎓 Paso 2 / Step 2
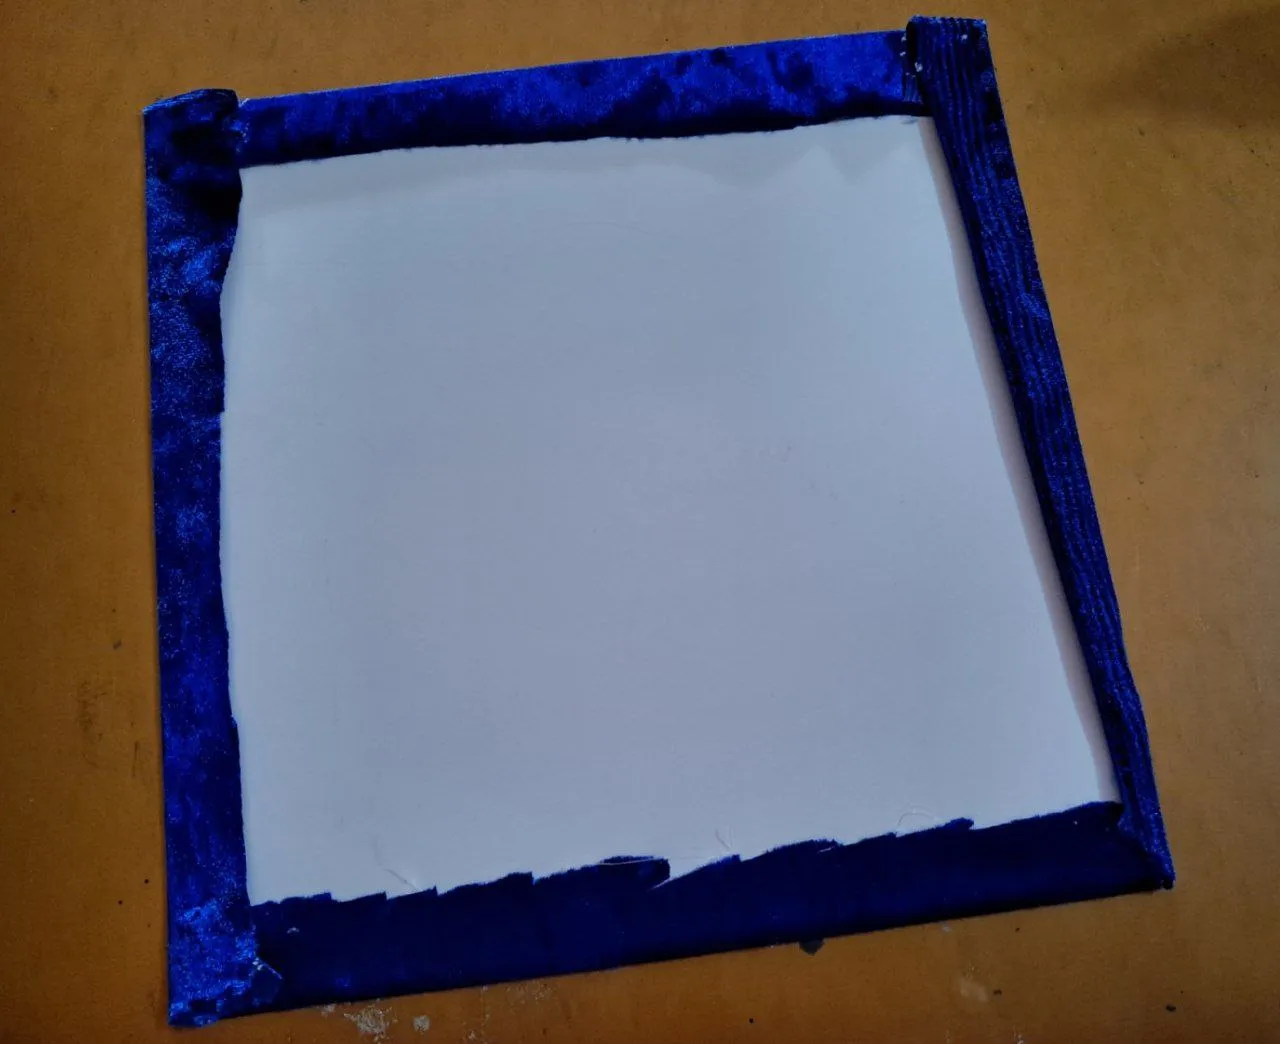
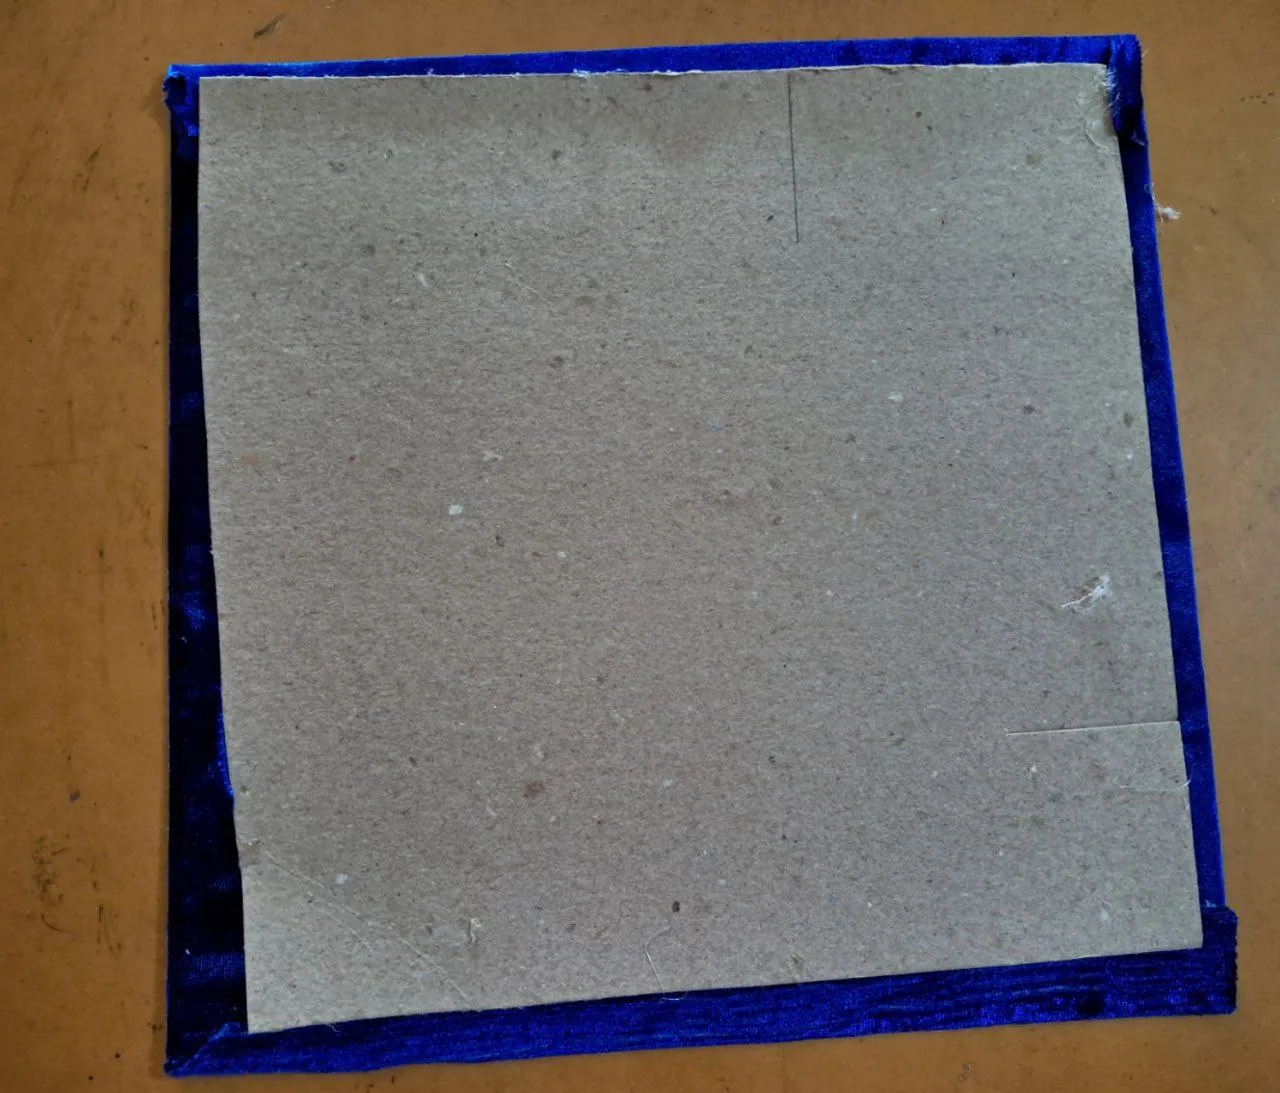
Para reforzar el birrete decidí pegar un trazo de cartón piedra en el medio de ambos cuadrados, exactamente en la parte blanca que había quedado sin tapar, de esta forma quedo resistente y cubierto por ambas partes.
To reinforce the cap, I decided to glue a strip of papier-mâché in the middle of both squares, exactly on the white part that had been left uncovered. This way, it is sturdy and covered on both sides.
 |  |
|---|
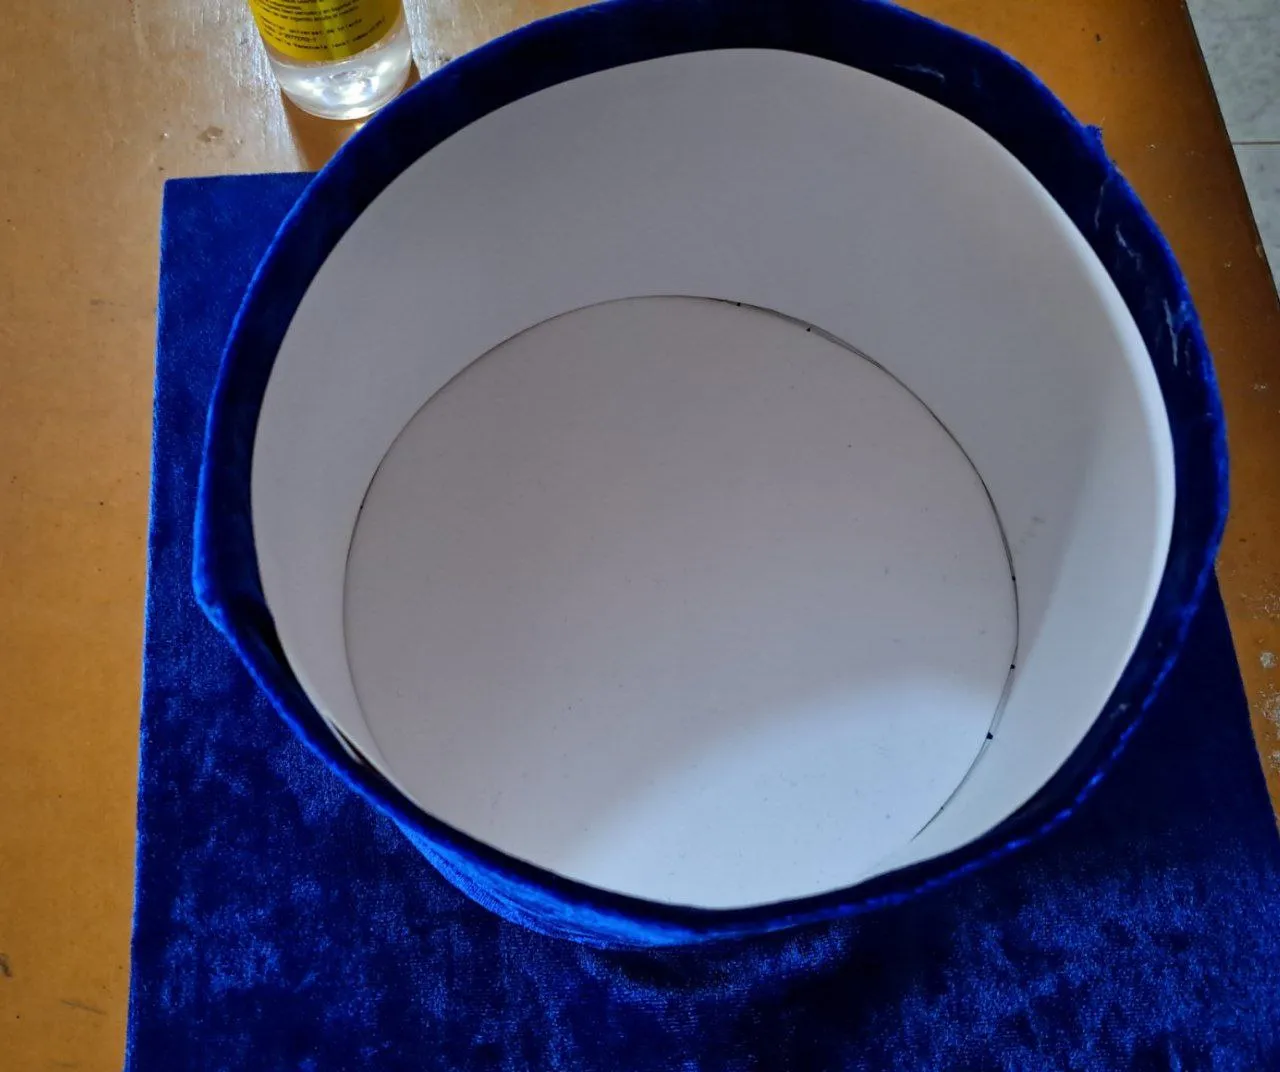
🎓 Paso 3 / Step 3
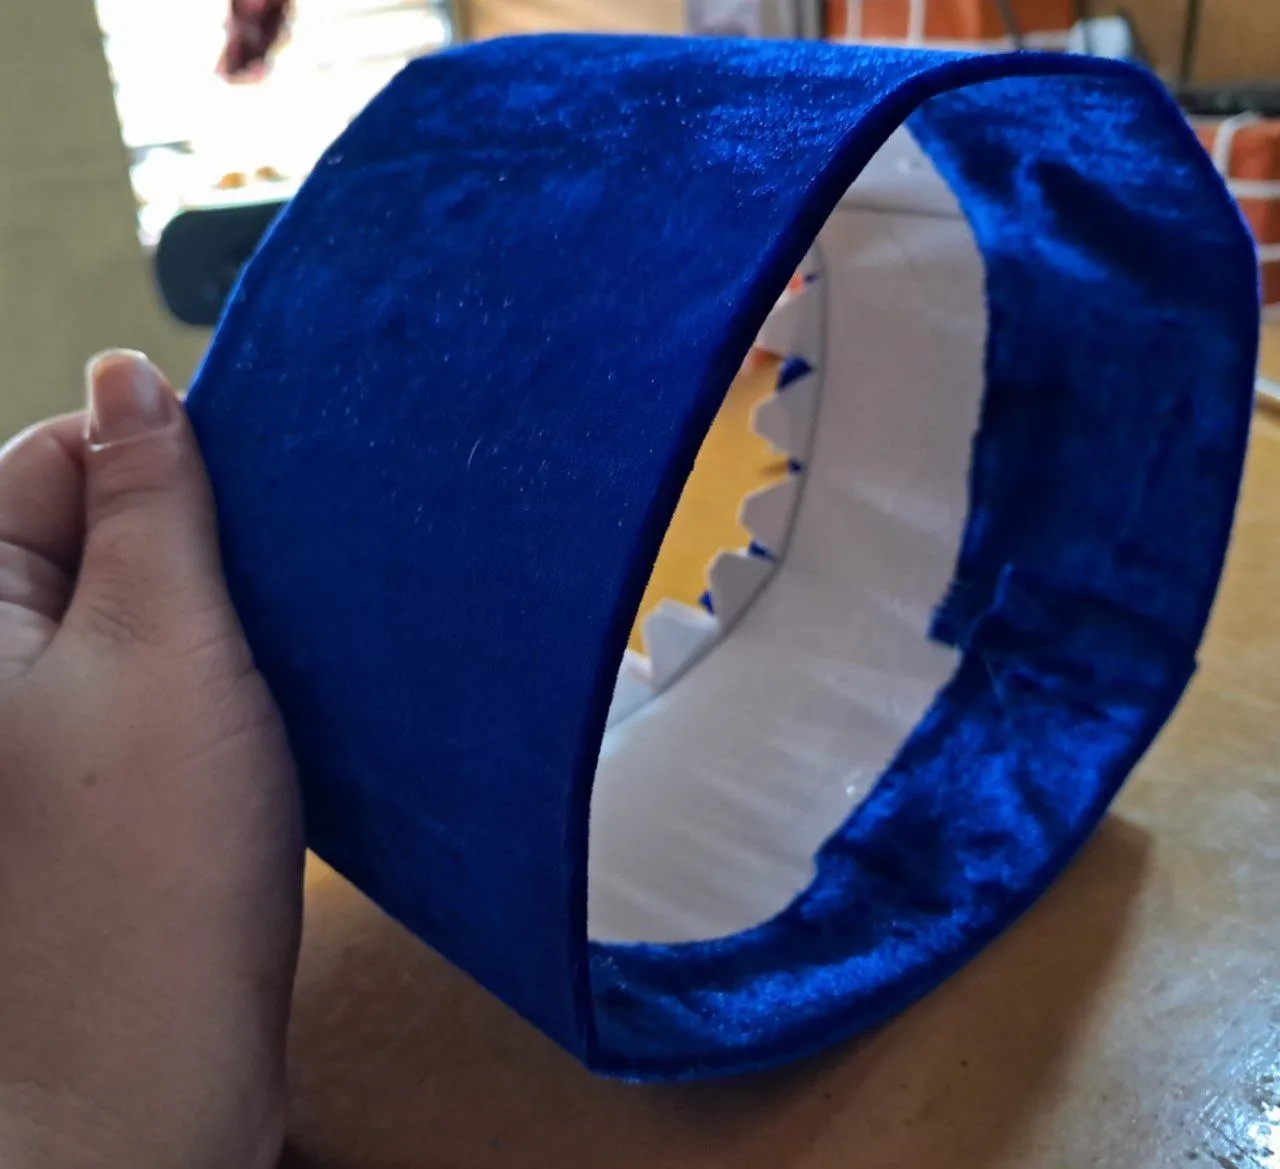
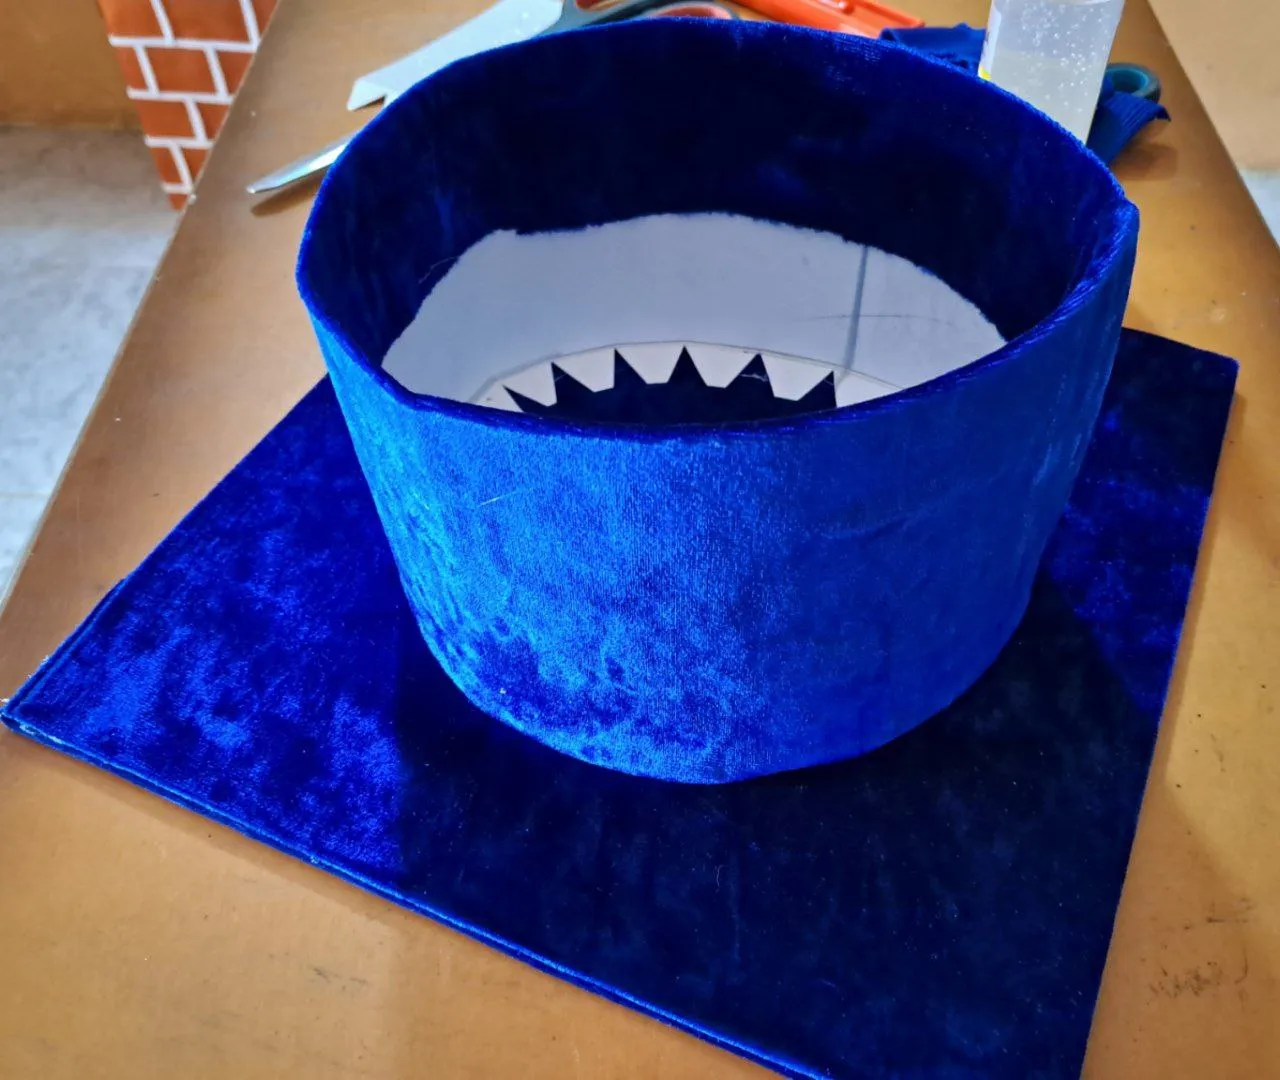
Para la otra parte del birrete use una tira con un ancho de 10cm, mas una pestaña de 1,50cm en la cual recorte pequeños triángulos en esa pestaña, en cuanto a lo largo dependerá del tamaño de la persona que lo usará. Después que tome la medida pegue en forma circular.
For the other part of the cap, use a strip 10 cm wide, plus a 1.50 cm tab on which you cut small triangles. The length will depend on the size of the person who will wear it. After taking the measurement, glue it in a circular shape.


🎓 Paso 4 / Step 4
De igual forma esta parte la forre con el mismo tipo de tela antes utilizado, dejando un pequeño borde hacia la parte de adentro del birrete, al tener lista ambas partes del birrete forrados pegue las mismas, tratando de que la forma circular estuviese lo mas centrado posible.
Similarly, line this part with the same type of fabric used previously, leaving a small edge towards the inside of the cap. Once both parts of the cap are lined, glue them together, trying to keep the circular shape as centered as possible.

 |  |
|---|
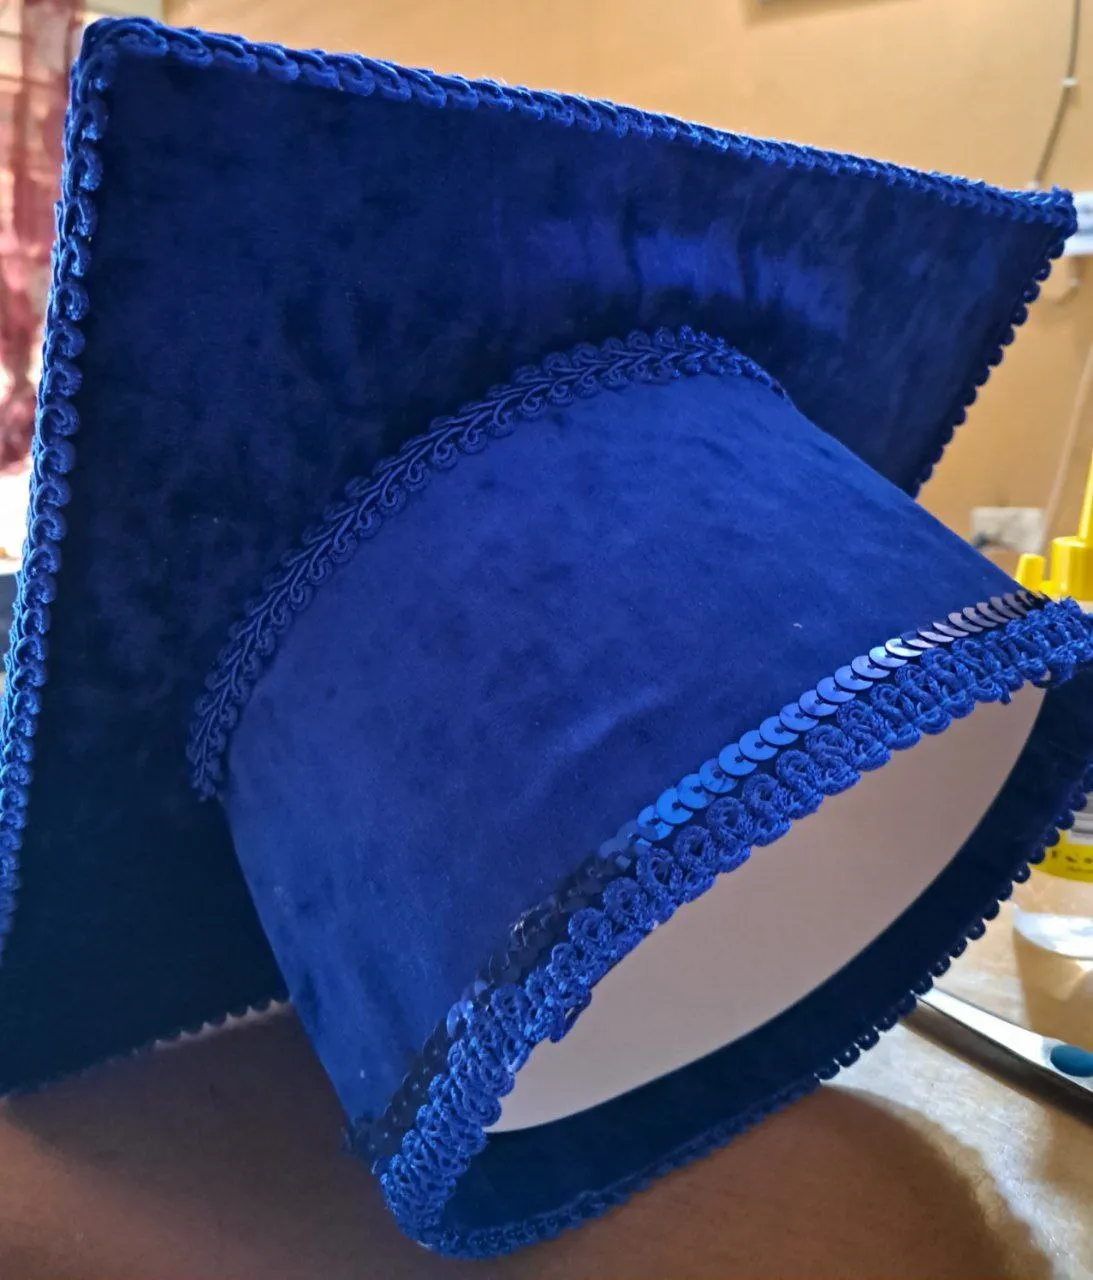
🎓 Paso 5 / Step 5
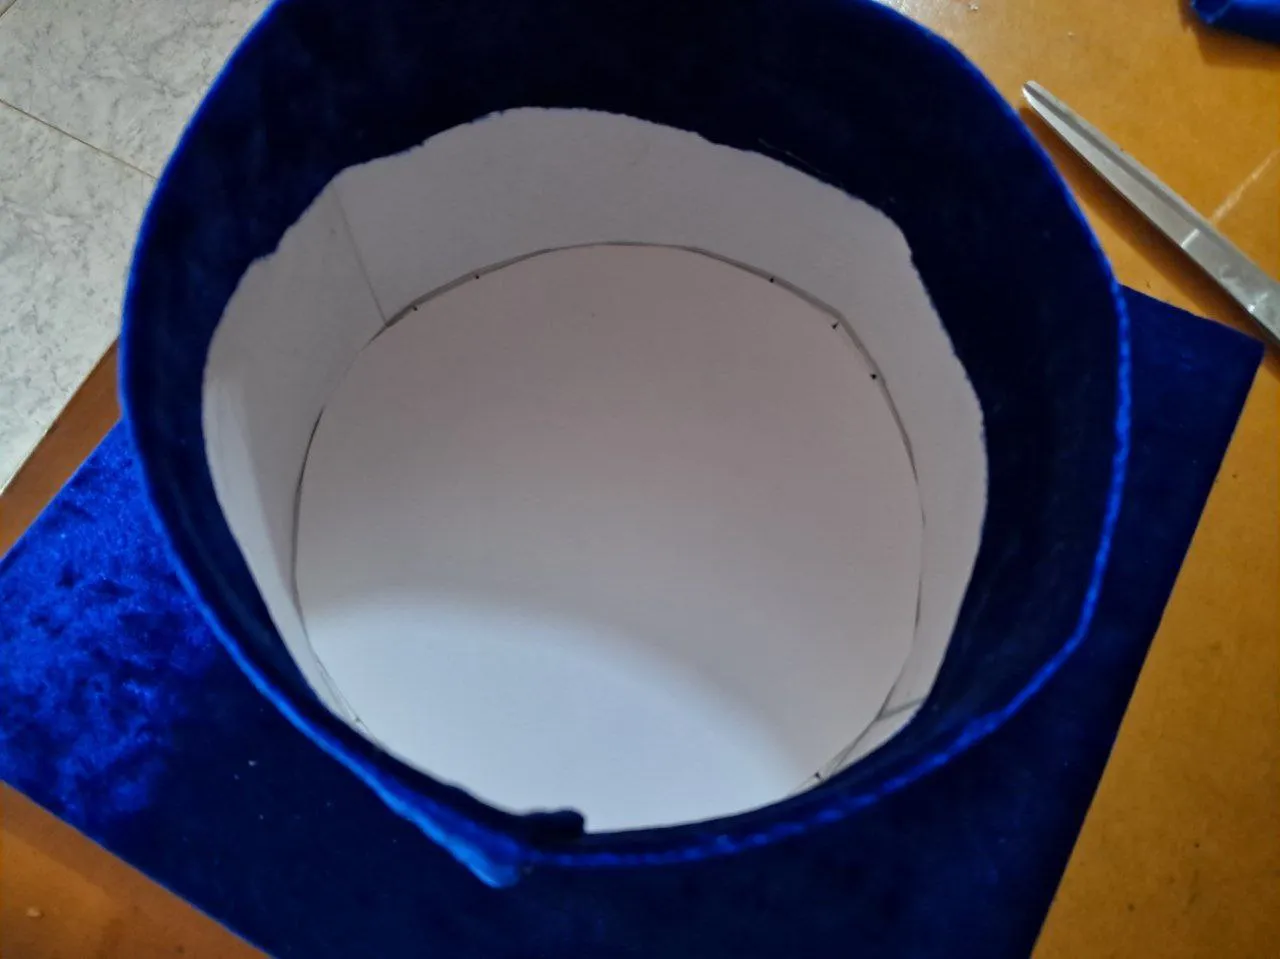
Para corregir las imperfecciones internas del birrete utilice del mismo tipo de cartulina y realice un pequeño círculo de la misma medida y pegue en la parte interna del birrete de esa forma se taparía la forma de las pestañas que estaban visibles al igual que el alrededor del círculo.
To correct the internal imperfections of the cap, use the same type of cardboard and make a small circle of the same size and glue it to the inside of the cap. This will cover the shape of the tabs that were visible, as well as the area around the circle.
 |  |
|---|
🎓 Paso 6/ Step 6
Para decorar los bordes utilice cinta millare de igual forma en color azul, con ello pude cubrir las imperfecciones que había quedado, logrando un mejor acabado, también utilice cinta de lentejuela para dar un poco de brillo en el borde.
To decorate the edges, use blue millare ribbon in the same way. This allowed me to cover any imperfections that remained, achieving a better finish. I also used sequin ribbon to add a little sparkle to the edge.

 |  |
|---|
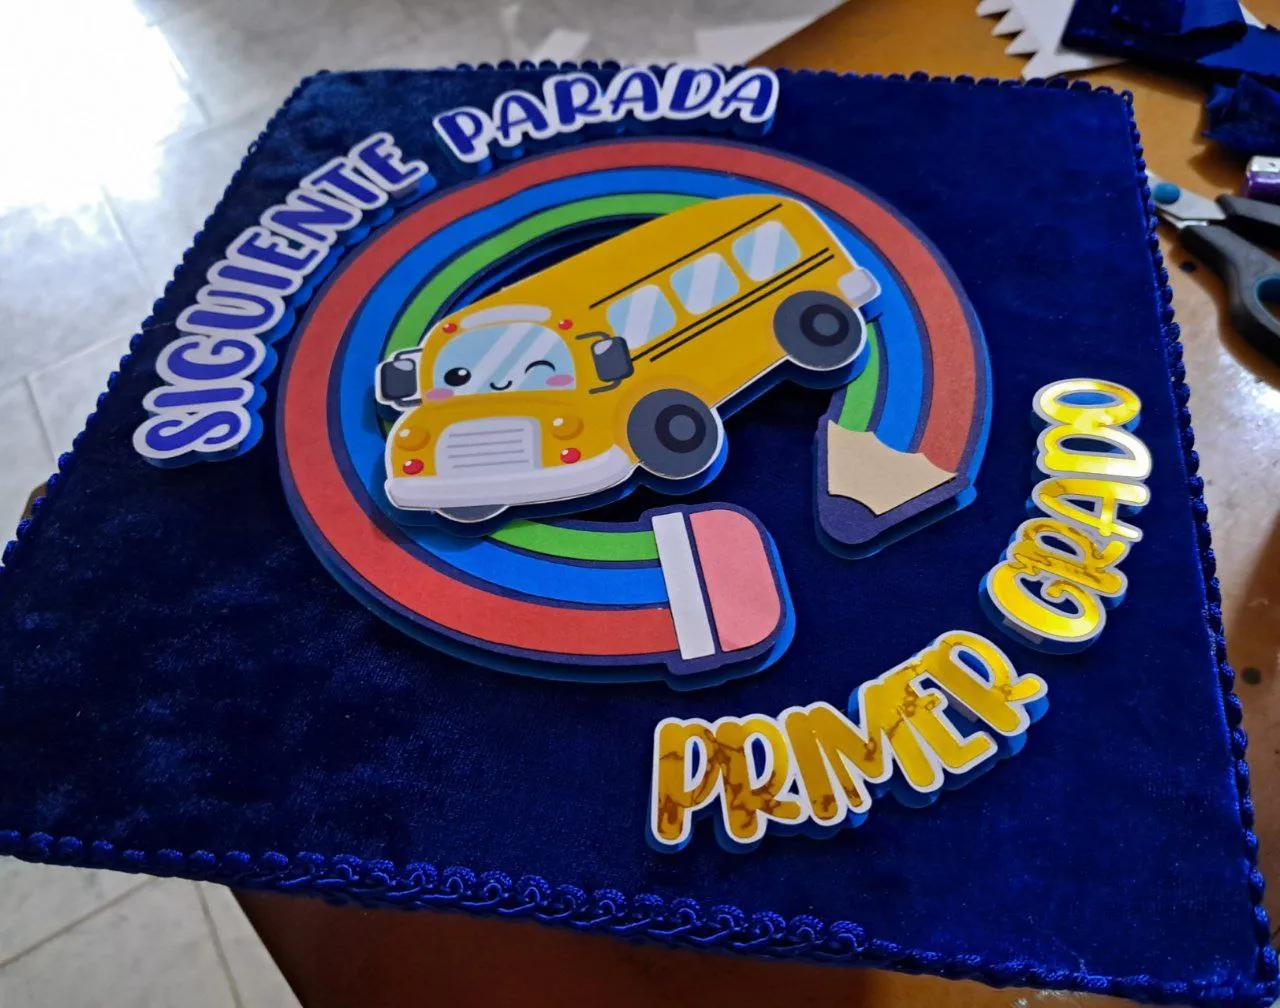
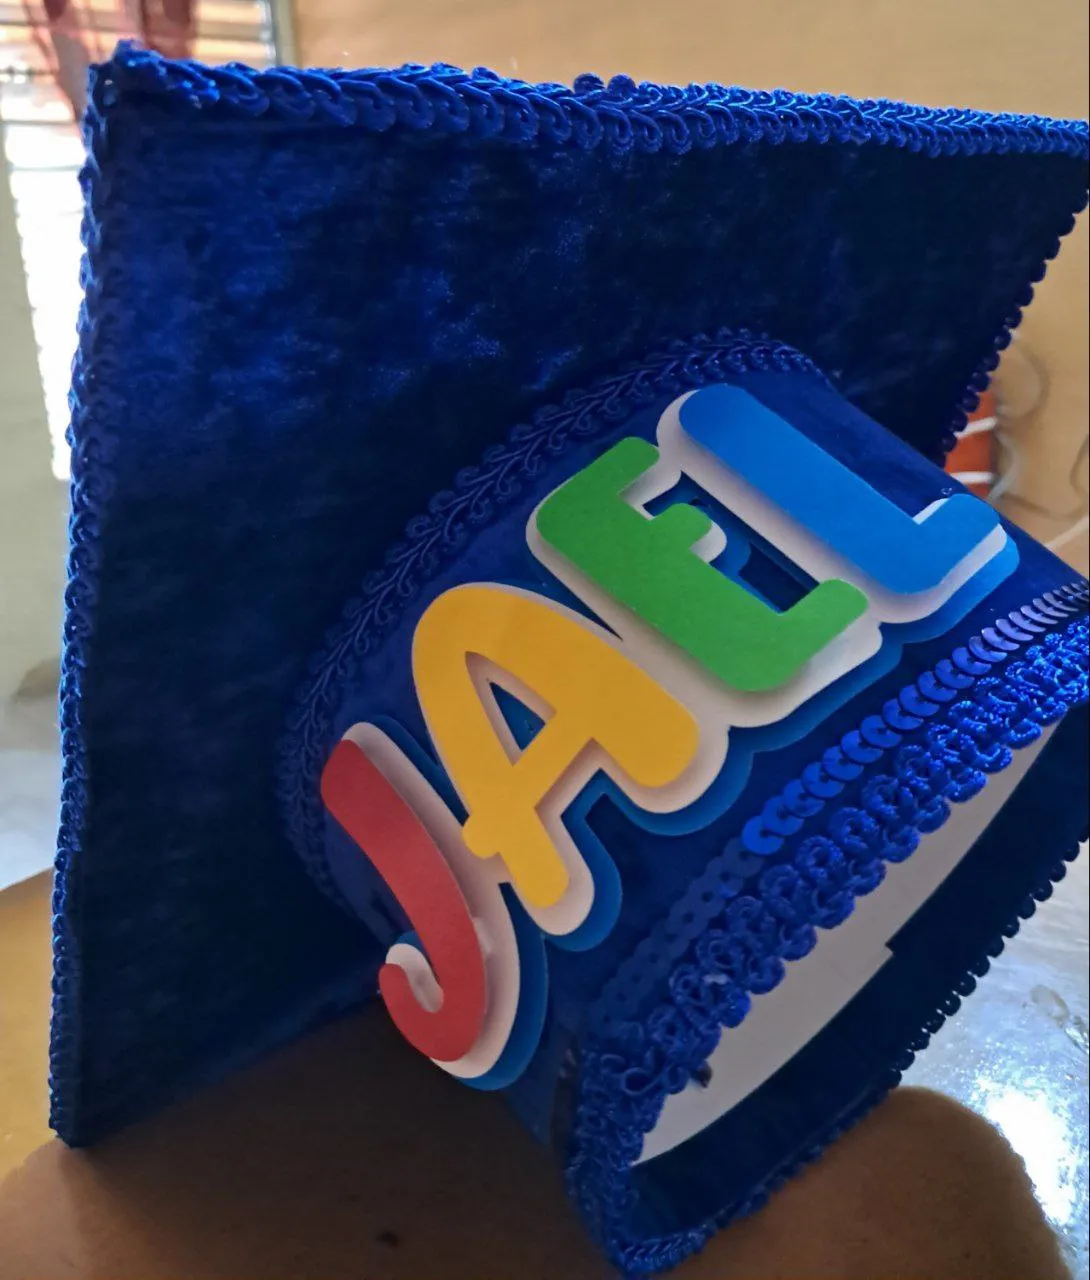
🎓 Paso 7/ Step 7
Ya lista la forma del birrete, fue el momento de personalizarlo y para ello, por mi parte mandé hacer la papelería con ello me ahorraría más tiempo además de que se viera mucho más perfecto. Para la parte de arriba ubique las frases y la figura, y para la de abajo el nombre de mi sobrino.
Once the shape of the cap was ready, it was time to personalize it. To do this, I had the stationery made, which would save me more time and make it look much more perfect. For the top part, I placed the phrases and the figure, and for the bottom part, my nephew's name.

 |  |
|---|
Creación finalizada / Creation completed⬇️
¡Y de esta forma obtuve el birrete perfecto para mi sobrino!🎓💕.
And that's how I got the perfect cap for my nephew!🎓💕.
It was easier than I thought, and we definitely saved money, since it's such a commercial thing these days and the costs are usually high. I really enjoyed the process, and my heart was filled with nostalgia as I watched and enjoyed my little baby's rapid growth💕🎓🥹.


Mil gracias por leerme una vez
Nos vemos en una próxima publicación.
Muchas bendiciones y abrazos digitales🤗
Thank you very much for reading me once
See you in an upcoming post.
Many blessings and digital hugs🤗
👩🏼💻 Edición: Canva / Edition: Canva
✨ Traducción: DeepL.com / Translation: DeepL.com