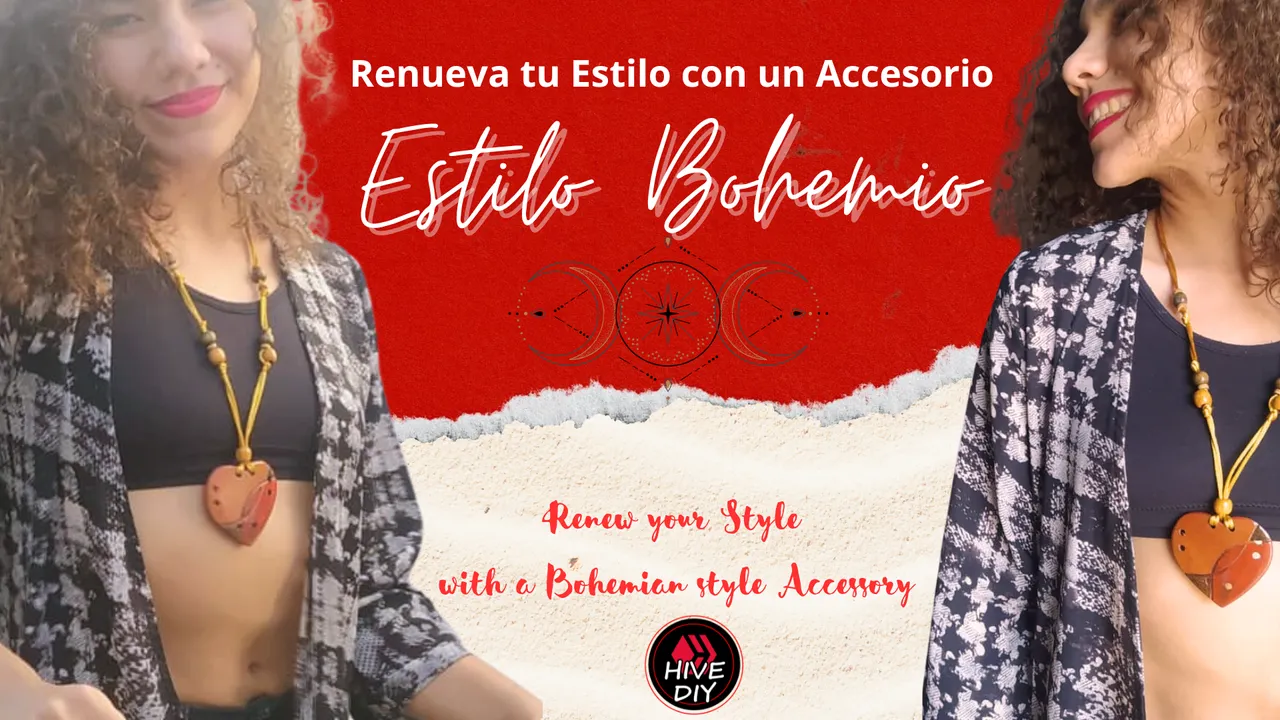
Los accesorios con estilo Boho o Bohemio, son una excelente forma de agregar personalidad y diversión a cualquier outfit. Los collares bohemios suelen ser llamativos, con diseños únicos y coloridos que pueden realzar tu estilo personal,en algo más interesante y original.
Hoy retomo los Diy de Accesorios, que también son uno de mis proyectos preferidos, ya que tener una pieza para mí o para mis hijas, realizado por mis propias manos le aporta un sentimiento adicional, aunque podemos ver bellezas a la venta, el tener algo manufacturados por nosotras mismas nos da un sentido de pertenencia muy especial y siempre es tema de conversación.
Si te interesa empezar en el mundo de la creación de accesorios, este estilo es ideal ya que pueden ser piezas muy sencillas de elaborar, pero que por sus colores y materiales divertidos y llamativos no necesitas de grandes técnicas o herramientas.
Boho or Bohemian style accessories are an excellent way to add personality and fun to any outfit. Bohemian necklaces are usually eye-catching, with unique and colorful designs that can enhance your personal style into something more interesting and original.
Today I return to the DIY Accessories, which are also one of my favorite projects, since having a piece for myself or my daughters, made by my own hands gives it an additional feeling, although we can see beauties for sale, having something manufactured by ourselves gives us a very special sense of belonging and is always a topic of conversation.
If you are interested in starting in the world of creating accessories, this style is ideal since they can be very simple pieces to make, but due to their fun and eye-catching colors and materials, you do not need great techniques or tools.

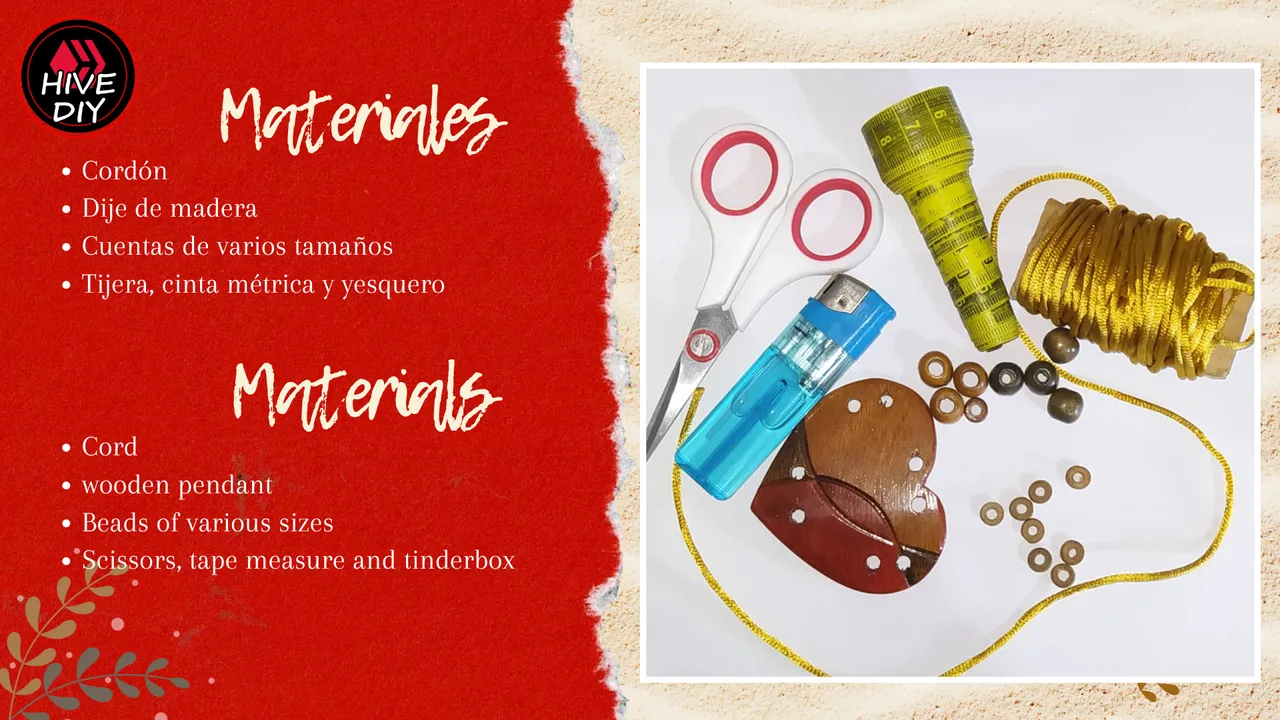
Los materiales son muy sencillos y accesibles, estos que estoy utilizando en el Diy los adquirí hace varios años en una tienda de bisutería y tenían buen precio ya que son elaborados de madera, en diferentes formas y tonalidades. escogí algunos sin fijarme mucho, solo procurando la paleta de colores tostados que quería manejar en este diseño.
The materials are very simple and accessible, the ones I am using in DIY were purchased several years ago in a jewelry store and they had a good price since they are made of wood, in different shapes and shades. I chose some without paying much attention, just looking for the palette of tan colors that I wanted to use in this design.

Como siempre me gusta manejar en mis publicaciones mucho contenido fotográfico, ya que pienso que una imagen puede explicar mejor que las palabras. Así que comienzo este Tutorial o Paso a Paso, que a pesar de tener muchas fotos tomadas durante el proceso, realmente es demasiado sencillo, lo realicé con mucha creatividad, y deseo que les guste.
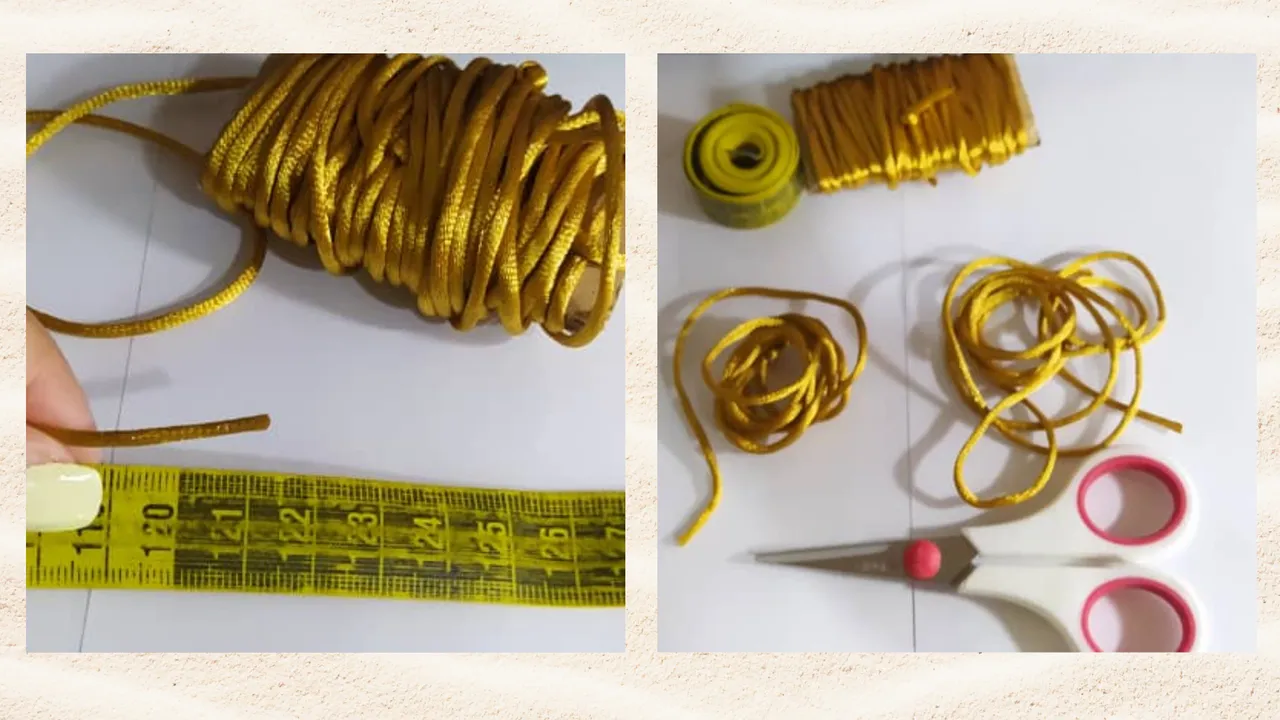
Con el cordón o en mi caso que usé el llamado rabo de ratón, corté 2 tiras de 121 cms cada una. Vaya, tengo que comprarme una cinta métrica nueva, esta ya está bastante borroso, aunque si logré ver los números.
As always, I like to handle a lot of photographic content in my publications, since I think that an image can explain better than words. So I start this Tutorial or Step by Step, which despite having many photos taken during the process, is really too simple, I did it with a lot of creativity, and I hope you like it.
With the cord or in my case I used the so-called mouse tail, I cut 2 strips of 121 cm each. Wow, I have to buy a new tape measure, this one is already pretty blurry, although I did manage to see the numbers.
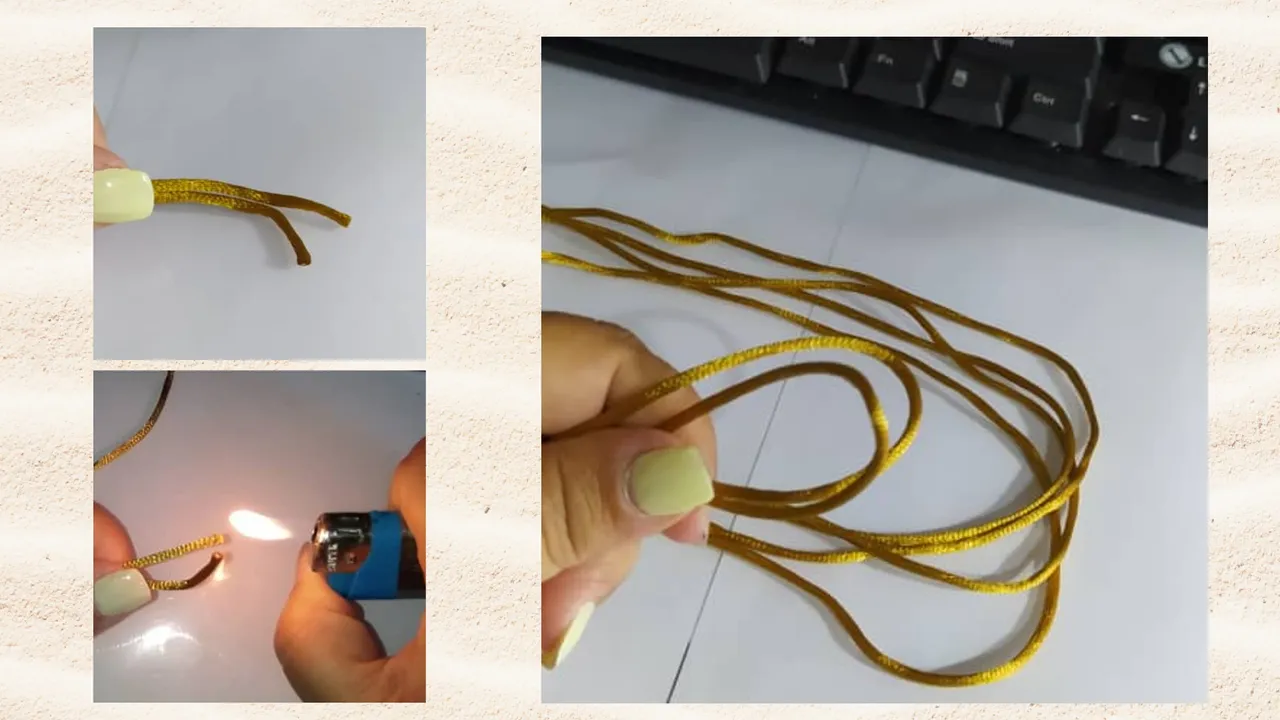
Con un yesquero quemo las puntas, apenas, solo es para garantizar que no se van a abrir ni durante el proceso de elaboración del collar, ni posteriormente con el uso. Ahora doblo por la mitad ambas piezas, ya que voy a comenzar a trabajar considerando esta medida.
With a tinder box I burn the ends, barely, it is only to guarantee that they will not open either during the process of making the necklace, or later with use. Now I fold both pieces in half, since I am going to start working considering this measurement.
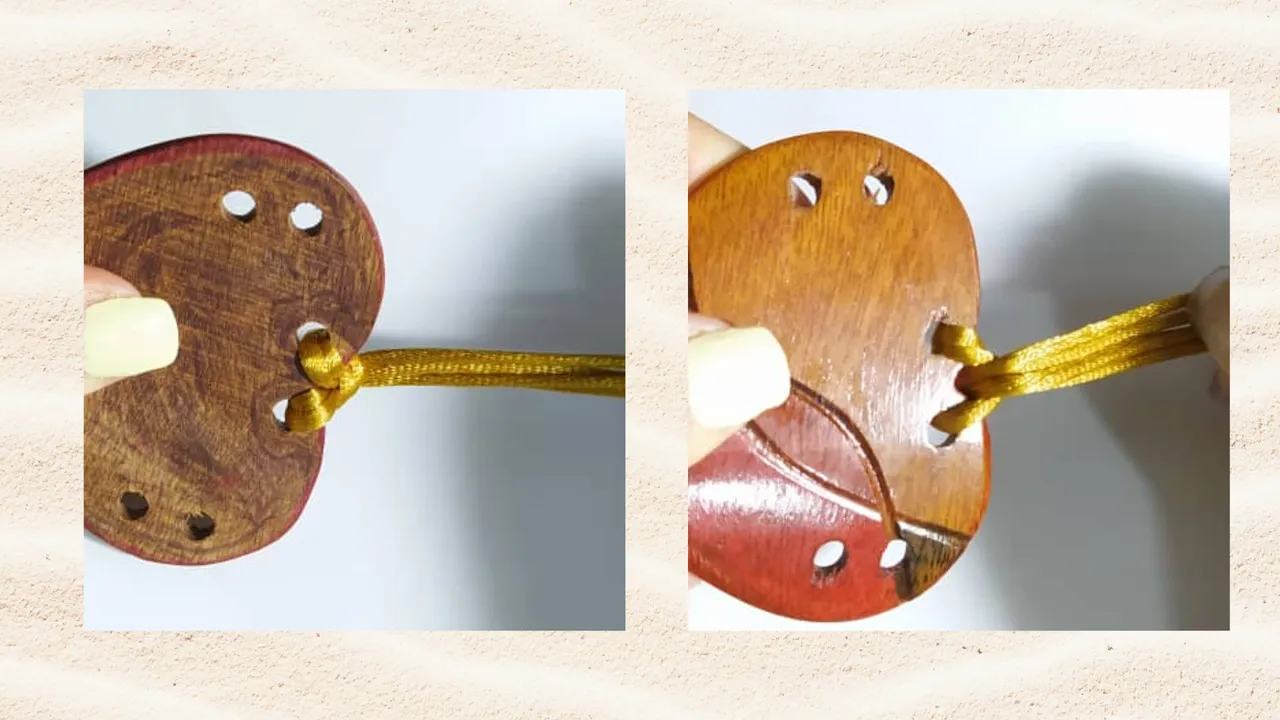
De acuerdo a este dije de madera que estoy usando, tengo dos perforaciones que voy a usar para conectar el cordón a éste. Introduzco dos puntas por cada perforación, halo y antes de llegar a la mitad de los cordones, regreso las puntas y las introduzco por ese doblez que se forma en la mitad, tal como se ve en la imagen.
De esta forma ya tengo el dije de madera en el cordón.
According to this wooden charm I'm using, I have two holes that I'm going to use to connect the cord to it. I insert two tips through each perforation, pull it and before reaching the middle of the laces, I return the tips and insert them through that fold that forms in the middle, as seen in the image.
This way I already have the wooden pendant on the cord.

Así luce por la parte de atrás y por el frente, es muy sencillo pero efectivo para que no se salga en ningún momento y sin necesidad de utilizar aros o argollas para conectar, es la manera más sencilla, expedita y segura.
This is how it looks from the back and the front, it is very simple but effective so that it does not come off at any time and without the need to use hoops or rings to connect, it is the simplest, fastest and safest way.
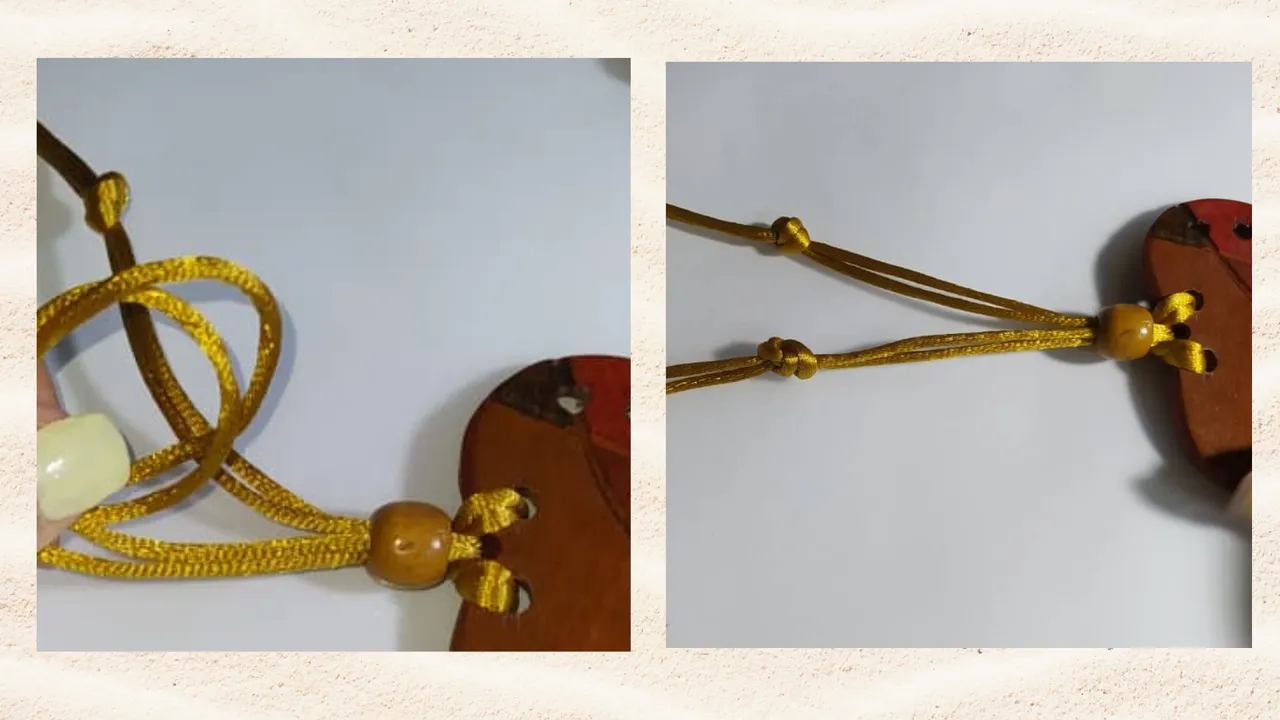
Decidí introducir una cuenta de madera en los cordones, para tapar la unión, y al ser casi del mismo color luce muy bien en el diseño.
I decided to insert a wooden bead into the cords, to cover the joint, and since it is almost the same color, it looks great in the design.

Ahora divido 2 tiras hacia la izquierda y 2 tiras hacia la derecha, y a los 6cms hago un nudo sencillo en cada par de tiras.
Now divide 2 strips to the left and 2 strips to the right, and at 6cm I tie a simple knot in each pair of strips.
Así lucen las dos tiras con los nudos a las 6cms. Como puedes ver el cordón o rabo de ratón que utilicé es de color dorado y luce muy bien con los accesorios de madera, que tienen los mismos tonos amarillos y rojos que hacen igualmente un contraste muy Bohemio
This is how the two strips look with the knots at 6cm. As you can see, the cord or mouse tail that I used is gold and looks great with the wooden accessories, which have the same yellow and red tones that also make a very Bohemian contrast.
Intercalé unas cuentas de madera redondas y una plana en el medio para darle interés con los diferentes tonos y formas. Hice un nudo para asegurarlas y que no se movieran de este punto, esto en ambos lados del cordón.
I interspersed some round wooden beads and a flat one in the middle to give it interest with the different shades and shapes. I tied a knot to secure them so they wouldn't move from this point, this on both sides of the cord.
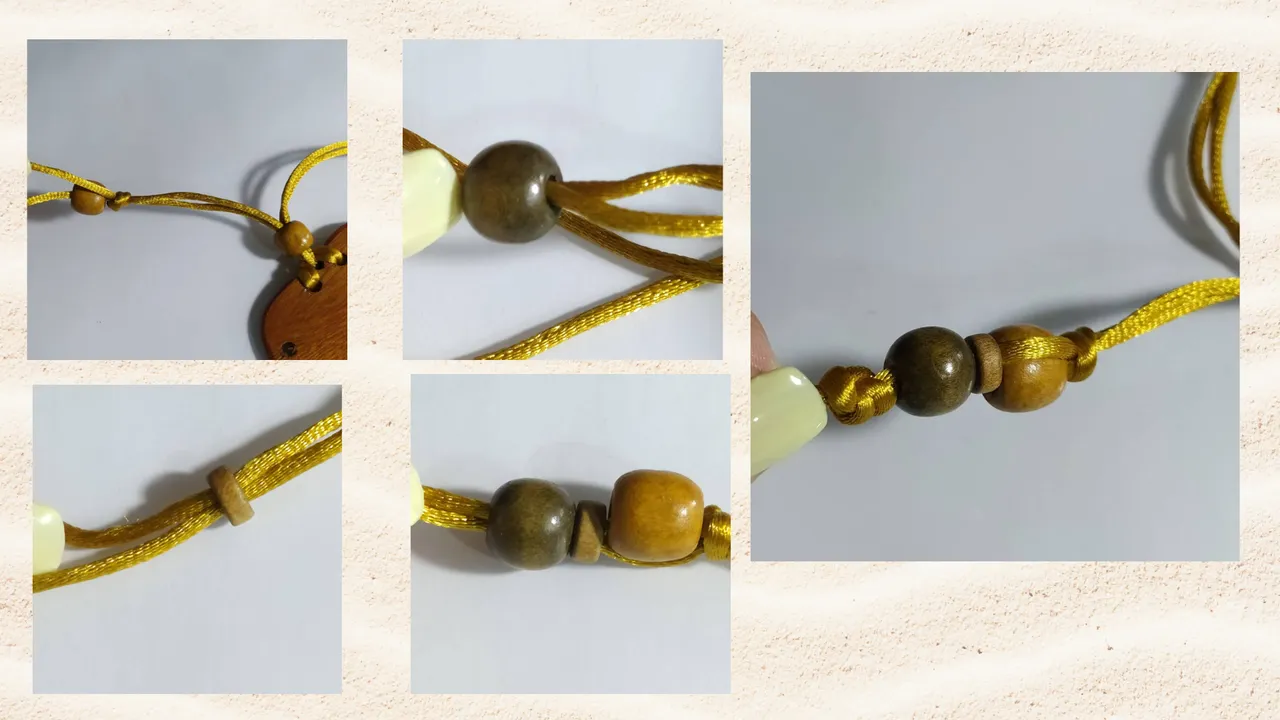
Repetí todo este diseño a los 4cms del nudo donde terminé anteriormente, igualmente combinando los colores de las piezas y asegurando con un nudo. Y ya con esto queda terminada la parte de la decoración.
I repeated this entire design 4cm from the knot where I finished previously, also combining the colors of the pieces and securing with a knot. And with this the decoration part is finished.
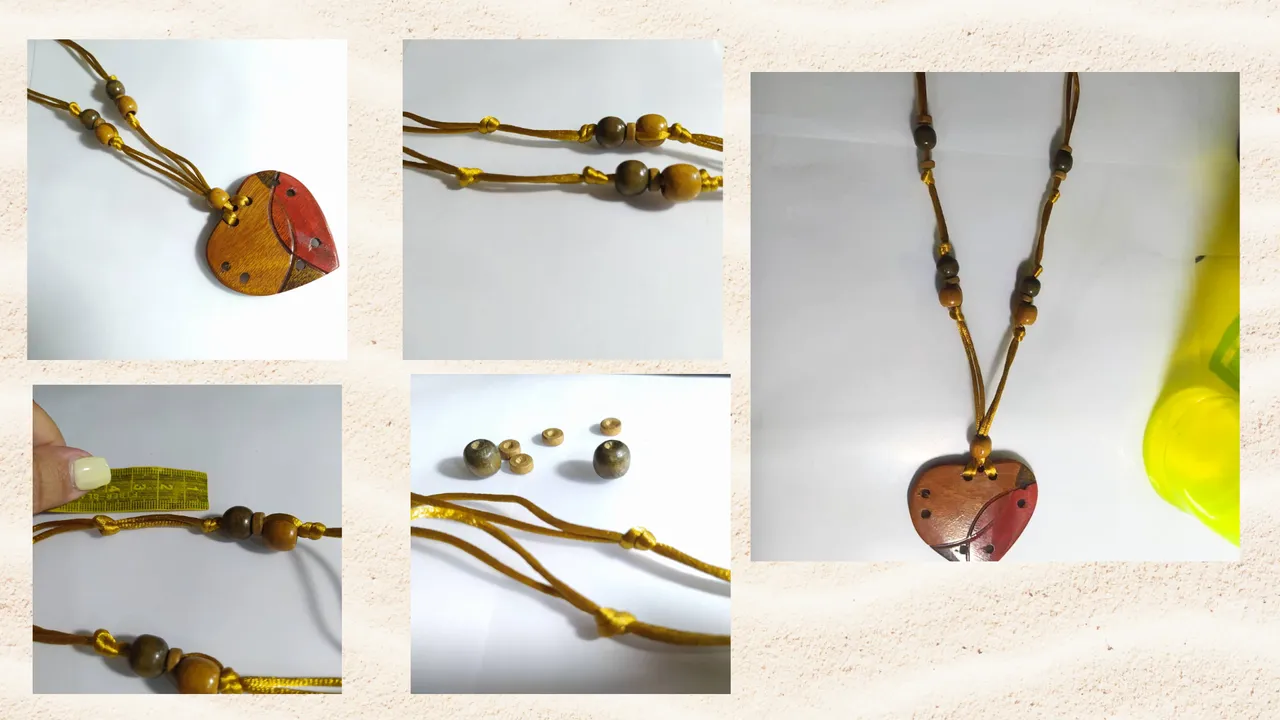
Para terminar la pieza de la forma más sencilla y expedita, aprovechando que el cordón de rabo de ratón en muy flexible y manejable, solo realicé un nudo con las 4 puntas, es un nudo muy seguro y no molesta para nada.
To finish the piece in the simplest and most expeditious way, taking advantage of the fact that the mouse tail cord is very flexible and manageable, I only made a knot with the 4 ends, it is a very secure knot and does not bother at all.

En futuros proyectos iré variando la dificultad y los materiales, pero este diseño me gustó mucho el resultado final, los colores y lo rápido que pude realizarlo.
In future projects I will vary the difficulty and materials, but with this design I really liked the final result, the colors and how quickly I was able to make it.
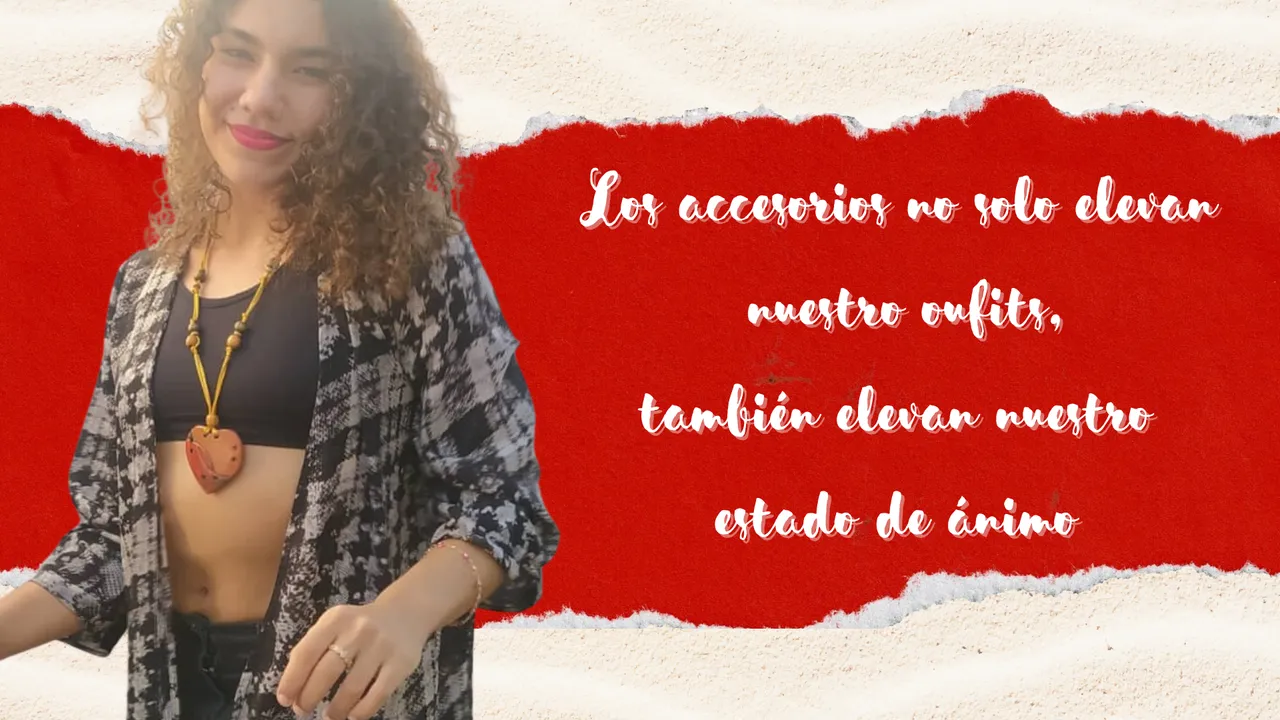
En realidad el estilo Bohemio es muy relajado y divertido, y además es tan fácil de realizar este diseño que les presenté hoy, que pueden realizar diferentes diseños y colores para tener opciones y variedad para poder combinar nuestros outfits.
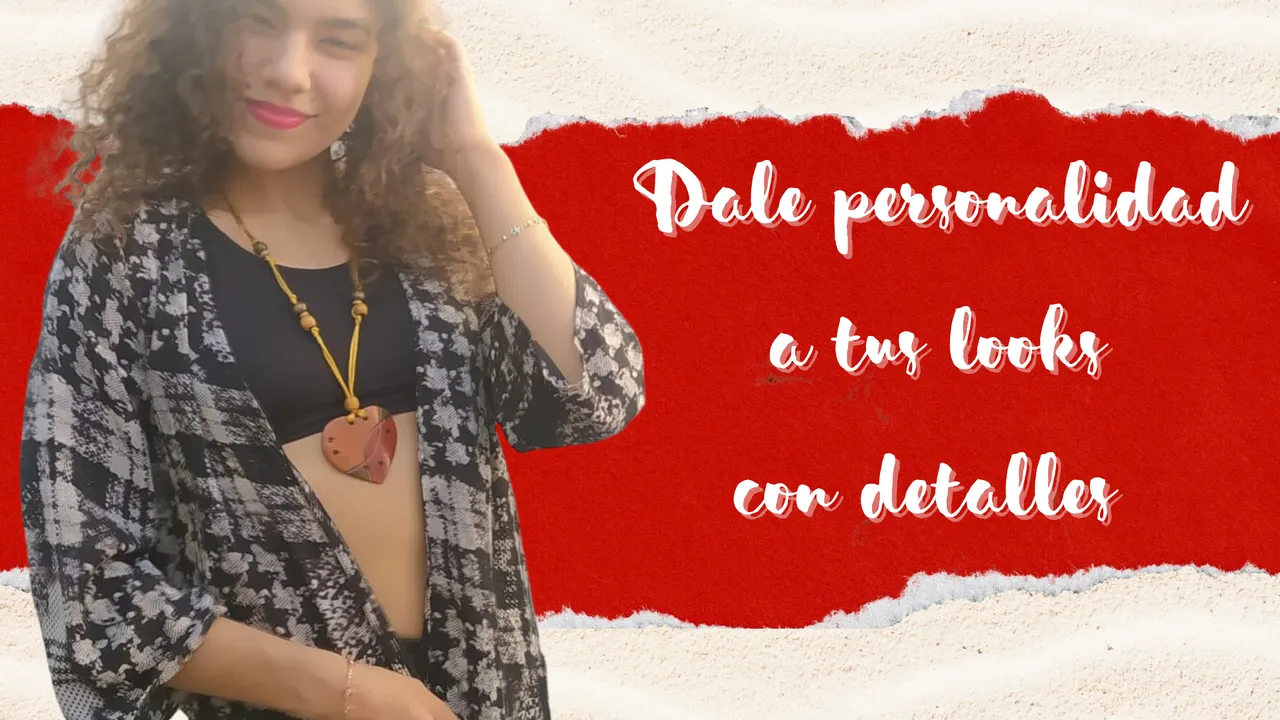
Este diseño como siempre tiene dueña y solo le pedí que fuese mi modelo en esta publicación, es mi hija Viviana que siempre está pendiente de adueñarse de mis creaciones, y yo feliz siempre también de complacerla.
In reality, the Bohemian style is very relaxed and fun, and it is also so easy to make this design that I presented to you today, that you can make different designs and colors to have options and variety to combine our outfits.
This design, as always, has an owner and I only asked her to be my model in this publication, she is my daughter Viviana who is always looking forward to taking over my creations, and I am always happy to please her as well.
Deseo que les haya gustado este sencillo Diy, y los invito cordialmente a mi próxima publicación en la maravillosa Comunidad de Hive Diy.
I hope you liked this easy Diy, and I cordially invite you to my next post in the wonderful Hive Diy Community.
Las fotos las tomé con mi teléfono Redmi Note 8
Apps que utilicé:
Canva Pro para la Portada, Banner y Collages
Utilicé el Traductor Deepl
Mi redes sociales:
Discord: YennysYaneth#0189
Twitter: @yennysferm
Instagram: @yennysyaneth
I took the photos with my Redmi Note 8 phone
Apps I used:
Canva for the Cover
Inshot for the Collage
I used Deepl Translate
My social networks:
Discord: YennysYaneth#0189
Twitter: @yennysferm
Instagram: @yennysyaneth