Hello dear friends of Holozing, I hope you are all doing well. Today is Friday, at least here in the West. I want to share with you a slightly different fan art. This time it's not a drawing or a painting, but a small sculpture. I made a piece that symbolizes our beloved Cinela. I used various materials to make it, the main ones being computer parts. With this work, I want to showcase my skills in sculpture and also in recycling, showing how we can give some things we no longer use a second chance. I tried to be as faithful to the design as possible, although I also based it on nature photos, especially because I wanted to make it with its wings spread. Here I show you how it was step by step. I hope you like it.
Hola queridos amigos de Holozing, espero que todos se encuentren muy bien, hoy es día viernes, al menos aquí en Occidente, quiero compartir con ustedes un fan art un poco diferente. en esta oportunidad no se trata de un dibujo y tampoco de una pintura, sino que se trata de una pequeña escultura, he realizado una pieza que simboliza a nuestra querida Cinela, he utilizado diversos materiales para hacerla, siendo el principal piezas de computadoras. Con este trabajo quiero mostrar mis habilidades en cuanto a la escultura y también del reciclaje, de como de algunas cosas que ya no utilizamos le podemos dar una segunda oportunidad. Traté de ser lo más fiel al diseño, aunque me basé también en fotos de la naturaleza, especialmente porque quería hacerla con sus alas desplegadas, aquí les muestro como fue el paso a paso, espero que les guste.

 |  |  |
|---|---|---|
 |  | 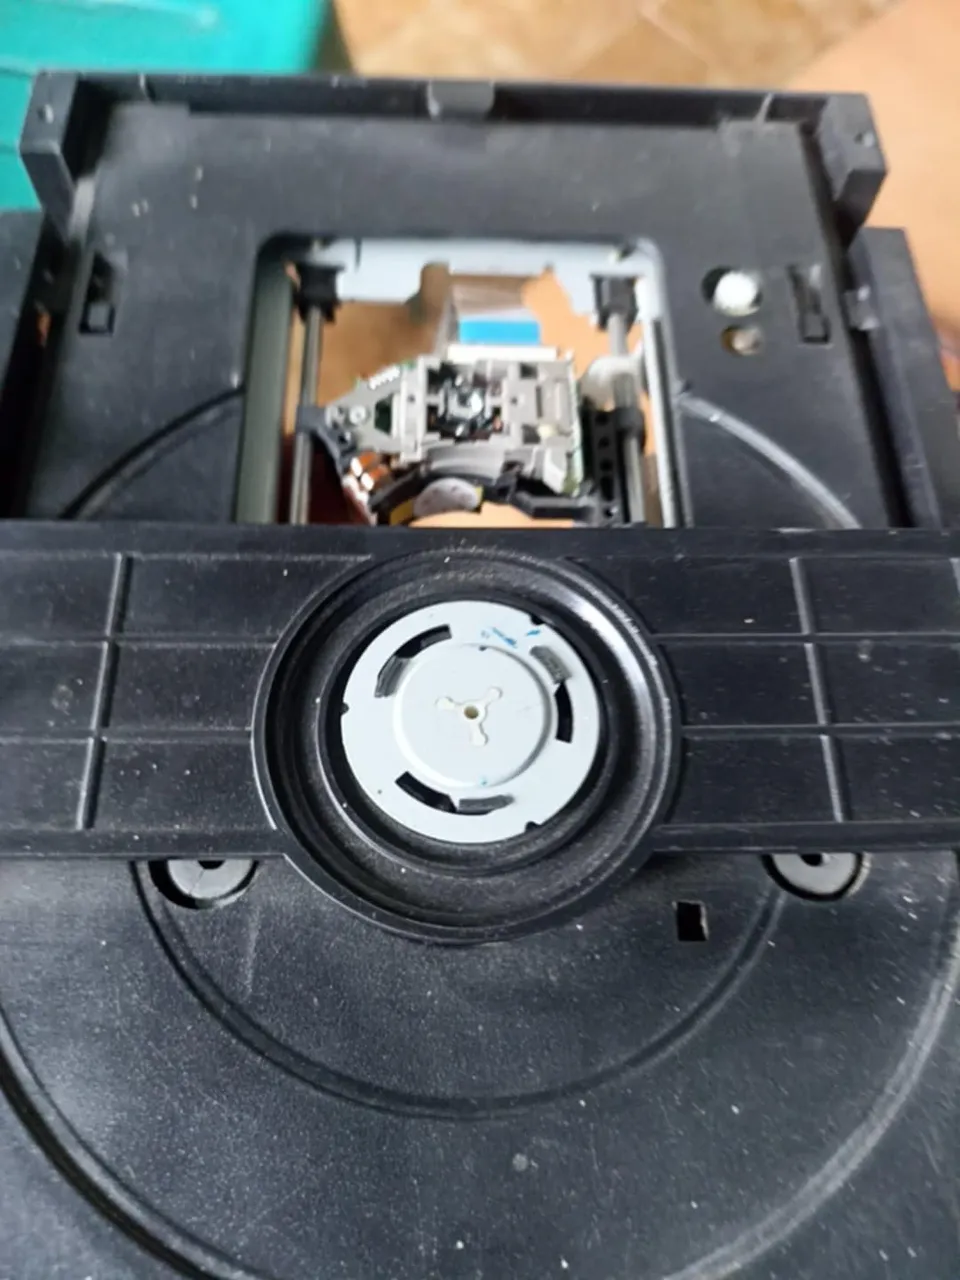 |
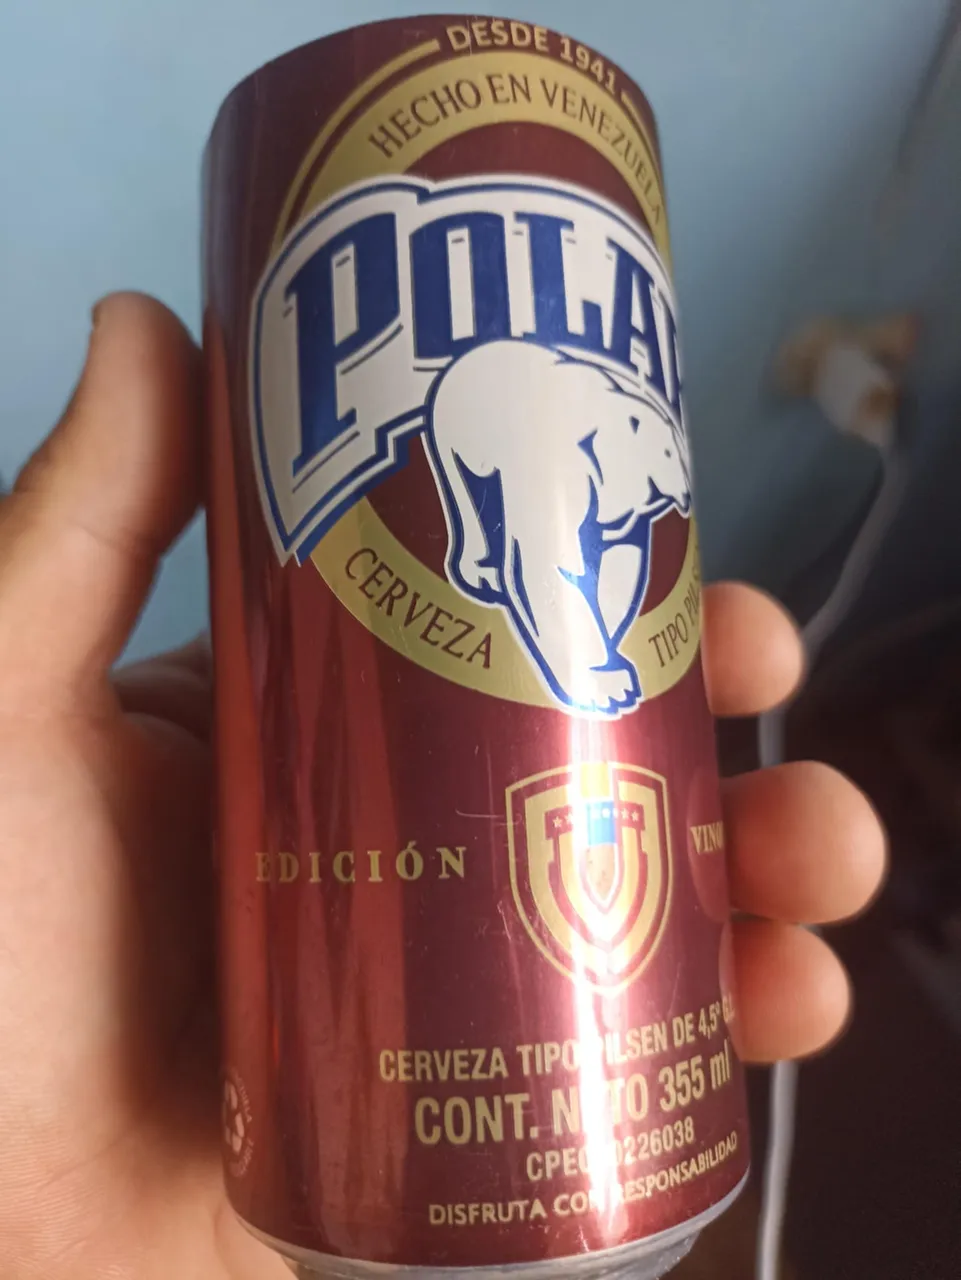
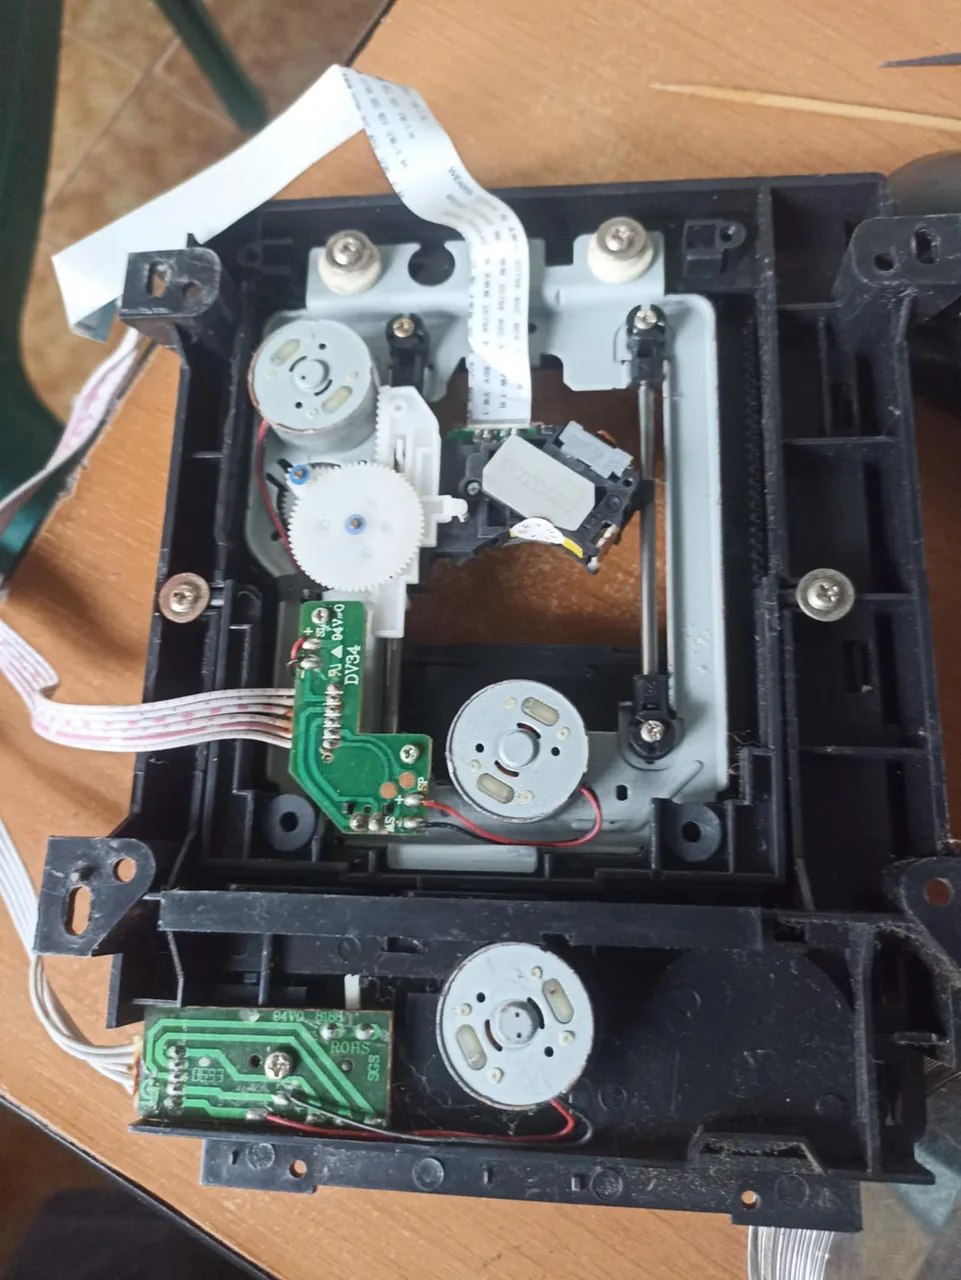
For this small sculpture, I used various materials, mostly computer electronics. I also incorporated an aluminum can to make the legs and the shell for the wings. I used an old keyboard, especially the clear plastic plate inside, and an old CD player. The rest of the materials were glue, screws, and tools like pliers, scissors, and screwdrivers.
Para esta pequeña escultura utilicé diversos materiales, en su mayoría piezas electrónicas de computación, también incorporé una lata de aluminio, para hacer las patitas y el caparazón para las alas. Utilicé un teclado viejo, especialmente la placa de plástico transparente que viene por dentro y un viejo lector de cds. El resto de materiales fue pegamento, tornillos y herramientas como pinzas, tijeras y destornilladores.
 |  | |
|---|---|---|
 | 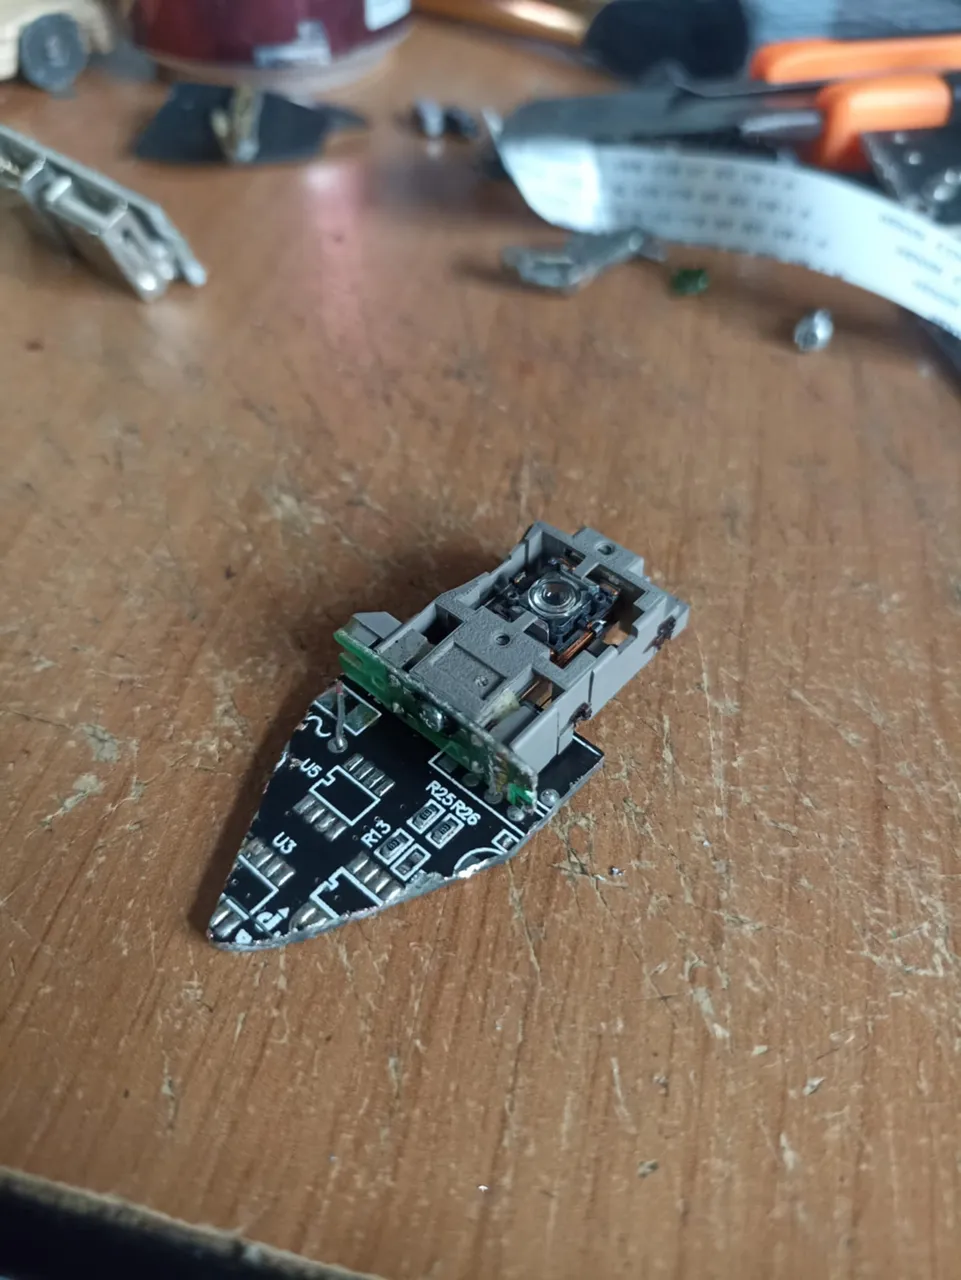 |
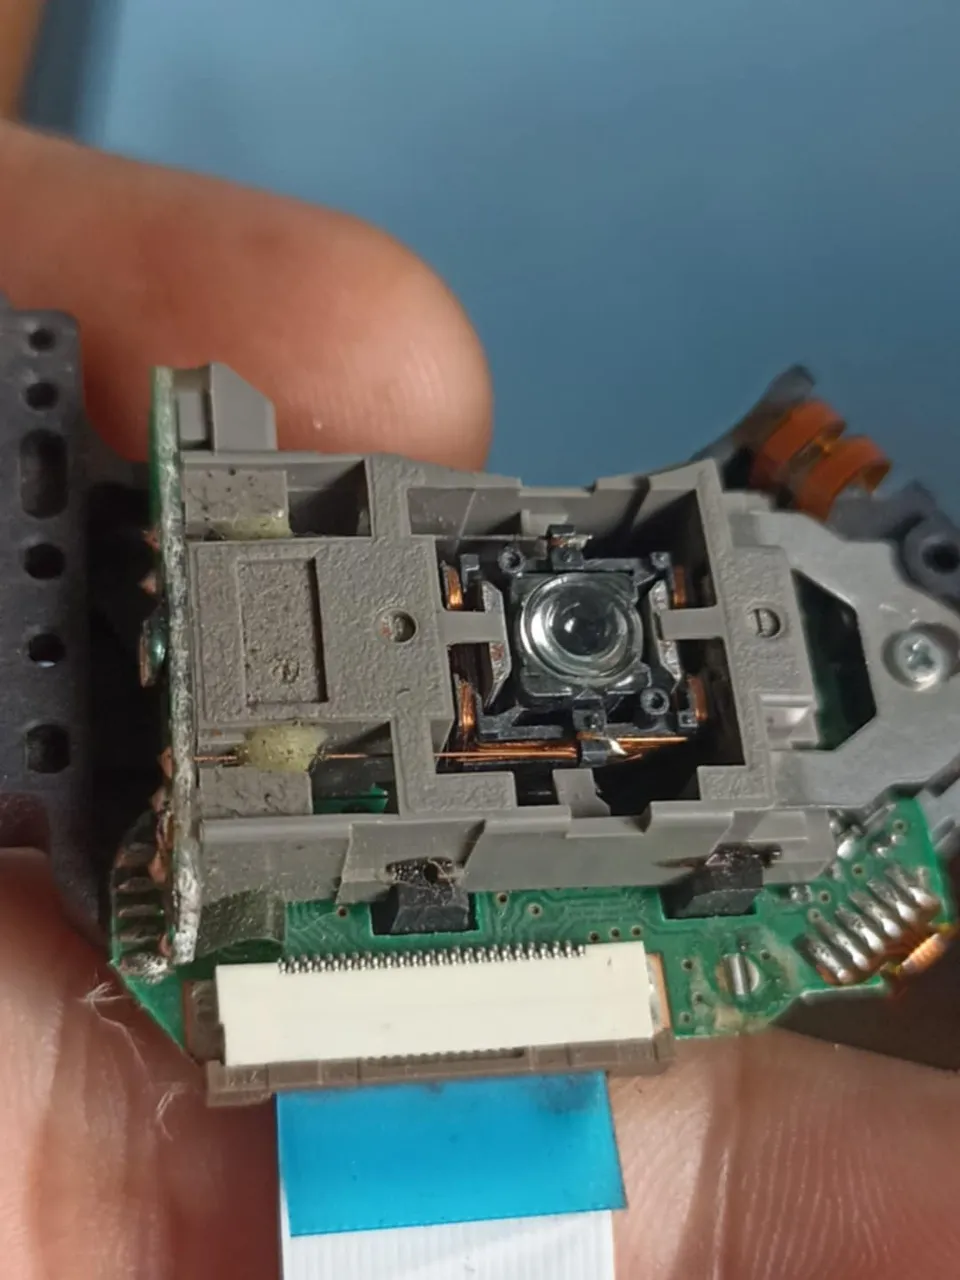
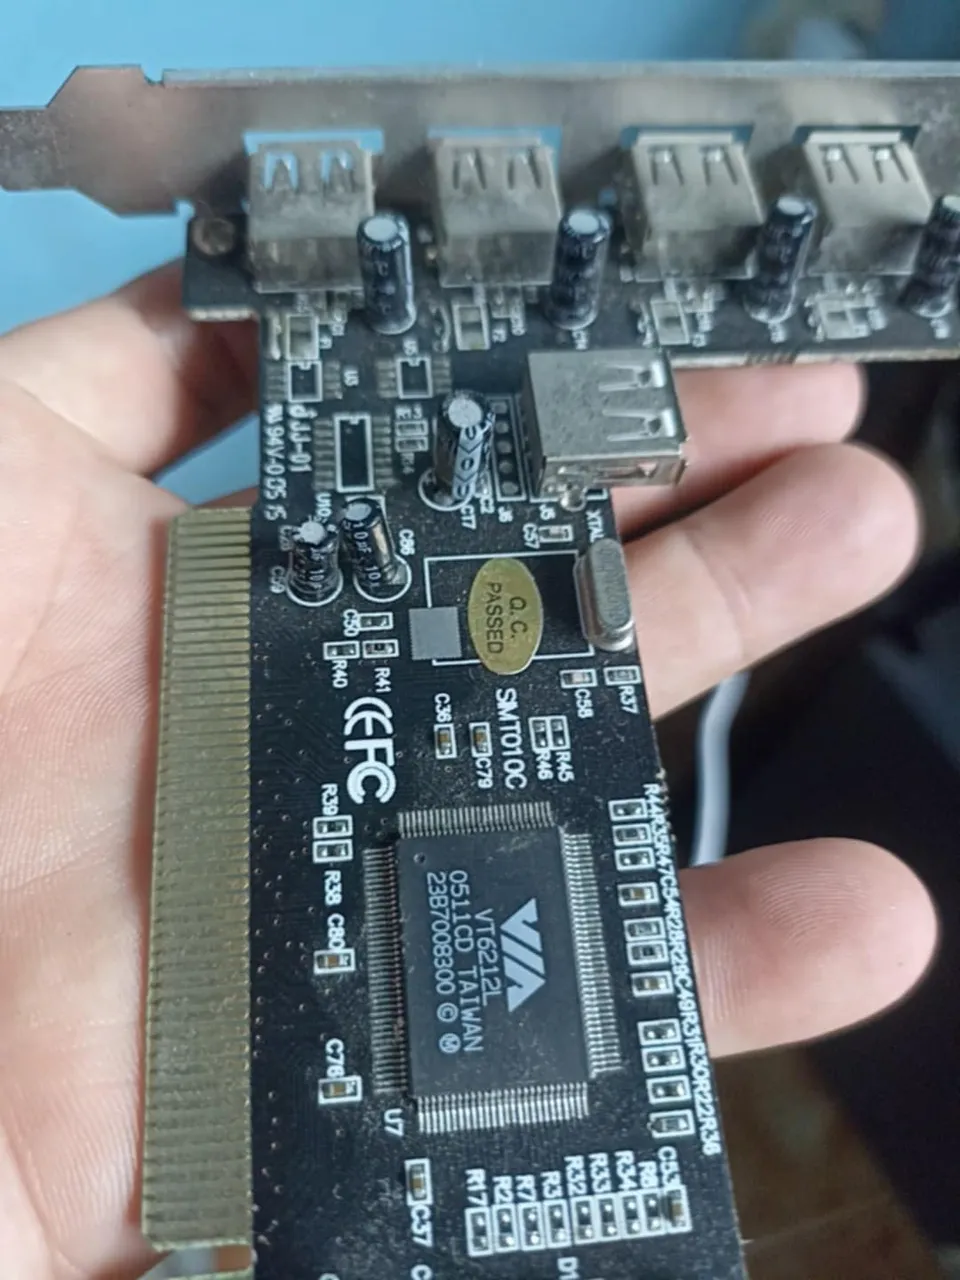
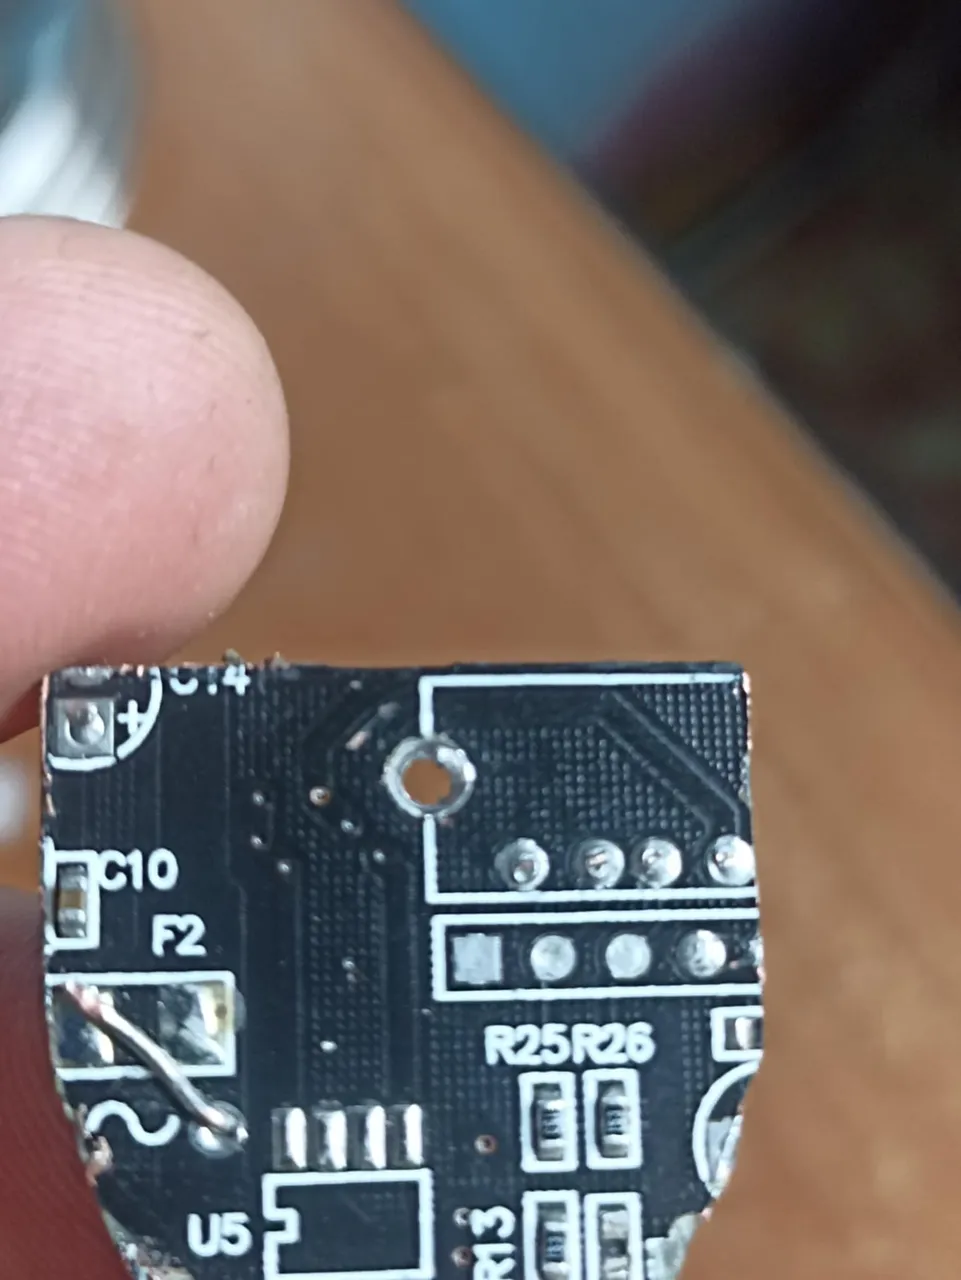
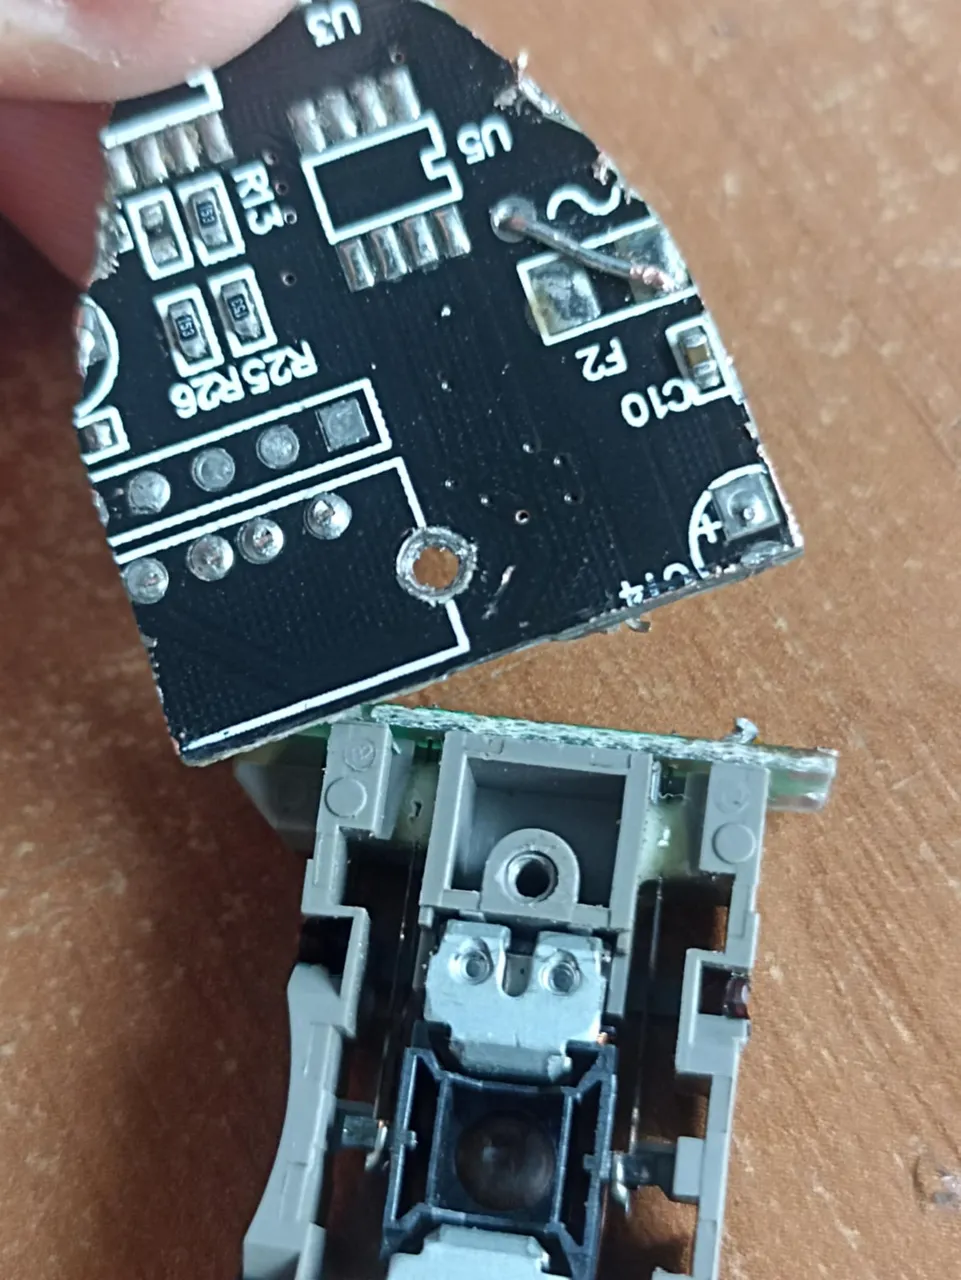
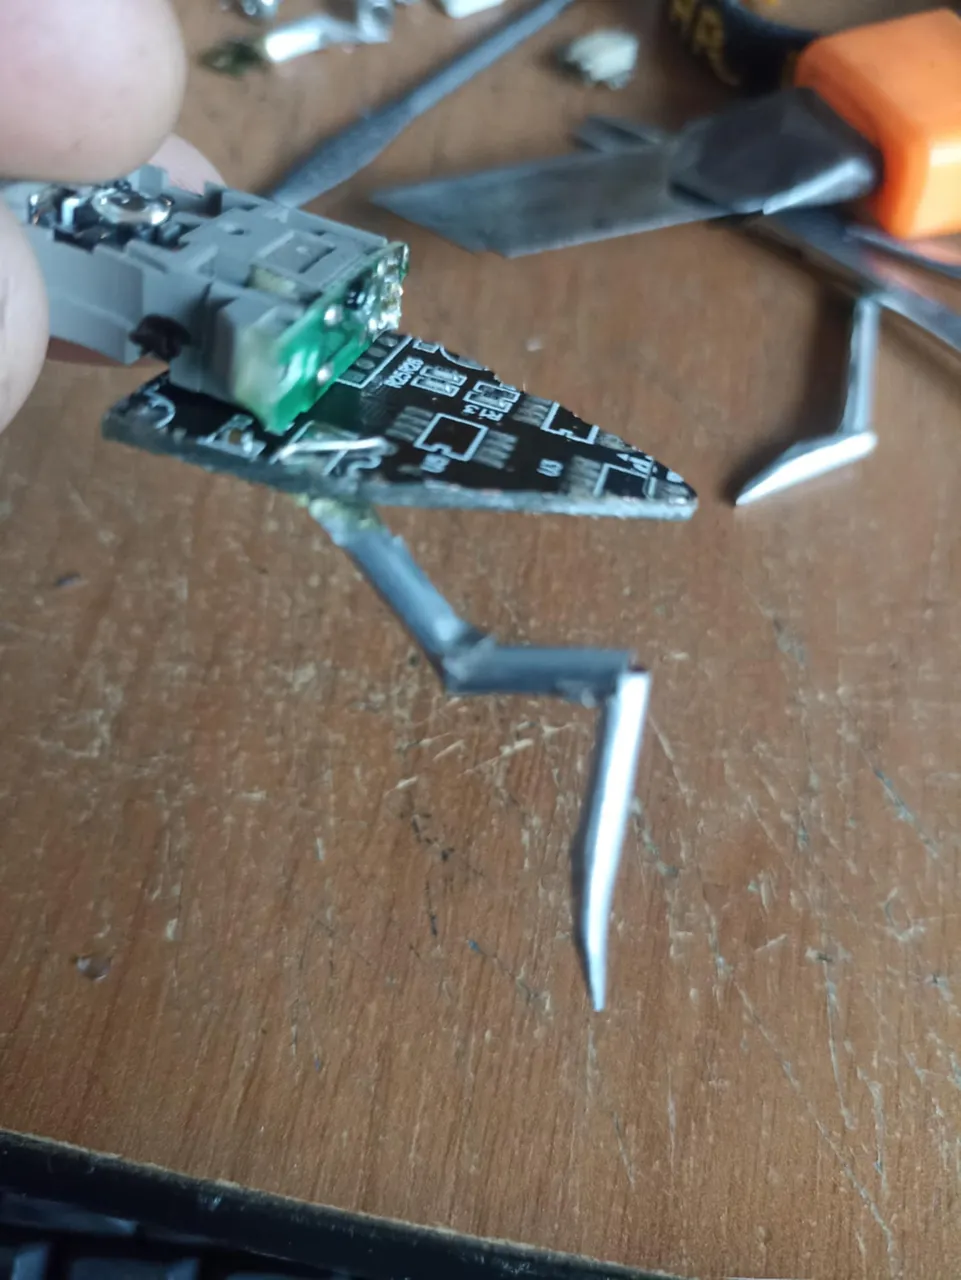
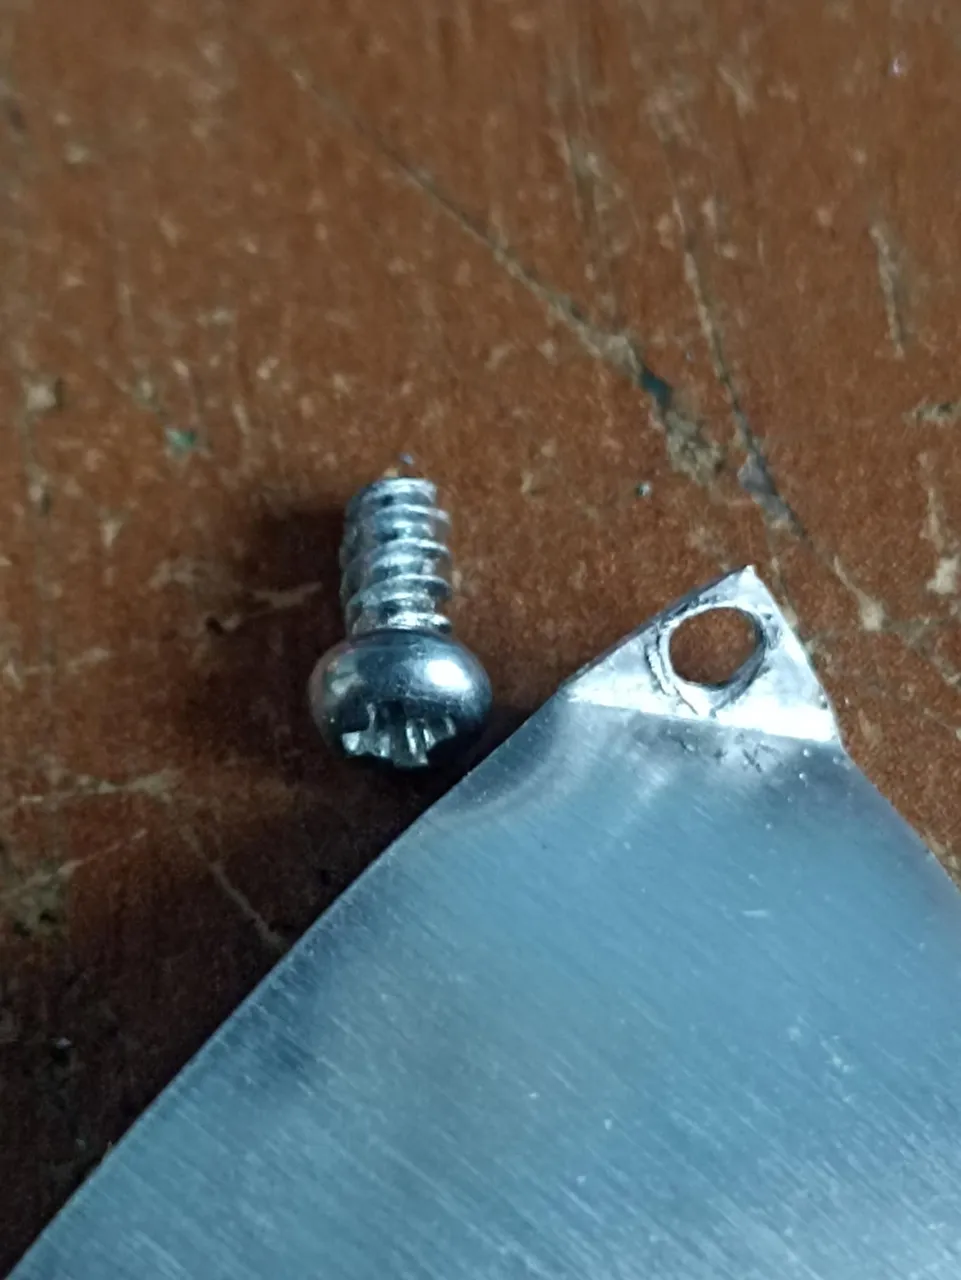
First, I took the board from an old Wi-Fi card and cut out a pointed piece to make the body. I drilled a small hole at one end to fit a small screw. The other piece I used was the CD player, from which I cut out the smaller piece with a small circular glass. Then I joined the two parts with a screw through the hole I mentioned earlier.
En primer lugar tomé la placa de una vieja tarjeta de wi-fi y saqué una pieza con forma puntiaguda para hacer el cuerpo, en uno de sus extremos hice un pequeño agujero para poner un pequeño tornillo. La otra pieza que utilicé fue el lector de CD, el cual saqué la pieza más pequeña que tiene un pequeño vidrio circular, luego uñí ambas partes con un tornillo, por el agujero que mencioné antes.
 |  |  |
|---|---|---|
 |  | 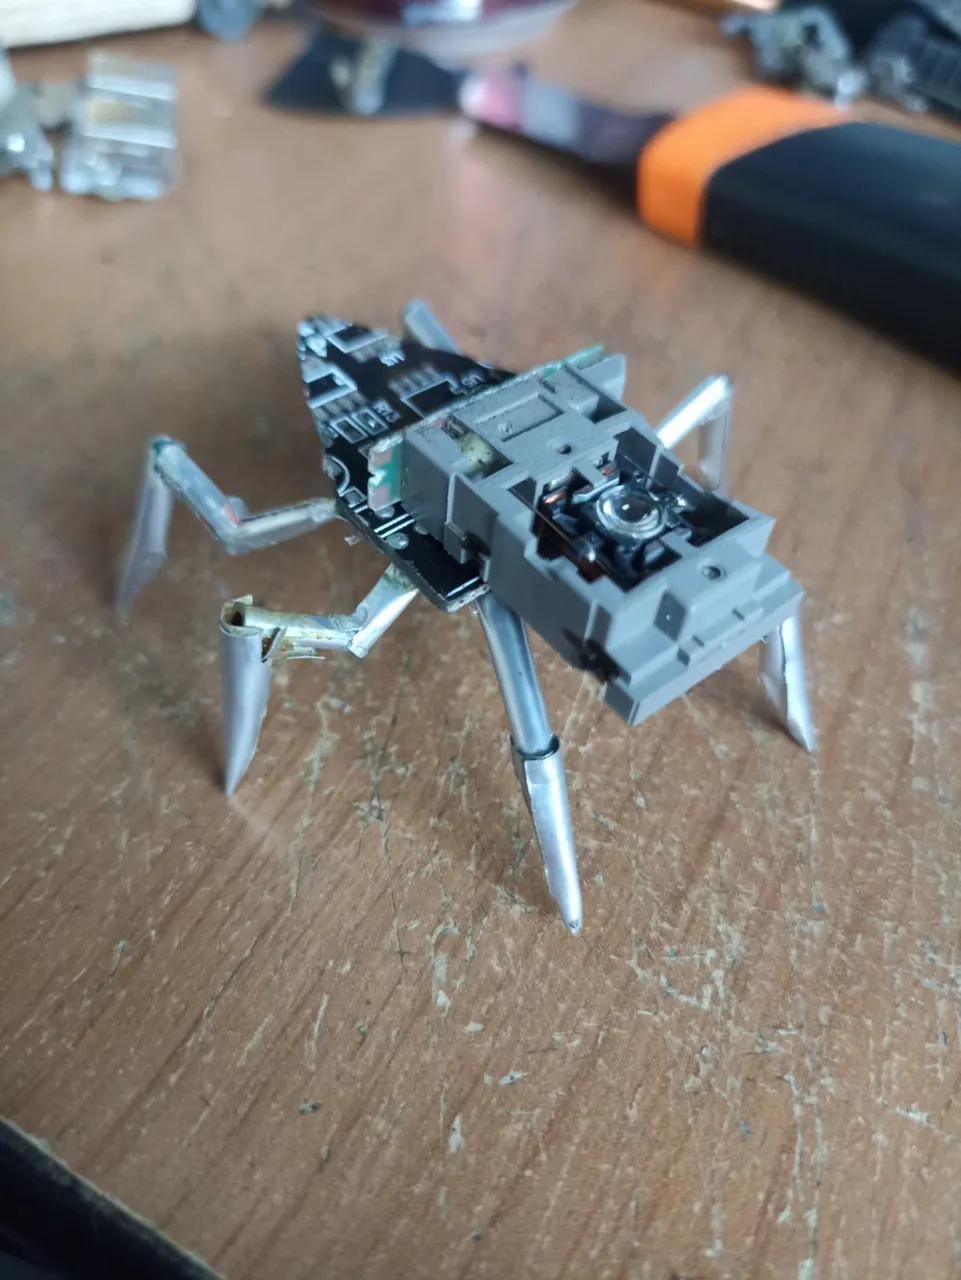 |
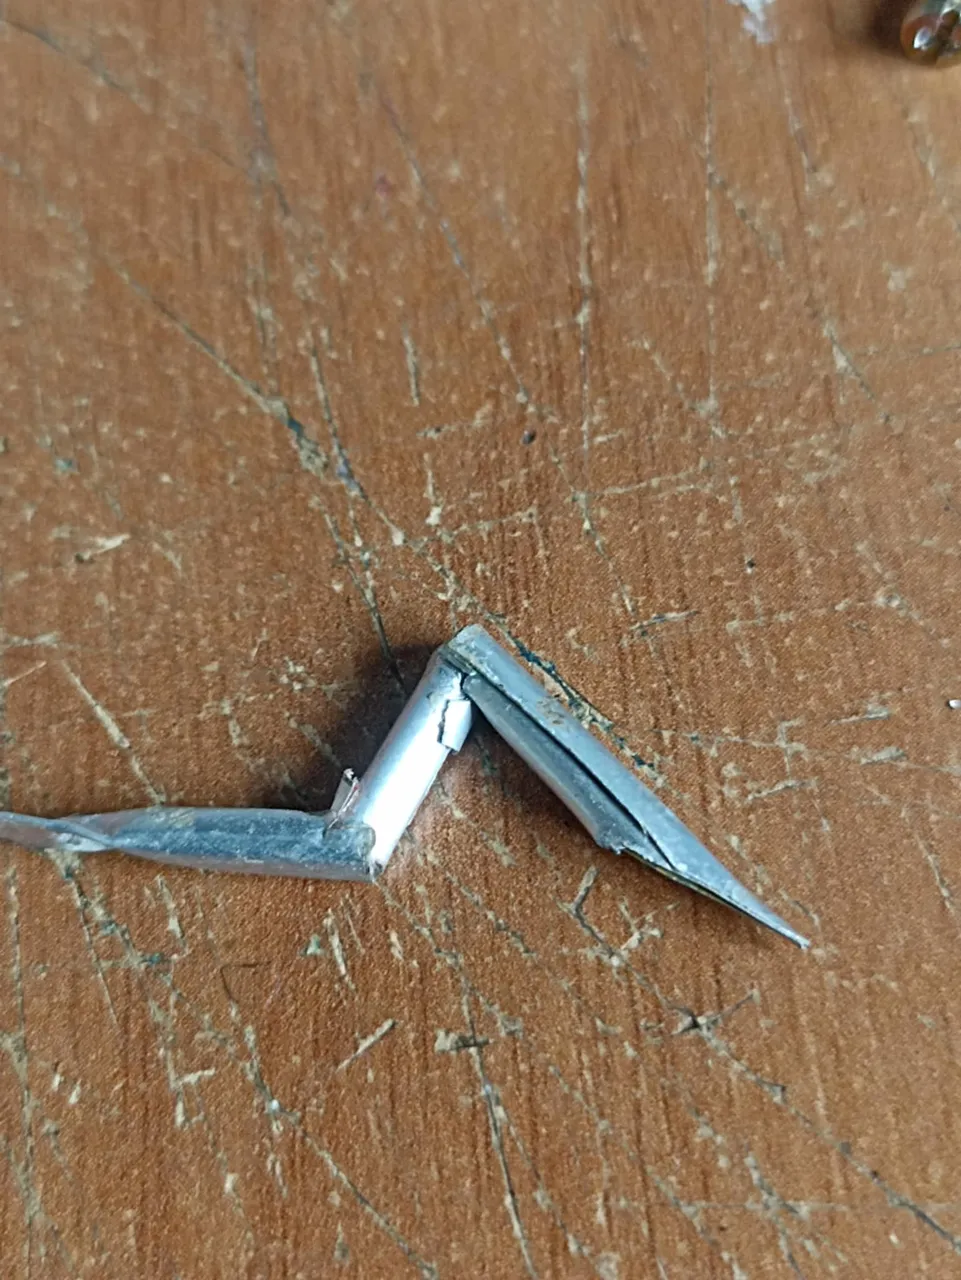
After that, I took the aluminum can and began making each of the limbs. To give it a more robotic look, I made the limbs like crab legs, with several divisions. After making them, I placed them one by one on the bottom of the previously made piece, using glue and a clamp to hold each piece until it was securely in place. Once this step was finished, I placed it on its limbs, and the piece looked good.
Después de eso tomé la lata del aluminio y comencé a hacer cada una de las extremidades. Para darle el aspecto un poco más robótico las extremidades las hice como patas de cangrejo, con varias divisiones. Después de hacerlas fui colocando una a una en la parte inferior de la pieza hecha anteriormente, utilizando pegamento y una pinza fui sosteniendo cada pieza hasta que quedara bien fijada. Una vez terminado este paso la puse sobre sus extremidades y la pieza tenía una buena apariencia.
 |  | |
|---|---|---|
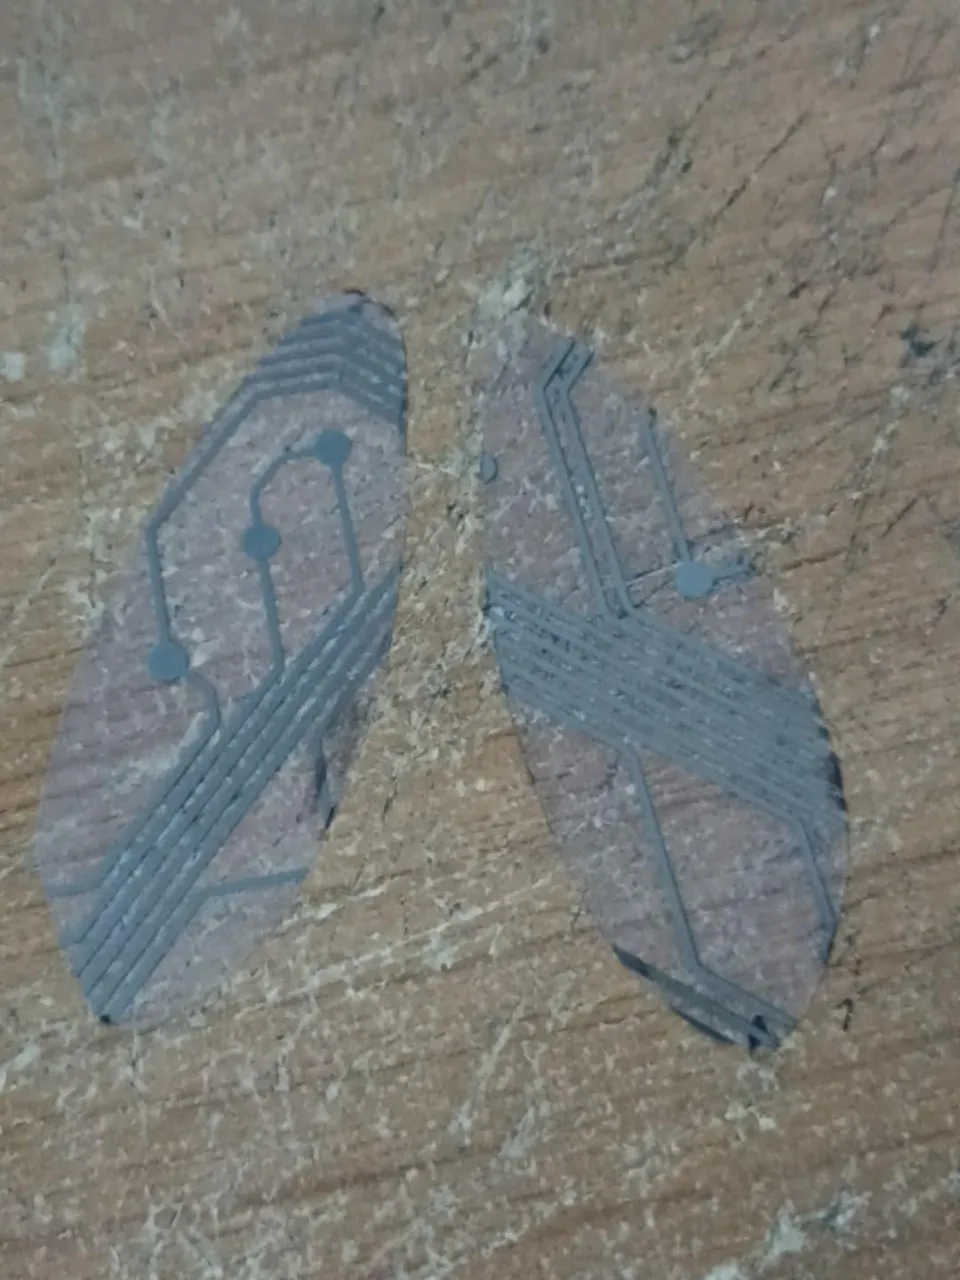 |  |
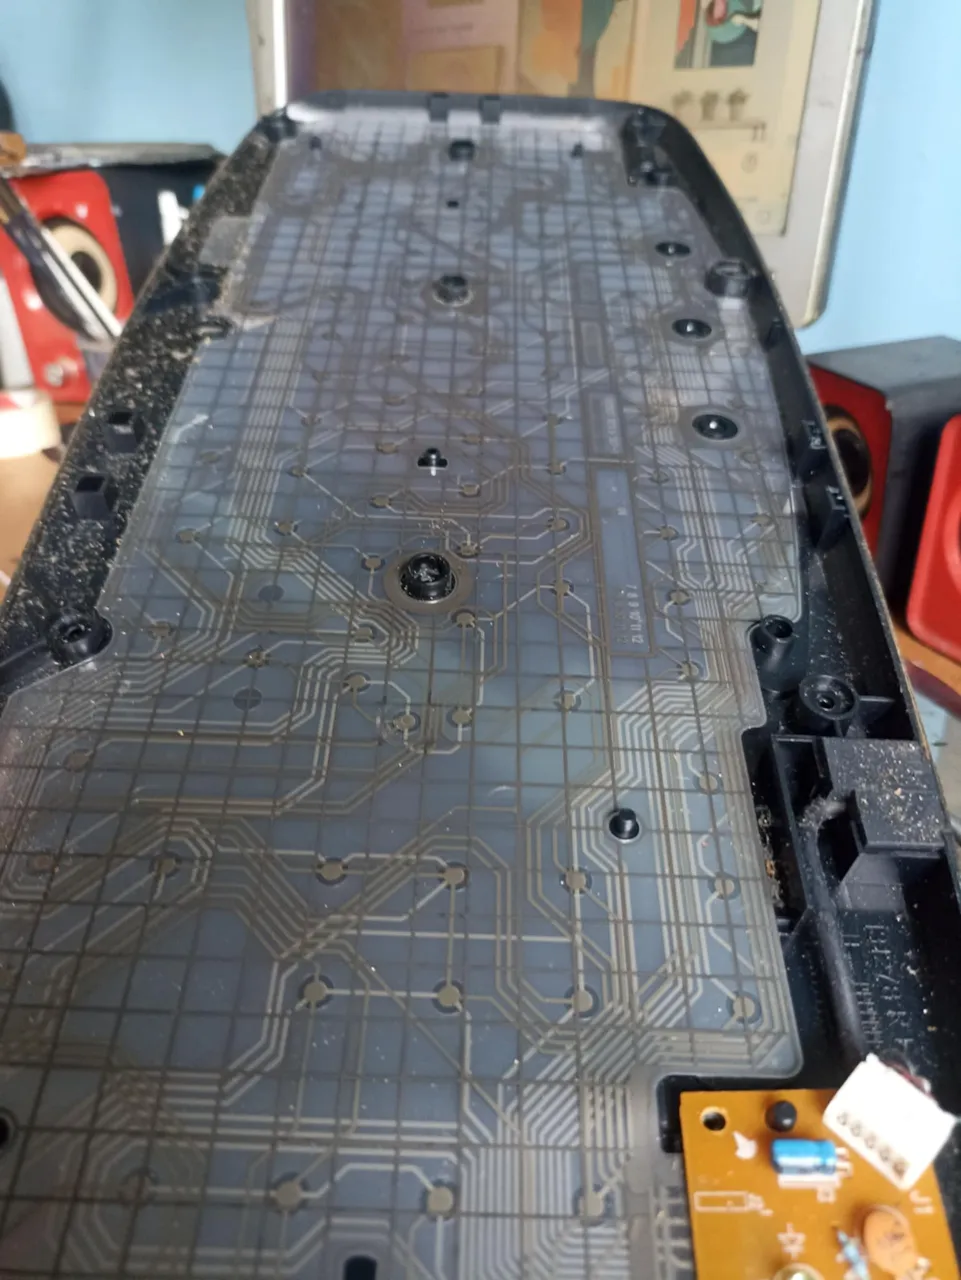
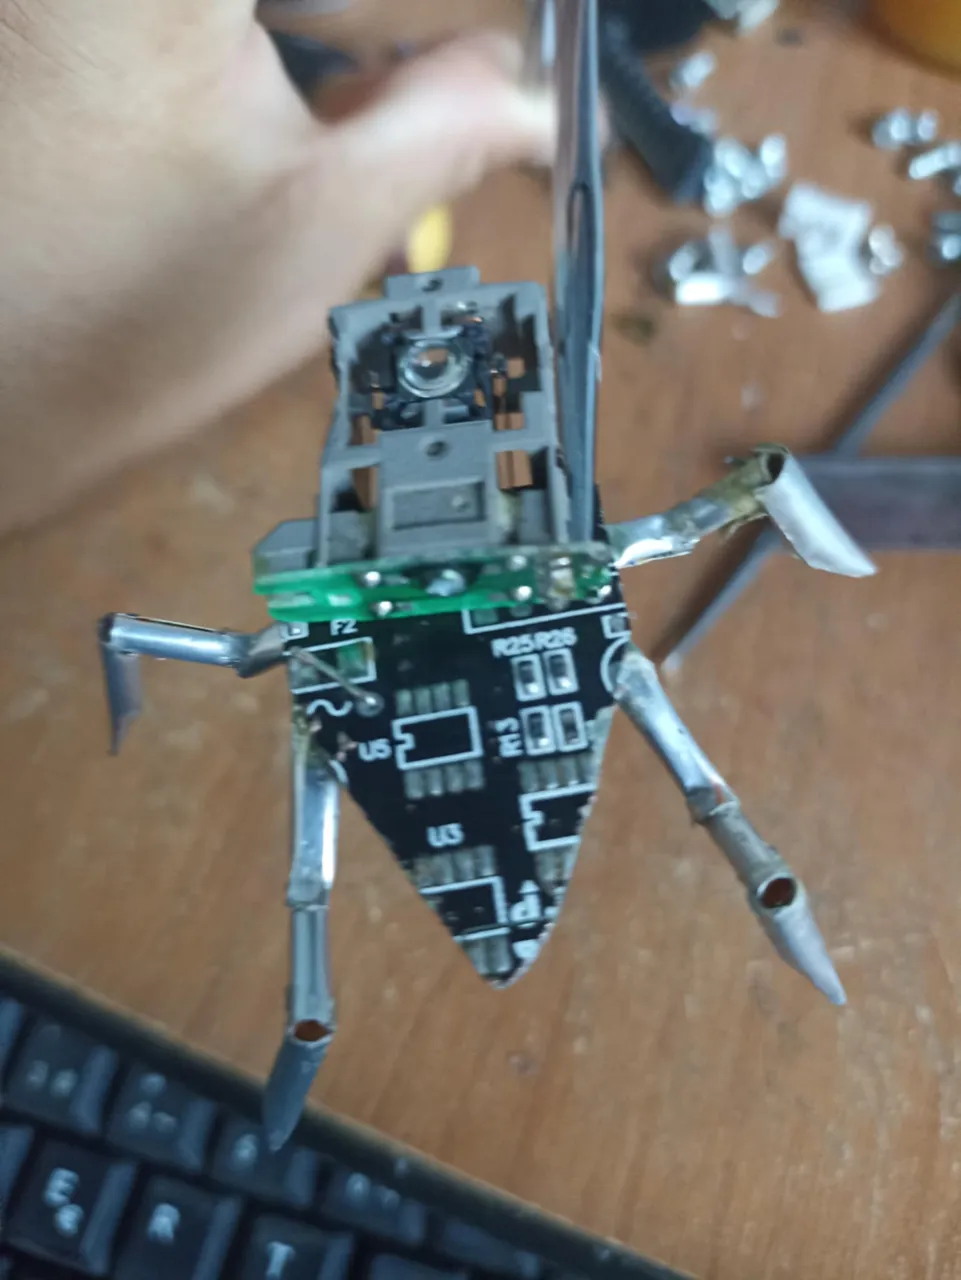
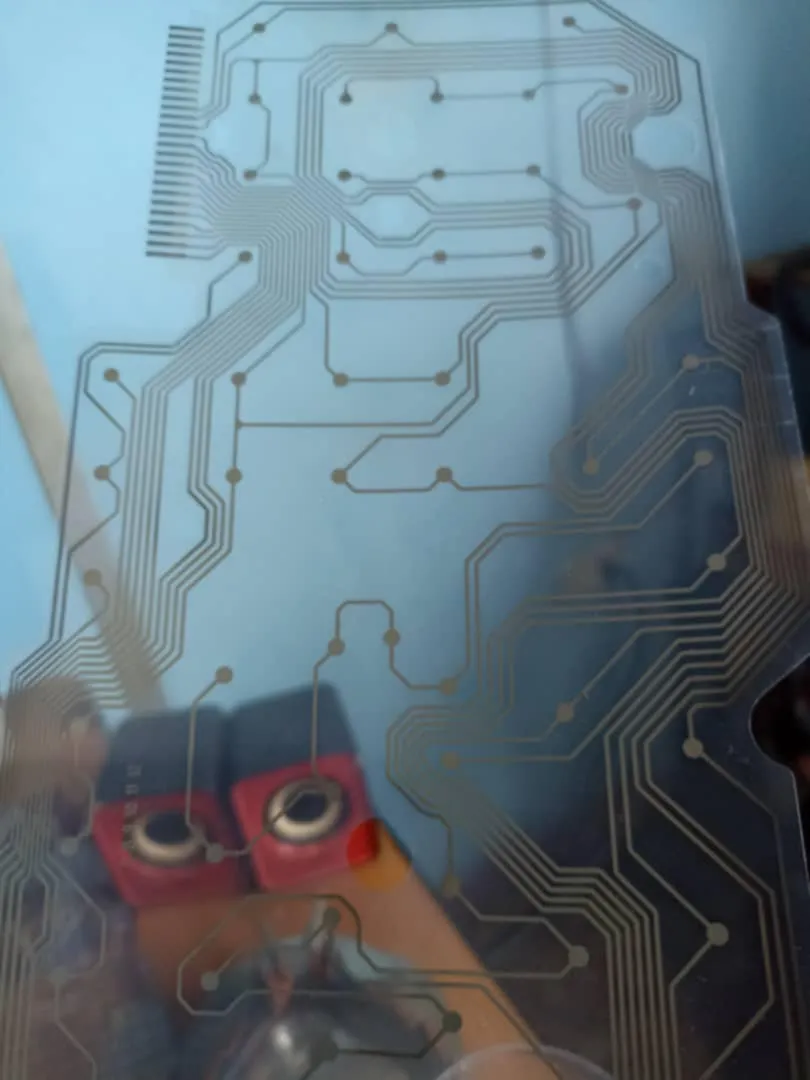
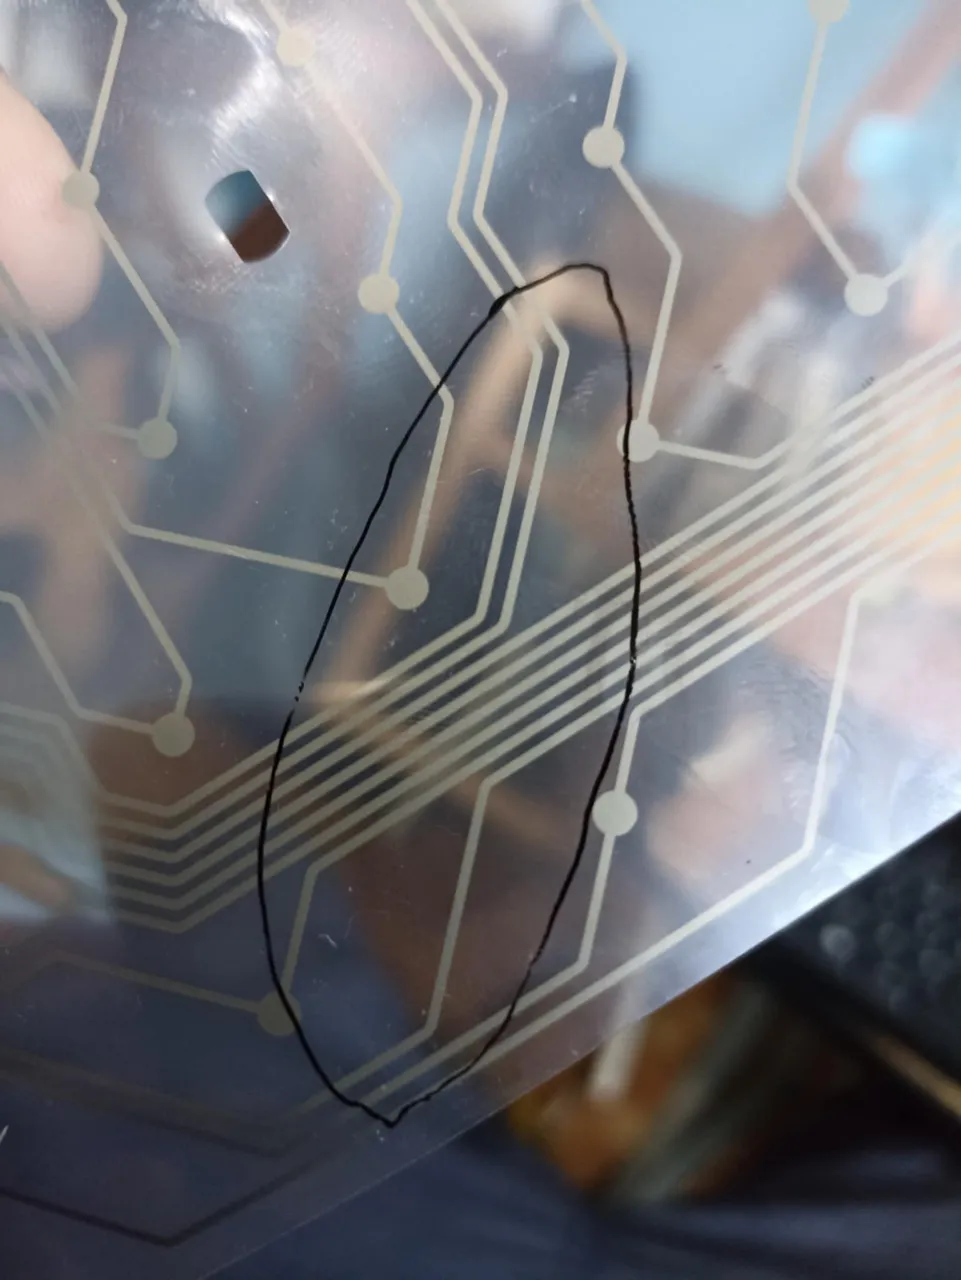
At the beginning, I mentioned that I wanted to make Cinela with her main wings spread out. Well, to do that, I use the keyboard board. I really like this board because it's transparent, and you can see the circuitry through it. So, I remove the board and then draw the wing template anywhere. Using scissors, I cut them out until I have both wings. Then, I place each one in a suitable space so they can be clearly seen.
Al principio mencioné que quería hacer a Cinela con sus alas principales desplegadas, bueno, para hacer eso utilizo la placa del teclado, esta placa me gusta mucho porque es transparente y se ven los circuitos a través de ella. Así que retiro la placa y luego dibujo en cualquier lugar la plantilla de las alas, con unas tijeras las voy recortando hasta obtener ambas alas. Despúes voy colocando cada una de ellas en un espacio adecuado para que se puedan apreciar muy bien.
 |  | |
|---|---|---|
 |  |
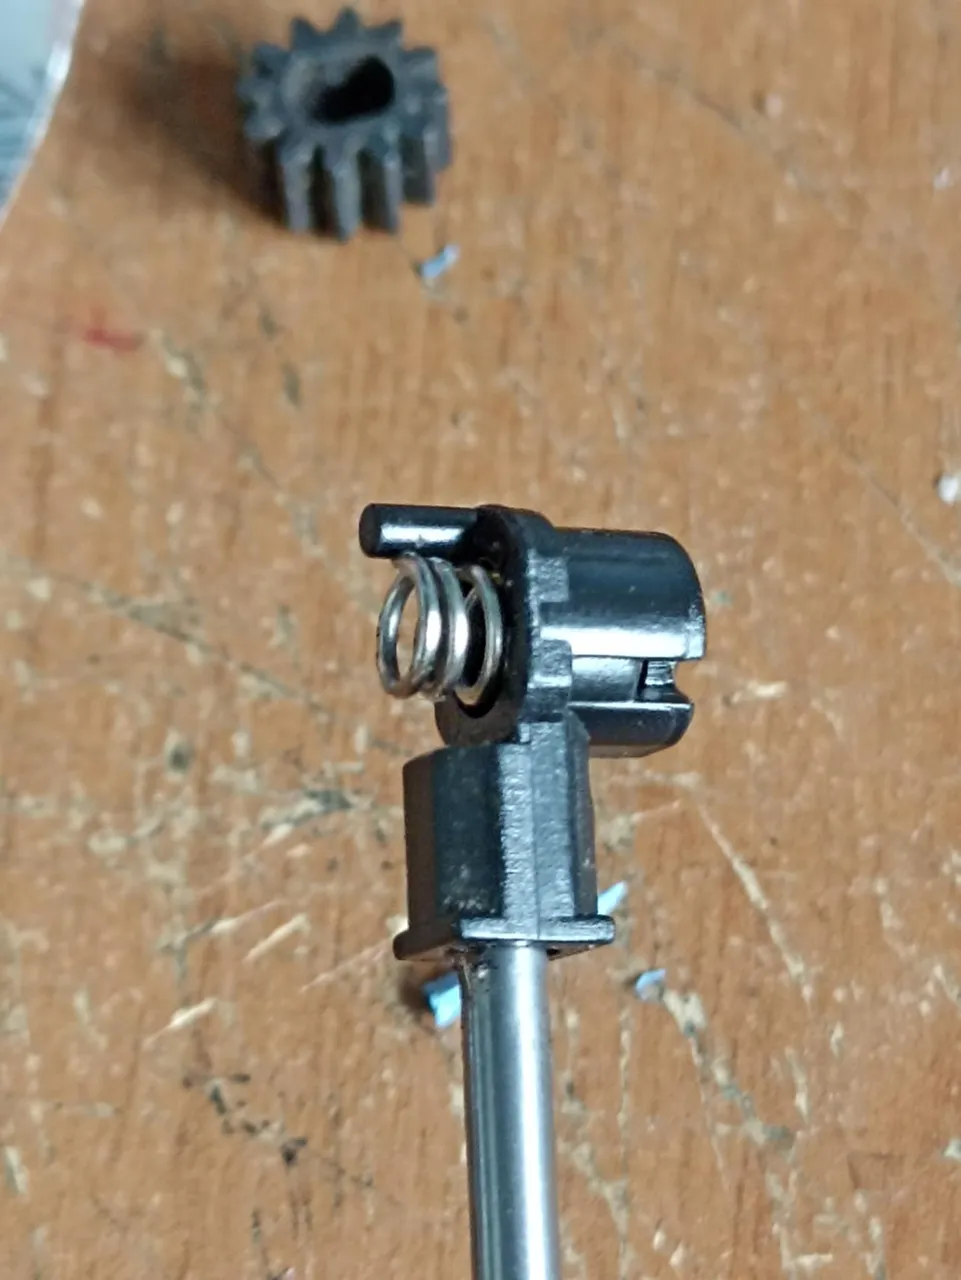
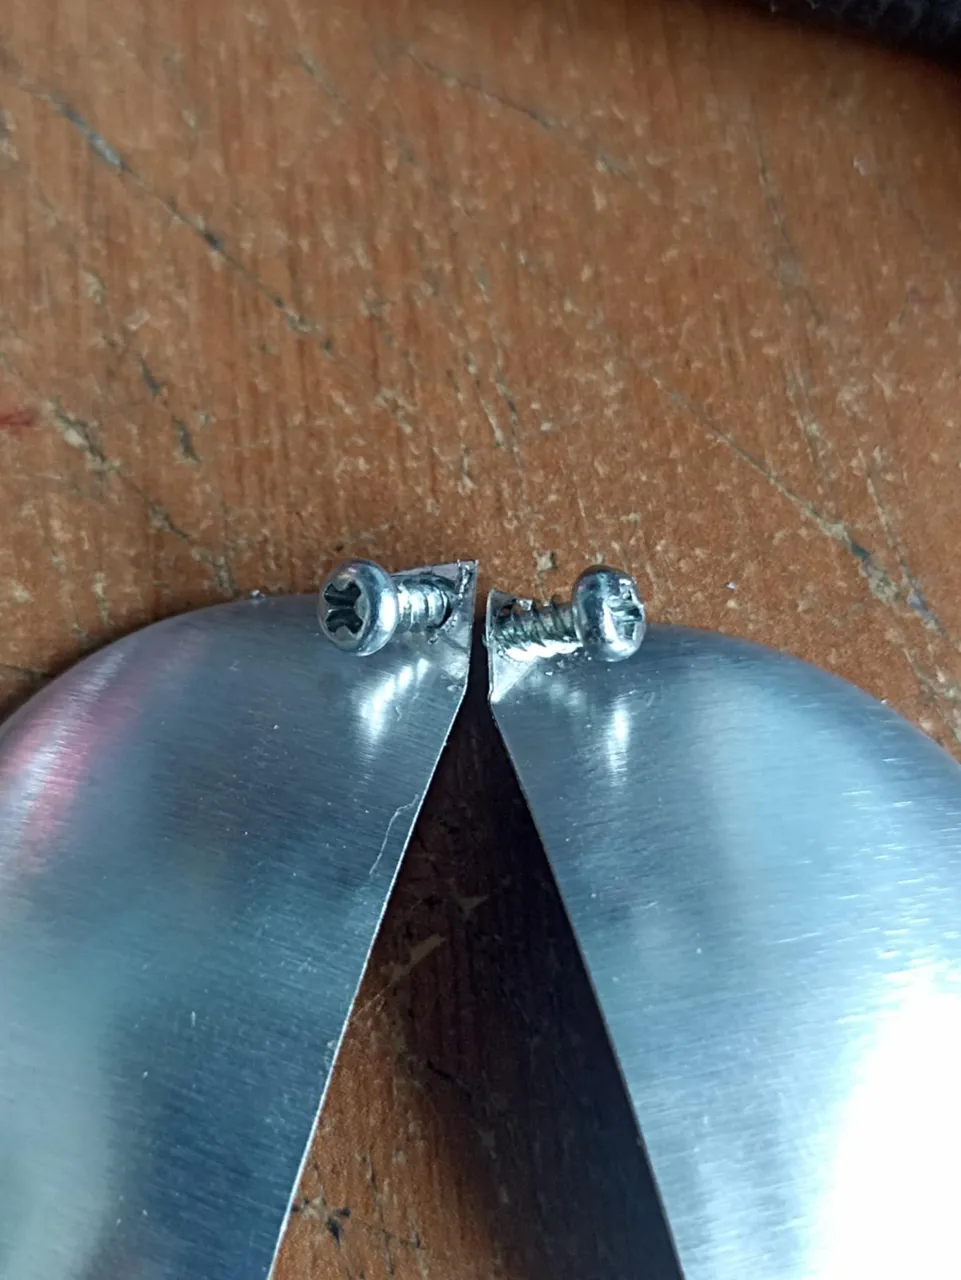
Now I had to continue adding accessories to achieve my goal. I took this black plastic piece that holds the metal rod that the CD moves along. It has a hole where a screw can be inserted. I will use these pieces to put the shell on. To make the shell, I use the aluminum base of the can, which is oval in shape. I remove it and cut it in half, without first bending the ends and making the hole where the screws will go.
Ahora tenía que seguir poniendo accesorios para que mi objetivo se cumpliera, tomé esta pieza de plastico de color negro, que sostiene la varilla de metal por donde desplaza el CD, tiene un agujero por donde se puede introducir un tornillo, esta piezas las utilizaré pára poner el caparazón. Para hacer el caparazon utilizo la base de aluminio de la lata la cual tiene forma ovalada, la extraigo y la corto por la mitad, ni sin antes doblar las puntas y hacer el agujero por donde irán los tornillos.
 |  |  |
|---|---|---|
 | 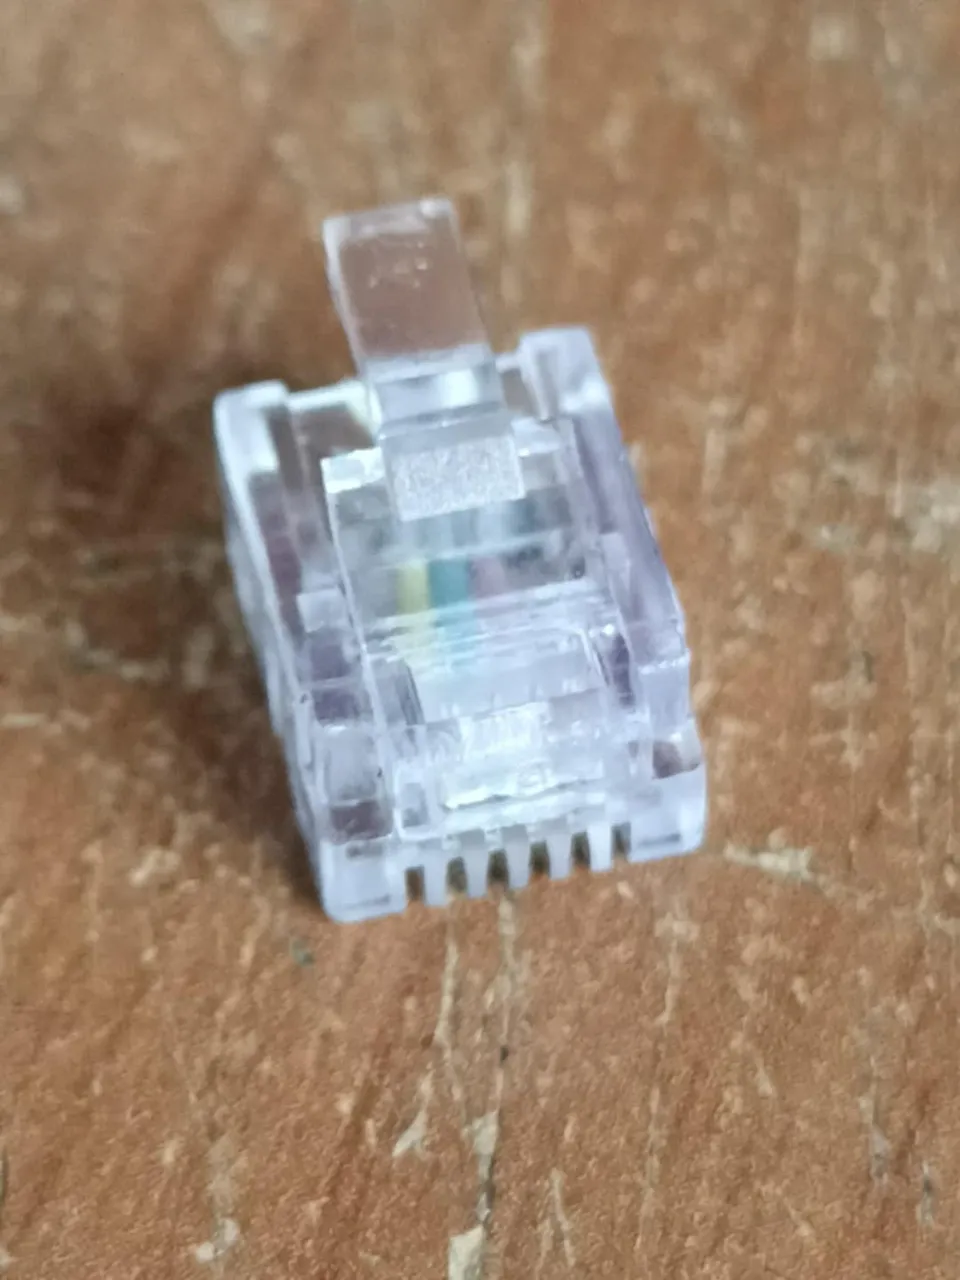 | 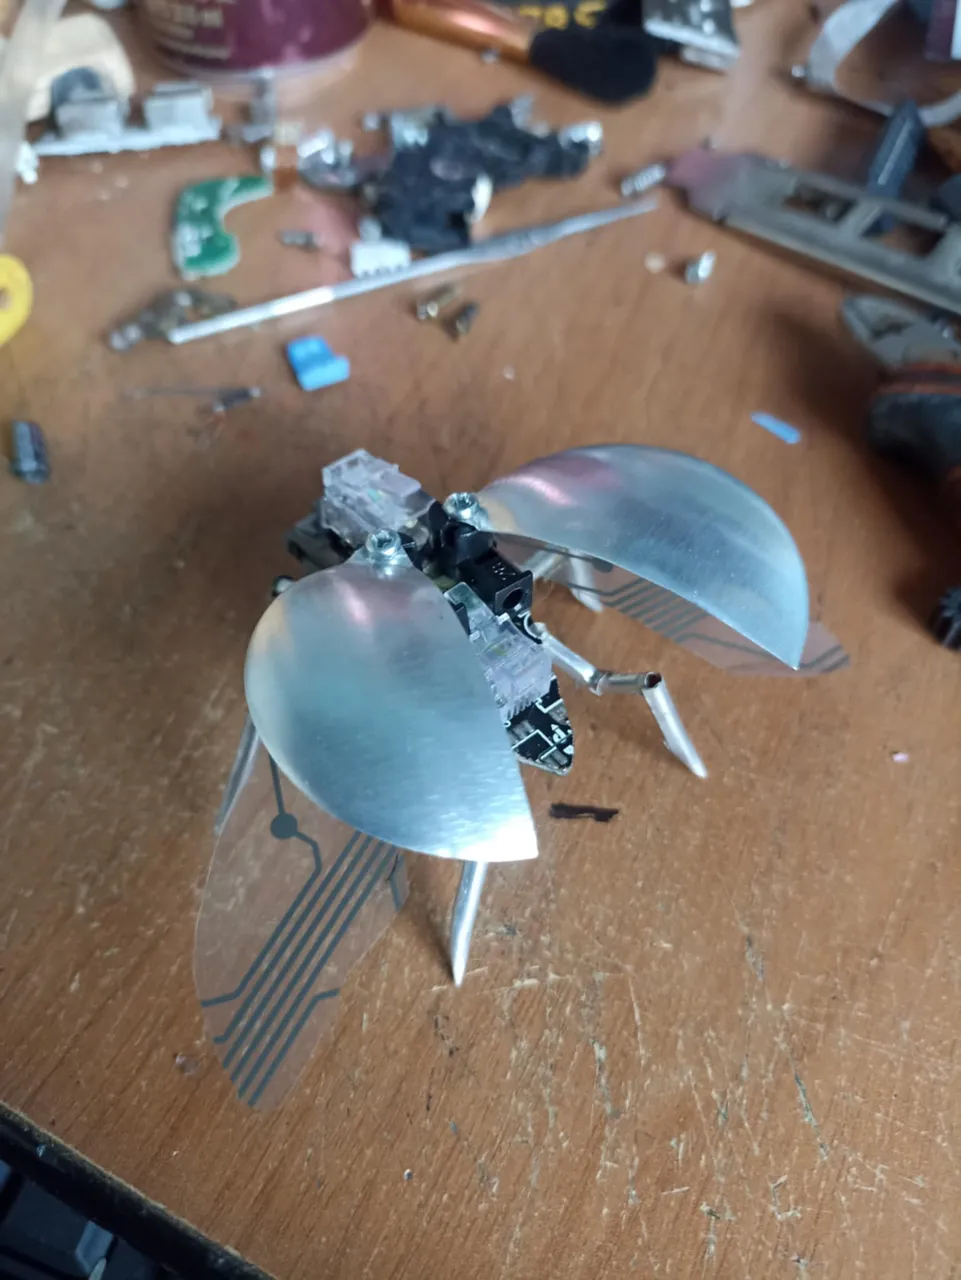 |
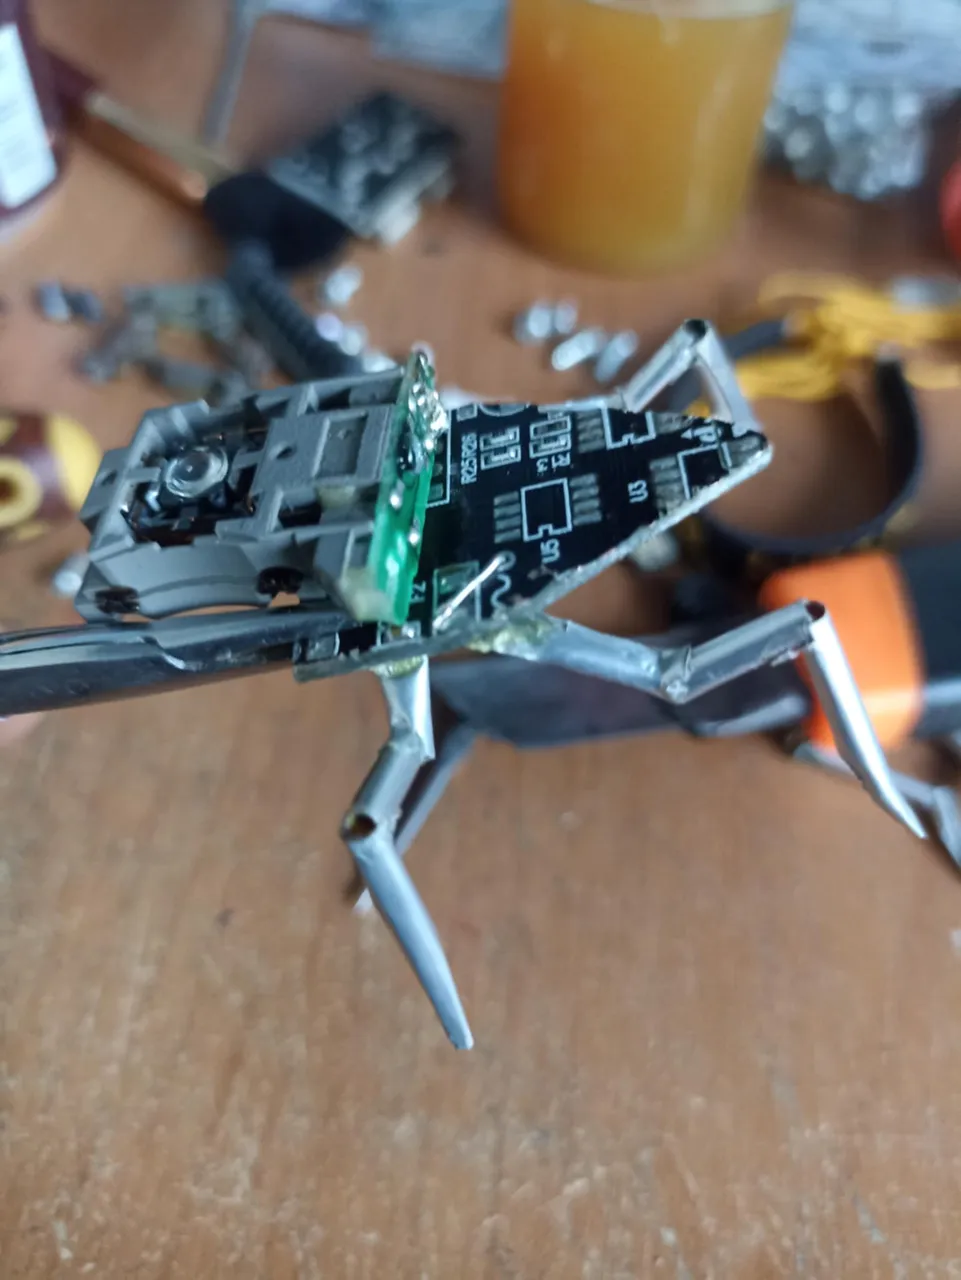
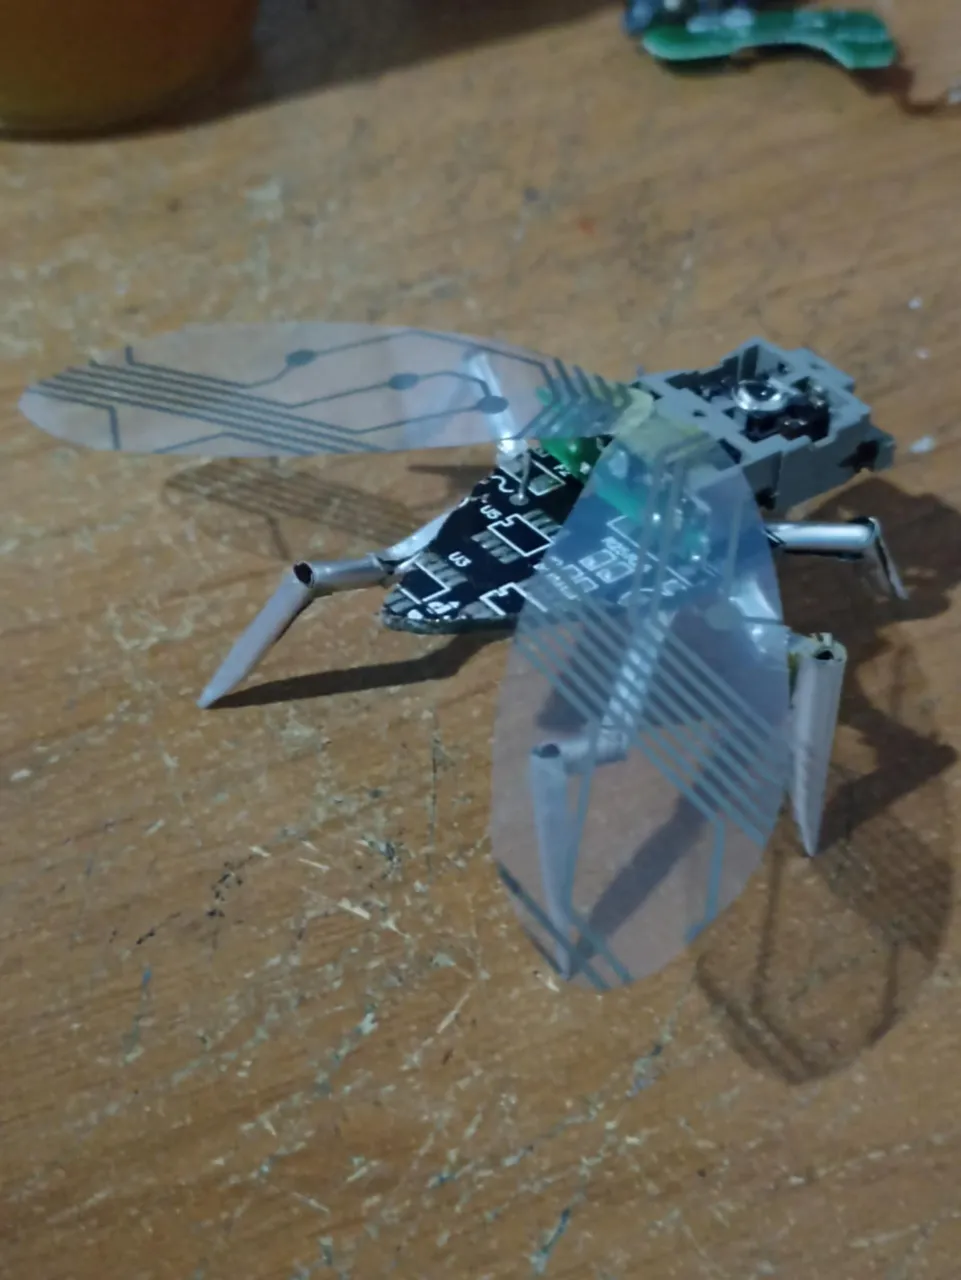
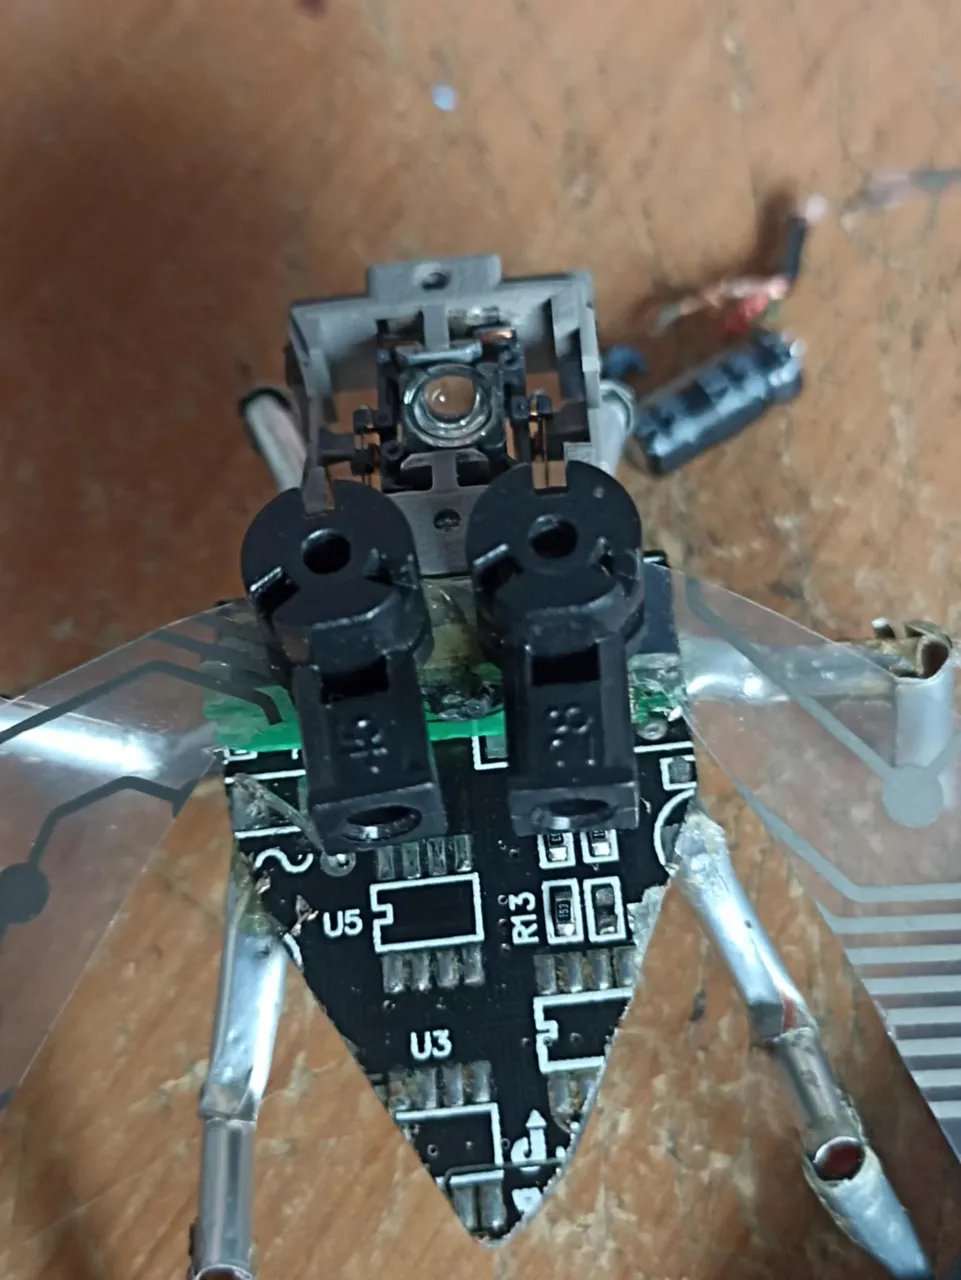
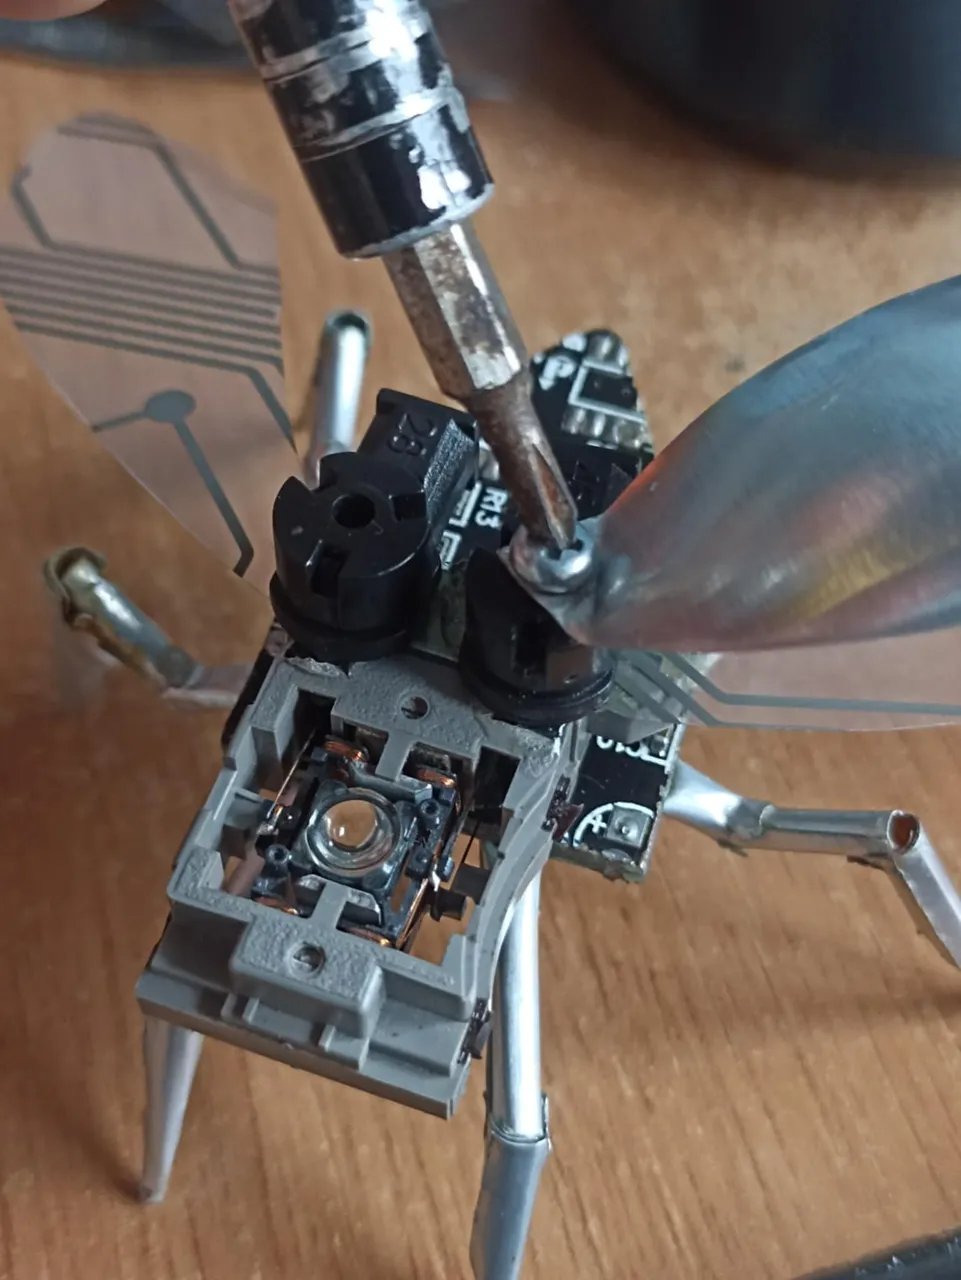
Once everything was ready, the process was simple: I assembled the aluminum shell to the rest of the piece with a screwdriver. I secured each screw and made sure to place the shell in a fully open position so the main wings could be clearly seen. However, since it's screwed down, the shell can be moved freely, even closed. To add more detail, I added a wire-cable head to the head.
Una vez preparado todo, el proceso fue sencillo, ensamblar el caparazón de aluminio al retso de la pieza con un destornillador, aseguré cada tornillo y me asegure de poner el caparazón en una posición bien abierta para que las alas principales pudieran verse bien, aunque como esta atornillado, el caparazón puede moverse a gusto, incluso cerrarse. Para agregar mas detalles, en la parte de la cabeza le puse un cabezal de cable de red.
 |  |  |
|---|---|---|
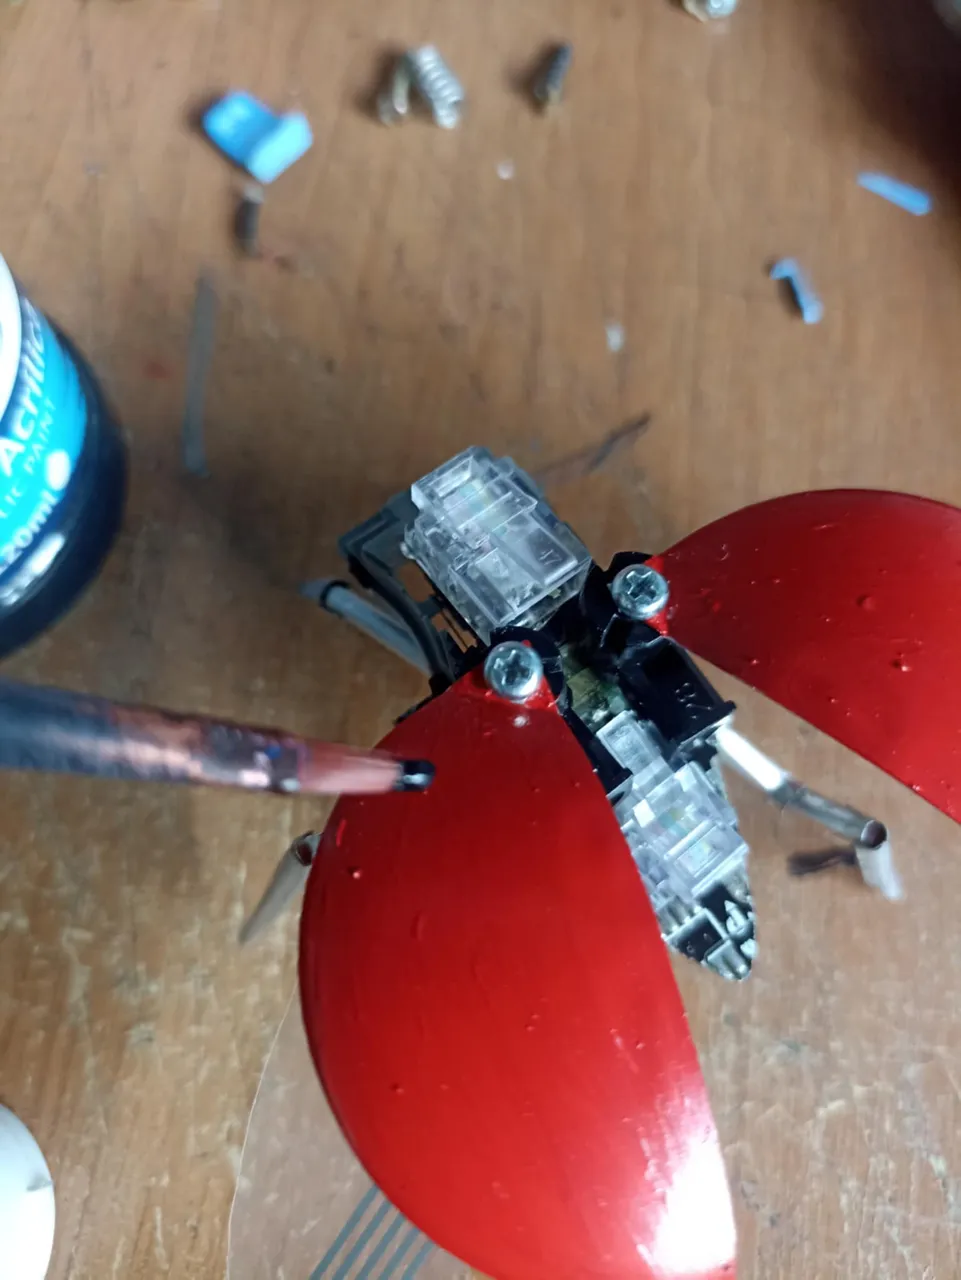 | 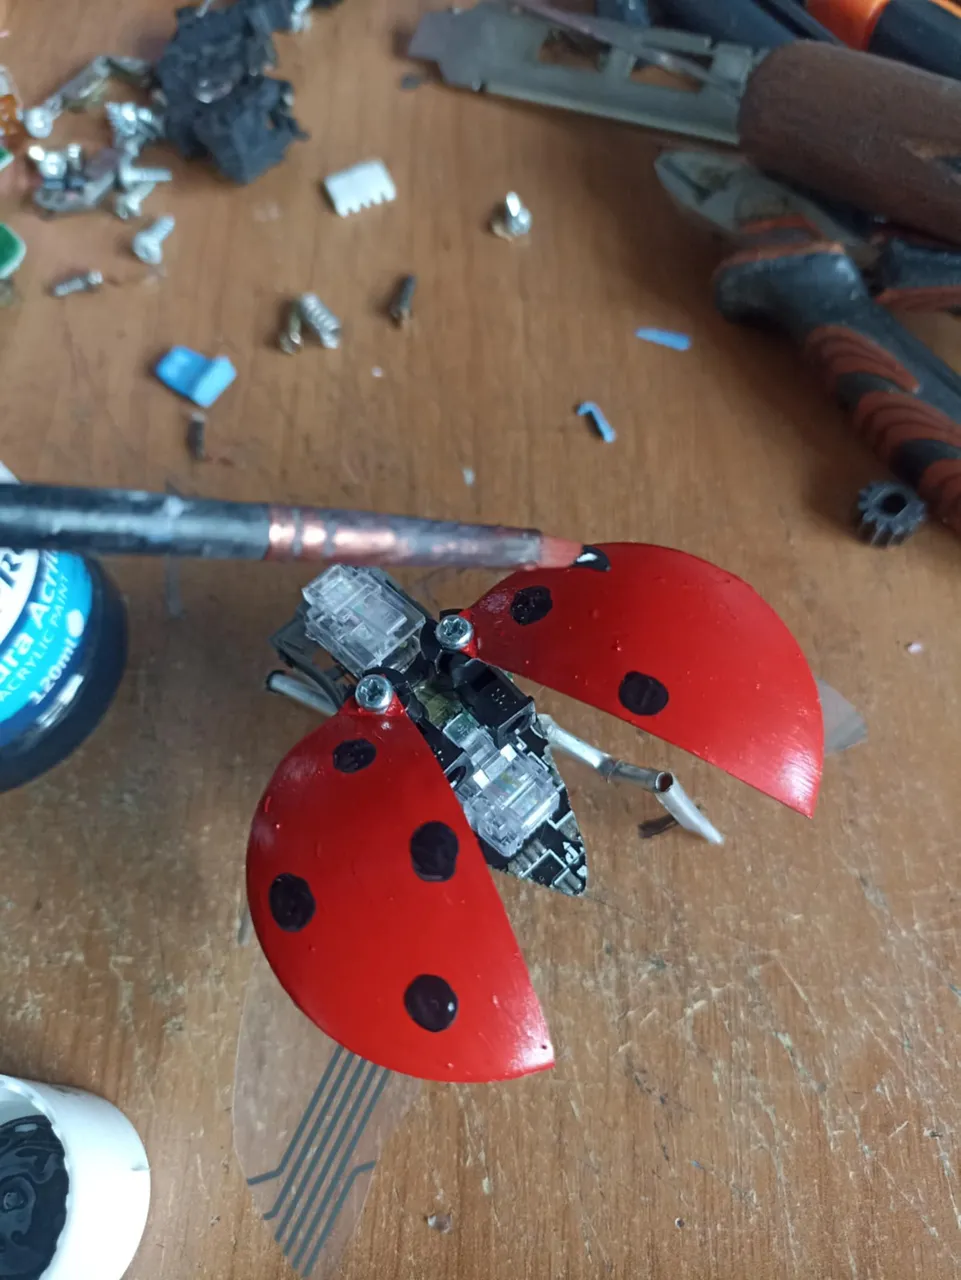 | 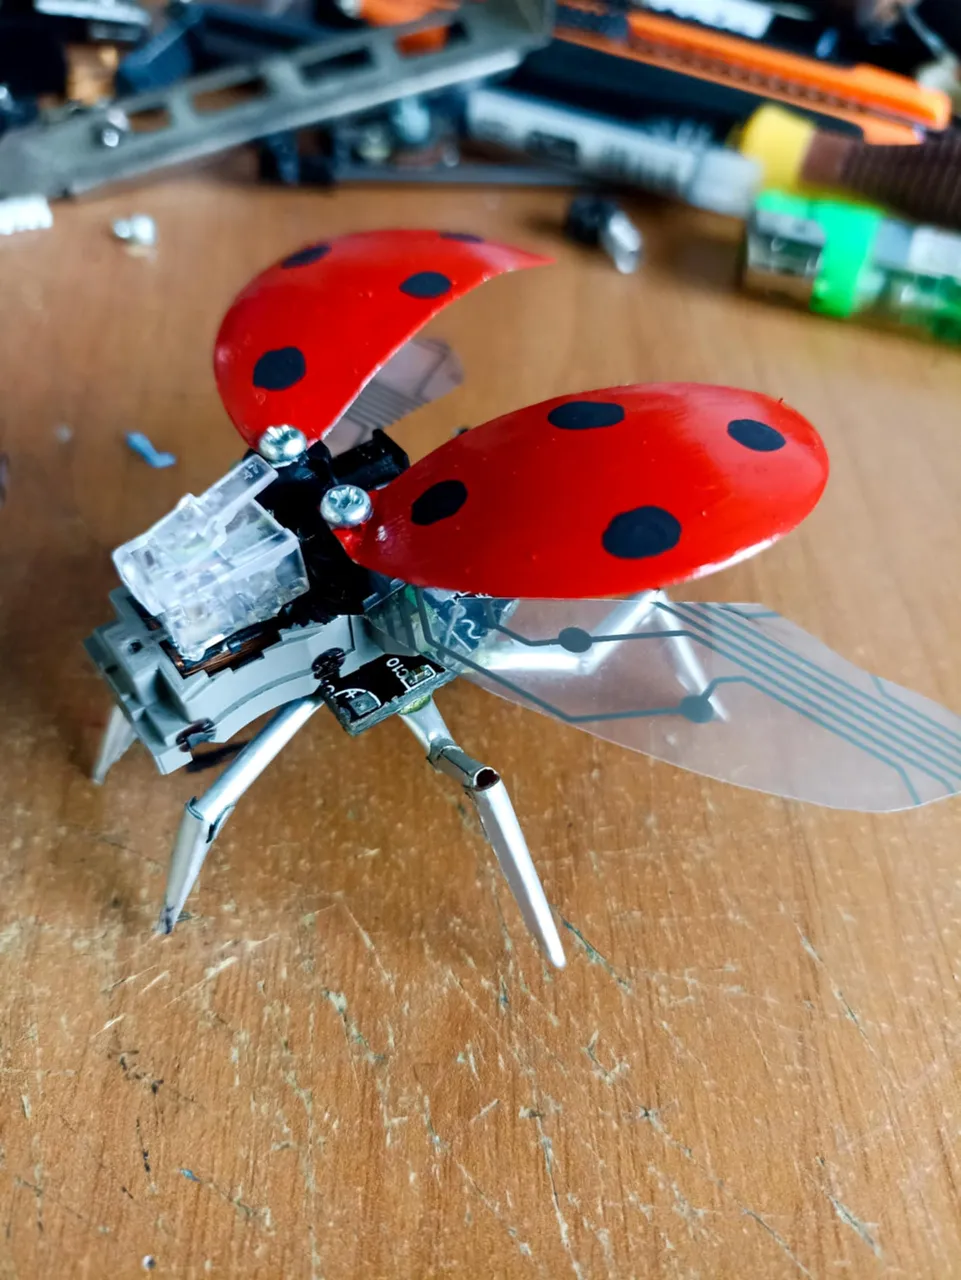 |
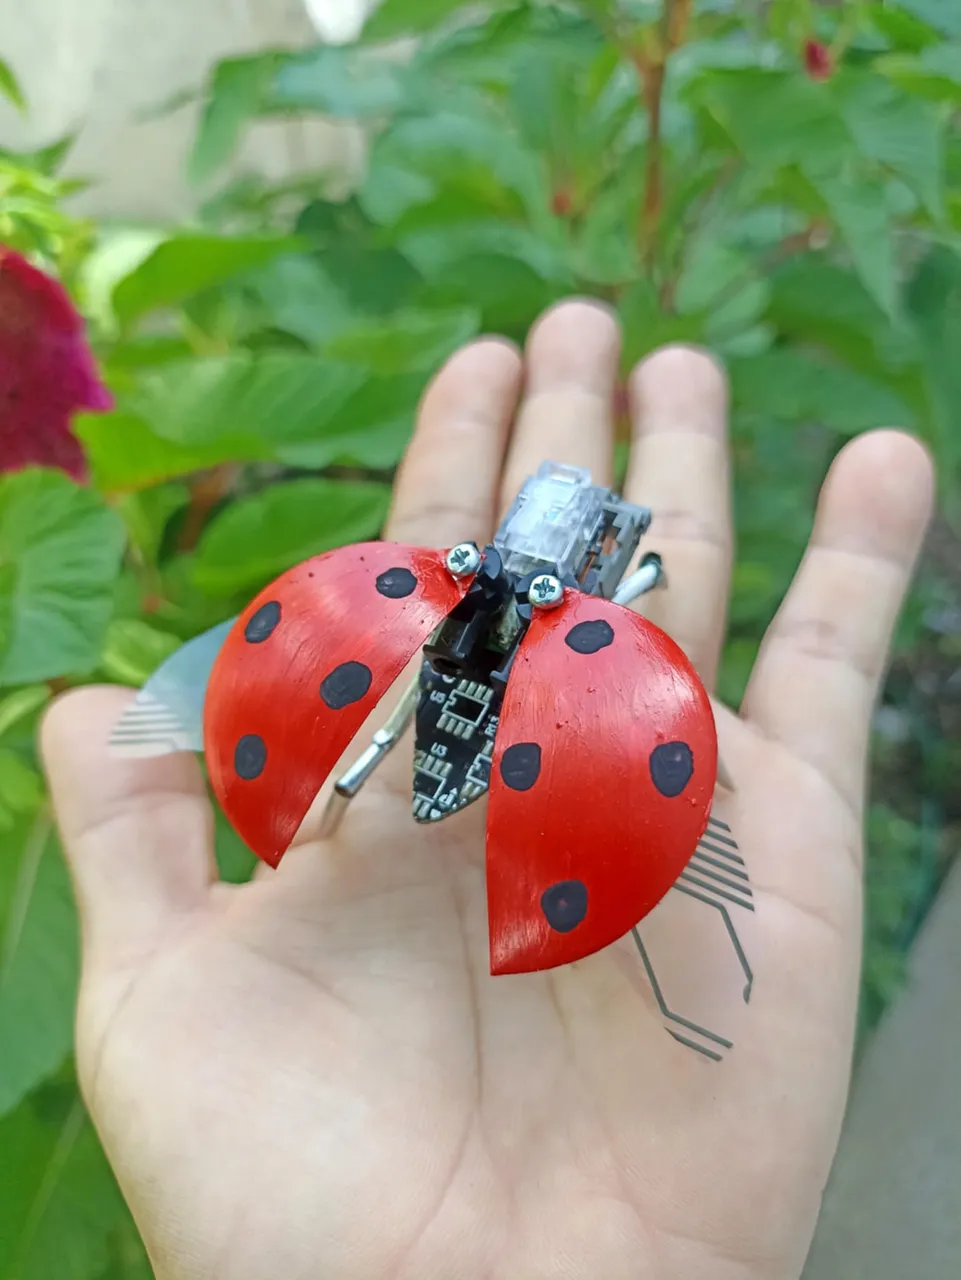
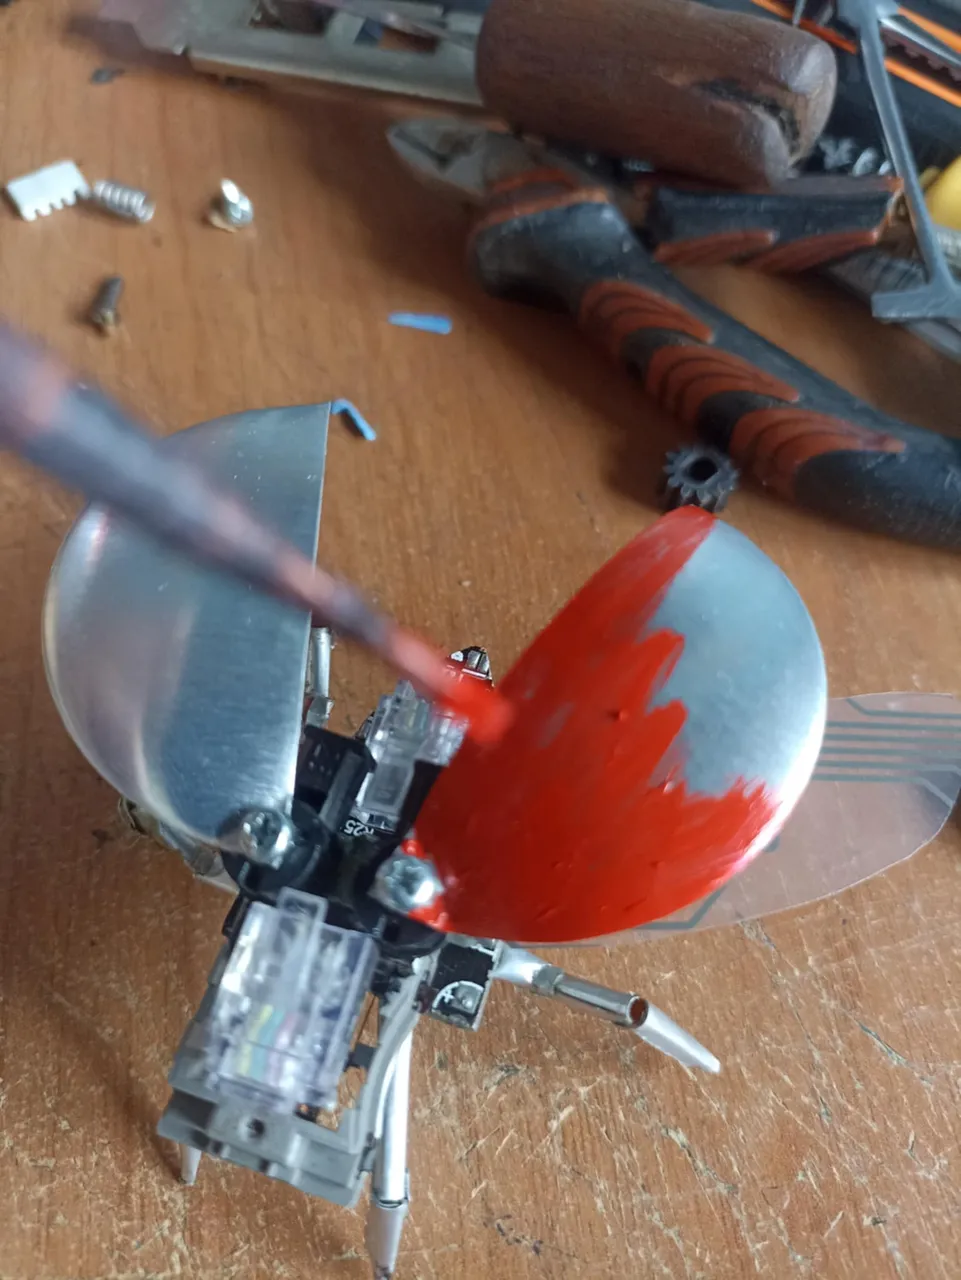
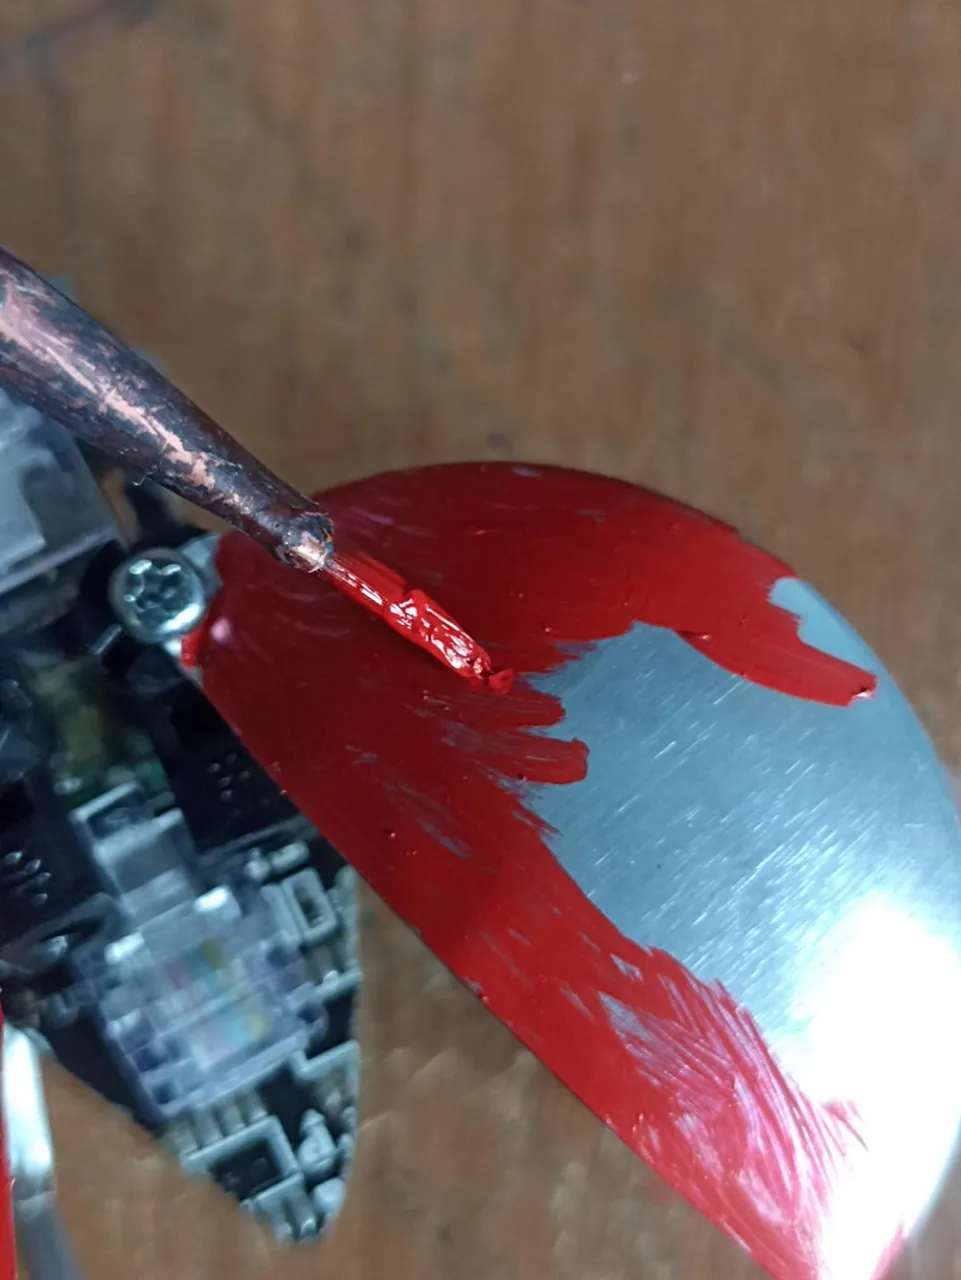
To give the entire piece a finishing touch, I started by painting the entire shell red, covering it completely. Then, using black paint, I made small spots around the entire shell. And that's how our robotic Cinela was finished.
Para darle un toque final a toda la pieza comencé a pintar todo el caparazón de color rojo, hasta cubrirlo todo, después con pintura negra hice las pequeñas manchas alrededor de todo el caparazón. Y así quedó finalizado nuestra Cinela robótica.
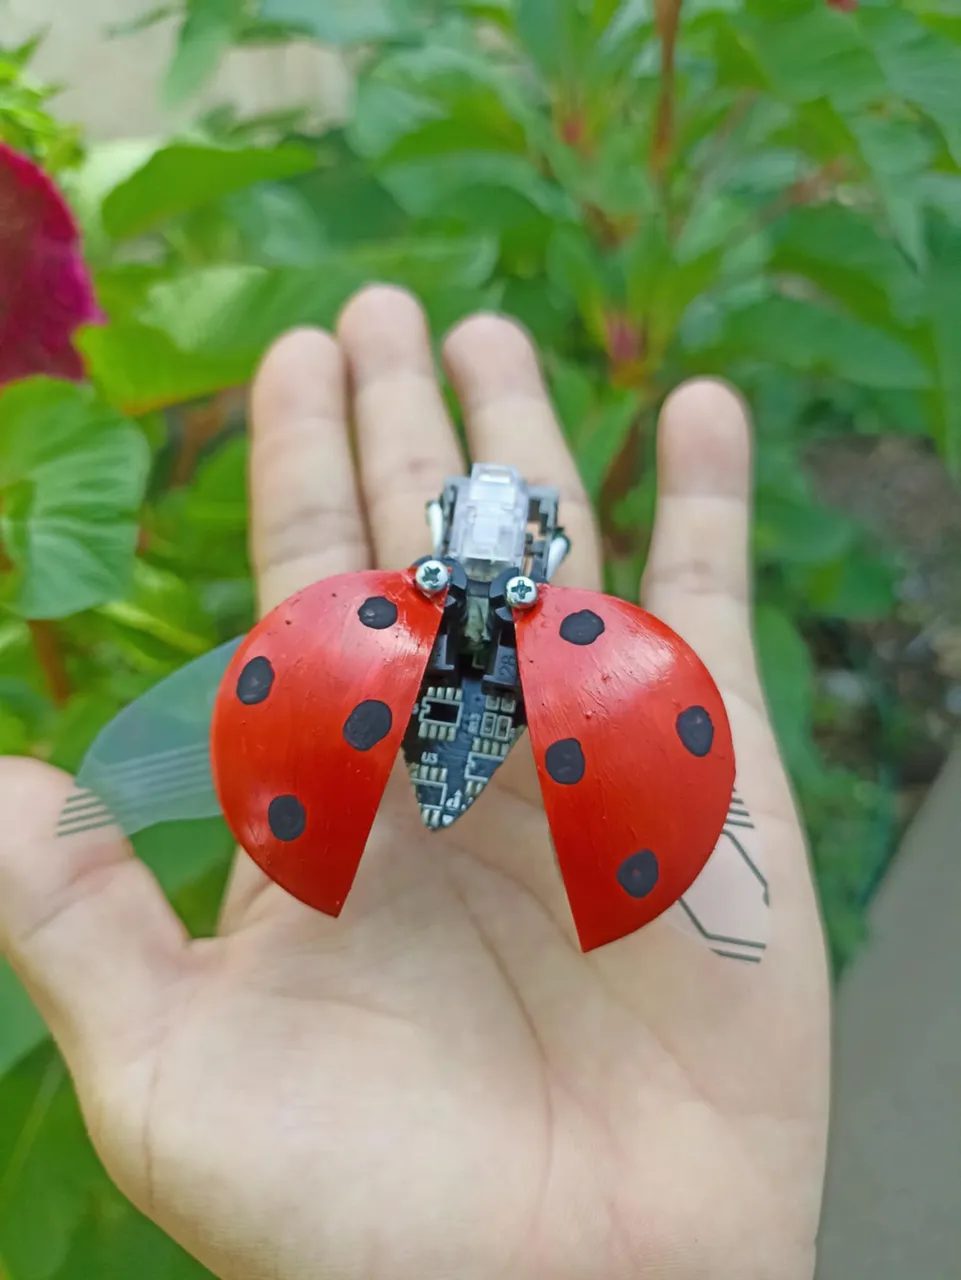
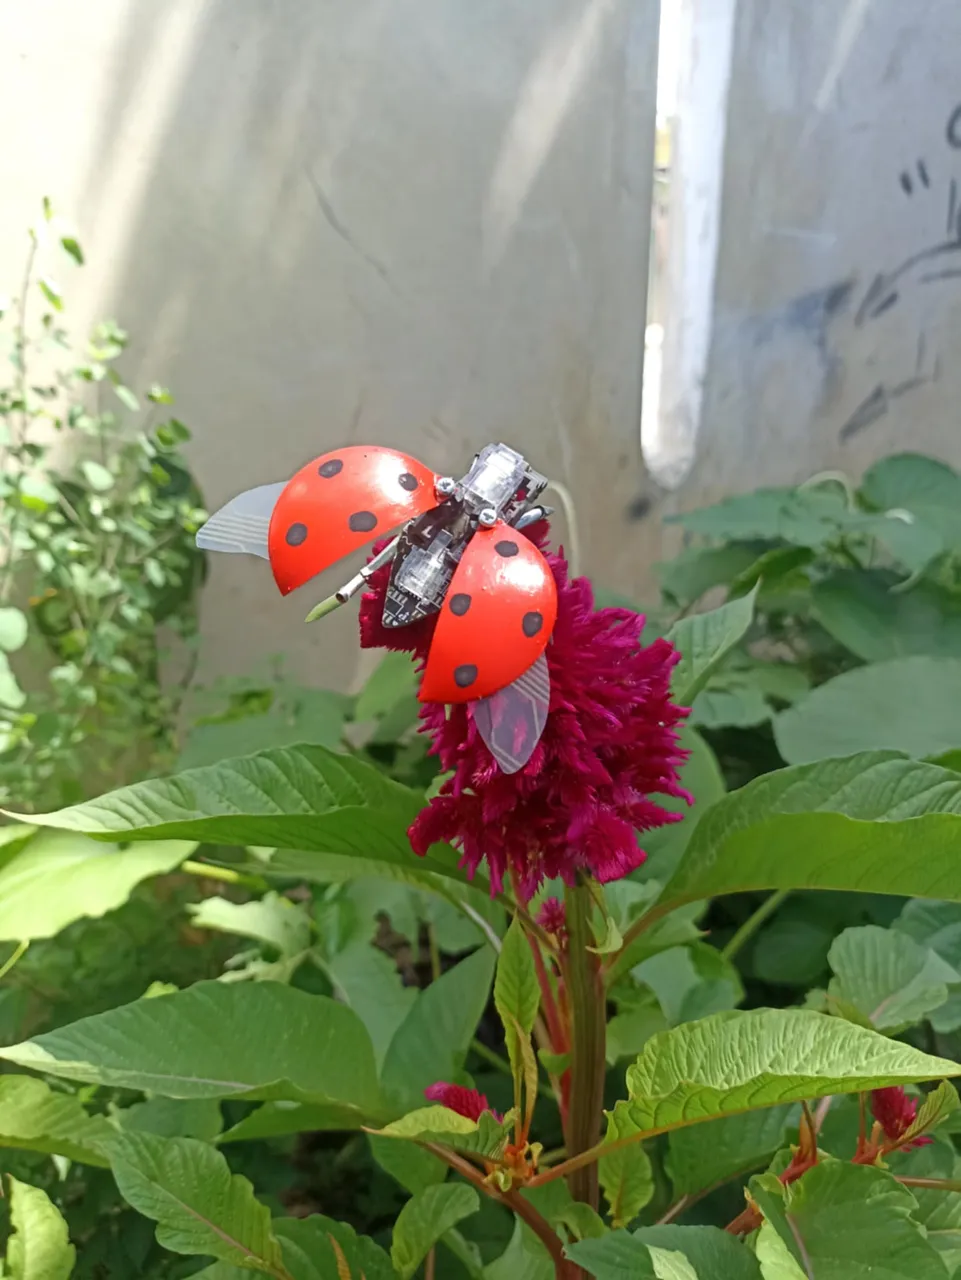
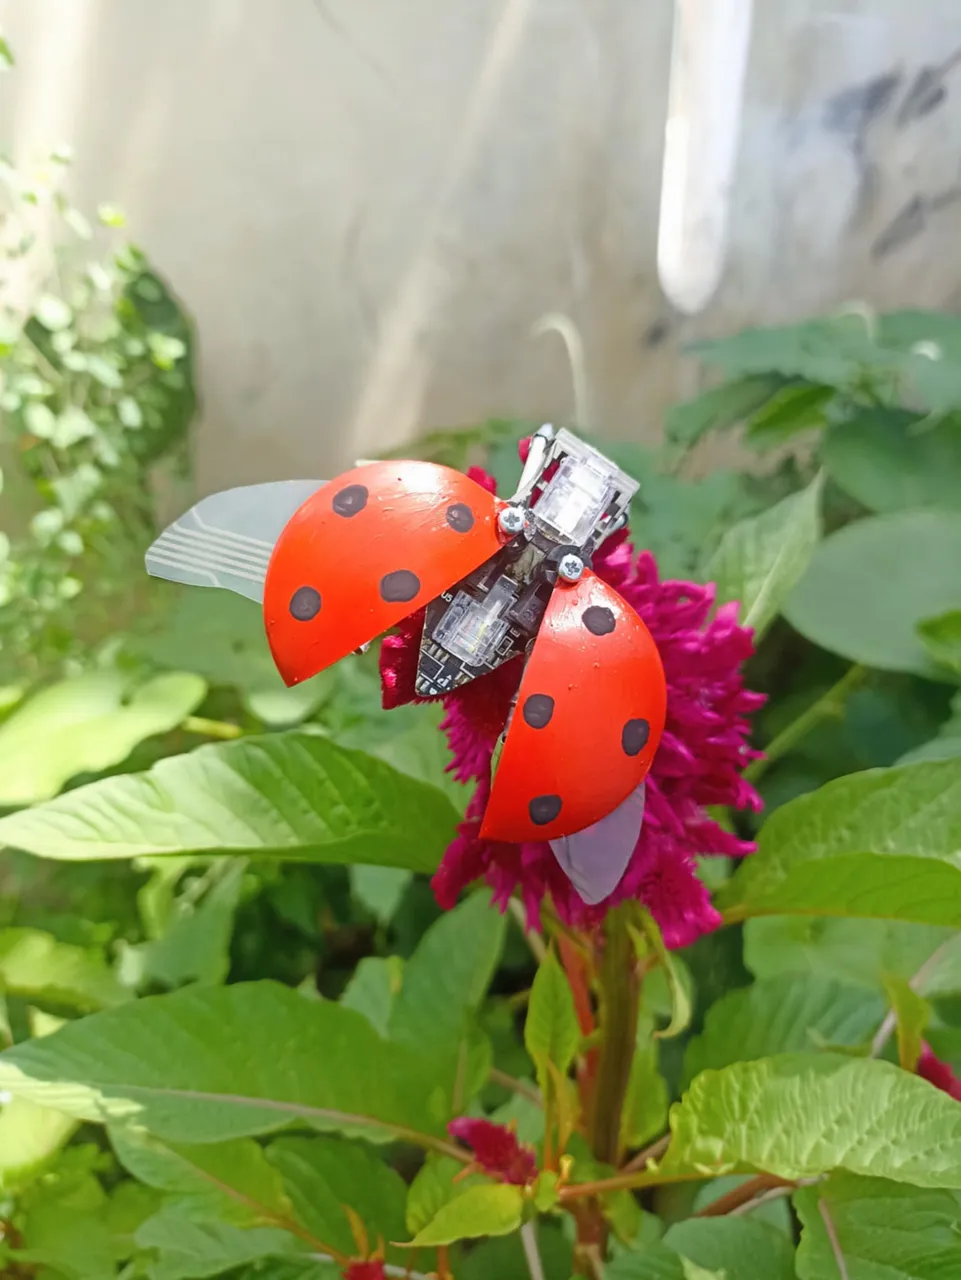
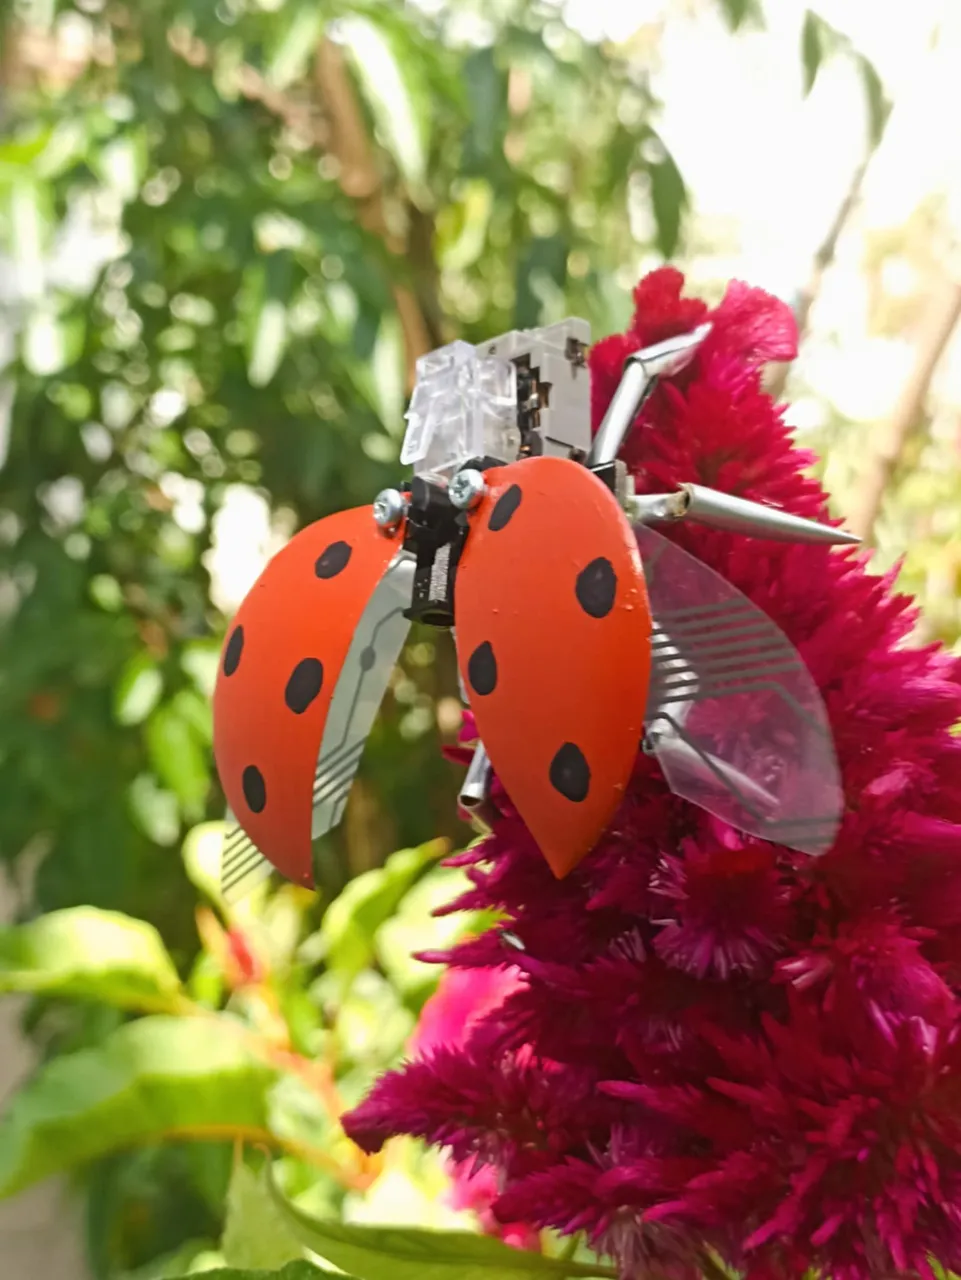
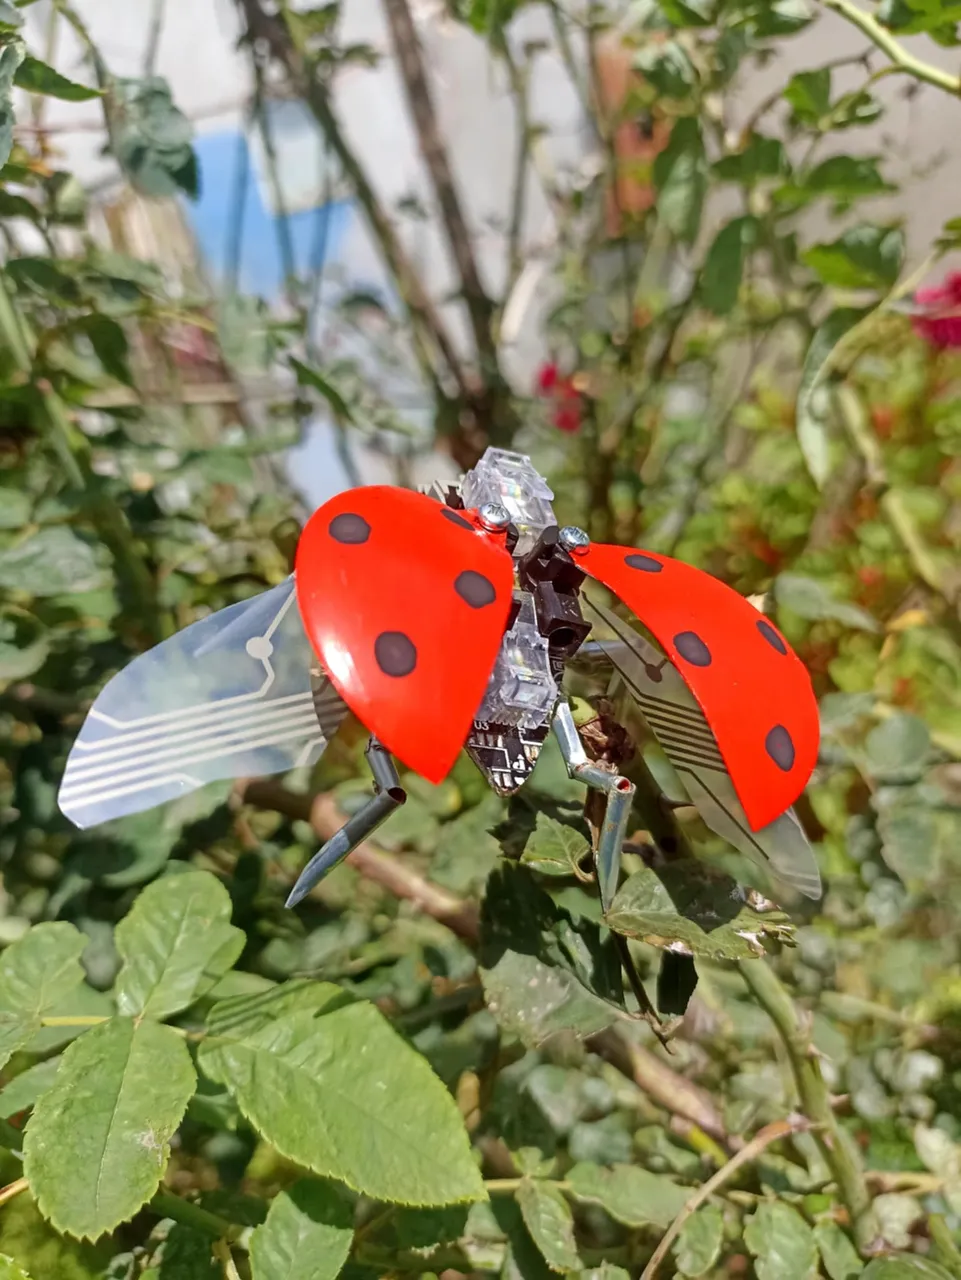
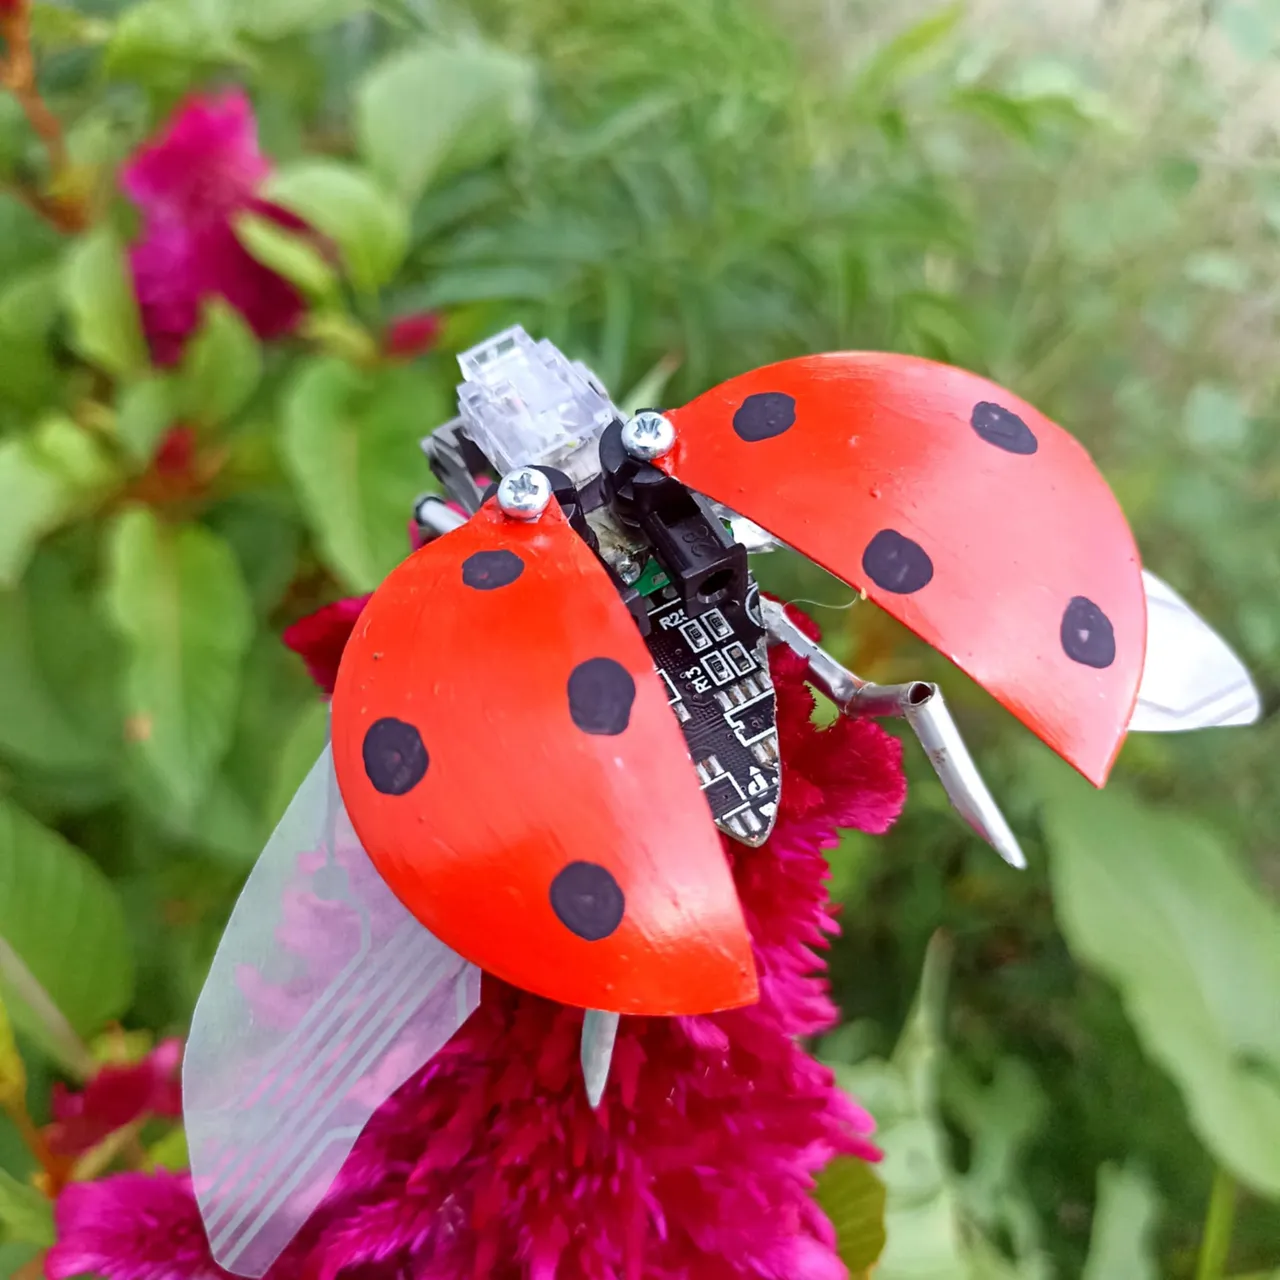
What do you think of the result? It looks like a mini Cinela drone, hehe. It's definitely a very beautiful piece. As soon as I finished painting it, I went and placed it among the flowers in the garden so the paint would dry better. Once it was there among the plants, it looked very beautiful. I moved it around a few times to take pictures. In the end, I decided to leave it there as part of the garden. I'll just put a little protective varnish on it so the paint would last longer. I hope you like it. Don't forget to comment here what you think; it would be important to me. If you want me to do anything else, don't hesitate to let me know. I'll say goodbye, see you soon, friends. Happy weekend!
Qué les ha parecido el resultado? parece un mino dron de Cinela jeje, sin duda una pieza muy hermosa, a penas terminé de pintarla, fui y la puse en las flores del jardín para que la pintura secara mejor. Una vez posada ahí en las plantas se veía muy hermosa, la cambié de varias partes para tomarles las fotos, al final decidí dejarla ahí como parte del jardín, solo le pond´re un poco de barníz protector para que la pintura se conserve mejor con el tiempo. Espero que les haya gustad, no olviden comentar por aquí que les ha parecido, para mi sería importante, si desean que haga algo más no duden en decirlo, me despido hasta pronto amigos. Feliz fin de semana!