Saludos amigos de Holozing, felíz miércoles, ya a mitad de semana, espero se encuentren bien disfrutando de buena salud, de prosperidad, que esta semana sea de buenas noticias y que se concedan todos aquellos deseos de su corazón, es momento de presentarles una nueva manualidad para la comunidad.
Greetings, friends of Holozing, happy Wednesday, already halfway through the week. I hope you are all well, enjoying good health and prosperity. May this week be filled with good news and may all your heart's desires be granted. It's time to introduce a new craft for the community.
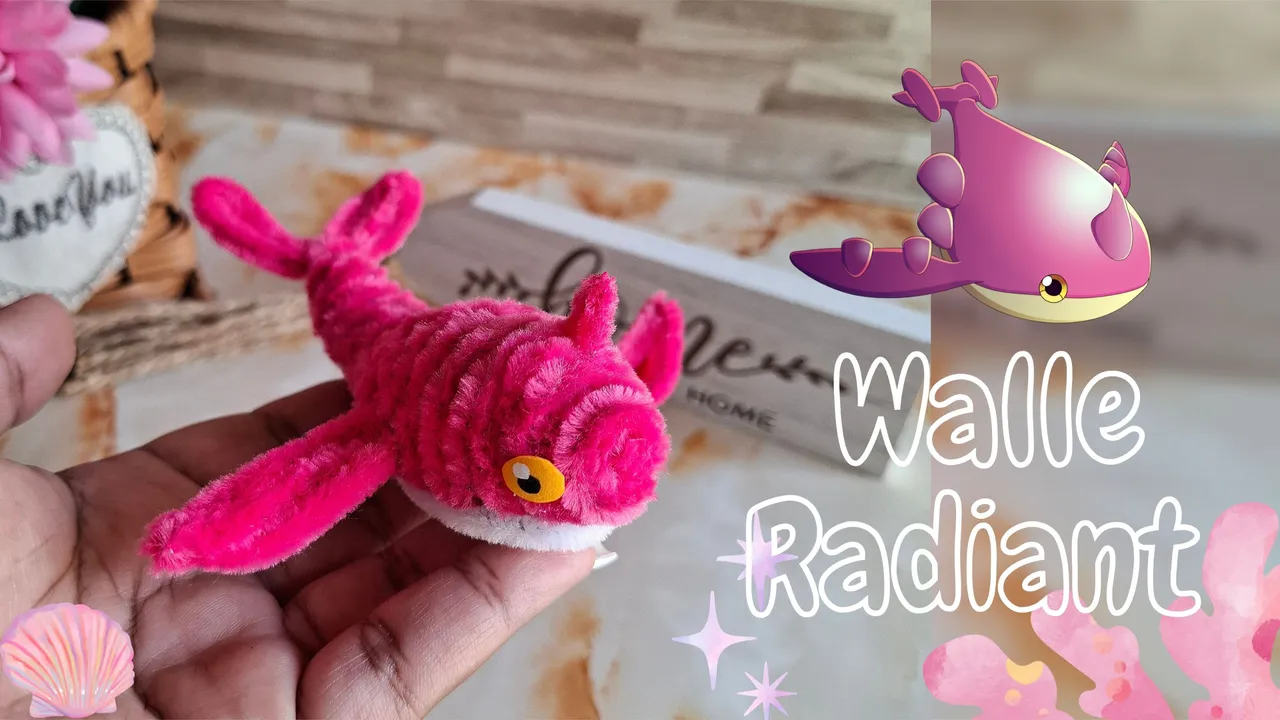
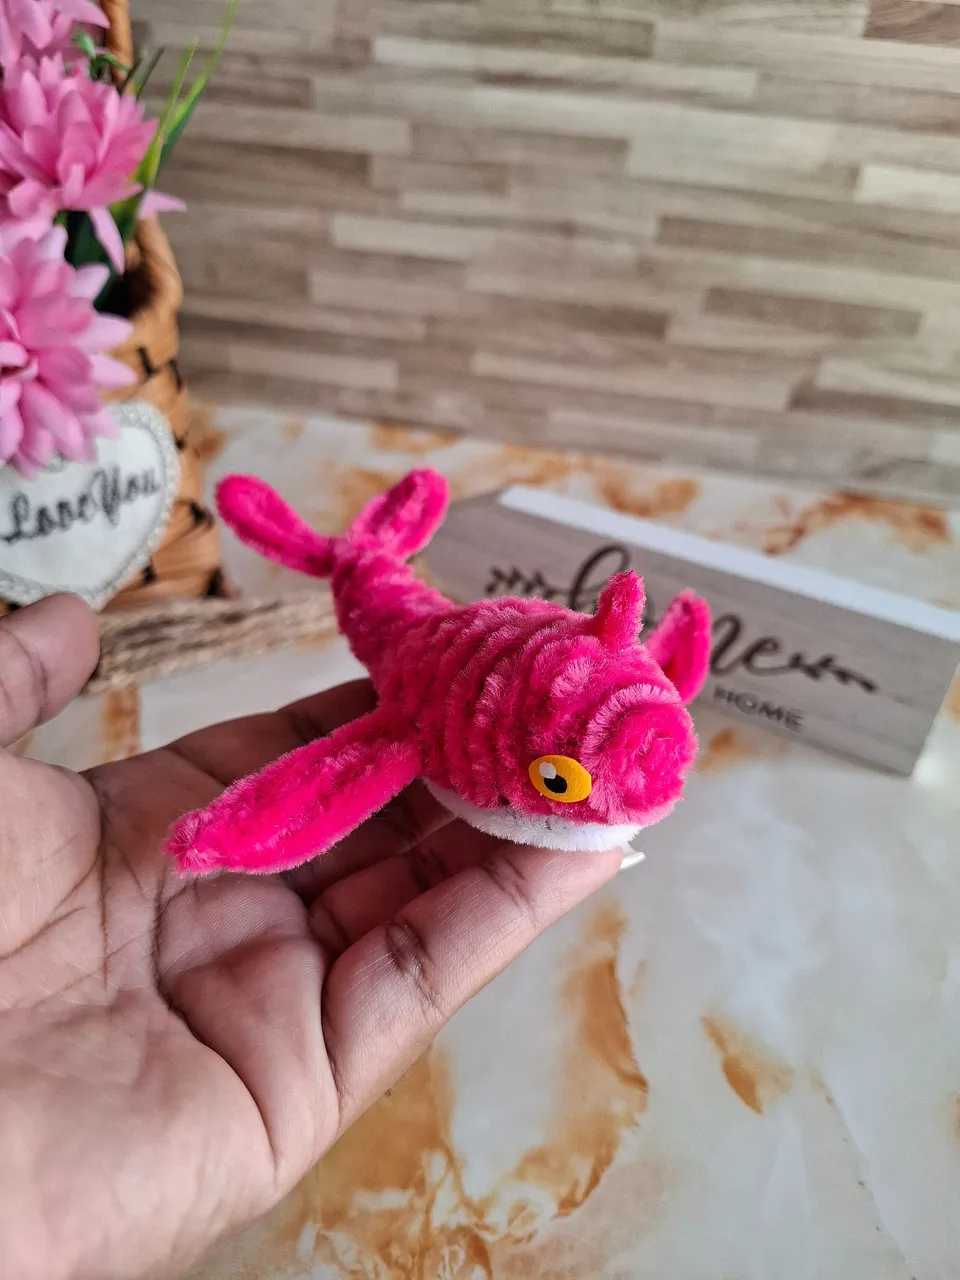
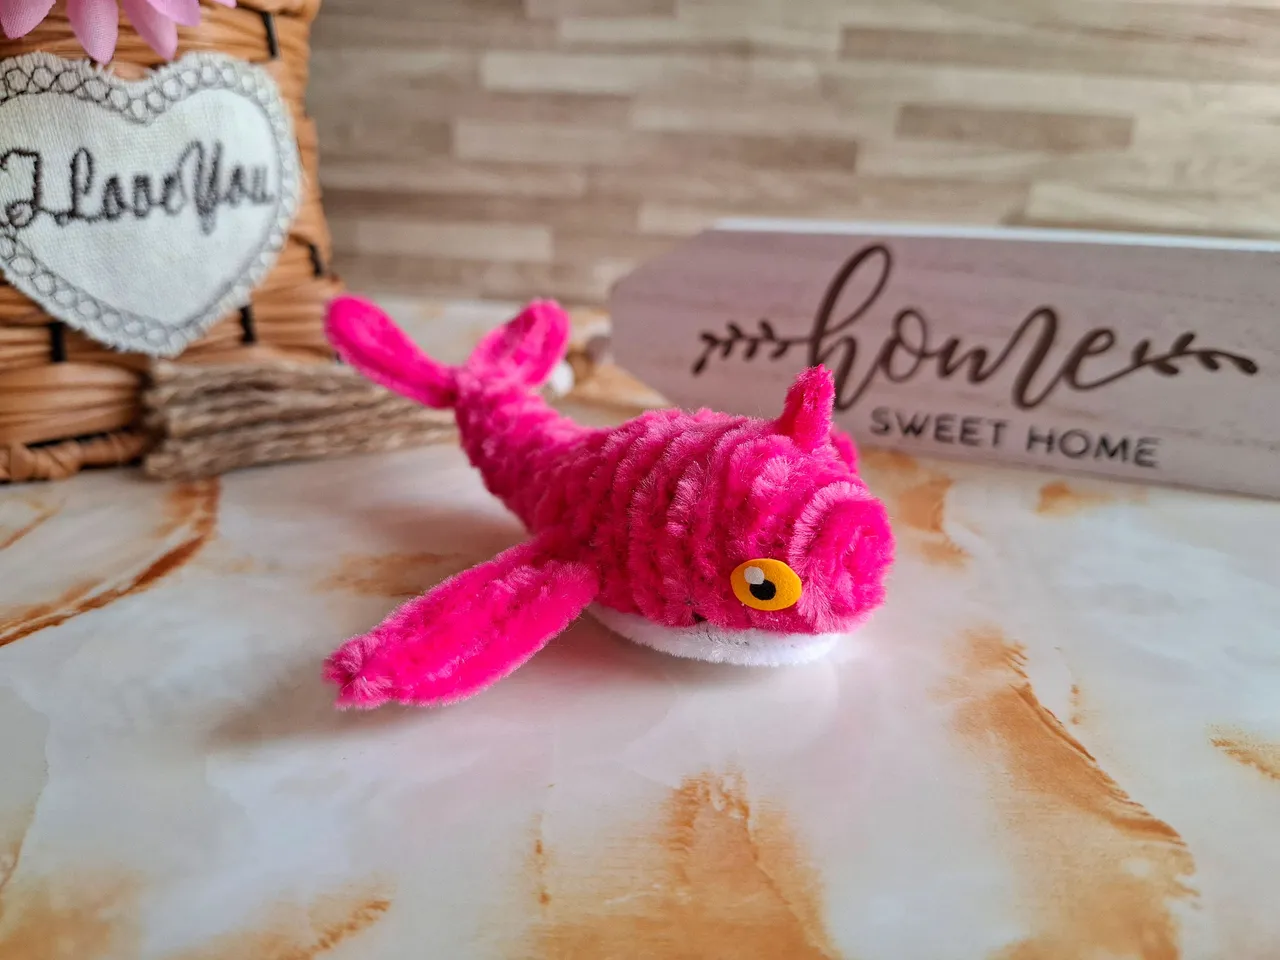
En esta oportunidad me inspiré en Walle en su versión Radiante, caracterizado por ser un poco distinto en cuanto al color, realicé esta figurita en limpiapipas, tratando de hacerla lo más similar posible, me gustó el resultado final ya que fué tal cual lo imaginé, espero les guste, a continuación los materiales y el paso a paso.
This time I was inspired by Walle in his Radiant version, characterized by being a little different in terms of color, I made this little figure out of pipe cleaners, trying to make it as similar as possible, I liked the final result since it was just as I imagined it, I hope you like it, below are the materials and the step by step.
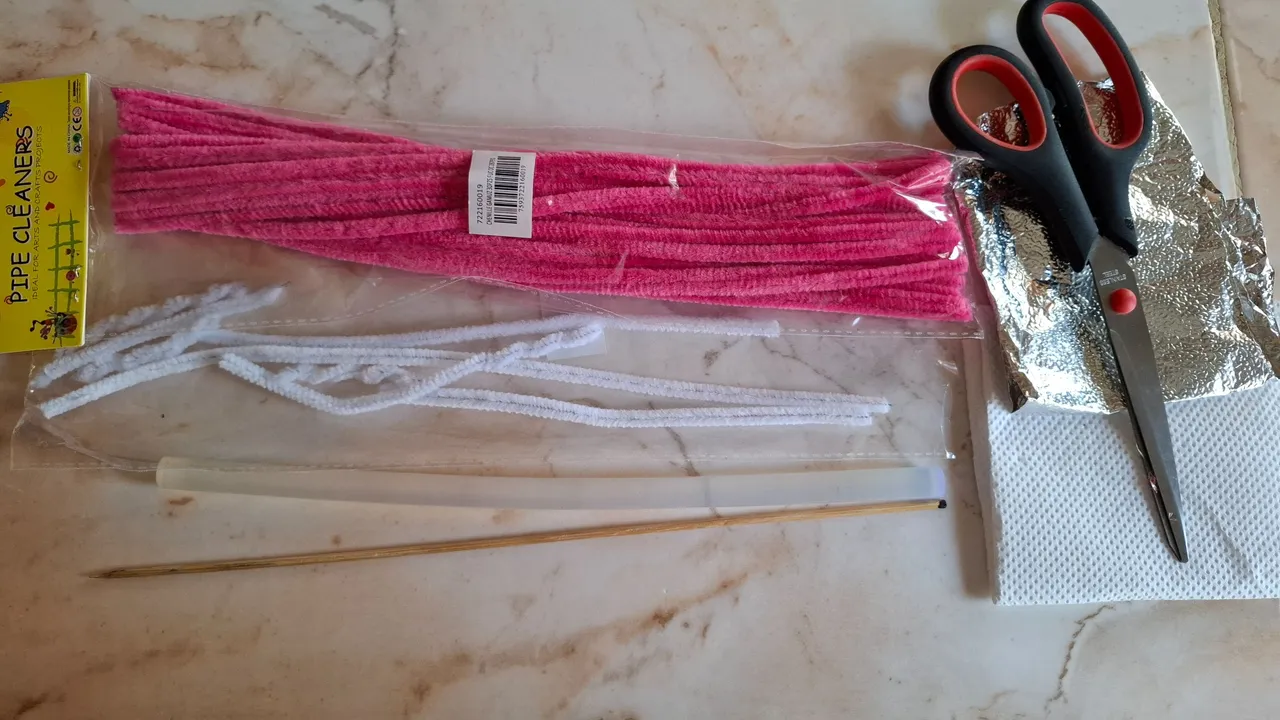
| Materiales | Materials |
|---|---|
| Limpiapipas fucsia | Fuchsia pipe cleaners |
| Limpiapipas blanco | white pipe cleaner |
| Papel aluminio | aluminum foil |
| Tijera | Scissors |
| Silicón | Silicone |
Paso a paso / Step by step
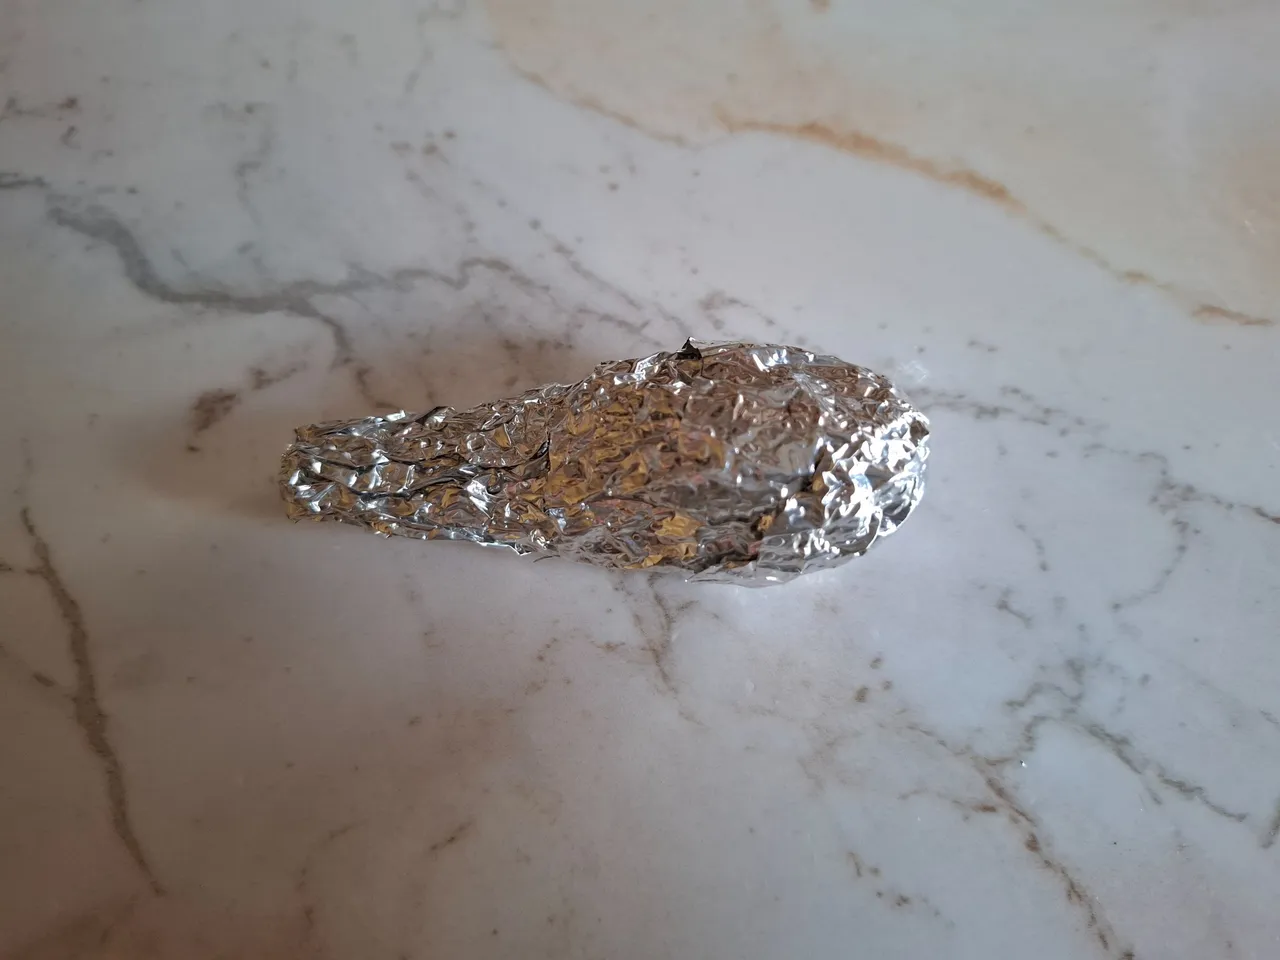
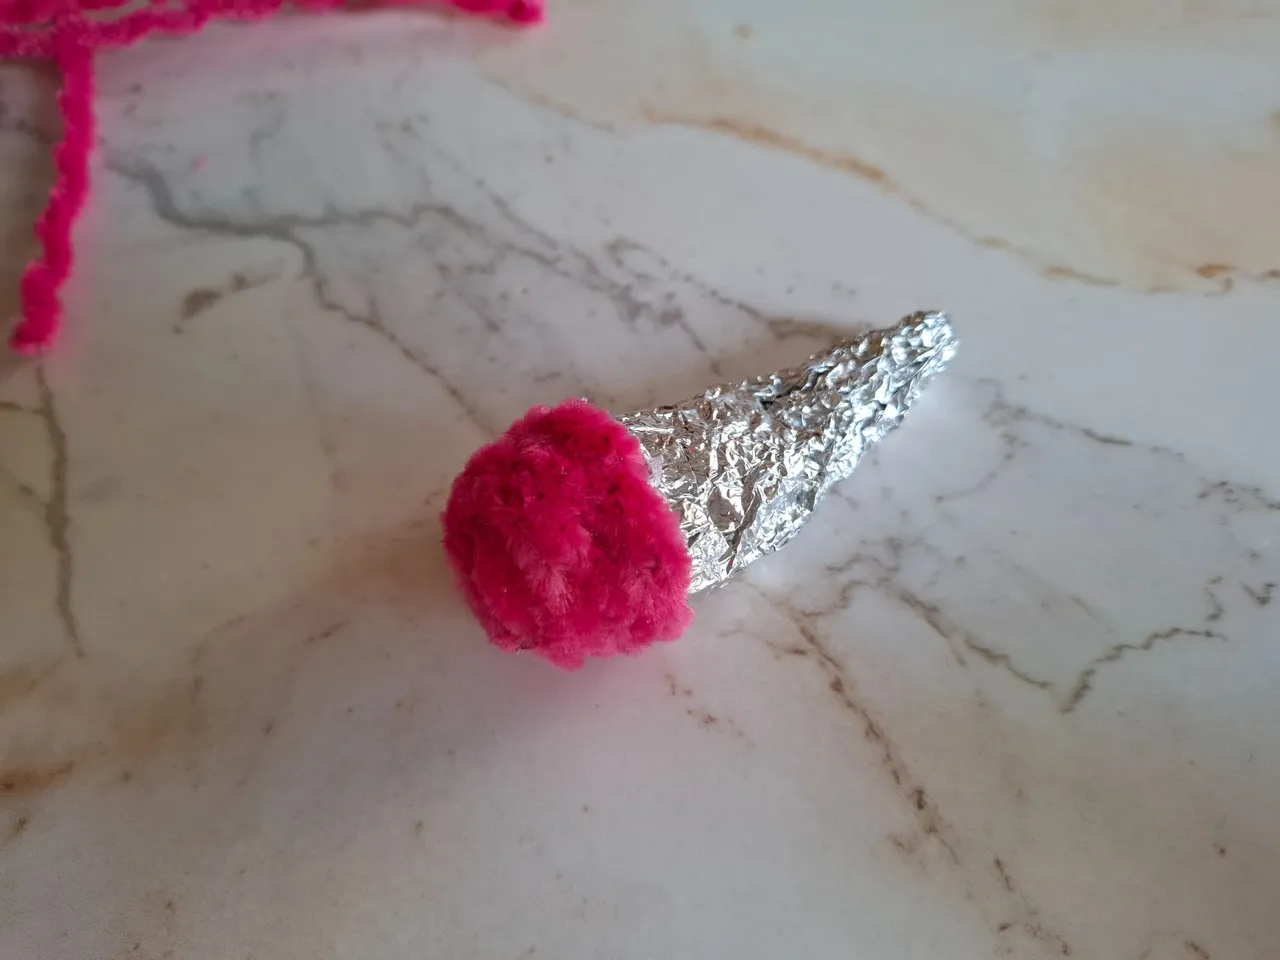
El primer paso que voy a realizar será formar la estructura base, a través del papel aluminio relleno con servilleta, vamos a darme forma redonda en uno de los extremos y en el otro extrema será más delgado.
The first step I'm going to take is to form the base structure, using the aluminum foil filled with a napkin. We're going to give it a round shape at one end and a thinner one at the other end.
 |  |  |
|---|
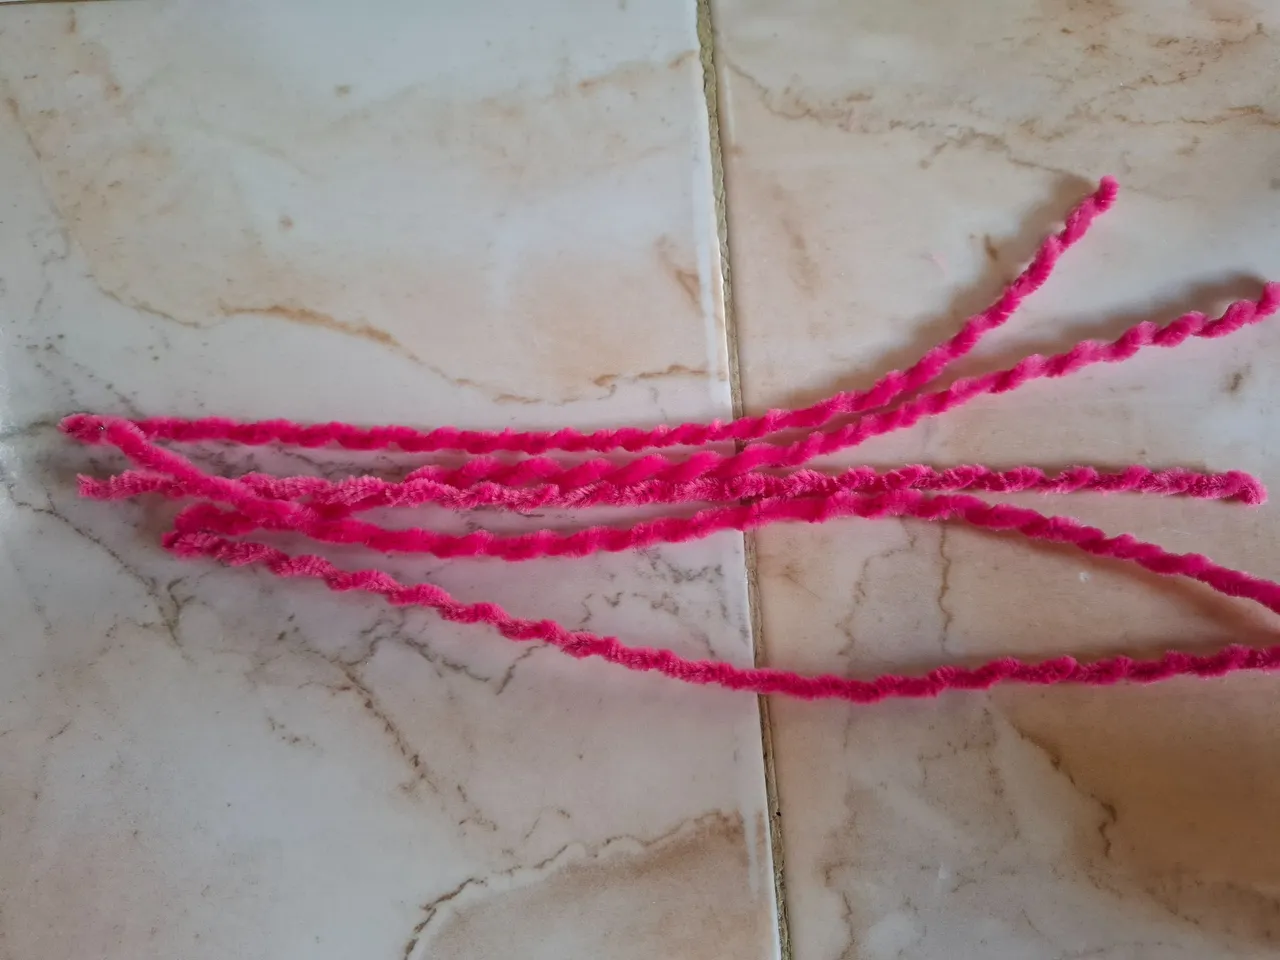
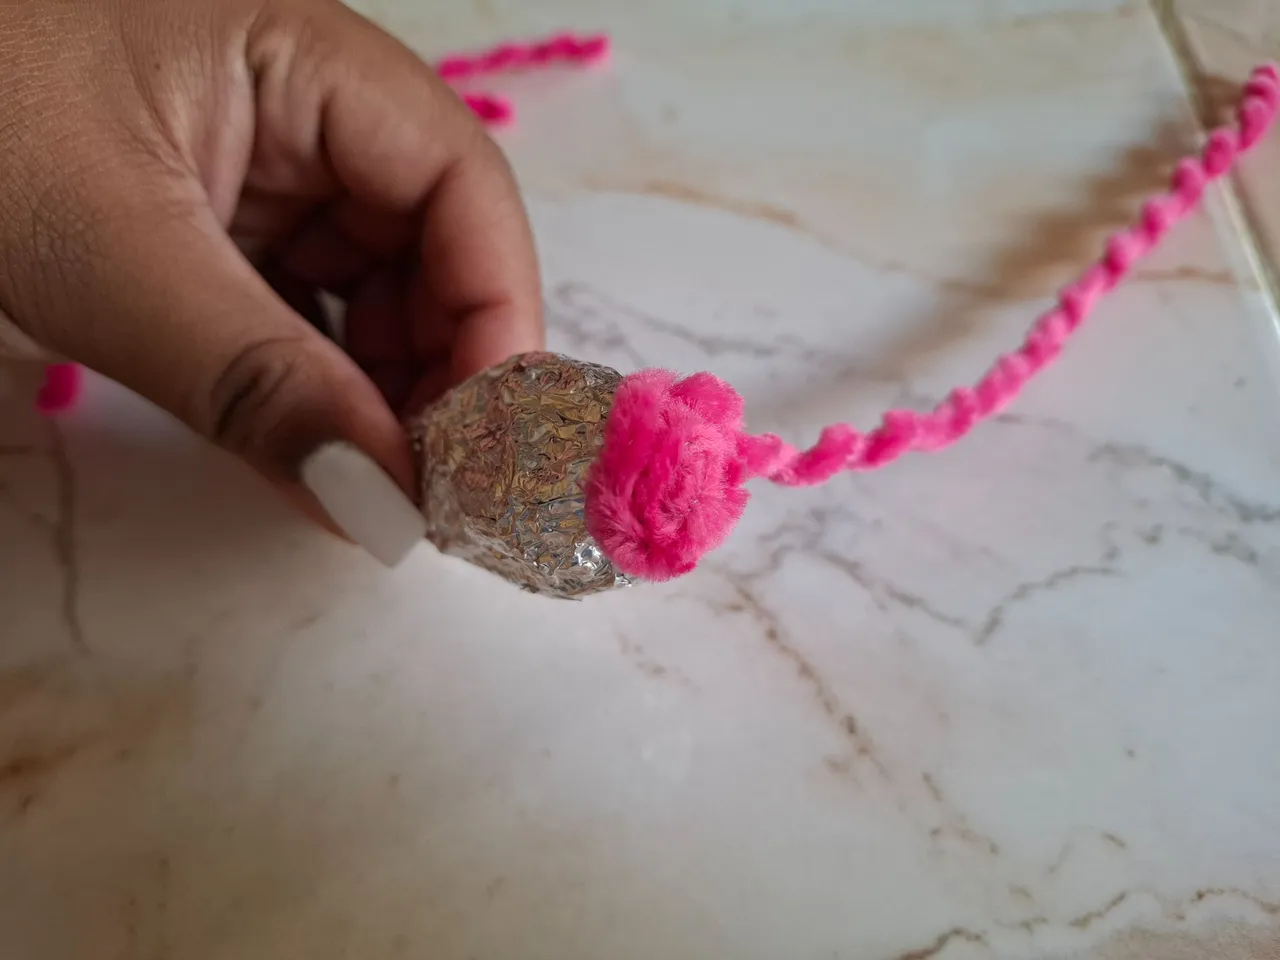
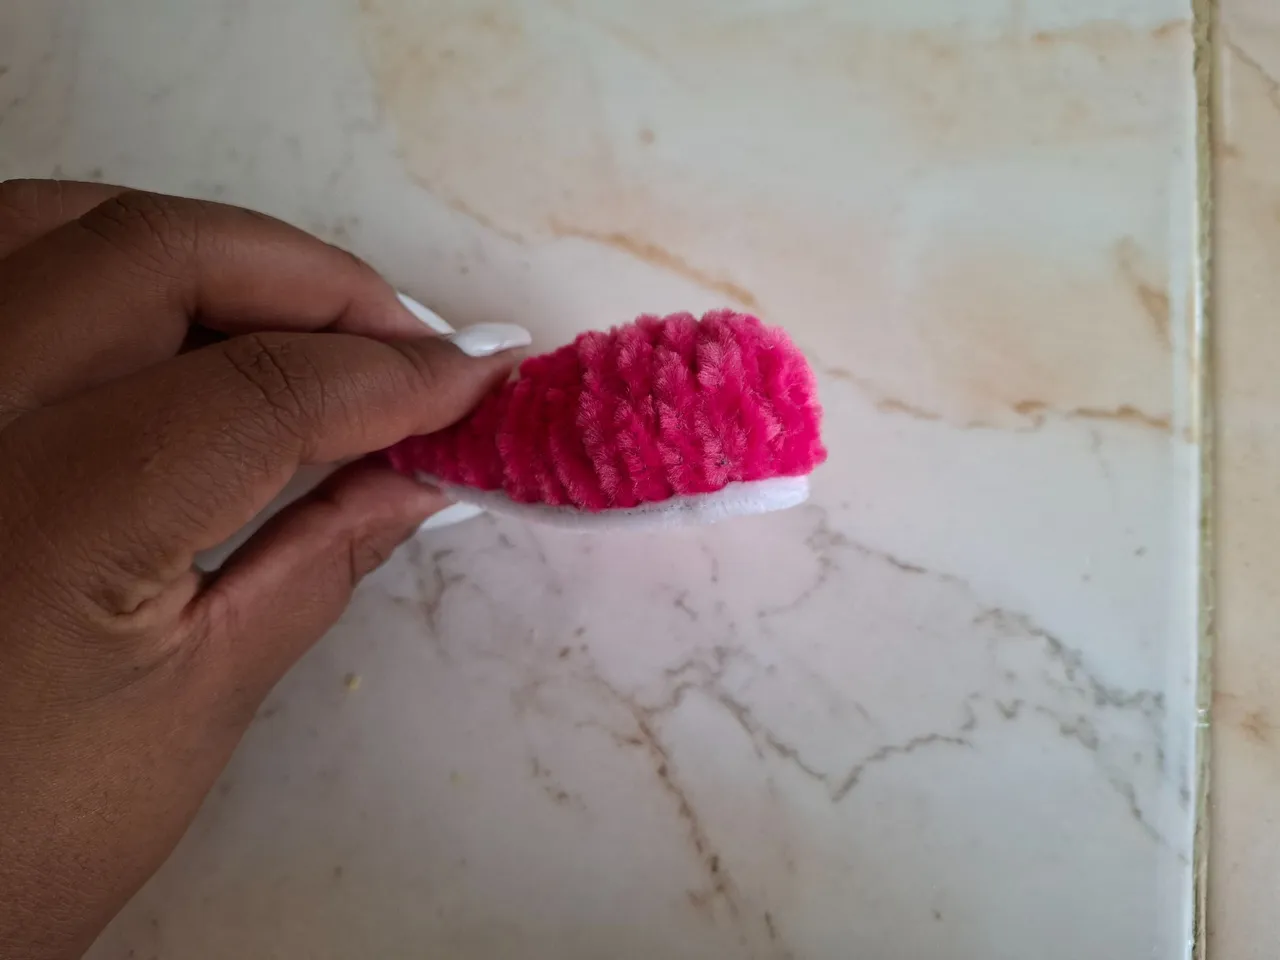
Ahora voy a enrollar los limpiapipas color fucsia en el palillo, y voy a comenzar a pegarlos comenzando desde la parte mas gruesa hasta la más fina, puedes colocar una doble capa de limpiapipas en ciertos puntos para corregir imperfecciones.
Now I'm going to roll the fuchsia pipe cleaners onto the stick, and I'm going to start gluing them starting from the thickest part to the thinnest. You can place a double layer of pipe cleaners in certain spots to correct imperfections.
 |  |  |
|---|
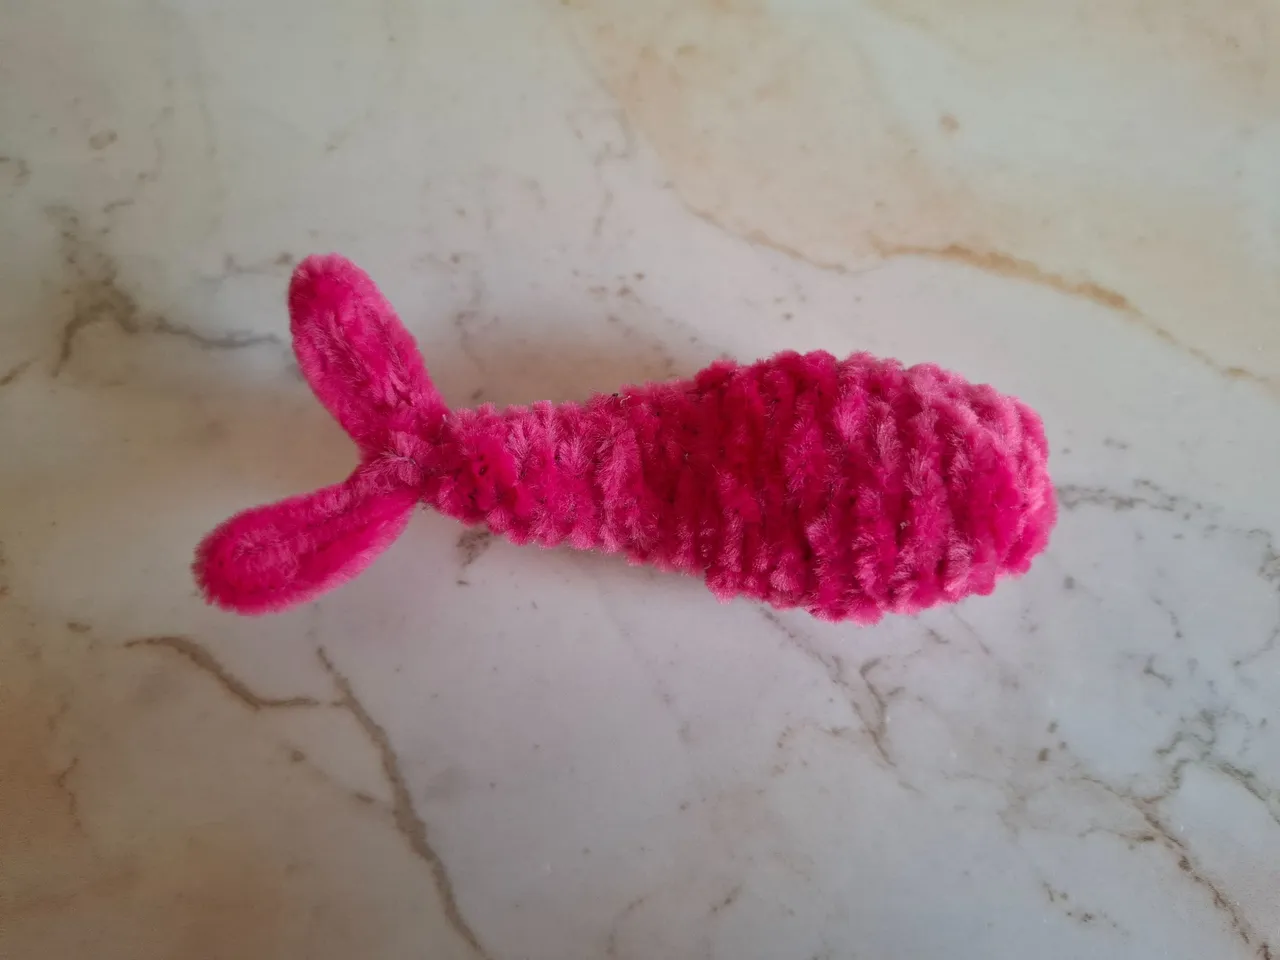
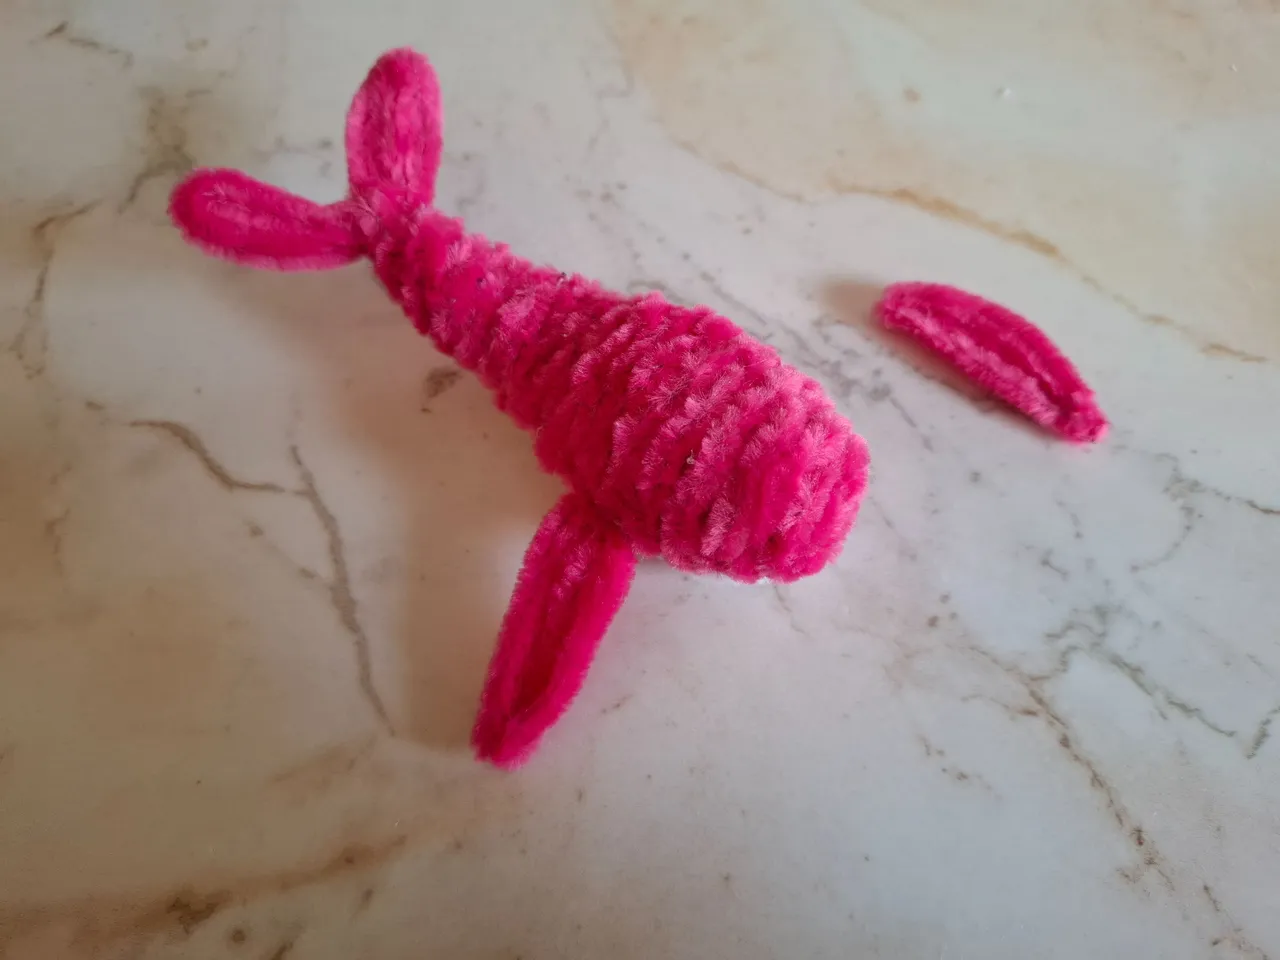
Luego en la parte inferior voy a colocar el limpiapipas color blanco, con un limpiapipas fucsia, doblamos aproximadamente 4 cm y giramos el limpiapipas, realizamos el mismo paso del otro lado y con el restante vamos a cubrir para formar la aleta de la cola.
Then at the bottom I'm going to place the white pipe cleaner, with a fuchsia pipe cleaner, we bend approximately 4 cm and turn the pipe cleaner, we do the same step on the other side and with the remaining one we are going to cover to form the tail fin.
 |  |  |
|---|
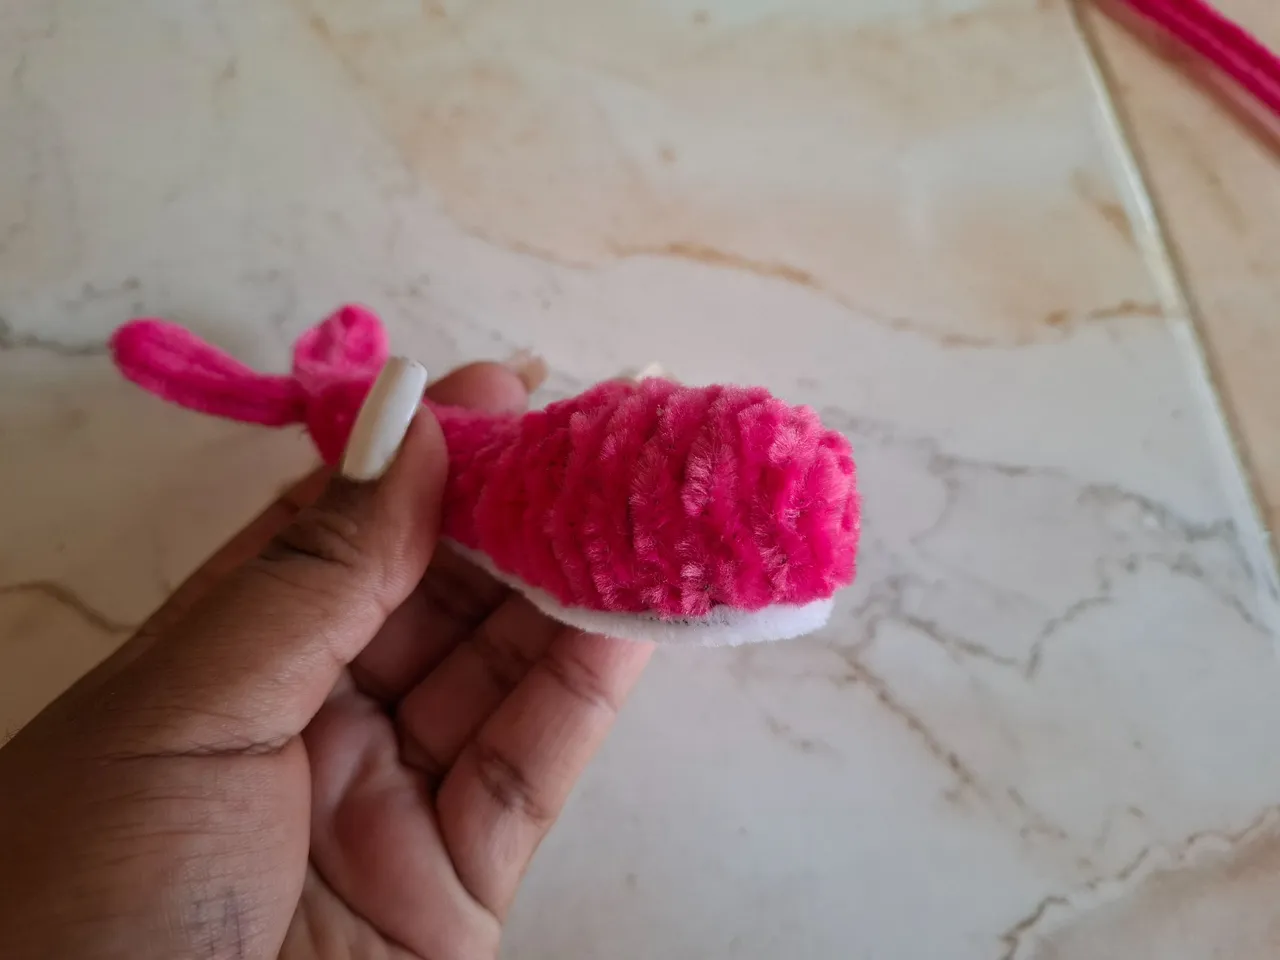
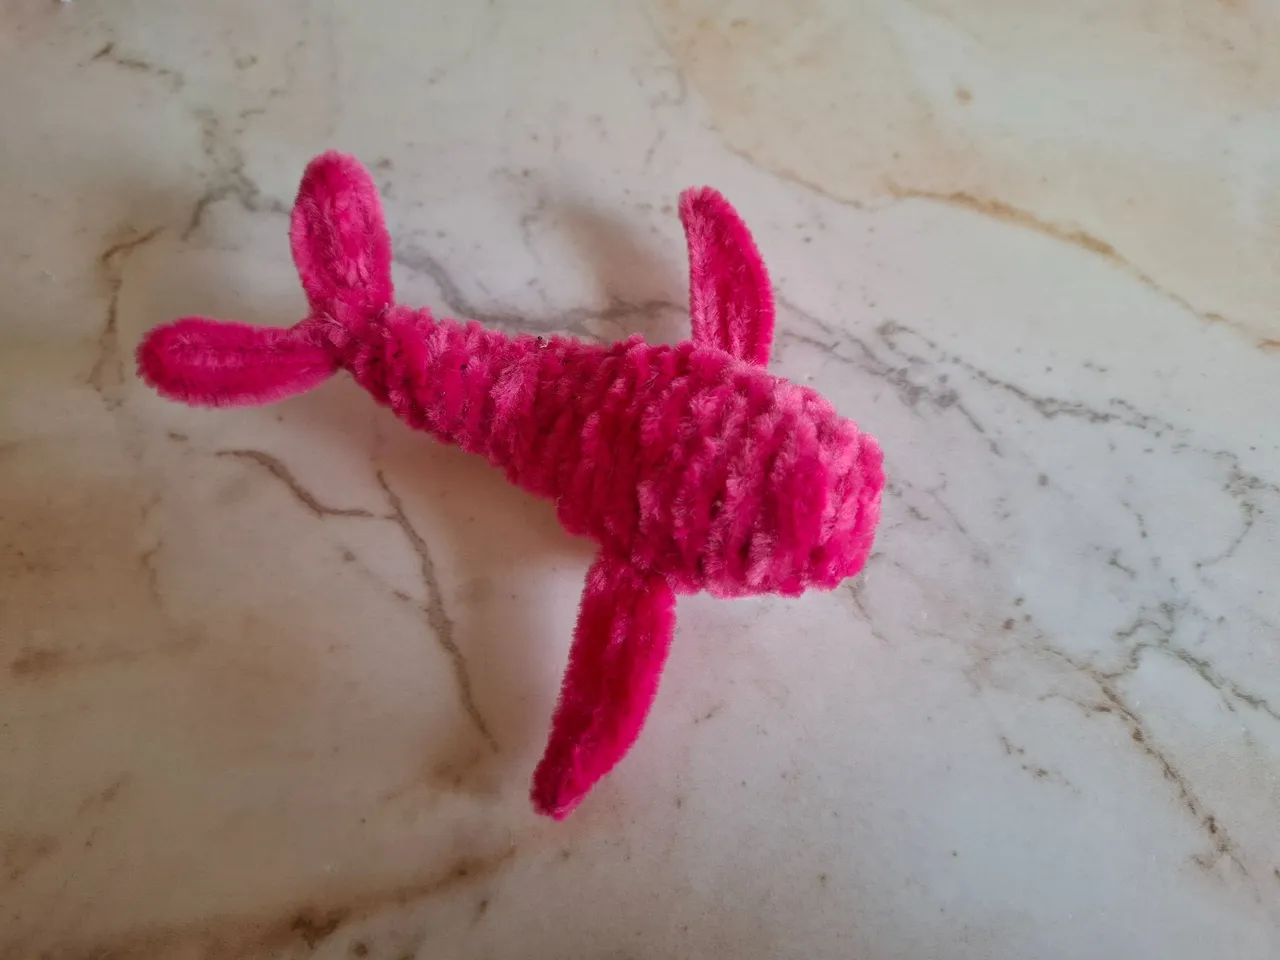
Para las aletas laterales solo tendrás que tomar un limpiapipas doblar un poco unos 3 a 4 cm y luego con el restante seguir cubriendo hasta forma la aleta y dar forma puntiaguda.
Luego voy a realizar la aleta de la cabeza, y los ojitos en foami amarillo, con marcador negro dibujamos el centro y un puntito blanco en una esquina.
For the side fins, you'll just need to take a pipe cleaner and bend it a little, about 3 to 4 cm, then use the remaining piece to cover it until it forms the fin and gives it a pointed shape.
Next, I'll make the head fin and the eyes out of yellow foam. With a black marker, draw the center and a white dot in one corner.
 |  |
|---|
Y de esta forma terminé a Walle Radiant, espero les haya gustado el resultado, muchas gracias por visitar mi publicación nos vemos en una próxima oportunidad con más ideas creativas.
And this is how I finished Walle Radiant. I hope you liked the result. Thank you very much for visiting my post. See you next time with more creative ideas.