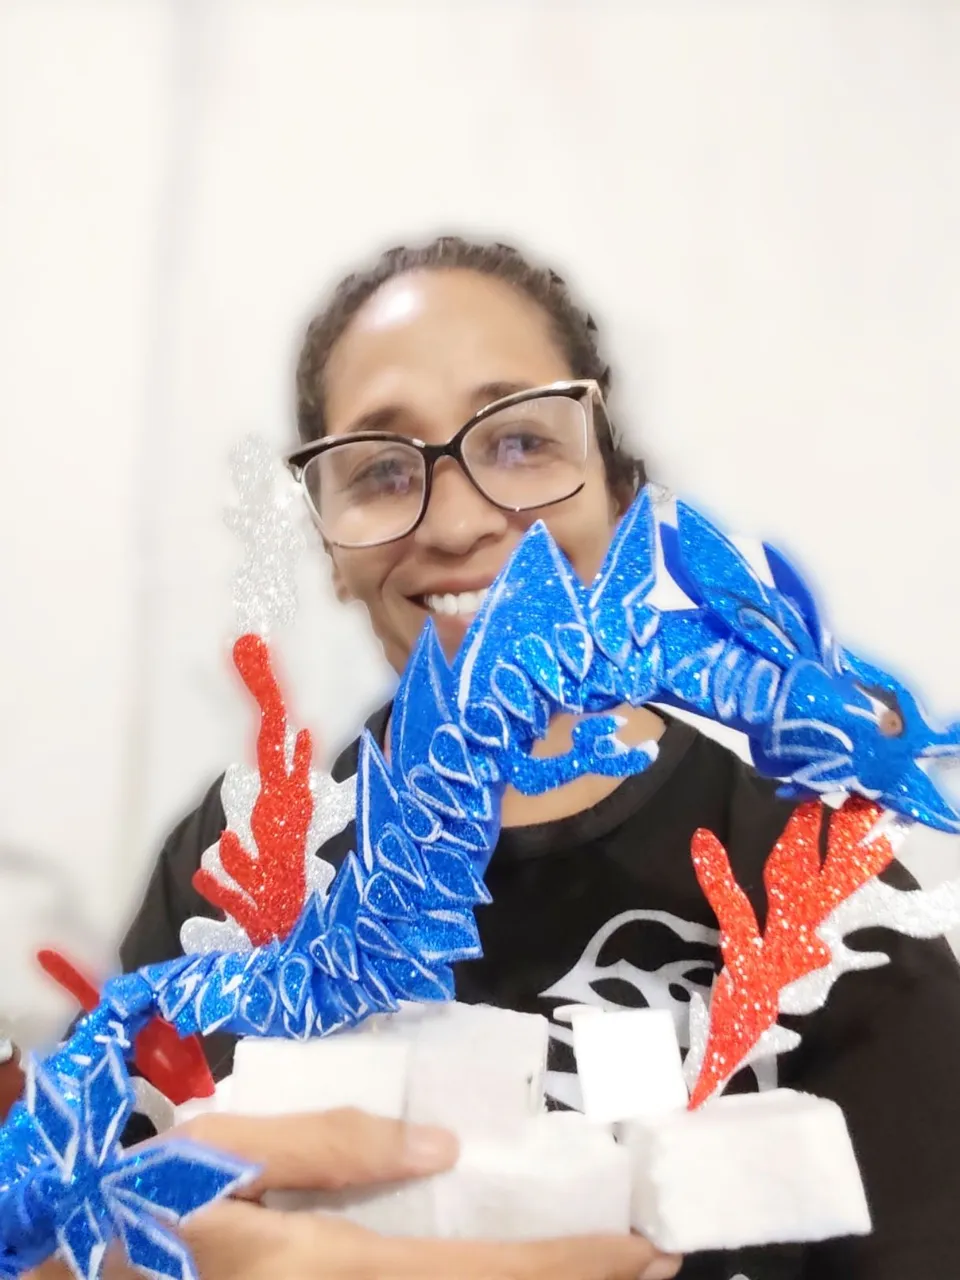
Greetings friends of #hive greetings to all those special people who make life in this community, which is intended for the promotion of the game #Holozing among others, I for my part I have dedicated myself to make fanart quite varied, but in the end the goal is to promote this game, and allow its early release.
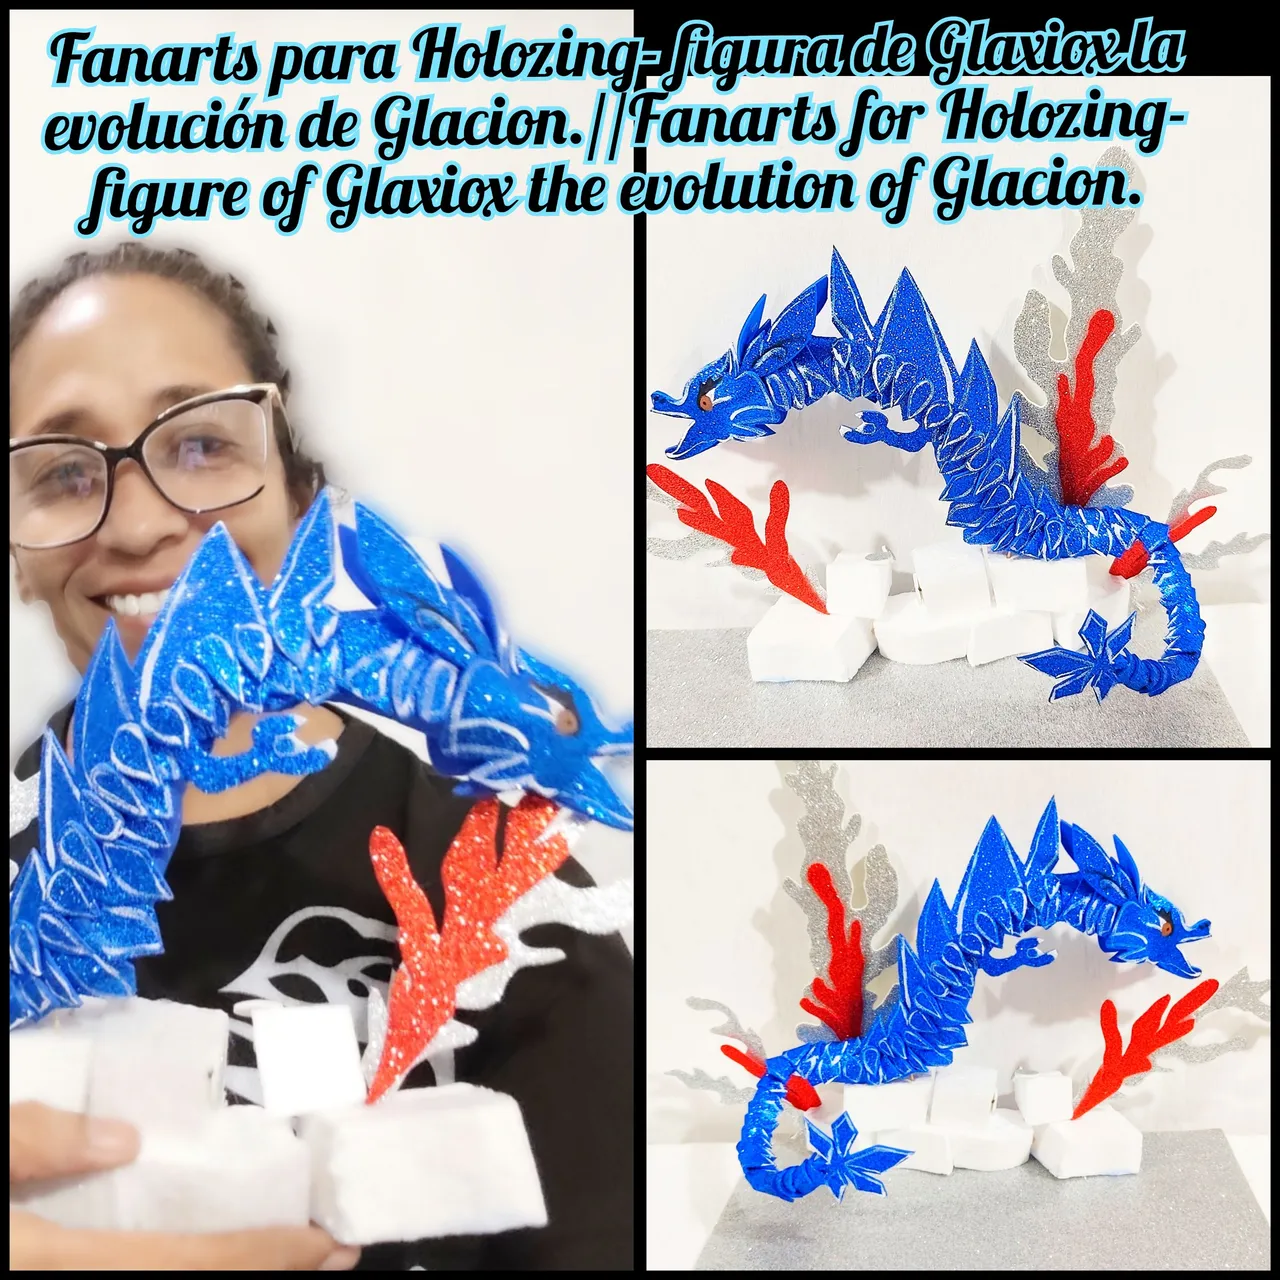
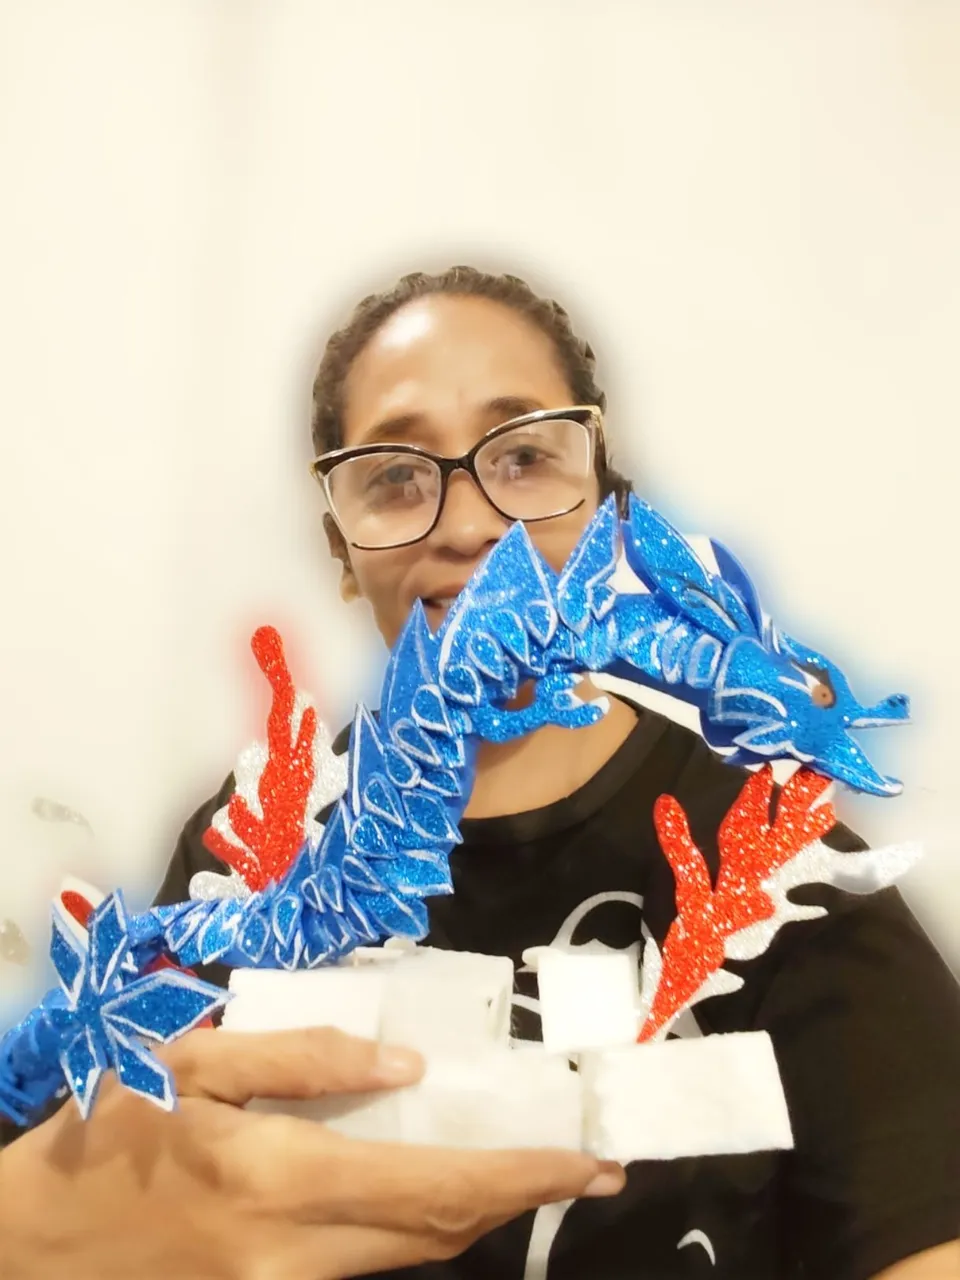
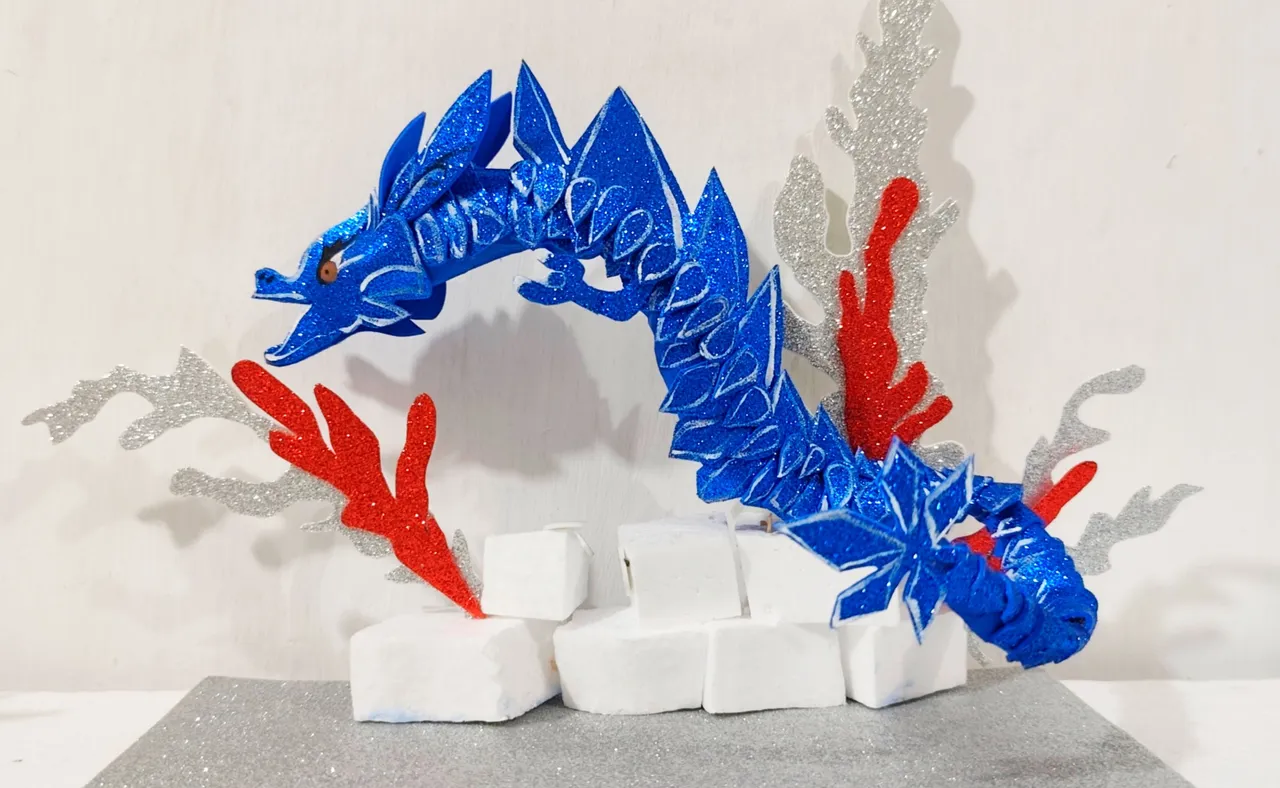
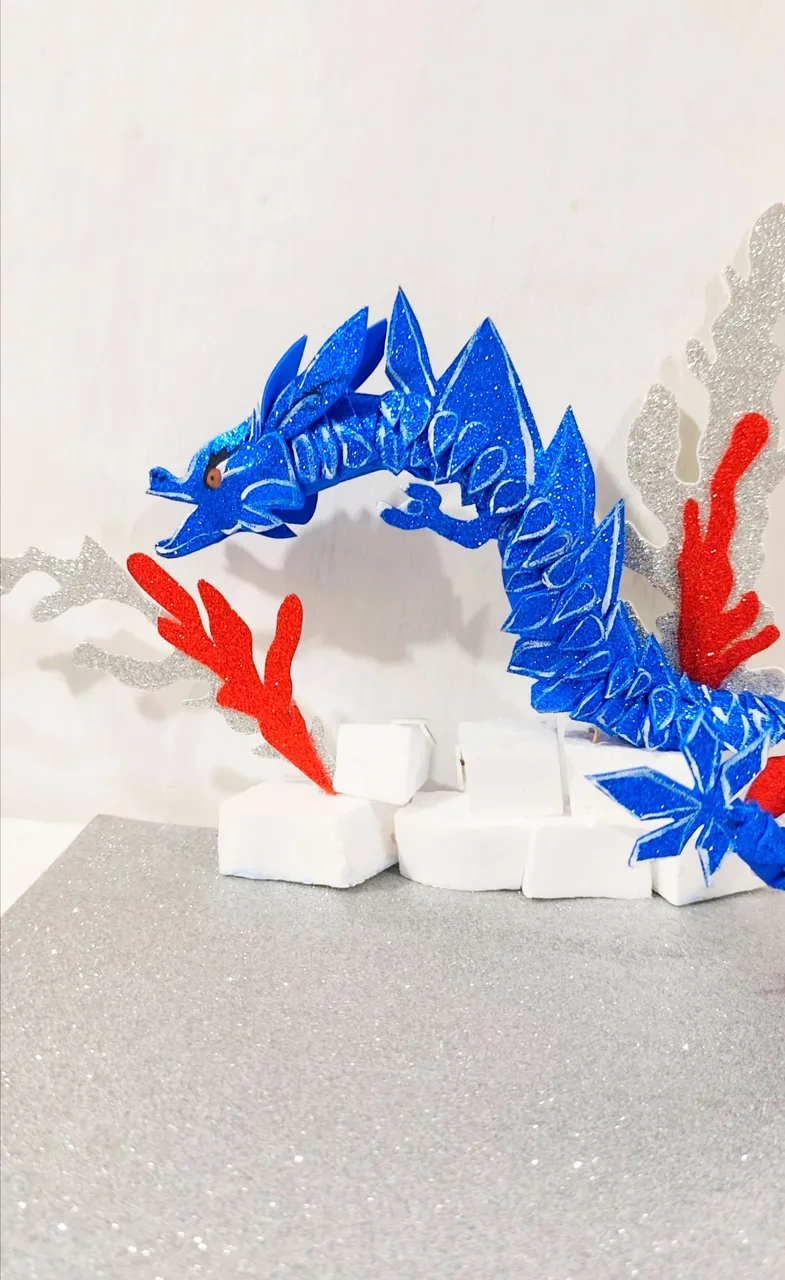
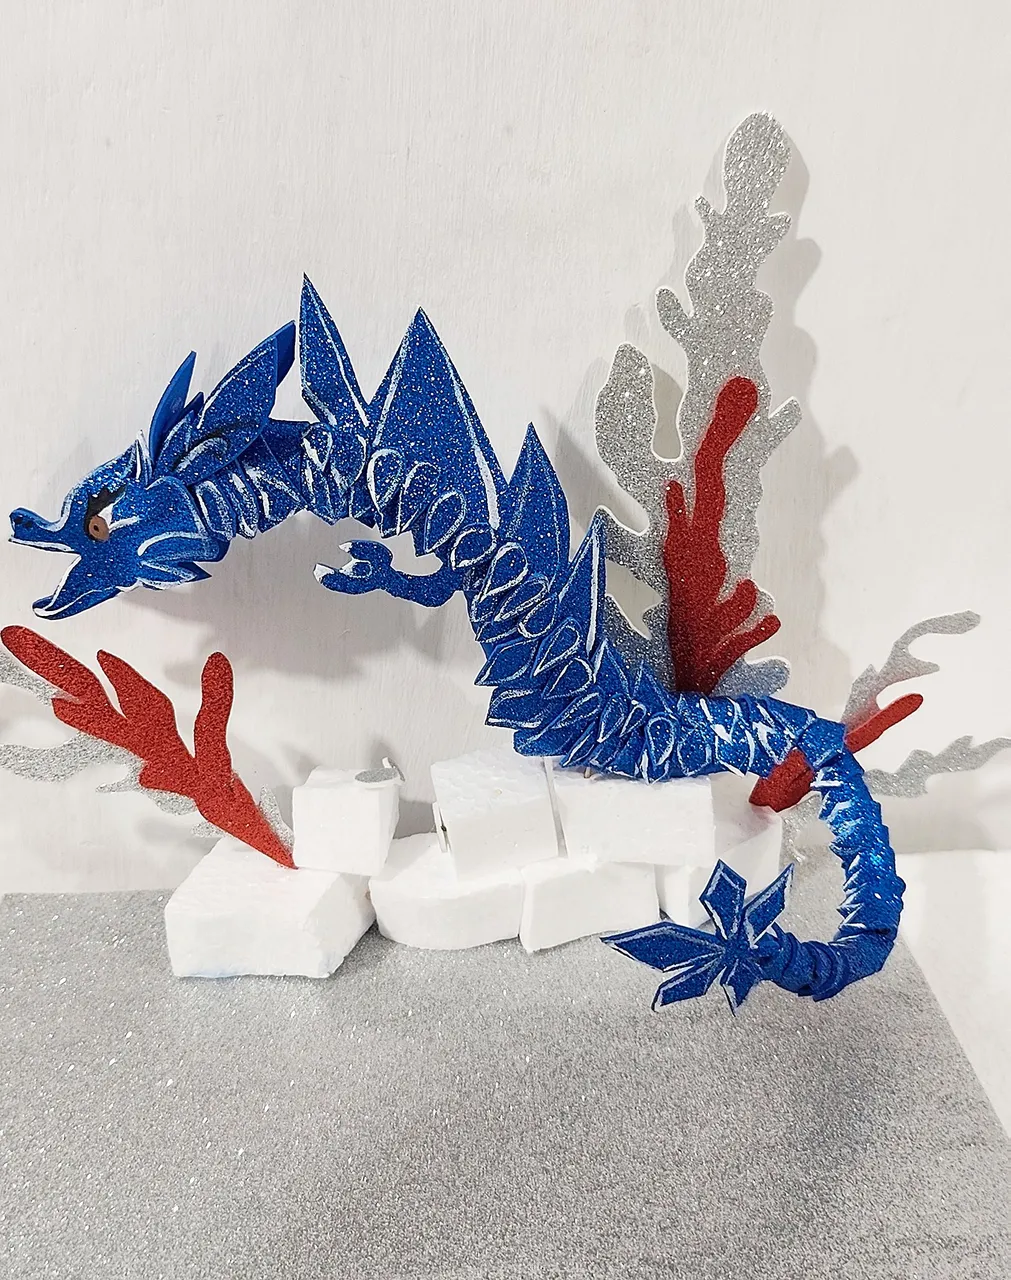
Today I bring you a manual work that if I'm honest, it took me a long time to do, two days to be specific, I worked with the creation of a figure of Glaxiox the evolution of the dragon Glacion.
🐲MATERIALS 🐲
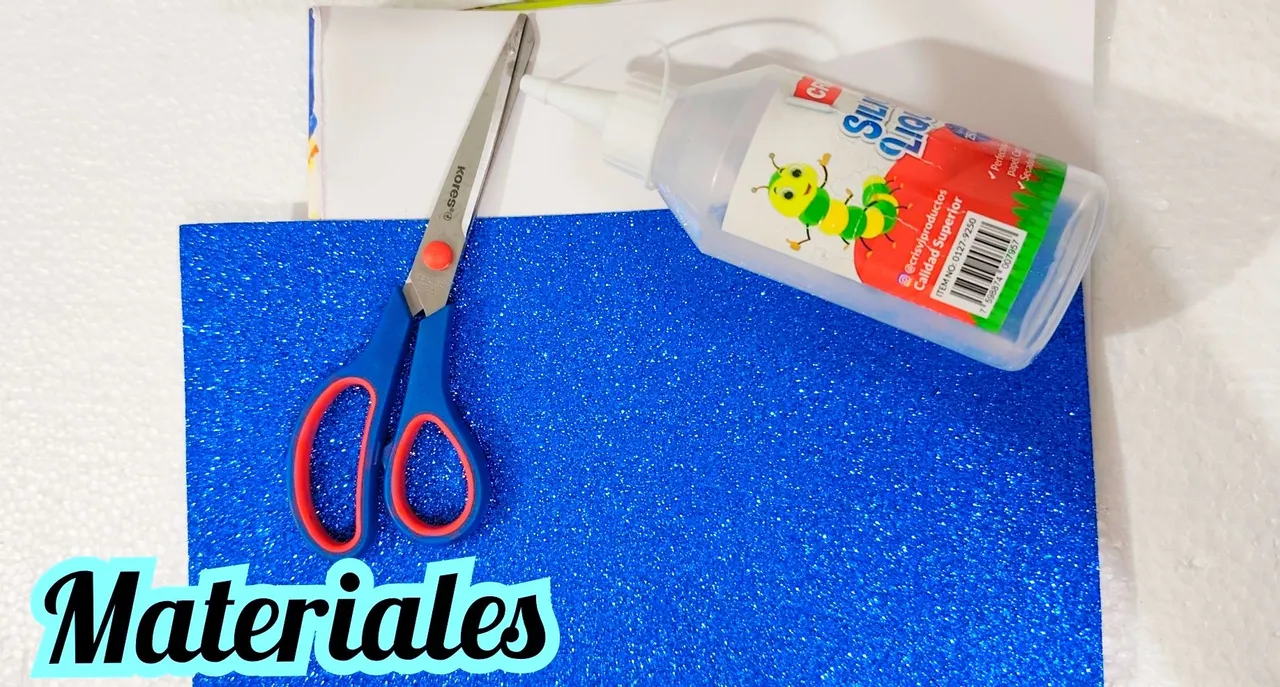
🐲 White sheets.
🐲 Blue frosted foami.
🐲 Silver frosted foami.
🐲 Red frosted foami.
🐲 Liquid silicone.
🐲 Blue frost paint.
🐲 White cold paint.
🐲 Brown cold paint.
🐲 Anime squares.
🐲 Chopsticks.
🐲 Brush.
🐲 Scissors.
🐲STEP BY STEP 🐲
🐲 STEP 1:
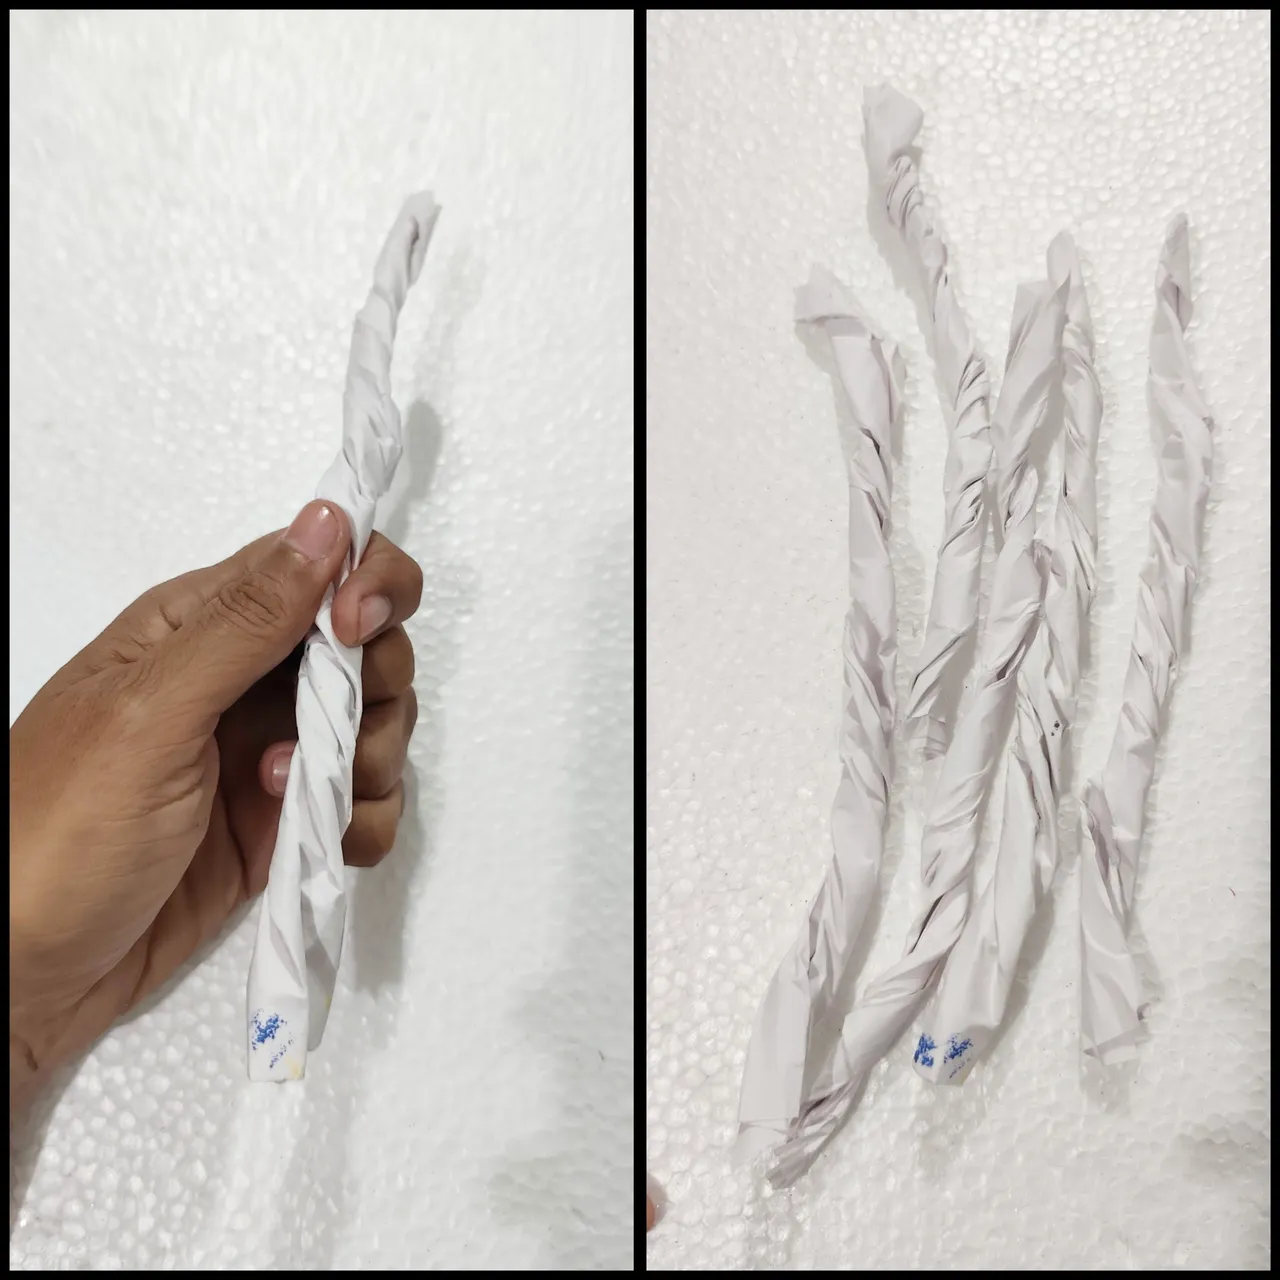
I took the white leaves and twisted them until they were well rolled, I made exactly 5 rolls.
🐲 STEP 2:
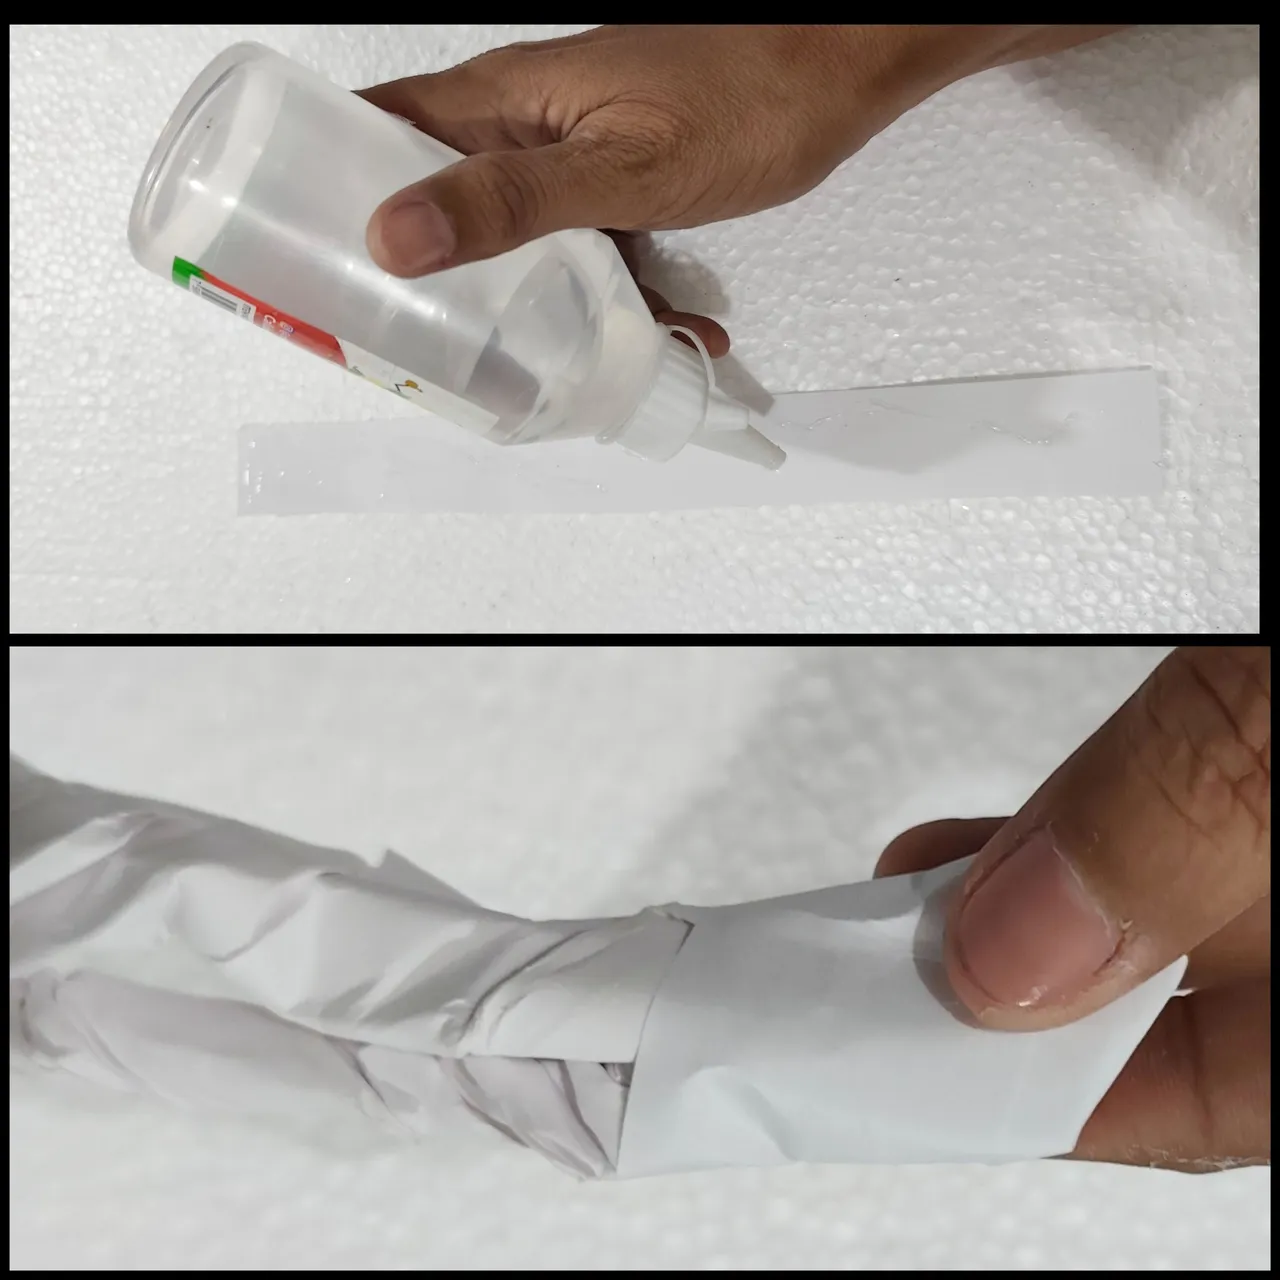
I cut small strips from the white sheet, then applied liquid silicone and lined each roll, when we reached the end we joined two more strips and glued with the silicone, lining the paper strips.
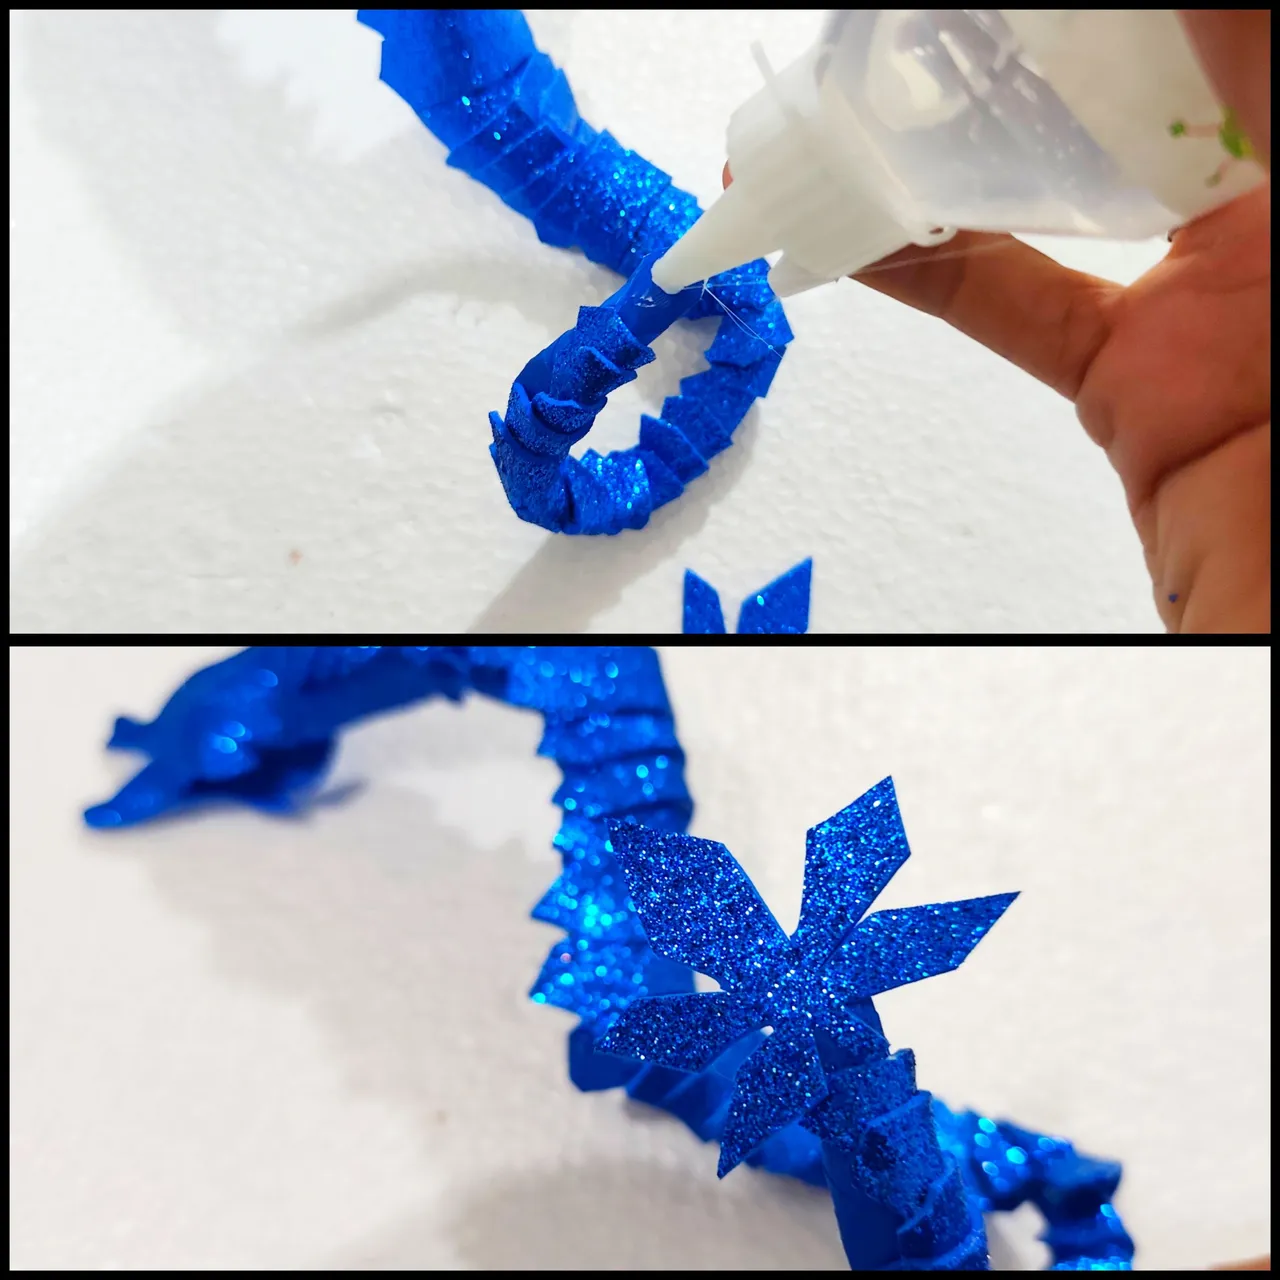
🐲 STEP 3:
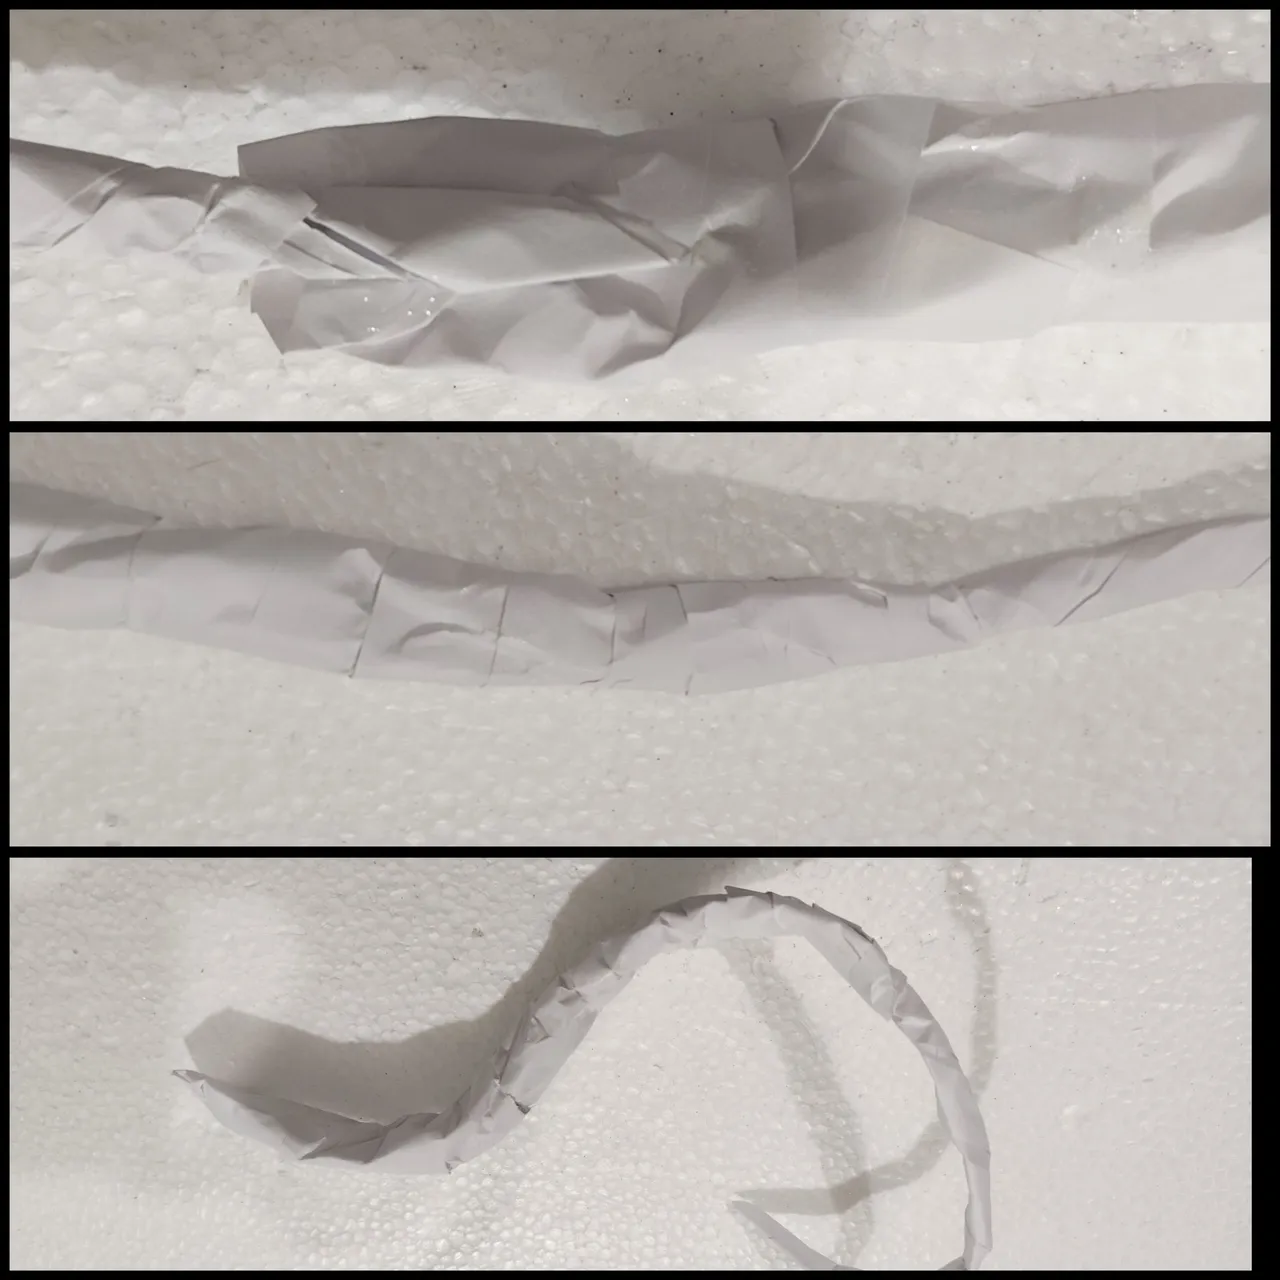
I formed a long strip, which I folded into the shape of the dragon and applied liquid silicone to the whole piece to fix it well and let it dry for a day.
🐲 STEP 4:
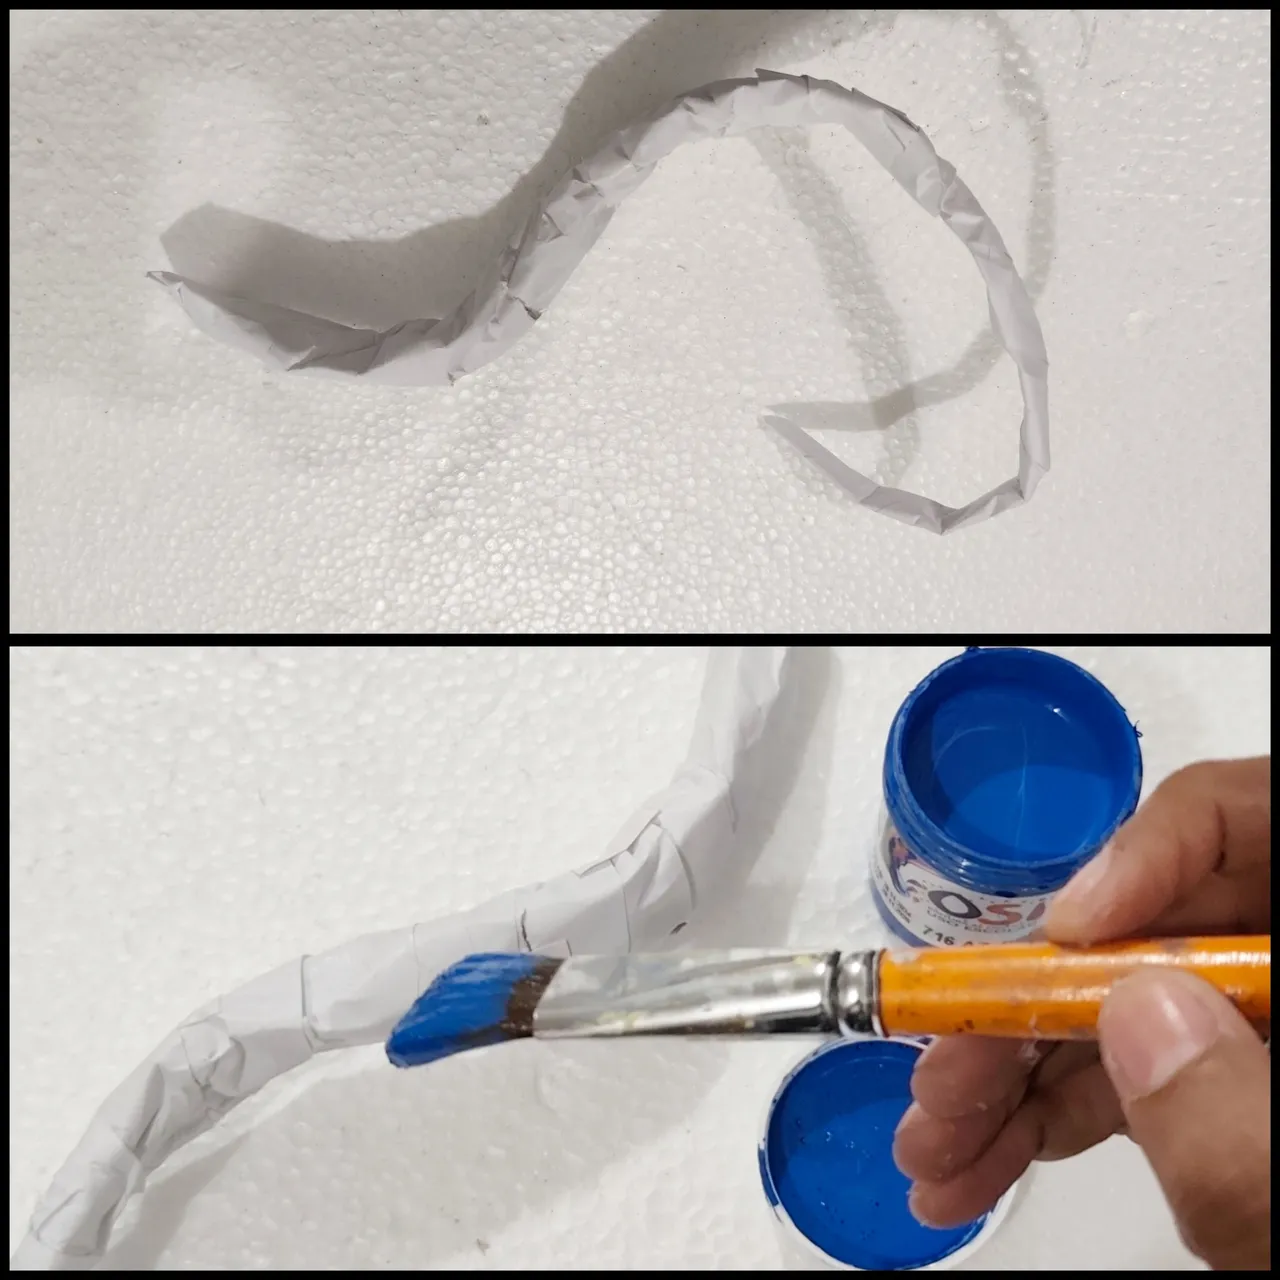
When the piece is dry and firm, I take the blue paint and paint it completely and let it dry for at least 4 hours.
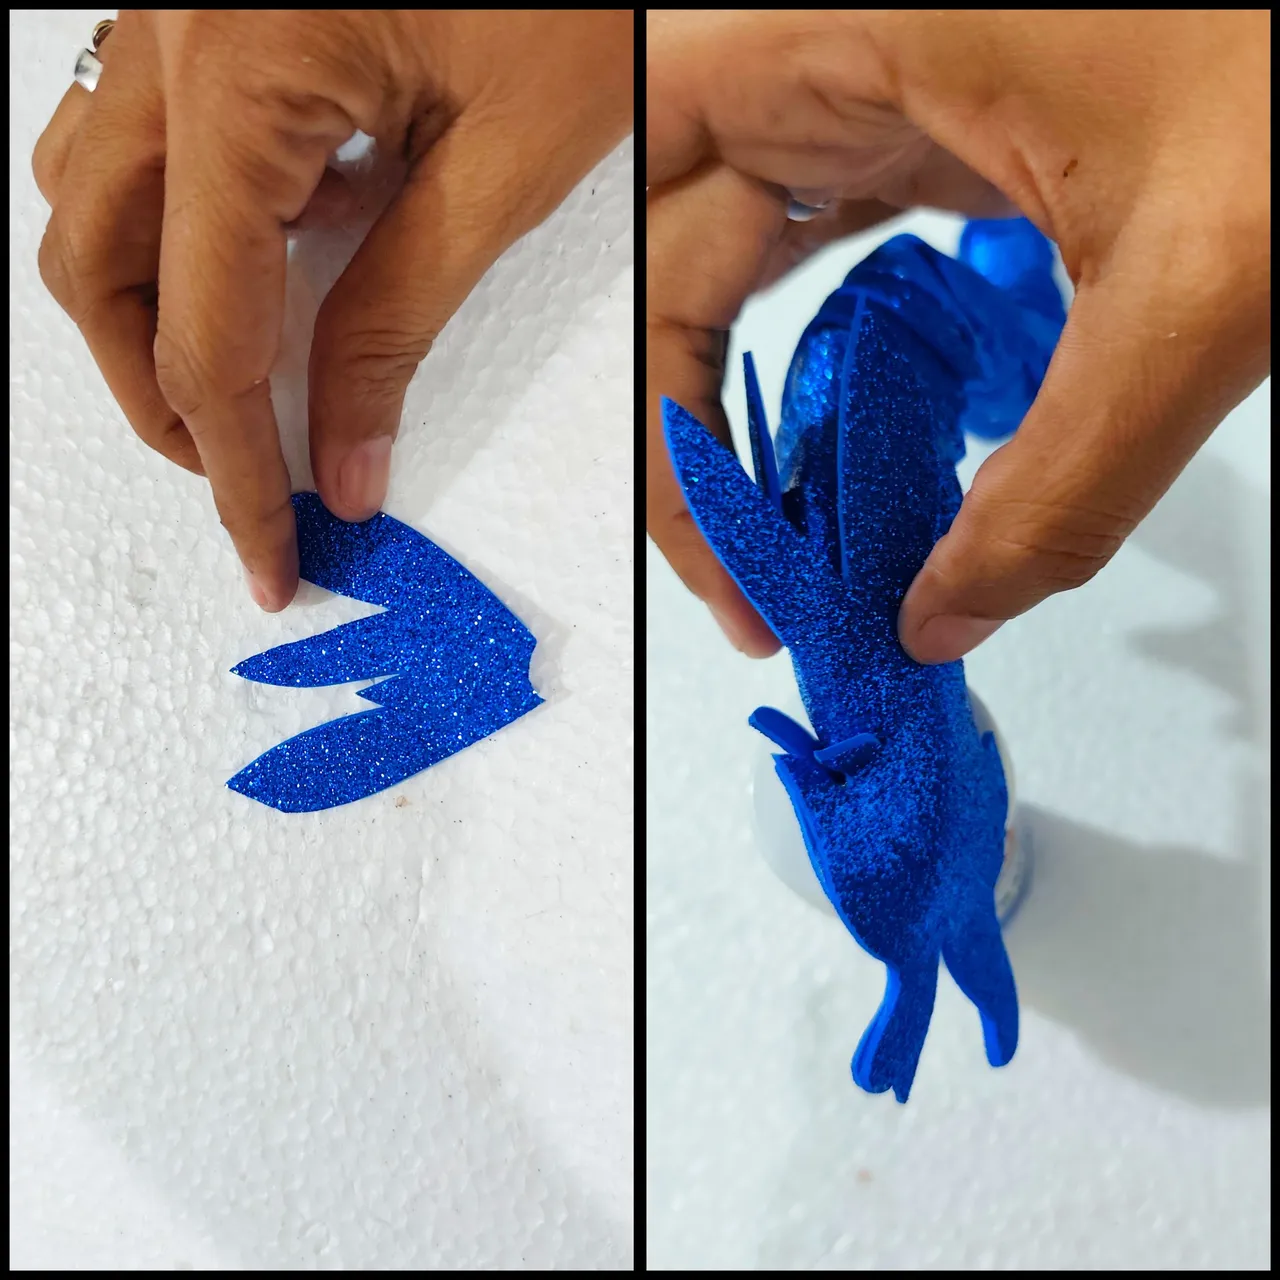
🐲 STEP 5:
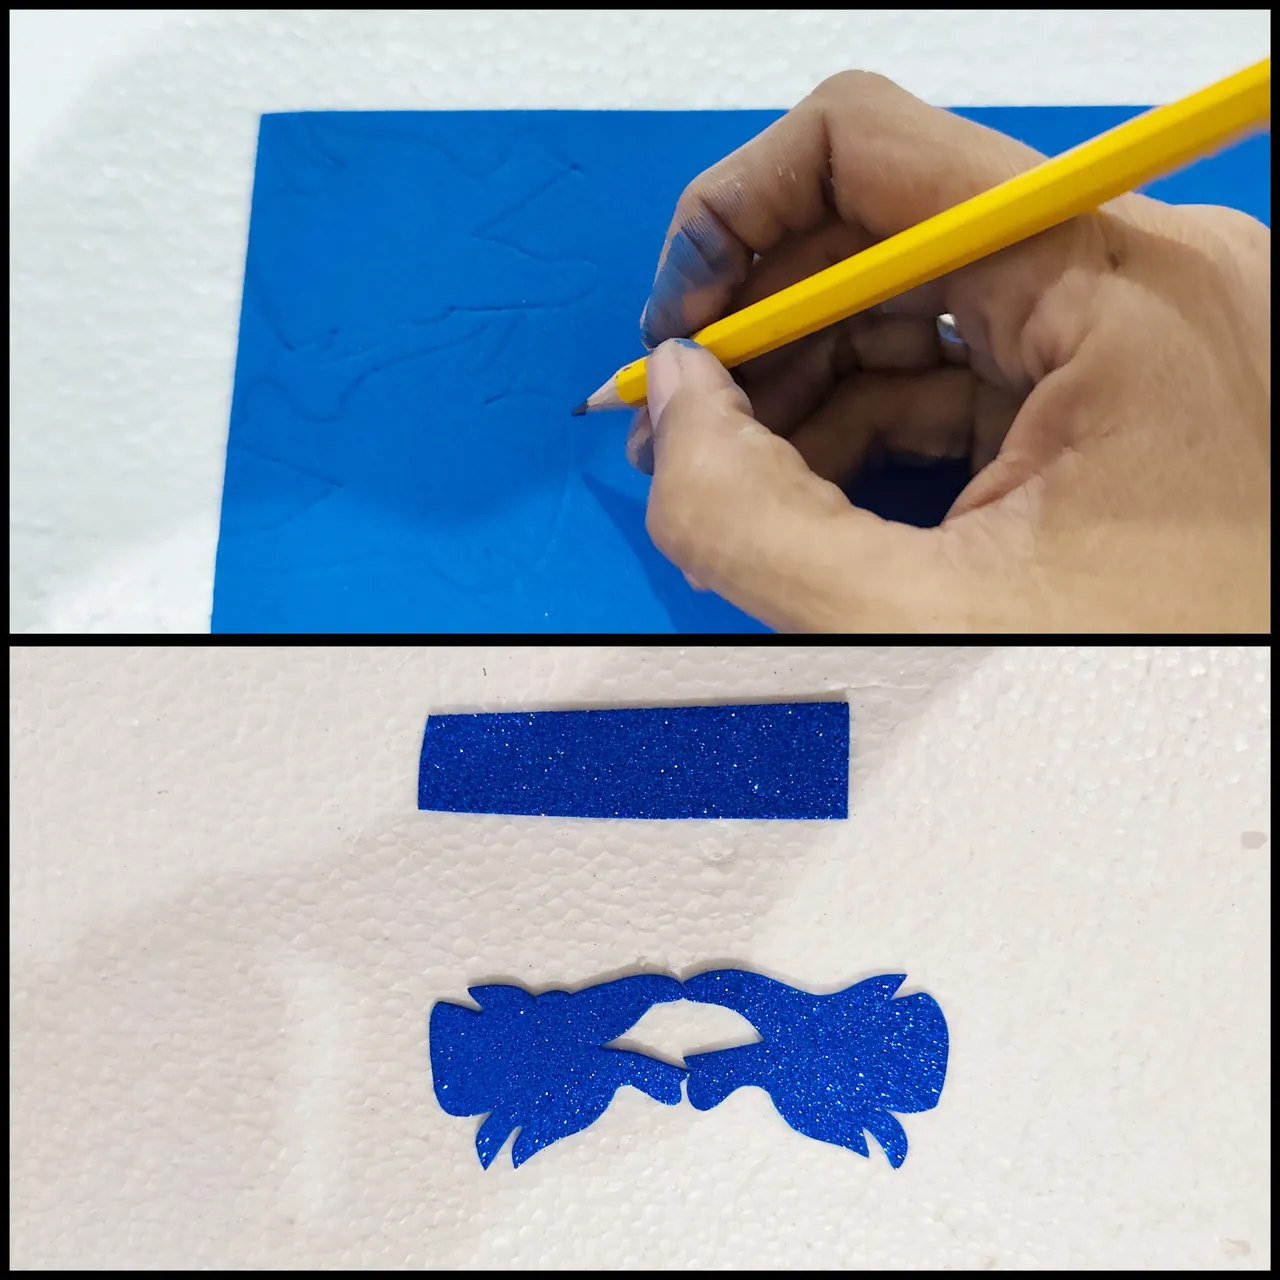
While the piece is drying I took the blue frosted Foami and drew two pieces in the shape of the dragon's face and cut them out.
🐲 STEP 6:
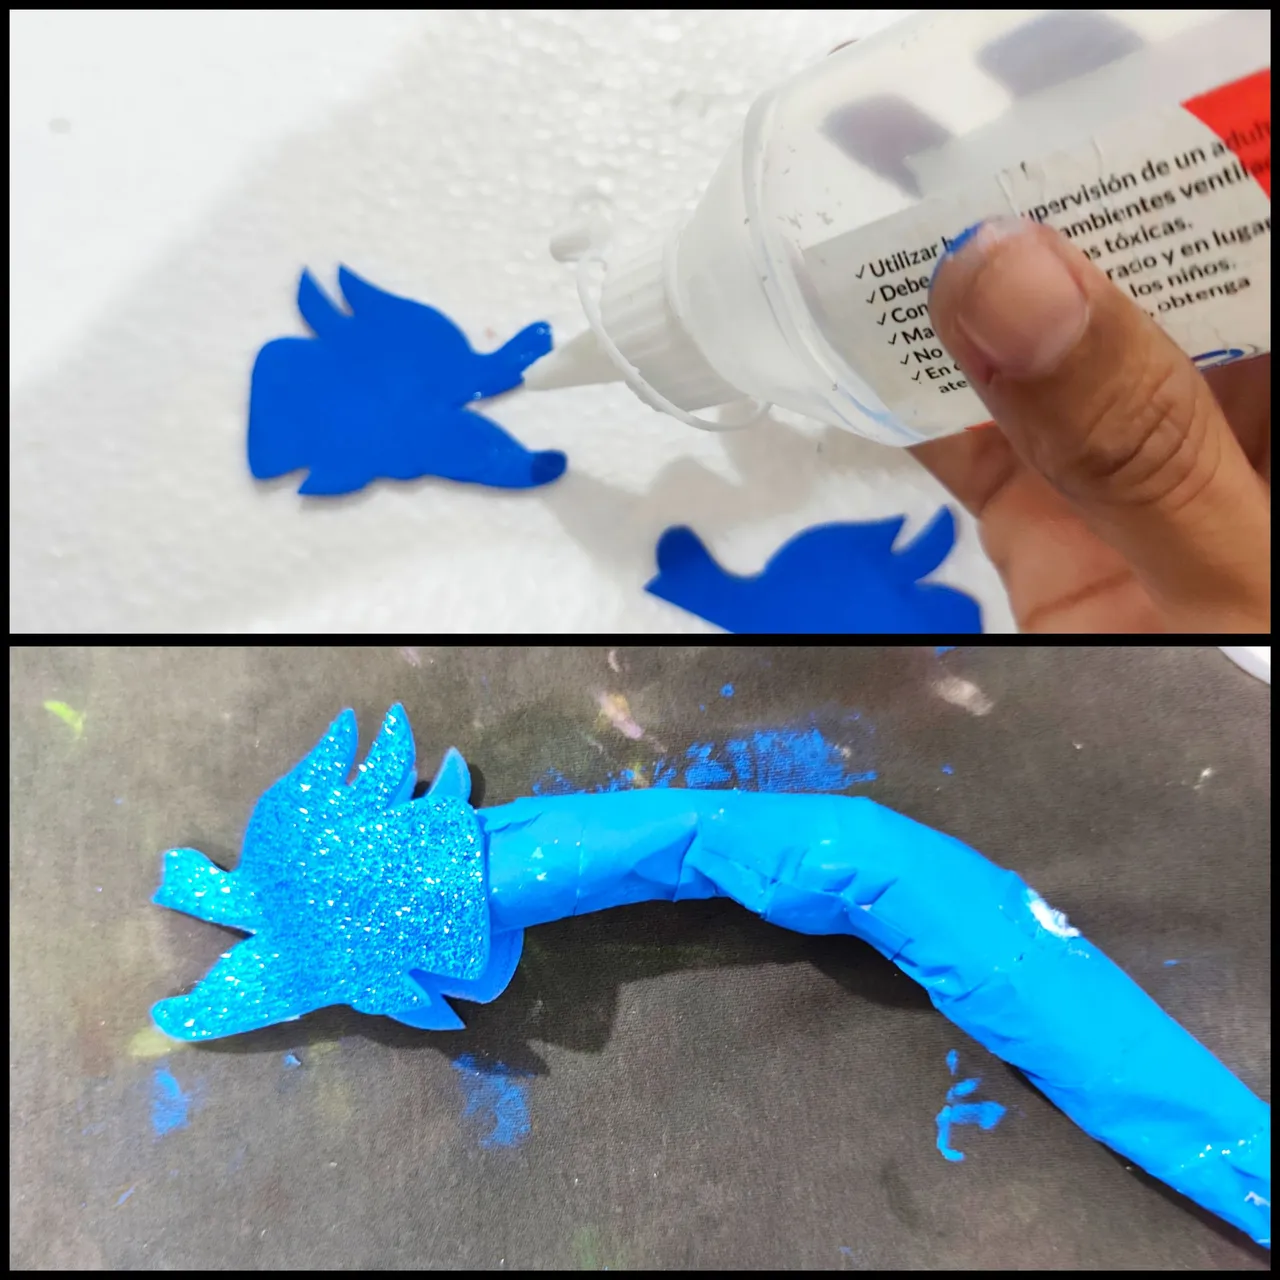
We took the dry piece and applied liquid silicone and glued the two pieces we cut out of the dragon's face.
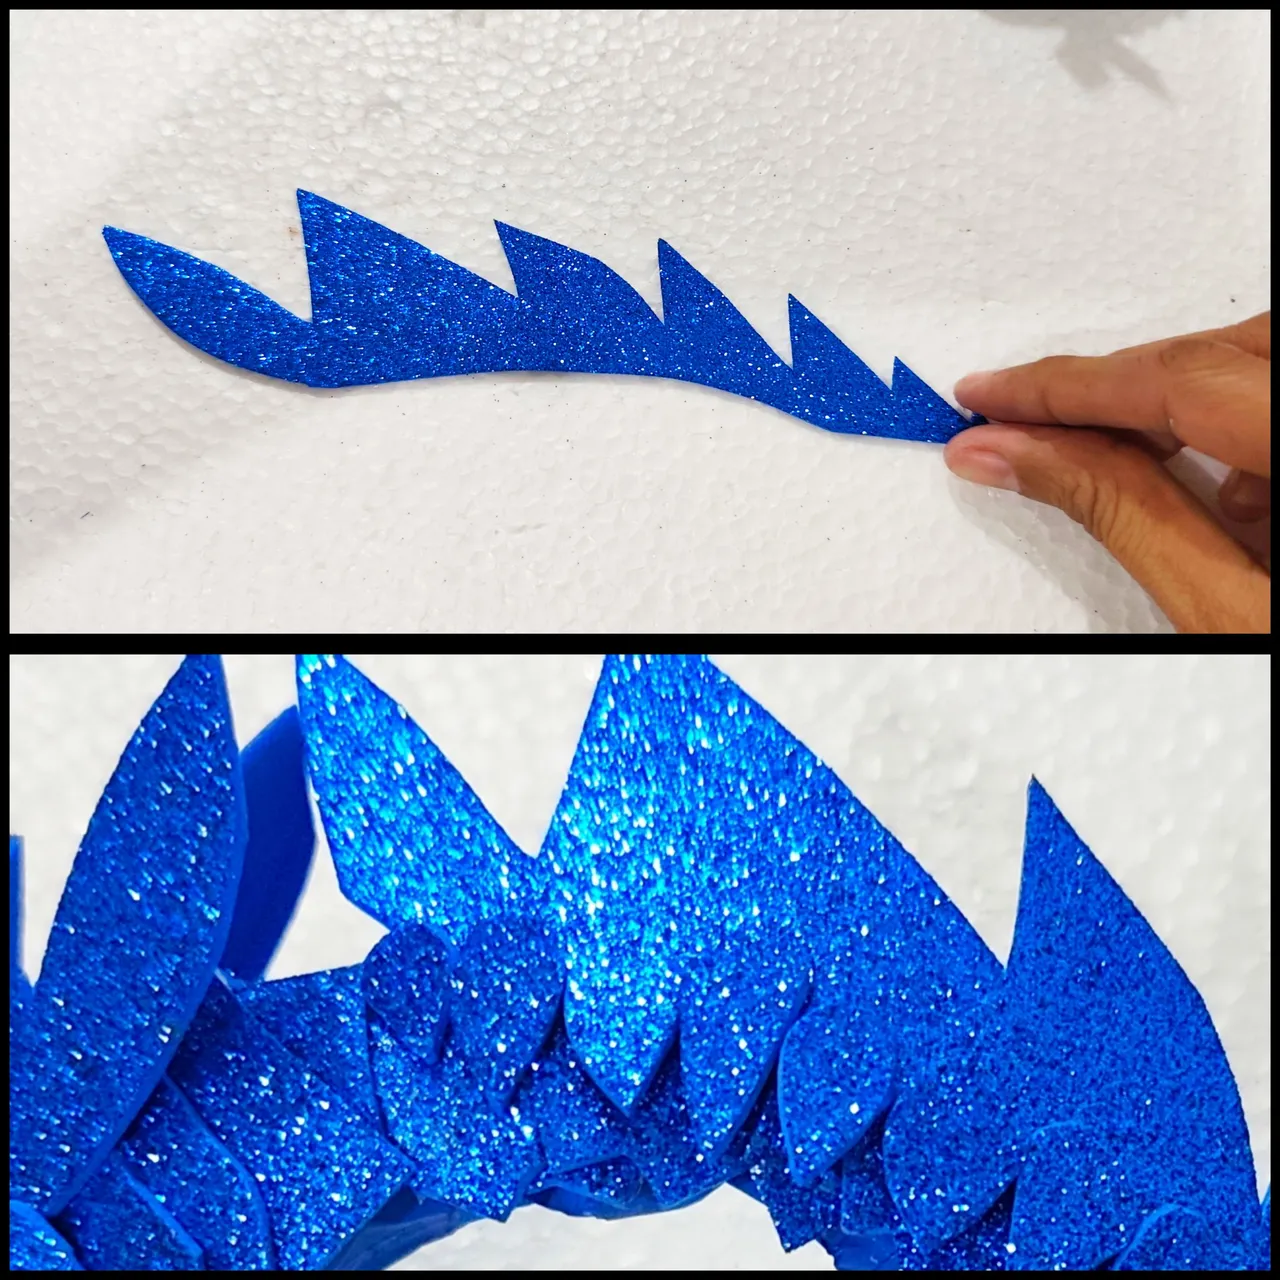
🐲 STEP 7:
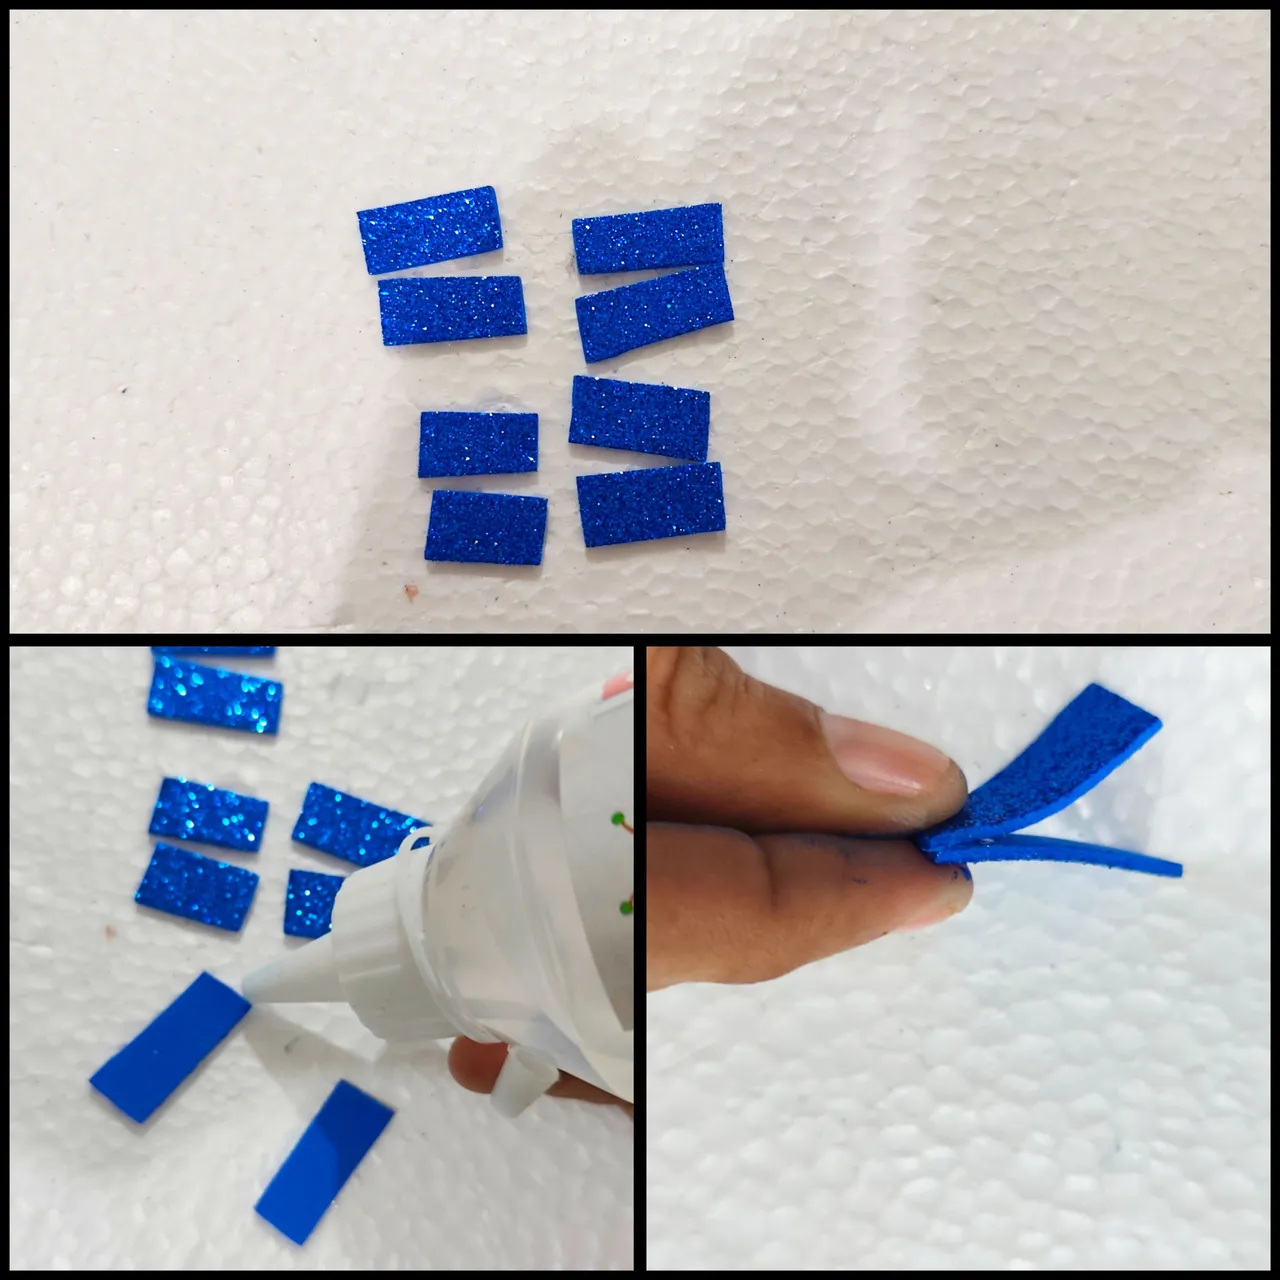
We mark and cut strips of different sizes, then fold in half.
🐲 STEP 8:
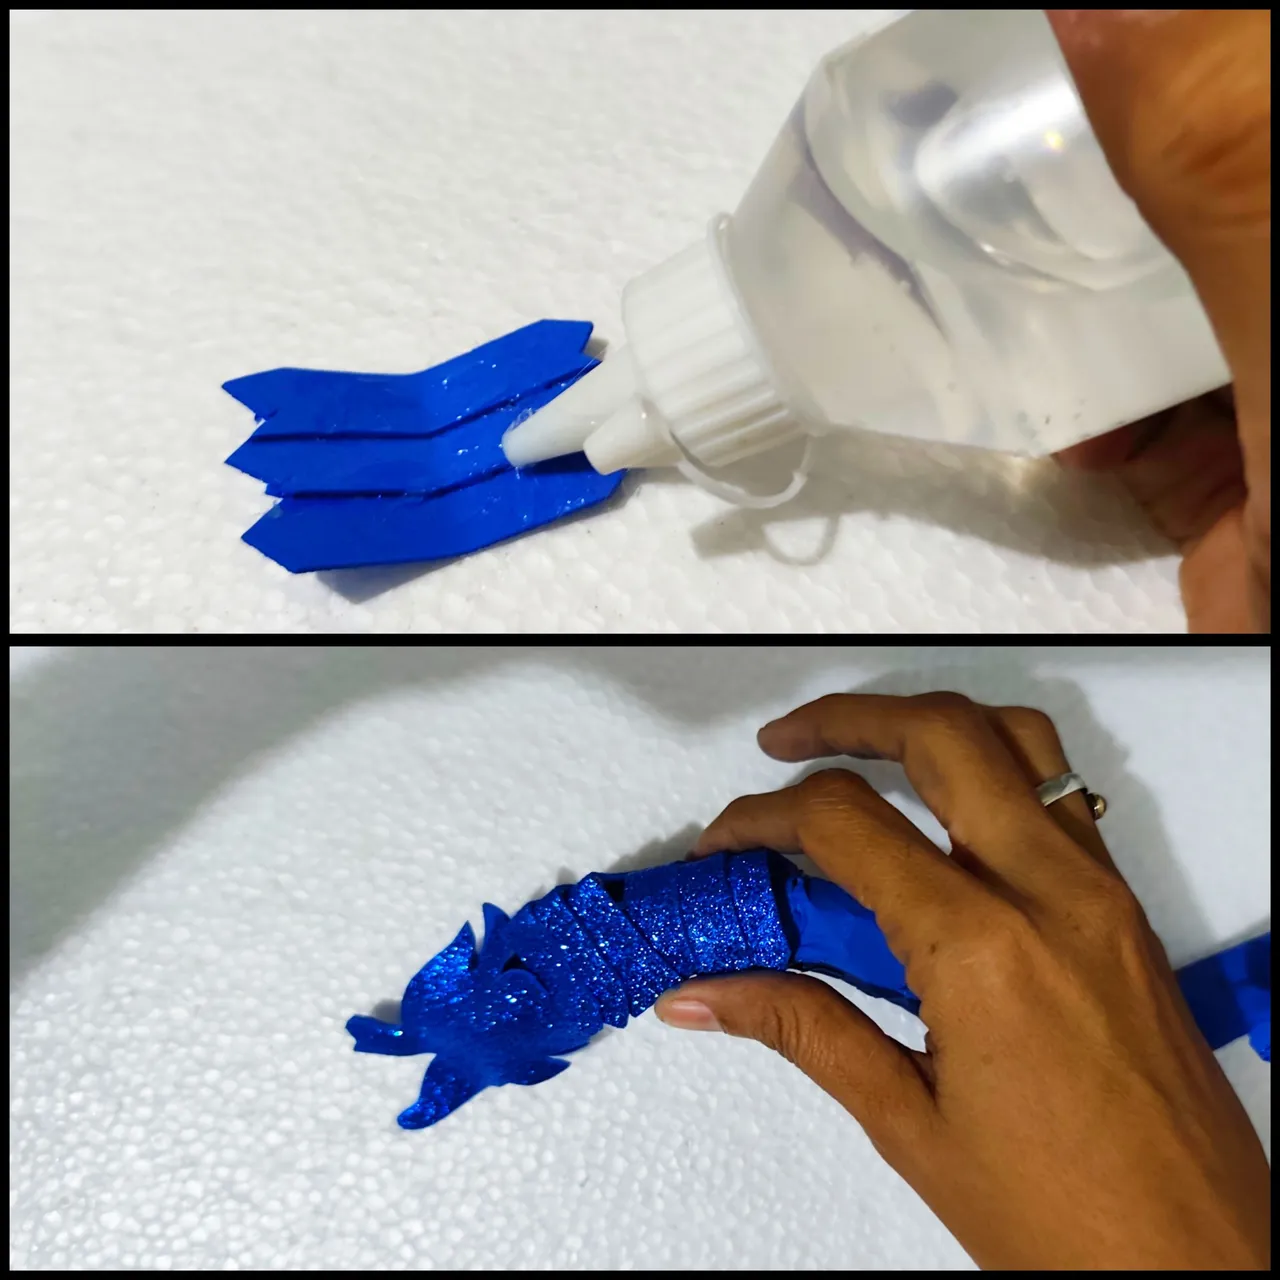
To the strips that we cut, we applied liquid silicone and put one on top of the other and let them dry well.
When dry, apply liquid silicone to the painted piece and glue the foami pieces together until the entire piece is covered.
🐲 STEP 9:
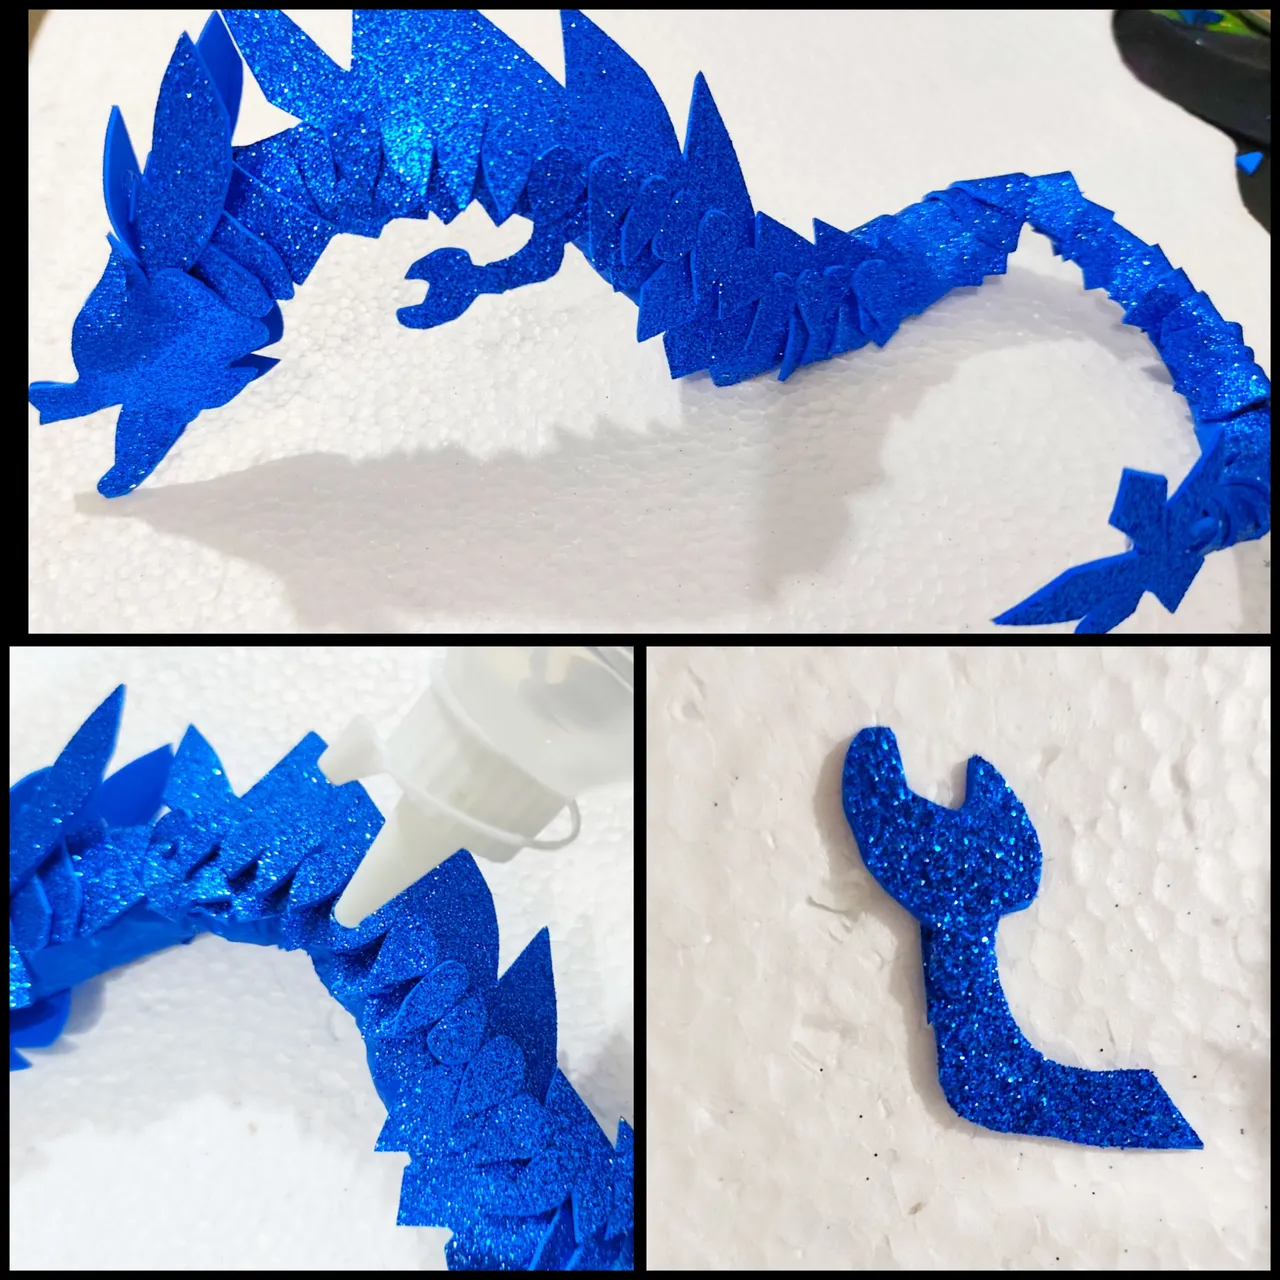
Again I took the pencil and drew on the foami the tail of the dragon, and cut it out.
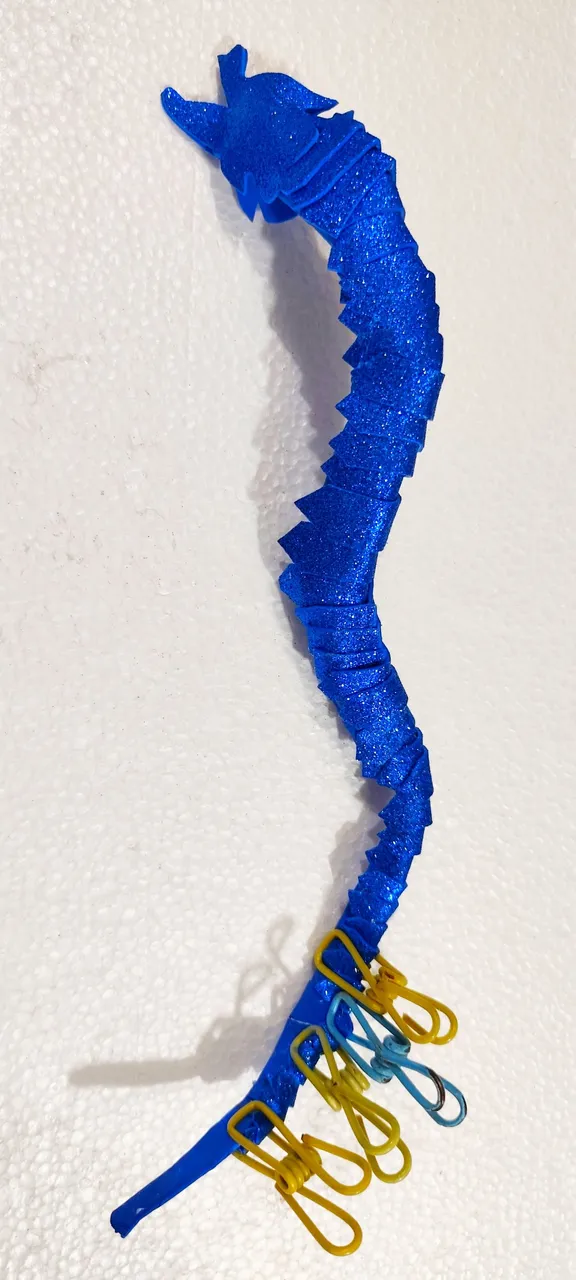
🐲 STEP 10:
Then applied liquid silicone and glued to the end of the piece.
🐲 STEP 11:
I also cut out another piece of the blue frosted foami that will become the front of my dragon, applied liquid silicone and glued the piece to the front of the dragon's head.
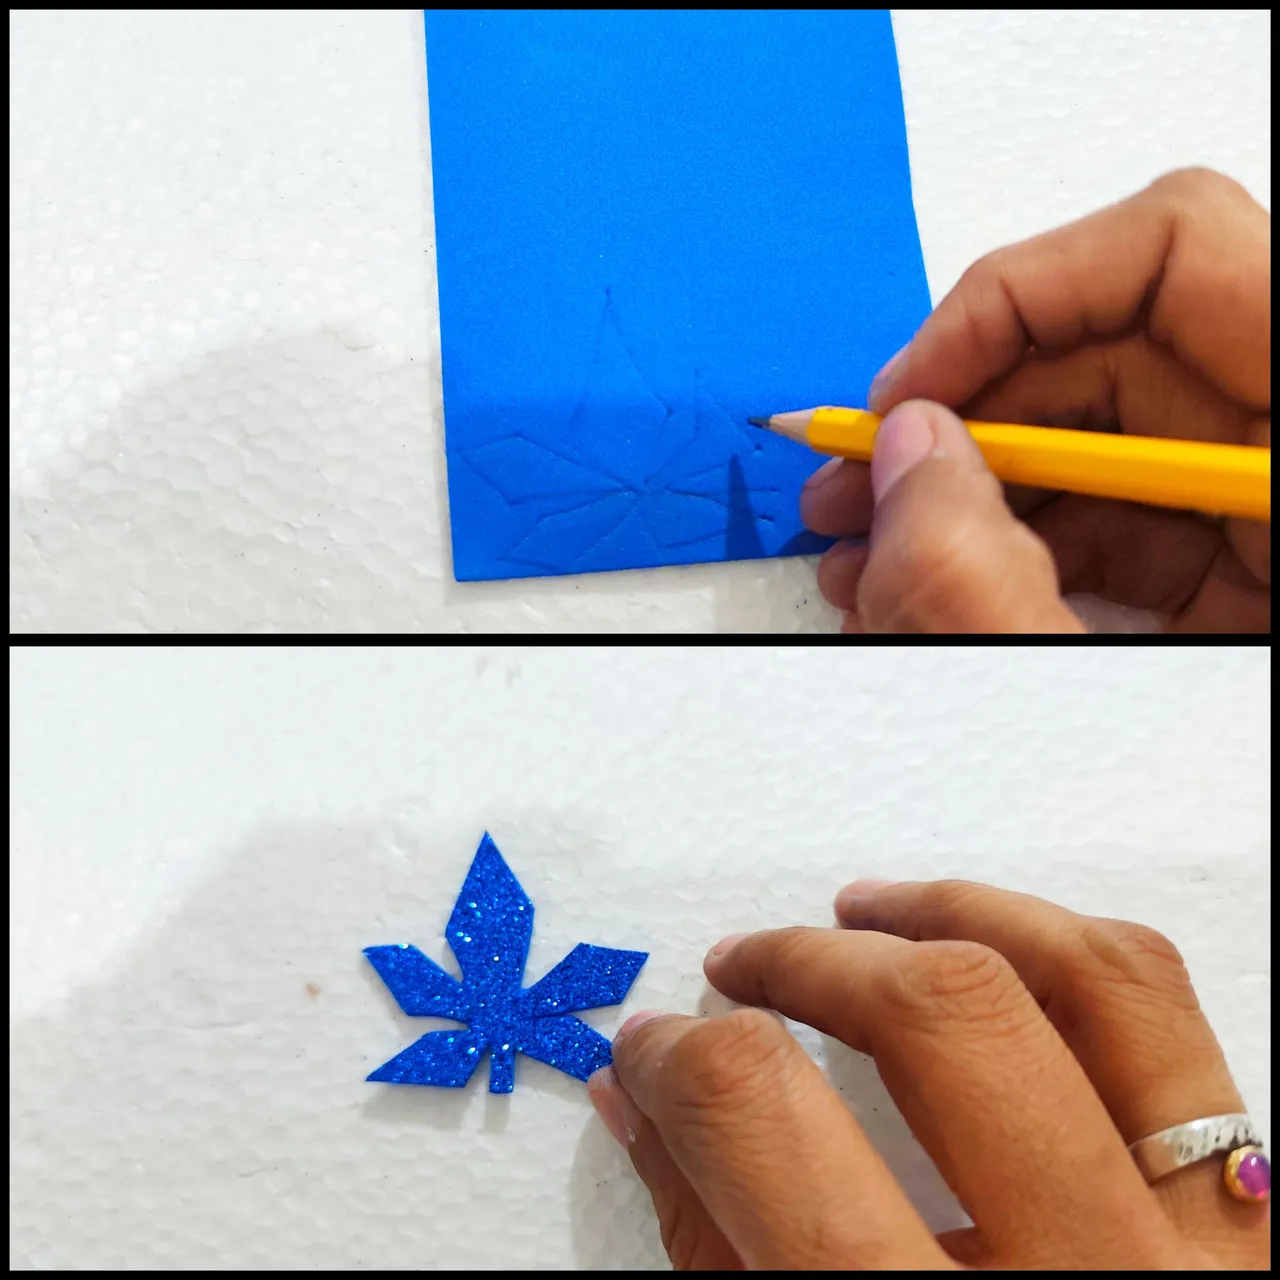
🐲 STEP 12:
Now I mark and cut out a piece that will be the center of the dragon, and we glue it with the liquid silicone.
🐲 STEP 13:
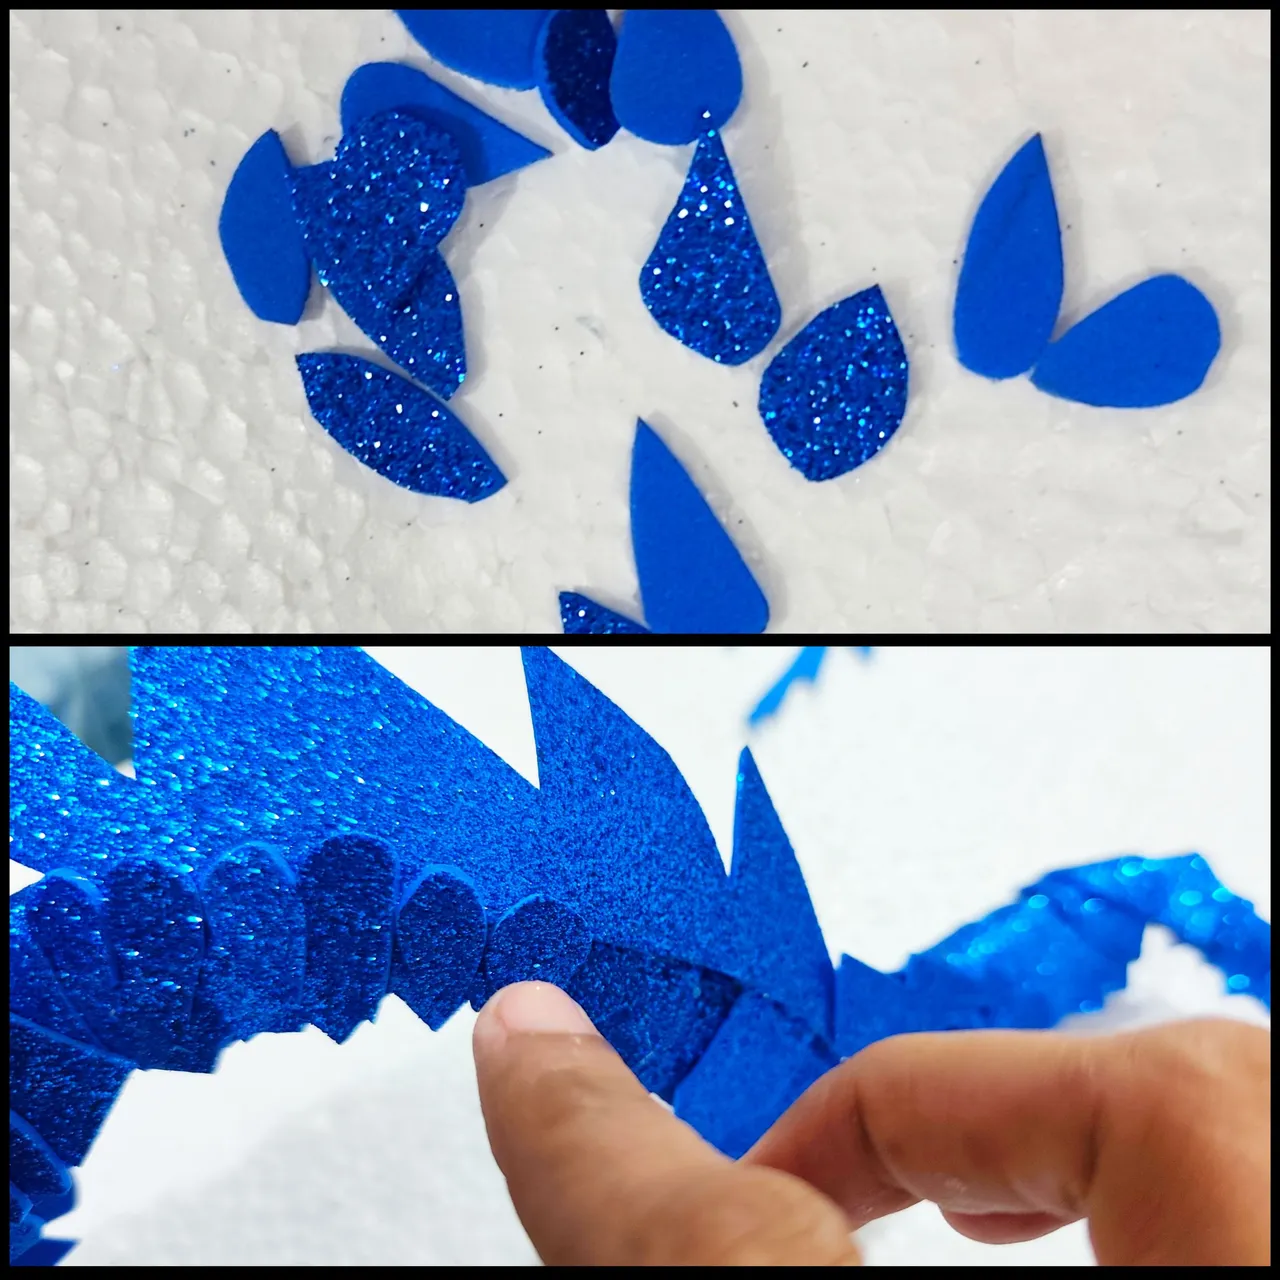
From the scraps of blue frosted foami, I cut out many droplets, to which I applied liquid silicone and glued them to the edge we glued previously.
🐲 STEP 14:
I also drew and cut out an arm from the blue frosted foami and glued it with liquid silicone.
🐲 STEP 15:
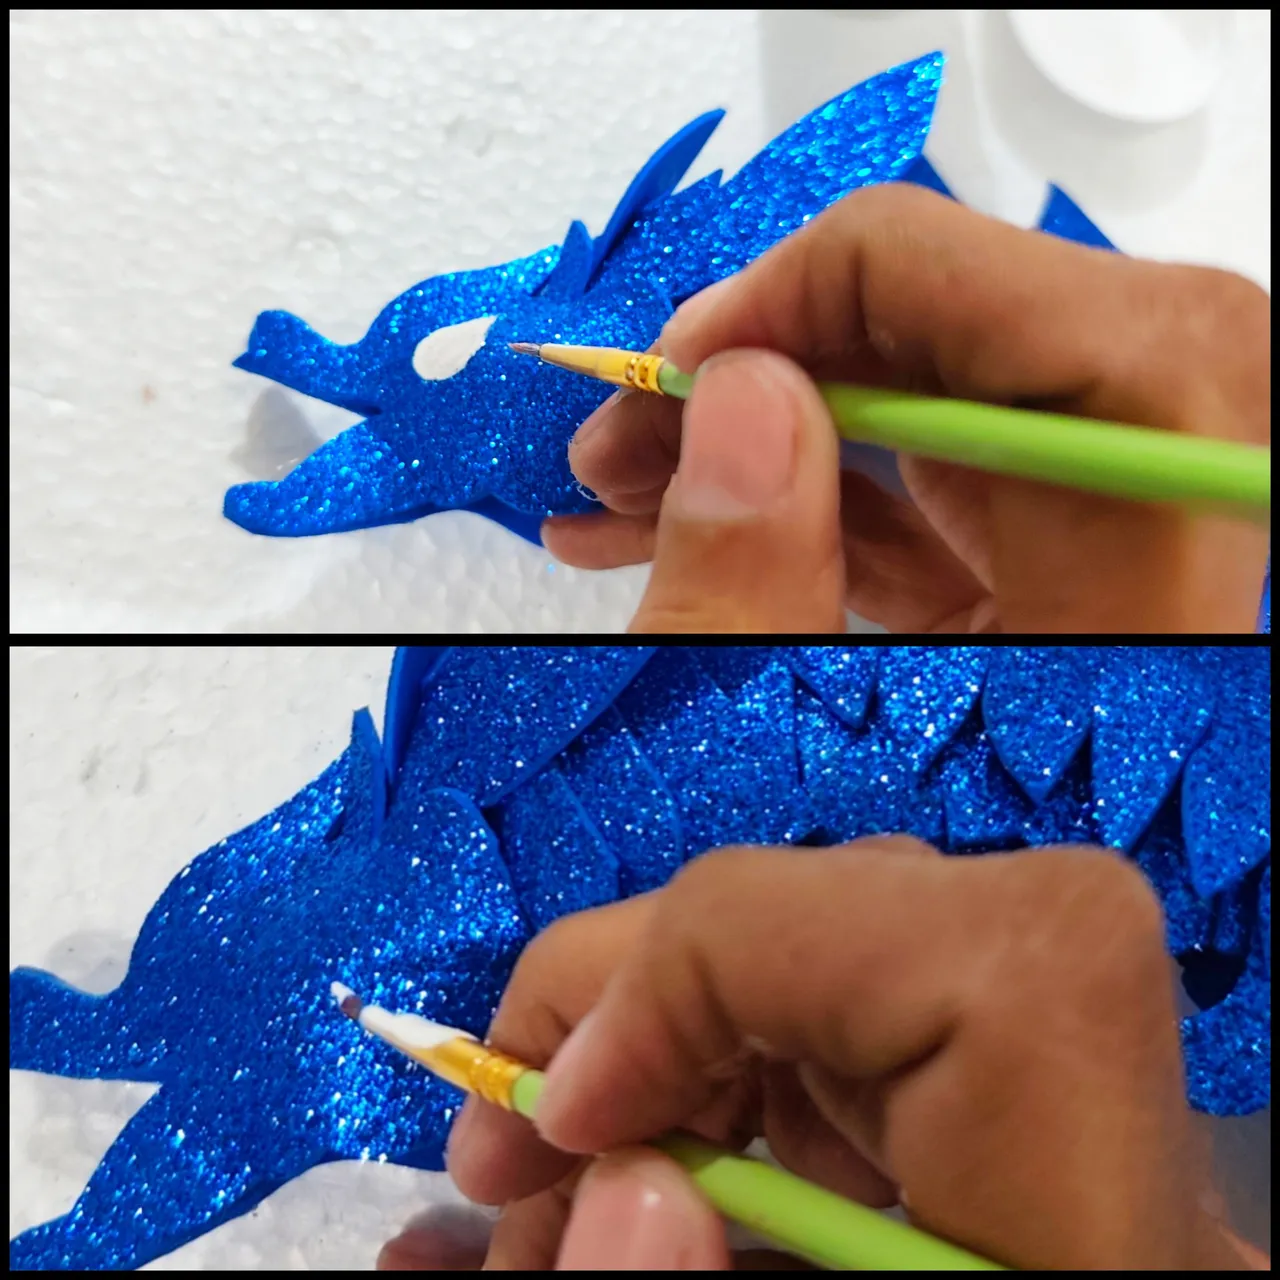
With the help of the pencil I drew the eye, then with a fine brush I applied the white paint and let it dry.
🐲 STEP 16:
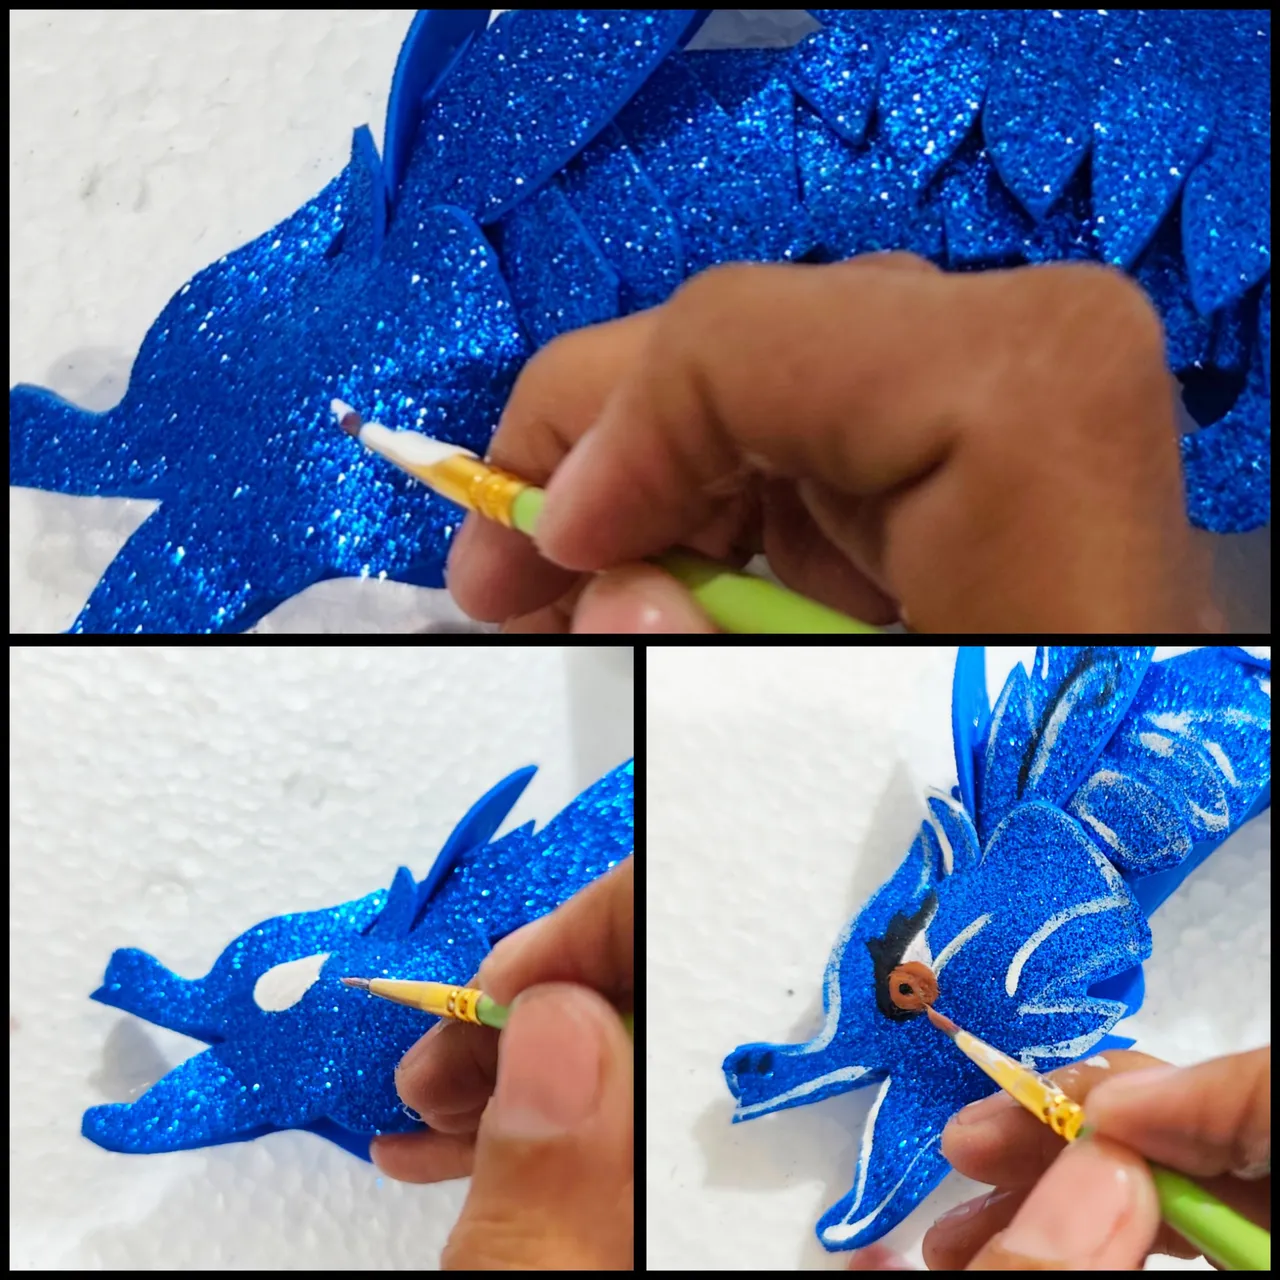
When the white paint is dry, outline with the black paint and draw the eye with the brown paint.
🐲 STEP 17:
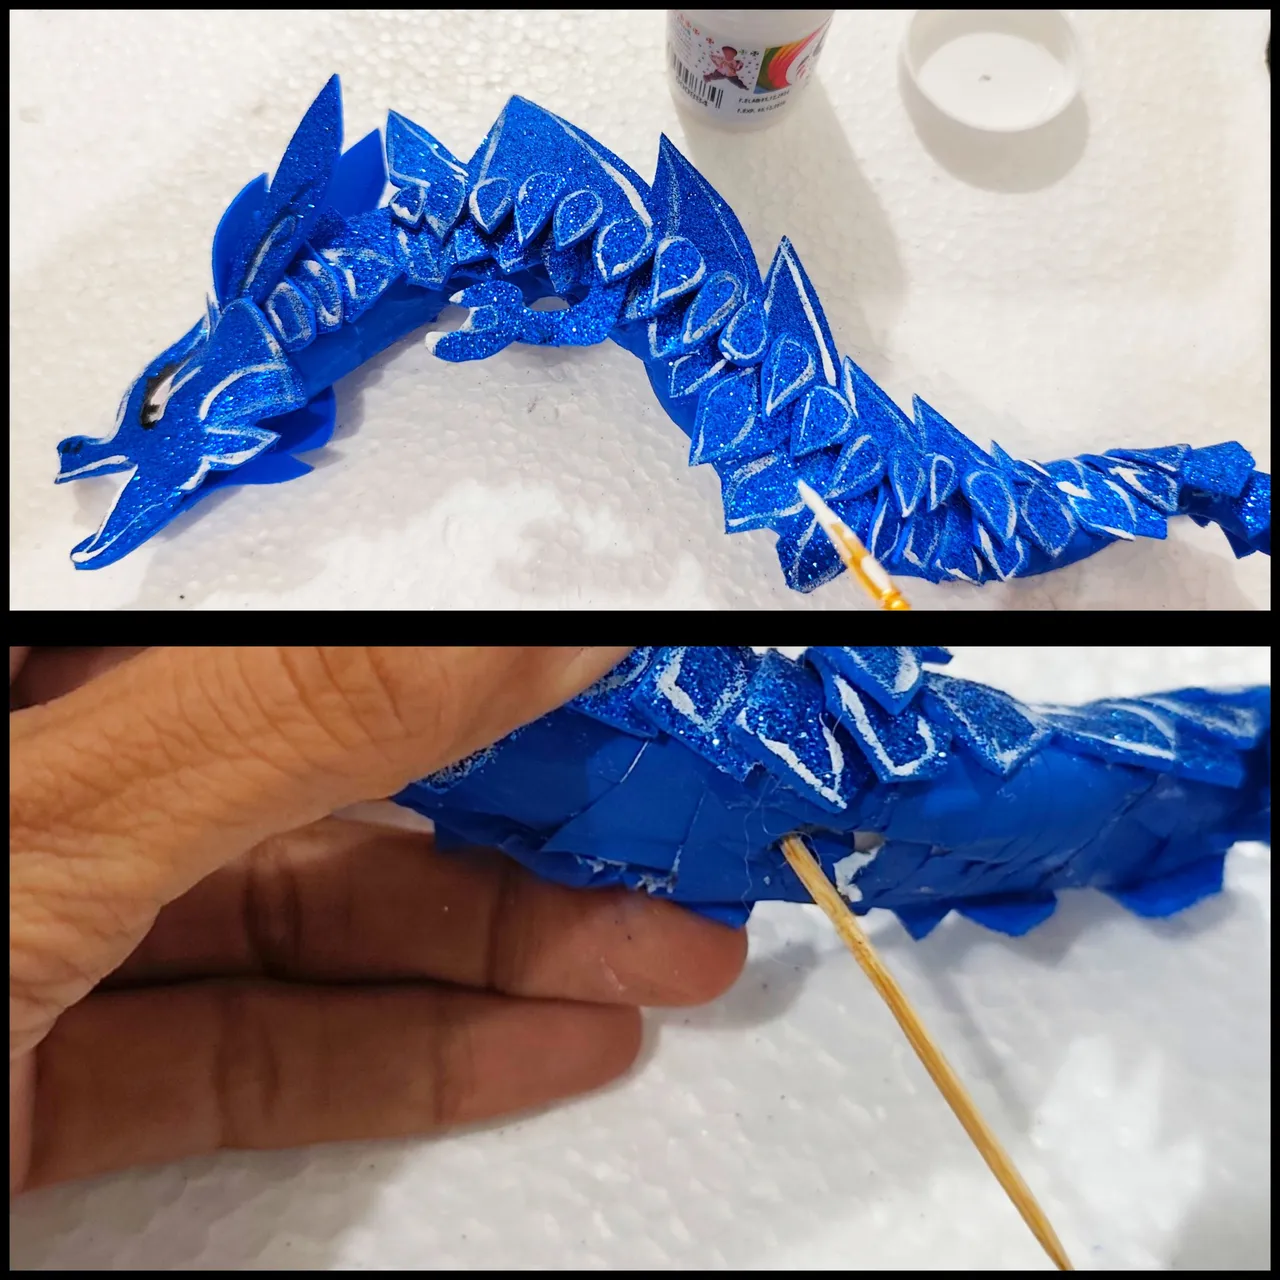
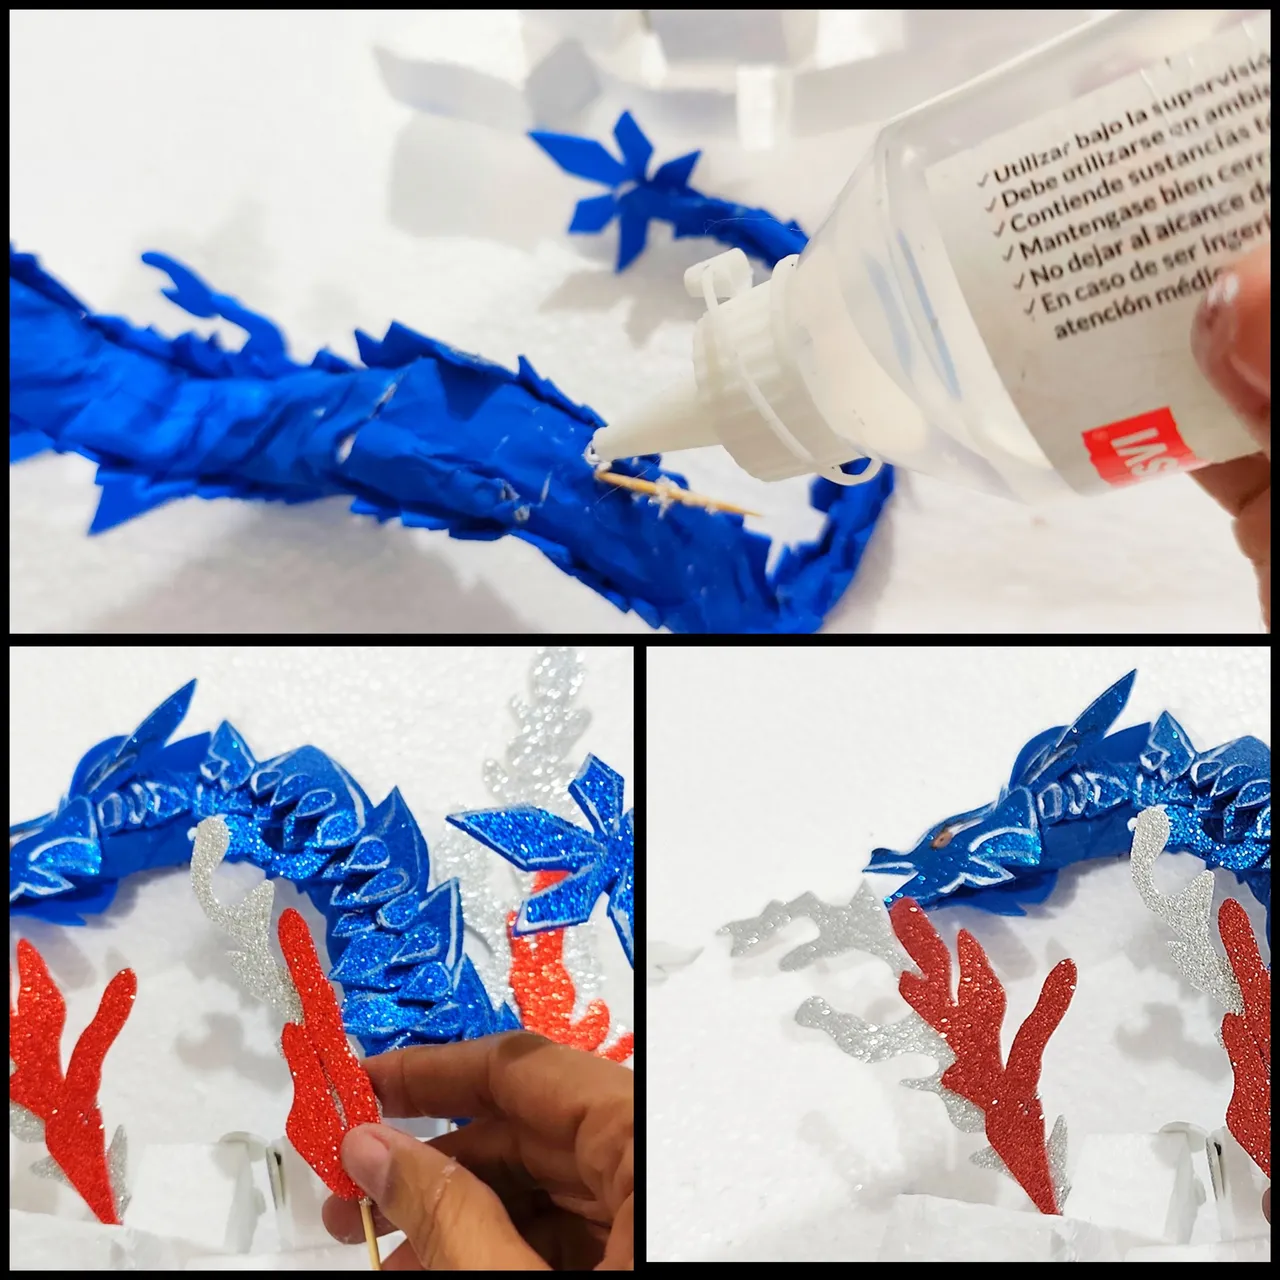
With the help of the fine brush we draw some lines to define the scales, then we stick a toothpick.
🐲 STEP 18:
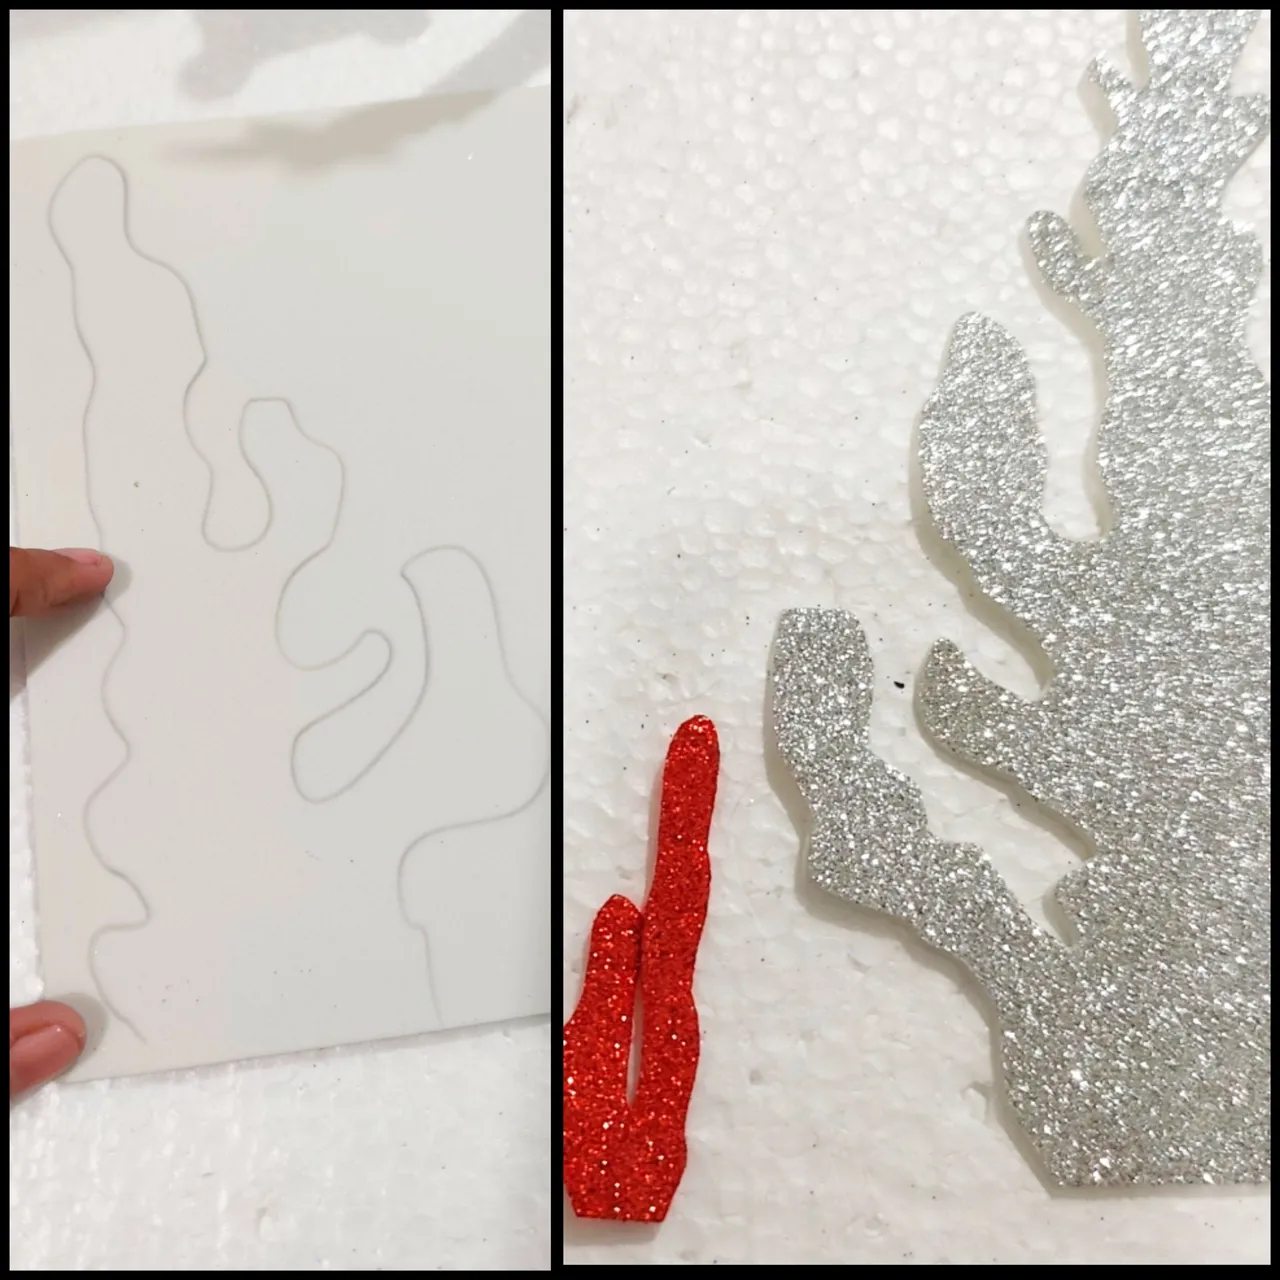
On the silver frosted foami and on the red one, draw and cut out a seaweed figure.
🐲 STEP 19:
We apply liquid silicone and stick a toothpick to make it easier to stick it.
🐲 STEP 20:
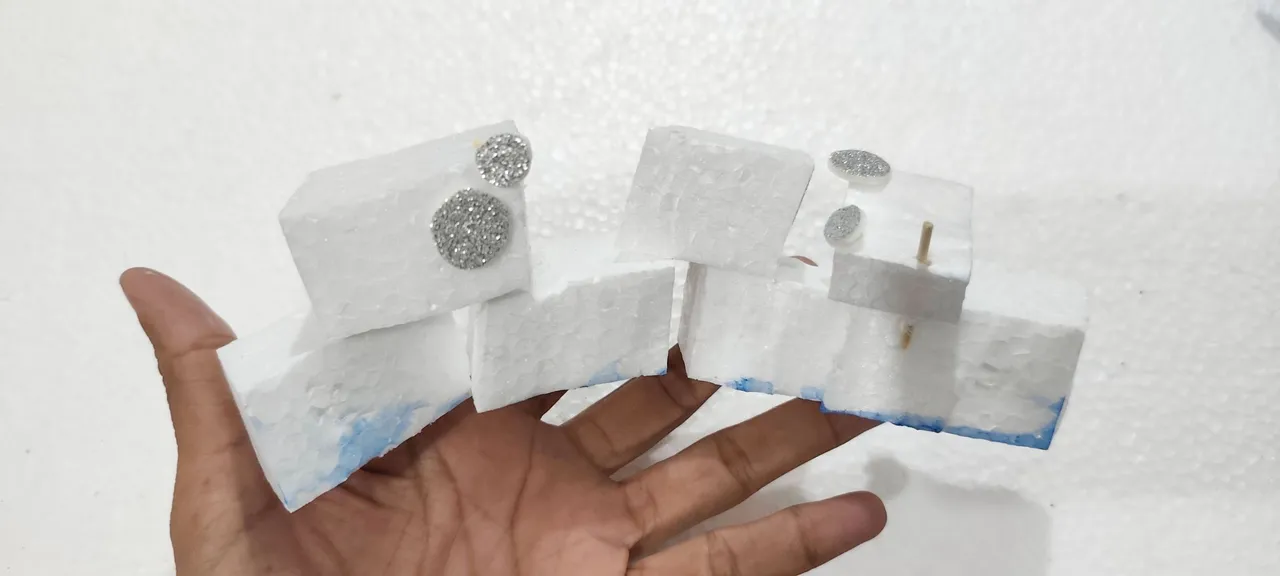
I cut out anime or styrofoam squares and glued them together.
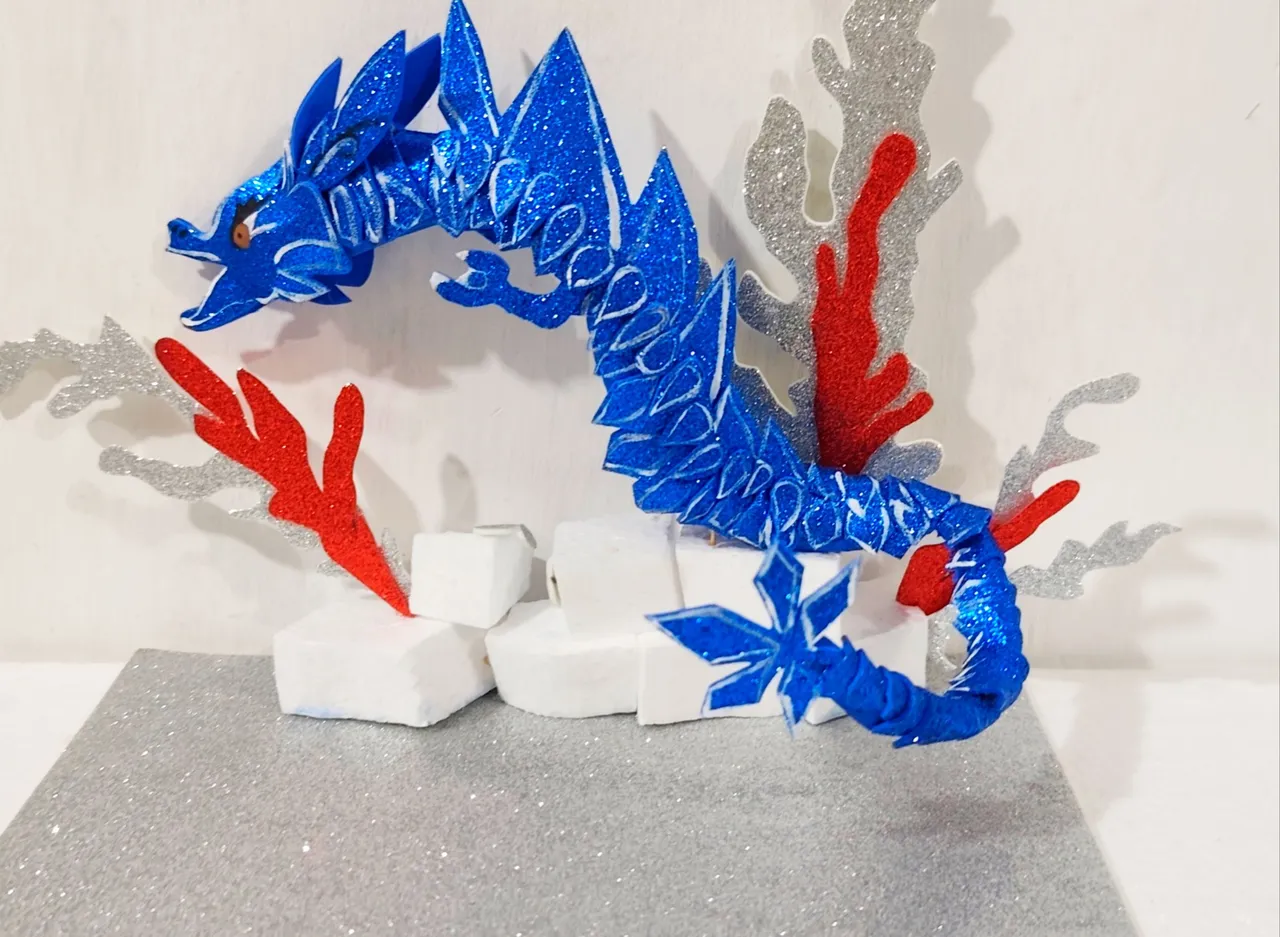
🐲 STEP 21:
When all the pieces are ready, apply liquid silicone and glue to the anime and that's it.


🐲 CRÉDITS 🐲
All pictures were taken with my Xiaomi redmi phone and I used polish and Deepl translator.
P.D:promoted through my web 2.0 social networks.

Saludos amigos de #hive saludos a todas esas personas especiales que hacen vida en esta comunidad, la cual está destinada a la promoción del juego #Holozing entre otras, yo por mi parte me he dedicado a realizar fanart bastante variado, Pero al final el objetivo que se busca es promocionar este juego, y permitir que se de su pronto lanzamiento.
El día de hoy les traigo un trabajo manual que si les soy sincera, me llevo mucho tiempo realizar, dos días para ser específica, trabaje con la creación de una figura de Glaxiox la evolución de el dragón Glacion.
🐲MATERIALES 🐲
🐲 Hojas blancas.
🐲 Foami escarchado azul.
🐲 Foami escarchado plateado.
🐲 Foami escarchado rojo.
🐲 Silicón líquido.
🐲 Pintura al frio azul.
🐲 Pintura al frio blanca.
🐲 Pintura al frio marrón.
🐲 Cuadritos de anime.
🐲 Palillos.
🐲 Pincel.
🐲 Tijera.
🐲 PASO A PASO 🐲
🐲 PASO 1:
Tomé las hojas blancas y las torcimos hasta quedar bien enrolladas, exactamente hice 5 rollitos.
🐲 PASO 2:
Recorté pequeñas tiras de la hoja blanca, luego apliqué silicón líquido y forre cada rollito elaborado, cuando llegamos al final unimos dos tiras más y pegamos con el silicón, forrando las de las tiras de papel.
🐲 PASO 3:
Forme una tira larga, la cual dobló con la forma del dragón y le aplicó silicón líquido a toda la pieza para que quede bien fija y dejamos secar por un día.
🐲 PASO 4:
Cuando ya la pieza esté seca y firme, tome la pintura de color azul y la pinto por completo y dejo secar al menos por 4 horas.
🐲 PASO 5:
Mientras se seca la pieza tome el Foami escarchado azul y dibujo dos piezas con la forma del rostro del dragón y recorté.
🐲 PASO 6:
Tomamos la pieza ya seca y aplicó silicón líquido pegando las dos piezas que recortamos del rostro del dragón.
🐲 PASO 7:
Marcamos y recortamos tiras de diferentes tamaños, luego doblamos a la mitad.
🐲 PASO 8:
A las tiras que recortamos, le aplicó silicón líquido y ponemos una encima de la otra y vamos a dejar secar bien.
Cuándo secan aplique silicón líquido a la pieza pintada y pegamos las piezas de foami, todo hasta lograr cubrir la pieza completa.
🐲 PASO 9:
Nuevamente tomé el lápiz y dibuje en el foami la cola del dragón, y recorté.
🐲 PASO 10:
Luego aplicó silicón líquido y pegamos al final de la pieza.
🐲 PASO 11:
También recorté otra pieza del foami escarchado azul que vendrá a ser el frente de mi dragón , aplicó silicón líquido y pegamos la pieza en el frente de la cabeza del dragón.
🐲 PASO 12:
Ahora marco y recortó una pieza que será el centro de el dragón, y pegamos con el silicón líquido.
🐲 PASO 13:
De los retazos del foami escarchado azul, recorté muchas gotitas, a las que aplicó silicón líquido y pegamos en el borde que pegamos anteriormente.
🐲 PASO 14:
También dibuje y recorte un brazo del foami escarchado azul y pego con el silicón líquido.
🐲 PASO 15:
Con ayuda del lápiz dibujo el ojo, luego con un pincel fino aplicó la pintura de color blanco y dejé secar.
🐲 PASO 16:
Cuando seco la pintura de color blanco, delineamos con la pintura negra y dibujamos el ojo con la pintura de color marrón.
🐲 PASO 17:
Con ayuda del pincel fino dibujamos algunas líneas para definir las escamas, luego pegamos un palillo.
🐲 PASO 18:
En el foami escarchado plata y en el rojo dibujo y recorta una figuras de algas.
🐲 PASO 19:
Aplicamos silicón líquido y pegamos un palillo que nos facilite pegarlo.
🐲 PASO 20:
Recorté cuadritos de anime o icopor y pegamos.
🐲 PASO 21:
Cuando ya están todas las piezas listas, aplicamos silicón líquido y pegamos al anime y listo.
🐲 CRÉDITOS 🐲
Todas las fotografías fueron tomadas con mi teléfono Xiaomi redmi y son de mi propiedad utilicé el programa polish y el traductor Deepl.
P.D: promocionó a través de mis redes sociales de la web 2.0
*Bold