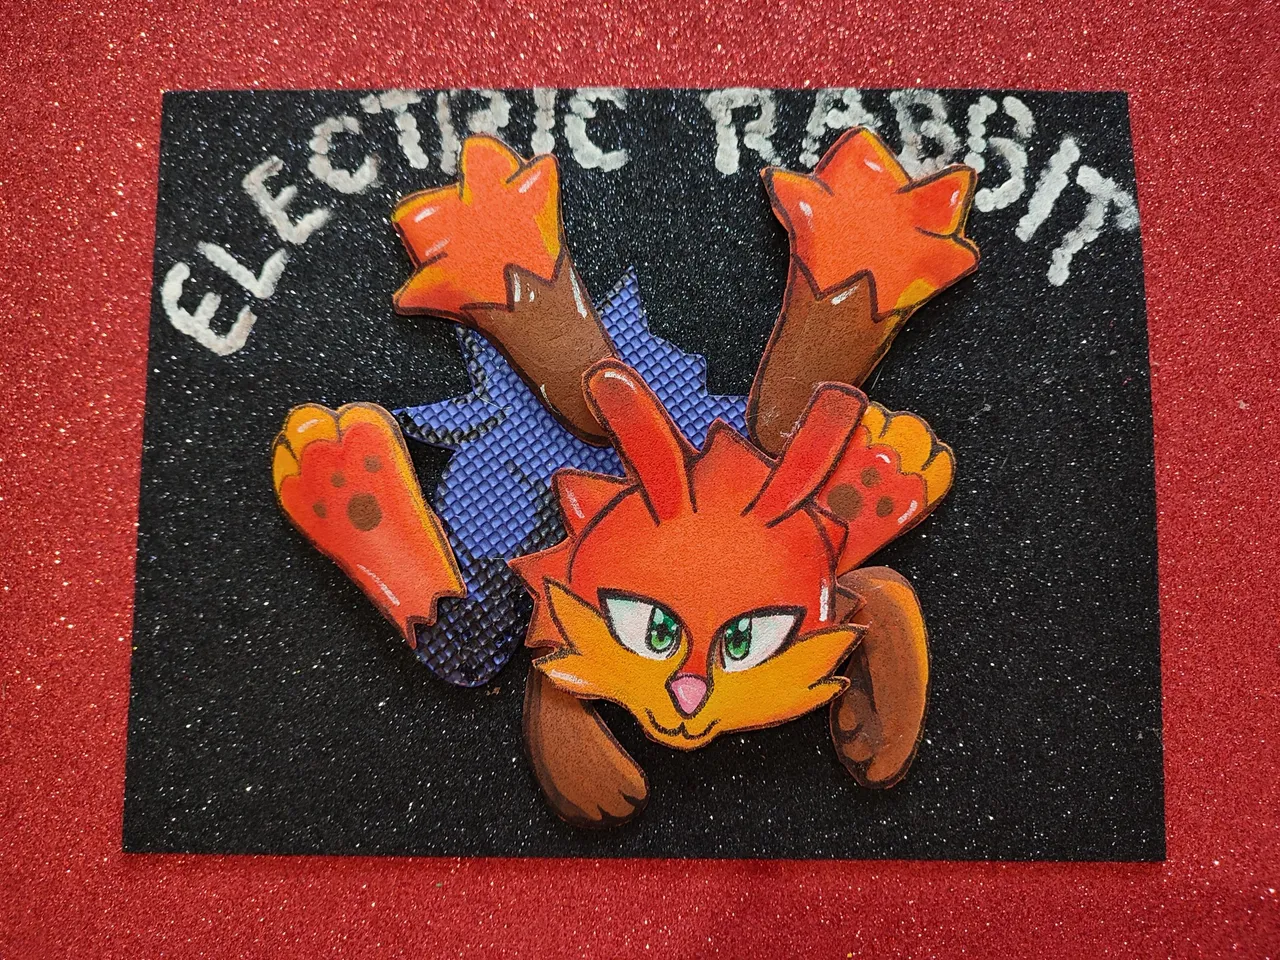
Electric Rabbit a Wonderful Creature from HoloZing in Foamy
Hii everyone, I hope you are doing well. Yesterday I was planning to draw a Holozing creature so I started to analyze one by one what would be the best option, as soon as I saw Electric Rabbit I felt I made a "click", I had an incredible idea, to make Electric Rabbit in foami, although I thought it was an incredible idea, at the same time I was a little scared because I had never tried to make any craft using that material, that's why I dedicated today's afternoon to make Electric Rabbit using foami, red, white, green and brown paints and a black marker, I hope you like it.🧡
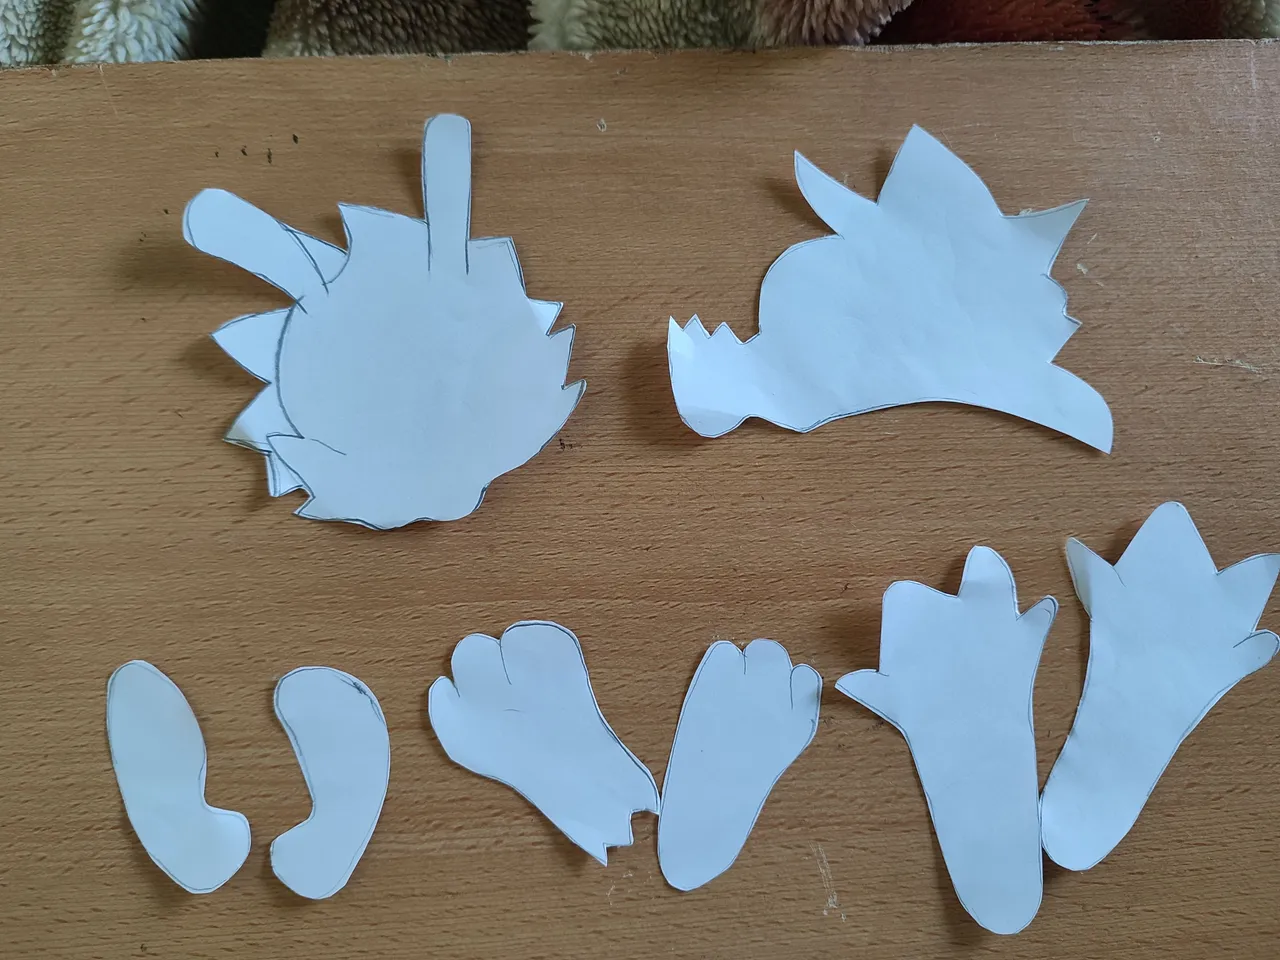
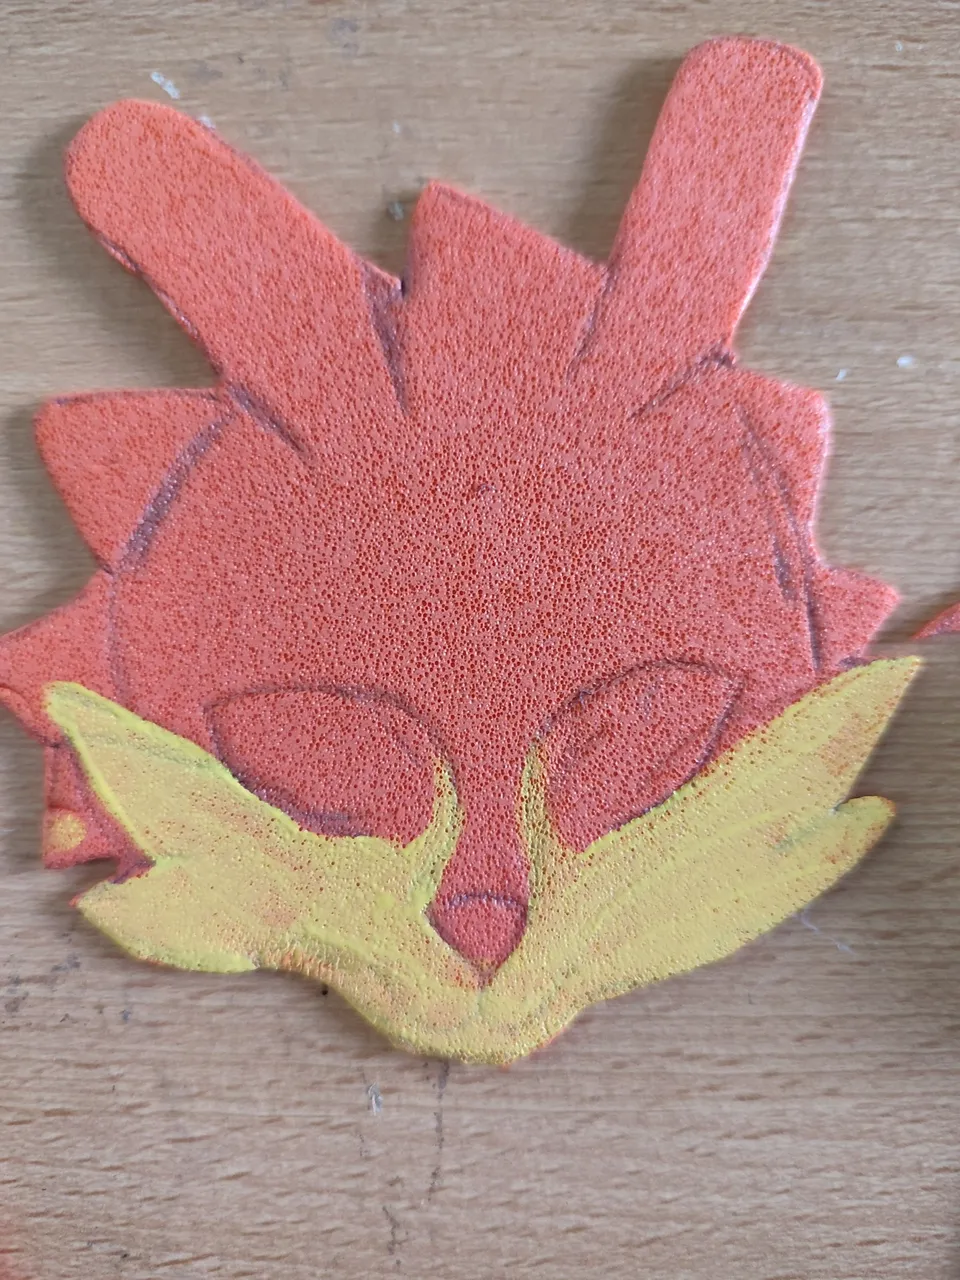
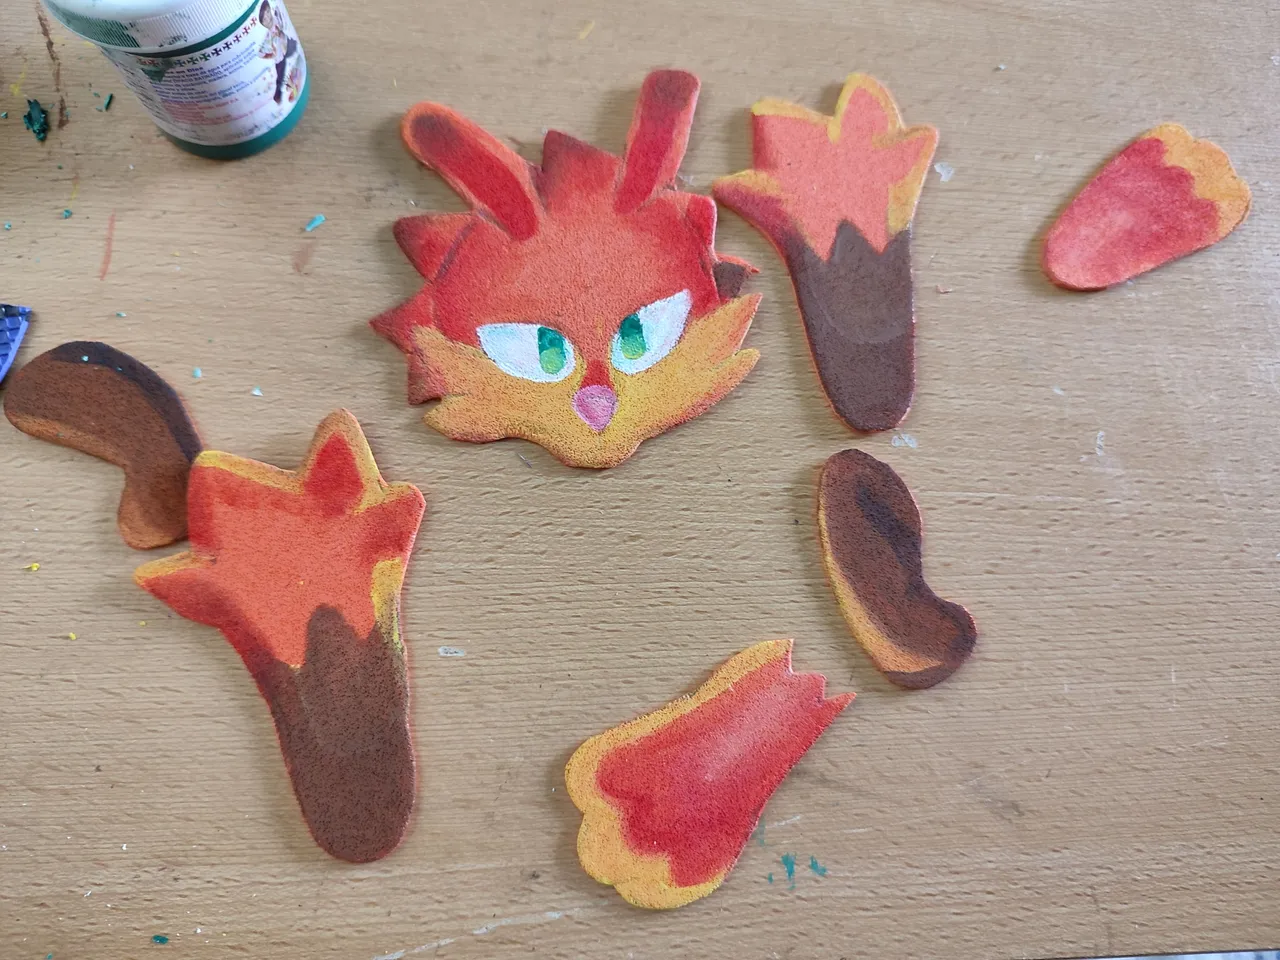
First I made the sketch on a white sheet of paper. I started by making the face, then the torso, the legs and then the arms (legs) and finally the tail.
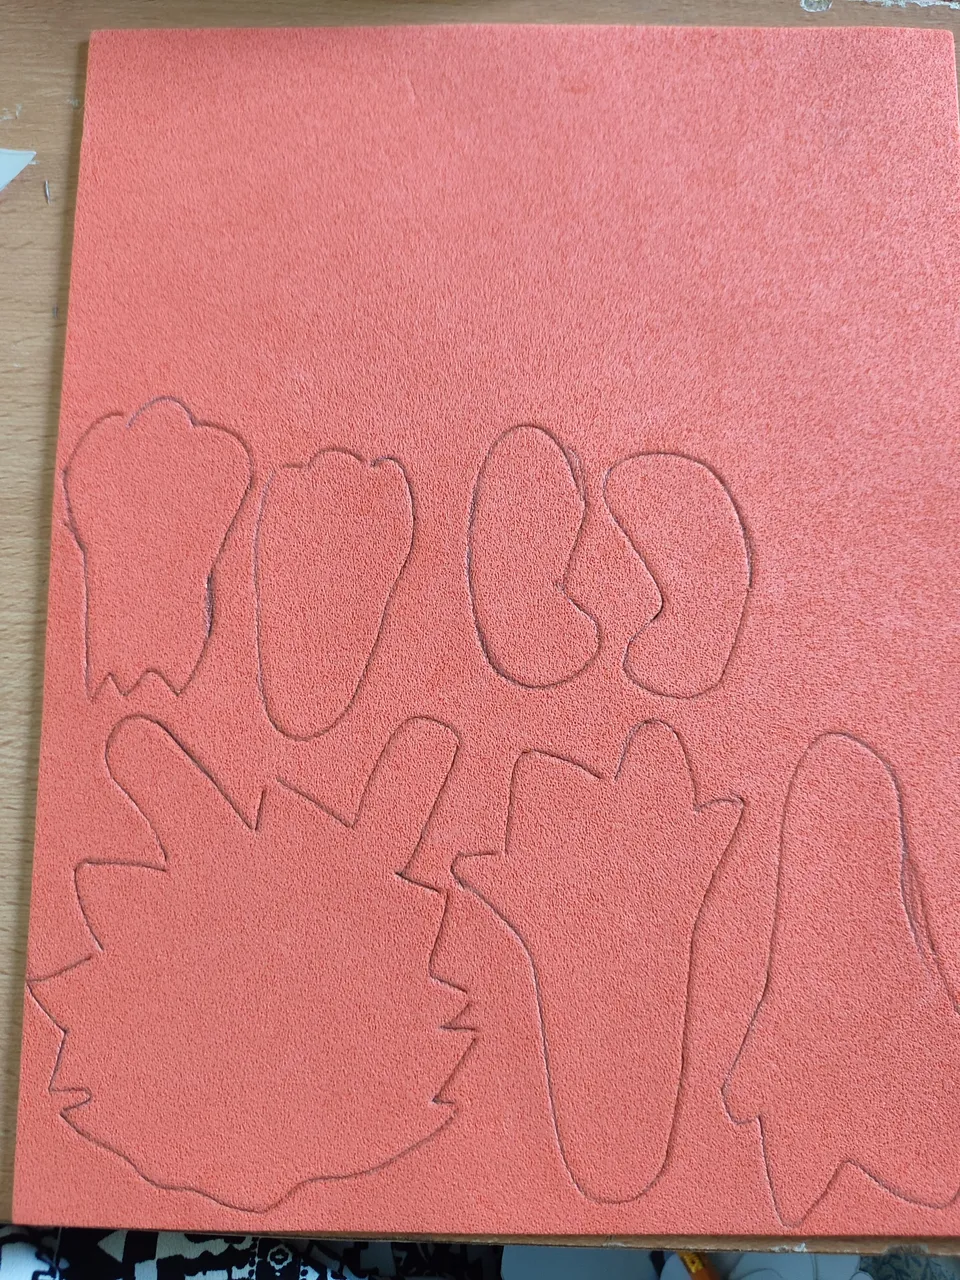
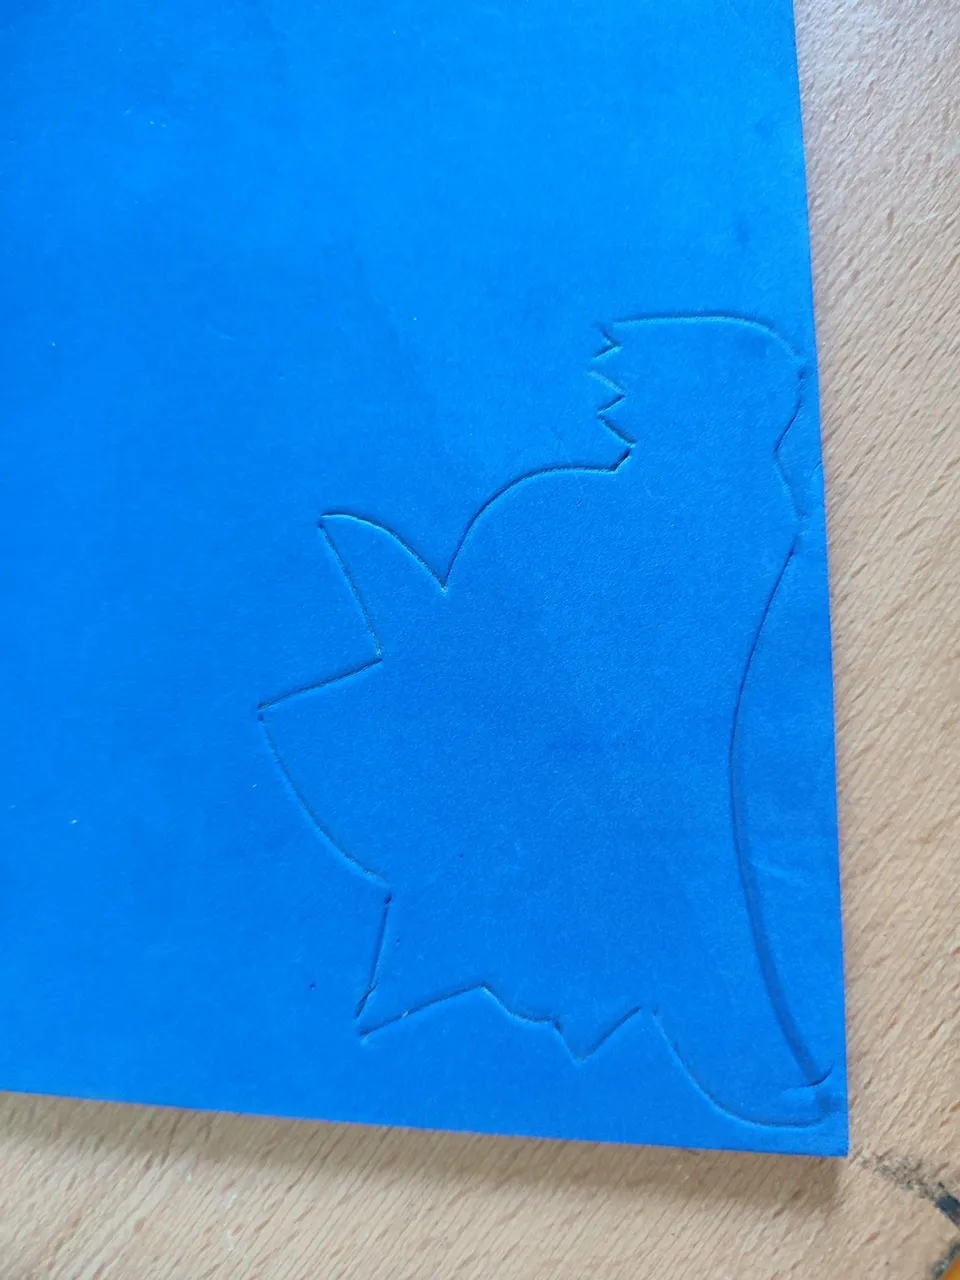
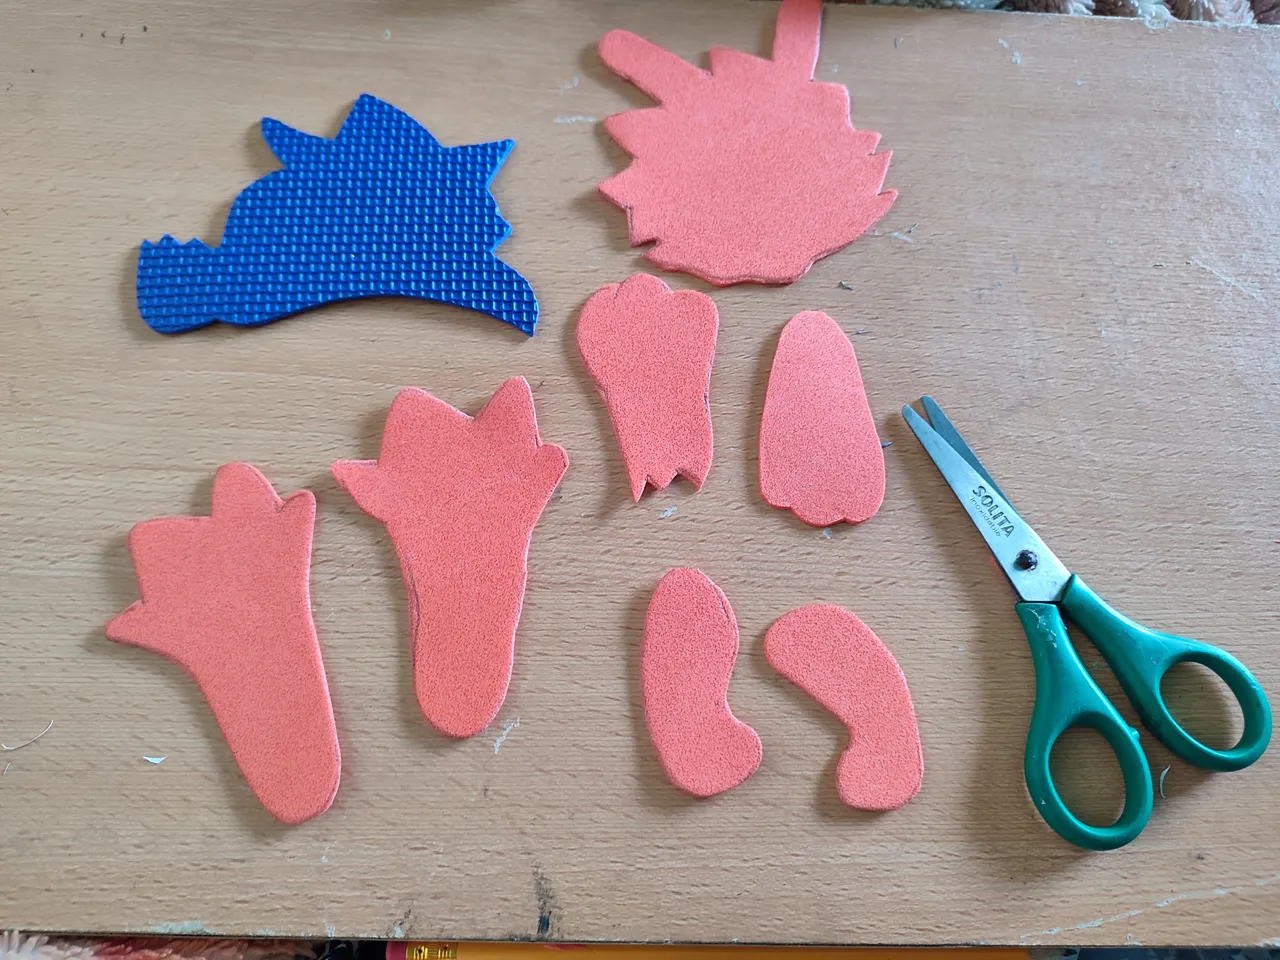
Primero dibujé en una hoja blanca (aunque es preferible dibujarlas en cartulina para que así tenga más firmeza) cada parte de la criatura: la cabeza, las patas, el pantalón y las orejas. Luego los recorté y las pasé a el foami, utilizando foami naranja para el cuerpo y azul para el pantalón y recorté.
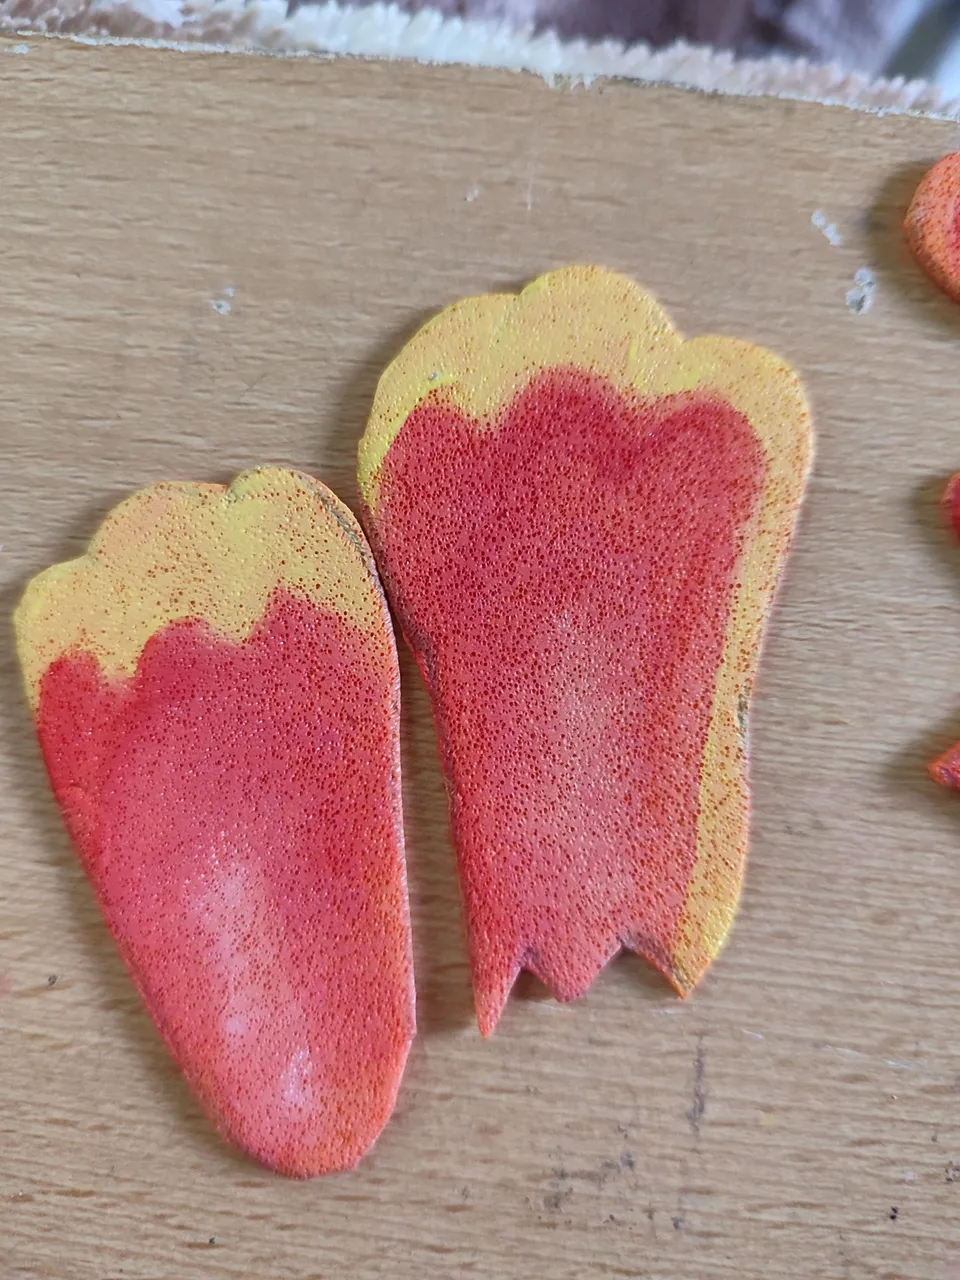
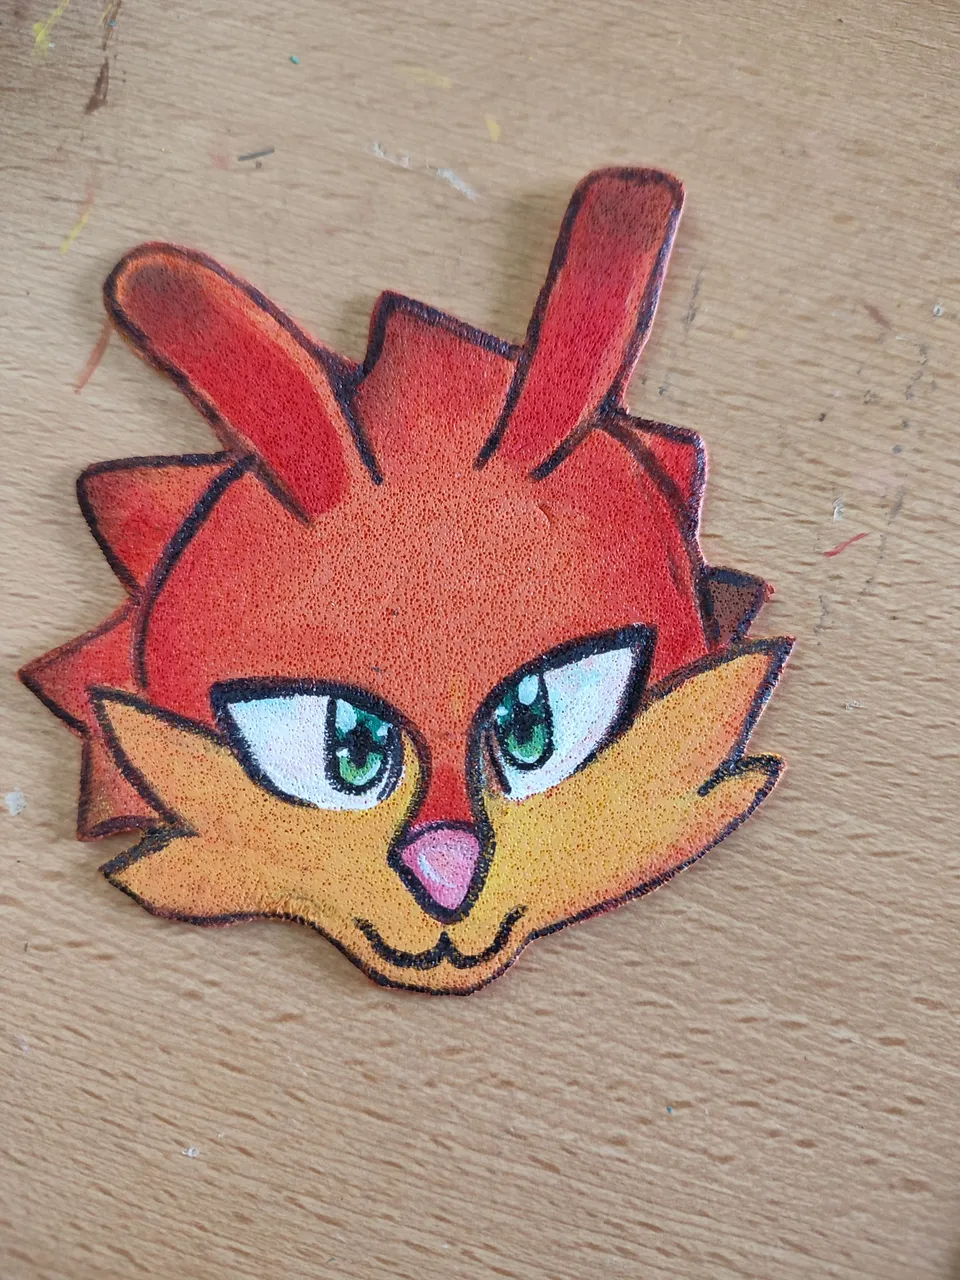
Then I started to draw. I started drawing the features of the face, and then I painted all the details that look light with yellow paint, the shading was done by applying red paint and to give darker shades I used brown paint, for the shadows on the foami you can also use wood colors, wetting the tip with water, but in this case I preferred to do it with the paints.
Luego empecé a dibujar. Empecé dibujando los rasgos de la cara, y luego fui pintando todos los detalles que se ven claros con pintura amarilla, el sombreado lo hice aplicando pintura roja y para dar sombreados mas oscuros utilicé pintura marrón, para las sombras en el foami también se pueden usar colores de madera, mojándoles la punta con agua, pero en este caso yo preferí hacerlo con las pinturas.
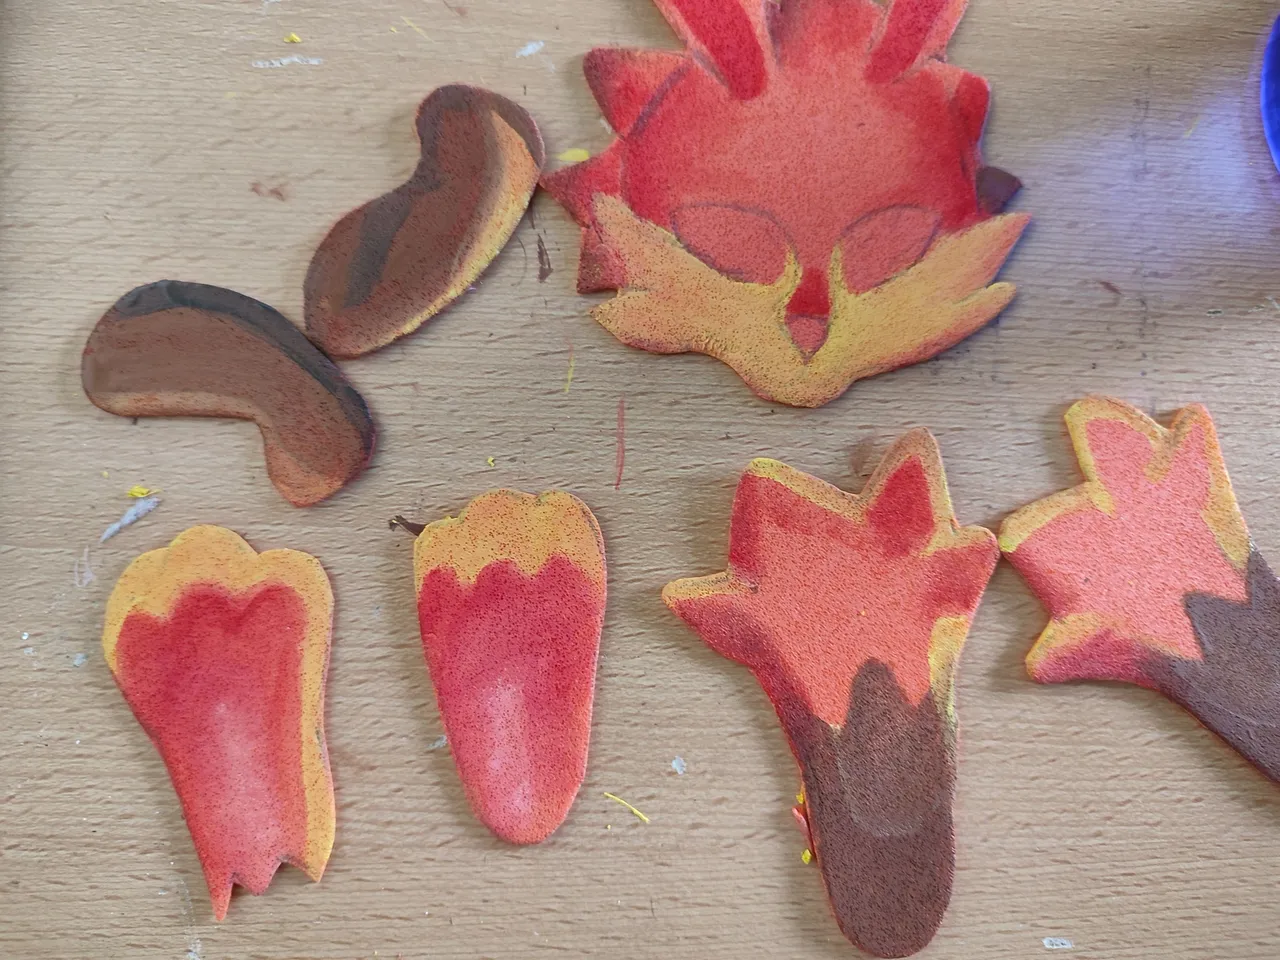
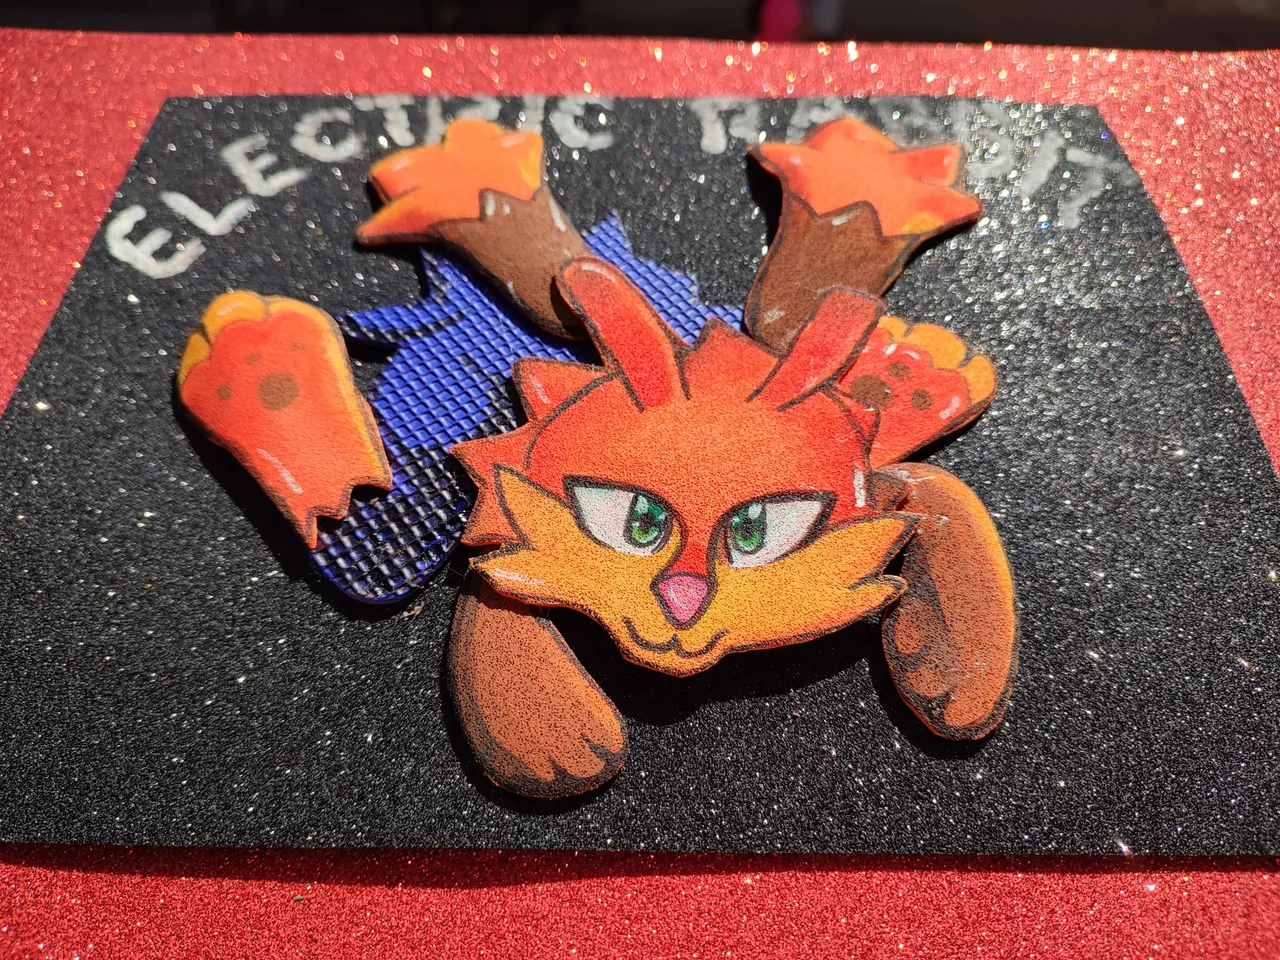
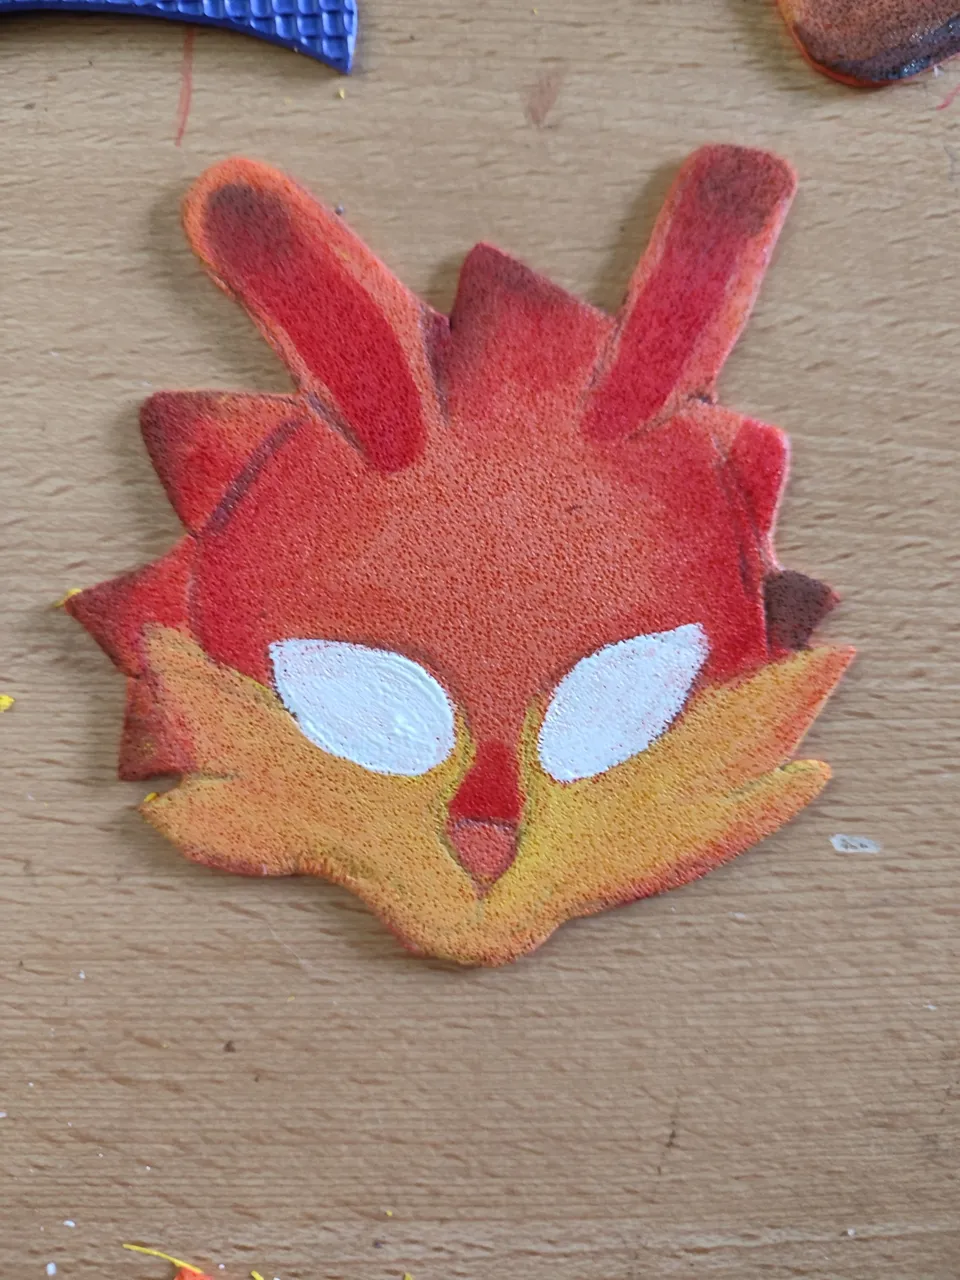
When everything was dry I made the eyes with white paint, and the pupils with green paint, waited for it to dry and started to outline all the parts with black marker and other details such as the eyes and paws.
Cuando ya estaba todo seco hice los ojos con pintura blanca, y las pupilas con pintura verde, esperé que secara y comencé a delinear todas las partes con marcador negro y a hacerle otros detalles como en los ojos y las patas.
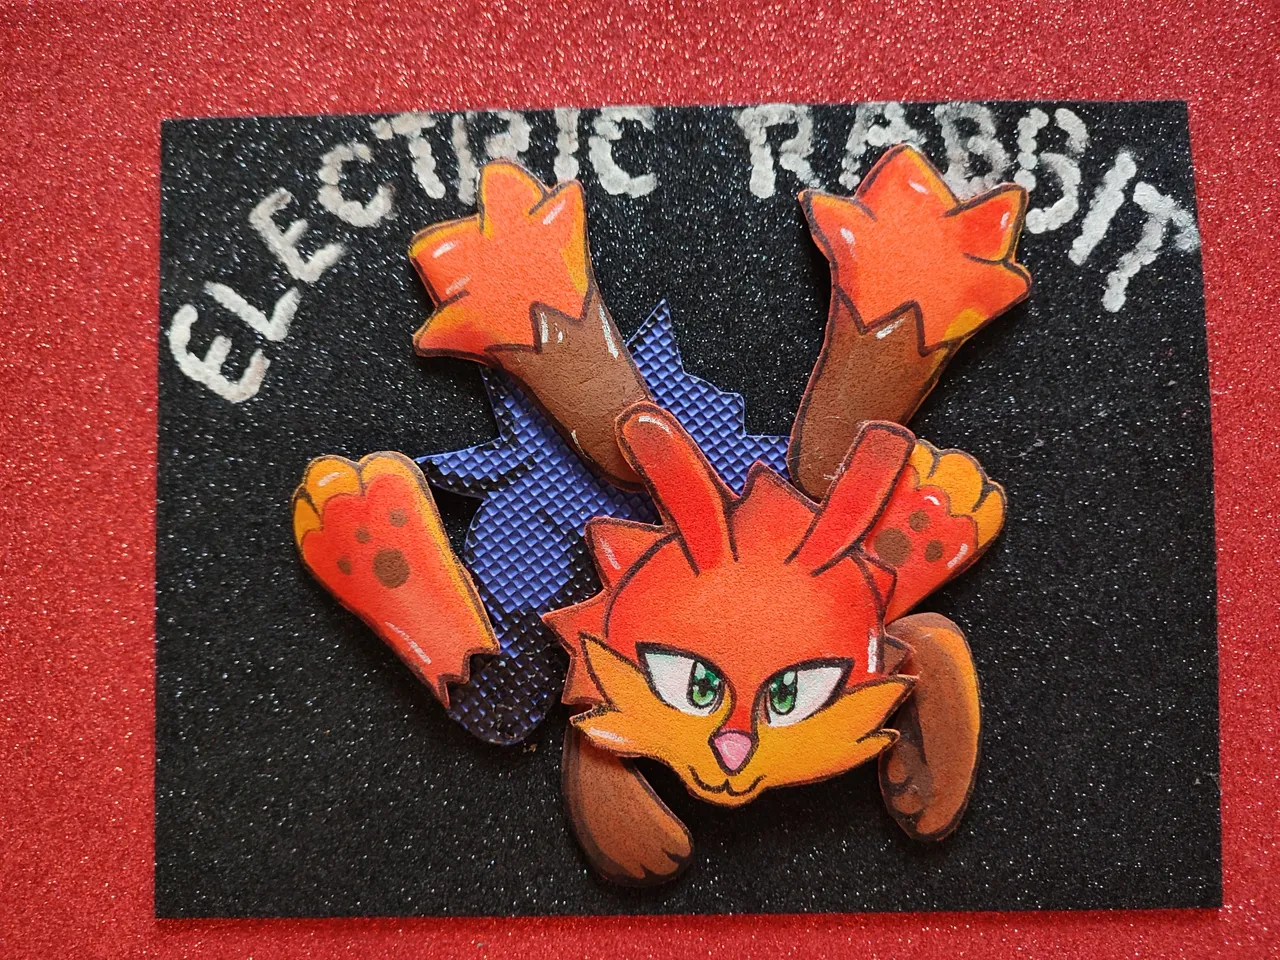
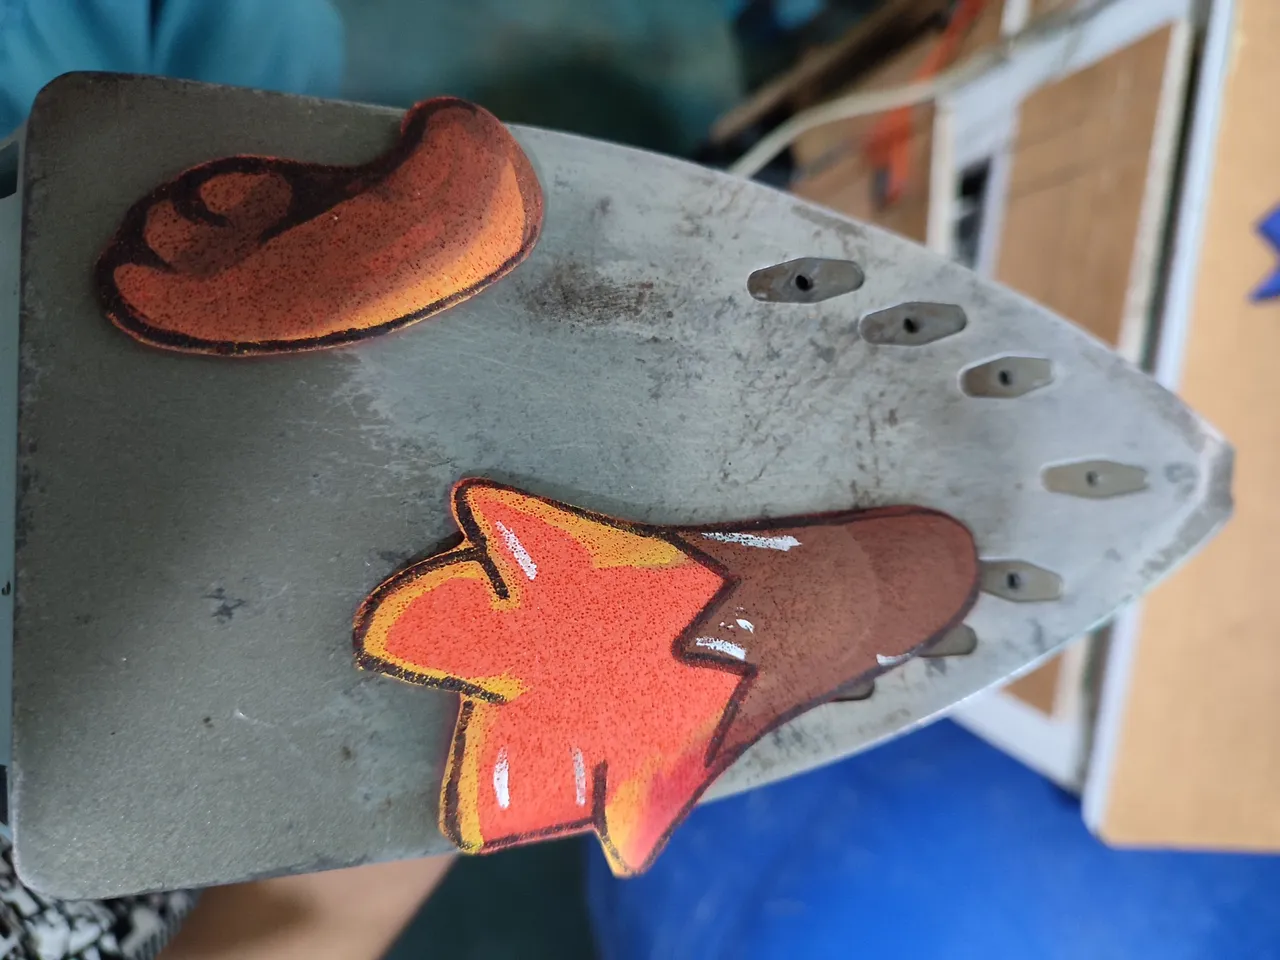
Before joining the parts together I decided to give them a nicer effect, I did this by placing all the parts on a clothes iron, as the heat makes the foami stand up, giving it a 3D effect.
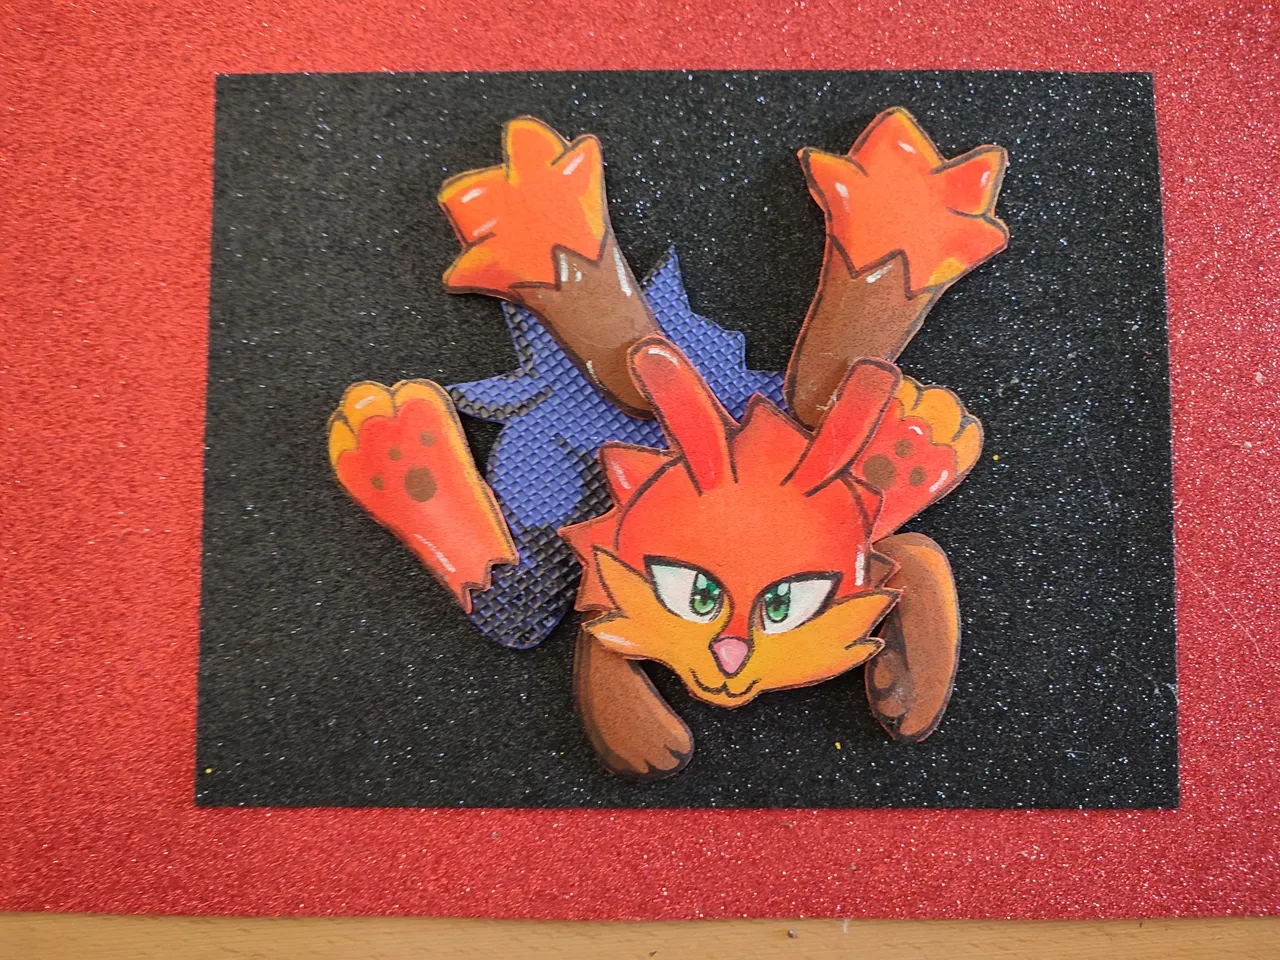
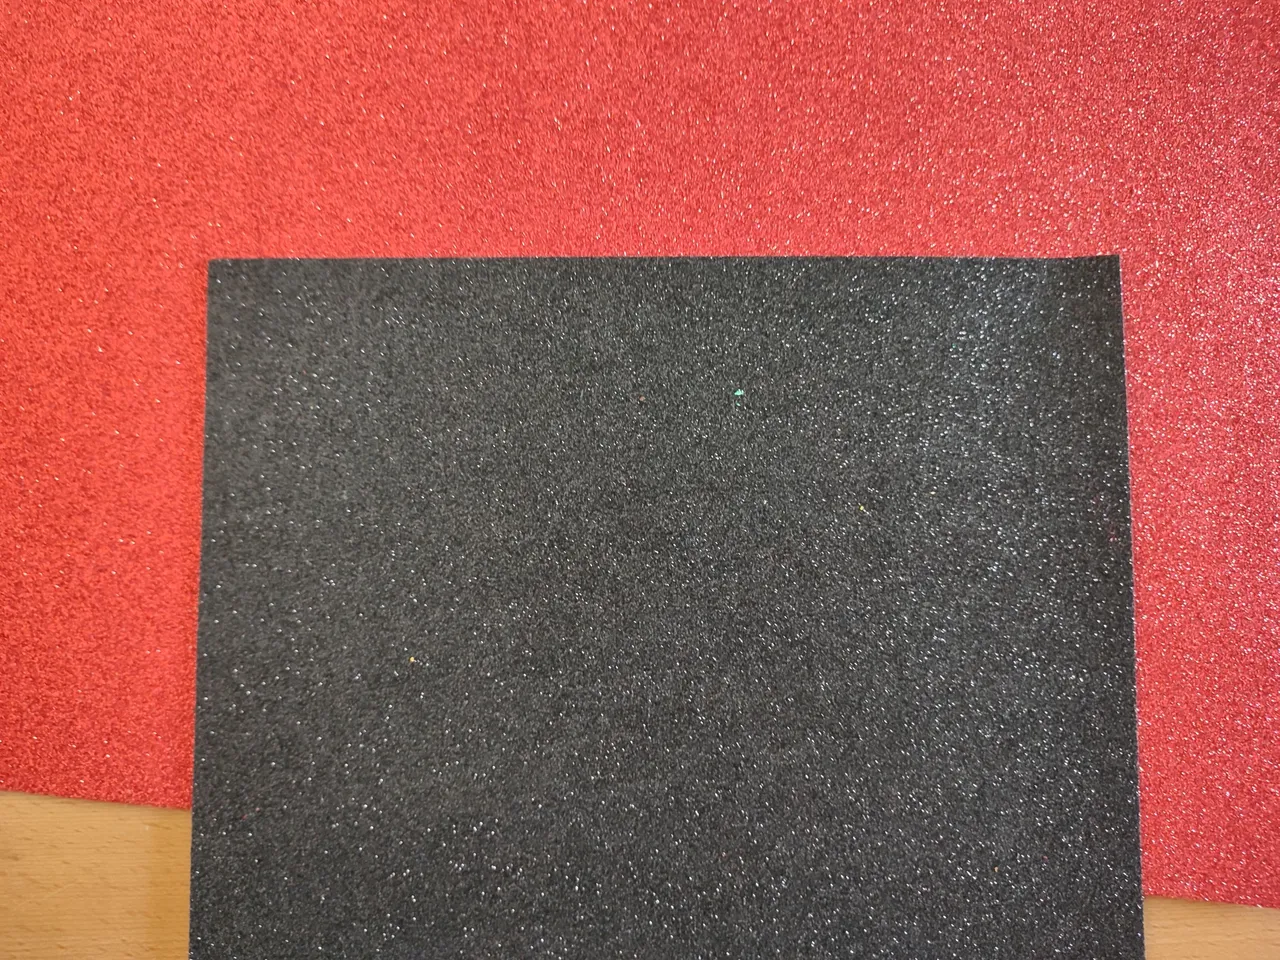
On a double-sided red foami I placed a black letter-size foami. Then I assembled the figure and placed it on top. Finally I made the name with white paint.
Antes de unir las partes decidí darles un efecto más bonito, esto lo hice colocando todas las partes en una plancha de ropa, ya que lo caliente hace que el foami se levante, dándole un efecto 3D.
En un foami rojo doble faz coloqué un foami negro tamaño carta. Luego armé la figura y la puse encima. Por último hice el nombre con pintura blanca.
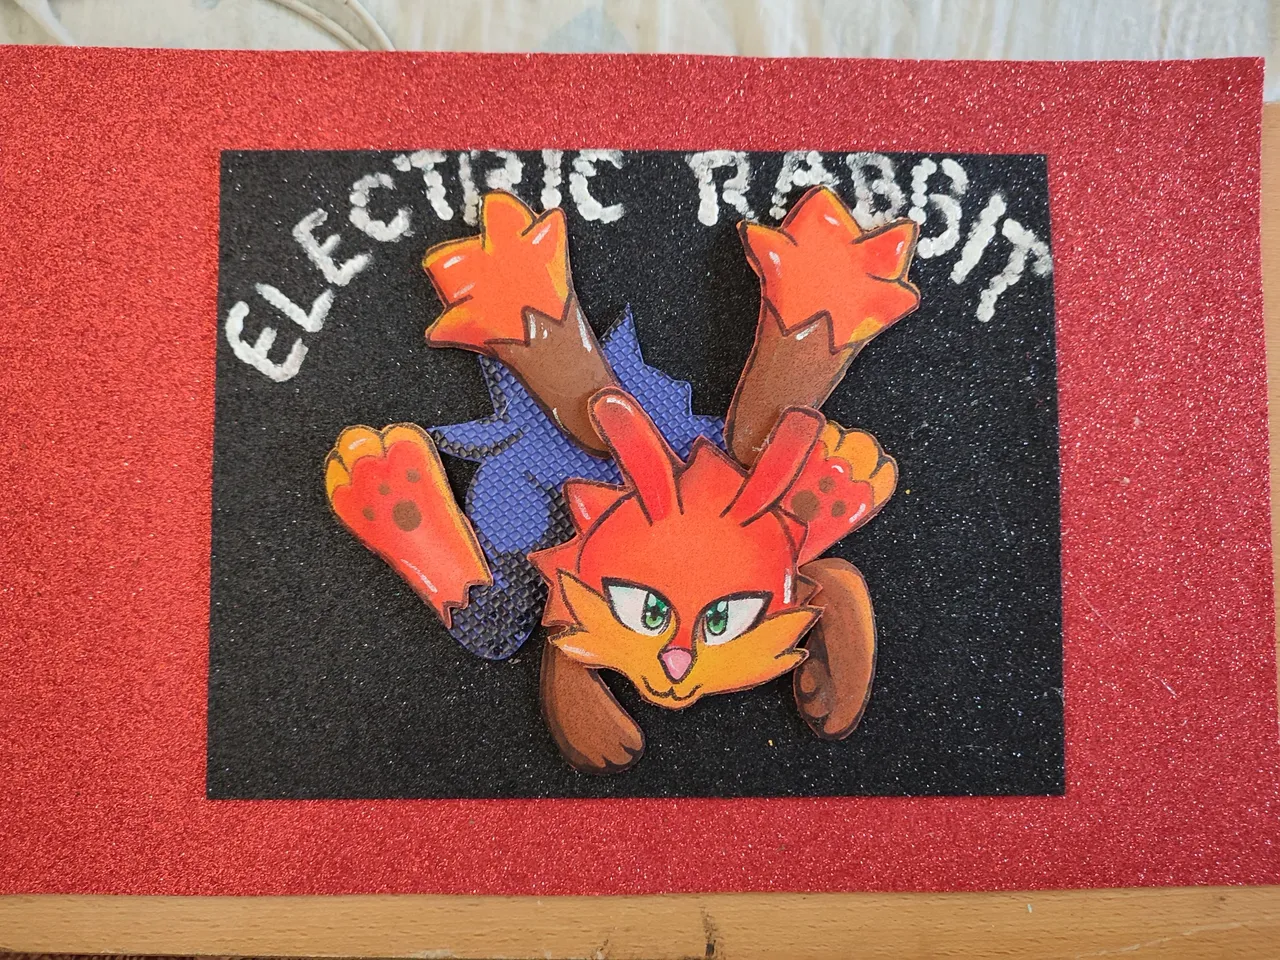
It was my first time working this way with foami and I didn't know if it was going to look good, however I trusted the process and I really liked the result, I think the shading looked great and the way the Electric Rabbit stood out from the background gave it a very nice effect, I hope you liked it and thank you very much for coming here, see you in the next one.🧡
Era mi primera vez trabajando de esta forma con foami y no sabía si iba a quedar bien, sin embargo confié en el proceso y me gustó mucho el resultado, considero que los sombreados se veían muy bien y la forma en qué sobresalía la Electric Rabbit del fondo le daba un efecto muy lindo, espero les haya gustado y muchas gracias por llegar hasta aquí, nos vemos en una próxima.🧡