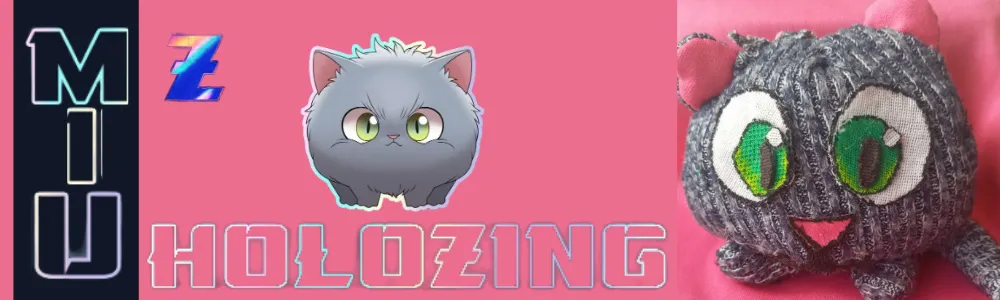
Greetings friends.
Today I want to show you how I made my new plush toy inspired by the Holozing creature known as MIU. But, first, I want to show you how my participation inside Holozing is going.
First:
I'm excited to have entered to participate in Holozing in some way and thus prepare myself for the big game to come.
As you know, delegating HP or posh token to the @zingtoken account allows you to get back $ZING token that is credited to your wallet. At the same time, this token is blocked and also generates $ZING token.

I delegated an amount of 130 HP to the account @zingtoken and I also took advantage of participating in the event that took place in December, although, of course, I didn't have much discipline in going to claim my daily rewards in order to get some more $ZING. I didn't have much discipline in going to claim my rewards daily to get some more $ZING. However, what I did was enough to collect as of 01/23/2024 approximately 562 token $zing.

I'm liking the results and what I've seen of the game has delighted me so well, I headed to the internal market to take advantage of buying some $ZING token and increase the amount I had.
I currently have a total of 812.57 $ZING which is sitting in staking

Second:
I'm really excited about this game, and I don't know if it's because in my childhood I loved watching Pokémon. Besides, I must admit that the creativity they have had to create the creatures is amazing, and now I find myself imagining how the next creature would be.
In the meantime, I want to share with you the process I went through to make a MIU plush toy.
Miu is one of the creatures in the Holozing game, and if I'm not mistaken, she was the fifth creature to be unveiled.
Without further ado.
I had been thinking for a long time about doing something related to Holozing and an aunt shared with me the idea of making a small stuffed animal to carry as an ornament next to my keys.
So she gave me some fabric to make it.
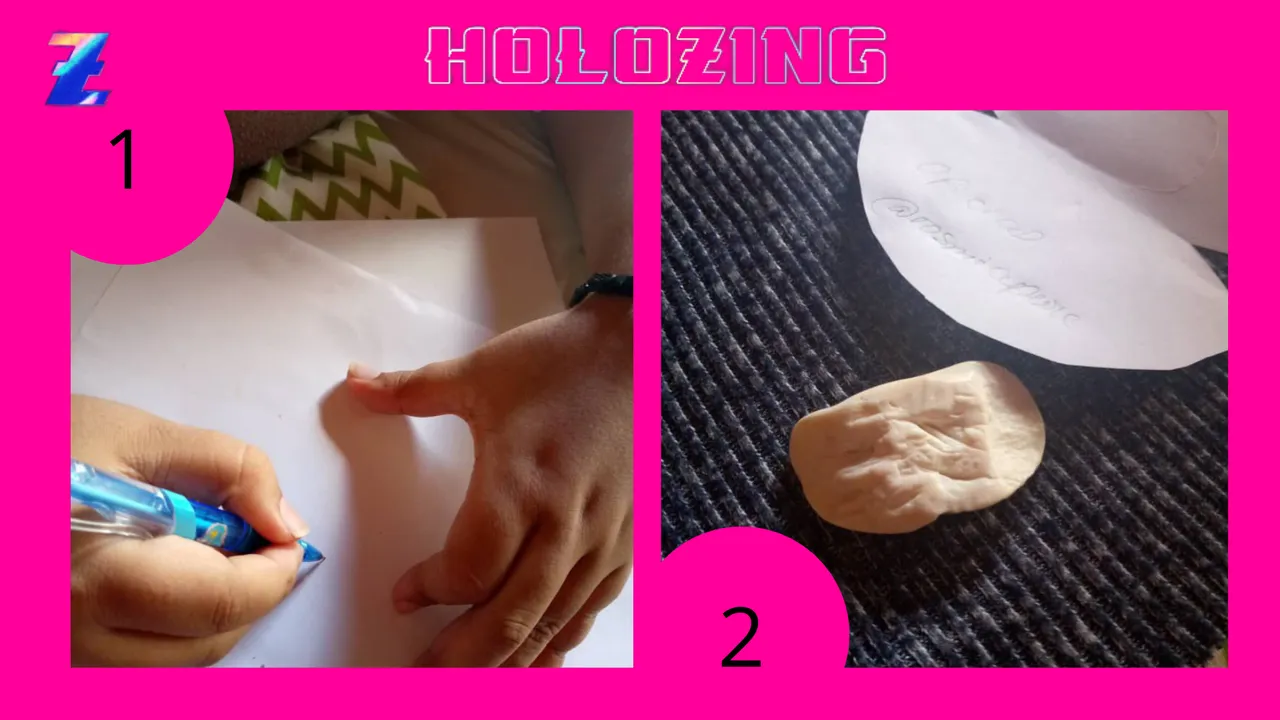
- In the first step you can see that I am making the template that will help me to define how our cat's body would be, and I also drew the ears and, well, yes, I made MIU's tail.
- In the next step I make a sample of the template on top of the fabric a piece of white soap that I used to trace on the fabric.
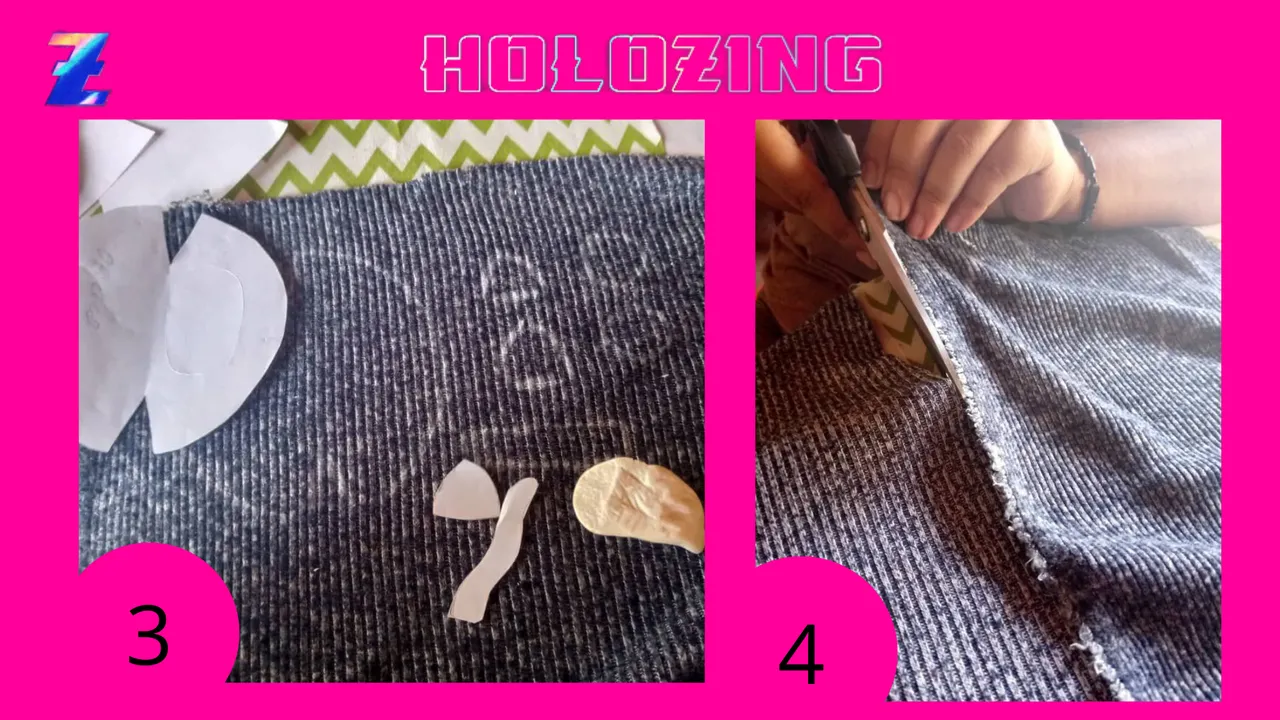
Here you can see how I marked the pieces on the fabric and then proceeded to cut the amount I was actually going to use. Then I folded the fabric to cut the pieces to join them little by little.
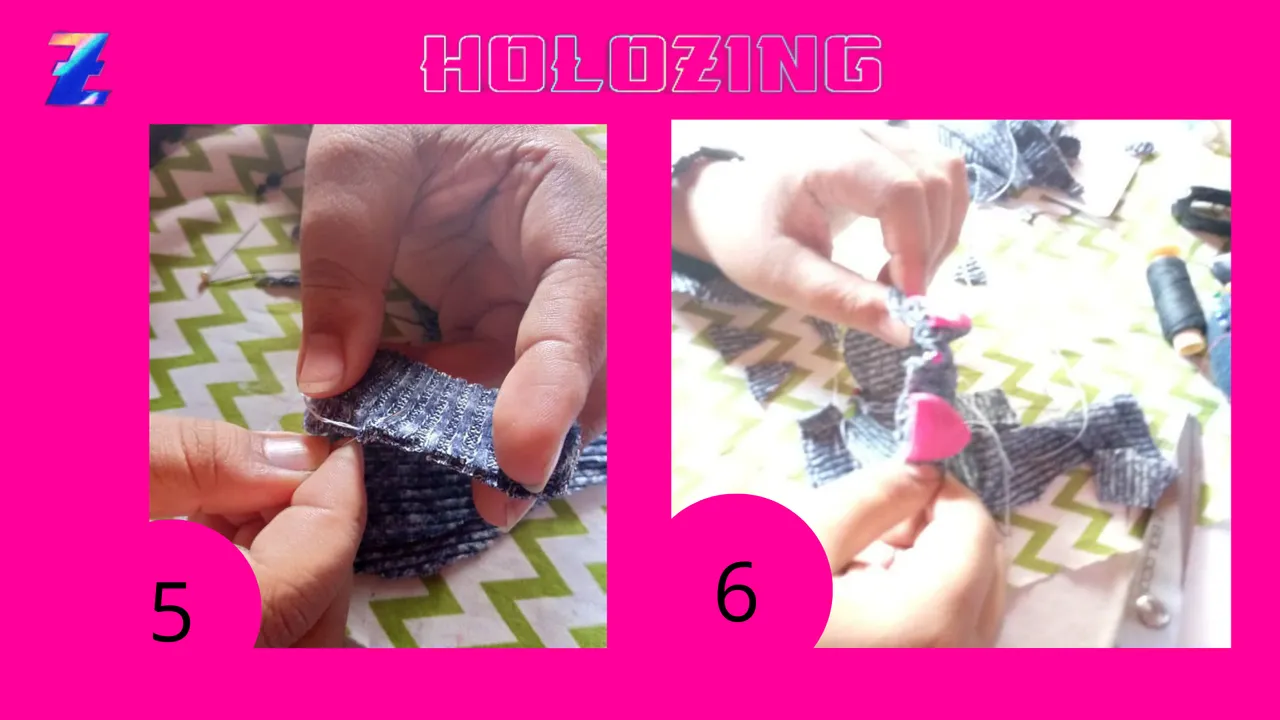
Once the pieces were already cut, I began to sew them one by one and then join them together to give shape to MIU.
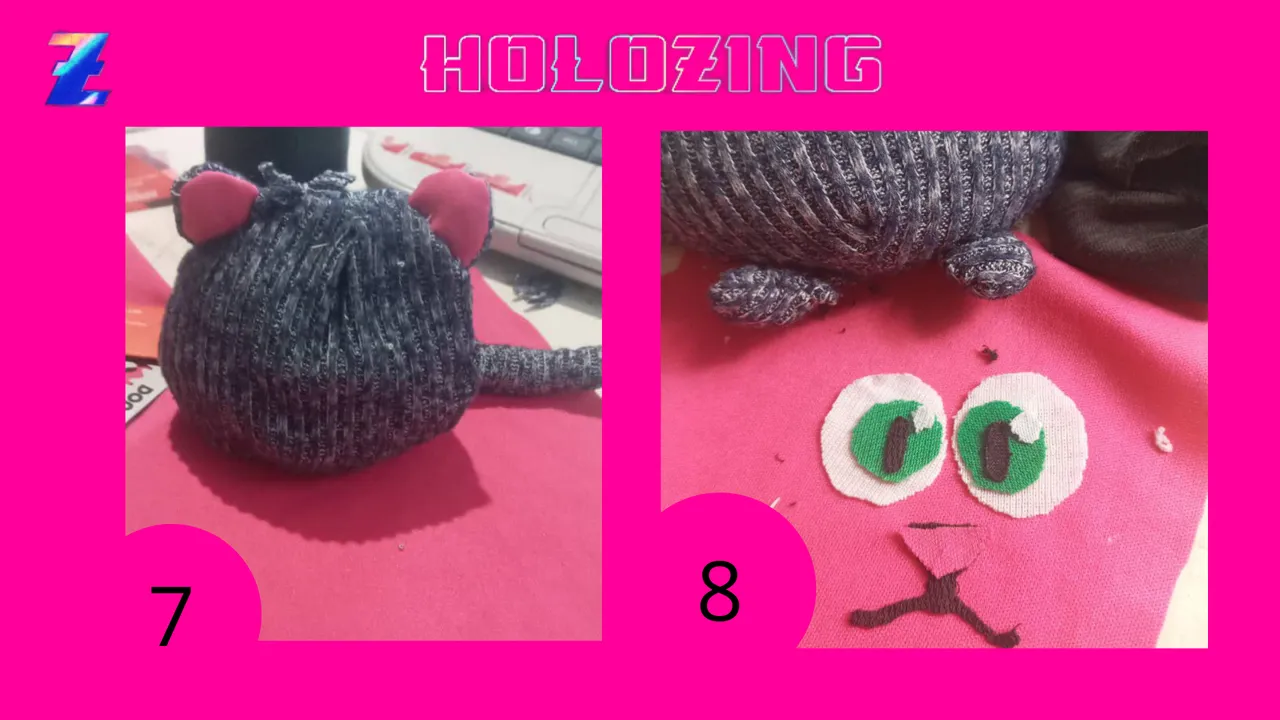
I already had MIU's body together, and I used fabric scraps to stuff the body of my stuffed animal. But, now I had to work on the cat's face, so I went to get some flannel I don't use anymore to cut out what would be the eyes, the nose and the line of the mouth.
Here you can see how I was modeling everything to see more or less how MIU face would look like.
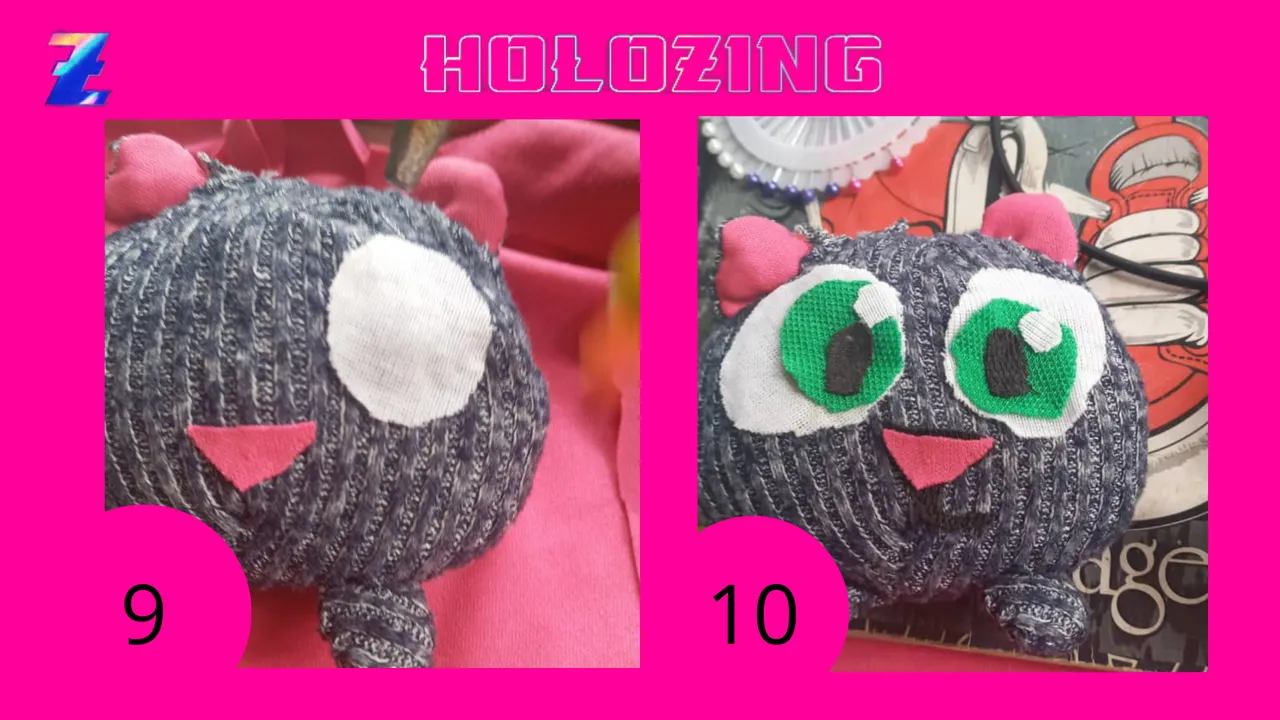
After measuring, I cut a little more to reduce the white part of the eyes because in principle a single piece occupied almost the entire face, and it looked ugly.
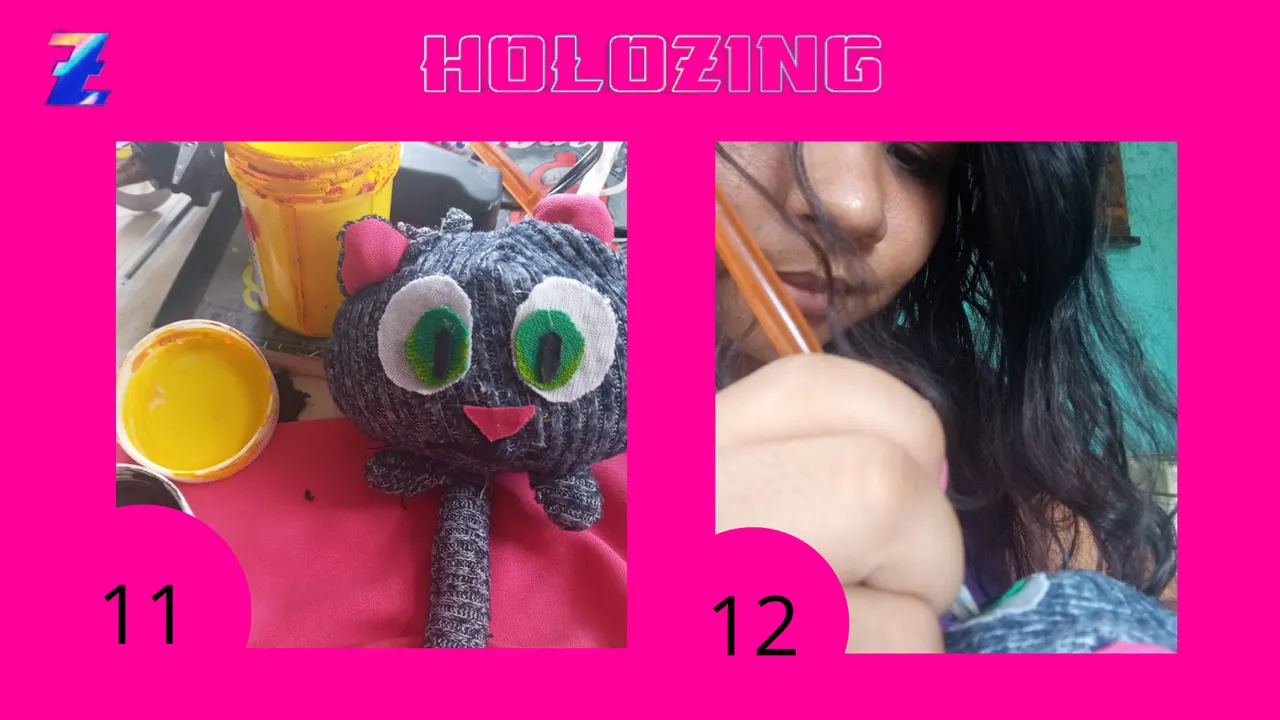
After making the corrections I just had to glue the pieces and then proceed to add some touches with paint because if we see well the eyes of the MIU we can see that his eyes are a light green tone with some yellow and has of course an eyeliner.
So I placed some yellow and black cold paint. I proceeded to add the yellow tone over the eyes and then add the eyeliner.
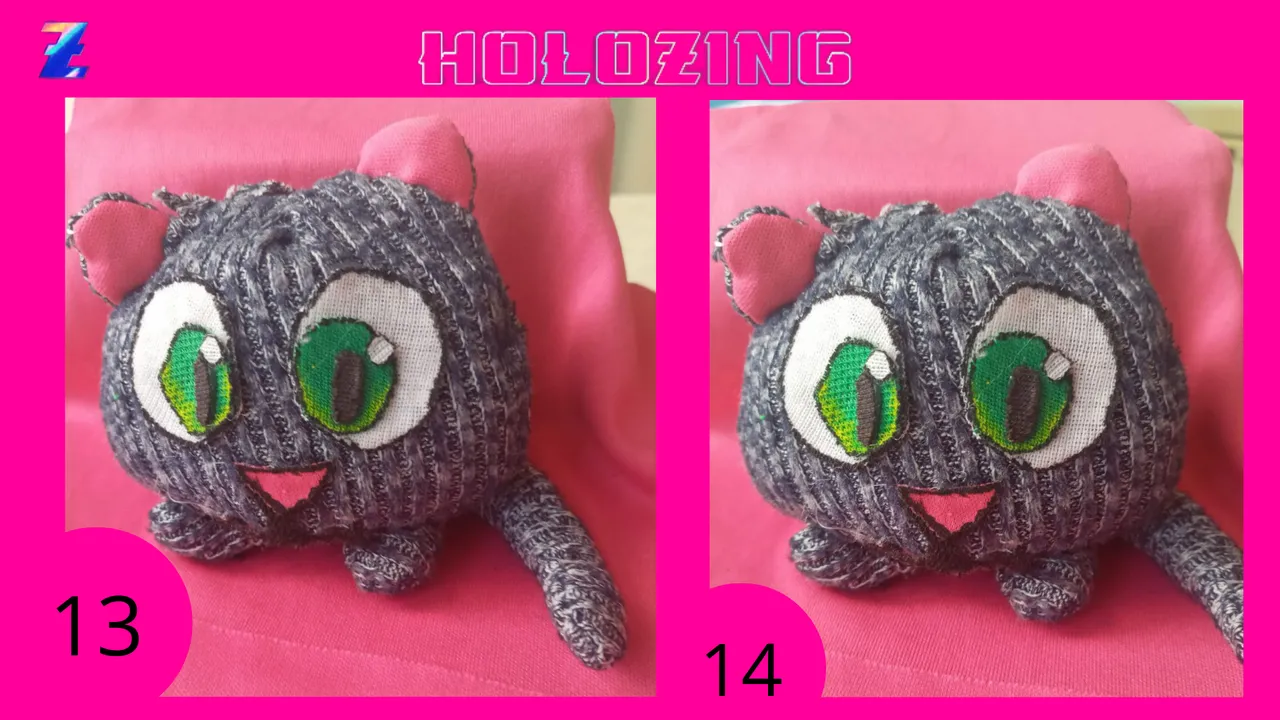
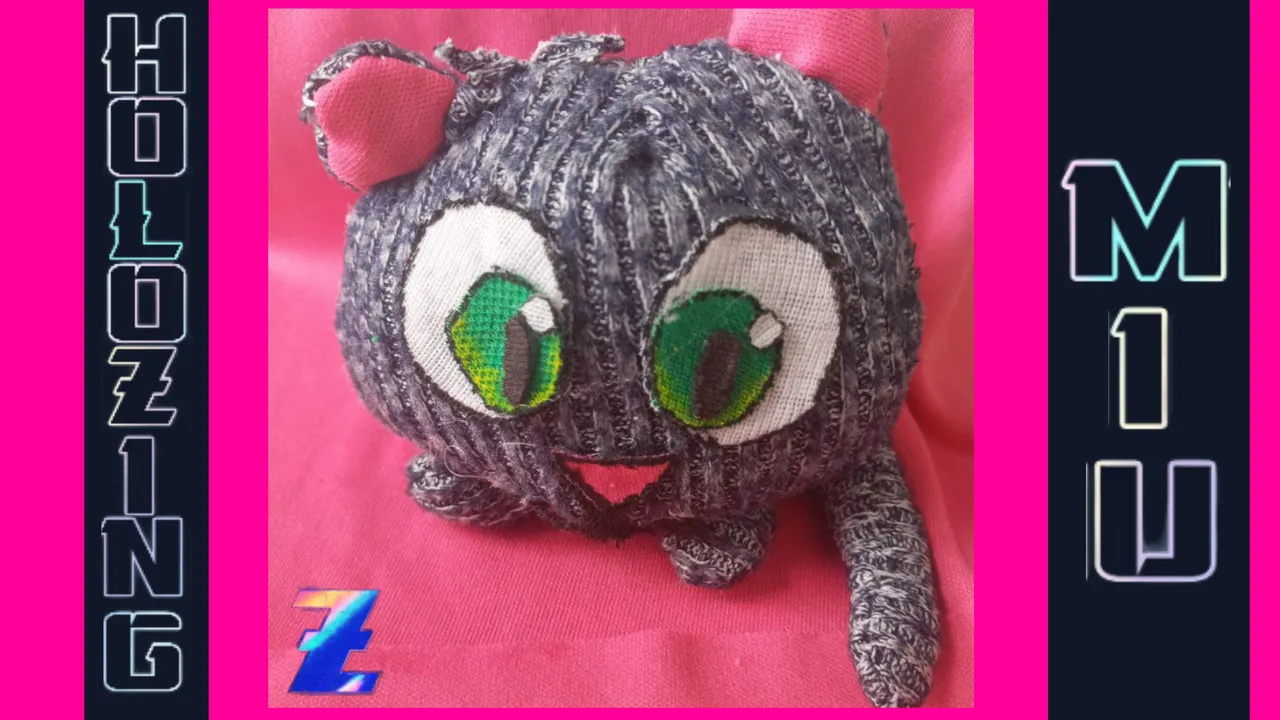
Here I show you my version of the cute MIU because the original MIU looks a bit angry, but we both know that cats are cute.
Seriously, I'm very excited about the final result because at first I thought it wouldn't come out because it's the first time I express my creative side in this way.
With nothing more to add, I'll say goodbye, and I'll be waiting for your comments.
Resources:
- I designed the cover in Canva with elements from the Holozing game and a photo of my property.
- The capture where I show the $ZING token purchase was taken from my Tribaldex account.
- The Capture where I show the $ZING token rewards was taken from my Holozing game profile.
- The images where I show the step by step of the creation of MIU are designed in Canva with photos of my property and elements of the Holozing game.
- The dividers are from my creation in Canva, with elements from the Holozing game.
- Final image is from my creation in Canva, with elements from the Holozing game and a photo of my property.