🔸Sin más que añadir, a continuación los dejo con el paso a paso:
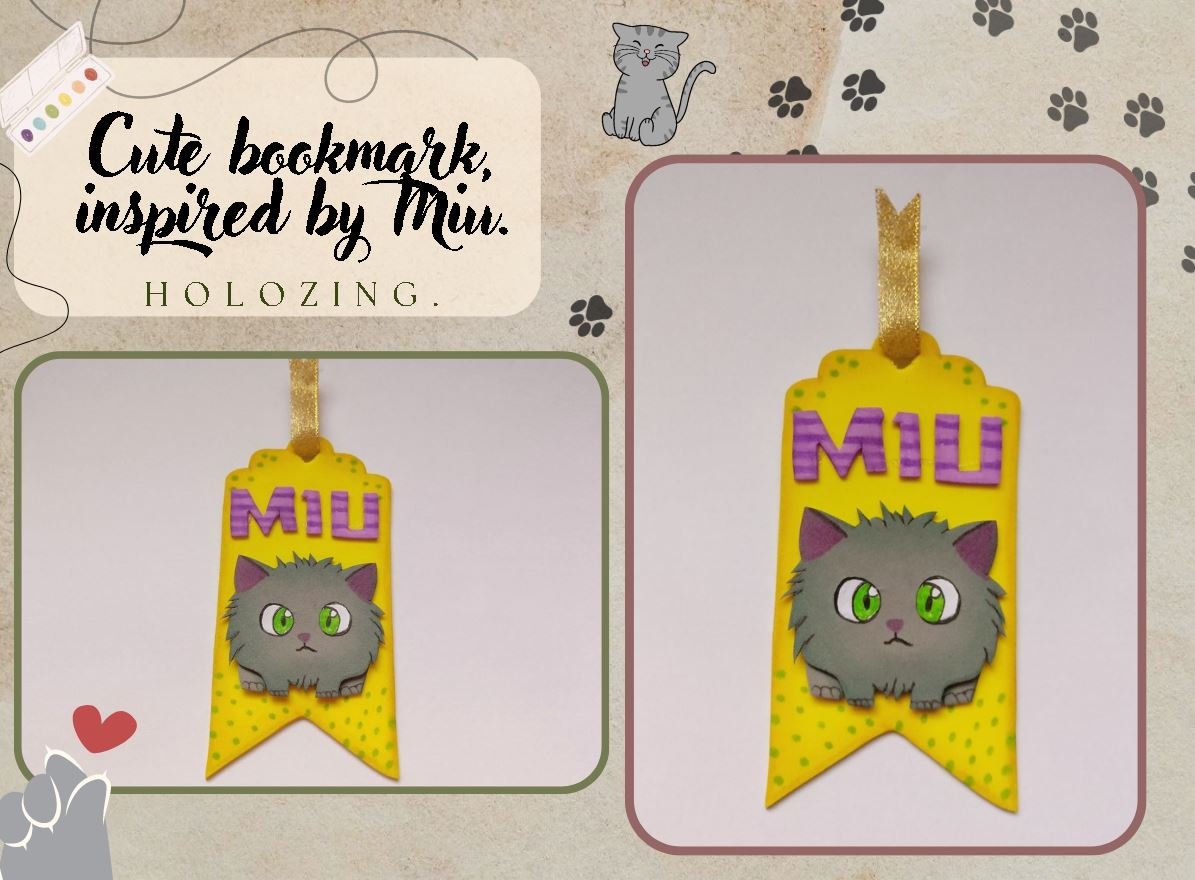
✨Good afternoon, holozing friends!✨ I hope you're having a great week. For my part, I'm happy to stop by here to share a lovely idea with you. This time, I'm sharing the step-by-step instructions for making a cute bookmark inspired by Miu. I don't think I've ever made Miu with this look; I always use her Miu Miu evolution, as it's my favorite. But this time, I wanted to make her like this, with her normal appearance, without changing anything like fan art, to see how it turned out. Honestly, I loved the result and the colors I used.
🔸Without more to add, then I leave you with the step by step:
♥️ESPERO QUE TE GUSTE,
¡Empecemos!
♥️I HOPE YOU LIKE IT,
Let's start!

✂️ MATERIALES | ✂️ MATERIALS
- Foami gris.
- Foami amarillo.
- Foami lila.
- Cinta.
- Pinturas y marcadores.
- Pegamento.
- Tijeras.
- Regla.
- Hoja blanca.
- Lápiz.
- Gray foam.
- Yellow foam.
- Lilac foam.
- Tape.
- Paints and markers.
- Glue.
- Scissors.
- Ruler.
- White paper.
- Pencil.
✨ PROCEDIMIENTO | ✨ PROCESS
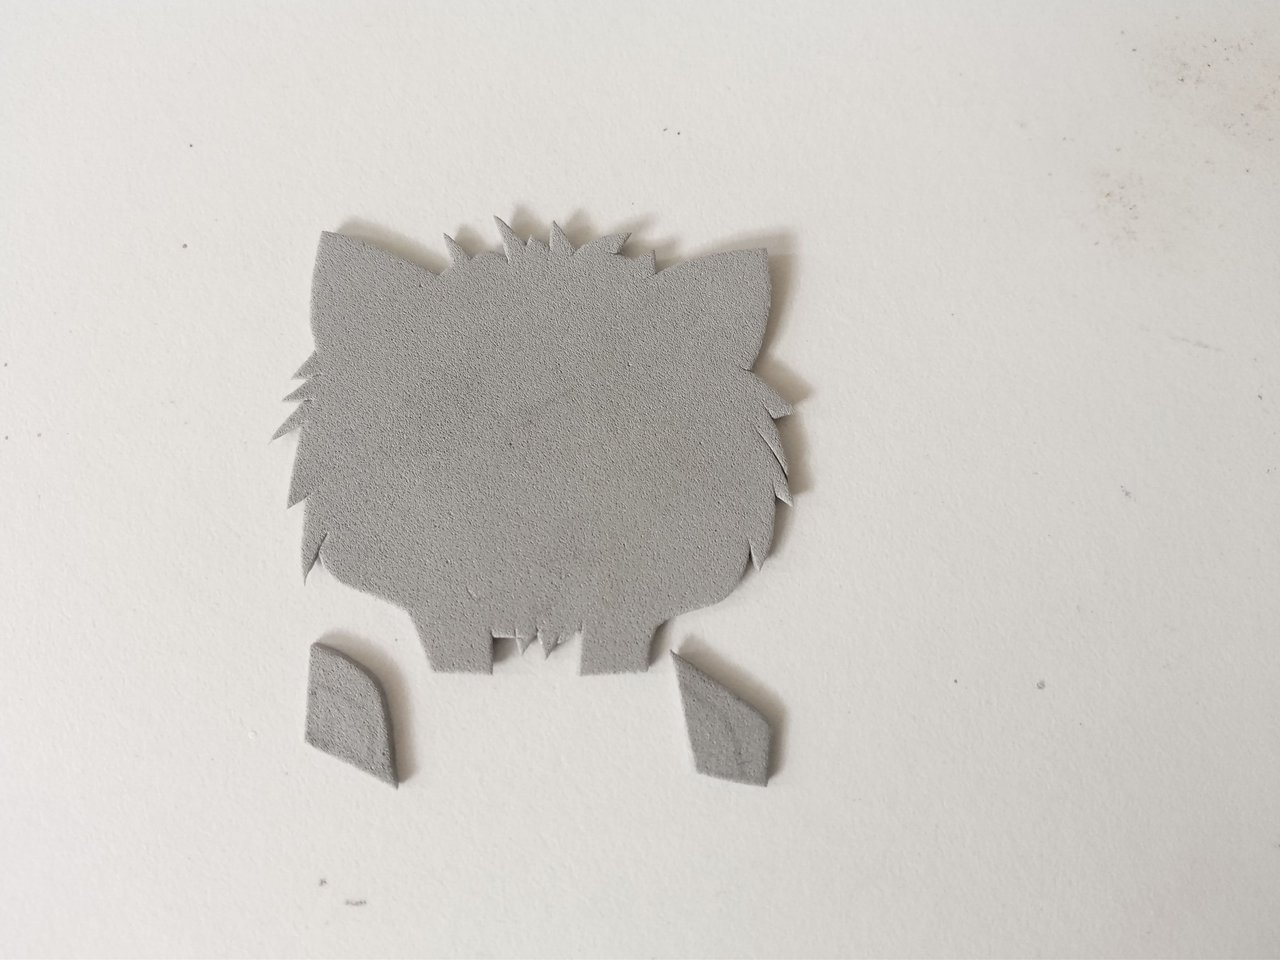
✨ PASO 1:
Lo primero, como siempre, es elaborar en una hoja blanca el diseño del personaje, ya sea tipo fanart o el propio; además, quise integrar el nombre como parte de la decoración, así que escribí con la misma tipografía de la presentación. Al estar listo el diseño en la hoja blanca, es momento de transferir a los colores correspondientes de foami, como explico a continuación:
✨Pieza principal (cuerpo): 6 cm x 5 cm en foami gris.
✨Patas traseras: 1.5 cm x 1 cm en foami gris.
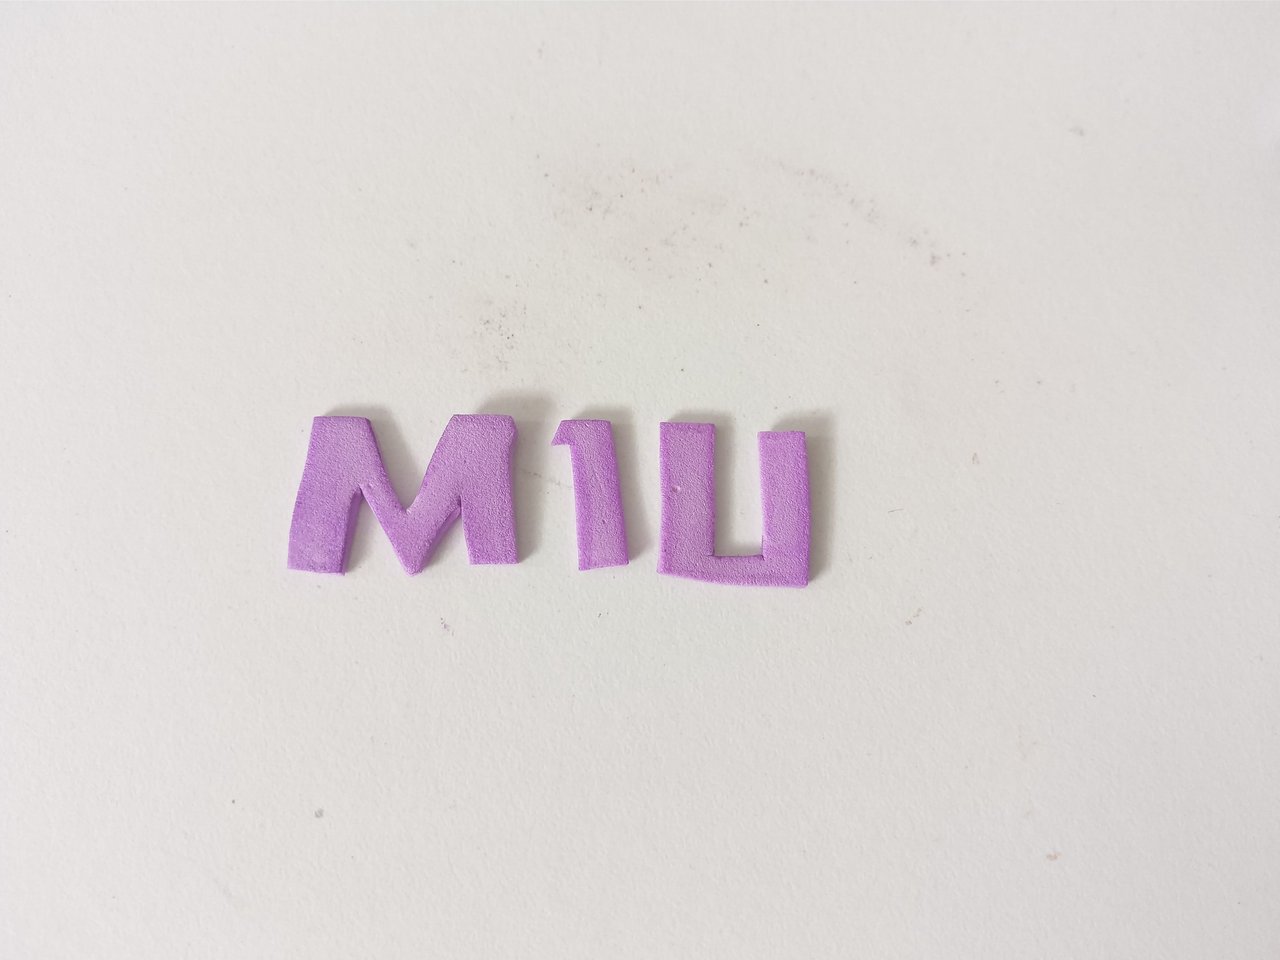
✨Letras: 1.7 cm de alto, cada una en foami lila.
✨ STEP 1:
The first thing, as always, is to create the character design on a white sheet of paper, whether it's fan art or my own. I also wanted to integrate the name as part of the decoration, so I wrote it using the same font as the presentation. Once the design is ready on the white sheet, it's time to transfer it to the corresponding colors of foam, as explained below:
✨Main piece (body): 6 cm x 5 cm in gray foam.
✨Hind legs: 1.5 cm x 1 cm in gray foam.
✨Letters: 1.7 cm tall, each in lilac foam.
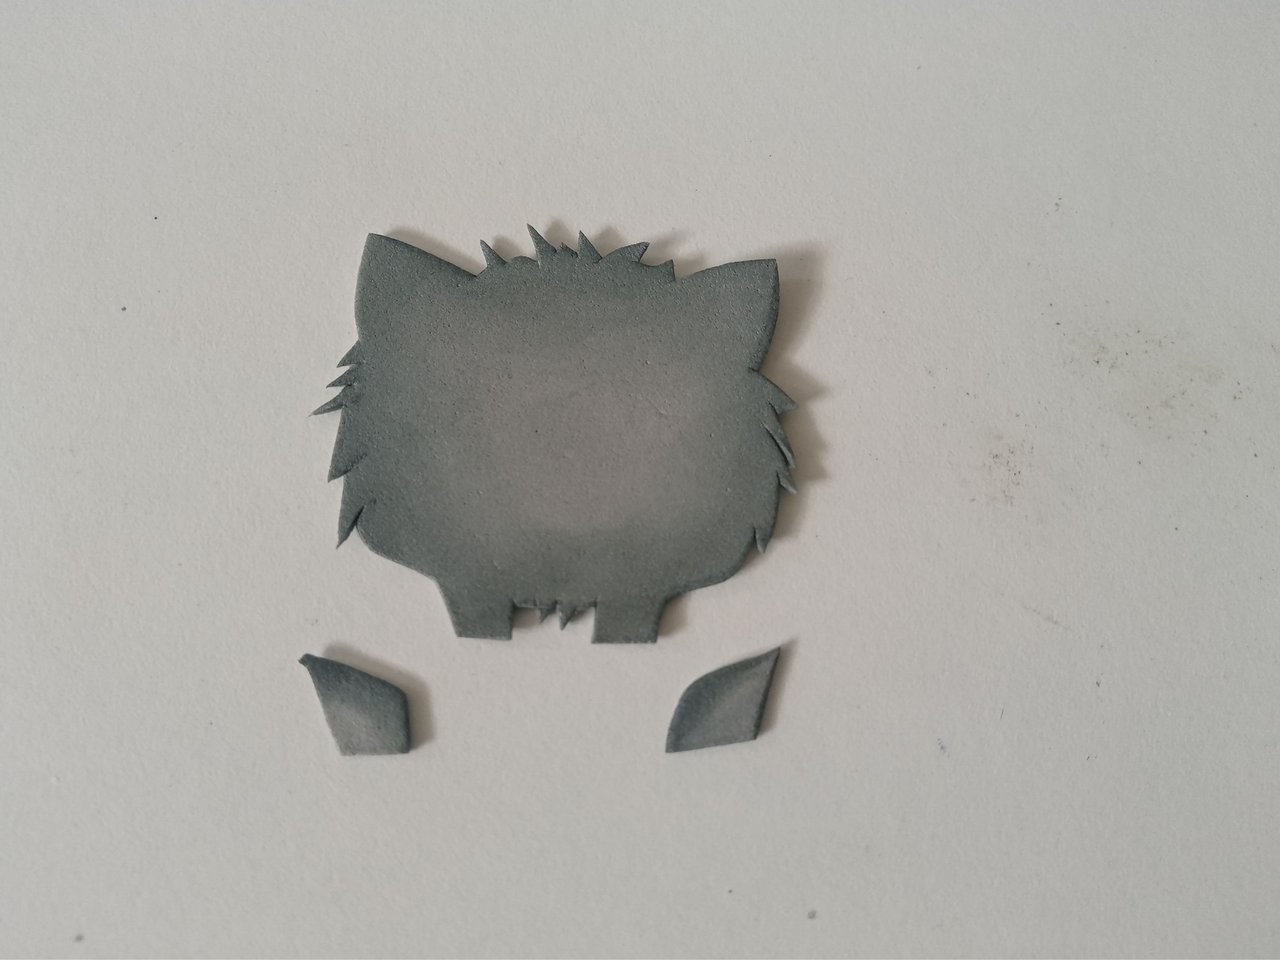
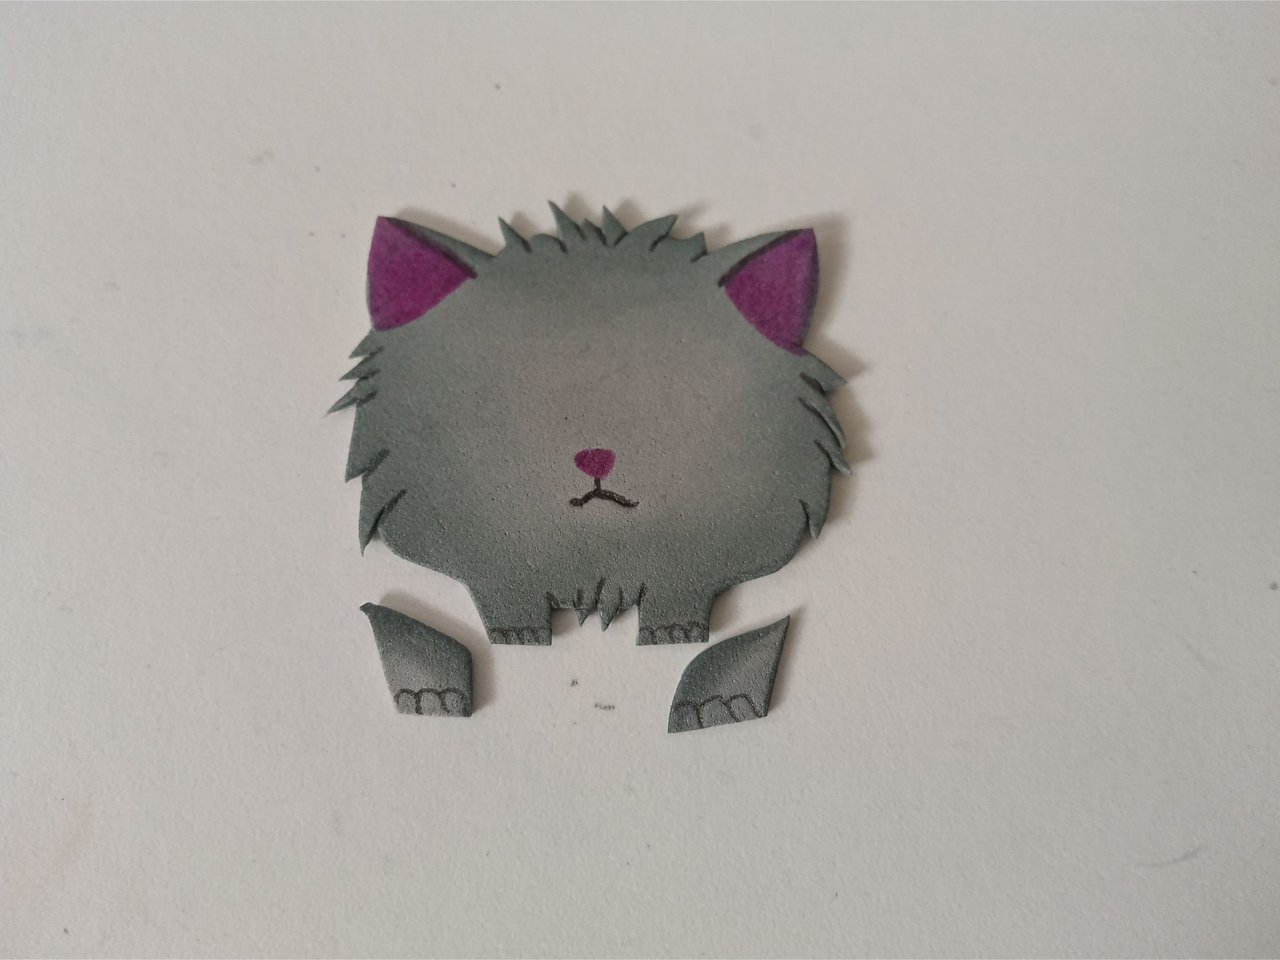
✨ PASO 2:
Al estar recortadas las piezas, es momento de dar color a los bordes con pinturas o marcadores, casi siempre con un tono más oscuro que el de la pieza de foami, y dejamos secar. Al estar secas las piezas, es momento de dar más detalles con un marcador de punta fina, como serían la nariz, boca, orejas, pelaje, patas y, para las letras, simplemente le hice un diseño de líneas.
✨ STEP 2:
Once the pieces are cut out, it's time to color the edges with paints or markers, usually in a darker shade than the foam piece, and let them dry. Once the pieces are dry, it's time to add more details with a fine-tipped marker, such as the nose, mouth, ears, fur, legs, and, for the letters, I simply made a line design.
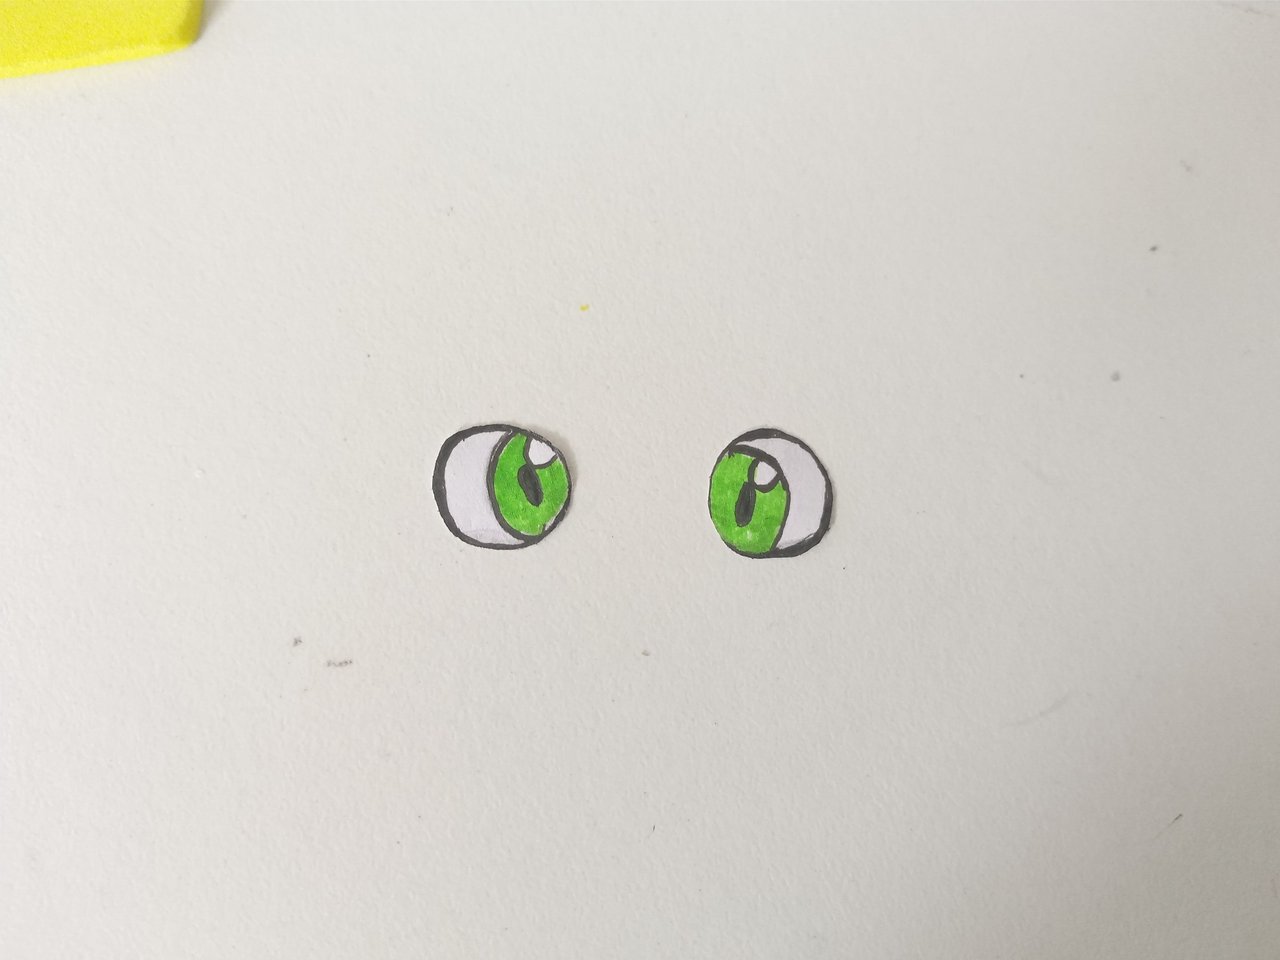
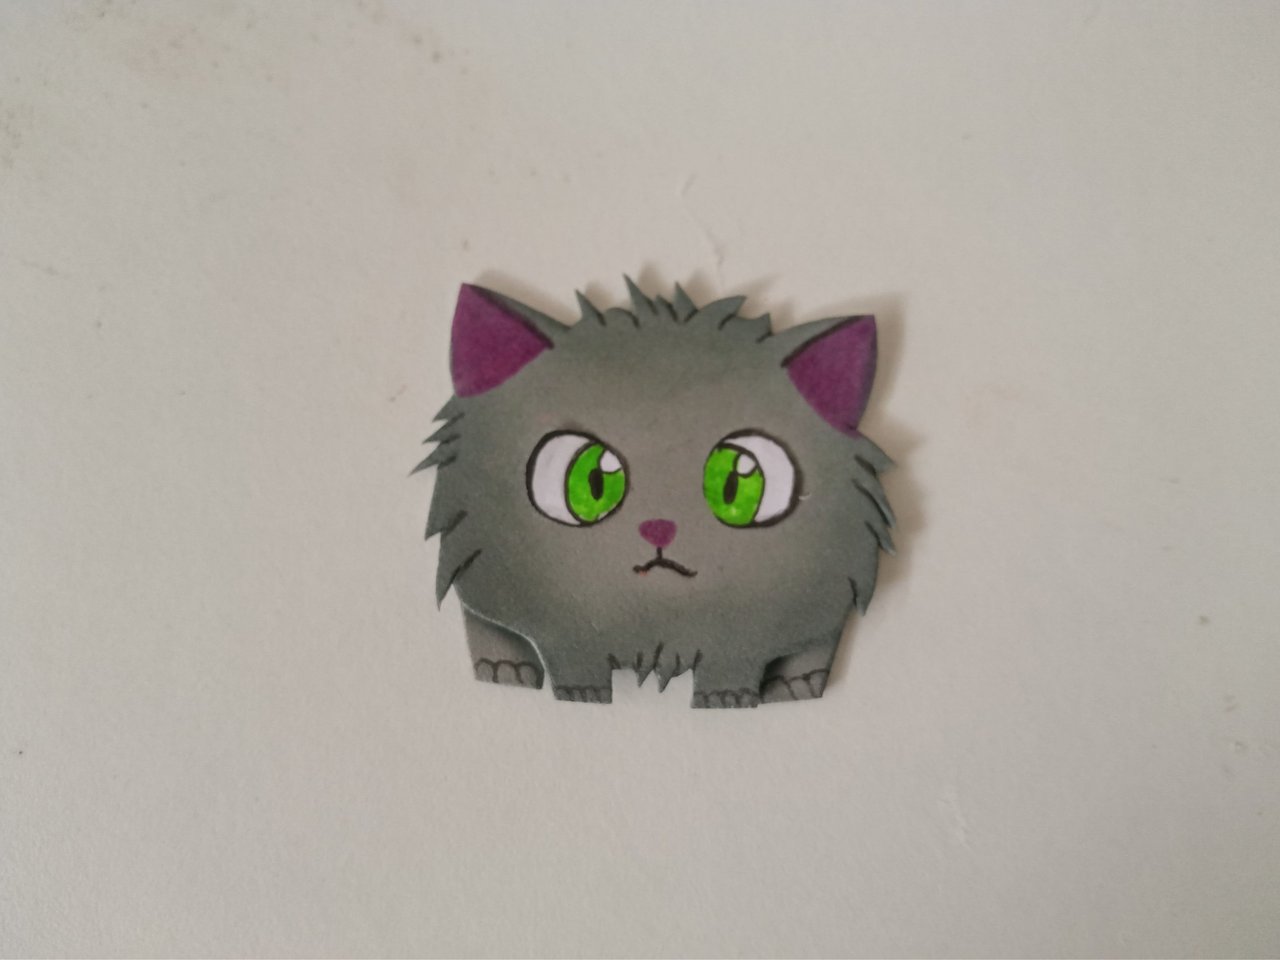
✨ PASO 3:
Seguidamente, para hacer mucho más fácil el proceso de los ojos, simplemente recorté los que dibujé al inicio en la misma hoja blanca, remarqué con marcador para definir y los pinté color verde, tal cual como el original, dejando siempre el punto de luz. Al estar listo, pegué a la cabeza y terminé de pegar las patas traseras.
✨ STEP 3:
Next, to make the process for the eyes much easier, I simply cut out the ones I drew at the beginning on the same white sheet, outlined them with a marker to define them, and painted them green, just like the original, always leaving a light spot. Once that was ready, I glued the head and finished gluing the hind legs.
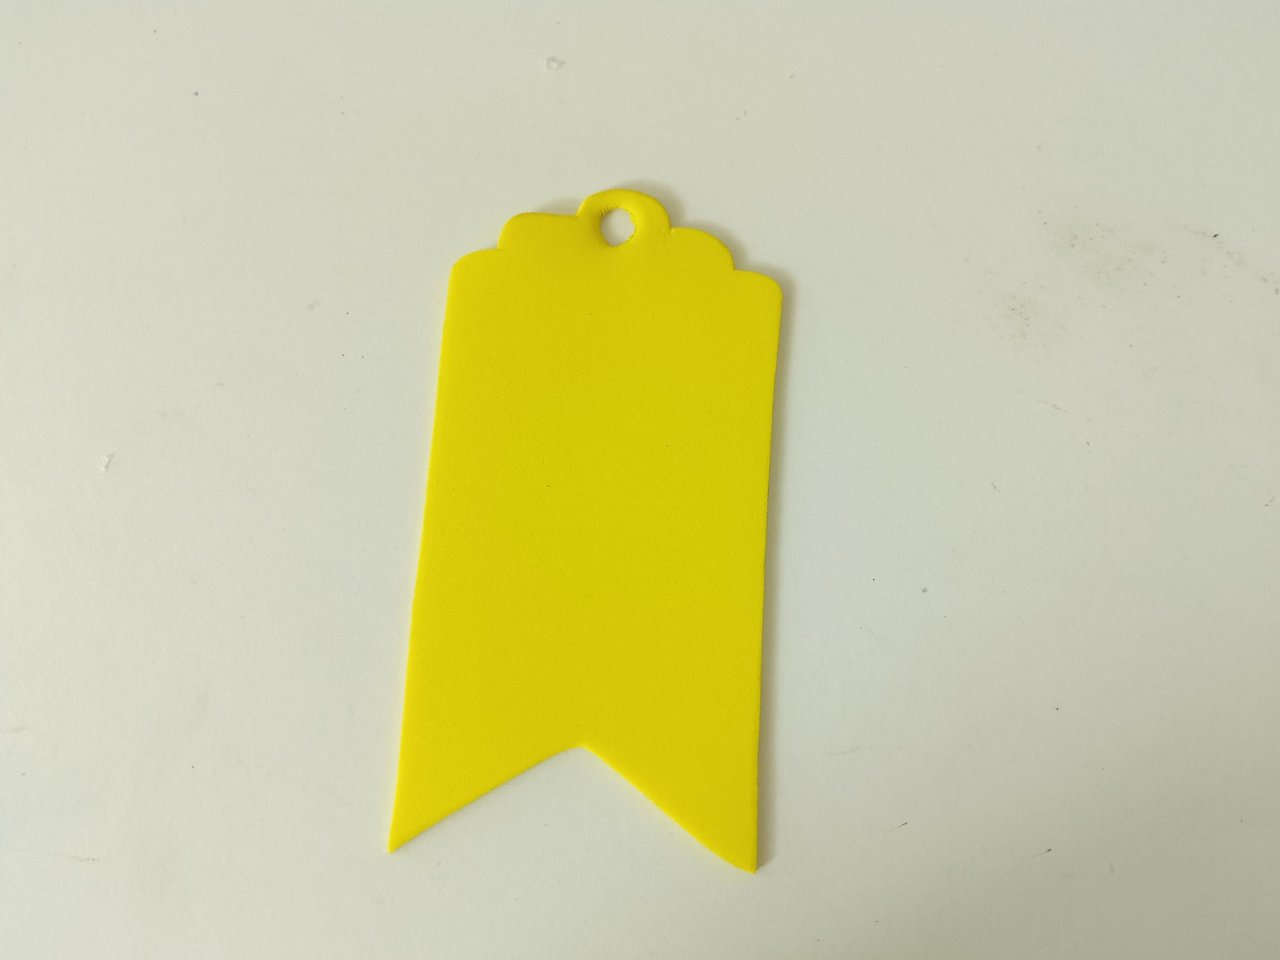
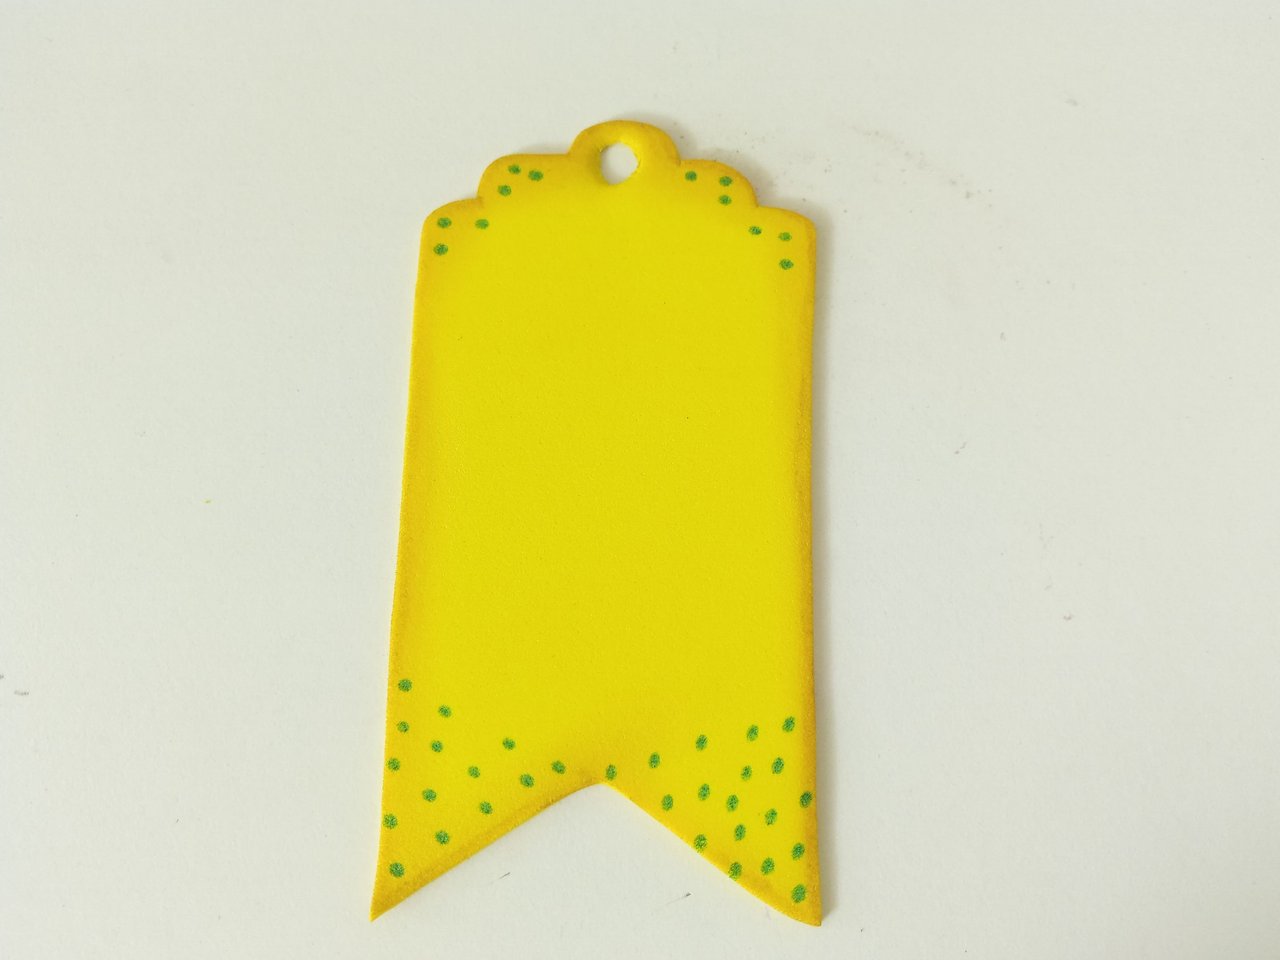
✨ PASO 4:
Seguidamente, la base para el marcapáginas la recorté con un diseño diferente, tipo etiqueta, para que se viera un poco más elegante, de 12 cm x 6.5 en foami amarillo, e hice un agujero en la parte superior. Luego, di color a los bordes con un tono de marrón claro e hice un par de puntos para decorar.
✨ STEP 4:
Next, I cut the base for the bookmark with a different design, a tag-like shape, to make it look a little more elegant. It was 12 cm x 6.5 cm in yellow foam, and I cut a hole in the top. Then, I colored the edges with a light brown shade and made a couple of dots for decoration.
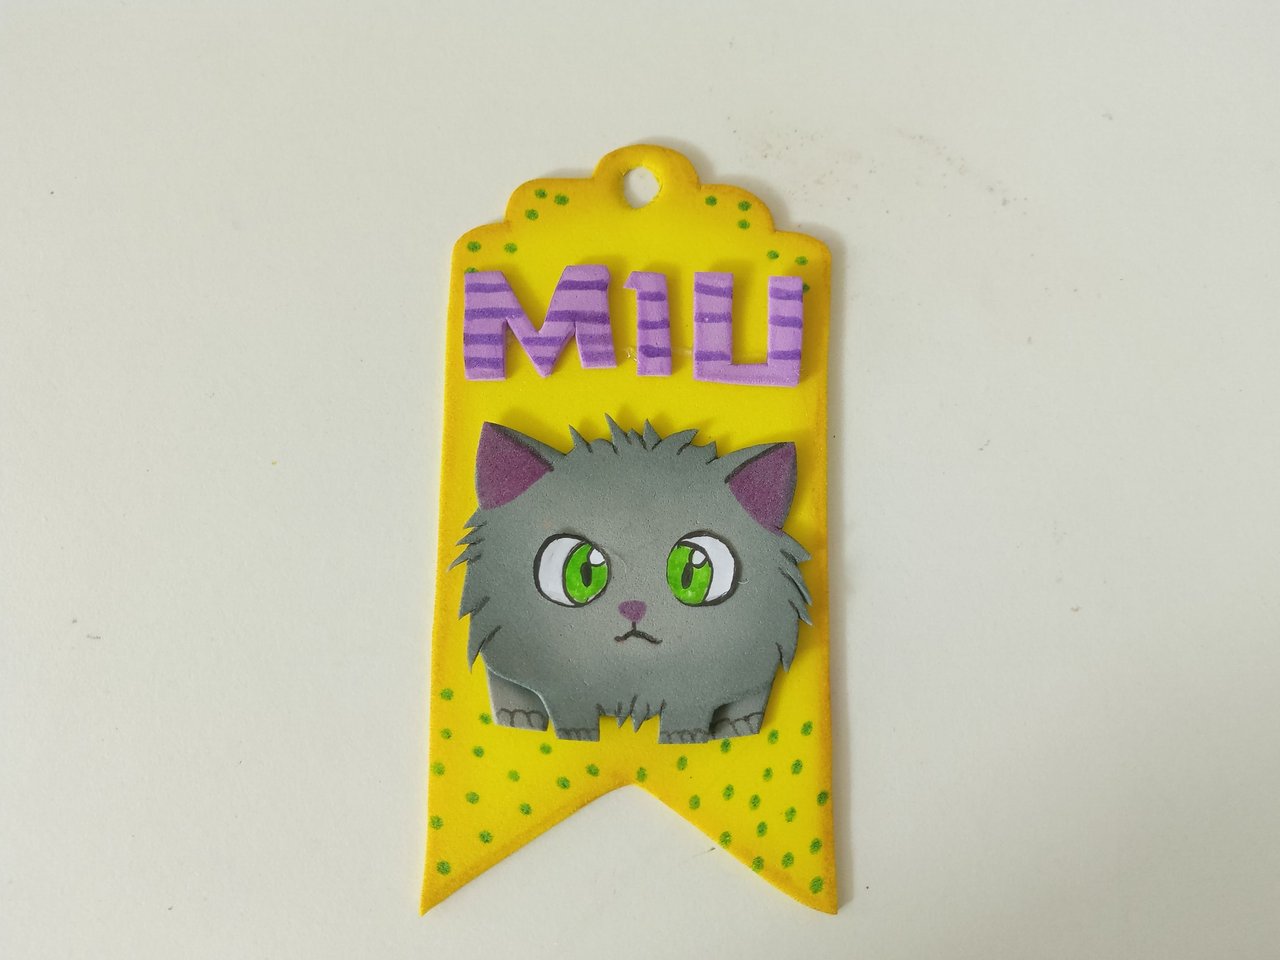
✨ PASO 5:
Finalmente, pegué a Miu en la parte central, dejando un espacio en la parte superior para pegar las letras una al lado de la otra, bien simétrico y, por último, pasé la cinta por el agujero, uní y di un corte triangular a las puntas.
✨ STEP 5:
Finally, I glued Miu in the center, leaving a space at the top to glue the letters side by side, very symmetrically. Finally, I threaded the ribbon through the hole, joined it, and made a triangular cut at the tips.

❤️ Hasta la próxima publicación.
❤️ Until the next post.

Todas las fotografías son de mi propiedad.
Separador y Fotos editadas en Canva
All photographs are my property.
Photos edited in Canva