🔸Sin más que añadir, a continuación los dejo con el paso a paso:
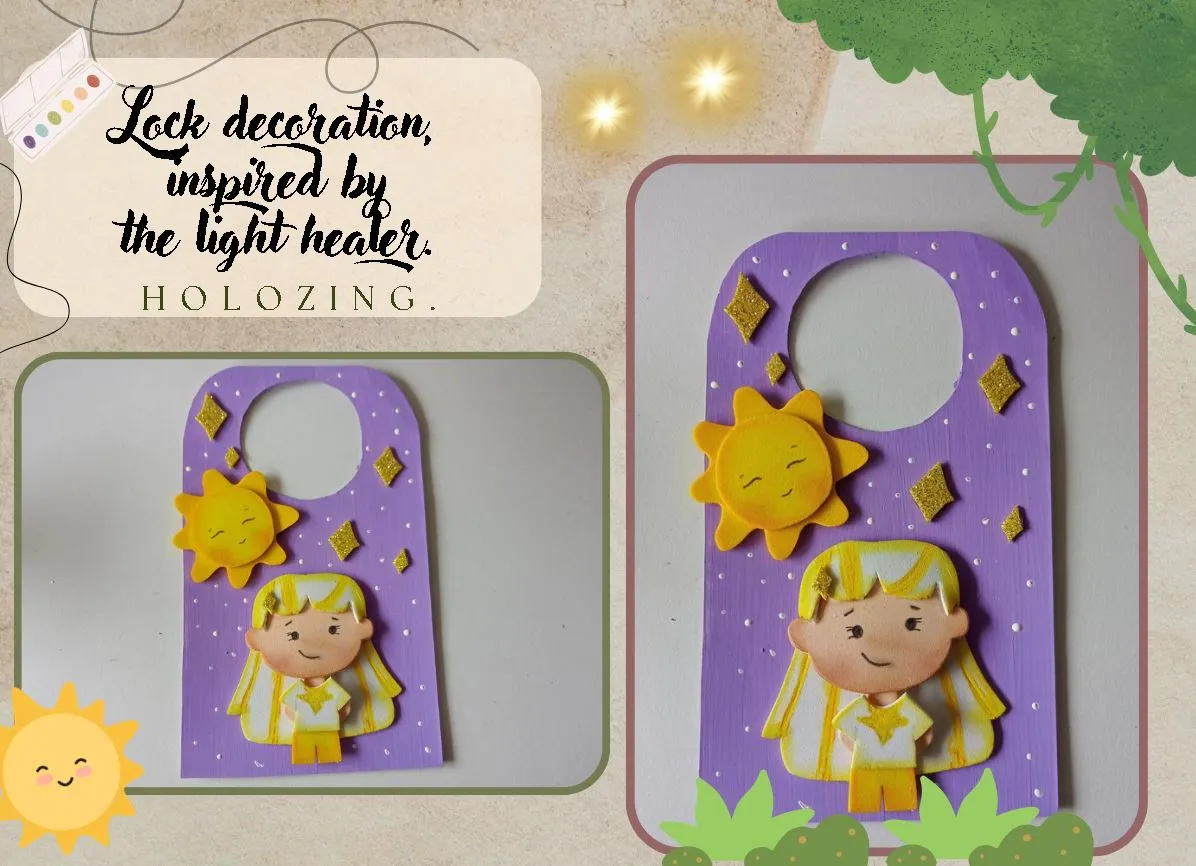
✨Good afternoon, holozing friends!✨ As always, I'm happy to stop by again to share a lovely keyhole decoration idea, inspired by the light healer. What I can say is that I was delighted with this lovely creation. It's been a while since I've come up with an idea using this light healer, as I never know how to combine it to give it a nice tone without making it look too pale. But I think I managed to come up with some very pretty colors, perfect for the children's room.
🔸Without more to add, then I leave you with the step by step:
♥️ESPERO QUE TE GUSTE,
¡Empecemos!
♥️I HOPE YOU LIKE IT,
Let's start!

✂️ MATERIALES | ✂️ MATERIALS
- Cartulina blanca.
- Foami escarchado dorado.
- Foami amarillo.
- Foami blanco.
- Foami crema.
- Pinturas y marcadores.
- Pegamento.
- Tijeras.
- Regla.
- Hoja blanca.
- Lápiz.
- White cardstock.
- Gold frosted foam.
- Yellow foam.
- White foam.
- Cream foam.
- Paints and markers.
- Glue.
- Scissors.
- Ruler.
- White paper.
- Pencil.
✨ PROCEDIMIENTO | ✨ PROCESS
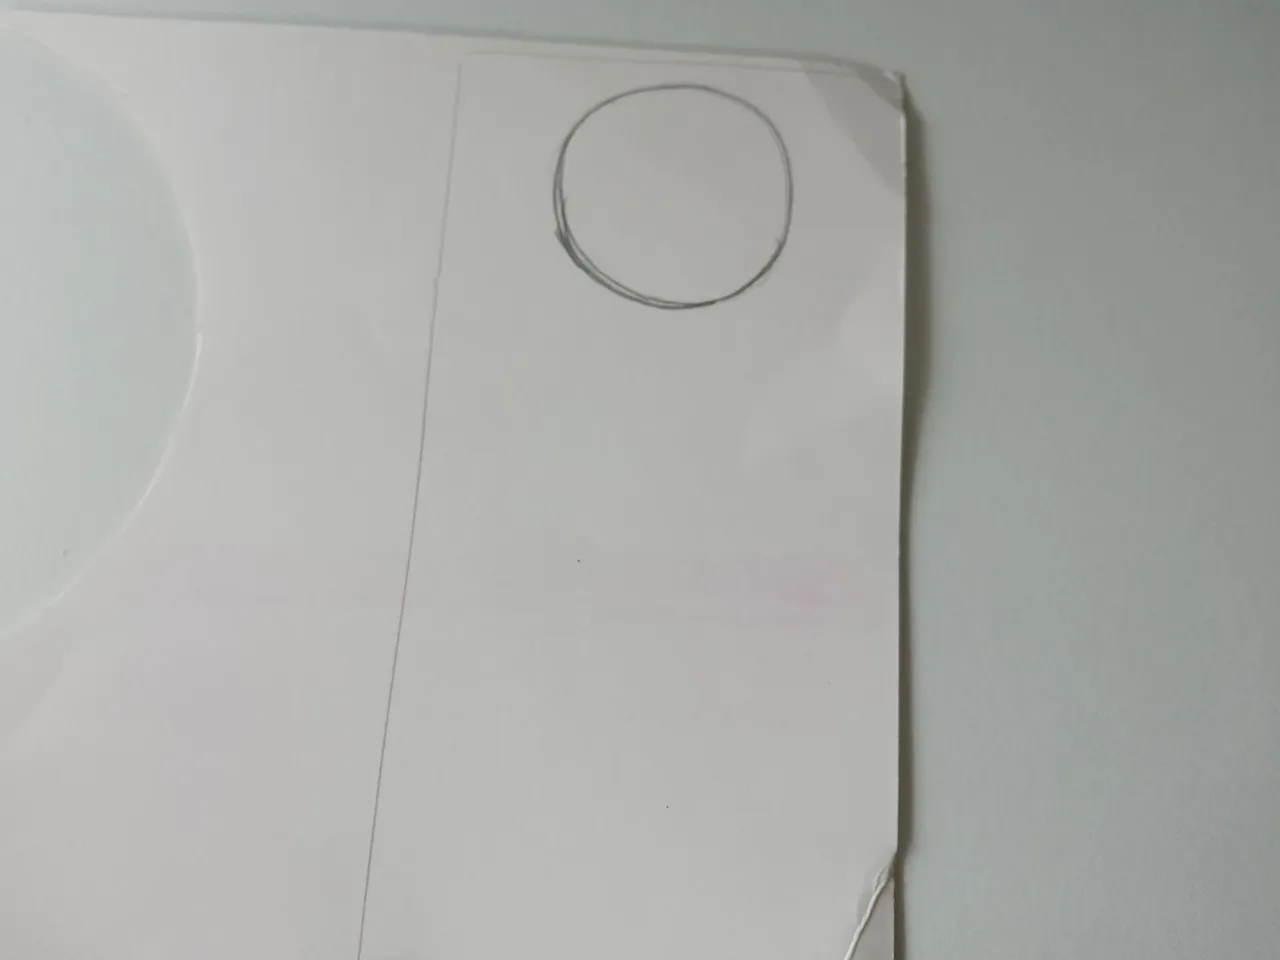
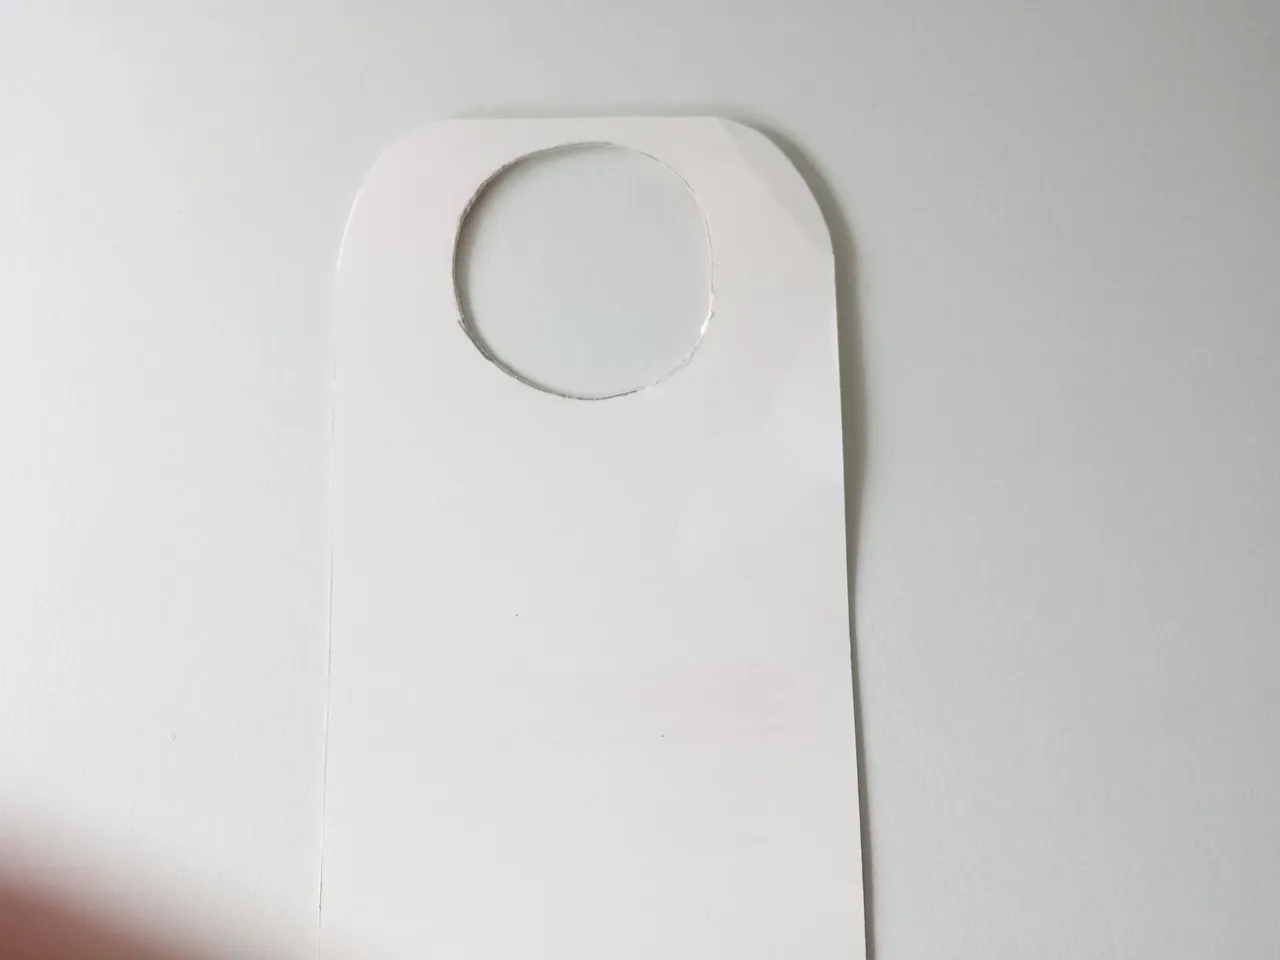
✨ PASO 1:
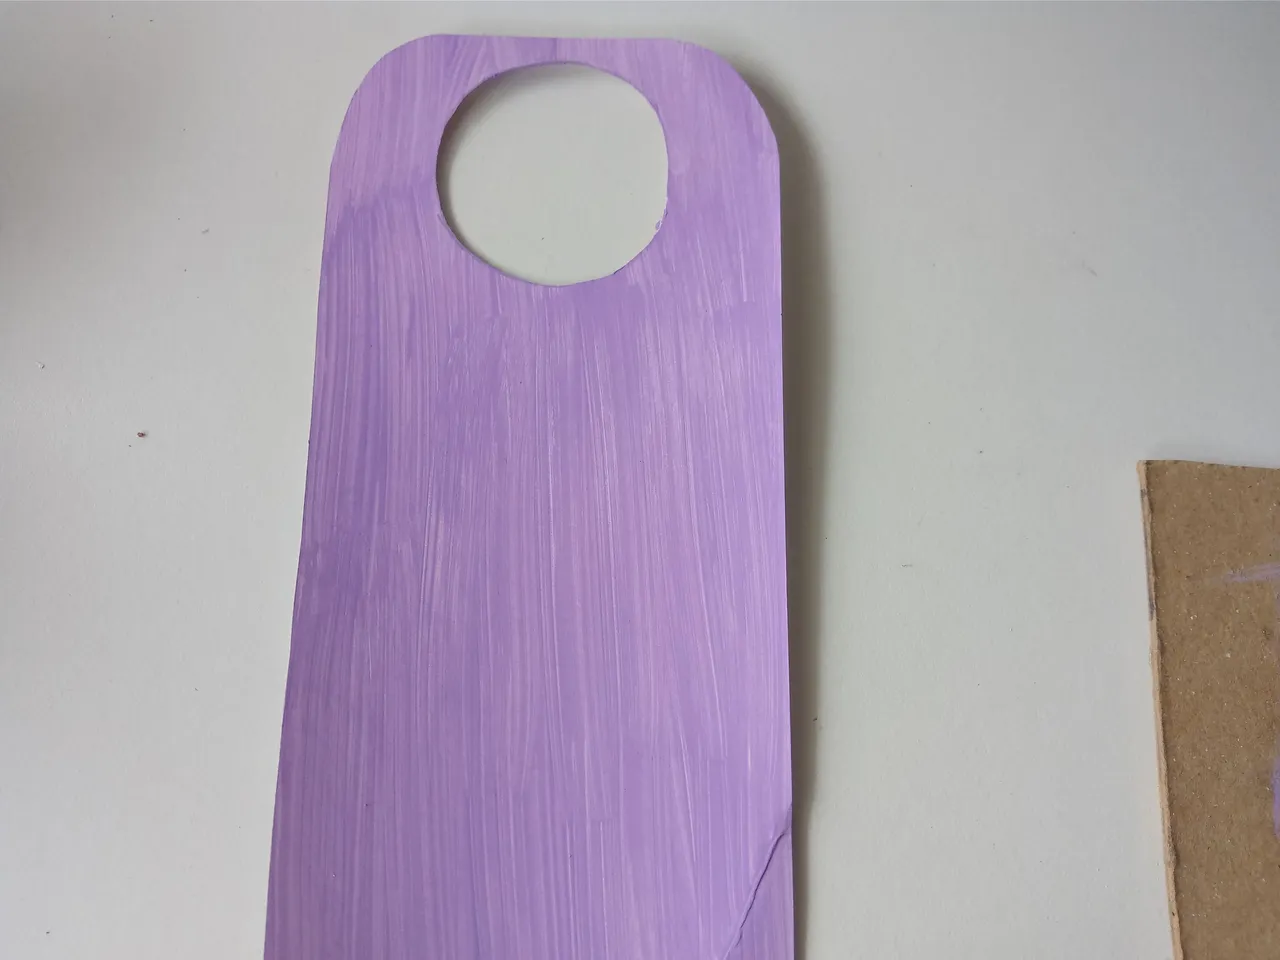
Lo primero que hice fue tomar las medidas que quería para la base de la decoración para la cerradura. Las medidas pueden variar según el diseño de la cerradura, pero en mi caso, las medidas de la base fueron de 16 cm x 10 cm y el círculo para la cerradura de 5 cm de circunferencia. Recorté y a las puntas de la parte superior les di un diseño curvo para que se viera diferente a los que he elaborado antes.
✨ STEP 1:
The first thing I did was take the measurements I wanted for the base of the keyhole decoration. The measurements may vary depending on the keyhole design, but in my case, the base measurements were 16 cm x 10 cm and the circle for the keyhole was 5 cm in circumference. I cut out the pieces and gave the tips at the top a curved design to make it look different from the ones I've made before.
✨ PASO 2:
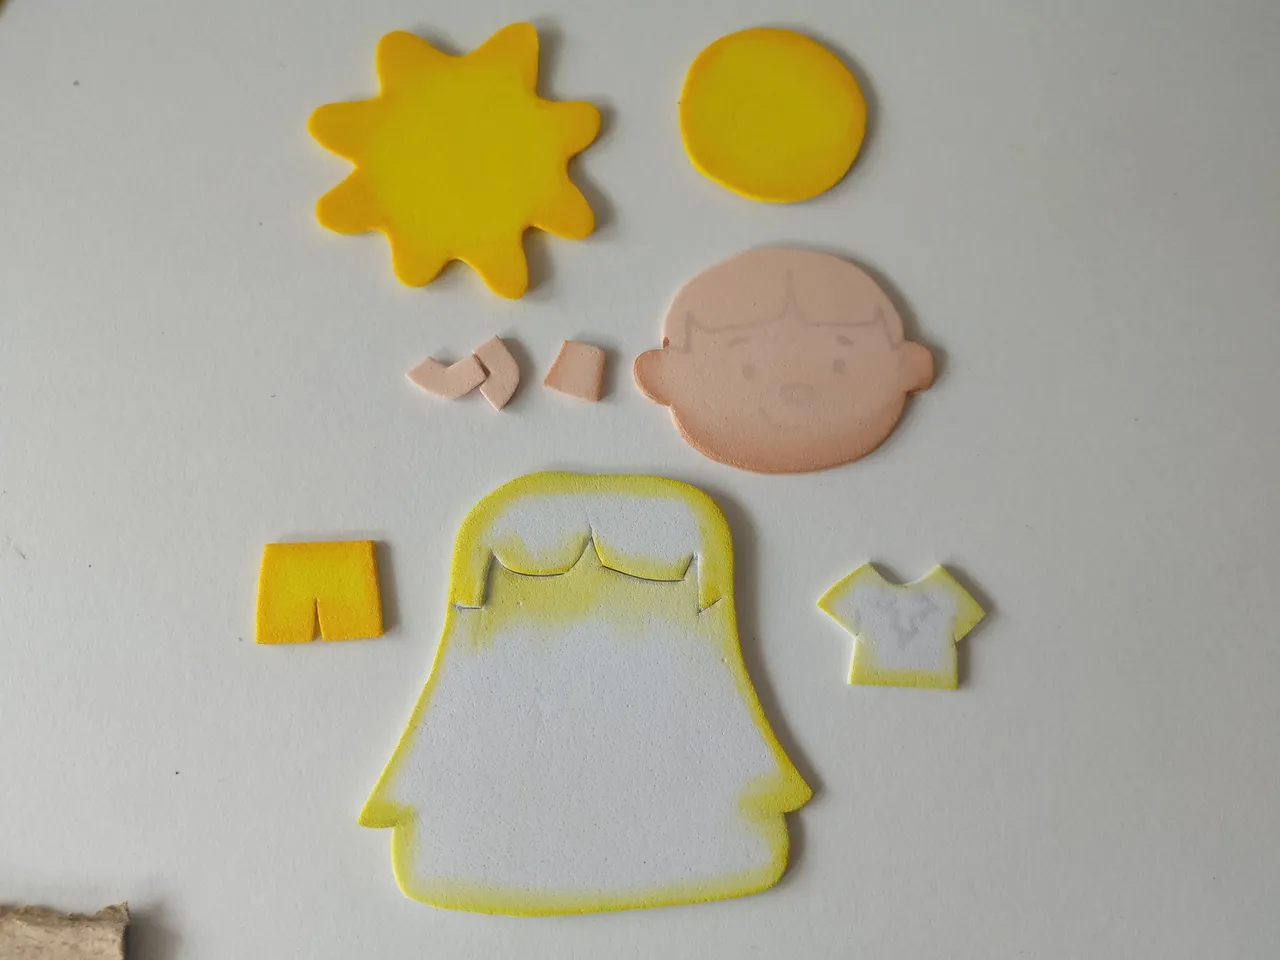
Seguidamente, por supuesto, es momento de dibujar en una hoja blanca el diseño y decoraciones extras que quiero para esta decoración, así que al tener listas las ideas en una hoja blanca, transferí cada una de las piezas a los colores correspondientes de foami, como explico a continuación:
✨ Cabello: 6.5 cm x 5 cm en foami blanco.
✨ Cabeza: 5 cm x 3 cm en foami crema.
✨ Cuello: 1 cm en foami crema.
✨ Brazos: 1.5 cm en foami crema.
✨ Franela: 2.5 cm x 2 cm en foami blanco.
✨ Short: 1.5 cm x 2 cm en foami amarillo.
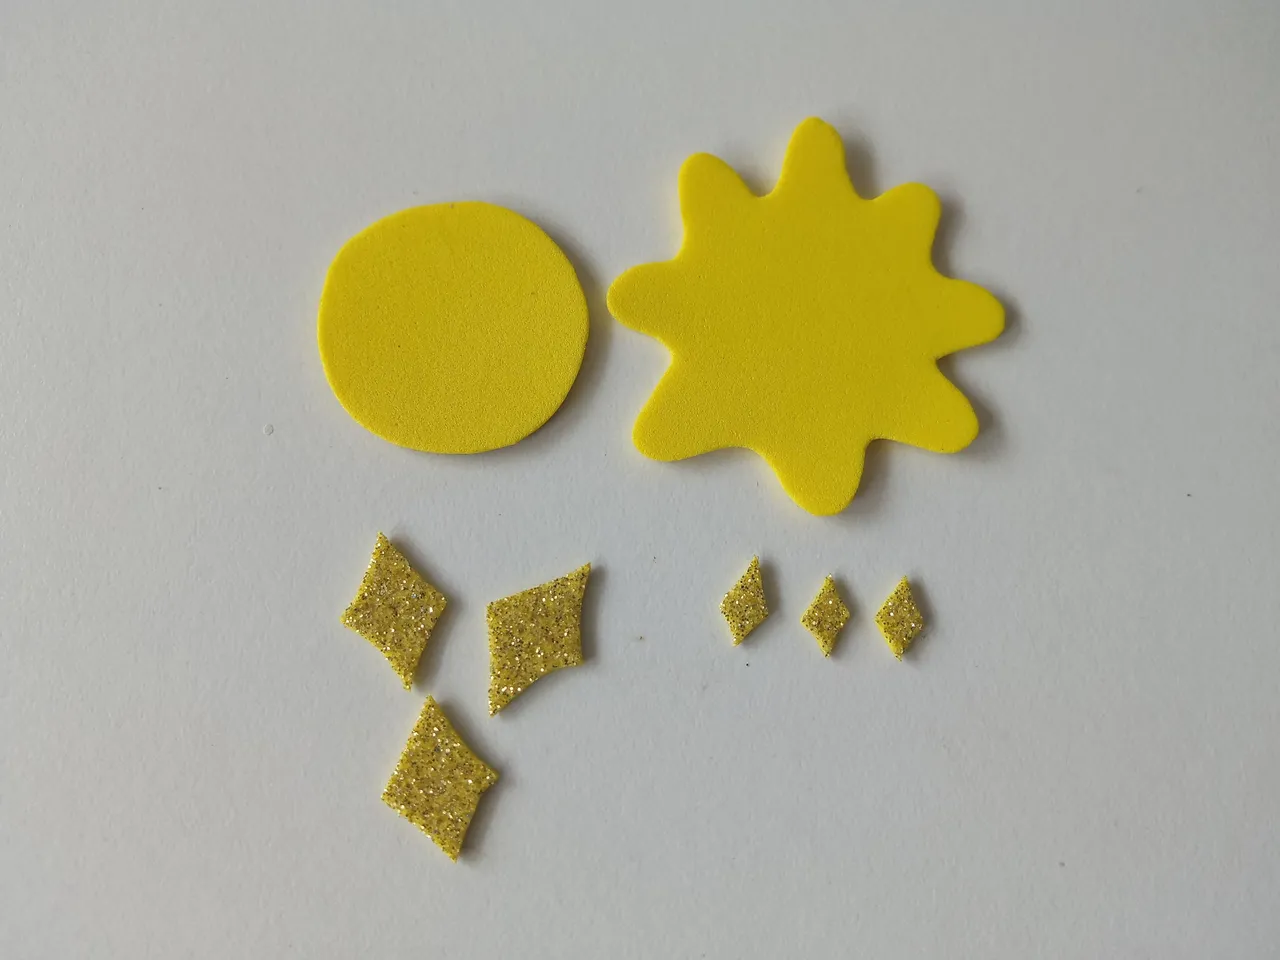
✨ Brillos: 2 cm x 1.5 cm y 1 cm x 0.5 mm.
✨ Sol: 5 cm y 3 cm de circunferencia en foami amarillo.
✨ STEP 2:
Next, of course, it's time to draw the design and additional decorations I want for this decoration on a white sheet of paper. Once I had the ideas ready on a white sheet of paper, I transferred each of the pieces to the corresponding colors of foam, as explained below:
✨ Hair: 6.5 cm x 5 cm in white foam.
✨ Head: 5 cm x 3 cm in cream foam.
✨ Neck: 1 cm in cream foam.
✨ Arms: 1.5 cm in cream foam.
✨ T-shirt: 2.5 cm x 2 cm in white foam.
✨ Shorts: 1.5 cm x 2 cm in yellow foam.
✨ Glitter: 2 cm x 1.5 cm and 1 cm x 0.5 mm.
✨ Sun: 5 cm and 3 cm in circumference in yellow foam.

✨ PASO 3:
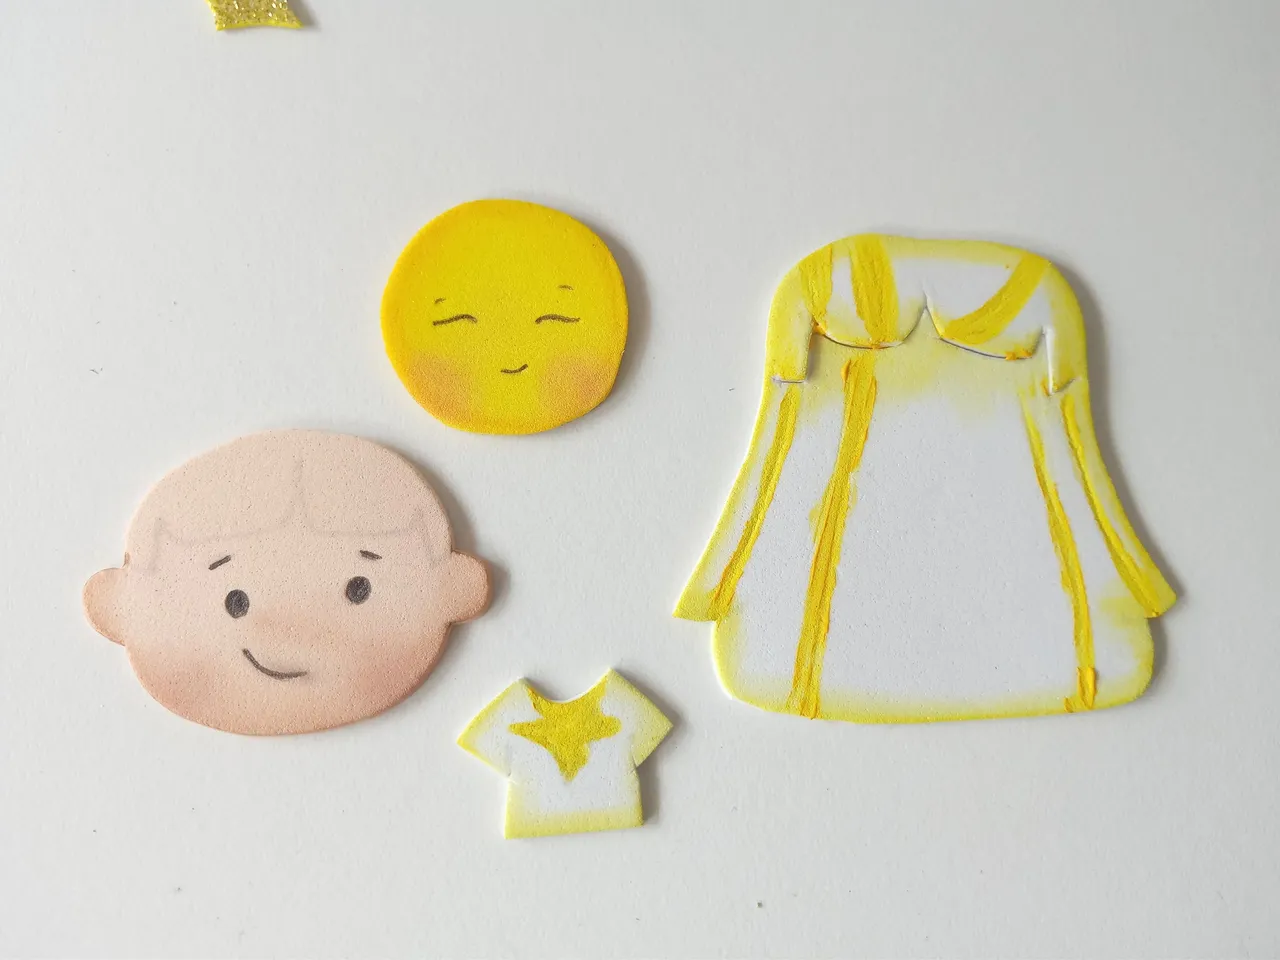
Al tener todas las piezas listas y recortadas, es momento de comenzar a dar color a los bordes con pinturas o marcadores, utilizando colores que hagan contraste. Es decir, para el cabello, como es la sanadora de luz, utilicé color amarillo para las piezas blancas, para las piezas amarillas utilicé un tono naranja y para la piel utilicé un tono marrón. Al estar secas las piezas, di detalles específicos con marcadores, como ojos, cejas, boca, diseño de la ropa y líneas del cabello.
✨ STEP 3:
Once all the pieces are ready and cut out, it's time to start coloring the edges with paints or markers, using contrasting colors. For the hair, since it's the light healer, I used yellow for the white pieces; for the yellow pieces, I used an orange shade; and for the skin, I used a brown shade. Once the pieces were dry, I added specific details with markers, such as eyes, eyebrows, a mouth, clothing designs, and hairlines.
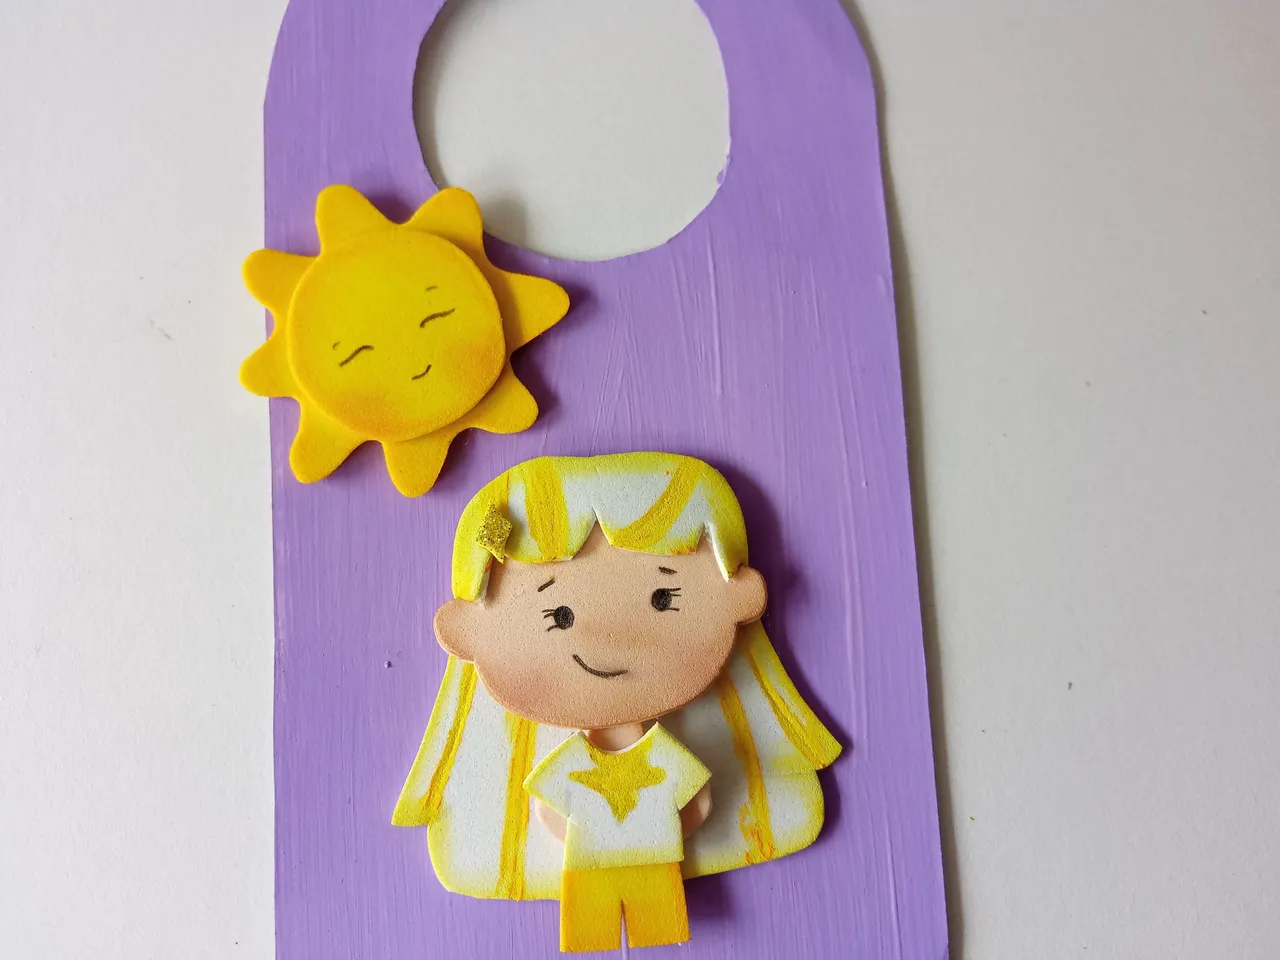
✨ PASO 4:
Seguidamente, quise pintar la base que hice al inicio con una pintura lila, así que, si desde un principio utilizan una cartulina con el color, mucho mejor. Pasé dos capas y, mientras secaba, comencé a pegar las piezas para armar a la sanadora y el sol.
✨ STEP 4:
Next, I wanted to paint the base I made at the beginning with lilac paint, so if you use a piece of cardstock with that color from the start, all the better. I applied two coats, and while it dried, I began gluing the pieces together to make the healer and the sun.
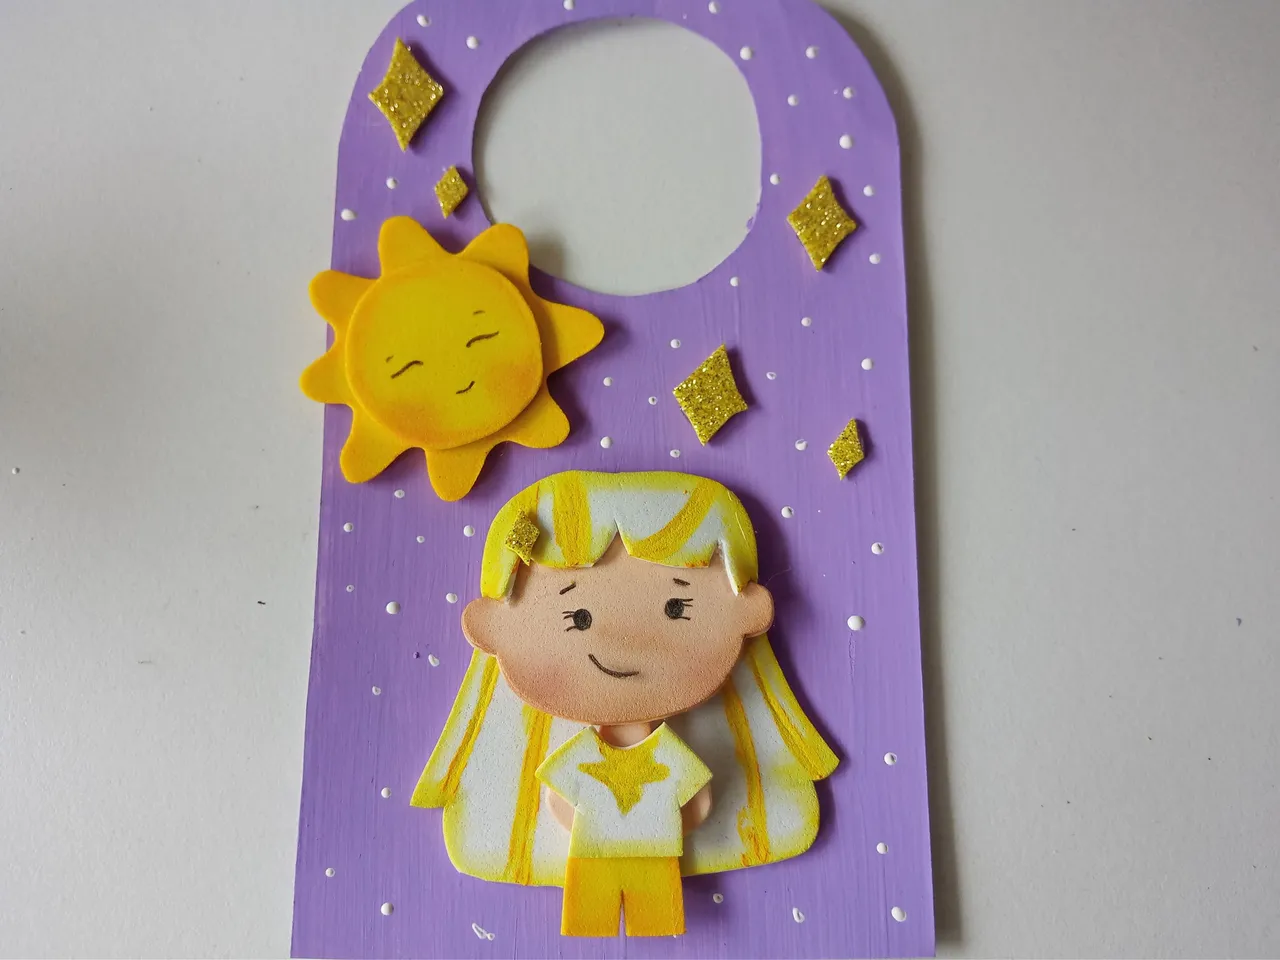
✨ PASO 5:
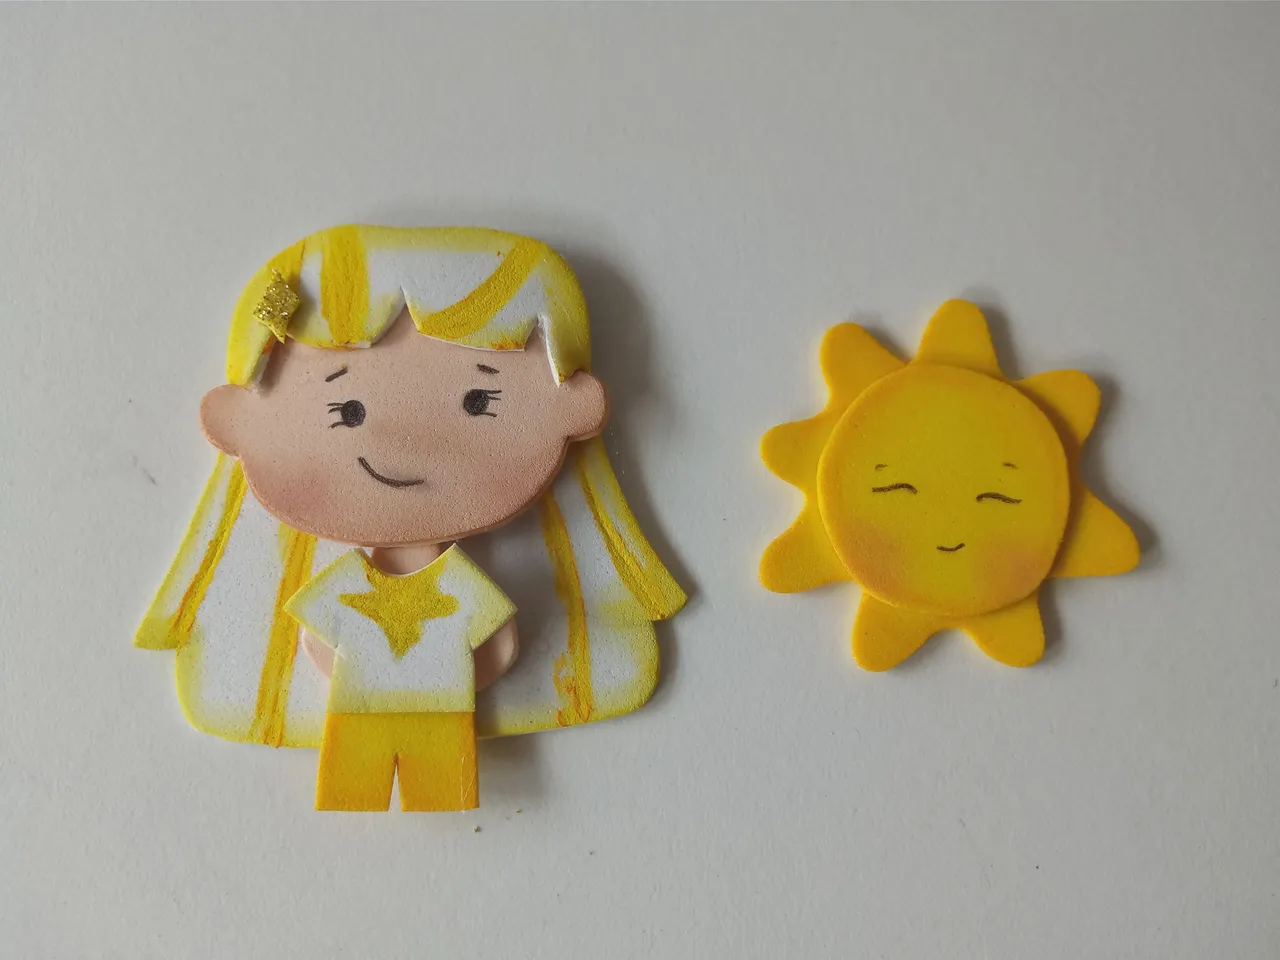
Al estar totalmente seco, pegué a la sanadora en medio de la base y a un lado, pero en la parte superior a la sanadora, pegué el sol. Para los brillos, luces o estrellas, simplemente las pegue en el orden deseado, pero bien distribuidas. Además, pegué uno de los brillos como accesorio en el cabello. Finalmente, pinté algunos puntos con pintura blanca por toda la base.
✨ STEP 5:
Once it was completely dry, I glued the healer in the middle of the base and to one side, but on top of the healer, I glued the sun. For the glitter, lights, or stars, simply glue them in the desired order, but evenly spaced. I also glued one of the glitter pieces as a hair accessory. Finally, paint a few dots with white paint all over the base.
❤️ Hasta la próxima publicación.
❤️ Until the next post.

Todas las fotografías son de mi propiedad.
Separador y Fotos editadas en Canva
All photographs are my property.
Photos edited in Canva