🔸Sin más que añadir, a continuación los dejo con el paso a paso:
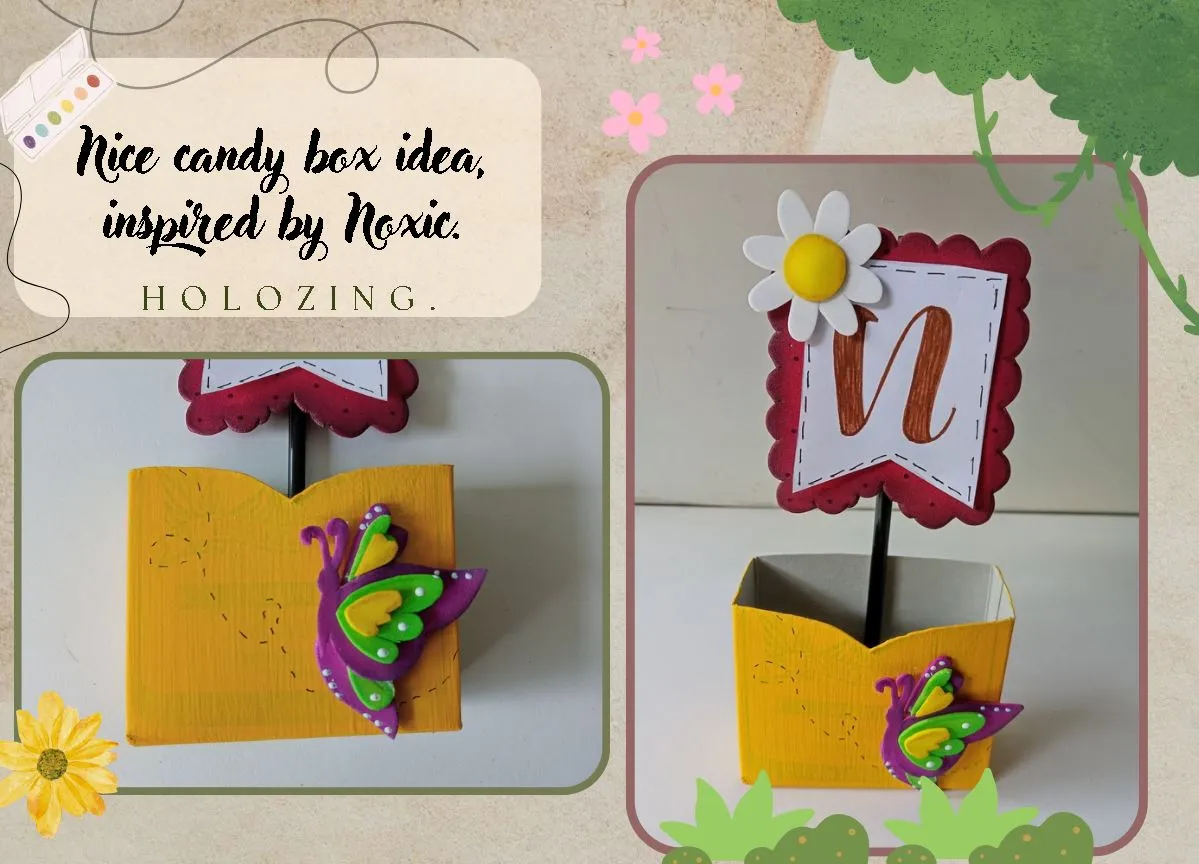
✨Good afternoon, holozing friends!✨ As always, I'm happy to stop by again to share a lovely candy box idea, inspired by Noxic. I've already mentioned that, although I love Noxic for being a butterfly, I've been struggling lately to come up with ideas, as I've already made a few and it's getting harder and harder to come up with new ideas and designs. But, obviously, that's the fun and beauty of always creating new things, because sometimes I'm surprised by how pretty they turn out, and other times I'm not so much.
🔸Without more to add, then I leave you with the step by step:
♥️ESPERO QUE TE GUSTE,
¡Empecemos!
♥️I HOPE YOU LIKE IT,
Let's start!

✂️ MATERIALES | ✂️ MATERIALS
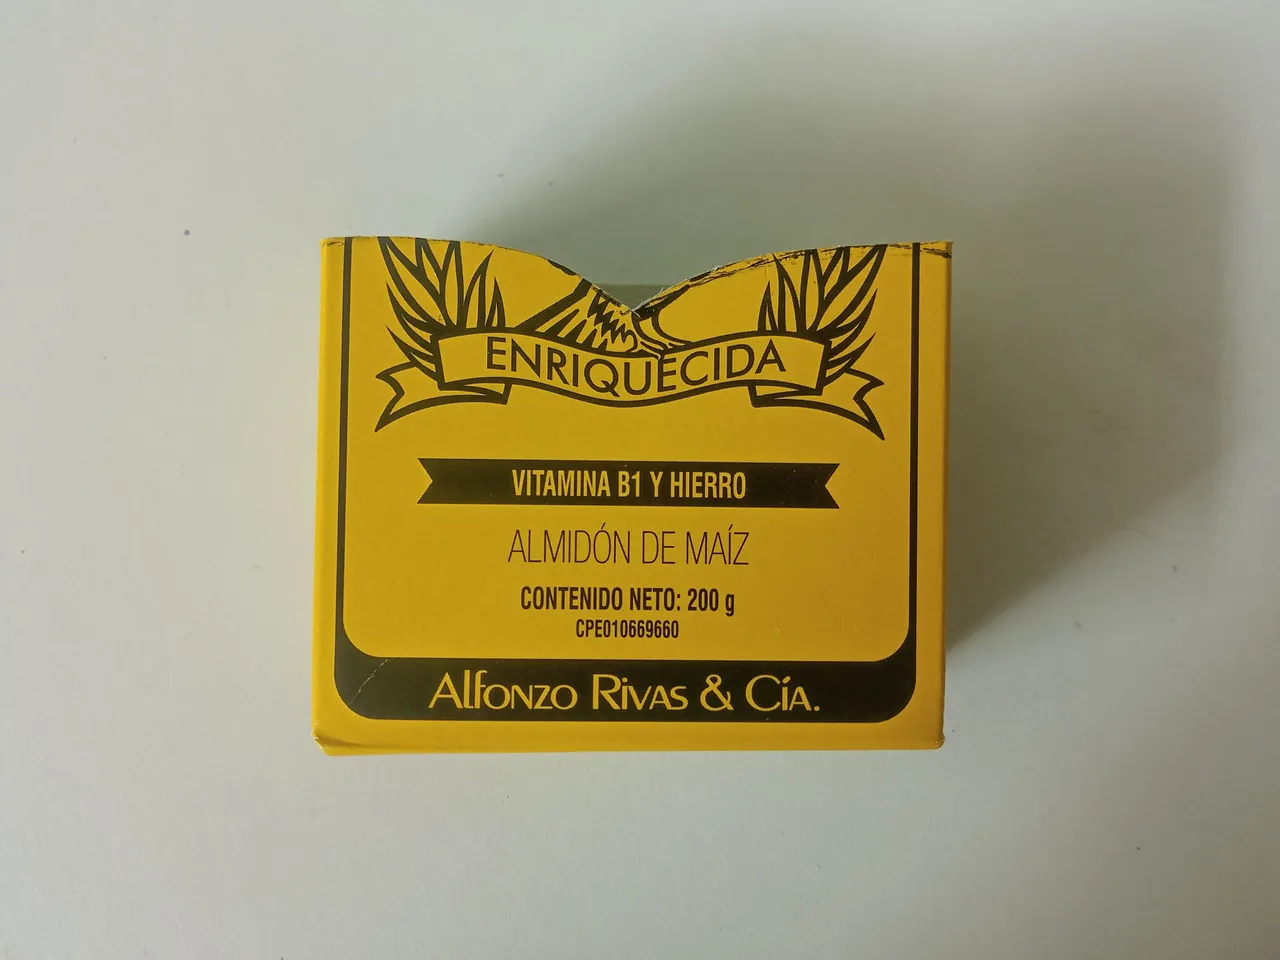
- Caja de maicena.
- Foami rojo.
- Foami blanco.
- Foami amarillo.
- Foami morado.
- Foami verde.
- Palillo de altura o algún otro soporte.
- Pinturas y marcadores.
- Pegamento.
- Tijeras.
- Regla.
- Hoja blanca.
- Lápiz.
- Cornstarch box.
- Red foami.
- White foami.
- Yellow foami.
- Purple foami.
- Green foami.
- Tall stick or some other support.
- Paints and markers.
- Glue.
- Scissors.
- Ruler.
- White paper.
- Pencil.
✨ PROCEDIMIENTO | ✨ PROCESS
✨ PASO 1:
Lo primero que hice fue recortar la caja de maicena a la mitad, dejándola con una medida de 9 cm x 7.5 cm, y al borde que dará al frente, le hice un diseño ovalado con punta al medio. Seguidamente, comencé a pintar en color amarillo, así que tocó dar varias capas para poder cubrir el diseño de la caja y dejé secar.
✨ STEP 1:
The first thing I did was cut the cornstarch box in half, leaving it measuring 9 cm x 7.5 cm. On the front edge, I made an oval design with a point in the middle. Next, I started painting in yellow, so I had to apply several coats to cover the box design, and let it dry.

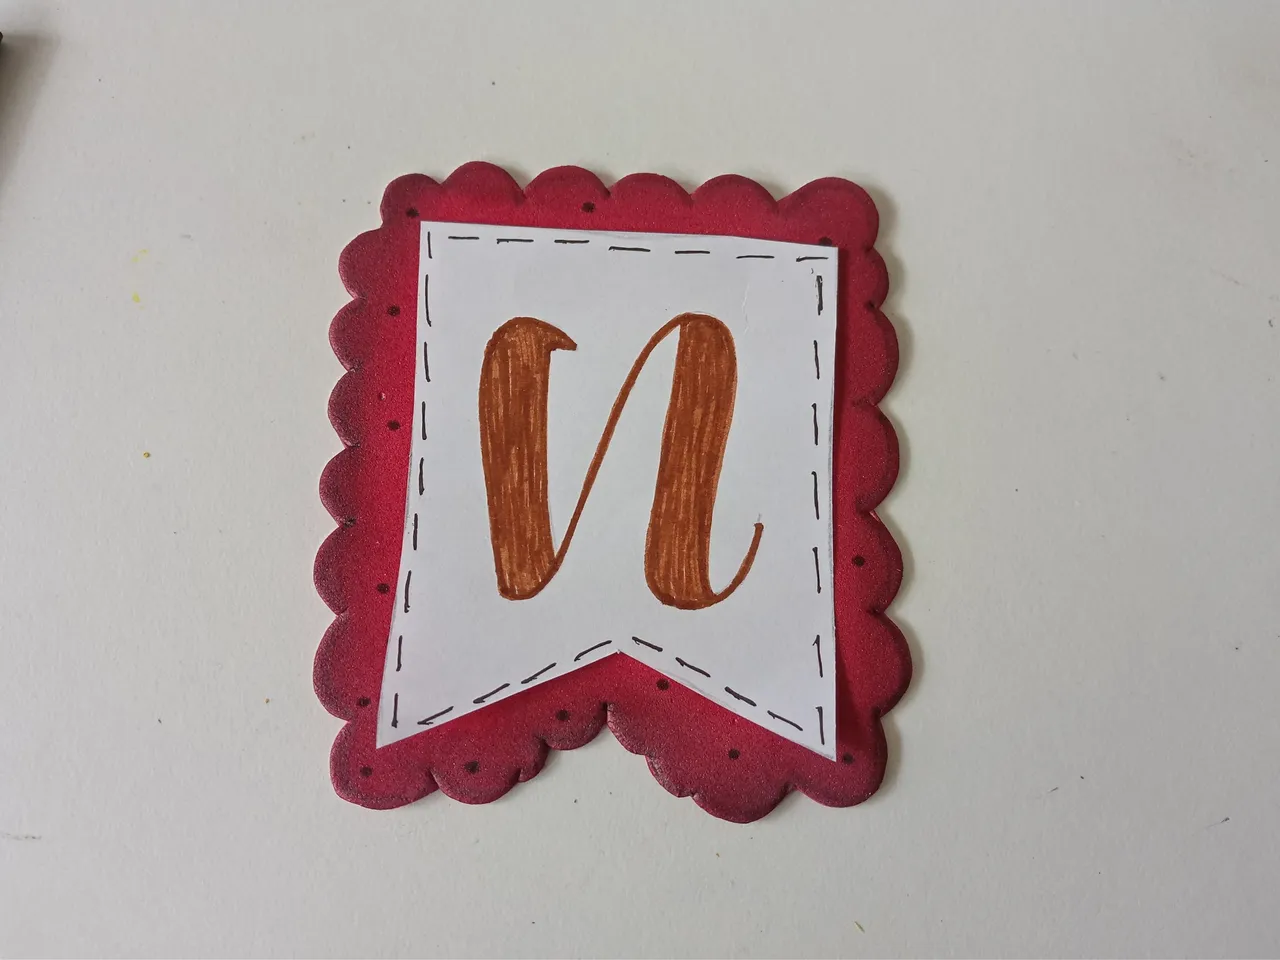
✨ PASO 2:
Luego, elaboré la etiqueta o topper con la inicial. Así que tomé el foami en color rojo y recorté dando forma de etiqueta de 9 cm x 8 cm y recorté dando un diseño con bordes ovalados. Además, recorté otra etiqueta en hoja blanca, pero de 7.5 cm x 6 cm. En el caso de la etiqueta roja, di color a los bordes con pintura negra e hice puntos por toda la base con marcador negro. En el caso de la hoja blanca, se escribe la inicial de la persona a la que se le dará el regalo y, para agregar más detalles, le dibujé algunas líneas tipo costura por el borde y pegué en medio de la etiqueta de foami rojo.
✨ STEP 2:
Then, I made the tag or topper with the initial. So, I took the red foam and cut it into a 9 cm x 8 cm tag, creating a design with oval edges. I also cut another tag from white paper, measuring 7.5 cm x 6 cm. For the red tag, I colored the edges with black paint and made dots all over the base with a black marker. On the white paper, I wrote the initial of the person to whom the gift will be given. To add more detail, I drew some stitch-like lines around the edge and glued a red foam piece in the middle of the tag.


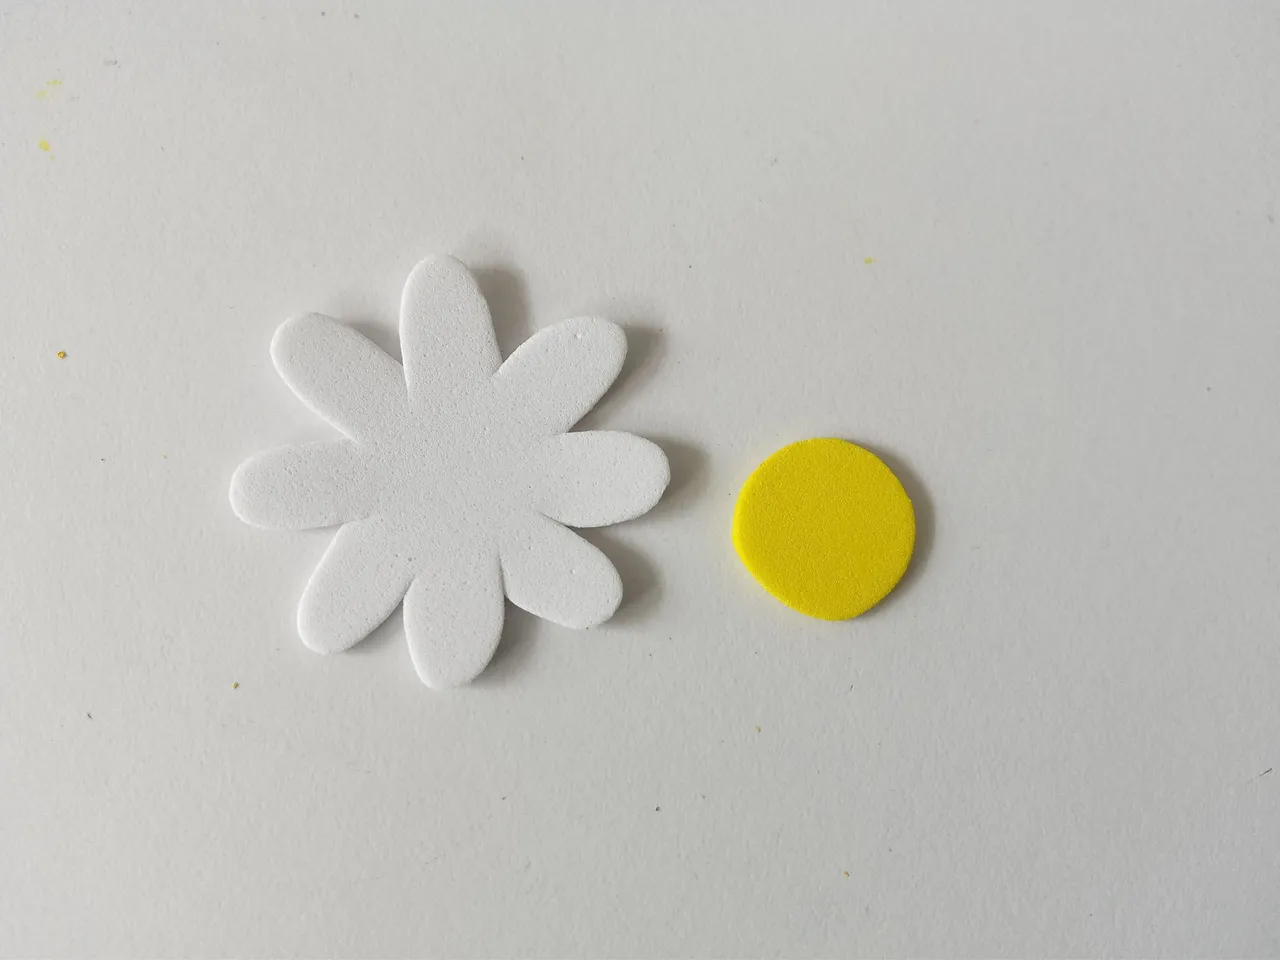
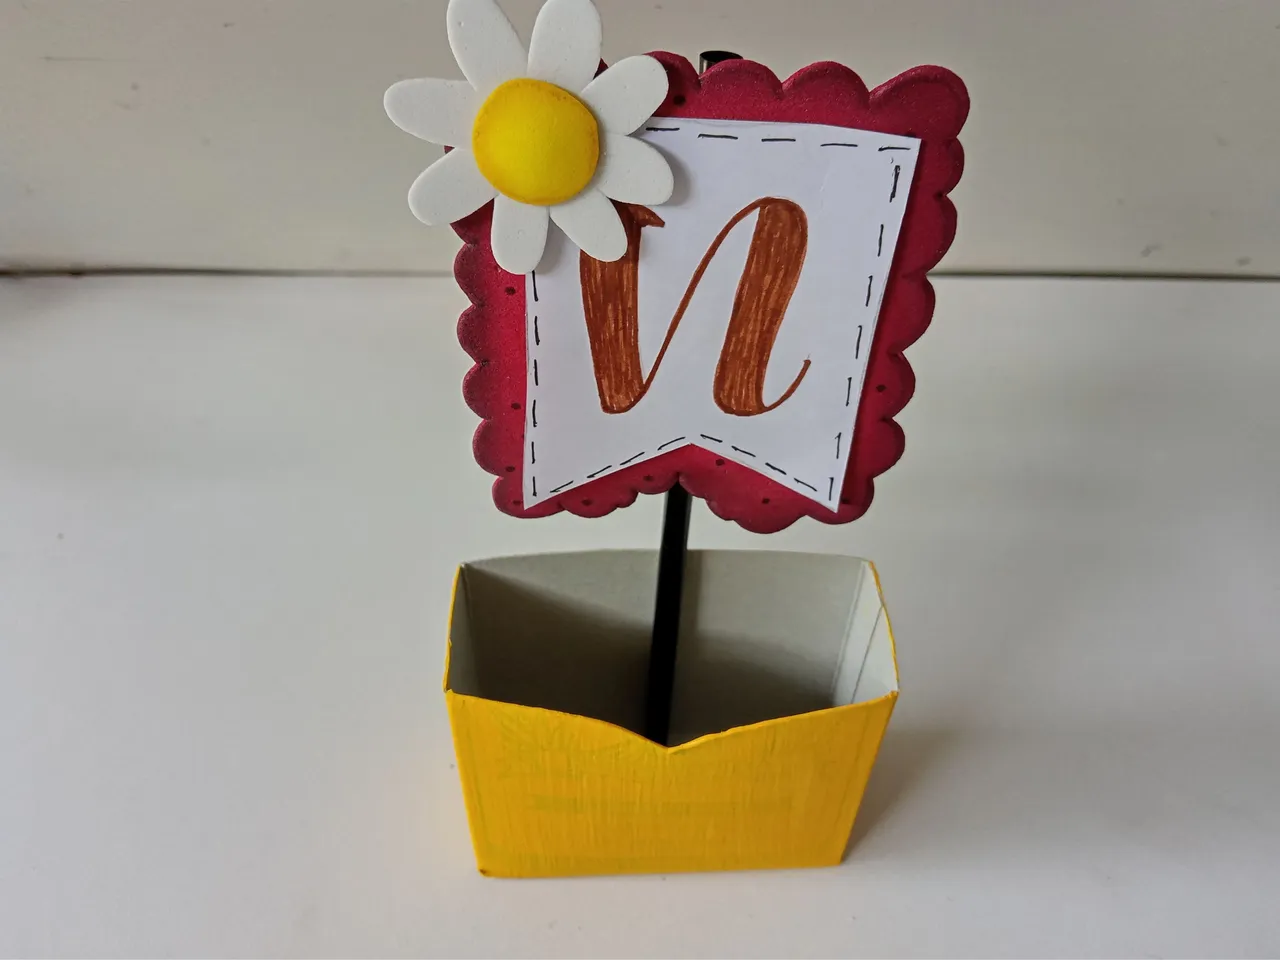
✨ PASO 3:
Además, dibujé y transferí a los colores correspondientes de foami una flor con los pétalos de 4 cm y la parte central de 2 cm de circunferencia, a la cual le di color a los bordes en tono naranja y pegué en el centro de la flor. Al estar listo, pegué en una de las esquinas superiores de la etiqueta junto con el palo o soporte justo en medio (como se muestra en la imagen) y pegué en la parte interna de la caja, que quedara centrado.
✨ STEP 3:
I also drew and transferred a flower with 4 cm petals and a 2 cm circumference in the corresponding colors of foam. I colored the edges orange and glued it to the center of the flower. Once it was ready, I glued it to one of the top corners of the label, along with the stick or stand right in the middle (as shown in the picture), and glued it to the inside of the box, so it was centered.
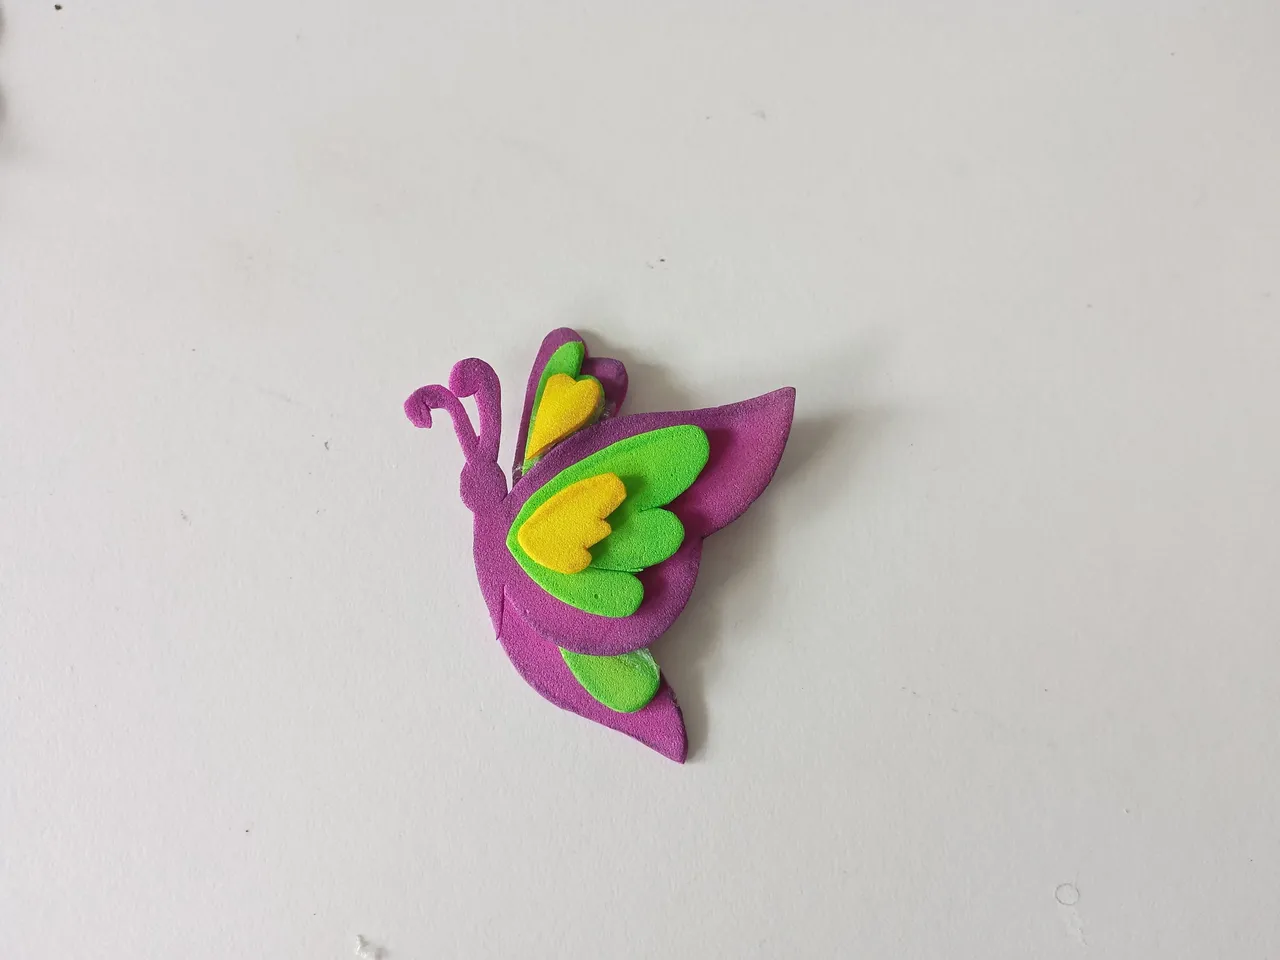
✨ PASO 4:
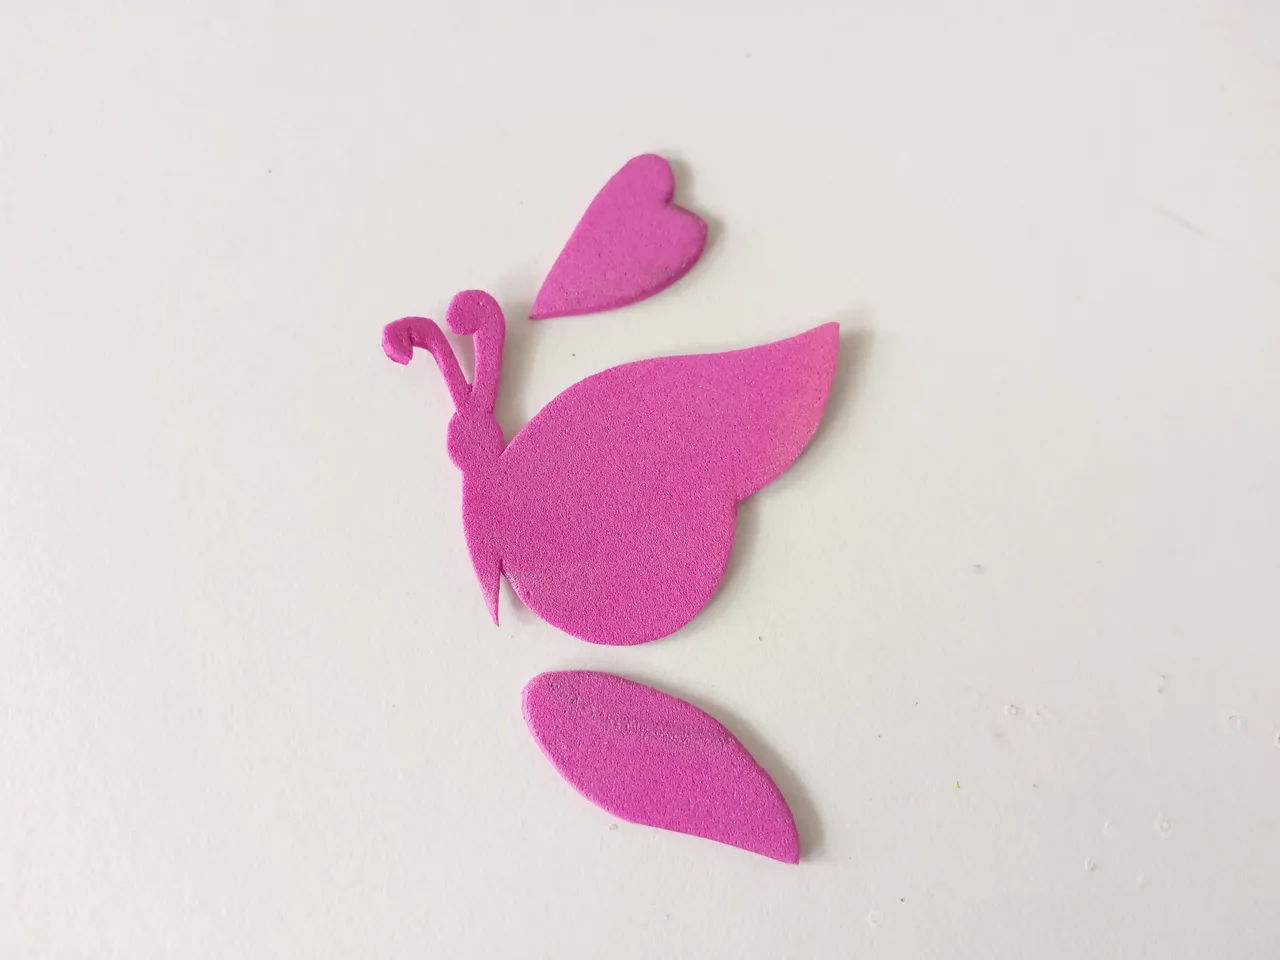
Ahora sí, llegó el momento de elaborar a Noxic. Así que dibujé el diseño que quería esta vez que tuviera y luego transferí a los colores correspondientes de foami, como explico a continuación:
✨Cuerpo y ala central: 4.5 cm x 3.5 en foami morado.
✨Ala superior: 2.5 cm en foami morado.
✨Ala inferior: 3 cm en foami morado.
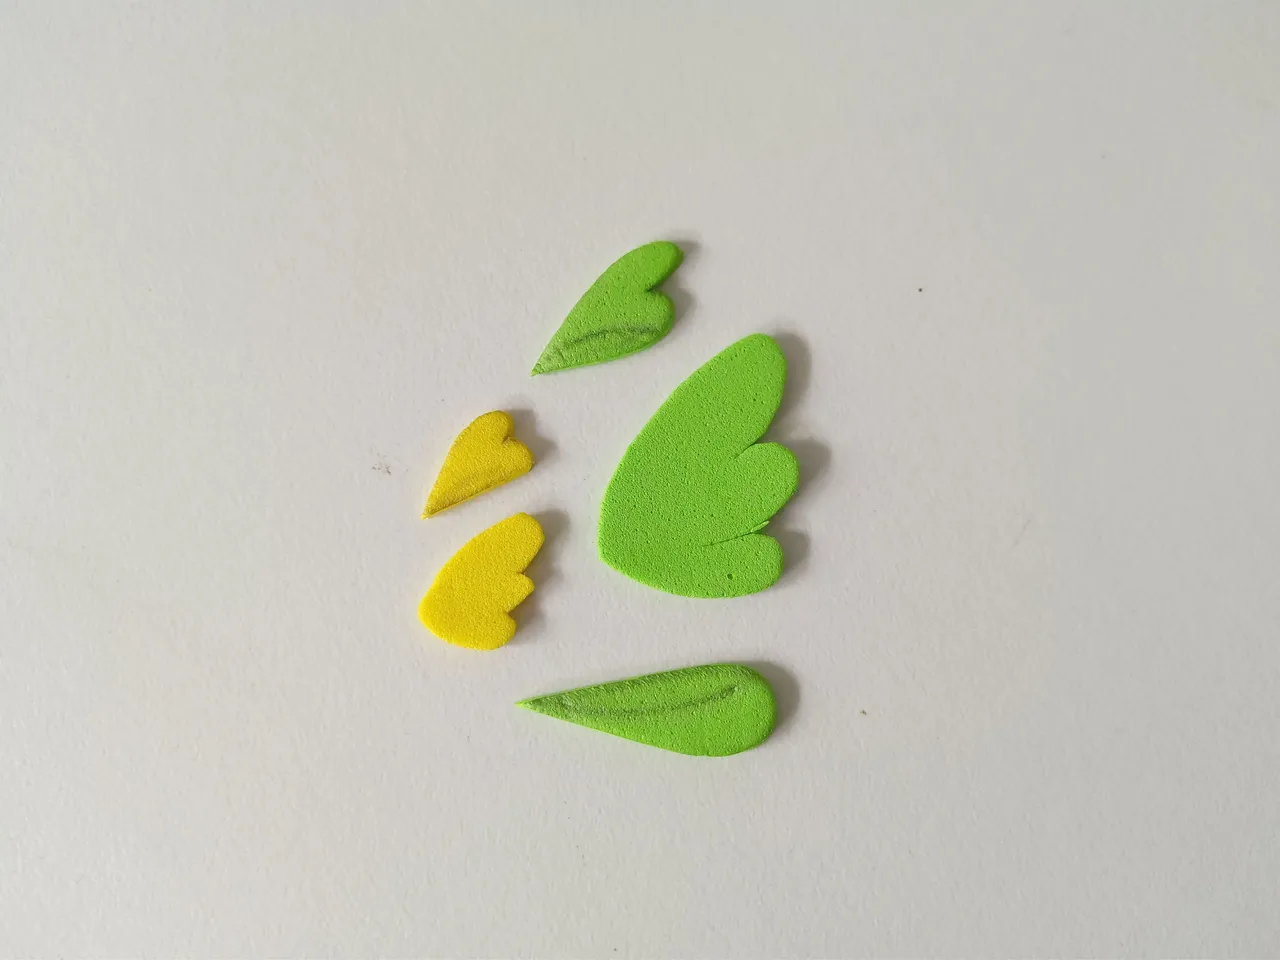
✨Partes internas: 3 cm, 2.5 cm y 2 cm en foami verde.
✨Partes internas: 1.5 cm y 1 cm en foami amarillo.
✨ STEP 4:
Now it was time to make Noxic. So I drew the design I wanted this time and then transferred it to the corresponding colors of foam, as explained below:
✨Body and central wing: 4.5 cm x 3.5 cm in purple foam.
✨Upper wing: 2.5 cm in purple foam.
✨Lower wing: 3 cm in purple foam.
✨Inner parts: 3 cm, 2.5 cm, and 2 cm in green foam.
✨Internal parts: 1.5 cm and 1 cm of yellow foam.
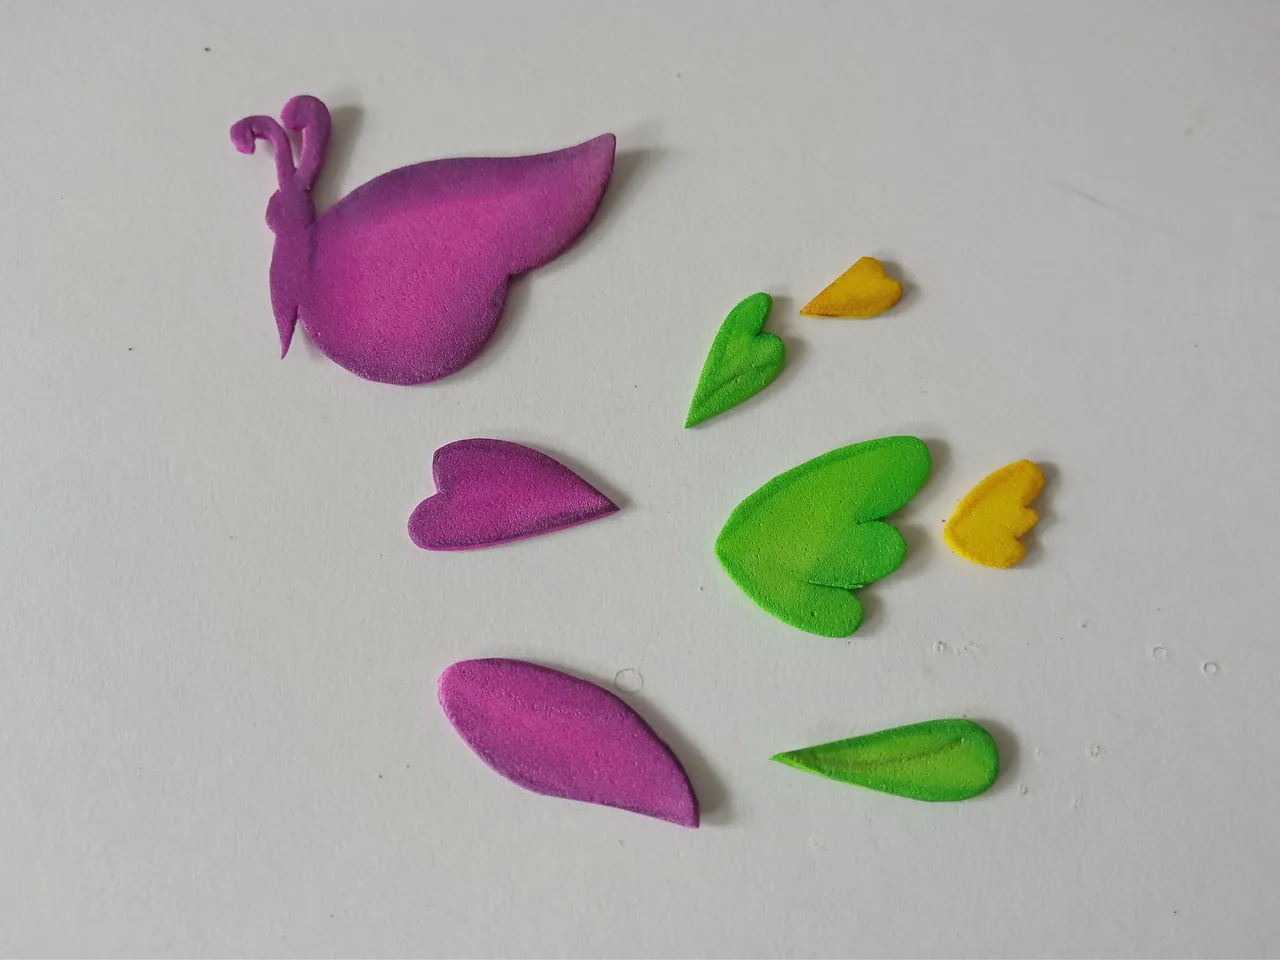
✨ PASO 5:
Al tener todas las piezas recortadas, es momento de dar color a los bordes con pinturas o marcadores. En el caso de las piezas en color morado, le pasé un tono negro; en el caso de las piezas verdes, le pasé color verde oscuro y, en el caso del tono amarillo, le pasé un tono marrón. Al estar secas las piezas, comencé a pegar en el orden correspondiente: primero las piezas en foami morado, luego las verdes y, por último, las amarillas.
✨ STEP 5:
Once all the pieces are cut out, it's time to color the edges with paints or markers. For the purple pieces, I colored them with black; for the green pieces, I colored them with dark green; and for the yellow, I colored them with brown. Once the pieces were dry, I began gluing them in the corresponding order: first the purple foam pieces, then the green ones, and finally the yellow ones.
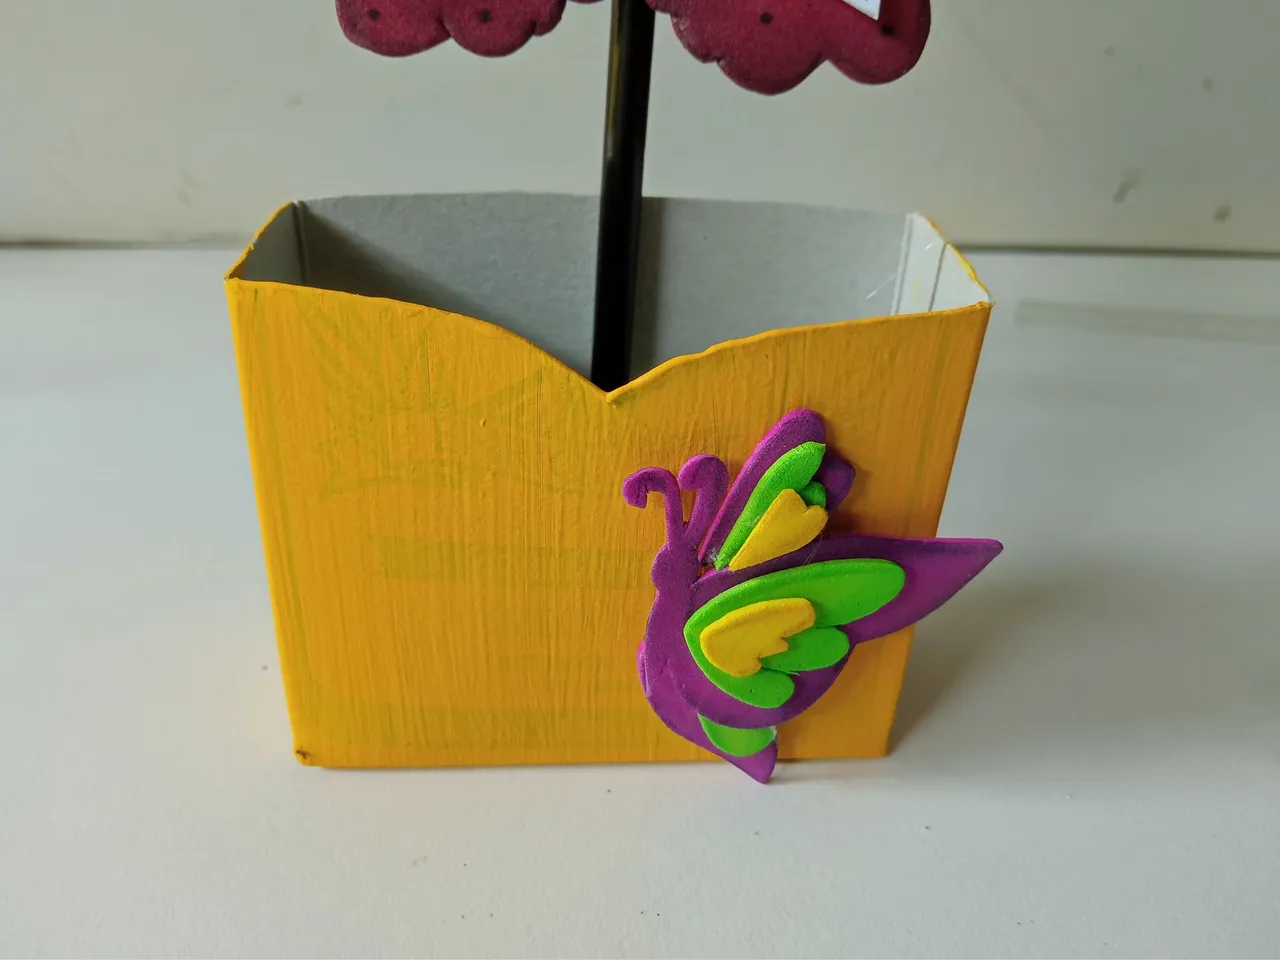
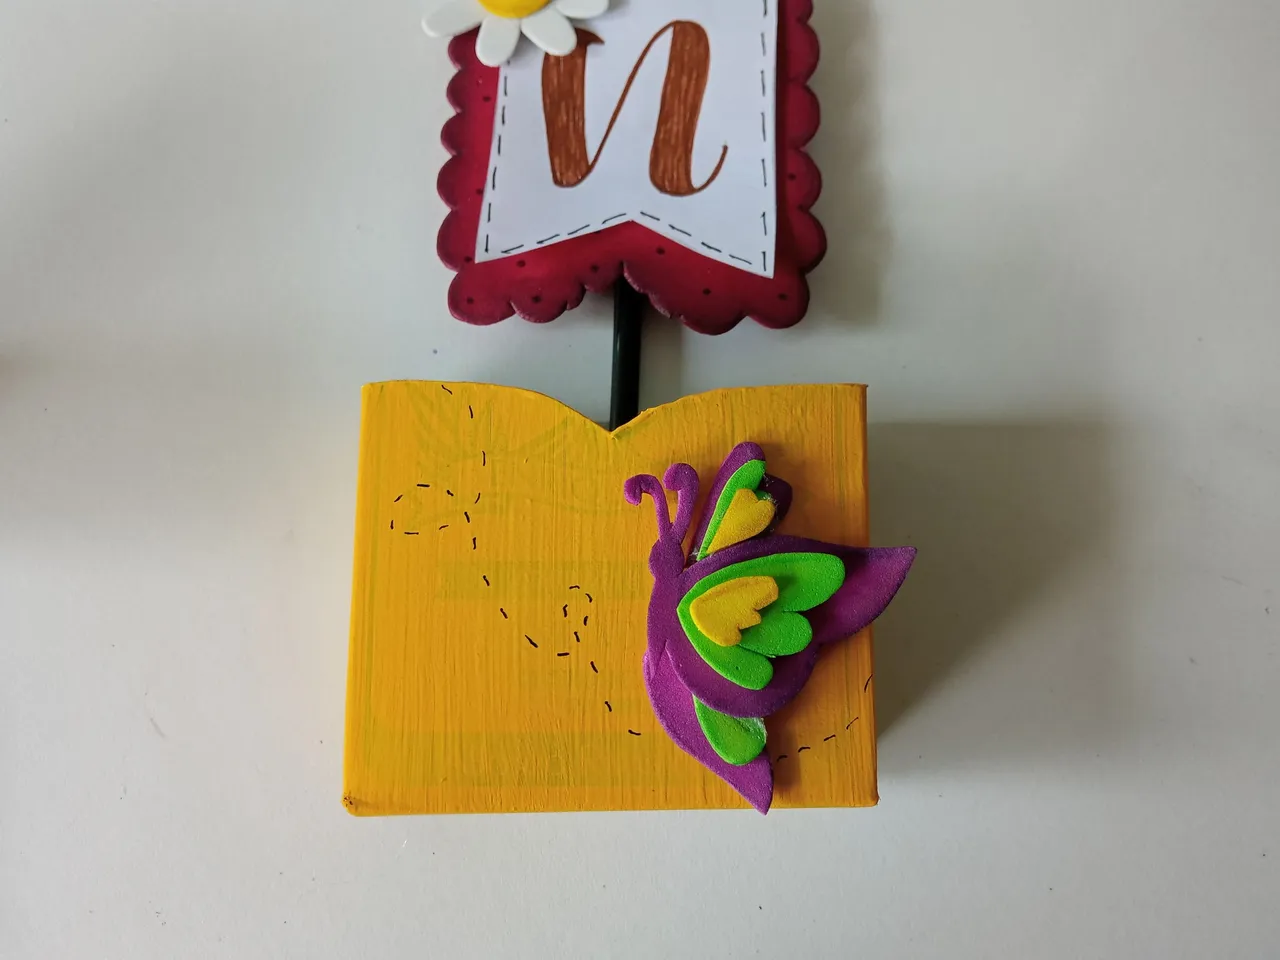
✨ PASO 6:
Para finalizar, pegué a Noxic a un lado del frente de la caja y para que parezca que estaba volando, hice algunas líneas dando la forma del recorrido y listo.
✨ STEP 6:
To finish, I glued Noxic to one side of the front of the box. To make it look like he was flying, I drew some lines to represent the flight path, and that's it.
❤️ Hasta la próxima publicación.
❤️ Until the next post.

Todas las fotografías son de mi propiedad.
Separador y Fotos editadas en Canva
All photographs are my property.
Photos edited in Canva