🔸Sin más que añadir, a continuación los dejo con el paso a paso:
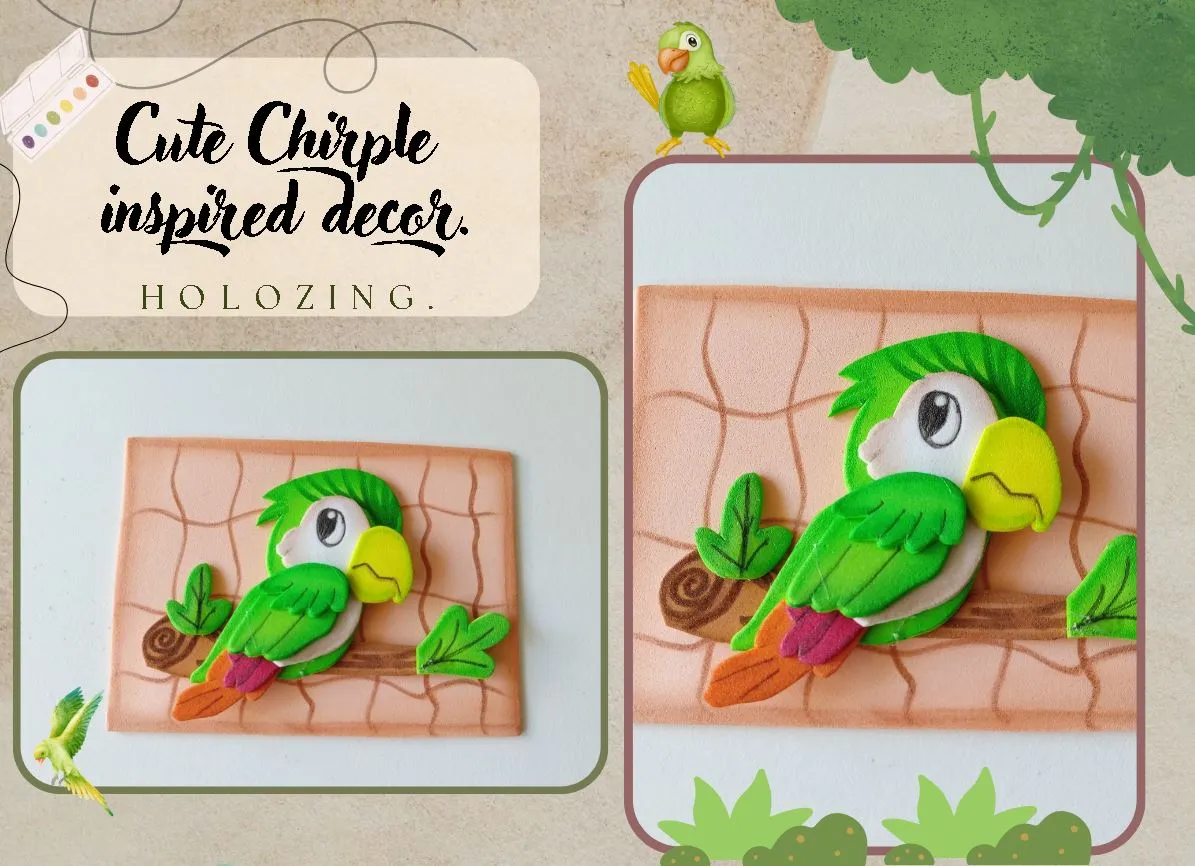
✨Good afternoon, holozing friends!✨ I hope you're having a great week. For my part, I'm happy to stop by here to share a lovely idea with you. This time, I'm sharing the step-by-step instructions for making a cute Chirple-inspired decoration. While creating the idea, I thought it would be perfect as a refrigerator magnet, a notebook decoration, or a cute pendant. I also wanted to hang it on a tree branch to give it a more atmospheric look.
🔸Without more to add, then I leave you with the step by step:
♥️ESPERO QUE TE GUSTE,
¡Empecemos!
♥️I HOPE YOU LIKE IT,
Let's start!

✂️ MATERIALES | ✂️ MATERIALS
- Foami salmón.
- Foami verde.
- Foami amarillo.
- Foami rojo.
- Foami naranja.
- Foami marrón.
- Pinturas y marcadores.
- Pegamento.
- Tijeras.
- Regla.
- Hoja blanca.
- Lápiz.
- Salmon-colored foami.
- Green foami.
- Yellow foami.
- Red foami.
- Orange foami.
- Brown foami.
- Paints and markers.
- Glue.
- Scissors.
- Ruler.
- White paper.
- Pencil.
✨ PROCEDIMIENTO | ✨ PROCESS
✨ PASO 1:
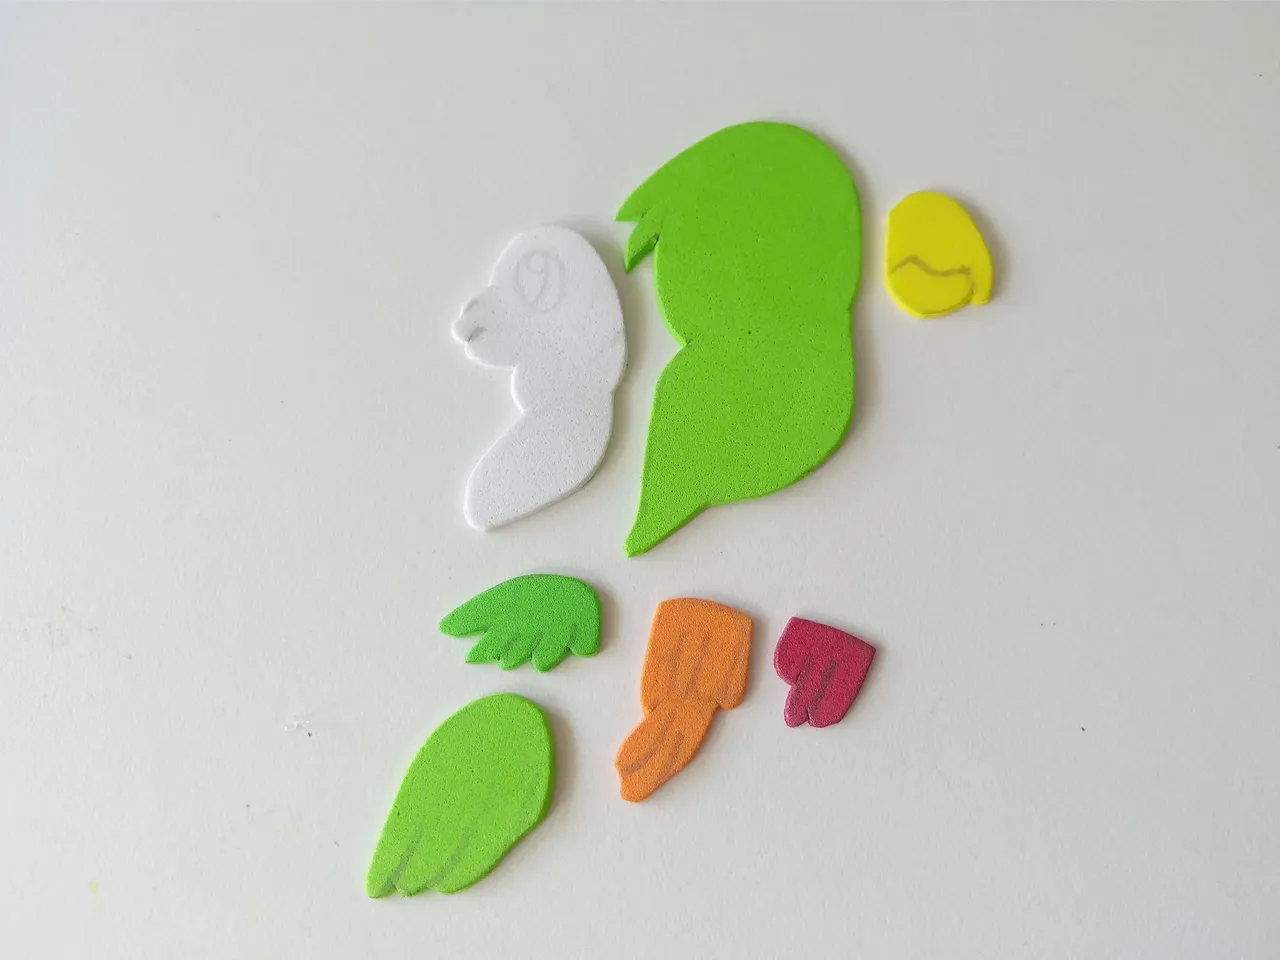
Lo primero que hice fue dibujar el diseño y pose que quería para Chirple en una hoja blanca, además de la rama del árbol y sus hojitas para acompañar la rama. Al estar listo el diseño, es momento de transferir a los colores correspondientes de foami, como explico a continuación:
✨Parte de la cabeza y panza: 5 cm x 2.5 cm en foami blanco.
✨Parte de cabeza y cuerpo: 7.5 cm x 4 cm en foami verde.
✨Pico: 2 cm x 1.8 cm en foami amarillo.
✨Alas: 3 cm x 2 cm y 2 cm x 2 cm en distintos tonos de foami verde.
✨Cola: 3 cm x 1.5 cm en foami naranja y 1.5 cm x 1.5 cm en foami rojo.
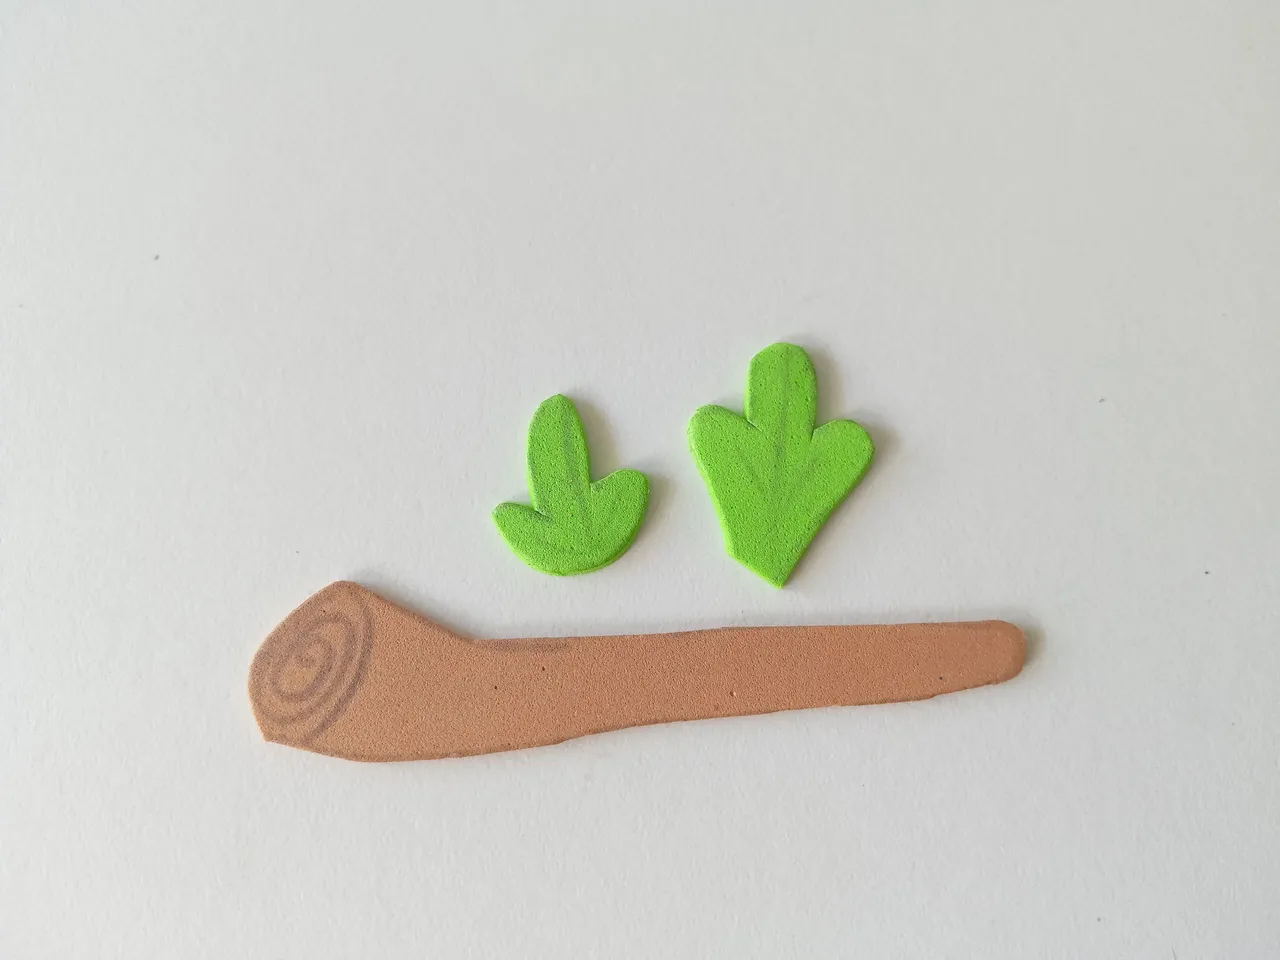
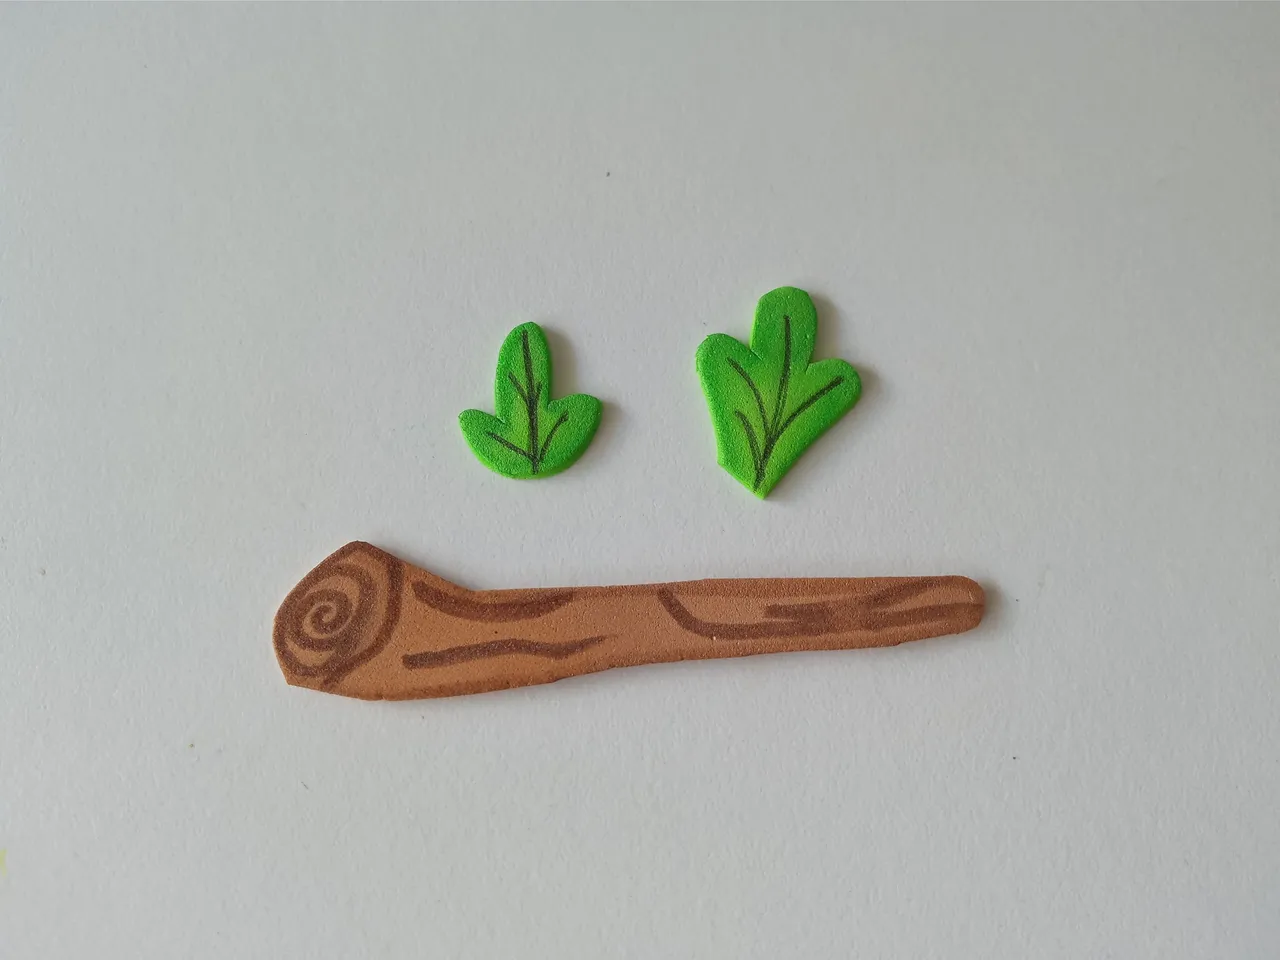
✨Rama de árbol: 8 cm x 2 cm en foami marrón.
✨Hojas de árbol: 2.5 cm y 2 cm en foami verde.
✨ STEP 1:
The first thing I did was draw the design and pose I wanted for Chirple on a white sheet of paper, along with the tree branch and its leaves to accompany it. Once the design is ready, it's time to transfer it to the corresponding colors of foam, as explained below:
✨Head and belly parts: 5 cm x 2.5 cm in white foam.
✨Head and body parts: 7.5 cm x 4 cm in green foam.
✨Beak: 2 cm x 1.8 cm in yellow foam.
✨Wings: 3 cm x 2 cm and 2 cm x 2 cm in different shades of green foam.
✨Tail: 3 cm x 1.5 cm in orange foam and 1.5 cm x 1.5 cm in red foam.
✨Tree branch: 8 cm x 2 cm in brown foam.
✨Tree leaves: 2.5 cm and 2 cm in green foam.
✨ PASO 2:
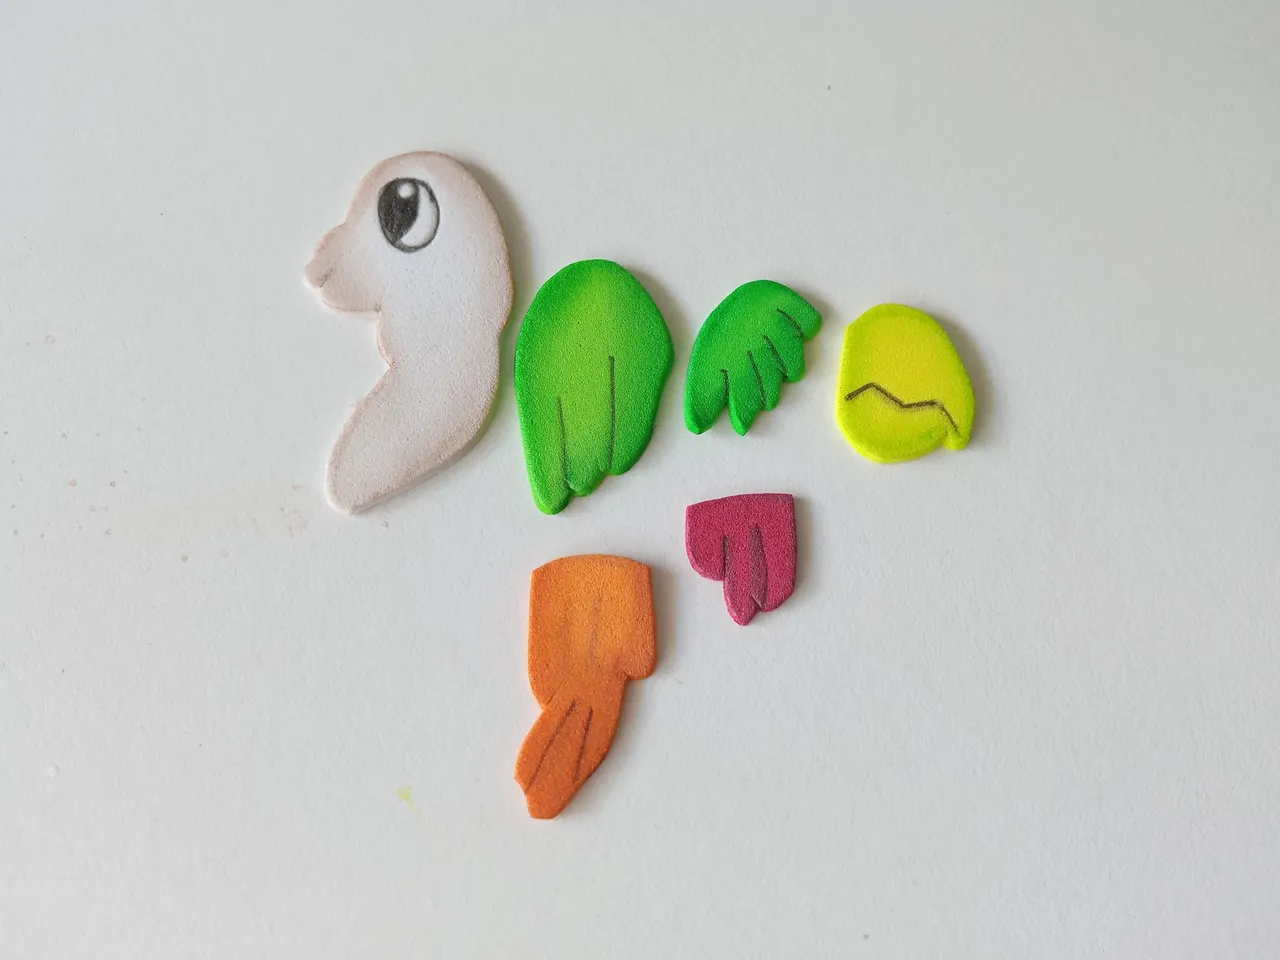
Al estar recortadas todas las piezas, es momento de dar color a los bordes, ya sea de un tono que haga contraste o como hago yo, que suelo utilizar tonos oscuros de cada una de las piezas, pero en el caso de la pieza en foami blanco, utilicé un marrón suave. Al estar secas las piezas, es momento de dar detalles más específicos con marcadores, como ojo, definir un poco más las alas, el pico, el pelaje y, obviamente, la rama y las hojas del árbol.
✨ STEP 2:
Once all the pieces are cut out, it's time to color the edges, either with a contrasting shade or, as I usually do, using dark tones from each of the pieces. However, in the case of the white foam piece, I used a soft brown. Once the pieces are dry, it's time to add more specific details with markers, such as the eye, and further define the wings, beak, fur, and, of course, the tree branch and leaves.
✨ PASO 3:
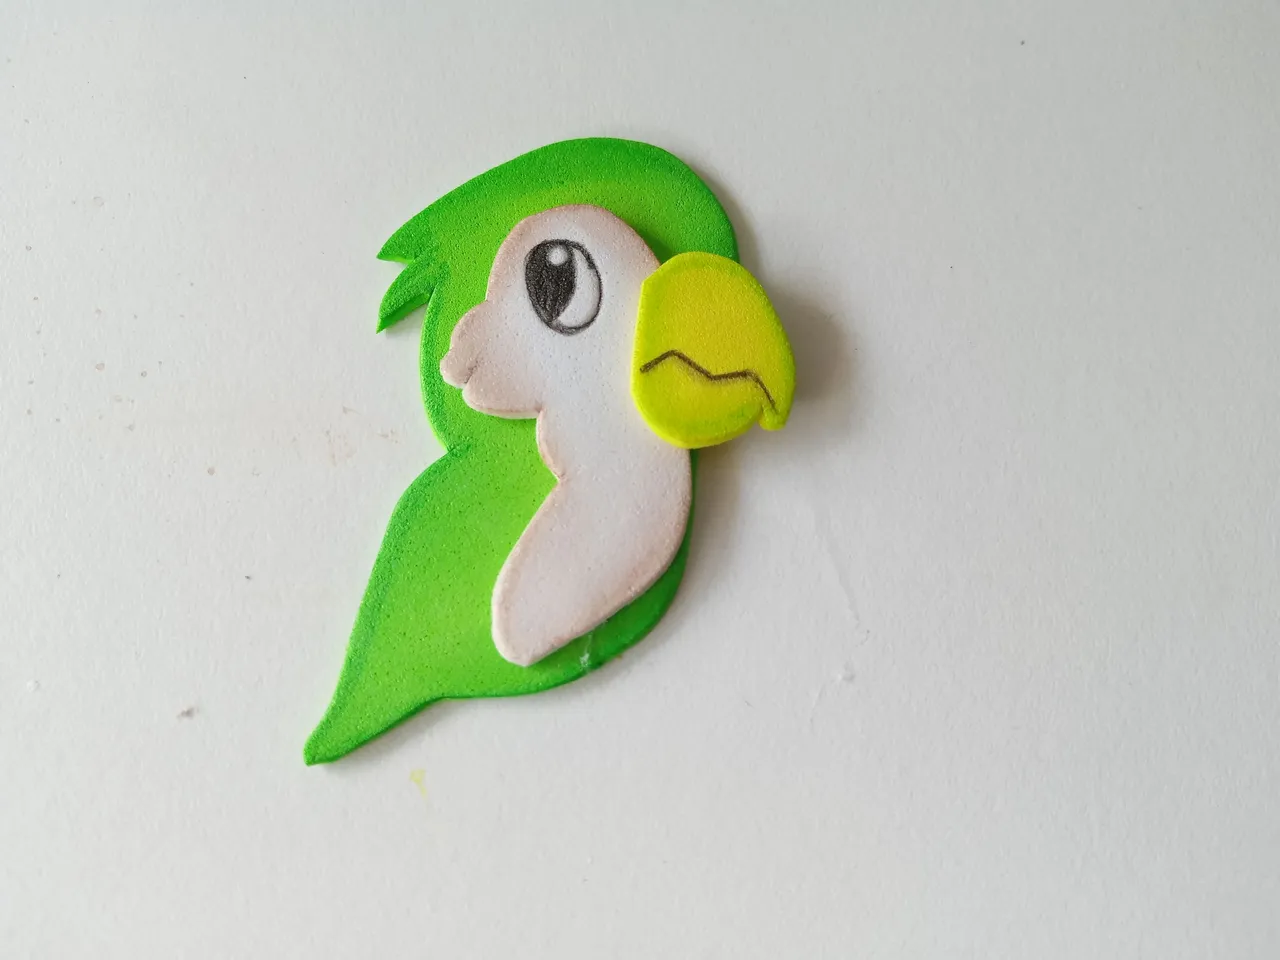
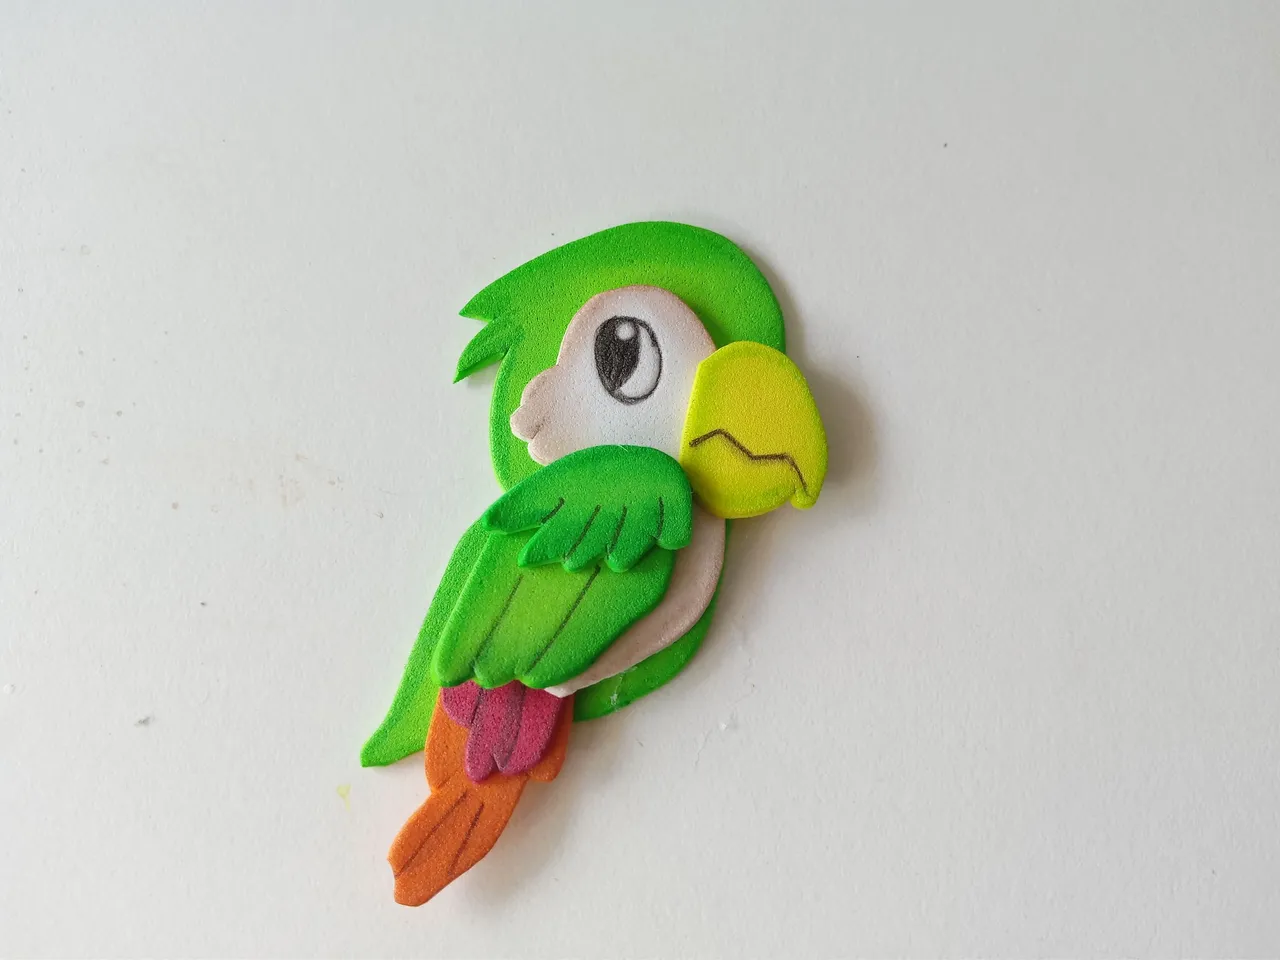
Al estar todo seco, es momento de pegar poco a poco y en orden las piezas, así que comencé por la parte de la cabeza y el cuerpo, que es más grande y la cual viene siendo un poco la base de Chirple. Encima de la base, pegué la pieza en foami blanco que es parte de la panza y el rostro, y pegué el pico. Seguidamente, pegue la cola y encima, las alas.
✨ STEP 3:
Once everything is dry, it's time to glue the pieces together, little by little, in order. So I started with the head and body, which are larger and serve as Chirple's base. On top of the base, I glued the white foam piece, which is part of the belly and face, and glued the beak. Next, I glued the tail, and on top of that, the wings.
✨ PASO 4:
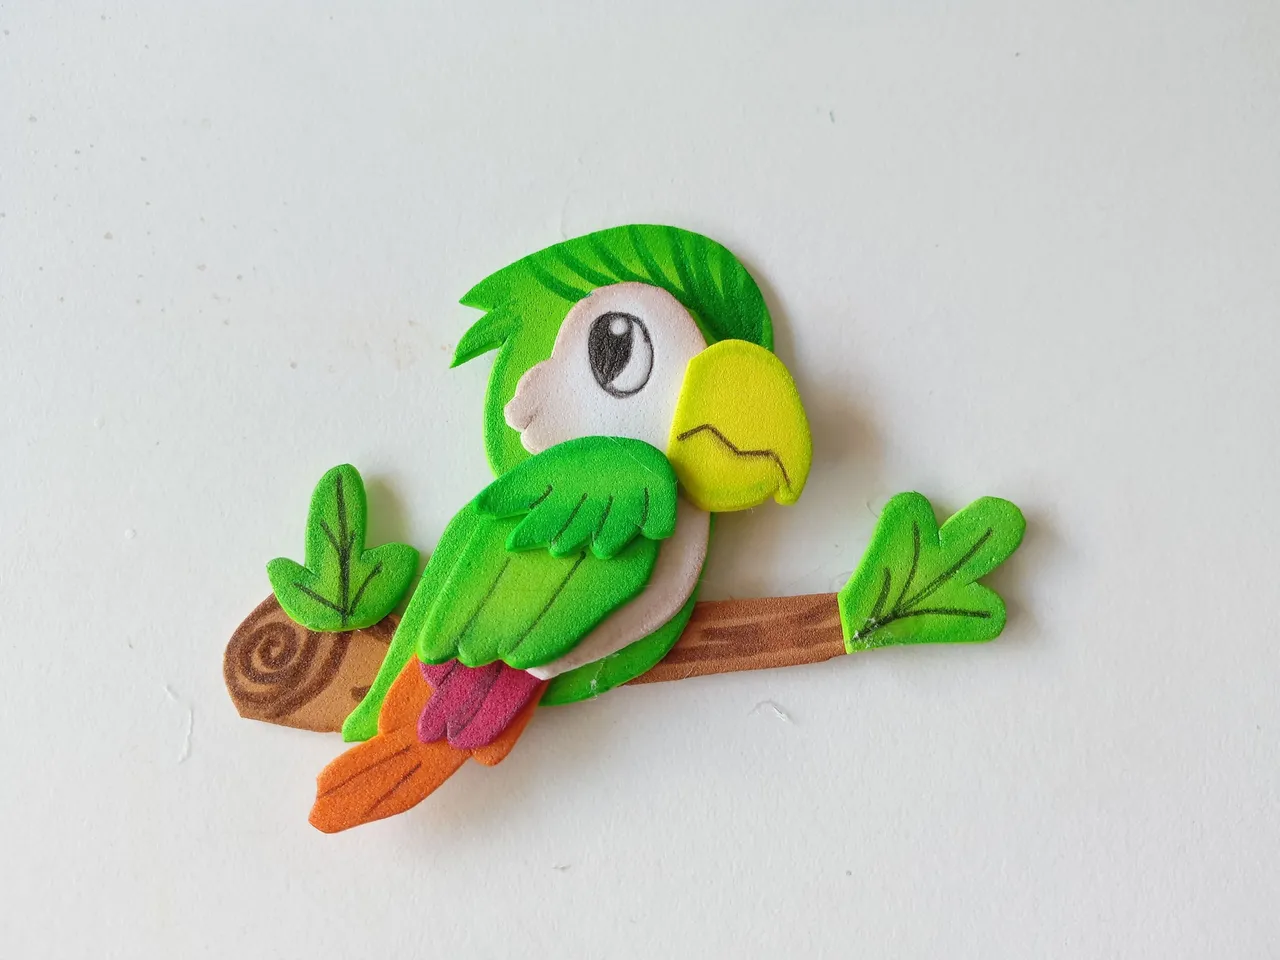
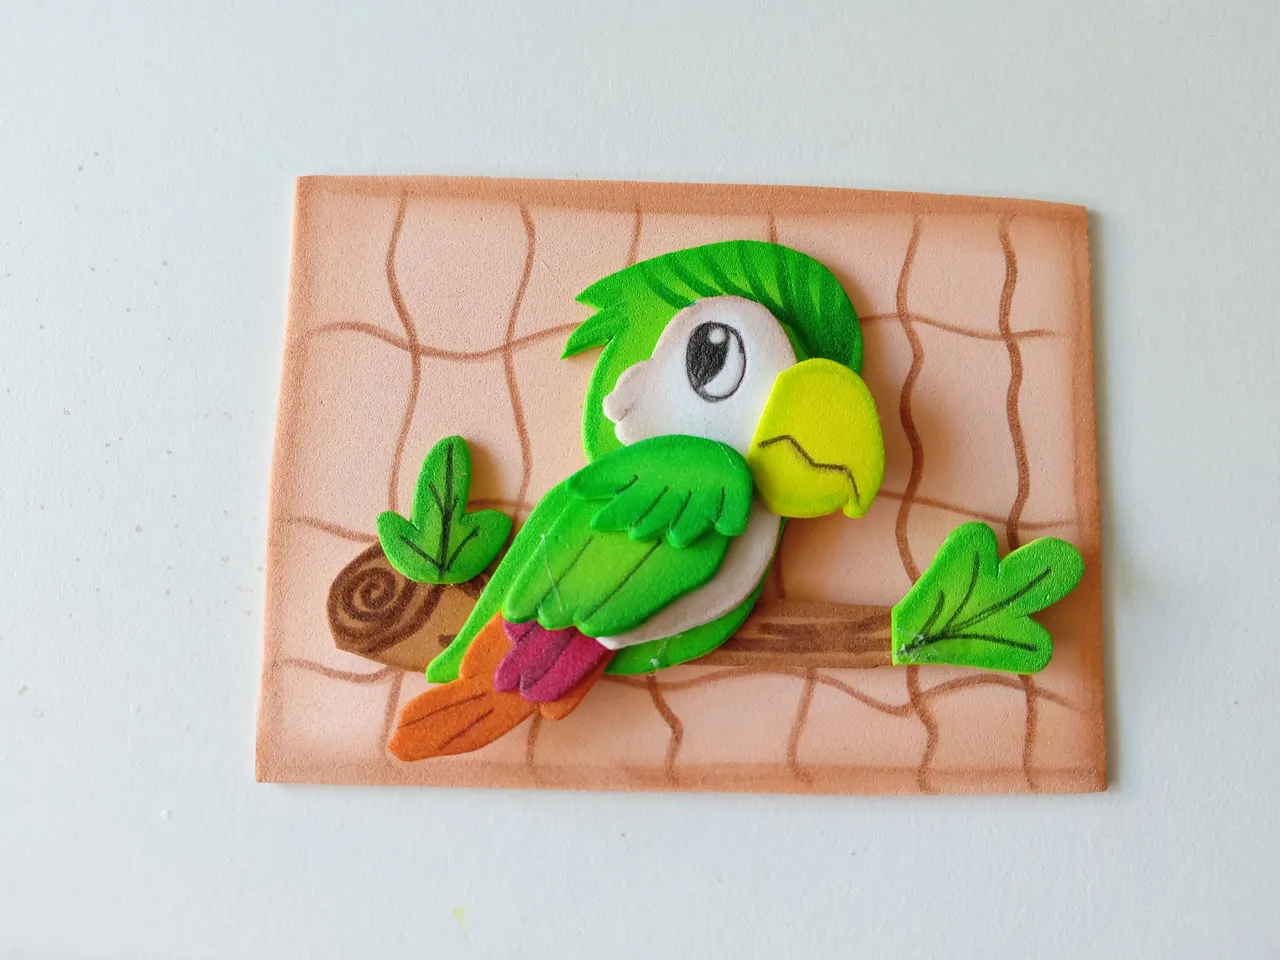
Luego, pegue a Chirple sobre la rama y las hojas en el orden deseado, para luego comenzar con el fondo de la decoración. Tomé el foami color salmón, recorté una pieza rectangular de 11 cm x 8 cm, di color a los bordes con una pintura en tono marrón y, al estar seco, le hice un diseño medio cuadriculado con curvas y al borde unas líneas tipo costura. Al estar seco, pegué a Chirple justo en medio.
✨ STEP 4:
Then, glue Chirple onto the branch and leaves in the desired order, and then begin the background of the decoration. I took the salmon-colored foam, cut out a rectangular piece measuring 11 cm x 8 cm, colored the edges with brown paint, and, once it was dry, I made a semi-checkered design with curves and some seam-like lines on the edge. Once it was dry, I glued Chirple right in the middle.
❤️ Hasta la próxima publicación.
❤️ Until the next post.

Todas las fotografías son de mi propiedad.
Separador y Fotos editadas en Canva
All photographs are my property.
Photos edited in Canva