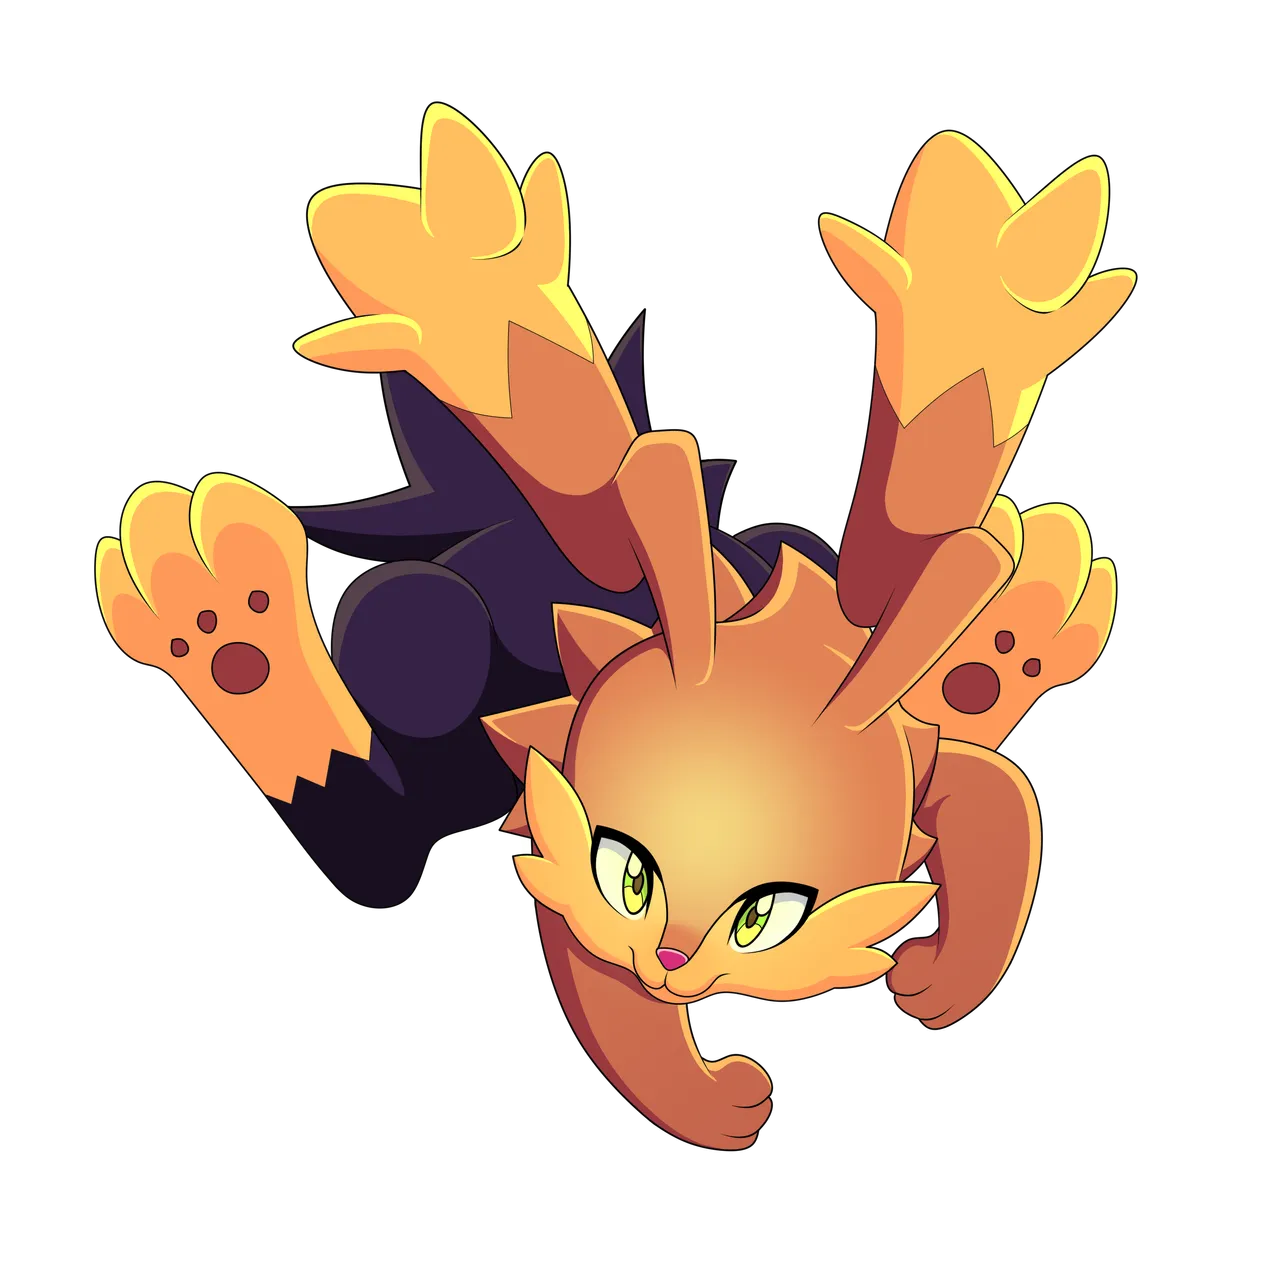
I'm very serious when I tell you that I'm in love with every single Holozing character and creature. I want to do so many things, especially to enjoy the fan art I'm creating, because I create it from a place of love and inspiration, which brings me great joy to see these illustrations.
To start creating some elements with my Holozing fan art, I wanted to create what I've called Creative Stationery. I wanted to create small, self-adhesive, removable notepads to keep on my desk. Today, I'm featuring two of the illustrations I made of these female Zappit chibis, which I love for the vibrant colors of the original character. I'll show you the step-by-step process for creating them below:
Es muy en serio cuando les digo que estoy enamorada de cada uno de los personajes y criaturas de Holozing. Es que quiero hacer muchísimas cosas, para poder disfrutar sobre todo de los Fanarts que estoy creando, porque los hago desde un lugar de mucho amor e inspiración, que me genera una gran alegría ver estas ilustraciones.
Para comenzar a realizar algunos elementos con mis Fanarts de Holozing, he querido crear lo que he nombrado como Papelería Creativa, y es que he querido crear unos block de notas pequeños, que son autoadhesivas y desprendibles, para tenerlos en mi escritorio. Hoy con dos de las ilustraciones que he realizado de estas Chibis Femeninas de Zappit, que amo por los colores vibrantes que tiene el personaje original. Te enseño el paso a paso para crearlas, a continuación:
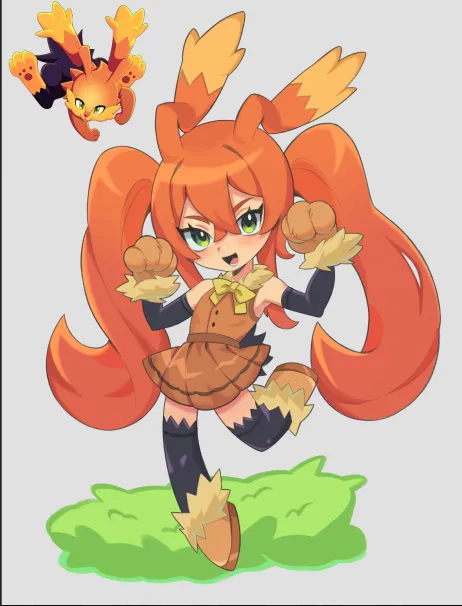
To create this notebook, I worked with these two Zappit fanarts. I'll leave you the links to the images. I used the image on the left, enlarging it considerably to capture the eyes of this female Zappit chibi.
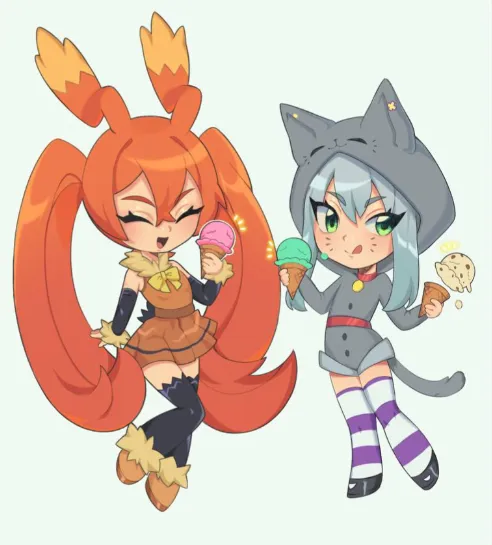
And the image on the right, I only captured this same character eating ice cream, and I think it's really funny.
Para realizar este block de notas, trabajé con estos dos Fanart de Zappit, te dejo los link dejado de las imágenes. La imagen de la izquierda la utilicé agrandando bastante la imagen para tomar principalmente los ojos de esta Chibi Femenina Zappit.
Y la imagen de la derecha, tomé solo a este mismo personaje que está comiendo helado, y me parece muy divertida.
 |  |
|---|
ZAPPIT in Female Chibi Fanart + These cuties went to eat ice cream
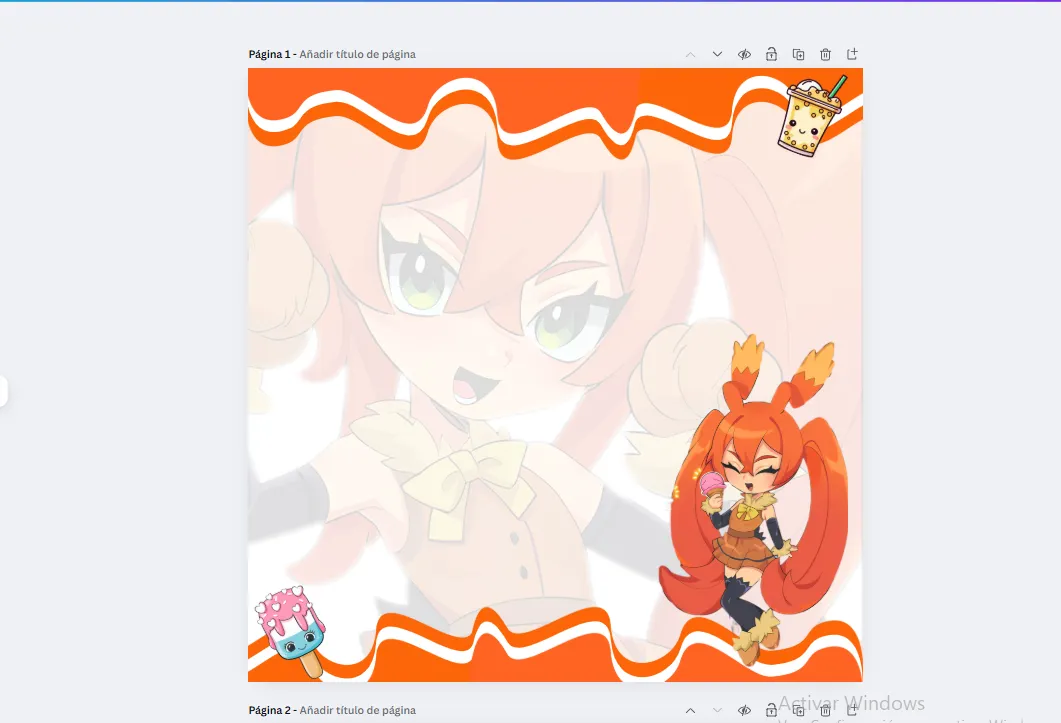
I designed the two images I mentioned earlier in Canva, in a custom 10cm x 10cm format. I applied transparency to the large image of the eyes, as it would take up the writing space and shouldn't have too much color to interfere. I also added the chibi eating ice cream on the right side; a border that I applied the same color as the hair; and a couple of elements like ice cream and a milkshake.
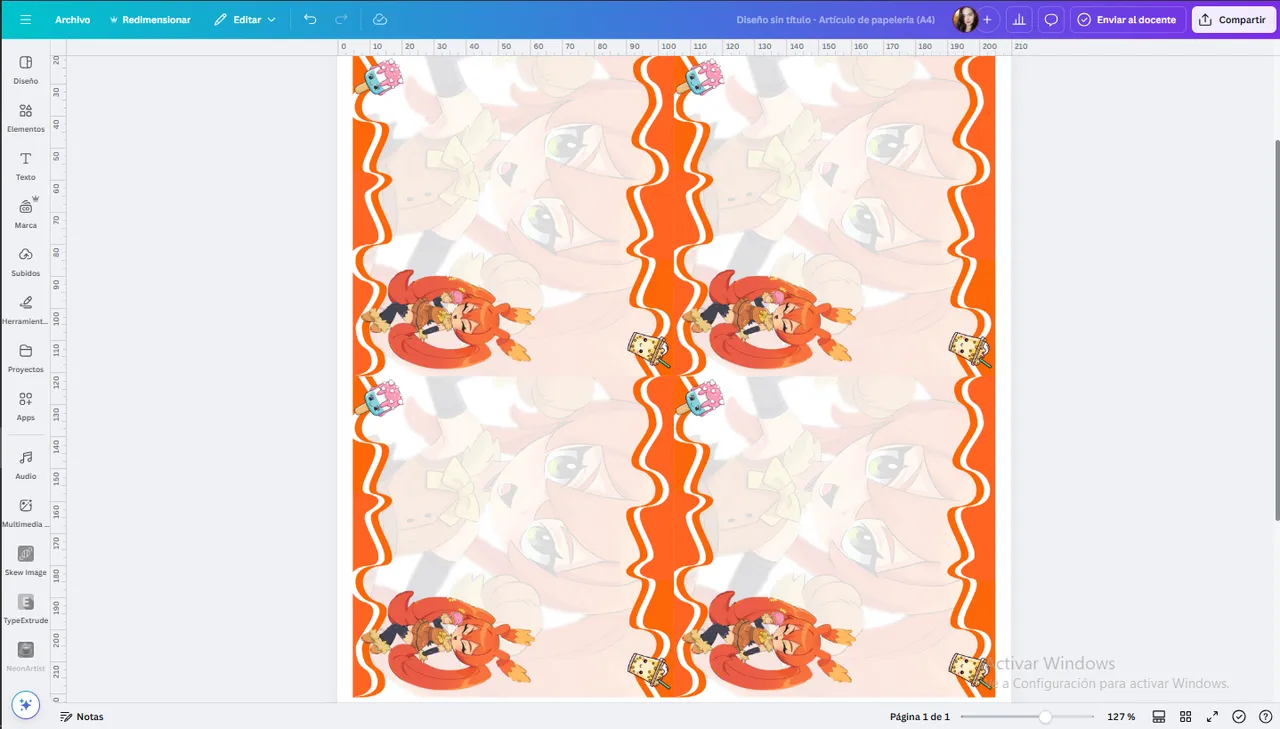
With the design defined, I exported it and then pasted it onto another letter-sized sheet of paper, repeating it four times to maximize the space. I then printed them 15 times on recycled paper, as they are for my personal use.
Las dos imágenes que les mencioné anteriormente las diagramé en Canva, en un formato personalizado de 10cms por 10cms, aplicando transparencia en la imagen grande de los ojos, ya que ocuparía el espacio donde se va a escribir y no debe tener tanto color para no interferir. También adicioné la Chibi que come helado, del lado derecho; un borde que apliqué el mismo color del cabello, y un par de elementos como un helado y una malteada.
Ya con el diseño definido, lo exporté y luego lo pegué en otra hoja pero de tamaño carta, para repetirlo 4 veces y así aprovechar el espacio. Luego, las imprimí 15 veces en papel reciclado ya que es para mi uso personal.
 |  |
|---|
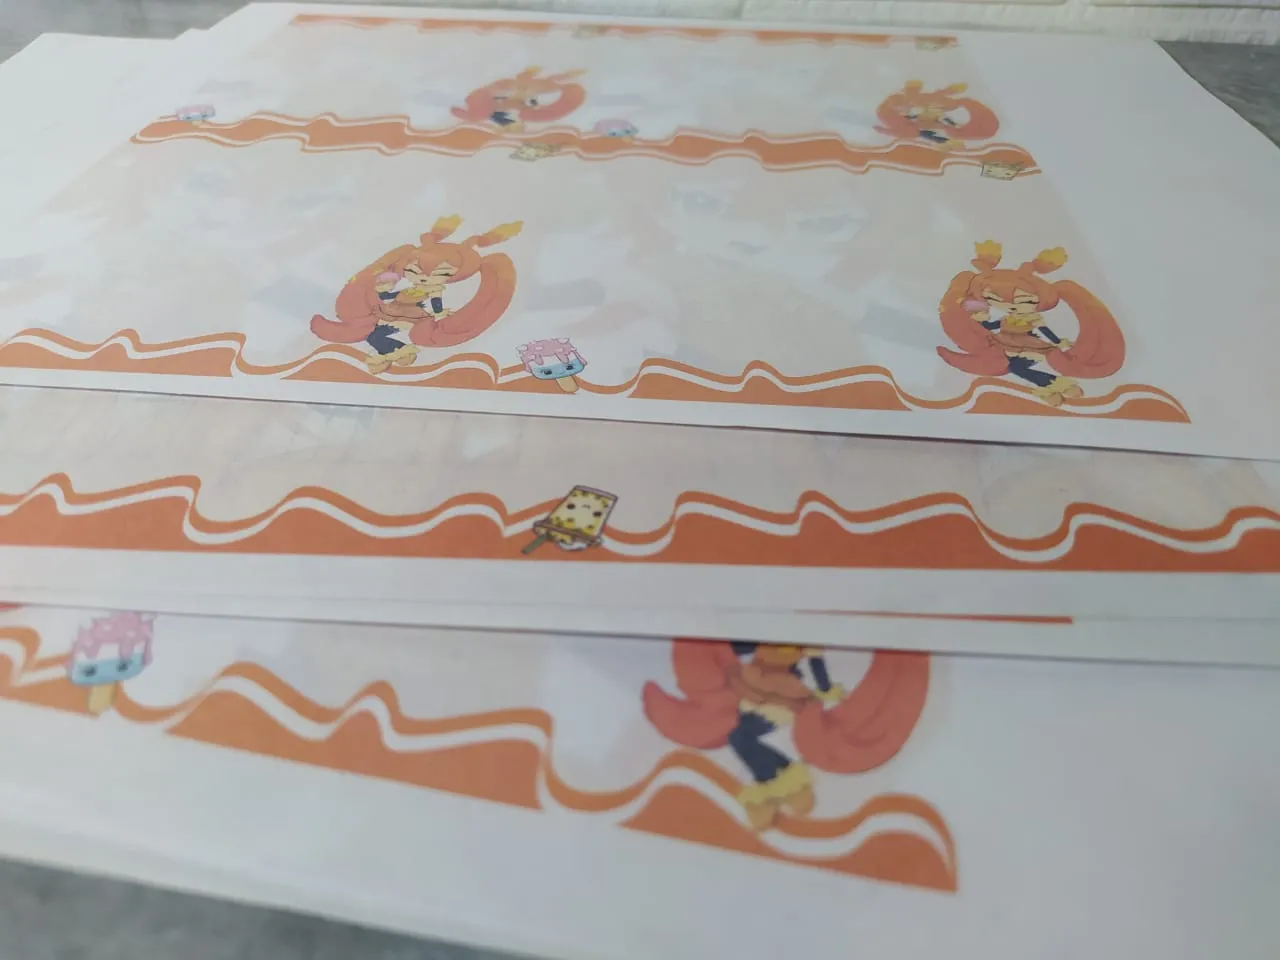
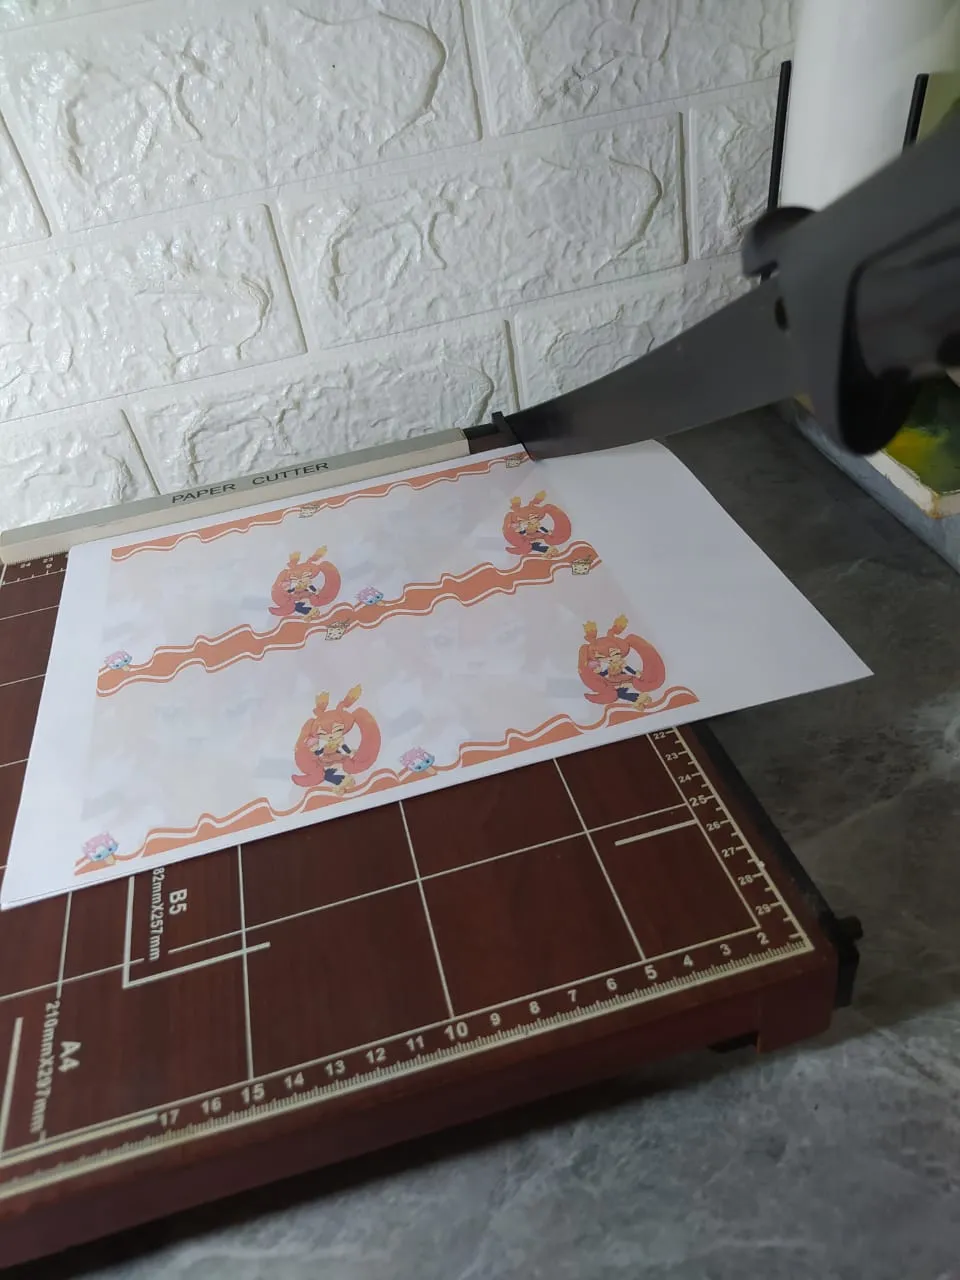
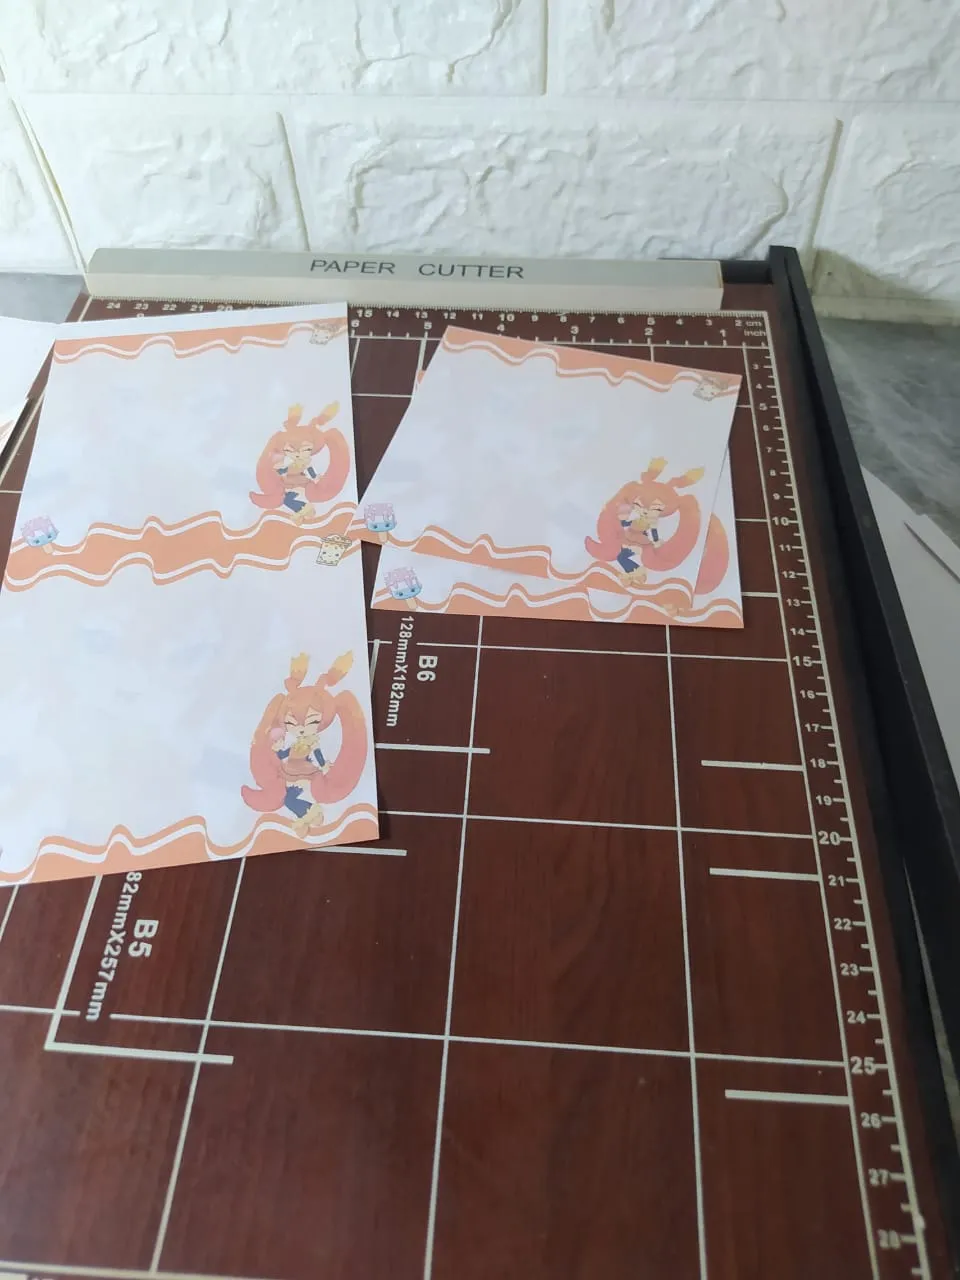
This is what the prints look like, and with a guillotine I made the necessary cuts in the 15 sheets with their 4 images on each one.
Así lucen las impresiones, y con una guillotina realicé los cortes necesarios en las 15 hojas con sus 4 imágenes en cada una.
 |  |  |
|---|
This is how all the pages in the notepad look, ready to continue the process in this Creative Stationery.
Así se ven todas las hojas del block de notas ya listas para seguir el proceso en esta Papelería Creativa.
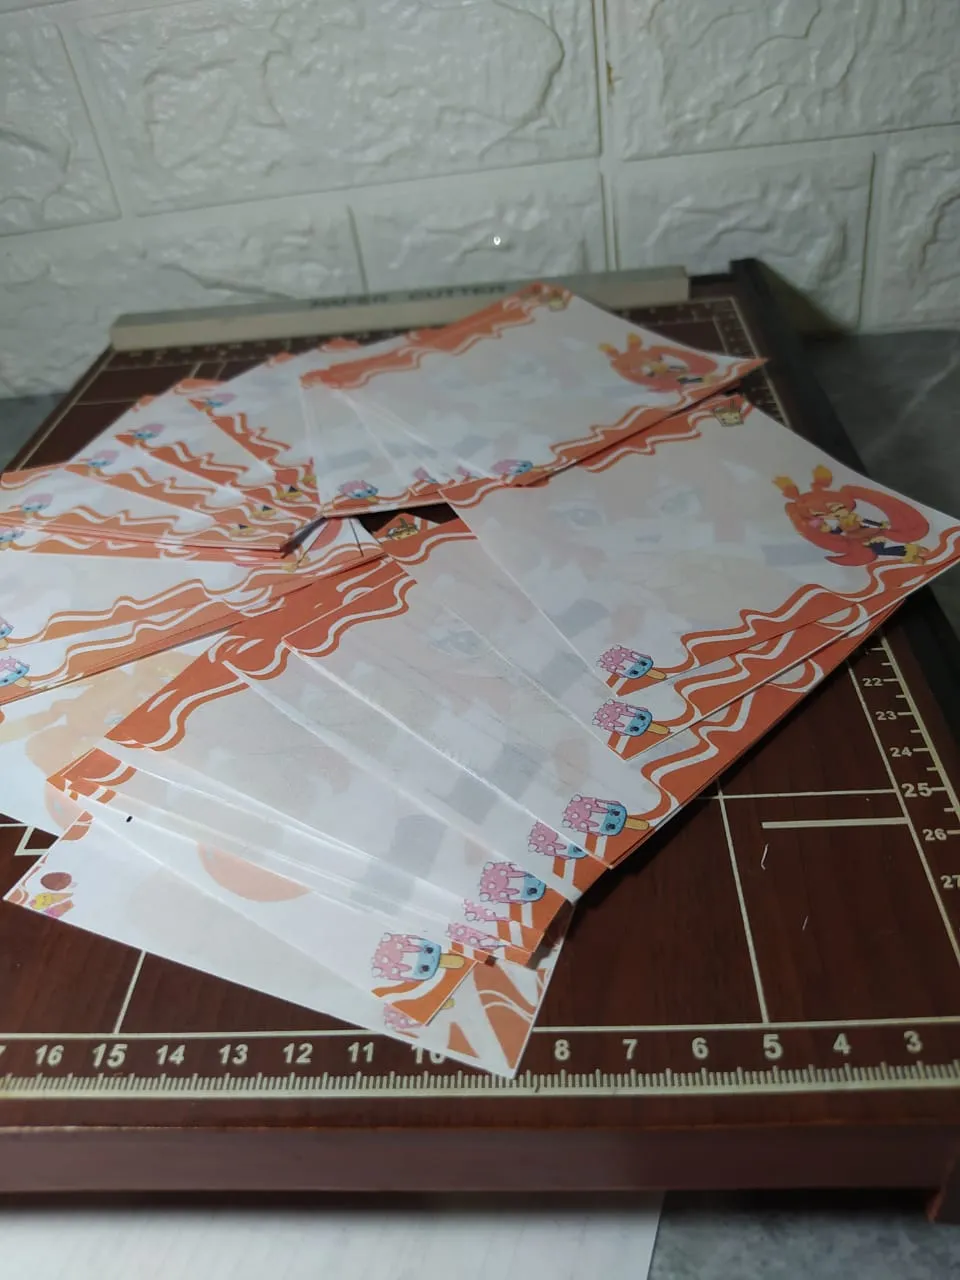
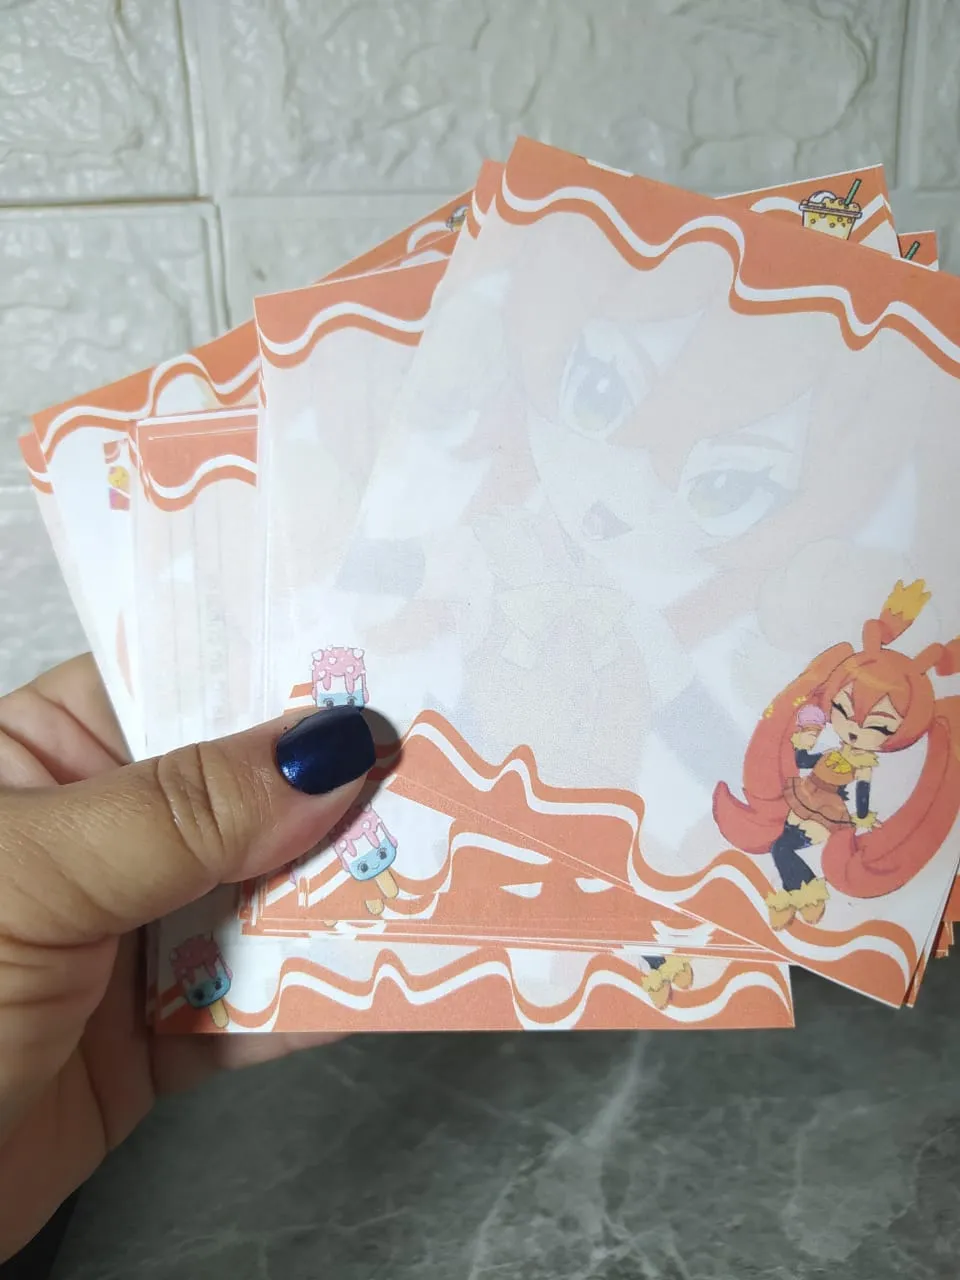
I organize all the pages in the notepad, making sure they're as neat as possible, especially at the top, since that's where I'll be gluing.
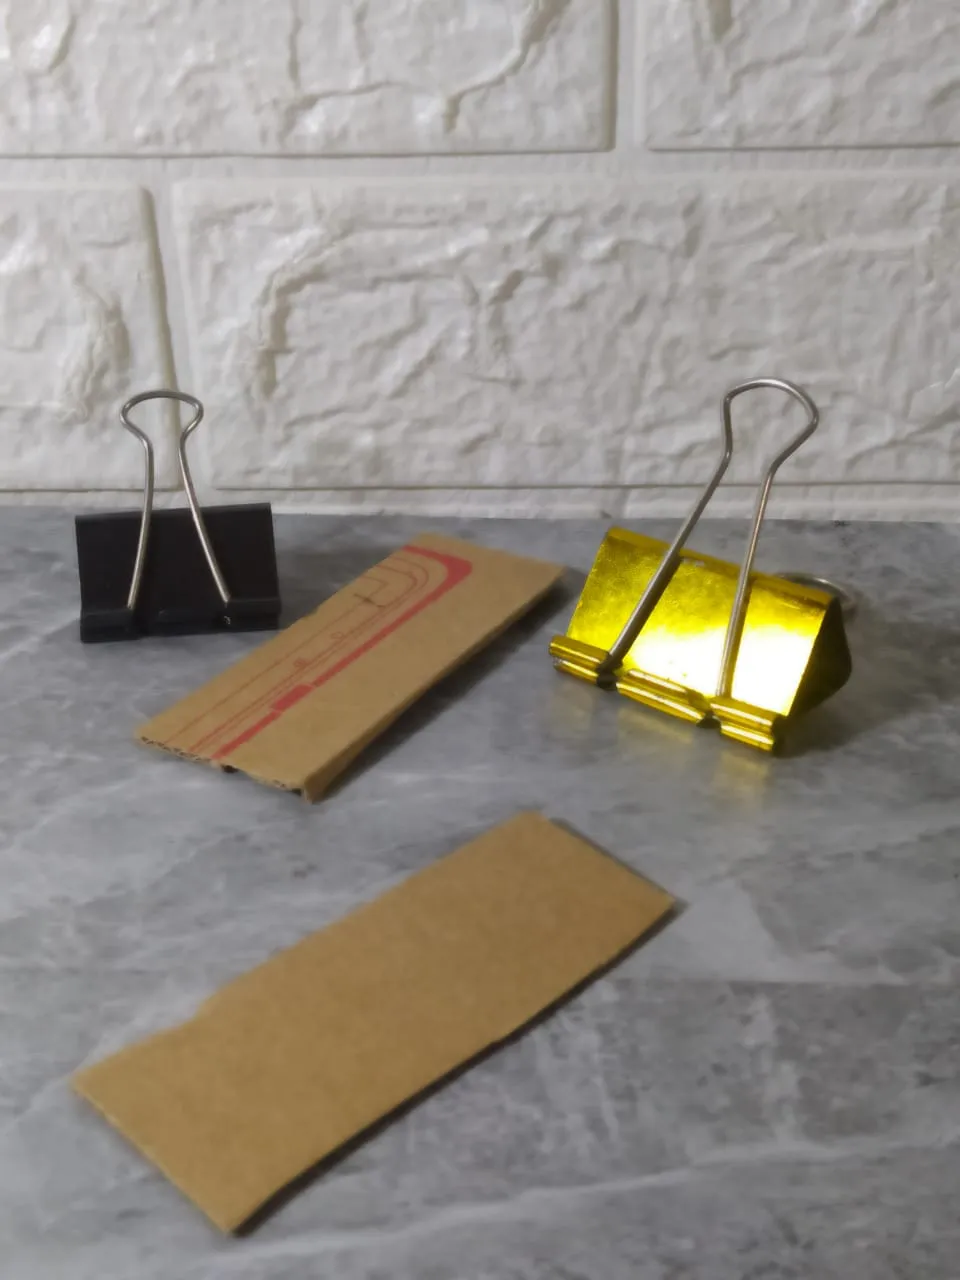
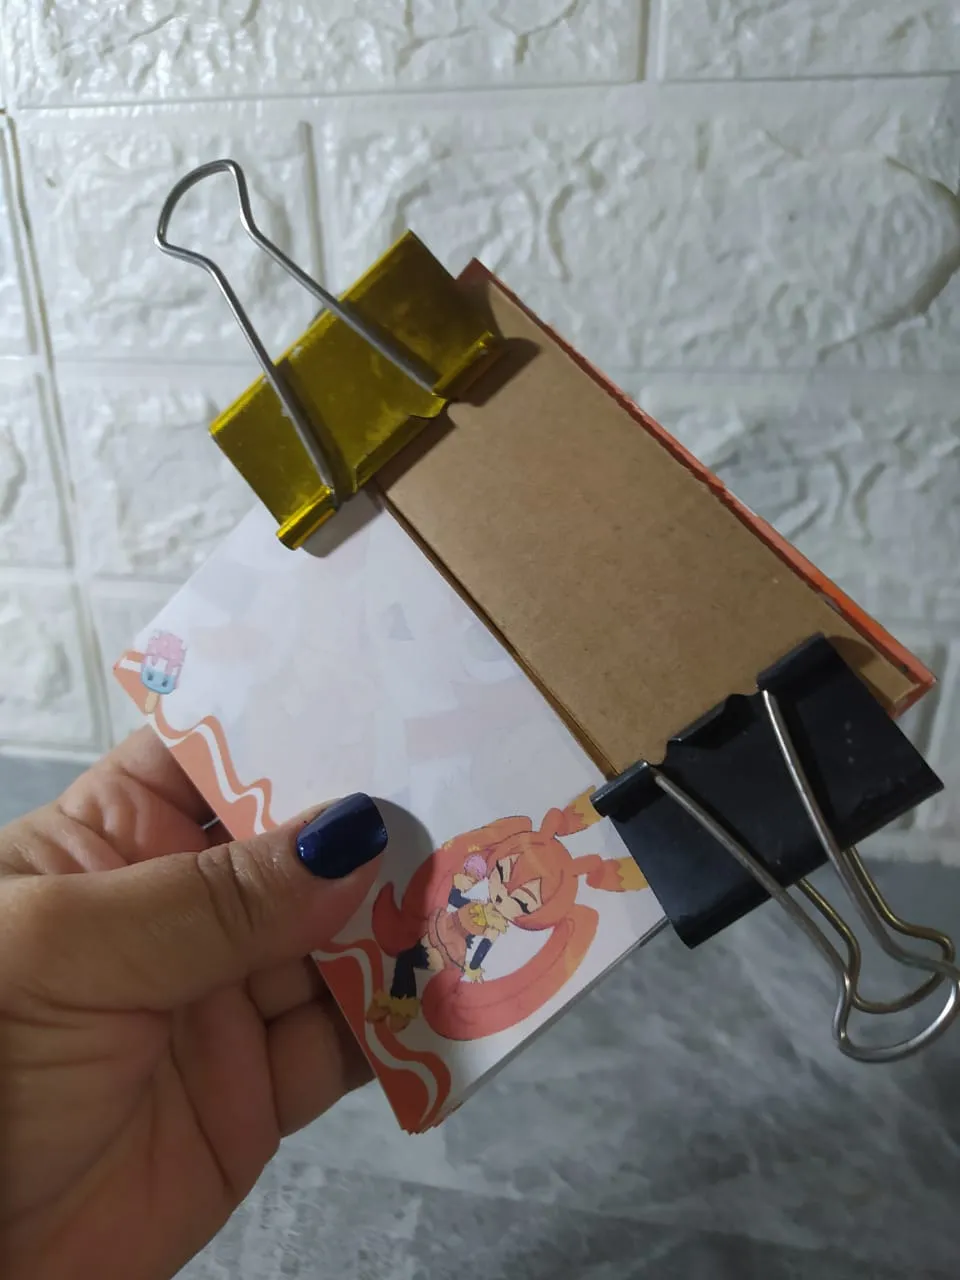
Using two cardboard rectangles and two large paper clips, I secure the tops of the pages, separating them slightly so the glue doesn't touch the cardboard.
Organizo todas las hojas del block de notas, procurando que queden lo más ordenadas, especialmente en la parte superior ya que por esa parte es que voy a engomar.
Con dos rectángulos de cartón y dos clips de presión grandes, fijo bien la parte superior de las hojas, separando apenas un poco para que la pega no vaya a tocar esos cartones.
 |  |  |  |
|---|
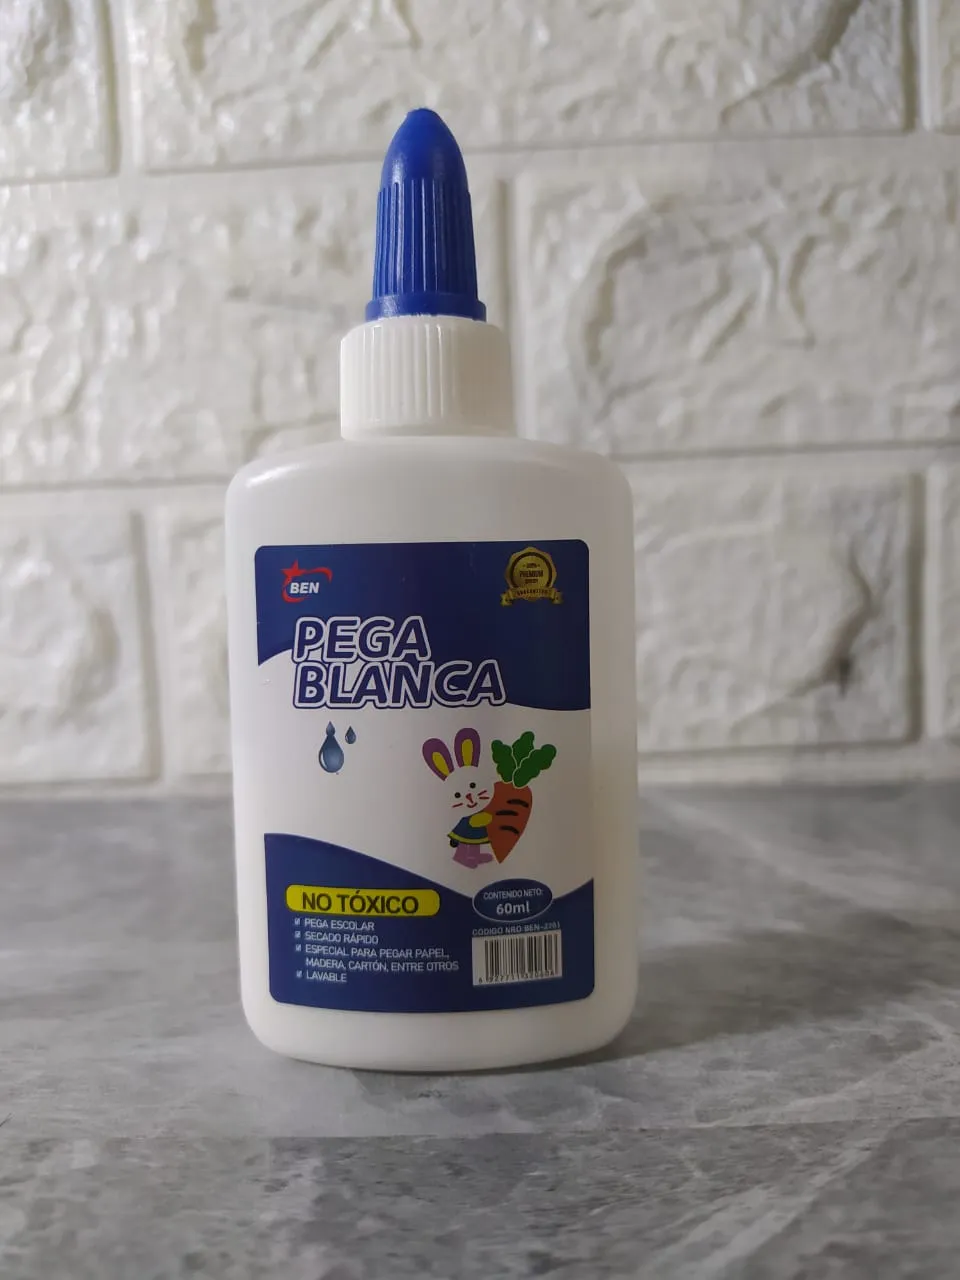
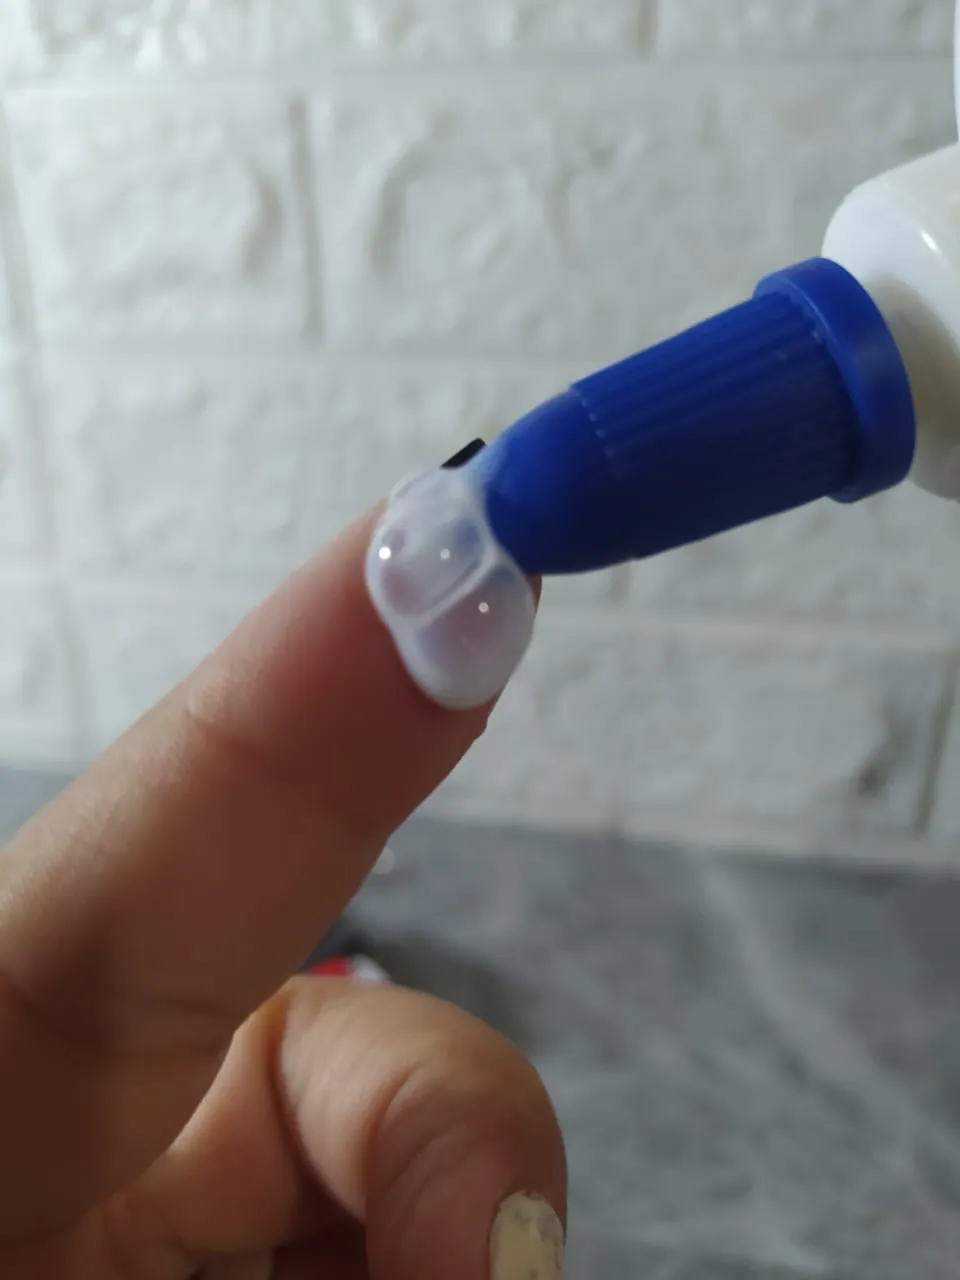
Now, using just white school glue, I put a small amount on my finger and then spread it over the top edge of the notes. Ideally, it should be a thin layer of glue, so that it only sticks to the edge. If you put too much glue, it might soak in too much and cause them to stick together.
Since we applied a small amount of white glue, this will dry in a few minutes. I only let it dry for about 15 minutes, I think. Then, I could remove the push pins and cardboard, because it was ready.
Ahora solo con pega blanca escolar, coloco una cantidad sobre mi dedo y luego la distribuyo sobre ese borde superior de las notas. Lo ideal es que sea una capa delgada de pega, de manera que va a pegar solamente el borde. Si colocas mucha pega puede que se empape demasiado y se peguen entre ellas.
Dado que colocamos poca cantidad de pega blanca, esto se secará con alguno minutos. Yo solo lo dejé secar uno 15 minutos creo. Luego, pude retirar los clips de presión y cartones, porque ya está listo.
 |  |  |  |
|---|
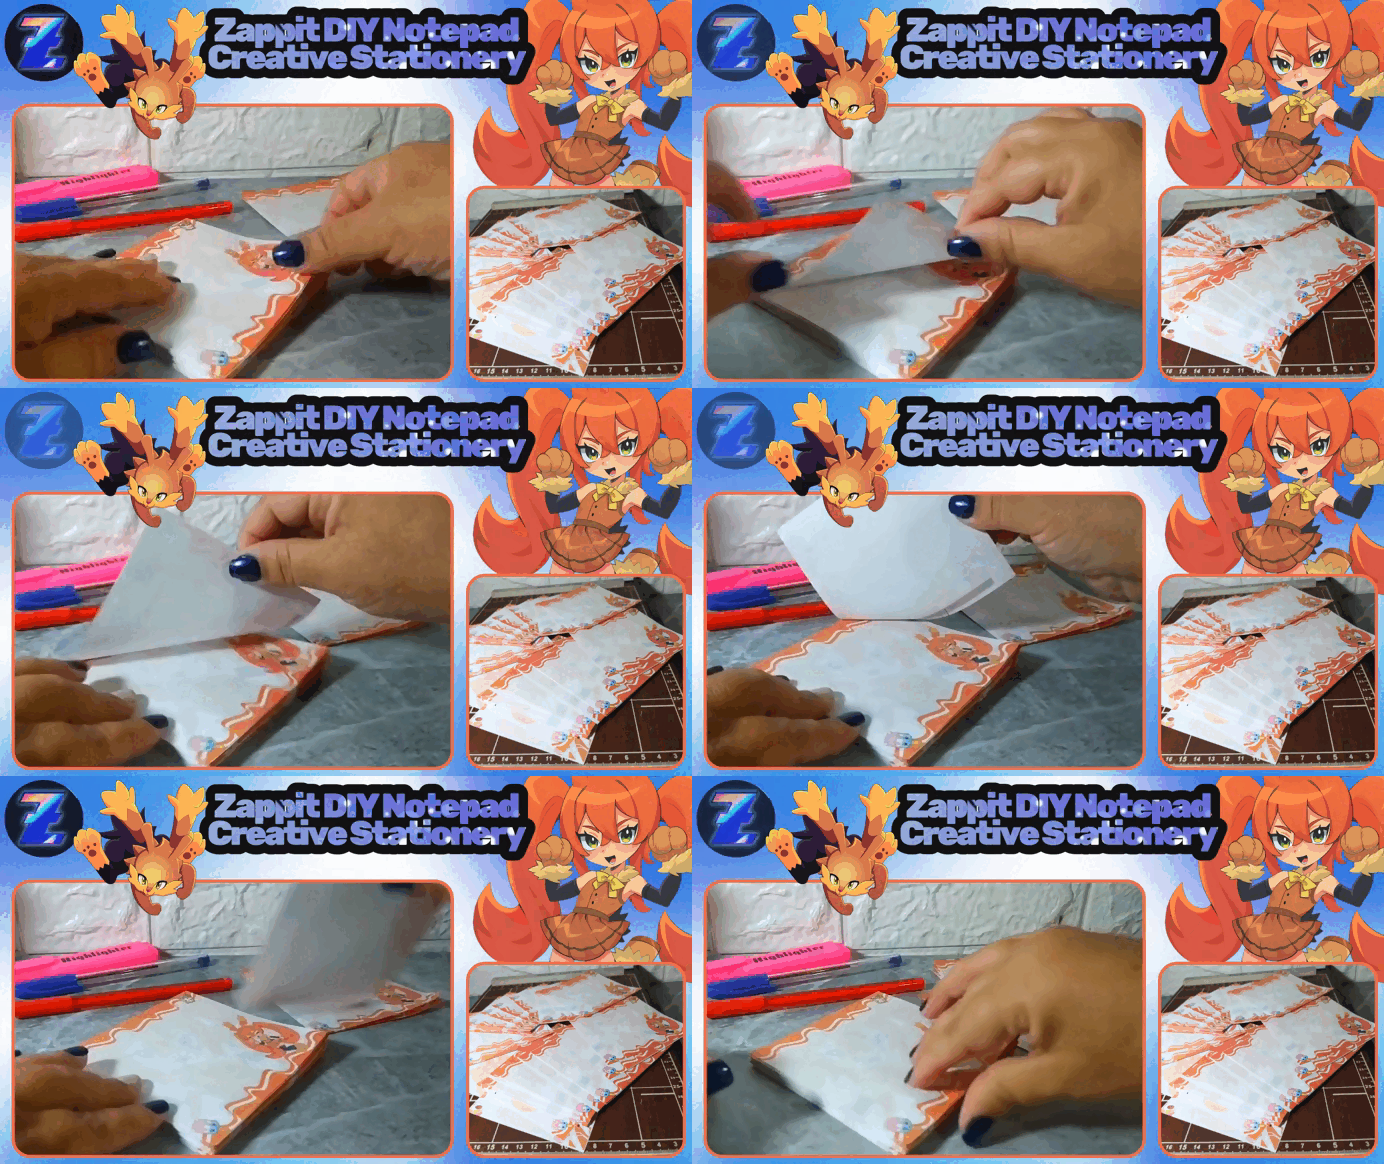
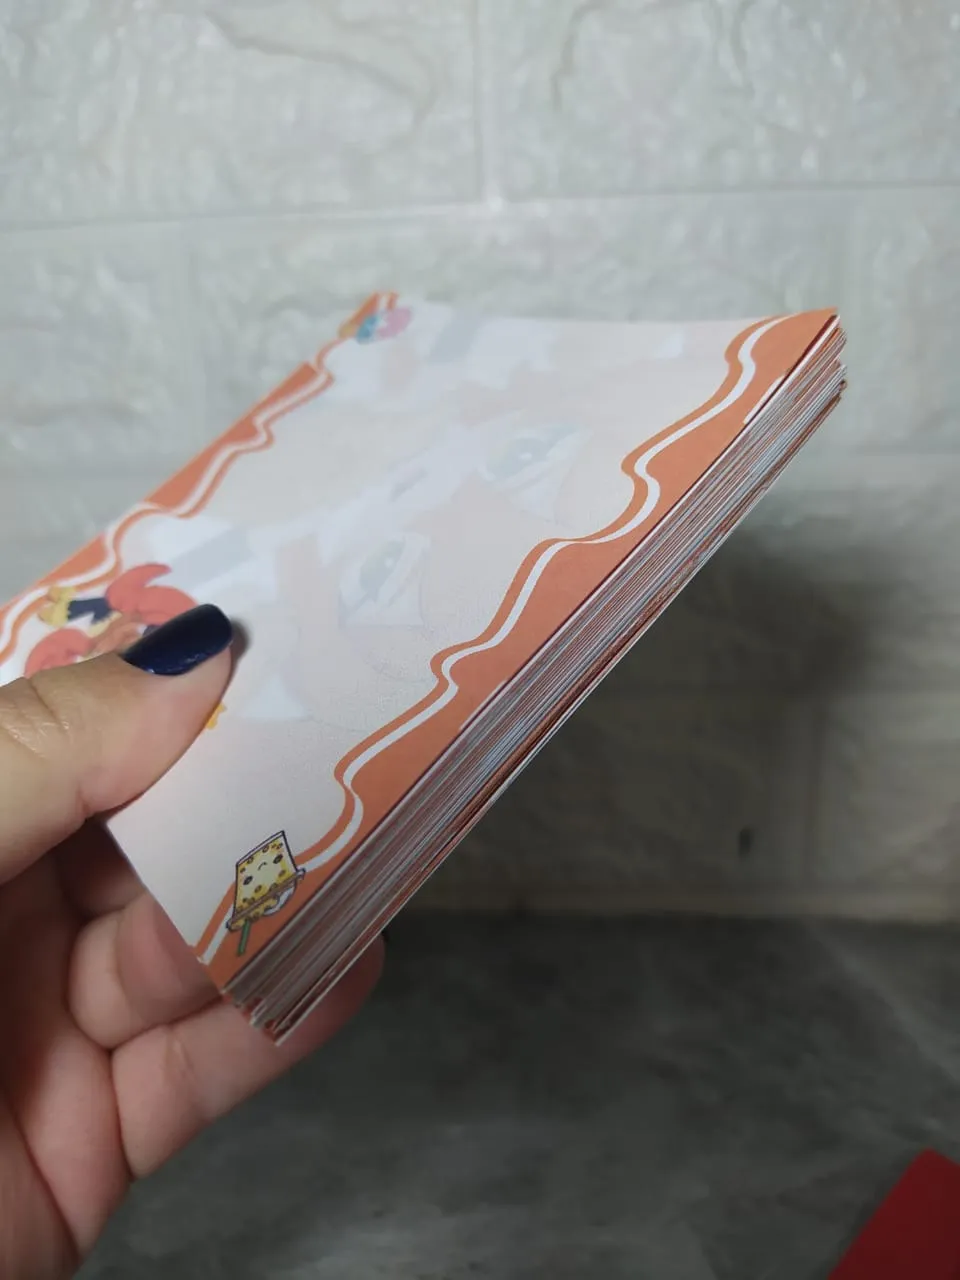
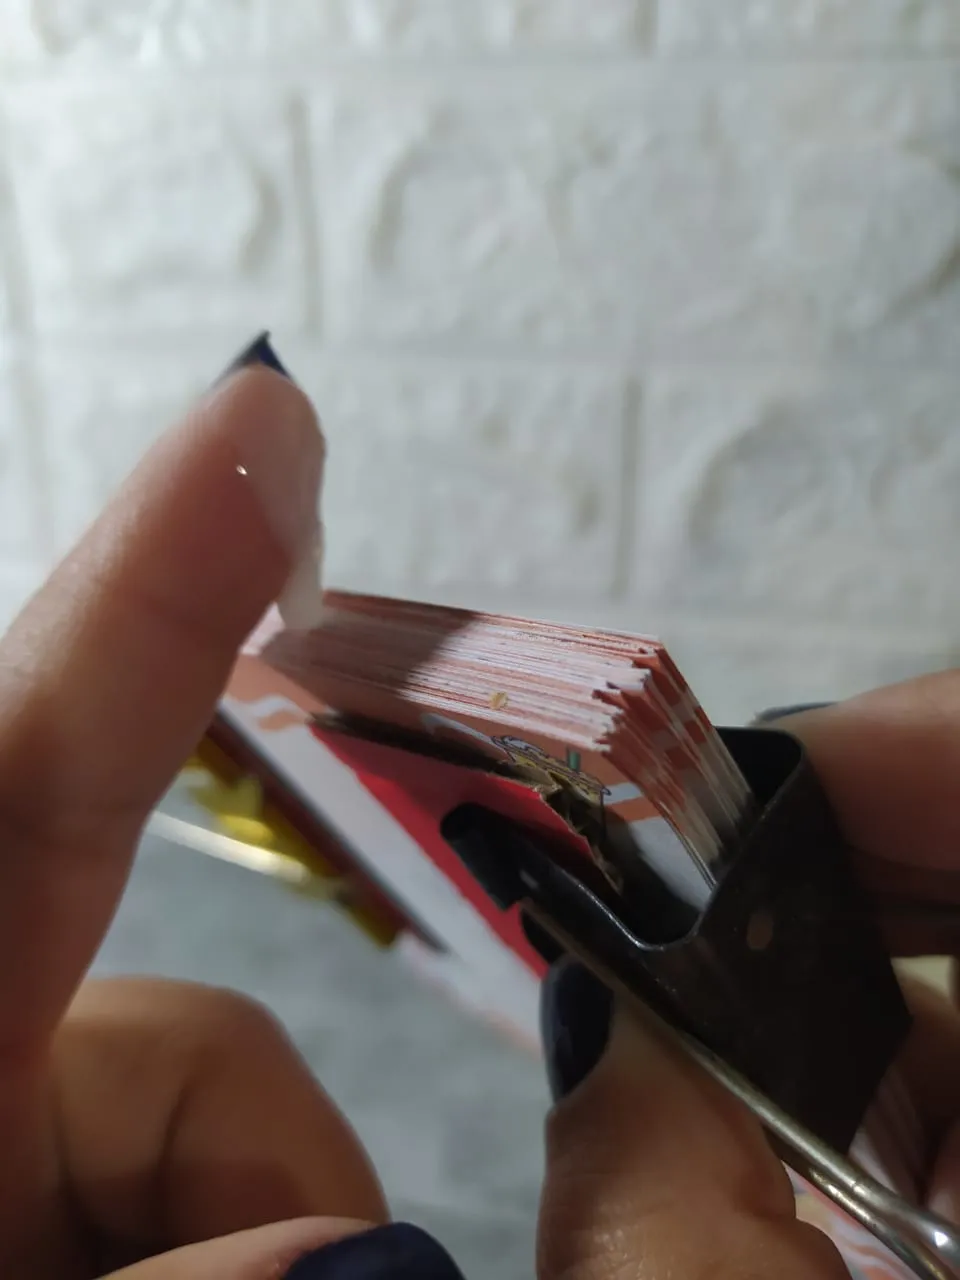
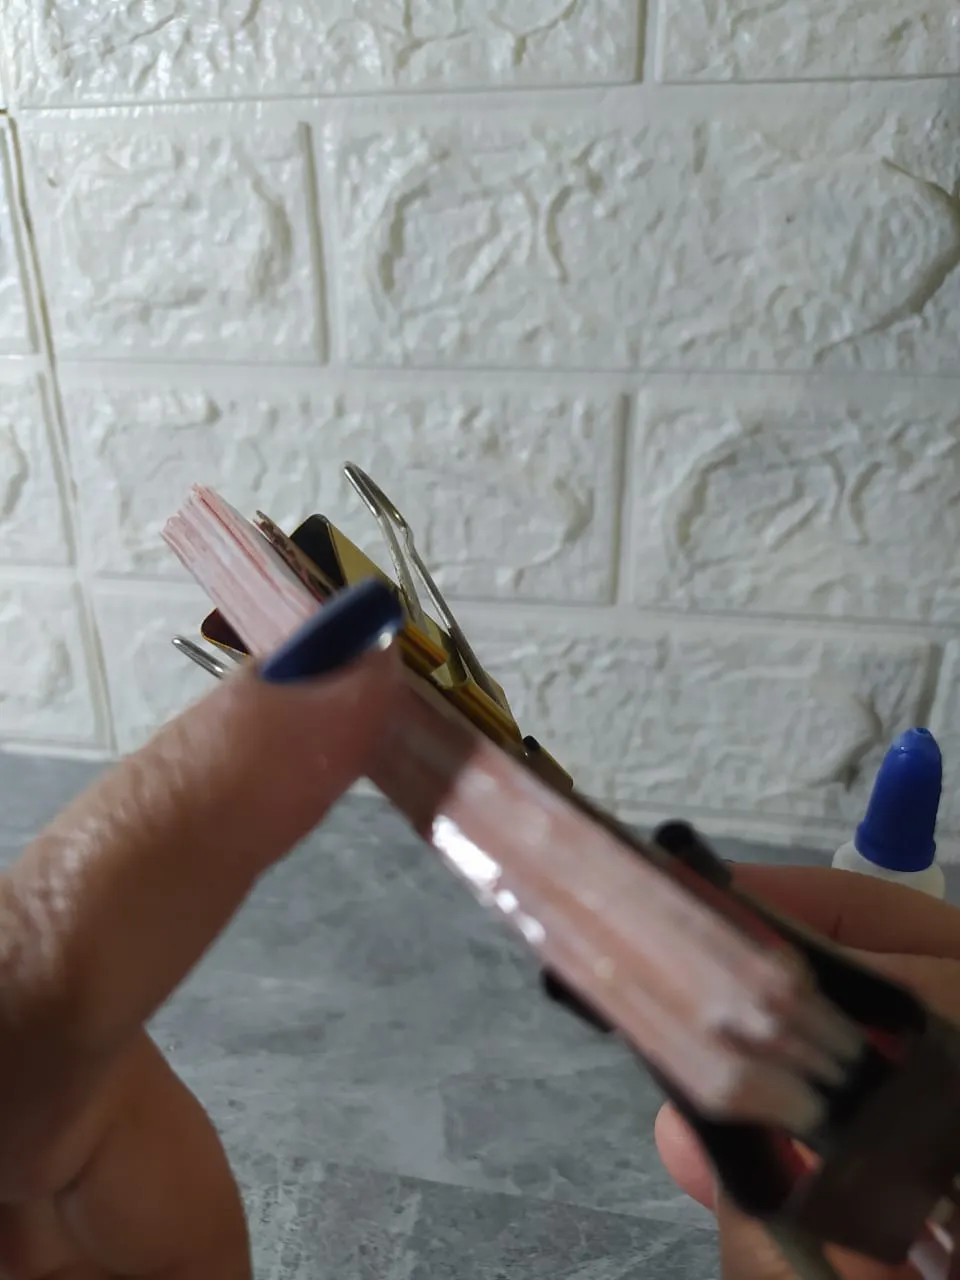
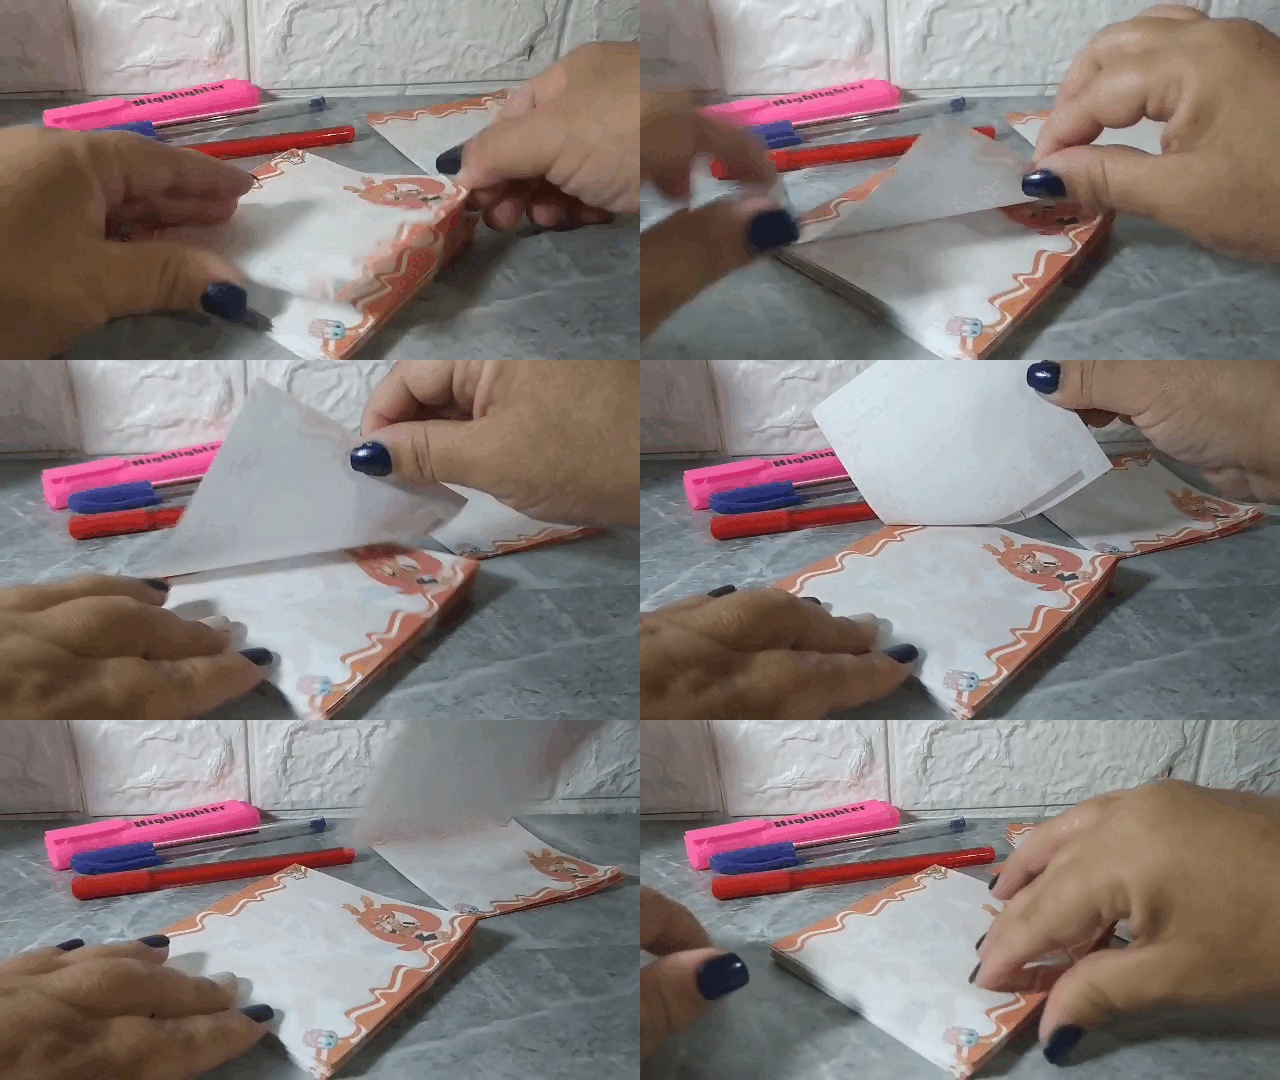
Notice how the pages detach from the notepad, just like the commercial notepads we buy.
This gumming technique is very easy to achieve and is used not only for notepads but also for other stationery items.
Fíjate como se desprenden las hojas del block de notas, exactamente igual como en los block de notas comerciales que compramos.
Esta técnica de engomado es muy fácil de lograr, y se utiliza no solo para hacer block de notas, también podemos realizar otros ítems de papelería.
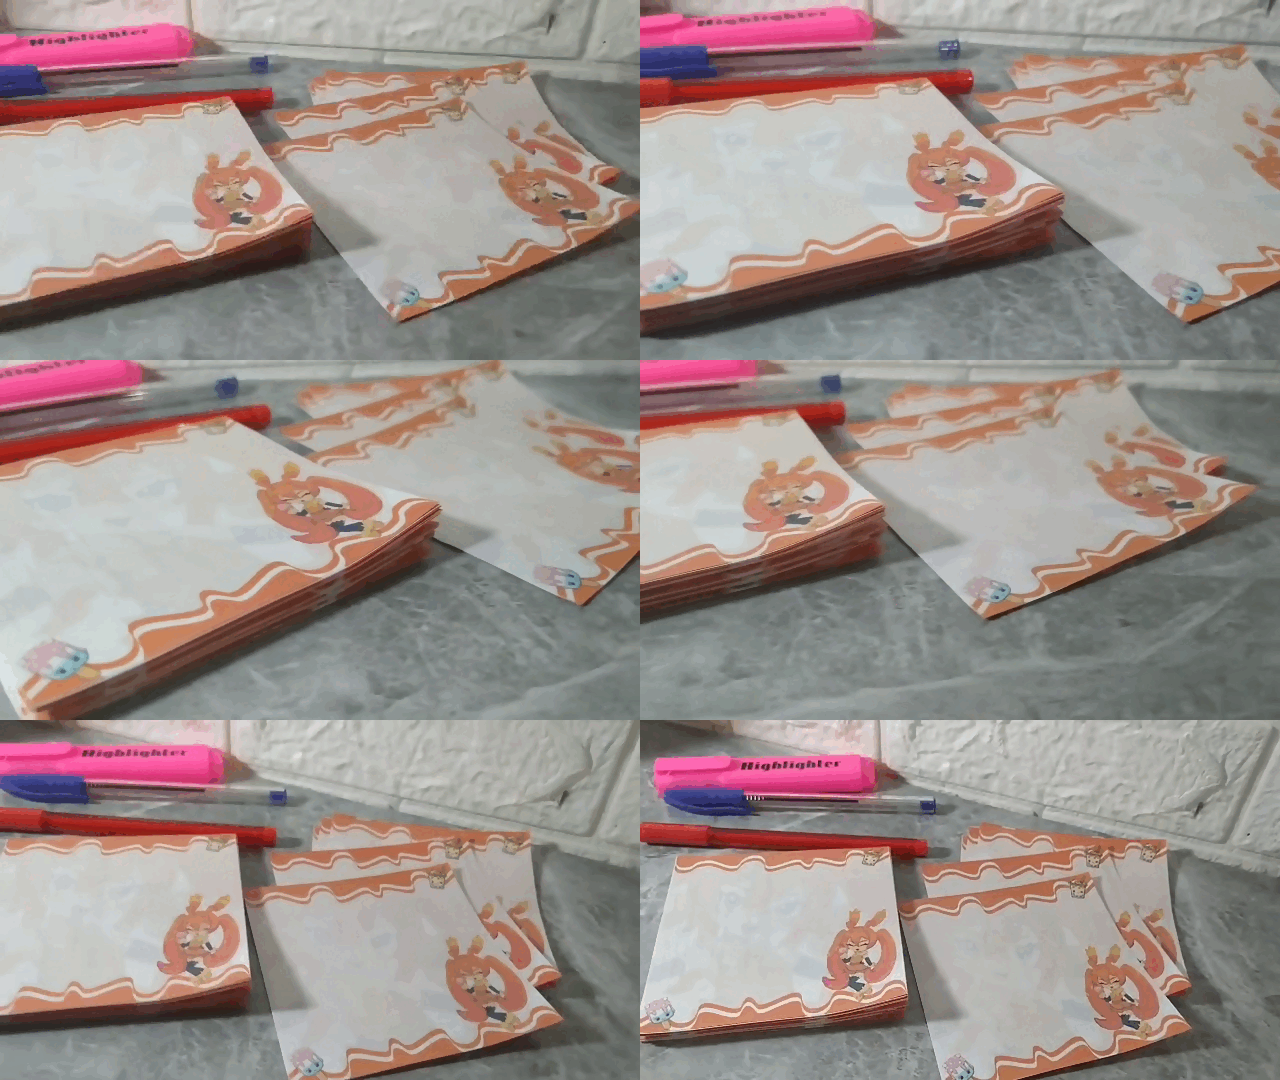
Creating my own creative stationery with my Holozing fan art has me very motivated. I already want more pads, notebooks, stickers, posters, and many other things to have my workspace filled with inspiration and functional elements, all made by myself.
Another very positive aspect is the use of recycled paper, which reduces costs and makes the most of them.
Esto de crear mi propia Papelería Creativa, con mis Fanarts de Holozing me tiene muy motivada, ya quiero tener más blocks, libretas, stickers, afiches y muchas otras cosas, para tener mi lugar de trabajo con mucha inspiración y elementos funcionales, hecho por mí misma.
Otro aspecto muy positivo es la utilización de hojas recicladas, para abaratar costos y aprovecharlos.
I hope you enjoyed this idea and this simple technique for making these notepads.
Deseo que les haya gustado esta idea y esta sencilla técnica para realizar estos block de notas.
I took the photos with my phone Redmi Note 8
Apps I used:
Canva Pro for Cover, Collage and Banners
I used Deepl Translator
My social networks:
Discord: YennysYaneth#0189
Twitter: @yennysferm
Instagram: @yennysyaneth
Las fotos las tomé con mi teléfono Redmi Note 8
Apps que utilicé:
Canva Pro para la Portada, Collage y Banners
Utilicé el Traductor Deepl
Mi redes sociales:
Discord: YennysYaneth#0189
Twitter: @yennysferm
Instagram: @yennysyaneth