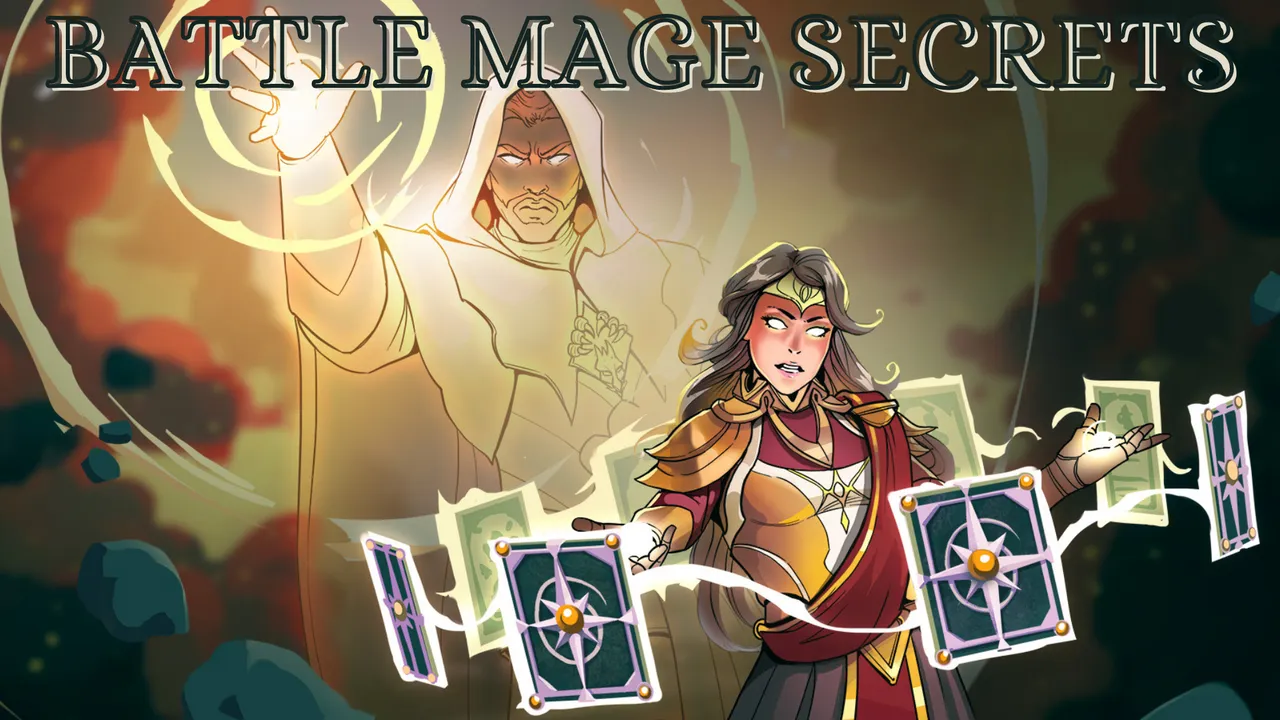
This week's Battle Mage Secrets challenge features the Equalizer ruleset! For players who enjoy level playing fields, Equalizer is the ruleset for you. While the name may result in a bit of confusion as to whether every monster will get the Opportunity ability or whether there is some other equal-ity being applied, it is the second one - every monster will have the same amount of health, with that number being determined by the highest monster base health of all the selected monsters.
Since health is the stat being affected here, the winners and losers are closely correlated with their amount of health. Monsters with lower health are great in Equalizer battles because their mana cost tends to reflect their lower health, and in these fights they will be getting quite a bit of additional health! On the other hand, monsters with higher health are a bit worse because you will be paying more of a "fair" cost for the stats you will get in the battle. The Opportunity ability also loses some of its value in Equalizer because while those monsters will still attack the lowest health monster on the opposing team, every monster will start off the fight with the equal amounts.
If you wanted to jump right to the action, the Battle Link is right here. Want to hear some more about the lineup? Read on further!

Here is our battle ruleset. Of course we have Equalizer, which will give every monster the same amount of health. To go along with it we have Odd Ones Out and Back to Basics, which will rule out the use of any even costed monsters, as well as remove any monster abilities. This is an "interesting" combination of rules since Back to Basics and Equalizer are both very impactful on the battlefield - together they mean that monster health and abilities both do not matter as much as they would in other battles.
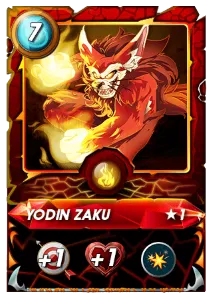
Equalizer games are often a good time to try out a ranged attacking team, because ranged monsters tend to have the drawback of being relatively fragile. Under this ruleset, every monster has the same health and this is no longer an issue. Yodin Zaku is an excellent summoner for a ranged lineup, and he has some additional benefits with this combination of rules - with Back to Basics in play, summoner abilities are at a premium because all of the monster abilities are eliminated. Yodin Zaku is great in this situation, since he gives all of your monsters Blast in addition to ranged and health stat buffs.
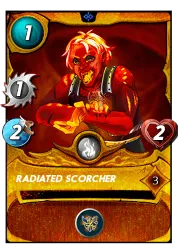
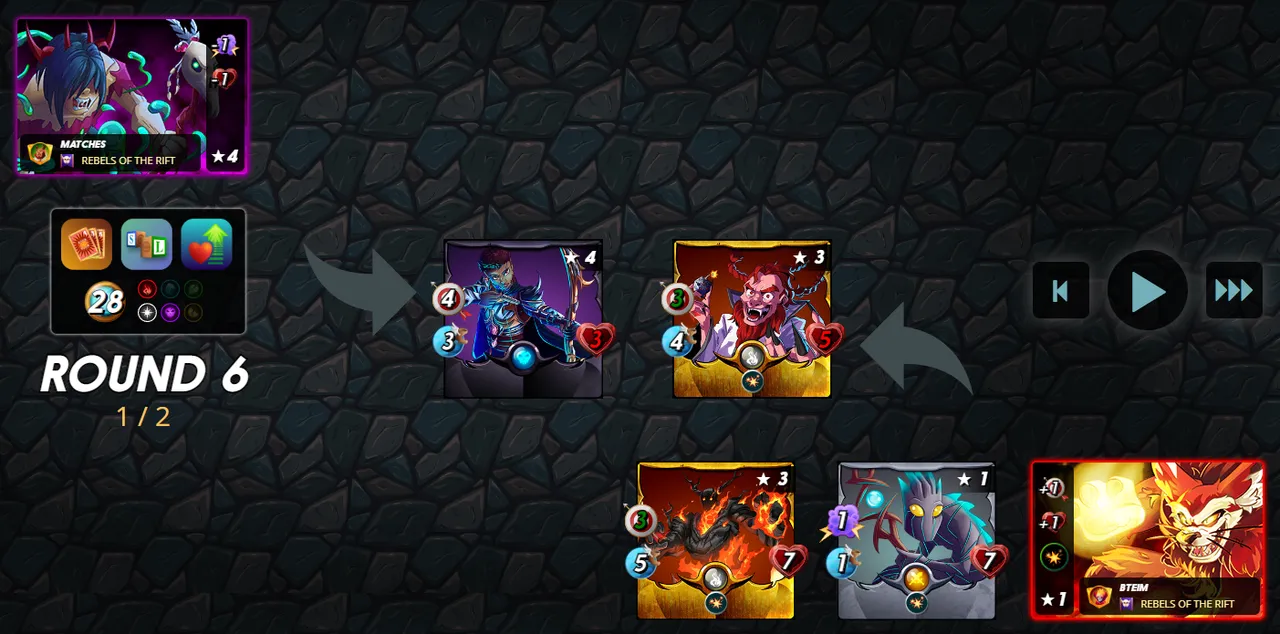
I started my team with my "tanks" in order to buy time for my ranged attackers to get in as much damage as possible. Recall that with Equal Opportunity and Back to Basics, all monsters will have the same health and no abilities. This means that I can go cheap at the front with a pair of 1 mana monsters, since they will be just as bulky as every other monster. Chaos Agent and Radiated Scorcher each only cost a single mana, and should do just fine as some front line buffers. They won't be doing much damage to the enemy team, but at that cost they won't have to - structuring my team this way gives me more mana to spend on attackers in the rest of my lineup.
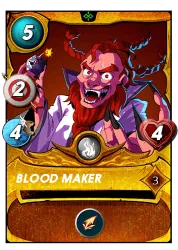
With my front line set up, I focused on including as much damage as I could. Lava Spider and Blood Maker are both ranged attackers which offer a good amount of attack for their cost. They also have good speed attributes, which is one of the few monster stats that actually matter in this ruleset combination. Thanks to Yodin they will be hitting harder as well as doing some Blast damage, essentially giving them an attack and a half each.
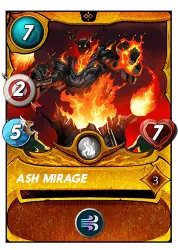
I closed out my team with some more damage. Spirit Hoarder is a cheap magic monster, and Ash Mirage offered the highest speed on my team as well as a decent ranged attack. Ideally I would have put two ranged attackers instead of one magic and one ranged, but I was a little short on options thanks to the Odd Ones Out ruleset.

With the lineup set, it's off into battle! When I see the selected teams I am amused to see that I actually got matched up against one of my guildmates - what are the odds? But with that aside, I like what I see - my opponent has an excellent tank for Equalizer in Even-Hungry Skull, but all of my team's extra damage thanks to Yodin Zaku's Blast should allow me to have a fairly decent damage output regardless.
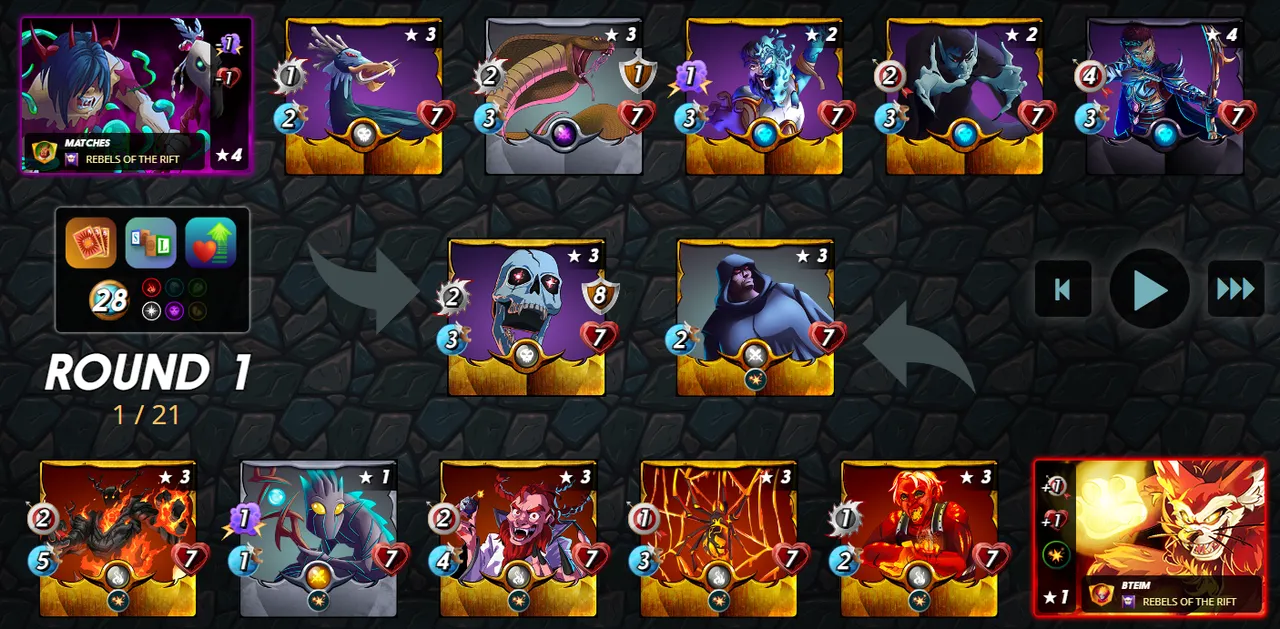
In the first couple of rounds things go about the way I expect. As predicted, Ever-Hungry Skull is a tough nut to crack. But my ranged attackers are able to inflict some heavy damage on it, as well as knock the Carrion Shade in the second position out of the fight.
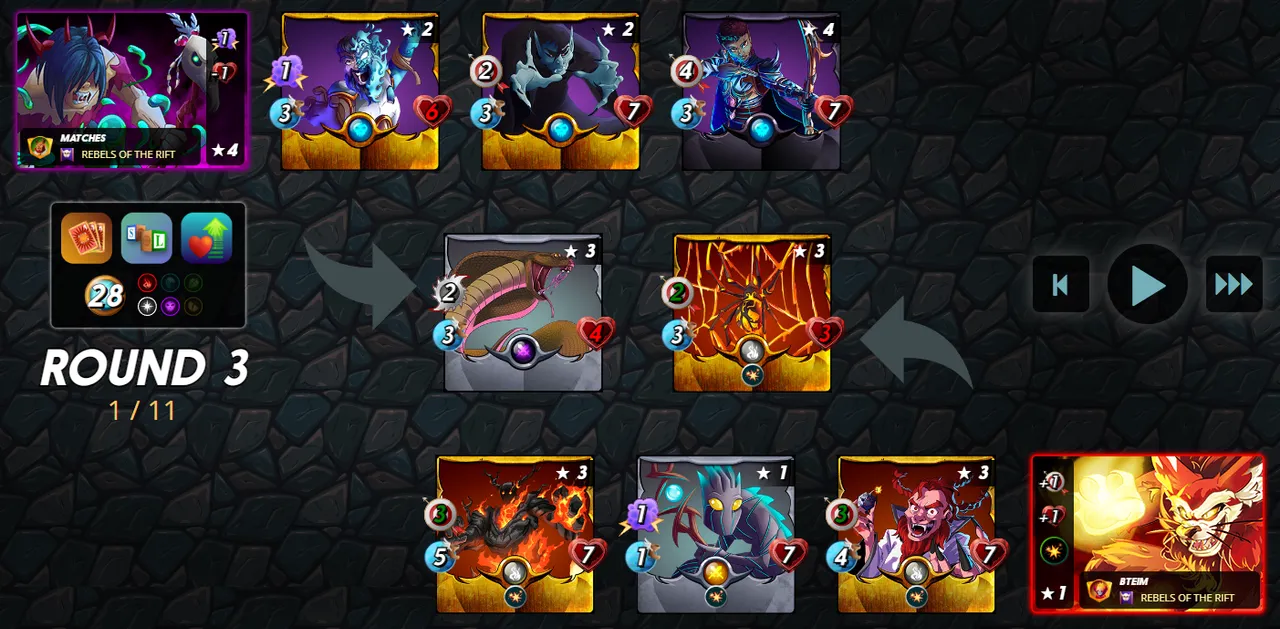
With every monster having a lot of health from Equalizer, the battle progresses slowly. But by the start of round 5 we are beginning to approach the end of the battle - and all of that extra Blast damage from Yodin has added up. The opposing team is nearly out of monsters, while I still have a few left!
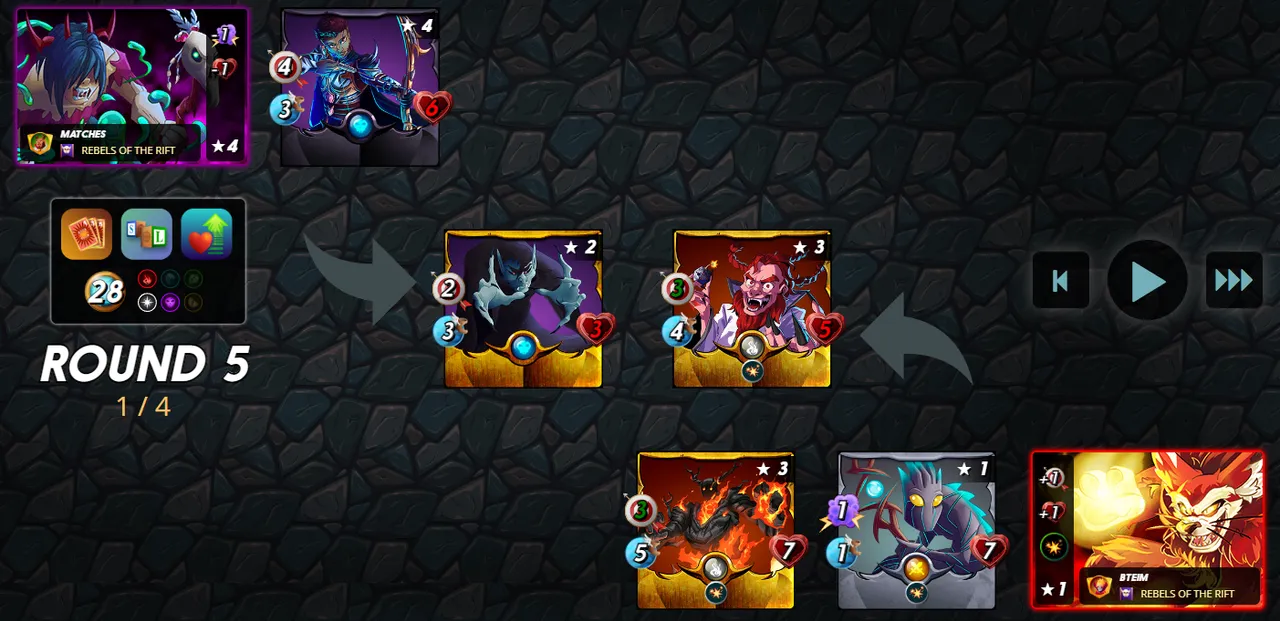
One more round and the battle was all but over - with Dhampir Stalker stuck at the front, there was no more opposing damage output and my monsters were free to finish off the fight at their leisure. And again, if you wanted to see the whole battle for yourself, you can see it right here.
My strategy for this battle worked out perfectly. The combination of Equalizer and Back to Basics presented a battle that was a perfect fit for a ranged Yodin Zaku team composition, and my team's superior firepower paired with some bulkier-than-usual ranged attackers were able to pull off the victory.

Thank you so much for reading all the way to the end. Interested in seeing some more of my writing in the future? Be sure to give me a follow! In the meantime, if you'd like to see some of my recent posts:
Hand to Hand - Battling with Broken Arrows! - A Splinterlands battle analysis, featuring Broken Arrows!
Splinterlands Economics: Causation - A look at causation, and how we can apply it to Splinterlands!
Splinterlands Economics: Ceteris Paribus - An introduction to the concept of Ceteris Paribus, and how we can apply it to Splinterlands!
Thinking about giving Splinterlands a try but haven't signed up yet? Feel free to use my referral link: https://splinterlands.com?ref=bteim, and be sure to reach out to me if you have any questions!
All images used in this article are open source and obtained from Pixabay or Unsplash. Thumbnails borrowed with permission from the Splinterlands team or made in Canva.