This week's Battle Mage Secrets challenge features the Silenced Summoners ruleset! This is actually a ruleset that I really enjoy, because Splinterlands summoners are some of the most expensive cards to obtain. Cards such as Yodin Zaku or Byzantine Kitty are extremely powerful, and among the priciest items on the market. It may not be terribly surprising, then, to know that I do not own any copies of them. In Silenced Summoners battles, summoner effects do not have any effect on the battle. This is great for me, since that means my lack of expensive summoners is no drawback at all!
Since Silenced Summoners deals with summoner cards, it should come as no surprise that the winners and losers in this ruleset are primarily summoners. With abilities removed in these battles, the primary attribute that you want in a summoner here is mana cost - specifically, a low one. Any high mana costed summoners are not great to use in Silenced Summoners, since you are spending more mana on a card whose effects are negated by the ruleset. Lower mana cost summoners take up less of your valuable mana cap and allow you to dedicate more mana towards crucial monster cards.
If you wanted to jump right to the action, the Battle Link is right here. Want to hear some more about the lineup? Read on further!


First up: the ruleset. Of course we have Silenced Summoners, which negate and summoner buffs or abilities in this battle. We also have the Super Sneak and Earthquake rules, which gives melee monsters the Sneak ability and deals 2 damage to non-Flying creatures each round. Finally, we have a middle of the road mana cap of 28, and plenty of splinter options with 5 to choose between.
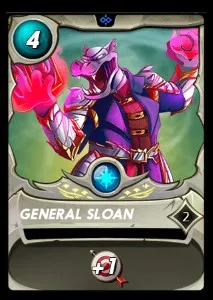
Looking at the rules, the Earthquake ruleset stood out to me as the most impactful rule for the battle. As a result, I wanted to be able to choose as many monsters with Flying as possible in order to counteract its effects. From the available splinters, I decided to go with a Life lineup. As you may recall from our discussion of the ruleset above, in Silenced Summoner battles we want a cheap (mana cost) summoner. General Sloan was the cheapest Life summoner I had available, and we my choice for this lineup.
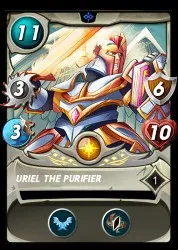
I started my team with my primary tank, Uriel the Purifier. Uriel has Flying, which is great for Earthquake. He also has plenty of bulk - 6 armor and 10 health is a very impressive stat line! 3 melee attack and 3 speed is no slough either, though thanks to Recharge that becomes 9 damage every other round. Uriel's only drawback is his cost - at 11 mana, he takes up a substantial amount of the mana I have available for my team.
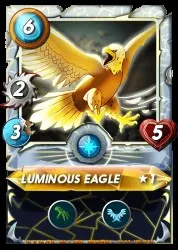
Up next was my secondary tank. Luminous Eagle has Flying, just like Uriel, as well as the very handy Reach ability which lets it attack out of the second position. Luminous Eagle does not see very much play in my lineups since it is (for me) a starter card - but this particular battle was for a tournament, which meant that it didn't have any impact on my precious rShares.
I finished off my lineup with Adelade Brightwing and Soul Fiend. Adelaide has quickly become one of my favorite Life splinter cards to use. Just like my first two monsters, she comes with Flying and is immune to Earthquake. She also has the Repair ability, which could potentially give Uriel some extra protection at the front. Oh - and she also goes in for 2 magic damage per turn. Not bad for 7 mana! Soul Fiend has the unfortunate distinction of being the only monster on my team without Flying. But that's okay - it didn't cost any mana to bring along and was just there as a buffer to soak up a Sneak attack or two.

With the lineup set, it's off into battle! When I see the selected teams I am not sure what to think - my opponent and I have both selected Life lineups with plenty of monsters with Flying. It does seem as though I have a bulk advantage, but the enemy monsters appear to have superior firepower, with plenty of ranged attackers at the back.

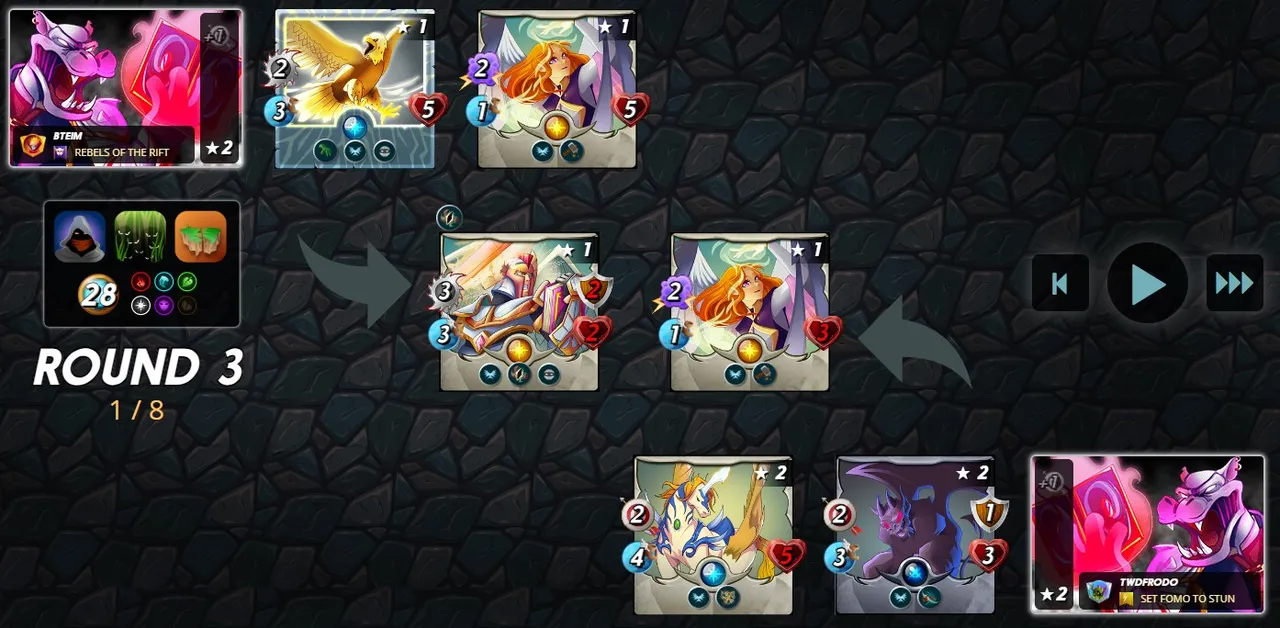
It is a fairly even battle from the start. Both lineups trade off relatively evenly. By the beginning of round 3 my Uriel has taken heavy damage, but my team has made steady progress through the enemy front line.
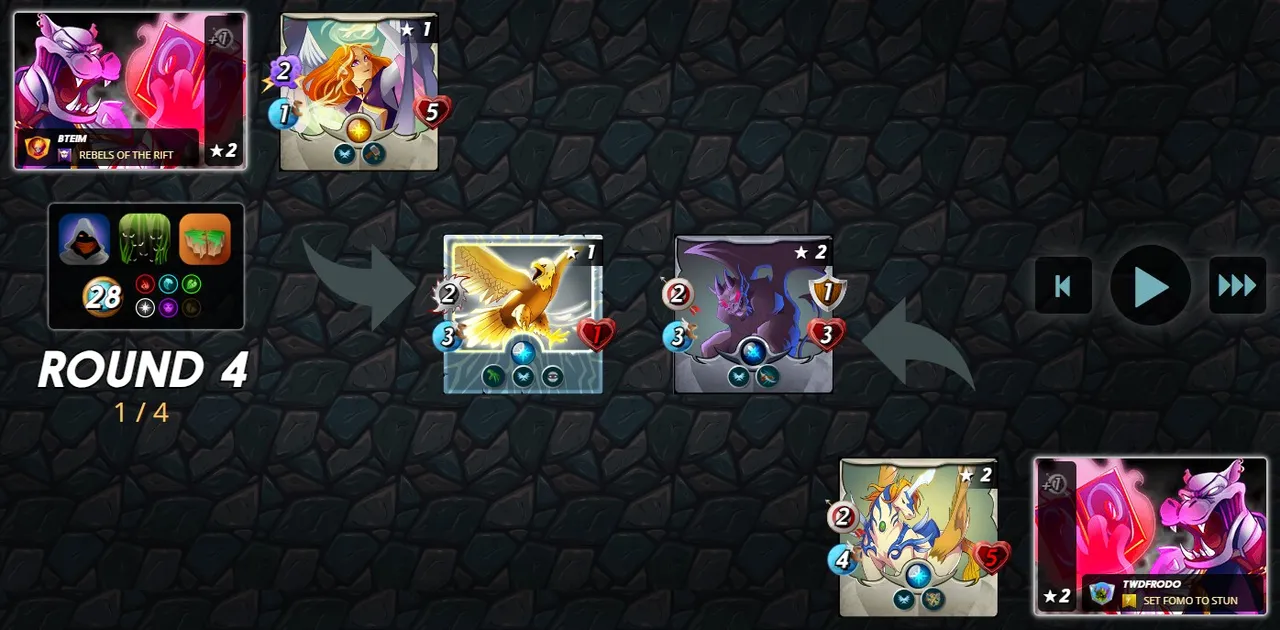
One more round and the battle is looking awfully close - two monsters remain on each side, with my Luminous Eagle on its last legs. It isn't all bad for me though - if I can manage to kill the enemy Gargoya Devil, then the War Pegasus will be unable to attack from the front position.
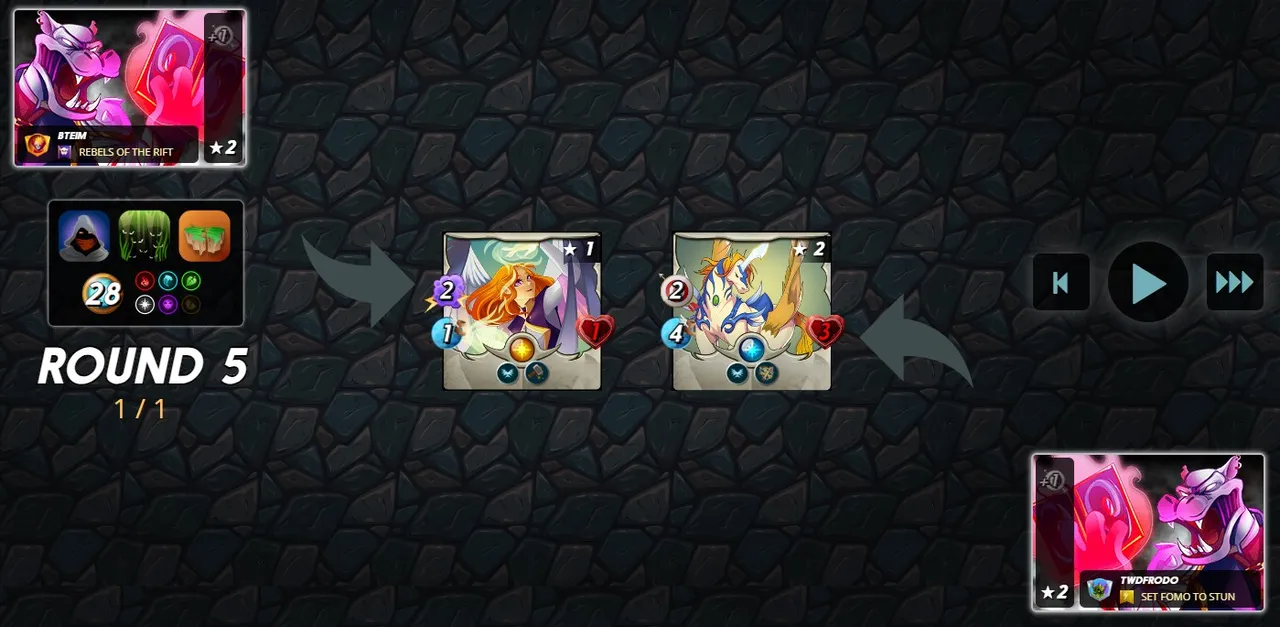
This battle ended similarly to the way it started - close, close, close! At the beginning of round 5 the fight is decided - my Adelade with just a single point of health left is facing off against the enemy War Pegasus. Luckily for me, with War Pegasus in that front position the enemy damage output has dropped to zero. Two quick attacks from Adelade closed out the victory! And again, if you wanted to see the whole battle for yourself, you can see it right here.
My strategy for this battle ended up being enough for me to win - just barely! Adelade was my MVP in this fight, as her Repair gave my Uriel plenty of extra bulk over the course of the battle, and she was the last monster standing at the end of the fight. In Silenced Summoners battles the focus shifts from summoners to monsters, and in this battle my monsters really got their chance to shine. Flying negated the Earthquake ruleset, and their recovery and attacking abilities were enough to finish off the enemy team and win the day.

Thank you so much for reading all the way to the end. Interested in seeing some more of my writing in the future? Be sure to give me a follow! In the meantime, if you'd like to see some of my recent posts:
Lowering the Boom - Battling with Explosive Weaponry! - A Splinterlands battle analysis, featuring Explosive Weaponry!
Splinterlands Economics: Causation - A look at causation, and how we can apply it to Splinterlands!
Splinterlands Economics: Ceteris Paribus - An introduction to the concept of Ceteris Paribus, and how we can apply it to Splinterlands!
Thinking about giving Splinterlands a try but haven't signed up yet? Feel free to use my referral link: https://splinterlands.com?ref=bteim, and be sure to reach out to me if you have any questions!
All images used in this article are open source and obtained from Pixabay or Unsplash. Thumbnails borrowed with permission from the Splinterlands team or made in Canva.