In the spirit of the new weekly Battle Mage Secrets challenges, I would like to take a look at a Splinterlands battle with a particular focus on a ruleset. Today, we'll be looking at a rule that simplifies things a bit. Back to Basics is one of those negative rulesets - instead of adding something to the battle, it removes an element. In this case, that element is monster abilities. In Back to Basics battles, any monster abilities that your team might happen to have do not apply at all. Though with that said, SUMMONER abilities do still apply.
Back to Basics shifts the emphasis of the battle away from flashy monsters with tons of abilities, and towards more vanilla attackers and summoners with abilities. After all, if you're bringing a monster with plenty of abilities into battle their mana cost probably reflects those abilities - which happen to do absolutely nothing for them in this fight. And finally, if you like being able to attack with more than a single monster per turn, you had better bring along some ranged or magic damage!
If you wanted to jump right to the action, the Battle Link is right here. Want to hear some more about the lineup? Read on further!


First up: the ruleset. Fittingly for our featured ruleset, it isn't particularly complicated - we have just a single rule, Back to Basics. As mentioned above, Back to Basics removes all abilities that monsters may come into battle with. To go along with Back to Basics, we have a medium-lowish mana cap of 23, and every splinter except Death to choose from.
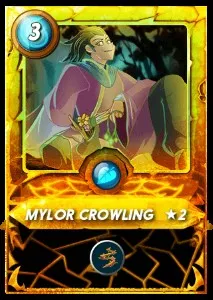
In Back to Basics, monster abilities are negated but summoner abilities are still in effect. This makes summoners particularly important in these battles, since they are the only source of interesting or powerful abilities. Mylor certainly fits the bill here, since his Thorns ability is one of the strongest anti-melee options in the meta. In Back to Basics, Thorns is slightly less impactful since melee monsters lose Sneak, Reach, and Opportunity. But melee monsters still give you the most bulk for their cost, and as a result it is still highly likely that a team for the Back to Basics ruleset will have at least a little bit of melee attackers.
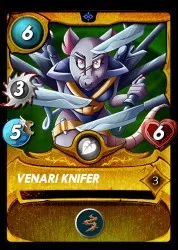
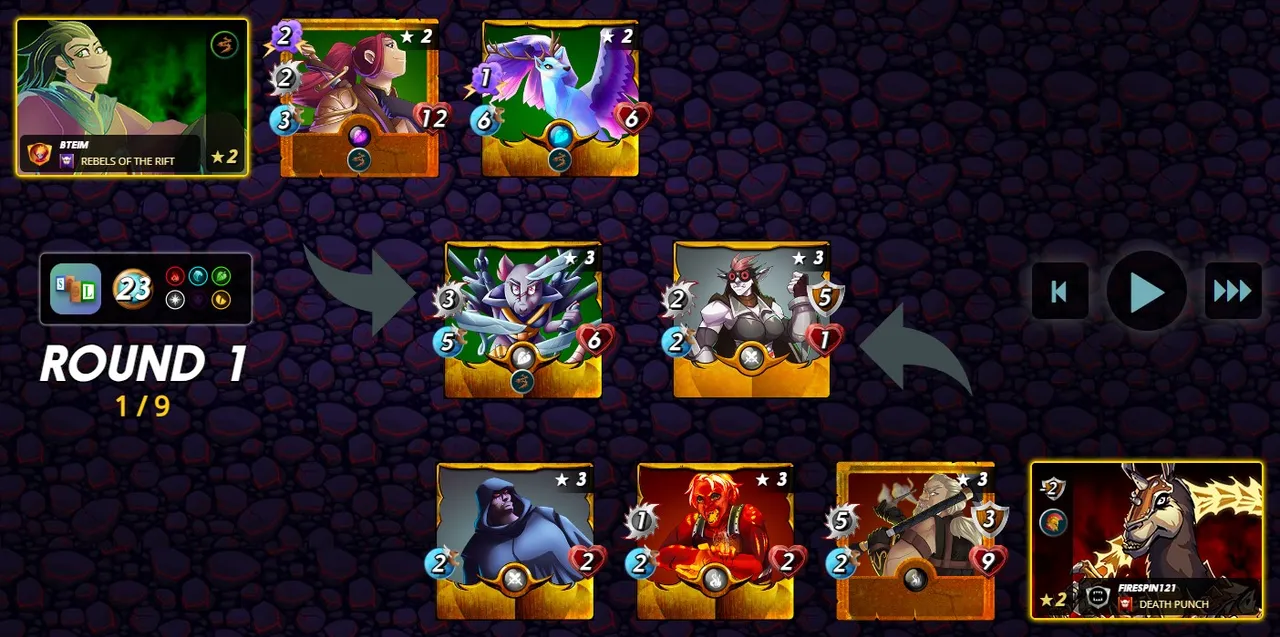
I started my team with Venari Knifer. Venari Knifer isn't particularly bulky, though 6 health for 6 mana isn't awful. Instead, Venari Knifer's role is more of an evasive attacker - the combination of 3 attack and 5 speed hits hard and fast, and even gives us a decent chance at getting a lucky dodge or two. I don't expect Venari Knifer to last all that long on the battlefield, but between its attack and Thorns (removed by Back to Basics, but re-added by Mylor) it will hopefully be able to make an impression on the enemy monsters.
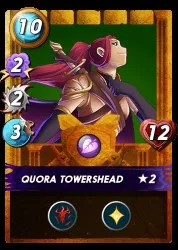
Up next is a monster that anyone who plays in brawls (or with gladiator cards) should know and love...or loathe. Quora Towershead is a menace in brawls (and I should mention - this IS a brawl battle that we're looking at today), and a common sight in many guild battles. She loses quite a bit of power in the Back to Basics ruleset since her Heal and Bloodlust abilities are both incredibly useful, but her dual magic and melee attacks give her a big punch, and 12 health is a whole lot of bulk.
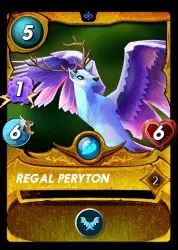
I wanted to finish off my team with more damage, and in Back to Basics this meant ranged or magic attackers. This battle was a gold foil brawl, which meant that my options were somewhat limited compared to most ranked battles. I went with Regal Peryton as my closer, whose magic damage can attack out of the back row, and whose high speed and Flying make for a relatively difficult target to land a hit on.

With the lineup set, it's off into battle! When I see the selected teams I am surprised, and in a good way! For some reason, my opponent has chosen an all-melee lineup for this Back to Basics battle. This means that not only will the enemy team be only able to get off a single attack each round, but also that Mylor's Thorns buff will be extremely helpful.
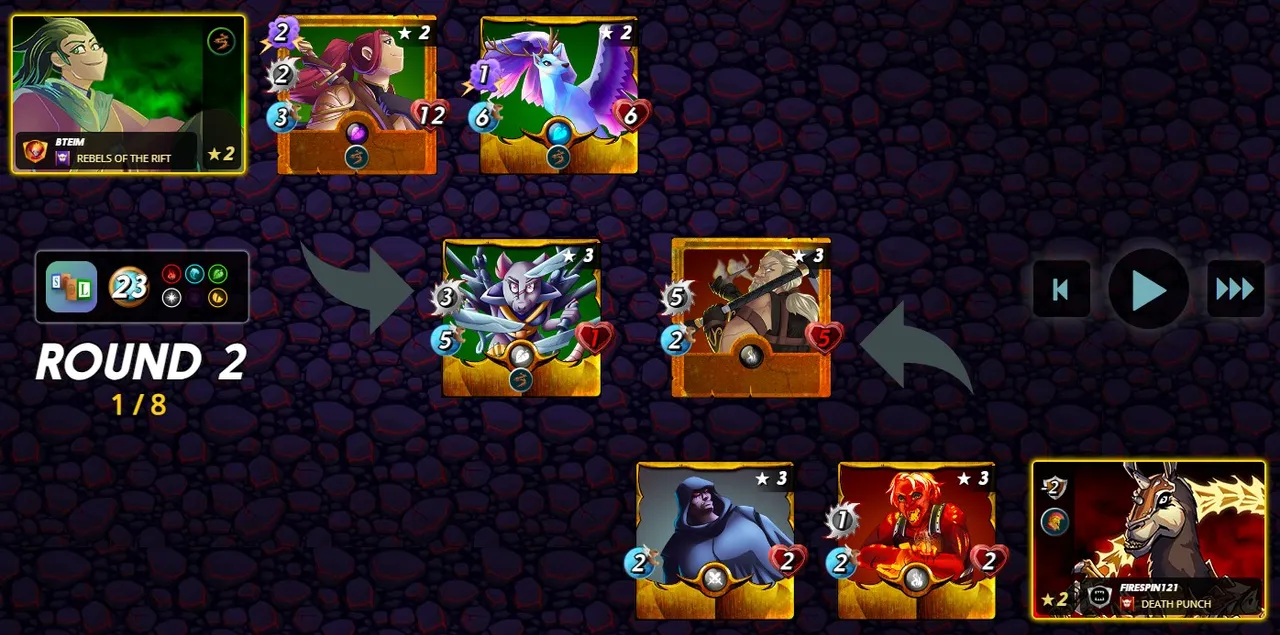
To add insult to injury, the attack order works out perfectly for me. In the first round of battle my Regal Peryton gets off the first strike, bypassing the enemy Dumacke Orc's armor and one hit KO-ing it. From there, my team is able to deal heavy damage to the opposing Chimney Wallstop, wearing down all of its armor and half its health in a single round. My Venari Knifer takes heavy damage, but I still have the rest of my lineup right behind it.
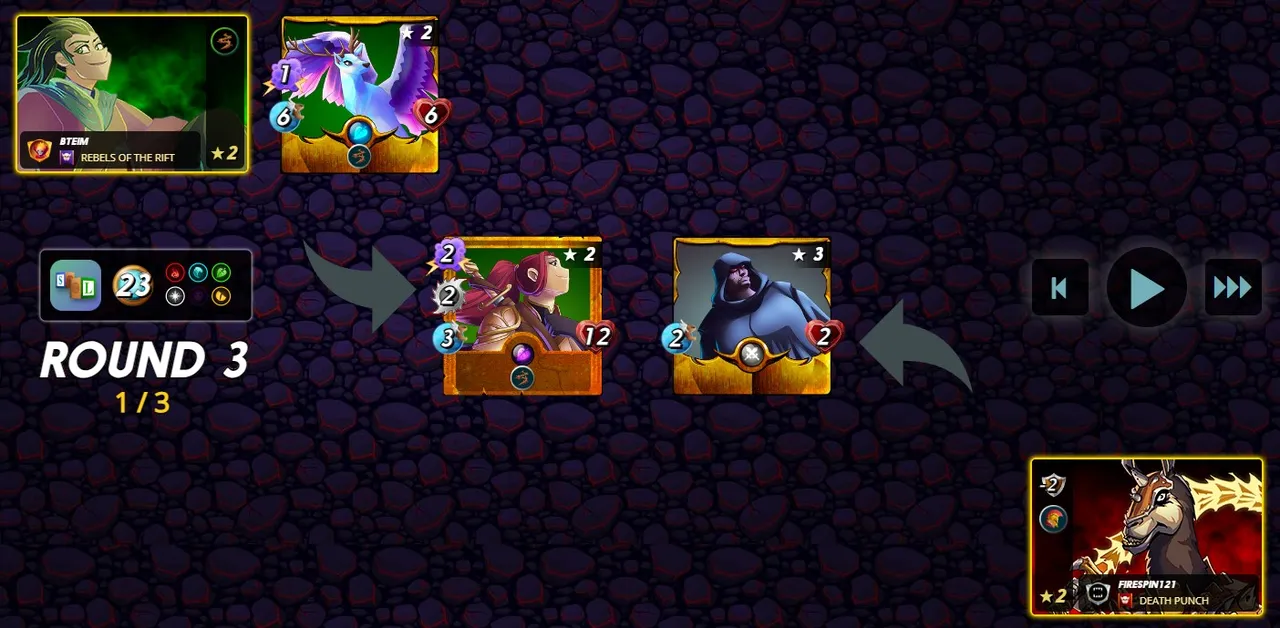
One round later and the battle is all but over. Every single enemy attacker is off the battlefield, and a lone Chaos Agent stands off against my Quora and Regal Peryton. And in that situation, I think I know who wins! And again, if you wanted to see the whole battle for yourself, you can see it right here.
My strategy for this battle worked out even better than I could have hoped for. Whether it was due to a brain fart about the ruleset or a limited card availability, my opponent selected a team that was nearly perfectly countered by my lineup. As a result, I was able to take a quick and one-sided victory. A little cheesy thanks to Quora? Perhaps. But in a brawl battle with SPS, merits, and crowns on the line I'll take every win I can get!

Thank you so much for reading all the way to the end. Interested in seeing some more of my writing in the future? Be sure to give me a follow! In the meantime, if you'd like to see some of my recent posts:
Strength in Numbers - Battling with Wands Out! - A Splinterlands battle analysis, featuring Wands Out!
Splinterlands Economics: Causation - A look at causation, and how we can apply it to Splinterlands!
Splinterlands Economics: Ceteris Paribus - An introduction to the concept of Ceteris Paribus, and how we can apply it to Splinterlands!
Thinking about giving Splinterlands a try but haven't signed up yet? Feel free to use my referral link: https://splinterlands.com?ref=bteim, and be sure to reach out to me if you have any questions!
All images used in this article are open source and obtained from Pixabay or Unsplash. Thumbnails borrowed with permission from the Splinterlands team or made in Canva.