This week's Battle Mage Secrets challenge features the Super Sneak ruleset! Super Sneak is a rule that you may enjoy if you like to use melee attackers, or like to pop up where people may least expect it. Before we get into the battle, a few words about Super Sneak. Super Sneak gives all of the melee monsters in the battle the Sneak ability. This means that any melee monster in a lineup will attack the back monster on the enemy team, other than the front monster which still attacks the opposing front position.
As you may guess, melee monsters are a big winner in Super Sneak battles. Sneak allows melee monsters to attack from any position in a lineup, rather than just the front. Melee monsters tend to have more stats for their cost, so Super Sneak battles are likely to see more melee attackers than usual since they effectively get a "discount". This leads to the second category of winners - more melee monsters means that anti-melee cards are also great in Super Sneak. Monsters with Shield, Thorns, or other anti-melee abilities could be just what you are looking for in these fights - and we'll be seeing some of those in out battle today!
If you wanted to jump right to the action, the Battle Link is right here. Want to hear some more about the lineup? Read on further!
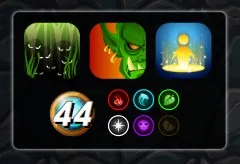
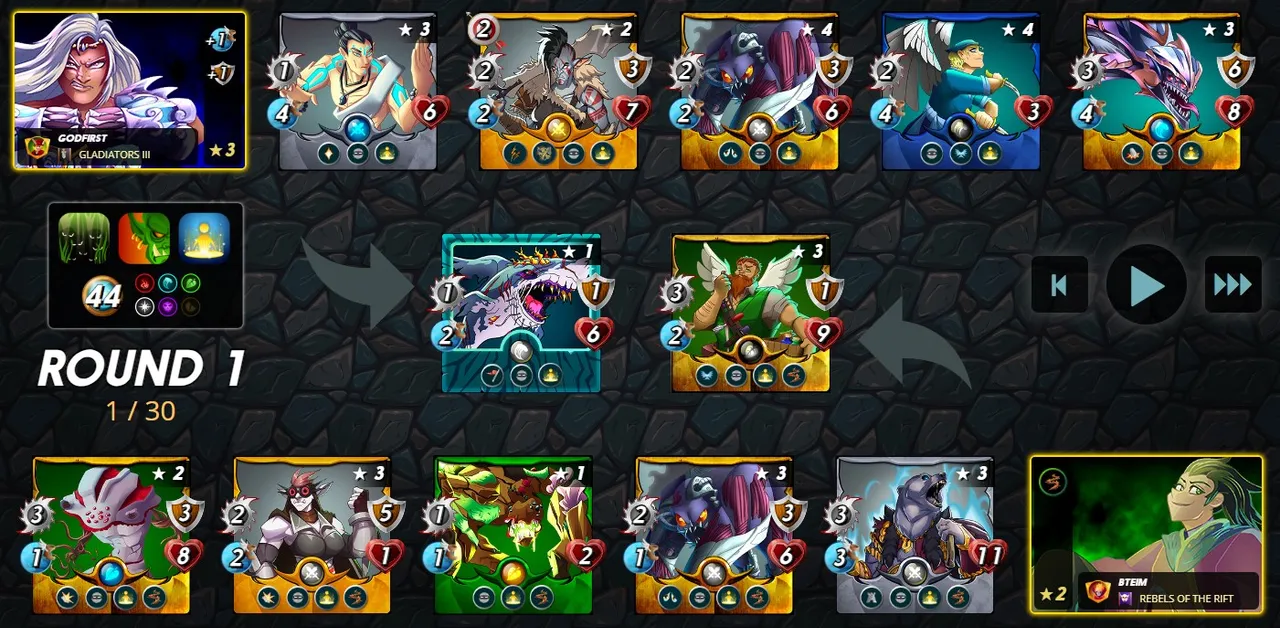
First up: the ruleset. Of course, we have Super Sneak, which means that every melee monster on the battlefield will have the Sneap ability. We also have Up Close and Personal, which is a bit of a funny rule to pop up. Usually with Super Sneak we know it will be common to use melee monsters, but with Up Close and Personal also in play we know it is a sure thing - the only monsters eligible for selection are melee attackers! Finally, we have Born Again, which gives every monster the Rebirth ability. We also have plenty of mana and a generous selection of splinters, with 44 mana to use and 5 splinters to choose from.
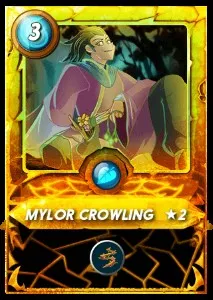
In Super Sneak fights, and especially in Up Close and Personal ones, we know that it is likely that both teams will feature plenty of melee attackers. In these battles, Mylor Crowling is an incredibly powerful summoner to use. Mylor's Thorns ability grants your whole team an anti-melee skill which will often result in the enemy monsters dealing just as much damage to themselves as they are doing to your team. This battle has the Earth splinter available as one of our options, so Mylor is a slam dunk pick for this ruleset combination.
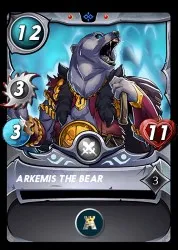
I started my team with a pair of heavy hitters. Pelacor Mercenary and Arkemis the Bear are both solid attackers with plenty of bulk. Pelacor Mercenary also has the Flying ability which gives it a chance to dodge attacks, while Arkemis' Protect ability gives our whole team some additional armor. In a battle where we know every monster will have a melee attack, that extra armor is sure to come in handy!
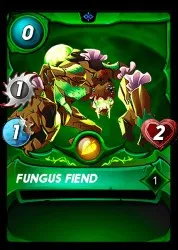
Up next was a bit of support for my tanks. Disintegrator's Demoralize ability is great when you are expecting to see a lot of melee - which we are! Fungus Fiend was tossed in as an additional buffer. With Thorns and additional armor from various abilities on my team it can serve as a bit of a speed bump for any enemy attackers that manage to get past my back line.
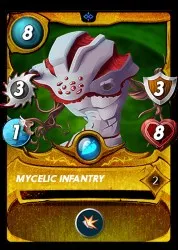
Usually the back line is the place for your heave hitters or more fragile monsters. But thanks to Super Sneak, the back line is really more like the front line in this battle! So I had to position some monsters who could really take a hit at the back of my team. Dumacke Orc and Mycelic Infantry both fit the bill well here - they each have the Shield ability, which makes them much more resistant to the expected melee attacks. And they also have plenty of bulk thanks to their natural stats as well as the additional armor we get from Arkemis' Protect ability.

With the lineup set, it's off into battle! When I see the selected teams I am not sure exactly how the battle will play out. On one hand, I have a clear advantage on the summoner side with Mylor Crowling's Thorns ability. The opposing team doesn't have any Thorns at all, and will be facing an uphill battle every time they attack. On the other hand, their attacks are going to be rather effective. My opponent has brought a Demented Shark with Inspire to offset my Disintegrator's Demoralize, and the enemy Drybone Raider is particularly concerning, since its Shatter ability can singlehandedly knock off ALL of a monster's armor in a single blow.
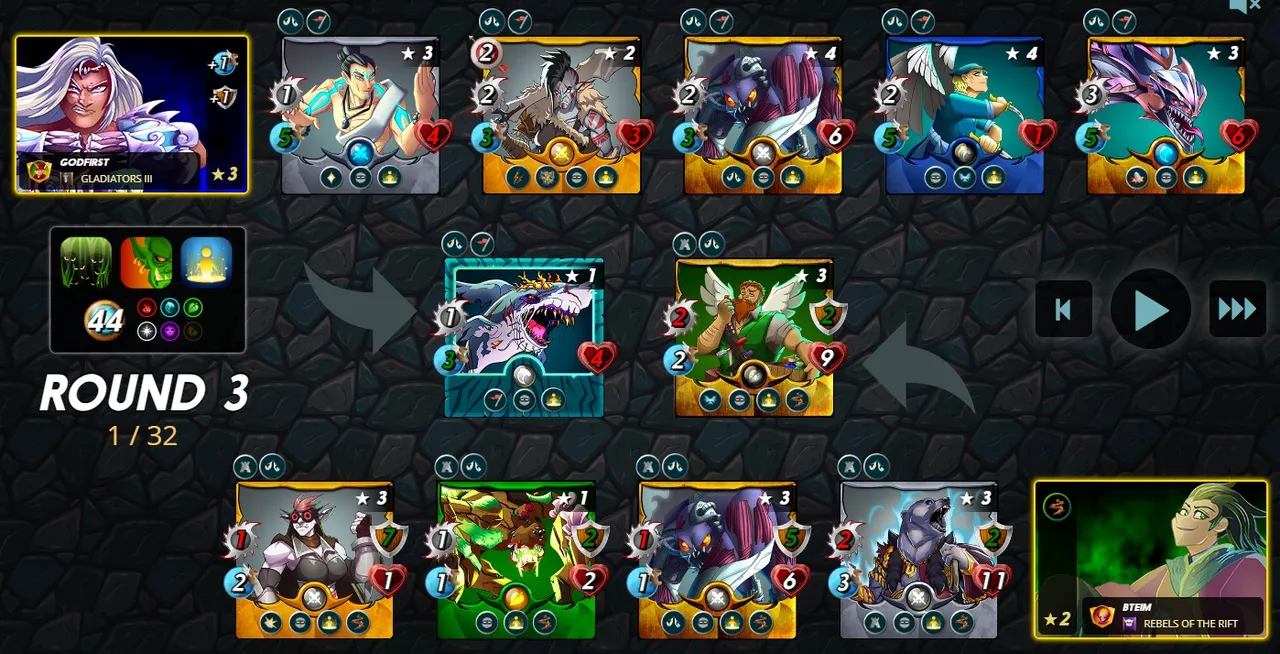
Thanks to Demoralize on both sides of the battlefield, the fight gets off to a slow start. Unfortunately, by the start of round 3 the enemy monsters are beginning to make progress on my back line. My Mycelic Infantry has already gone down, and my Dumacke Orc doesn't seem like it will last for long thanks to that Drybone Raider's troublesome Shatter ability. On the bright side, the enemy team has been taking Thorns damage, with several monsters already in the red.
The back and forth battle continues, and by the beginning of round 5 the numbers certainly seem to stand in my opponent's favor, since they have 5 monsters remaining, to my 3. But the health numbers tell the real story - nearly the entire enemy team has only 1 or 2 health remaining. And with their Rebirth charges used up, they are about to leave the battlefield in short order.

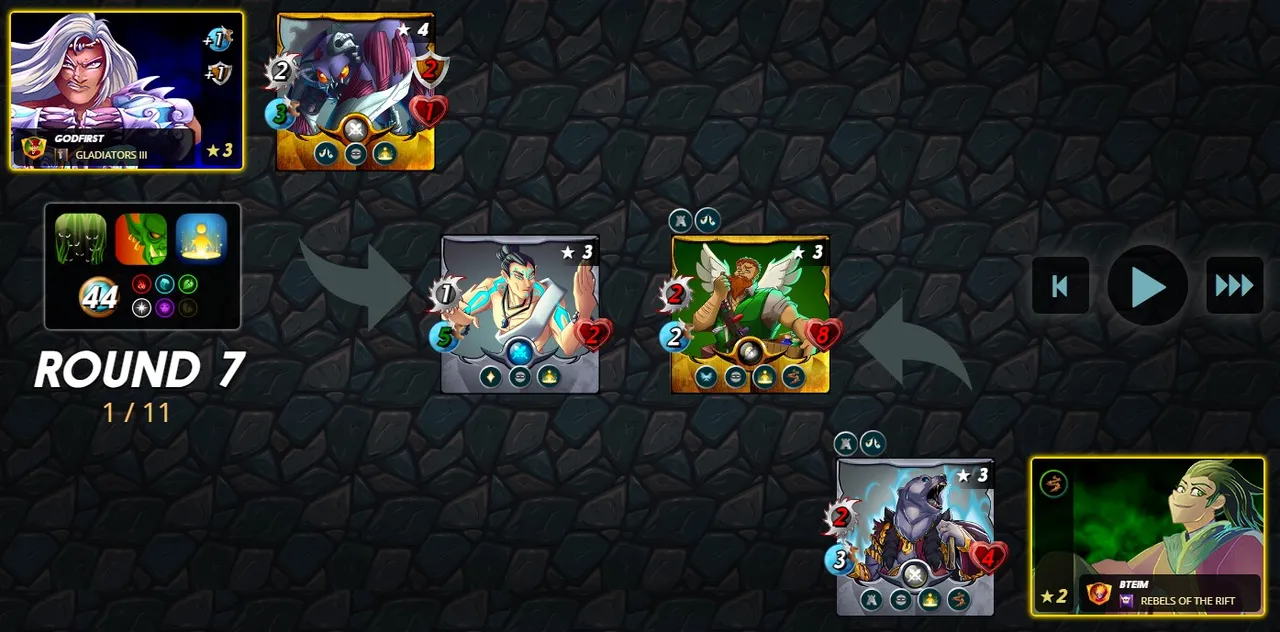
It actually ended up being a pretty close one - by the start of round 7 the fight came down to just a handful of monsters still remaining. Luckily, my team had just enough health remaining, and was able to close out the victory by the end of the round. Whew! And again, if you wanted to see the whole battle for yourself, you can see it right here.
My strategy for this battle ended up being just enough to win this time. My team of bulky melee attackers bolstered by Mylor Crowling's Thorns ability were able to outlast the enemy team, despite having to face off against a set of very powerful buffs and abilities - in particular my opponent's use of Shatter was something I did not expect, and came awfully close to helping them steal a victory in a fight where I was relying heavily on armor. Certainly something I can learn from and will have to keep in mind for next time!

Thank you so much for reading all the way to the end. Interested in seeing some more of my writing in the future? Be sure to give me a follow! In the meantime, if you'd like to see some of my recent posts:
Investing in a Changing Meta - Rebellion is Coming! - A few things to keep in mind as the Rebellion release approaches!
Splinterlands Economics: Causation - A look at causation, and how we can apply it to Splinterlands!
Splinterlands Economics: Ceteris Paribus - An introduction to the concept of Ceteris Paribus, and how we can apply it to Splinterlands!
Thinking about giving Splinterlands a try but haven't signed up yet? Feel free to use my referral link: https://splinterlands.com?ref=bteim, and be sure to reach out to me if you have any questions!
All images used in this article are open source and obtained from Pixabay or Unsplash. Thumbnails borrowed with permission from the Splinterlands team or made in Canva.