
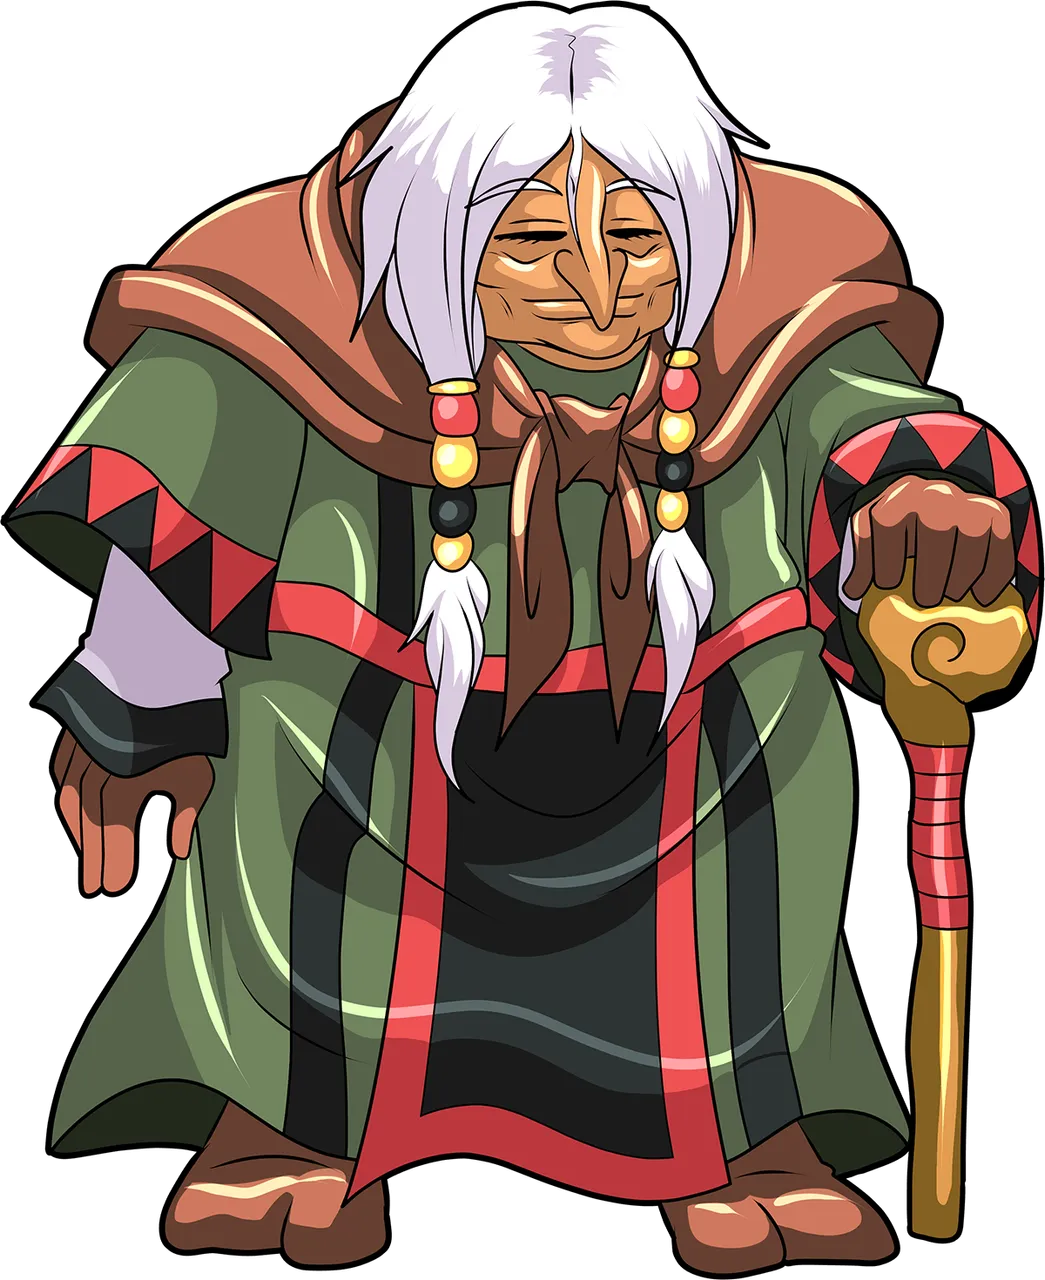
REFERENCE PICTURE :
MEDIUM AND SOFTWARE :
- Drawing tablet : Huion HS64
- Software : Krita
STEP BY STEP :
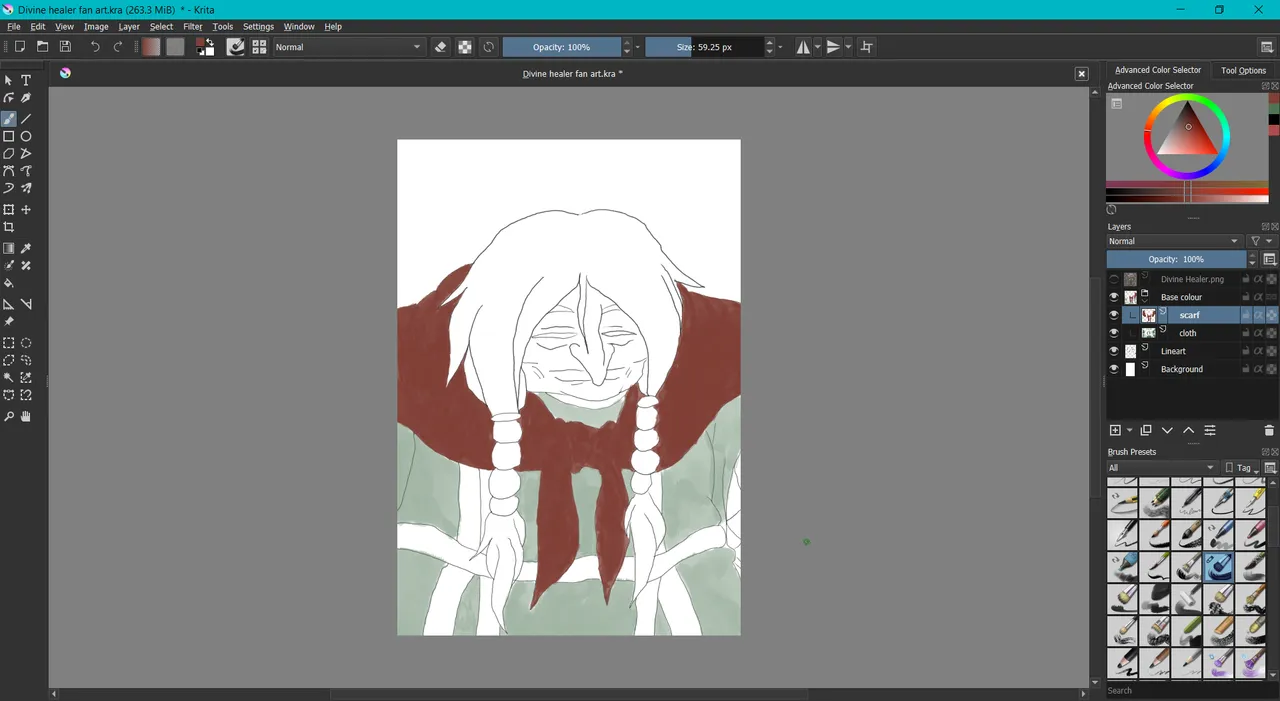
1 .
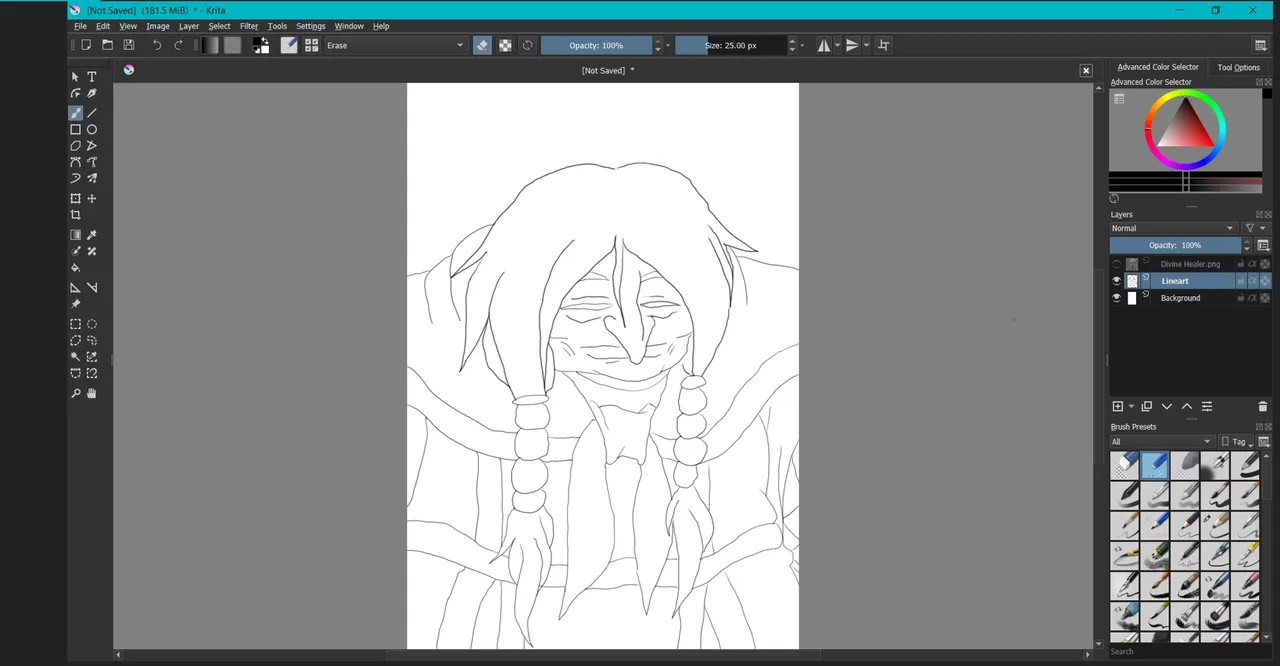
- Start with simple sketch the I trace from the reference picture.
2 .
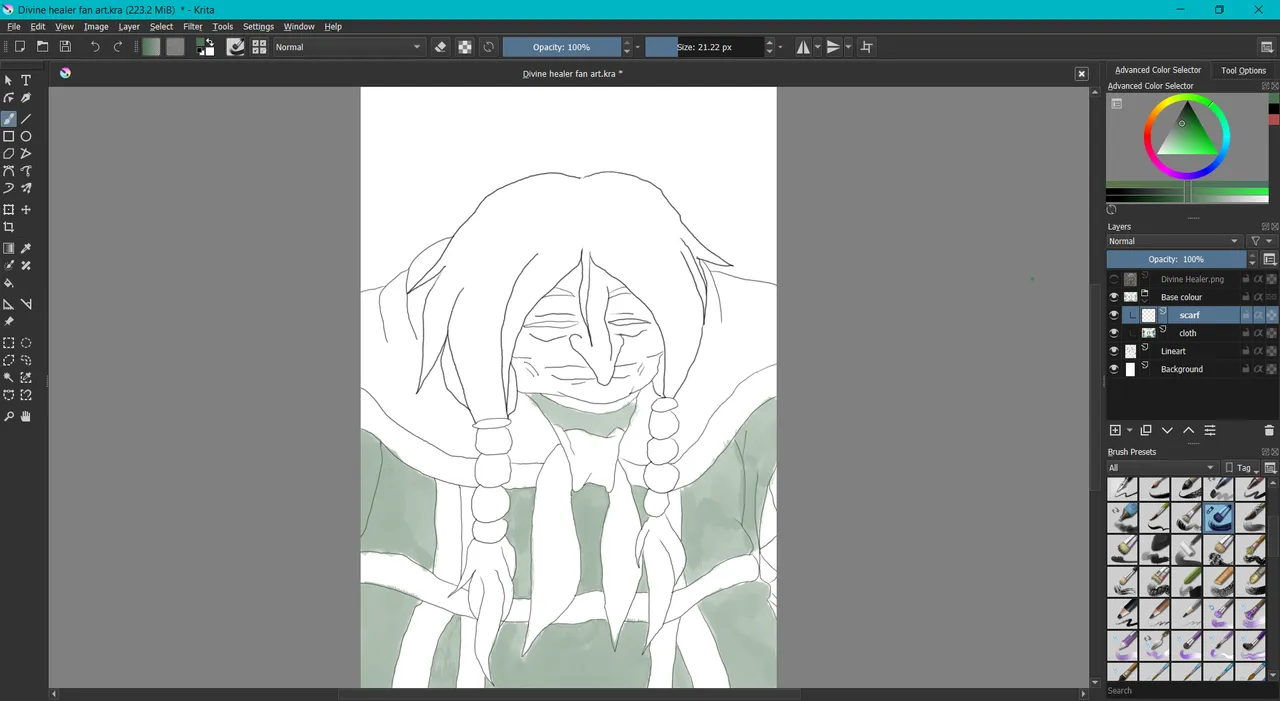
- Then I started to color with base color of each that divided by section.
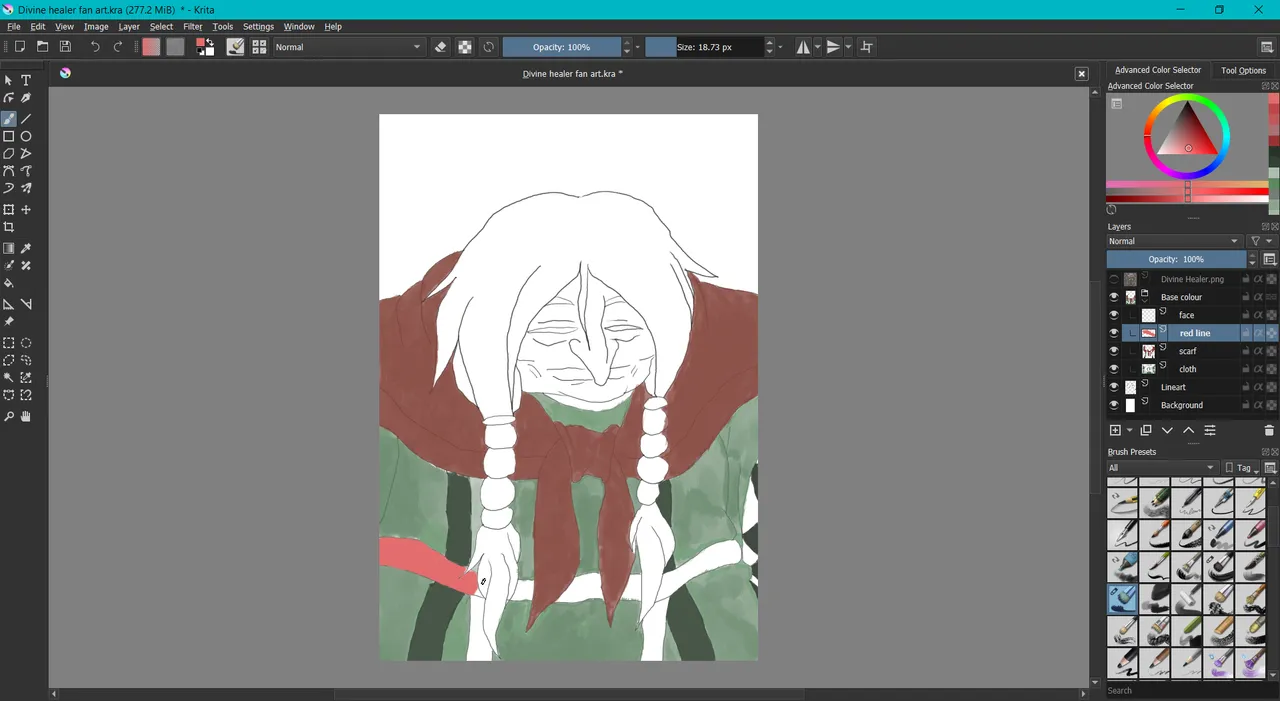
- The final of base color result.
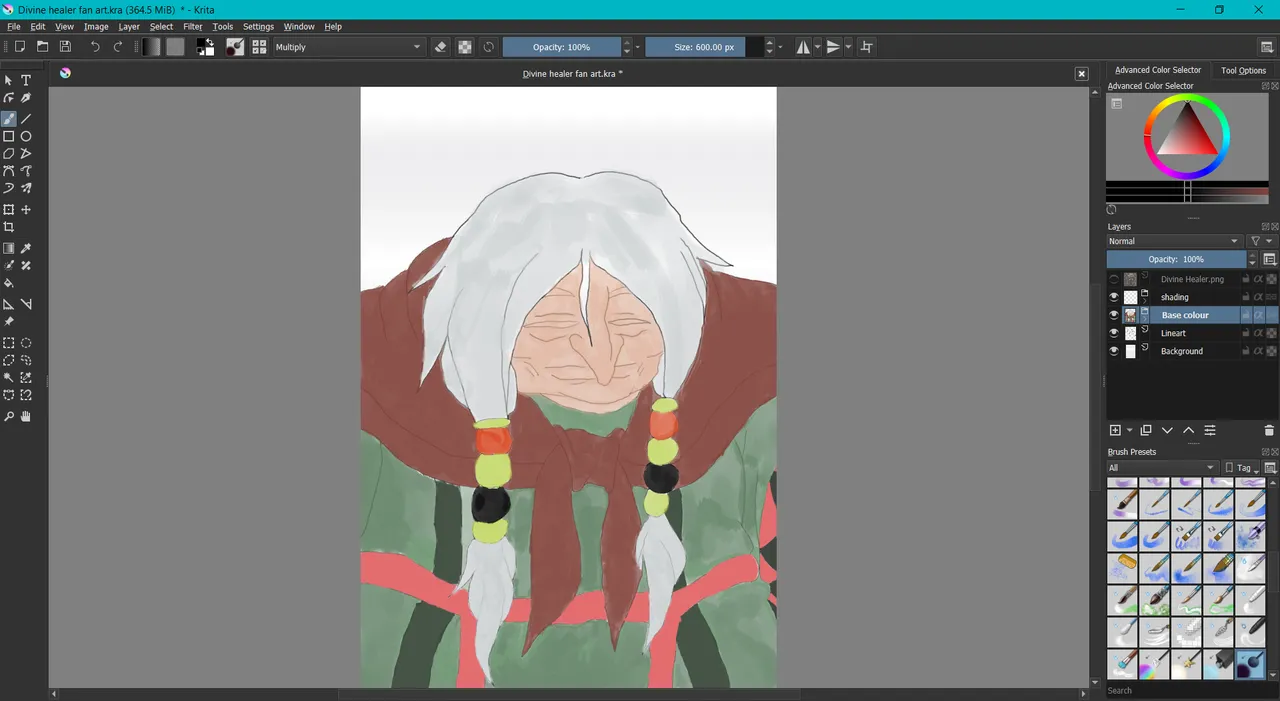
3 .
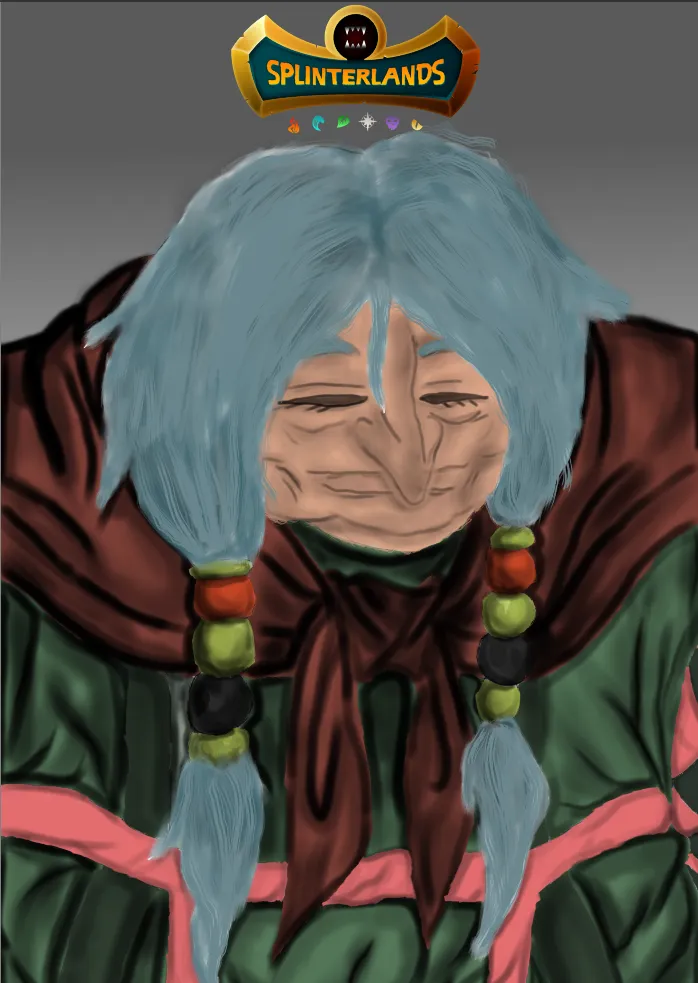
- I added background color with black gradient color which to mimic the feeling that I try to visualize. The color seem more vibrant because I turn up the color opacity.
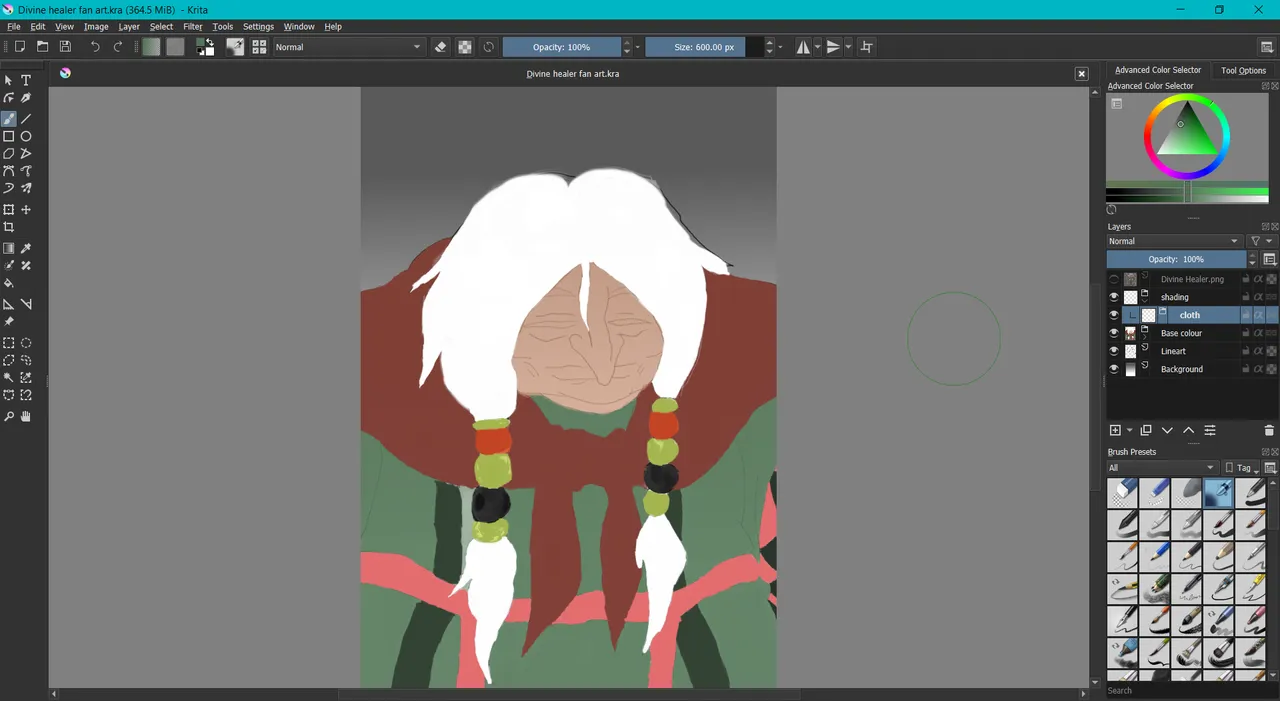
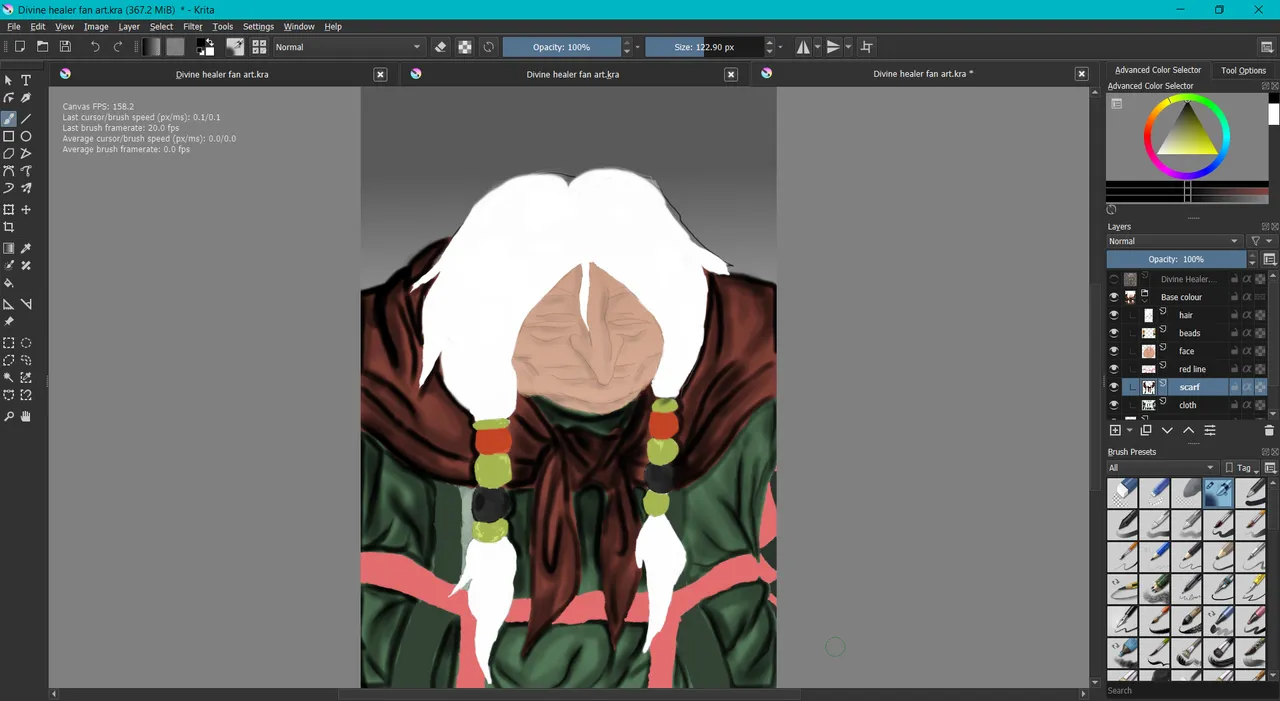
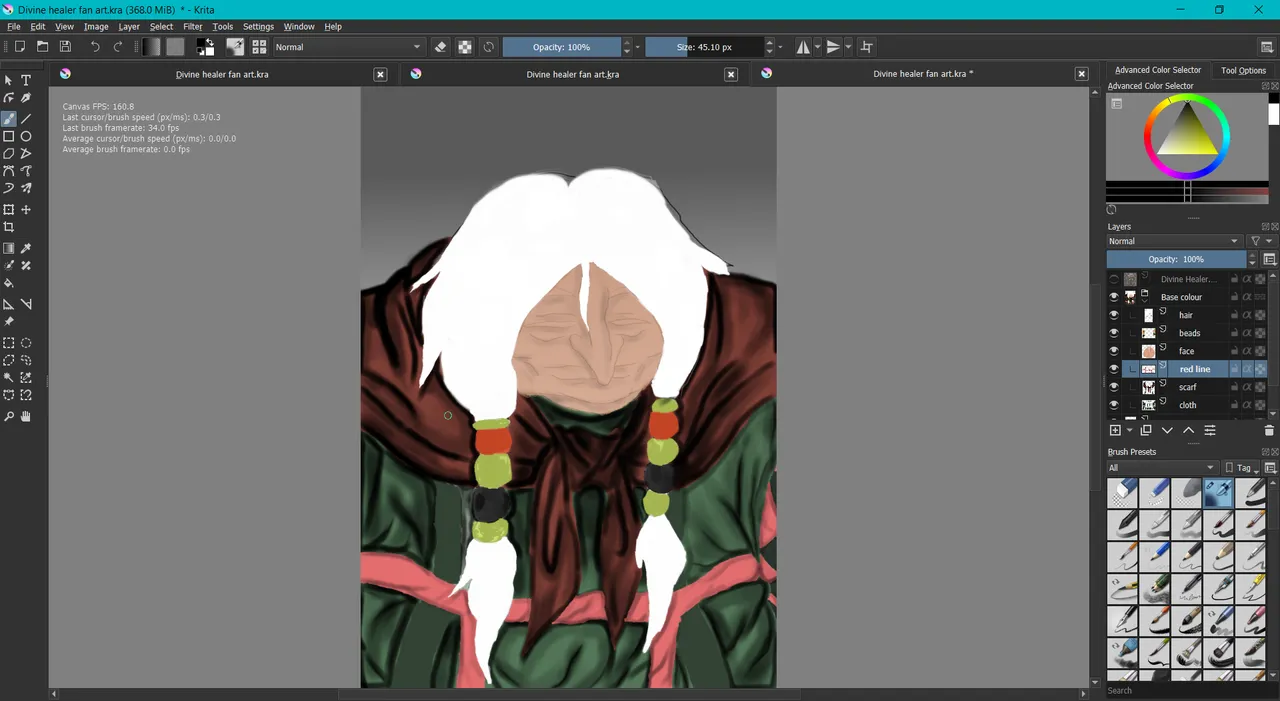
4 .

- I started the shading process with the cloth first. My objective is to make the portrait look more realistic. I did that shading with airbrush.
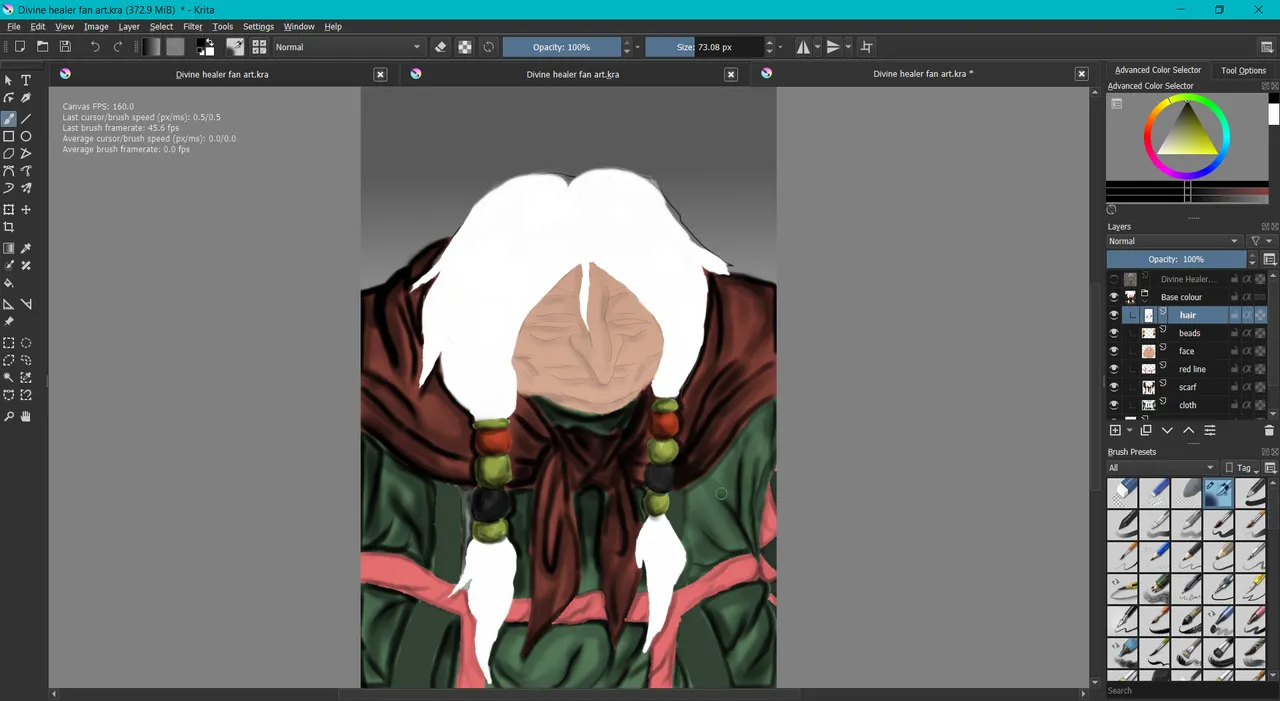
5 .
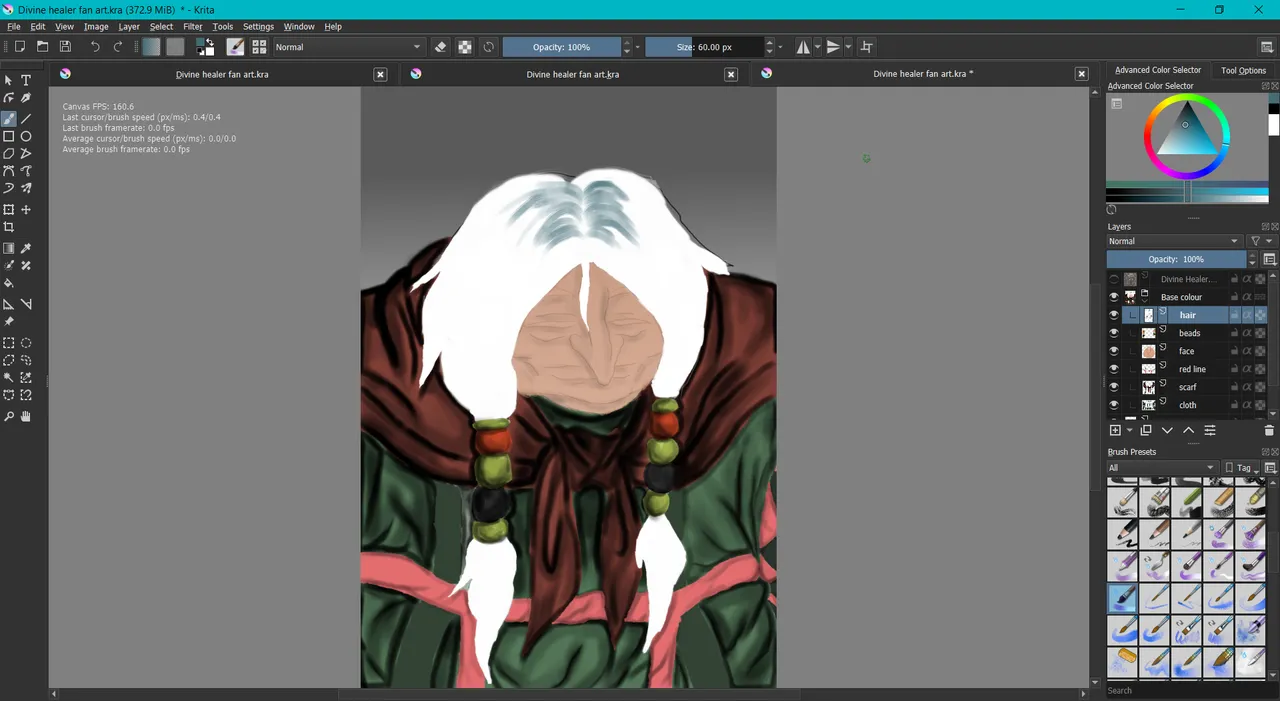
- Next, the most difficult process is doing the hair to look realistic. At first, I colored the hair with blue-grayish color but it does not have the texture I wanted. I found out there is a brush for hair that I found out in brush section.
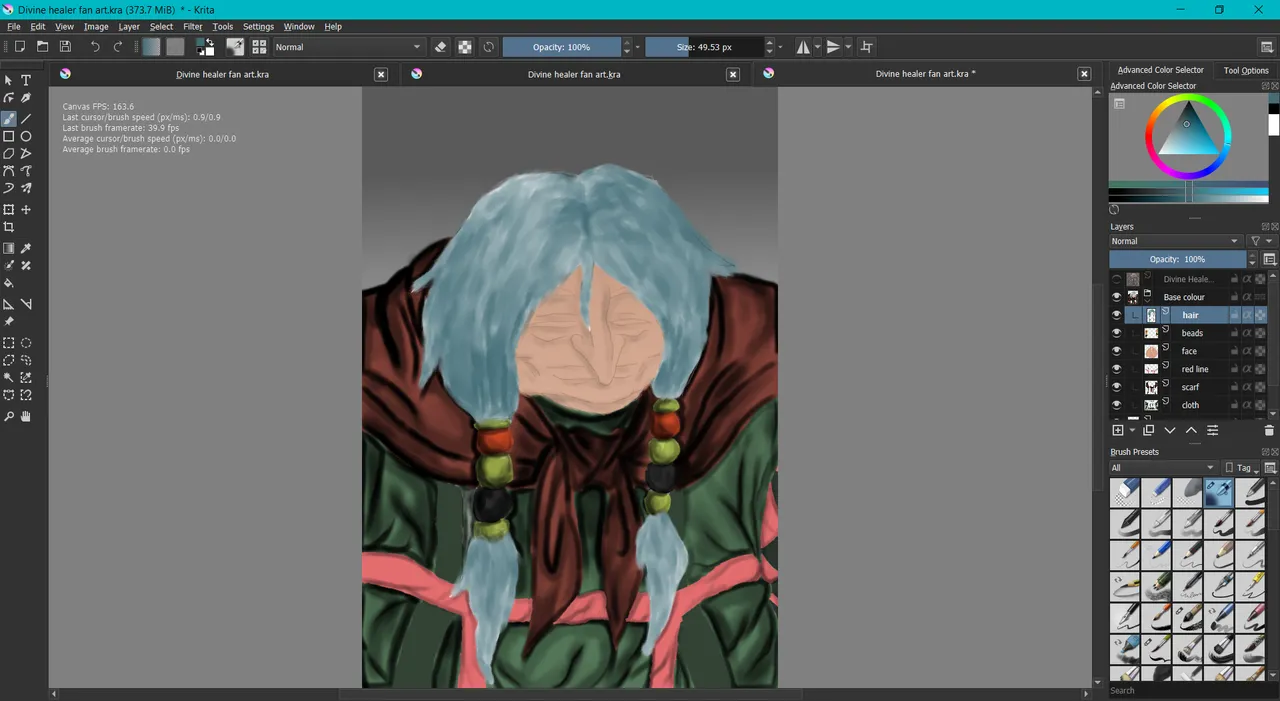
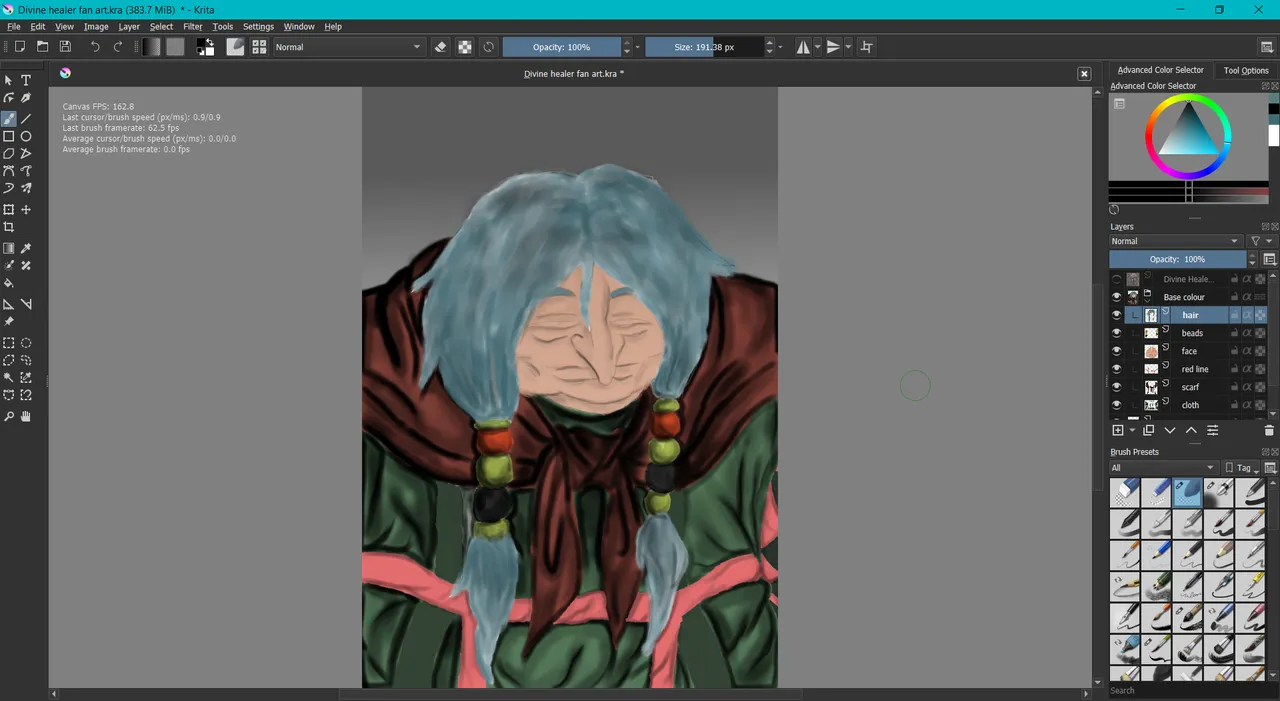
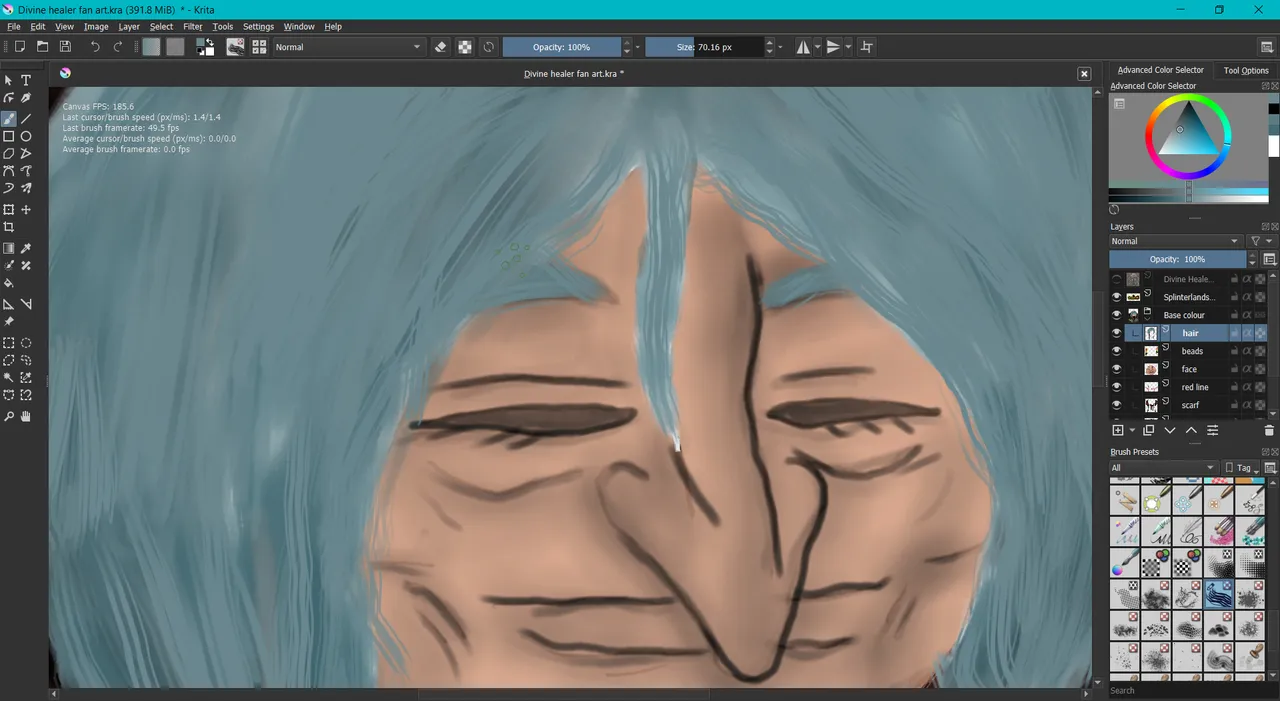
As you can see here it is hard to imitate real texture of hair.
6 .
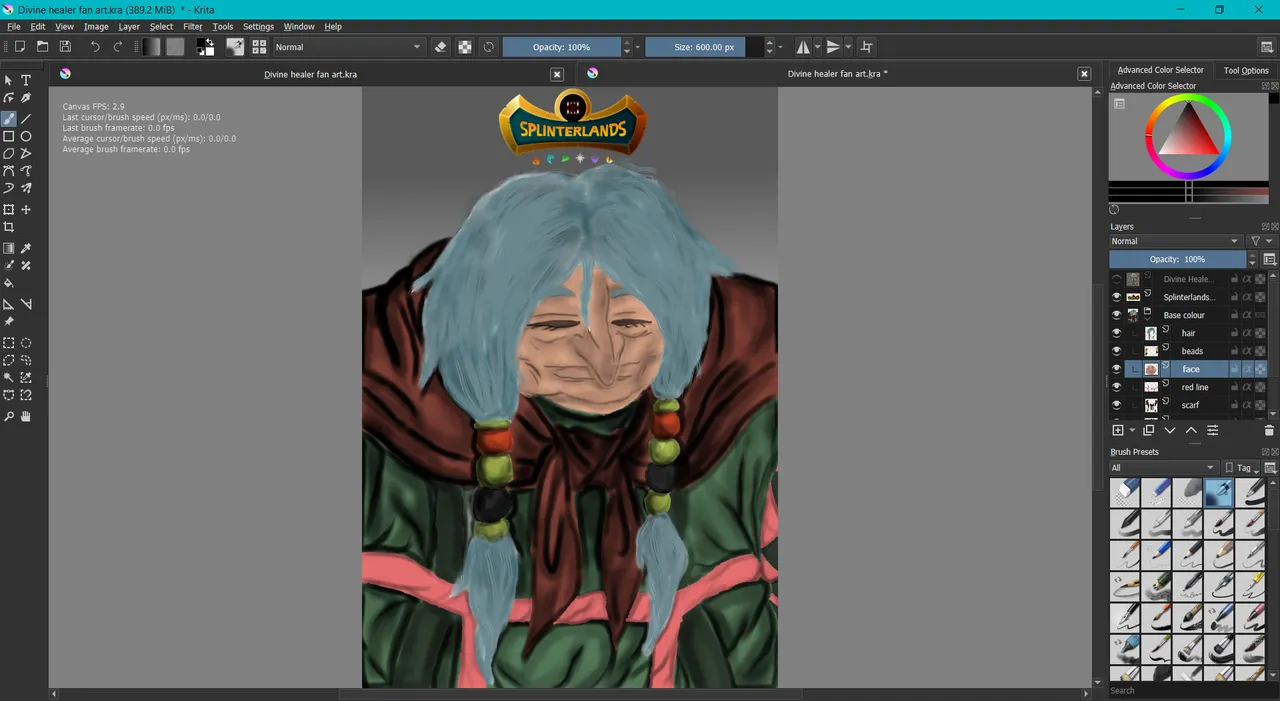
As final touch, I added the Splinterlands logo. That all for me, hope you like it. Thank you for reading till the end and have a great day!