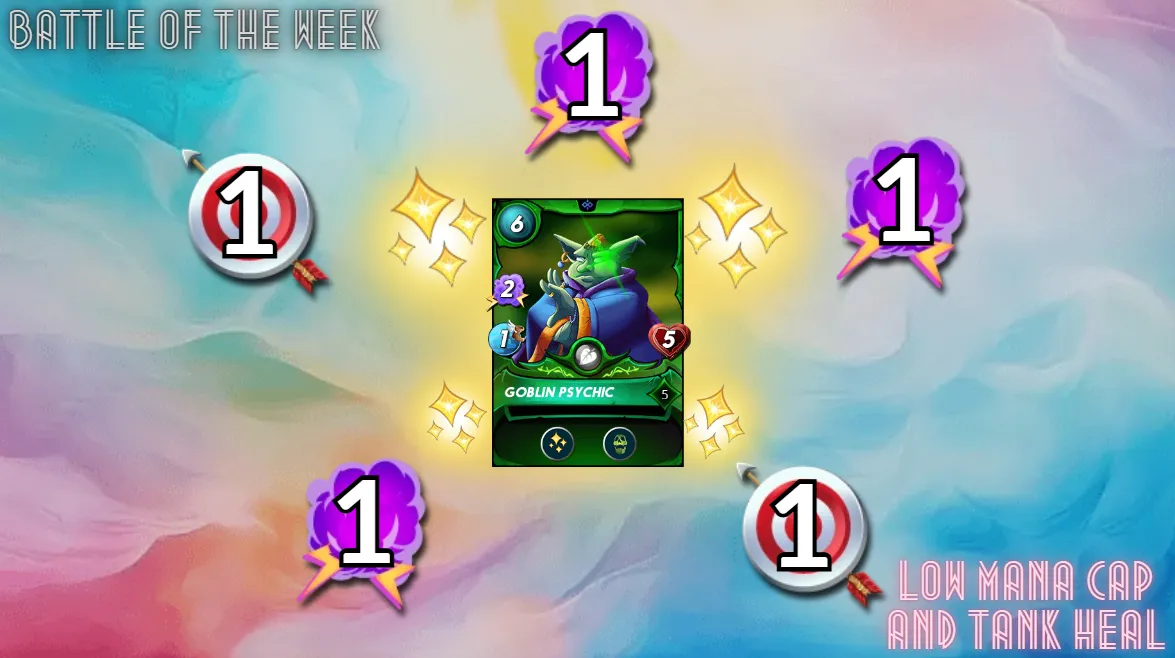

The Ruleset

- Rulesets - Keep Your Distance & Silenced Summoners
- Mana Cap - 18
- Active Elements -


Here's my starting lineup
Summoner: Obsidian
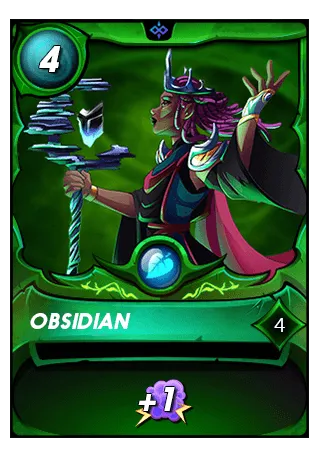
- With the ruleset, mana cap and element pick that I got I needed a summoner that was highest possible level with a lowest possible mana cost as Silence Summoners was active there buffs or abilities did not matter at all
- Second thing that I had to keep in mind was that the mana cap for this battle was so low I needed to play a element that had I good low mana cost monster in it
- So in my case I went with earth element as I had a great team in mind there
- And also because I had 4 mana cost level 4 summoner there which is decent for my rank and this battle
1st Position: Goblin Psychic
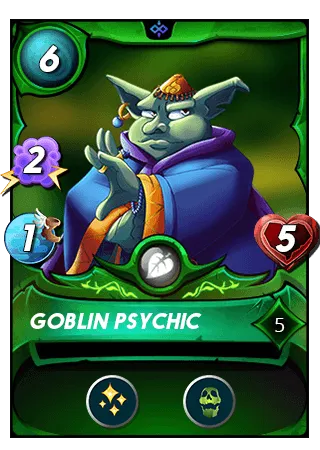
- Goblin Psychic was my main tank for this battle
- Main reason I like Goblin Psychic here a lot is his Tank Heal + Affliction ability combo
- Both of these abilities were really good, one to keep my tank alive and the other to counter my enemy playing any healer monsters
- Also as Goblin Psychic was a 6 mana cost monster he also had some quite decent stats especially when you take out the melee monsters as Keep Your Distance was active
- Tank Heal - Each round, restores 1/3 of max health (rounded down) to the allied unit in the first position
- Affliction - 50% chance to apply Afflicted after a successful attack. Afflicted units cannot be healed
2nd Position: Mushroom Seer
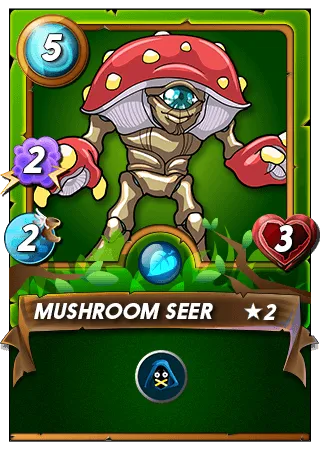
- Mushroom Seer was here mainly because of his ability
- As Keep Your Distance was active and the mana cap was quite low I figured my enemy might try to play more magic based comp and Mushroom Seer with his Silence was going to counter it perfectly
- And he also had quite okei stats for being a 5 mana cost magic monster so even if I managed to miss my prediction I would still get a quite decent monster for my 5 mana
- Silence - -1 magic power to all enemy units
3rd Position: Djinn Biljka

- Next up was my lowest mana cost 2 magic damage monster I had available to play
- Firstly for 3 mana Djinn Biljka has amazing stats and that was main thing what I was after for
- The second thing was that he had Void which would possible make him a great tank to put in front of my team but I did not do that because I was little afraid that my enemy might play ranged not magic and that would have taken a big chunk of my damage away really quickly, so I played him in the back of 100% damage in mind
- Camouflage - Cannot be directly targeted unless in the first position. Does not affect indirect attacks (e.g. Scattershot, Blast splash damage, or Trample) or Wingbreak
- Void - 50% less damage (rounded up) from magic attacks or 0 damage from magic attacks of 1 power
4th Position: Furious Chicken
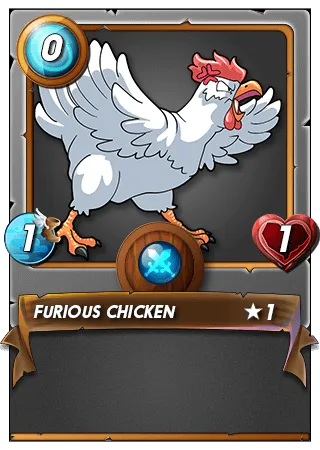
- For last but least was of course Furious Chicken
- As I was out of mana and 3 open slots to fill just why not play him
- And the reason why I played him in the back was that I was little afraid my enemy might go death and play Usut with Bloodlust and if my Furious Chicken was in the first position that could be an easy takedown for him and make this battle so much harder for me
- But playing him in the back was not a total waist as my enemy still might play a magic monster with Sneak and that way my Furious Chicken would tank at least a single attack making him a great monster to play here for free
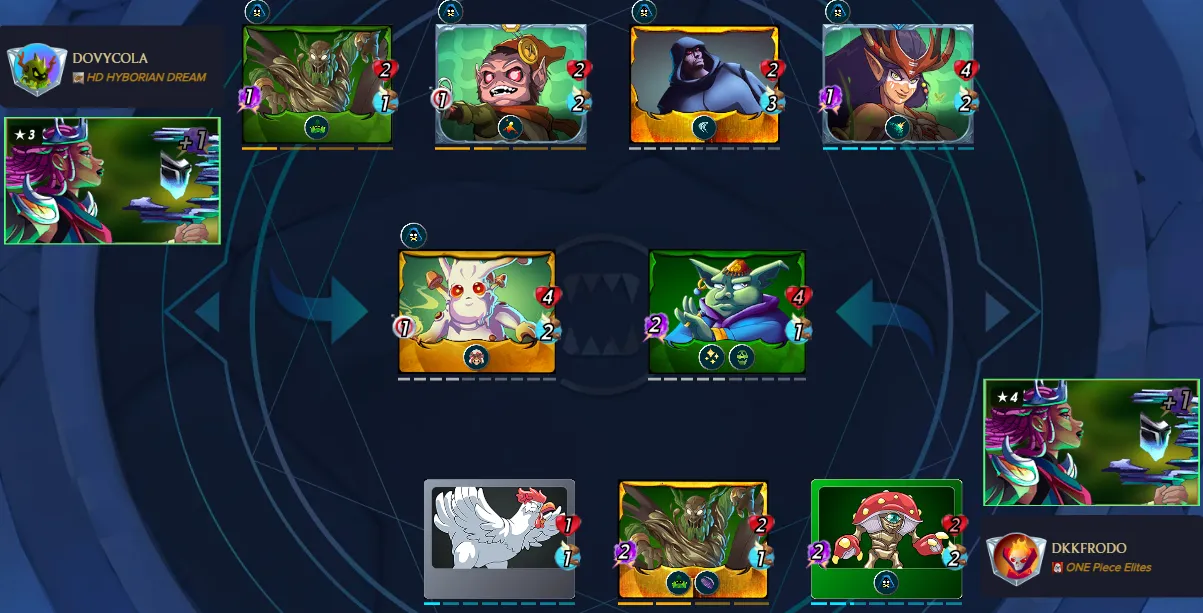
Starting board

- Already after seeing the starting board I was quite confident I would win because his whole team was kind unleveled
- Because his team was unleveled I sadly missed my Mushroom Seer pick as my enemy did not have any magic monster who had 2+ damage on them I could debuff
- But that aside I just felt like I had more damage and more hp compared to my enemy
- But my predictions could still be off by a mile so lets start the battle and have a look
Here's how the battle went
1st Round
- After the first round the board was still looking quite the same as in the start
- I still had my entire board while my enemy already lost his first monster
- But anything could still happen so lets keep watching
2nd Round
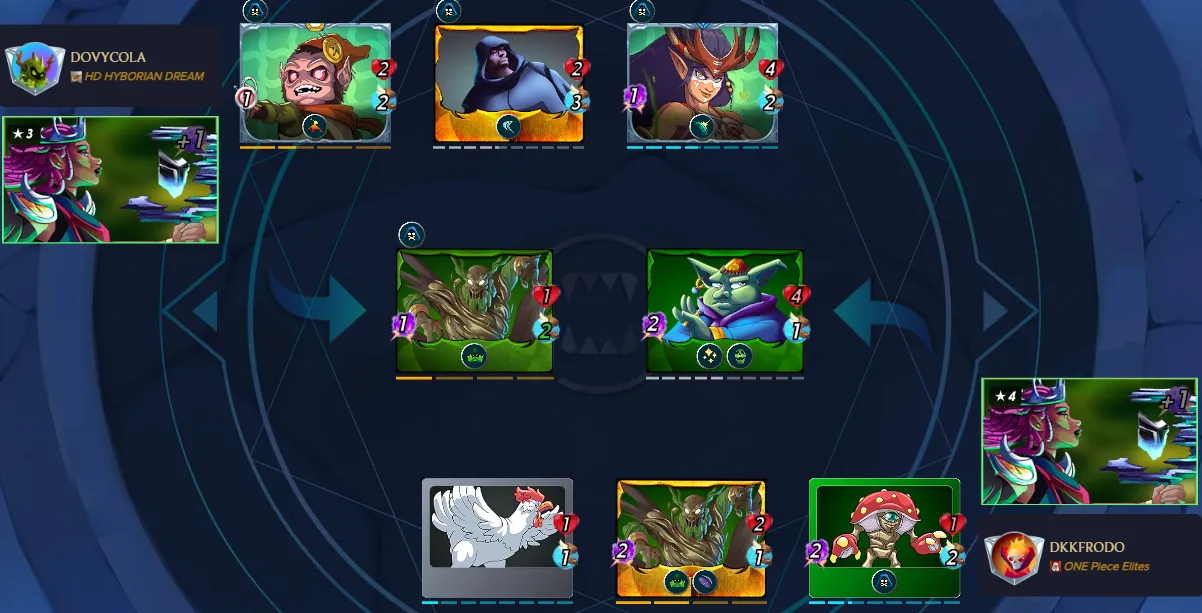
- After 2nd Round I was starting to look really happy as it seemed like my Tank Heal was doing its job and my first monster was still alive while my enemies team was falling fast
- In the second round I took down another one of my enemies monster and damage the next one to a point where he was also going to fall in the start of the next round
- Lets hope for the best and keep watching
3rd Round
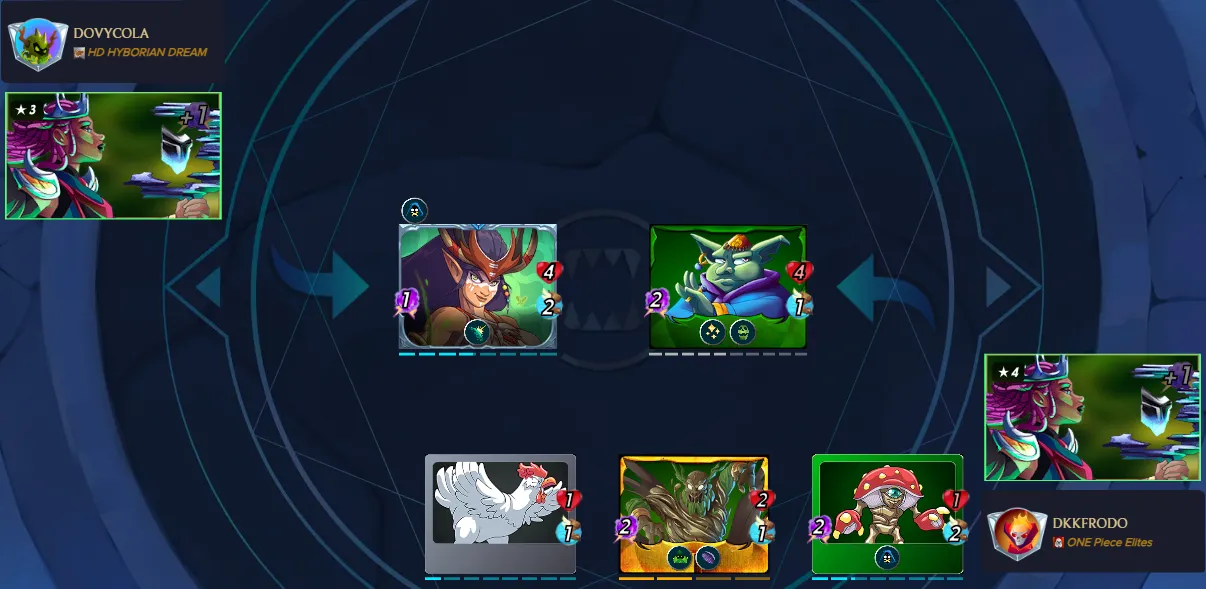
- The battle board looked really good for me at at this point and the battle was 100% decided as my enemy only had a single monster left
- The 3rd round worked out really really great for me and I managed to take down three of my enemies monsters in a single round
- And on top of that my entire team was still alive and fighting strong to the victory
- Now I just needed to wait for the start of the next and final round and then face my victory
4th Round
- It took me 2 attacks to kill my enemies last standing monster
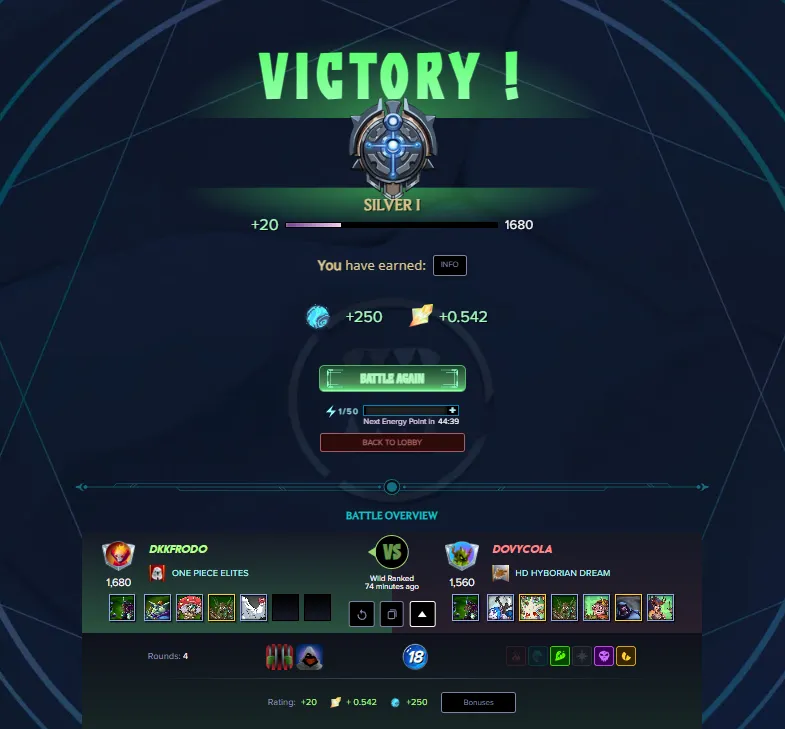
- After his Thunderhoof Nomad had fallen I took the victory
- Battle Replay Link
Summary
- This battle was definitely heavily one sided but still fun to watch
- The strategy to take away from this battle is the basic Tank Heal + some kind of debuff ability combo in a low mana cap battle
- This way your enemy just simple does not have the damage to take down your first tank and you can chip down his team one by one
- If you also would like to hop on the Splinterlands train feel free to use my Referral
Thanks for reading and thanks for all the upvotes, reblogs, comments and follows. And till the next challenge, KEEP BATTLING!!