

After debuting for the first time 15 weeks ago, the Battle Mage Secrets Weekly Challenge is back and this time all Monsters gain the ability to do double damage to enemy Taunt Monsters. Yeah, I know you've already read the title but even if you haven't, you have positively figured out that the Challenge this week is to display a battle involving the Ferocity ruleset.
Let us see what this ruleset does before we get into the nitty-gritty of the line-up and the battle itself.
The Ferocity ruleset is pretty straight-forward - All Monsters have the Fury ability, which essentially means that when a Taunt Monster is hit by any type of enemy Monster, it suffers double damage from the enemy attack.
Now that we've got a good idea of what the Ferocity ruleset practically does, let's see now how it can be effectively utilized.
Well there is no much to be said here really. Just be sure not to use Taunt Monsters which you have gotten used to relying because it does happen to me from time to time to note that the Ferocity ruleset is active, then forget about it for a few secs and throw in my auto-include Taunt Monster such as the Mycelic Slipspawn for Earth, press "Battle" and then experience the "oh, sh*t" moment immediately after I press the button. Too late...
Now that we have a decent understanding of the featured Ruleset and its potential advantages and disadvantages, let us have a look at the battle I have chosen to showcase.
<>>>>>>>>>>>>>>>>>>>>>>>>>>>>>>>>>>>>BATTLE<<<<<<<<<<<<<<<<<<<<<<<<<<<<<<<<<<<<<<>
- The line-up of the Battle and the Ruleset:

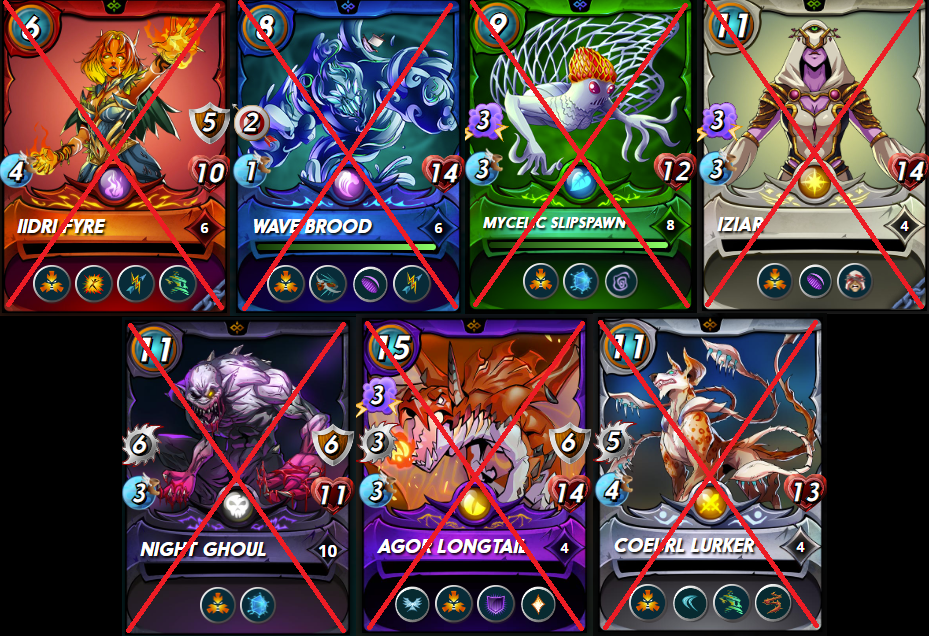
The rulesets for this battle are Ferocity (All Monsters have the Fury (The Monster does double damage to targets with the Taunt ability) ability) and Briar Patch (All Monsters have the Thorns ability). The mana budget is 44 which is just a bit above average so it is far from allowing the player to choose whatever they want so efficient planning has to go into line-up. The available Splinters are: Fire, Earth, and Dragon. I thin that an Earth team will do great with Immortalis leading it as Earth has some pretty good Monsters to counter the Briar Patch ruleset in conjunction with the Ferocity ruleset. Let's have a look at the Monsters I have chosen and their position in the line-up.
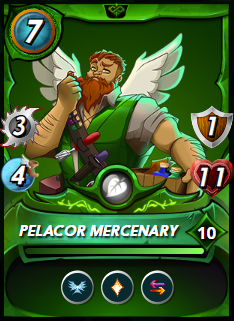
My Main Tank this battle is the Pelacor Mercenary. This Monster is a great tank, it has Flying (Has an increased chance of evading Melee or Ranged attacks from Monsters who do not have the Flying ability) which also makes it immune to Earthquake and Heal (Restores a portion of the Monster's health each round) as well as Retaliate (When hit with a Melee attack, Monsters with Retaliate have a chance of attacking their attacker). The only downfall of the Pelacor Mercenary is that it is susceptible to Magic Damage but that can now be fixed thanks to Immortalis.
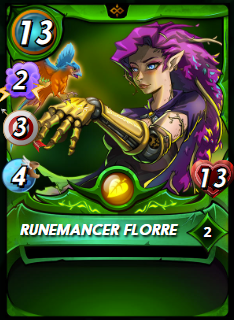
The 2nd place in the line-up goes to another new RW addition - Runemancer Florre. I like using her a lot in high mana battles as well since I find her to be a Monster with a very good damage output thanks to her dual attack - Ranged/Magic, and she can also take a few hits if she has to thanks to her 13 Health.
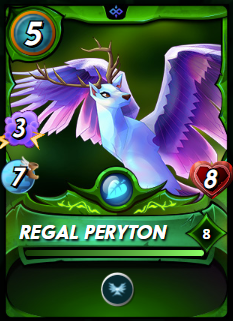
The 3rd place in the line-up goes to the Regal Peryton. This is probably one of my favorite casters not only as far as the Earth Splinter goes but across all splinters. Its Flying ability paired with 6 speed makes it a really hard to hit annoyance for the enemy team. I have it in the 3rd spot to serve as an off-tank if needed.
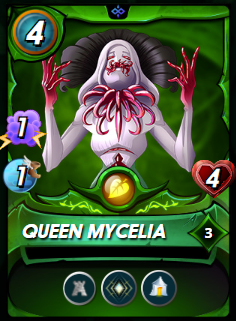
4th in the line-up is Queen Mycelia. She is probably one of the best support Monsters in the game (if not the best) with her Protect (All friendly Monsters gain +2 Armor), Amplify (Increases Magic Reflect, Return Fire, and Thorns damage to all enemy monsters by 1), and Triage (Heals the friendly back-line Monster that has taken the most damage) abilities. As well as Rust (Reduces the Armor of all enemy Monsters) for all those lucky people who have a maxed version of her. Unfortunately I am not one of them.. yet. You can never go wrong with including her in your line-up unless the rulesets render her abilities useless.
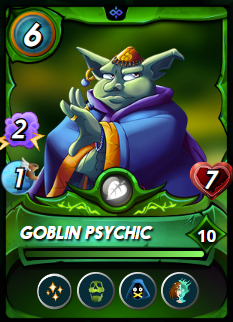
The 5th spot is for the Goblin Psychic. It is a truly potent Monster with its Tank Heal (Restores a portion of the Monster in the first position's health each round), Affliction (When a Monster with Affliction hits a target, it has a chance of applying Affliction on the target causing it to be unable to be healed), Silence (Reduces the Magic Attack of all enemy Monsters) and Dispel (When this monster hits an enemy, it clears all positive status effects on that enemy) abilities. I love using it whenever I can as long as it makes sense of course, and it usually does.
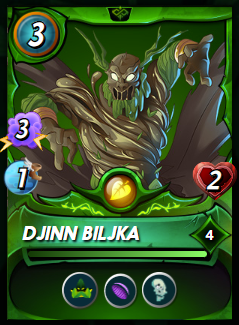
Last but definitely not least is Djinn Biljka. I absolutely expect Djinn Biljka to be the last "man" standing in this battle if my strategy is successful due to its Camouflage (This Monster cannot be targeted for attacks unless it's in the first position) ability which prevents it from being attacked basically until it gets to the Main Tank spot unless it dies to splash damage prior to that or Scatter Shto. It also has Void (Reduced damage from Magic attacks) and Weaken (Reduces the Health of all enemy Monsters).
It is time for a quick round by round analysis:
- The Summoner I am going with for the battle (as I have already mentioned) is Immortalis. He very powerful against teams with Magic attackers and the fact that he also provides the Shatter (Target's armor is destroyed when hit by an attack from Monsters with Shatter) ability to all Monsters on his team could also be decisive against teams with Monsters with a lot of armor. The battle itself is from a recent Diamond-level tournament, however, my enemy's Quix is level 3, so I will have the advantage of having some max level Monsters while theirs will be Gold-league level or lower. They also have a bunch of Magic attackers and as I have already mentioned Immortalis is an absolute beast agains Magic-spam teams due to the fact that he provides the Void (Reduced damage from Magic attacks) ability to all Monsters on his team.
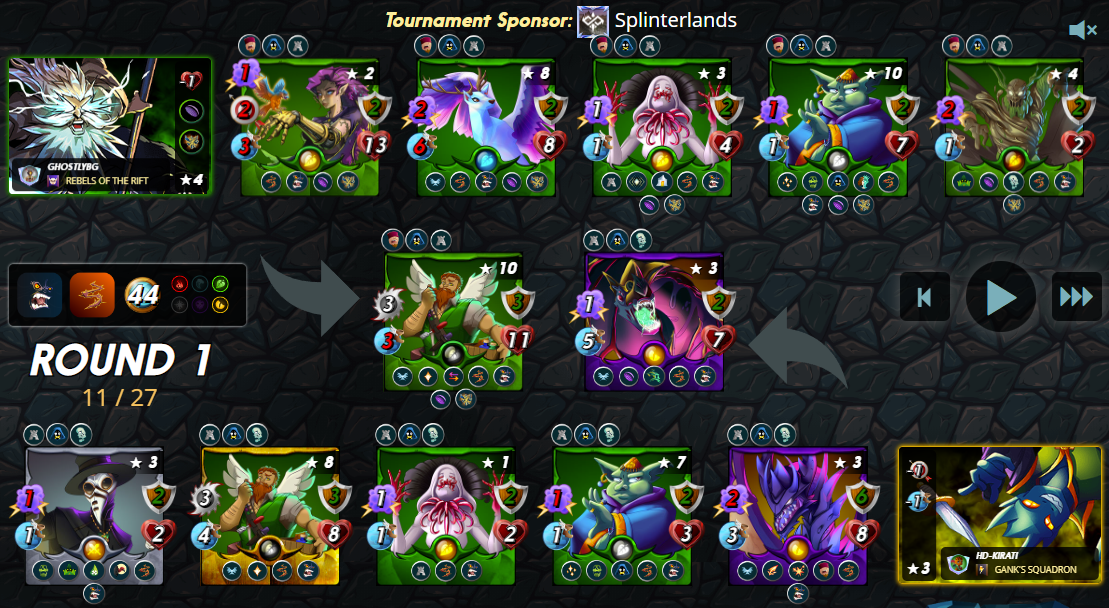
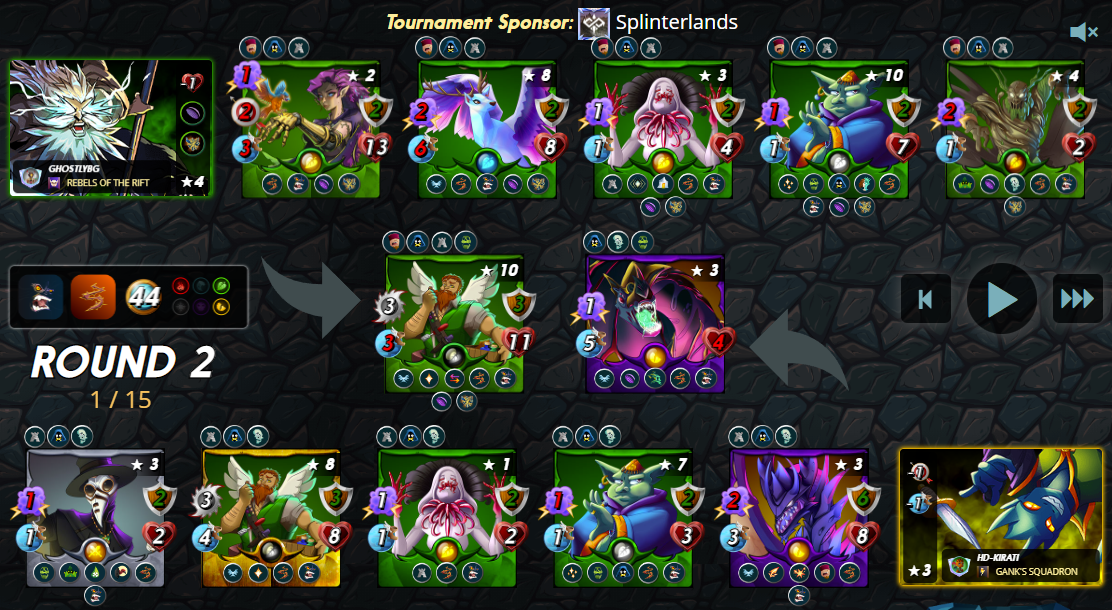
- After 1 round both main Tanks are alive but the enemy Void Dragon was not lucky enough to avoid all of my attacks and has taken a bit of damage. My Pelacor Mercenary is in a great shape on the hand but it does have Affliction on it now, so this means that it will no longer be healed.
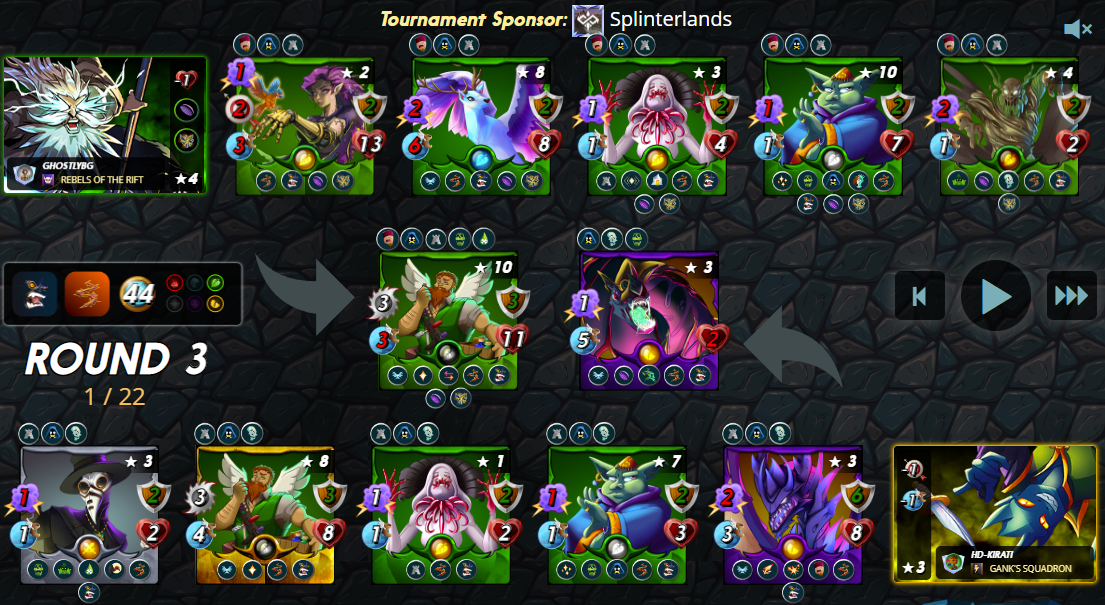
- Round 3 - Both tanks are still brawling in the middle of the battlefield while their teammates are trying to assist with whatever they can. Maybe we will see the Void Dragon fall this round
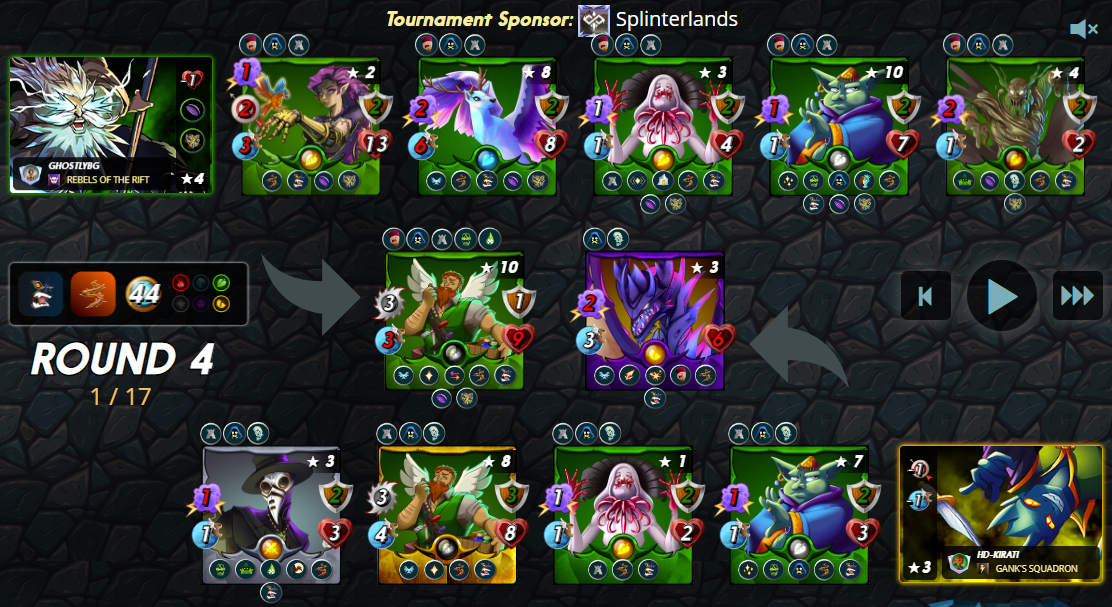
- Round 4 begins and the Void Dragon is, indeed, no more. The Chaos Dragon has taken its place instead which is great for my side since that means the Chaos Dragon will no longer be a threat for my backline.
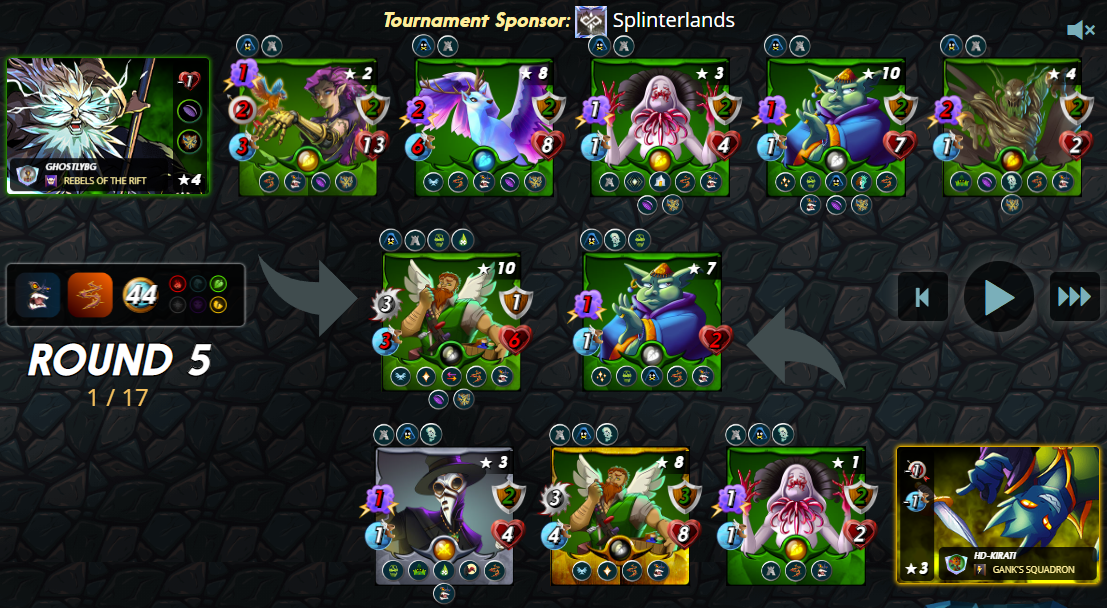
- Round 5 - the Chaos Dragon has also been slain and all that is left right now for me is to finish off the rest of the enemies.
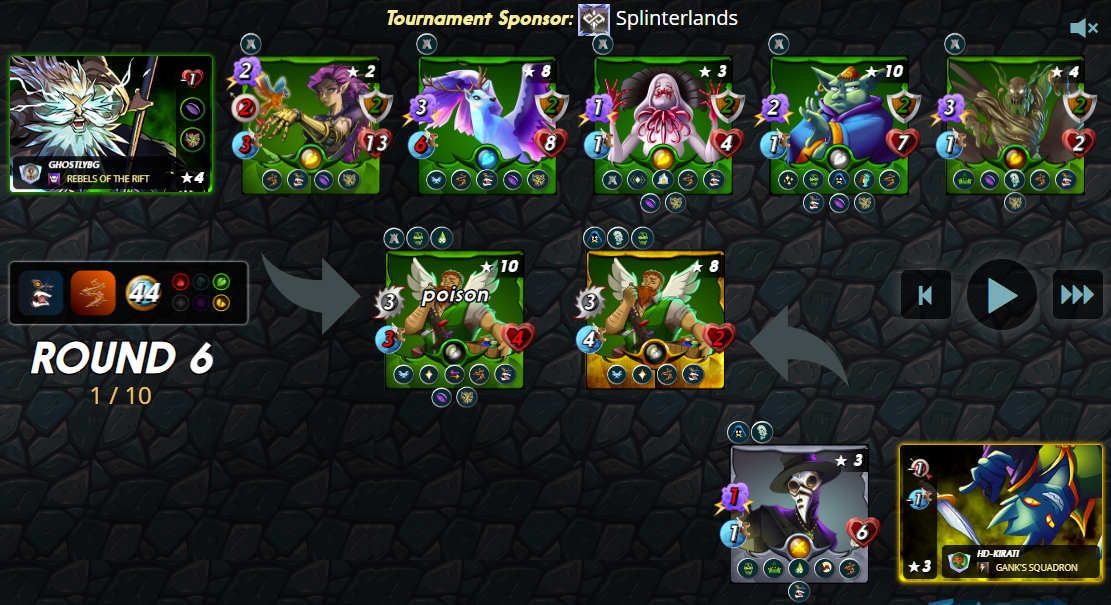
- Round 6 - the last remaining resistance is about to be squashed. A pretty good victory for me.
Well this was definitely a fun battle, and a fun way to showcase the Ferocity ruleset. See you next week with another exciting post related to the brand new Battle Mage Secrets Weekly Challenge!
Over and Out,