Banner made by me, using Canva
All the images from the banner are from @splinterlands
English
Introduction
Of all the rulesets in the game, Target Practice is one of my favorites. This is due to the fact that I can predict with good accuracy what my opponent is going to do.
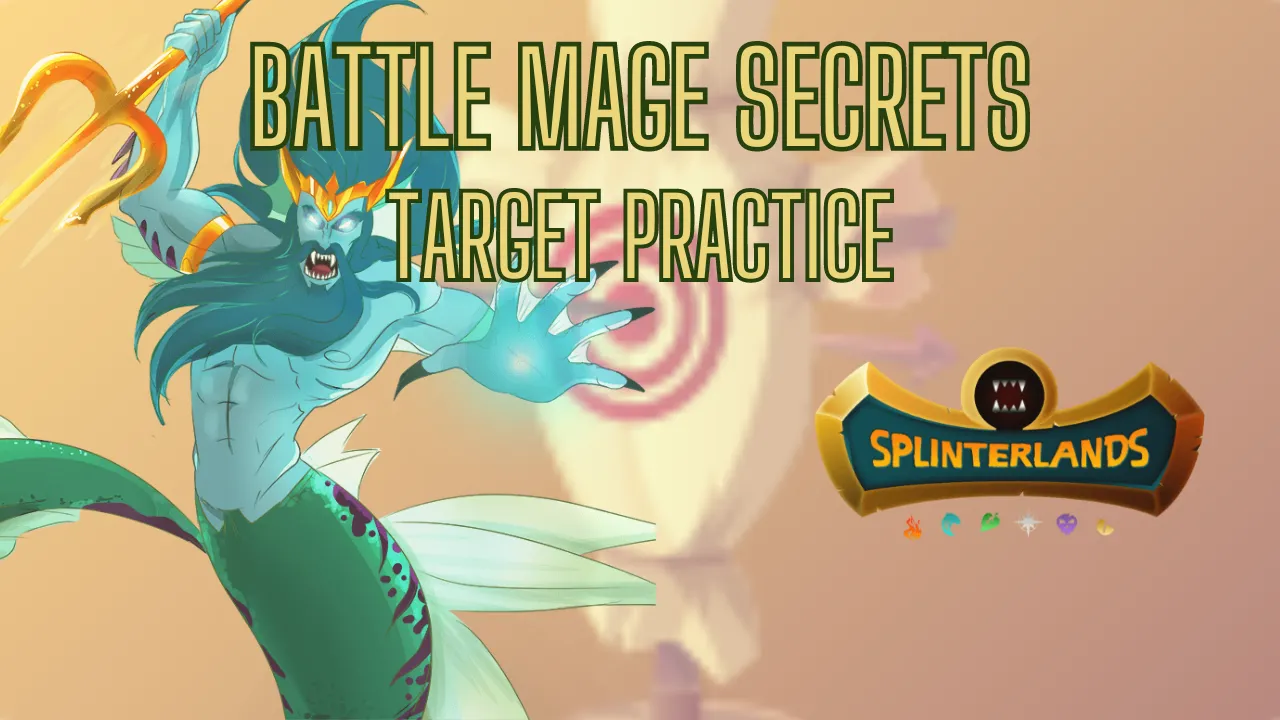
Target Practice ruleset Icon
When it's present, all the monsters on the field receive the ability Snipe, which affects Ranges and Magicians, and makes them attack the first monster in the back line that isn't a Melee type, if the opponent has placed one of those. And if they haven't, they'll attack the one in the front row, like everyone else.
As a result, it's good to organize your team well, so that you don't get a negative surprise by having your main attackers exposed.
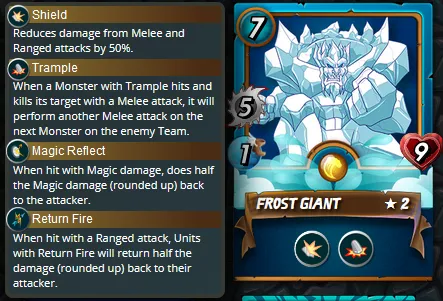
Normally, the monster on the front line will be a melee monster, or one that has no attack at all. In this case, I like to leave one that has the ability Shield, or even with Heal, to hold off the opposing offenses that might come from this position.
As for the target position, I try to use a good tanker who has the ability Void, which reduces incoming magic attacks. It's interesting to put a support to heal him, who has Triage.
That's what I did in the battle I'm about to show you.

Battle
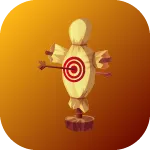
In addition to the weekly challenge ruleset, the others greatly limited the use of cards. Only the Water element was available for use, and it was also limited to monsters with an odd mana cost. Finally, all the monsters received magic reflect, thanks to the Counterspell ruleset.
Mana and Elements availables

Counterspell and Odd Ones Out ruleset Icons
With that, I had an excellent strategy for defeating my opponent.
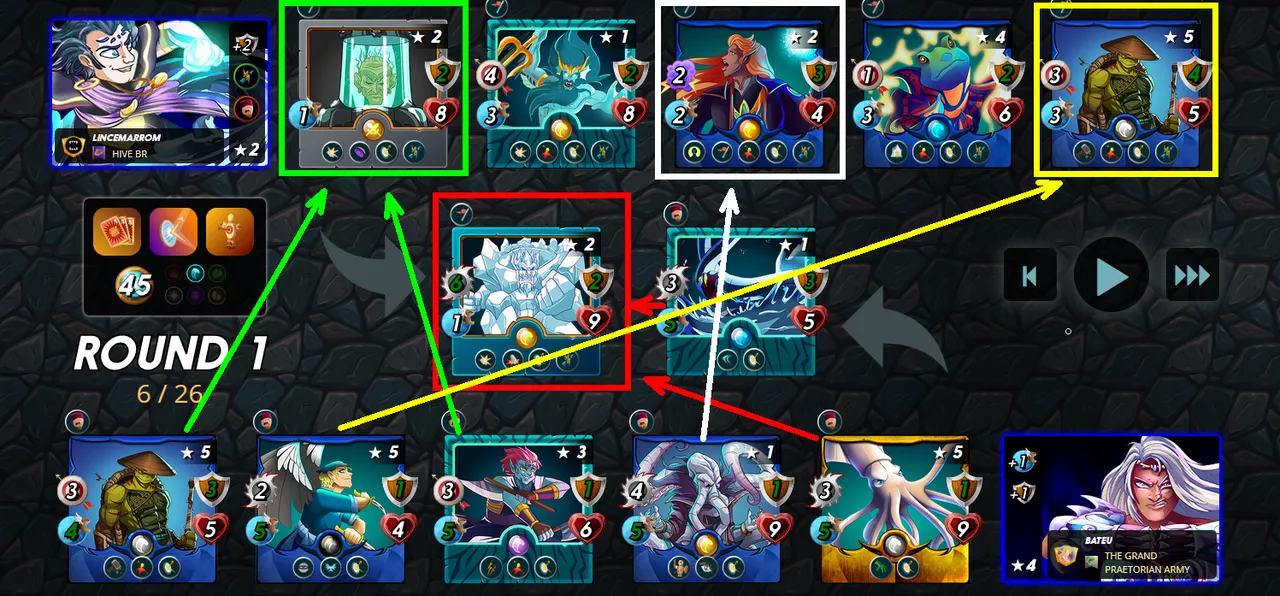
Following the tips I gave earlier, I started by putting a monster with Shield in front, because as well as being able to face another melee monster in the same position, I could also face a second one, thanks to those with the Reach ability.
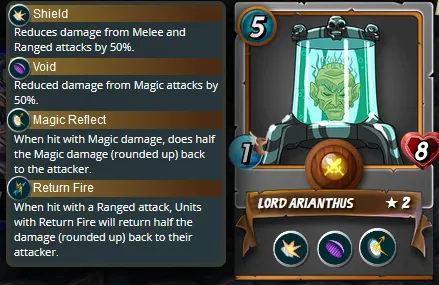
Right behind him, I put Lord Arianthus. He's a very interesting choice for this ruleset, as he has both damage reduction abilities, Shield and Void. This, combined with the ruleset magic reflect and also the range reflect provided by the summoner I selected, Lir Deepswimmer, makes this an excellent combination, because as well as being able to hold off attacks, he also punishes the attacker.
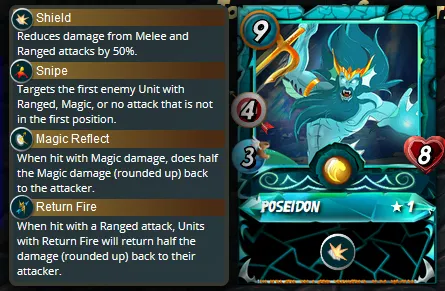
Right next to him, I put one of my attackers, Poseidon. He would also be a good option to tank with, as well as his strong attack.
Finally came the three supports. The first resurrects the first monster on my team to be killed. The second has the aforementioned ability Triage. And the last one regenerates 2 points of armor, thanks to Repair.

My opponent came extremely strong in attack, with only one defensive support, the same one I placed in the last position. However, his attacks were very scattered, with 2 attacking the front line, 2 attacking the first no meele monster in the back line, 1 attacking the last monster in the back line, and 1 attacking the monster with the least amount of life on the field.
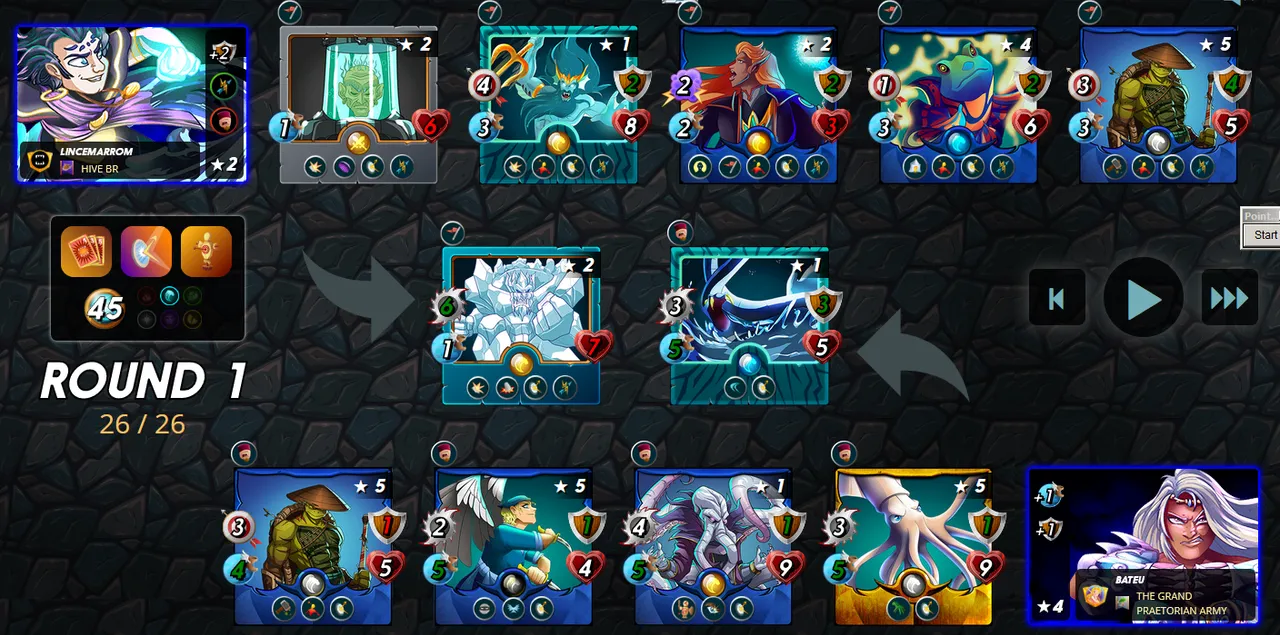
However, the armor provided by the summoner would mean that the attacks would have little effect on my team, at least at the start of the battle.
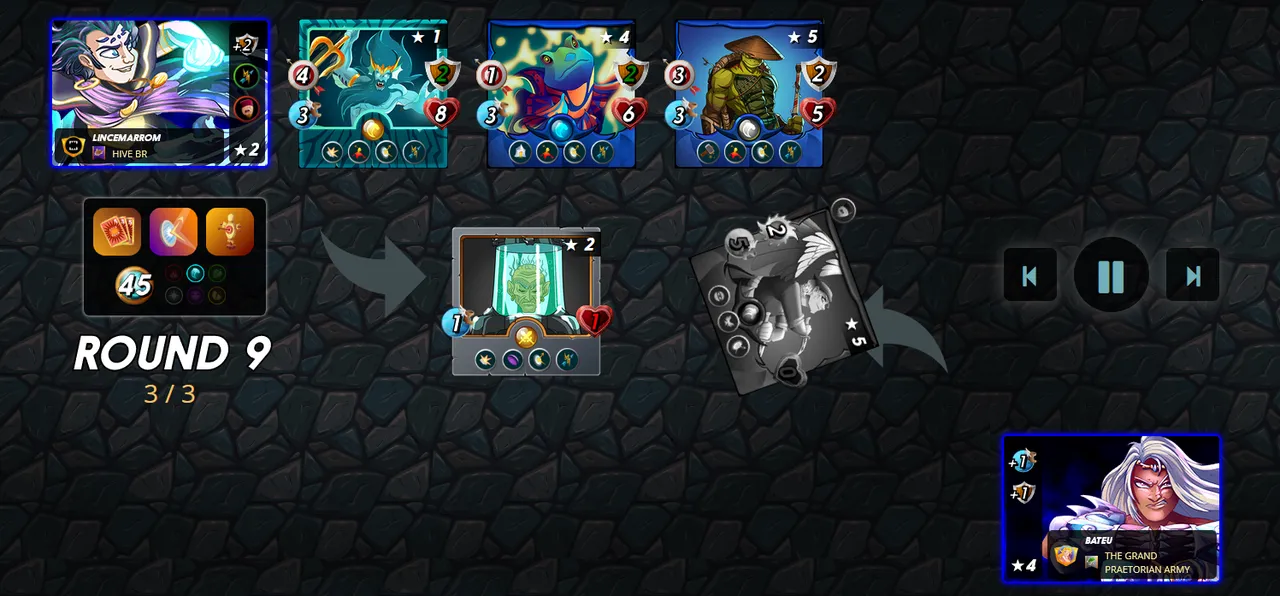
At the end of the first round, the opponent's strongest attacker was eliminated. Apparently, he didn't pay attention to the rules of battle, or imagined that I had too few Ranges and Magicians.
In round 9, the match ended with victory for my side. He managed to eliminate 2 of my team's monsters, which wasn't enough to stop my team's attack, let alone withstand the reflections.
Click here to watch the full battle!
Conclusion
Whenever you set up your team, it's ideal to look at the targets for each of them, so as not to spread your attacks too thinly, otherwise you'll have little impact on each opposing monster and won't be able to successfully eliminate them.
As you can see from the example above, the opponent's attacks were spread over 4 of my team's monsters, which made it very difficult for him to kill them.
All the images are from @Splinterlands
Divider By: @freeztag
Are you not playing Splinterlands yet? Click HERE and play with me!
Português
Introdução
De todas as regras de batalha do jogo, o Target Practice é um dos meus favoritos. Isso se deve ao fato de que eu consigo prever com uma boa assertividade, o que o meu oponente irá fazer.
Ícone da regra de batalha Target Practice
Quando ela se faz presente, todos os monstros em campo recebem a habilidade Snipe, que afeta os Ranges e Mágicos, e faz com que eles ataquem o primeiro monstro da linha de trás que não é do tipo Corpo a corpo, caso o oponente tenha colocado um desses. E se não tiver, eles irão atacar o que estiver na linha de frente, como todos os outros.
Com isso, é bom organizar bem o seu time, para que você não seja surpreendido de forma negativa, tendo seus principais atacantes expostos.
Normalmente, o monstro que ficará na linha de frente será um corpo a corpo, ou que não possui ataque algum. Nesse caso, eu gosto de deixar um que possua a habilidade Shield, ou até mesmo com Heal, para segurar as ofensivas adversárias que possam vir dessa posição.
Quanto a posição alvo da maioria, eu procuro utilizar um bom tanker, que tenha a habilidade Void, que reduz os ataques mágicos recebidos. É interessante colocar um suporte para curá-lo, que possua Triage.
Foi o que eu fiz na batalha que irei mostrar a vocês.
Batalha
Além da regra do desafio semanal, as demais limitaram bastante o uso de cartas. Apenas o elemento Água estava disponível para uso, e também estava limitado ao uso de monstros com custo de mana ímpar. E para finalizar, todos os monstros receberam reflet mágico, graças a regra Counterspell.
Mana e Elementos disponíveis
Ícones das regras de batalha Counterspell e Odd Ones Out*
Com isso, eu tinha uma estratégia excelente para derrotar meu oponente.
Seguindo as dicas que eu dei anteriormente, comecei colocando na frente um monstro com Shield, pois além da possibilidade de poder encarar outro monstro corpo a corpo na mesma posição, poderia ainda enfrentar um segundo, graças aos que possuem a habilidade Reach.
Logo atrás, eu coloquei o Lord Arianthus. Ele é uma escolha muito interessante para essa regra de batalha, pois possui as duas habilidades de redução de dano, Shield e Void. Isso, combinado ao reflet mágico da regra de batalha e também ao reflet de range fornecido pelo invocador que eu selecionei, o Lir Deepswimmer, fazem essa ser uma combinação excelente, pois além de conseguir segurar os ataques, ainda pune o atacante.
Logo ao seu lado, coloquei um de meus atacantes, Poseidon. Ele também seria uma boa opção para tankar, além de seu forte ataque.
Por fim, vieram os 3 suportes. O primeiro, ressuscita o primeiro monstro do meu time a ser morto. O segundo, possui a habilidade citada anteriormente Triage. E o último, regenera 2 pontos de armadura, graças ao Repair.
Meu oponente, veio extremamente forte no ataque, com apenas um suporte defensivo, sendo este o mesmo que eu coloquei na última posição. No entanto, os seus ataques eram muito dispersos, com 2 atacando a linha de frente, 2 atacando o primeiro monstro não corpo a corpo da linha de trás, 1 atacando o último monstro da linha de trás, e 1 atacando o monstro com menor quantidade de vida em campo.
Porém, a armadura fornecida pelo invocador, faria com que os ataques causassem pouco efeito sobre o meu time, pelo menos no início da batalha.
Ao final da primeira rodada, o atacante mais forte do adversário foi eliminado. Aparentemente, ele não se atentou as regras de batalha, ou imaginou que eu viesse com poucos Ranges e Mágicos.
Na rodada de número 9, a partida termina com a vitória para o meu lado. Ele conseguiu eliminar 2 monstros do meu time, o que não foi suficiente para impedir não só o ataque da minha equipe, muito menos para suportar os refletes
Clique aqui para ver a batalha completa!
Conclusão
Sempre que você for montar seu time, é ideal que você veja quais são os alvos de cada um deles, para não causar uma disperção muito grande dos ataques, senão você causará pouco impacto sobre cada monstro adversário e não conseguirá ter êxito em eliminá-los.
Como você viu no exemplo acima, os ataques do adversário foram dispersos em 4 monstros do meu time, o que dificultou muito para ele conseguir matá-los.
Todas as imagens são do: @Splinterlands
Divisor do: @freeztag
Não joga Splinterlands ainda? Clique AQUI e venha jogar comigo!
