
¡Hola hivers!💜
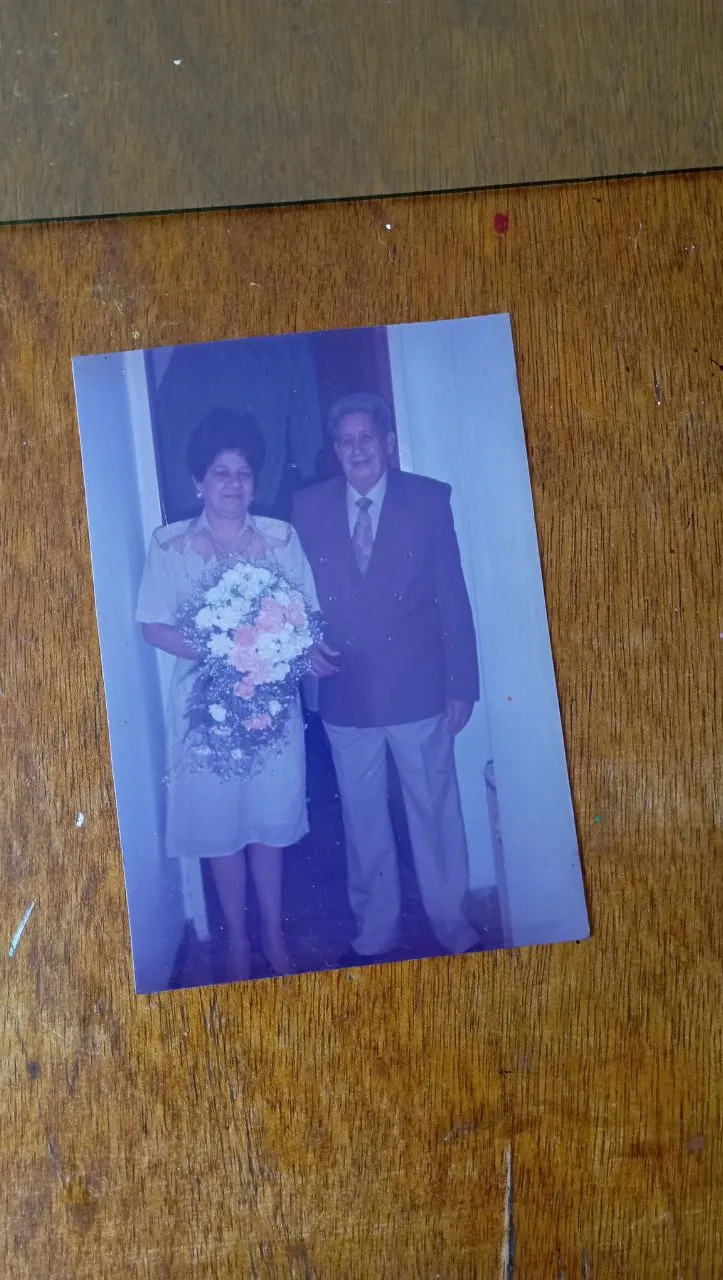
Espero que se encuentren bien y felices, queridos artesanos. Hace poco, se dañó el porta retrato de una foto que tengo de mis abuelos justo antes del matrimonio de mis papás. Es una foto importante para mi mamá, ya que es de las últimas que se tomaron juntos. Ella me pidió que buscara arreglar el porta retrato, pero consideré más bien buscar otro y transformarlo.
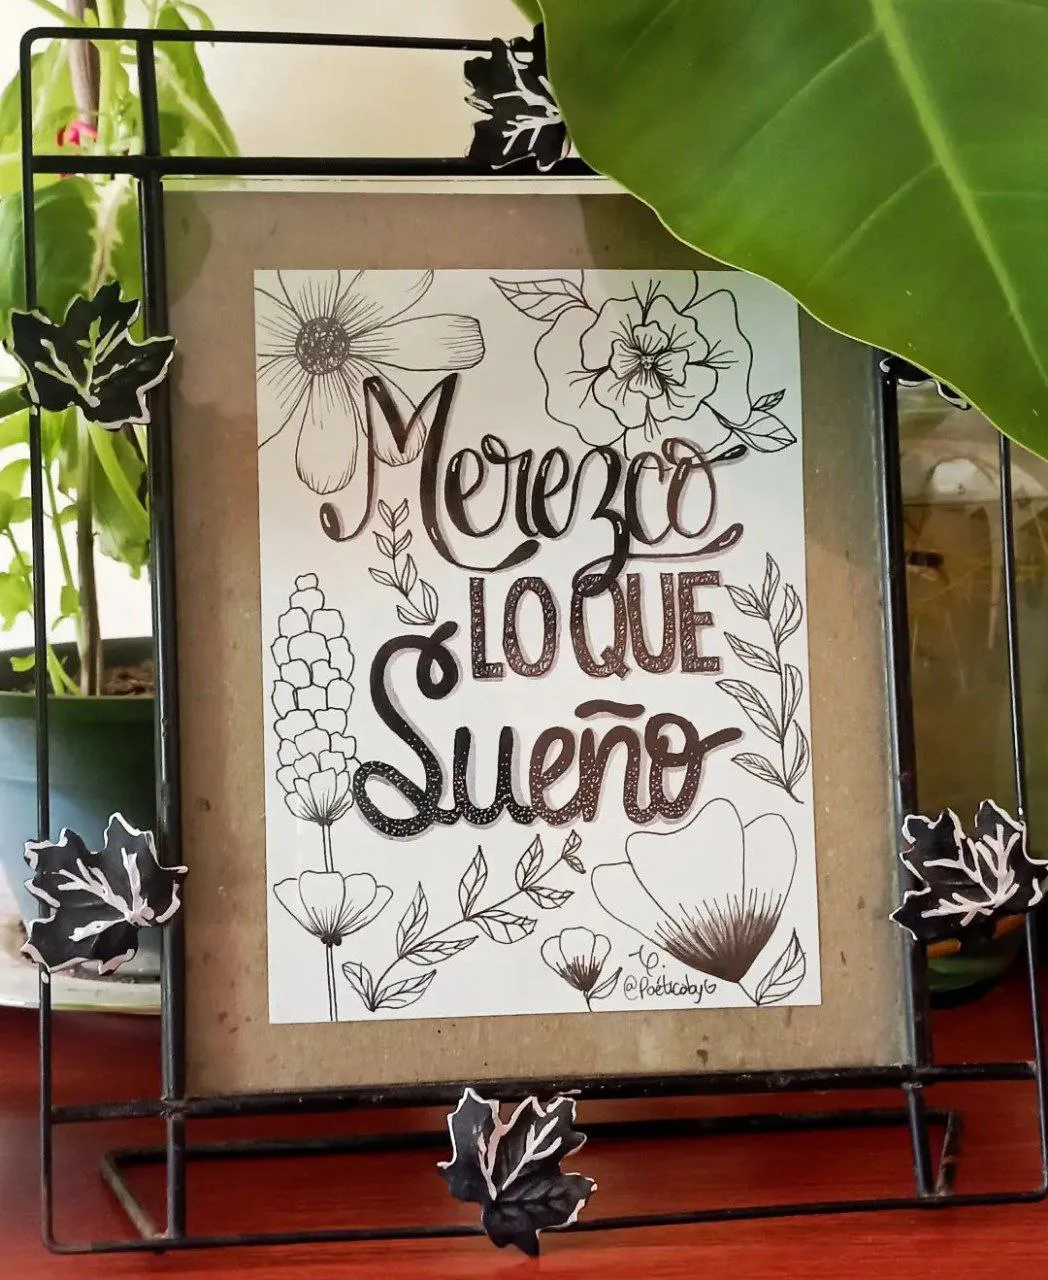
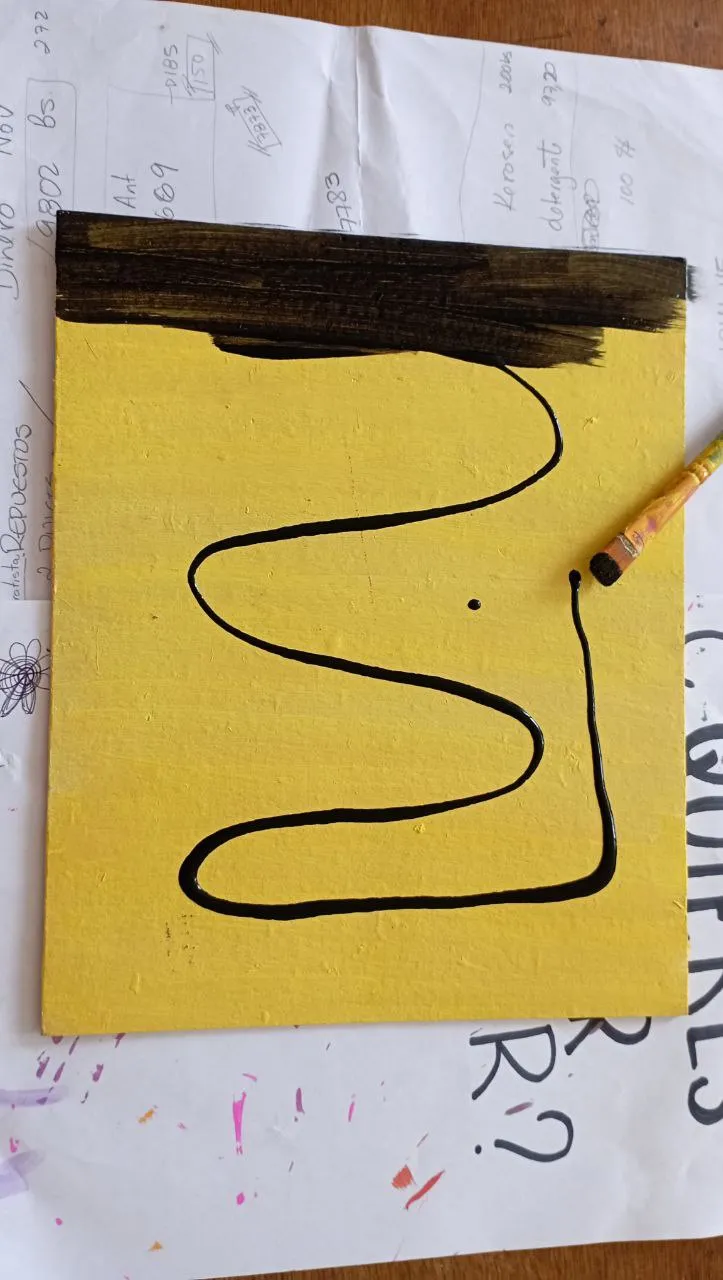
Encontré este en el que tenía una frase que ilustre con lettering y pensé en rediseñar el fondo. Mi idea inicial era poner un color de fondo y ya. Eso resultó en un desastre. Use un tono de amarillo y quedo feo, asi que les cuento como lo hice:

MATERIALES
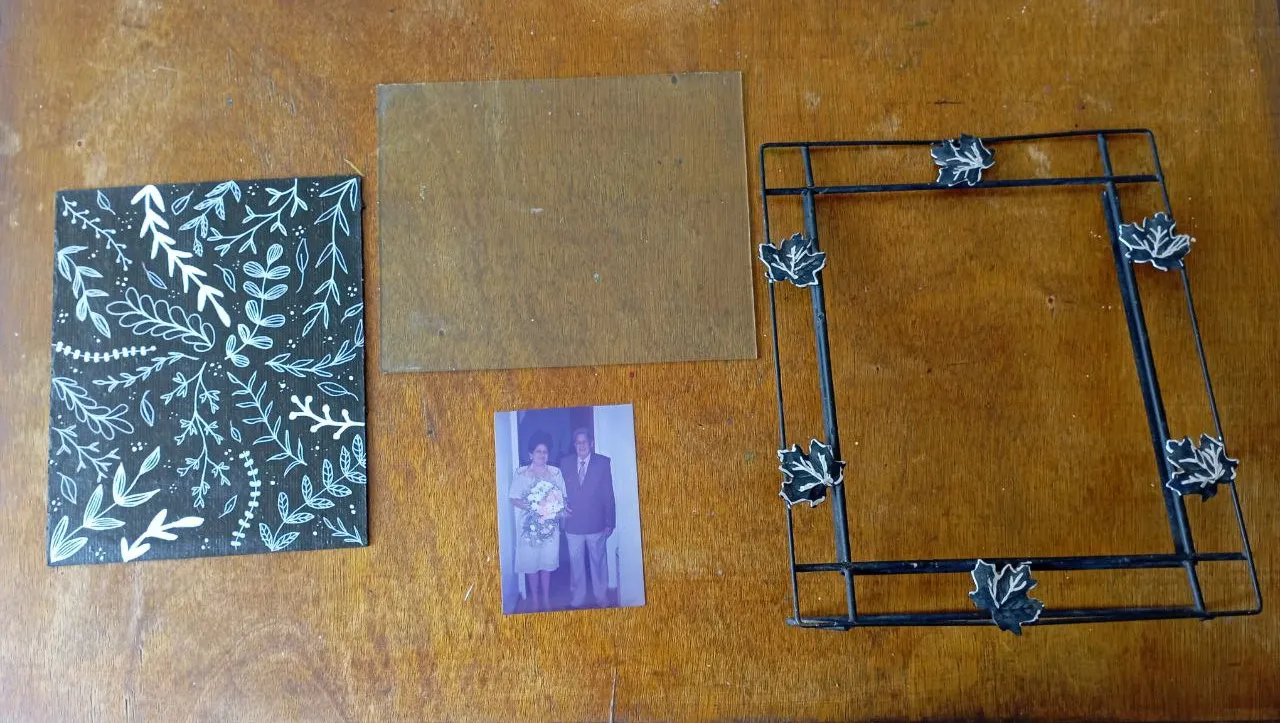
Fotografía
Cartón del porta retrato
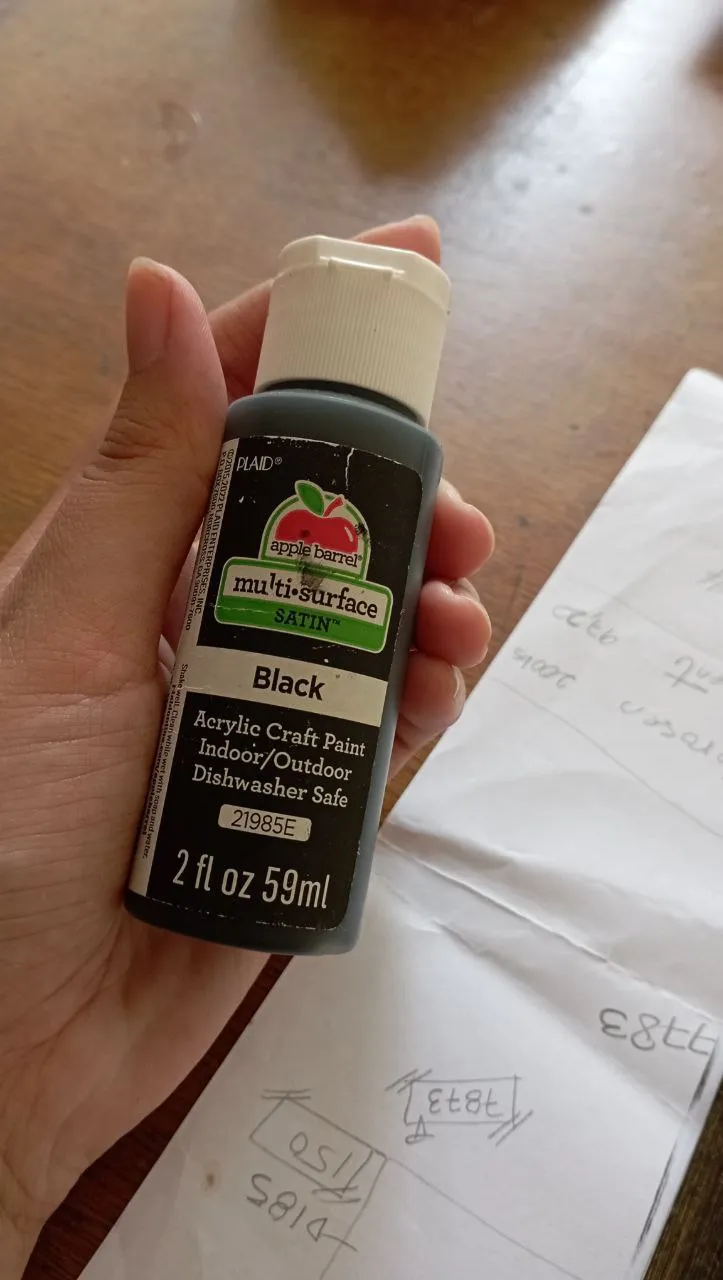
Pintura (use negra para cubrir lo feo)
Marcadores de pintura acrílica (use el color blanco)
Cartulina (use de color blanco)
Cristal del porta retrato
Base del porta retrato
PASO A PASO
 |  |
|---|
PASO 1
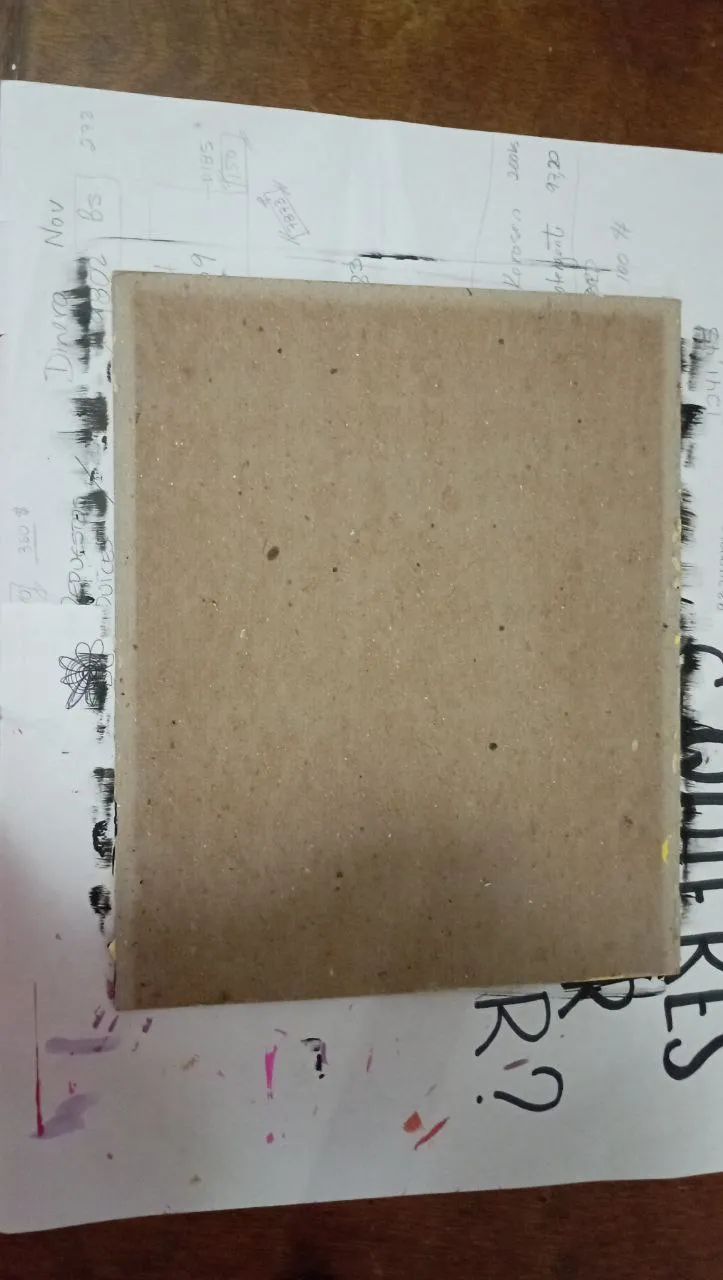
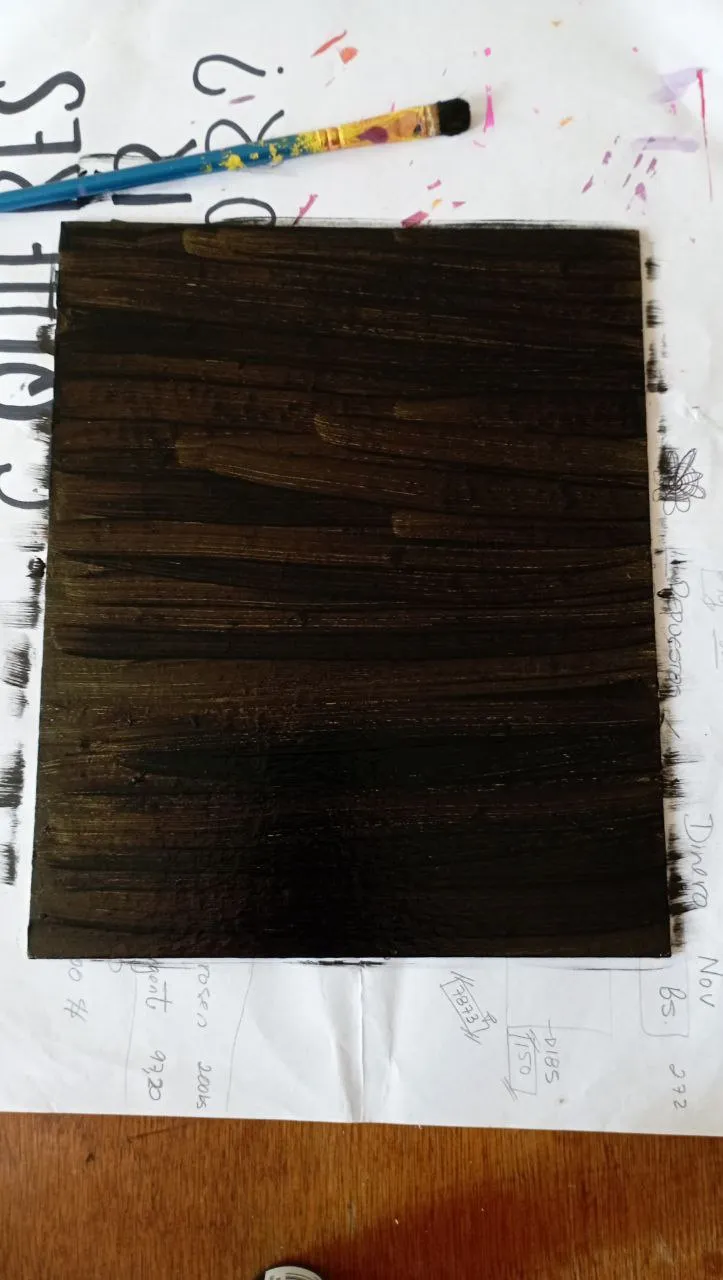
Primero y principal, cubrir el color amarillo. Para esto use pintura acrilica de color negro. Tuve que darle al menos 2 capas a cada lado del cartón para que quedara uniforme. Tuve que dejar secar cada lado del cartón por lo menos unas 8 horas para estar segura de que podría pintar el otro lado.
 |  |
|---|
 |  |
|---|
PASO 2
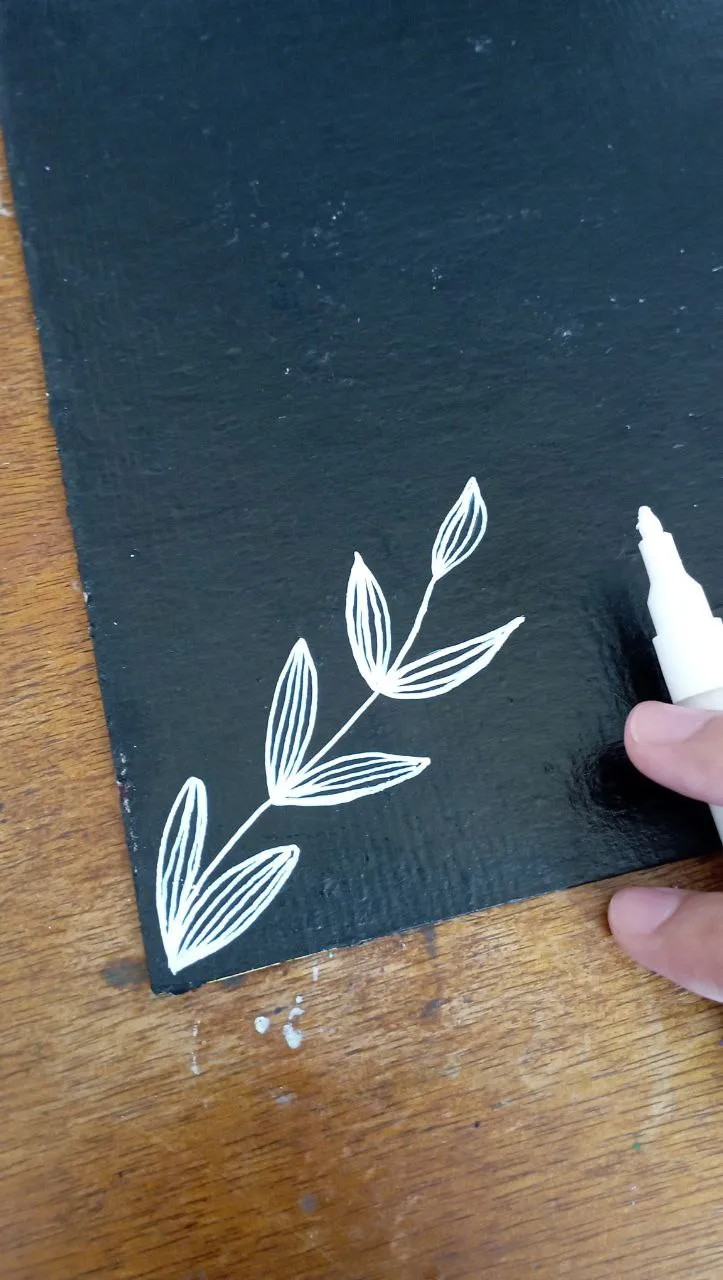
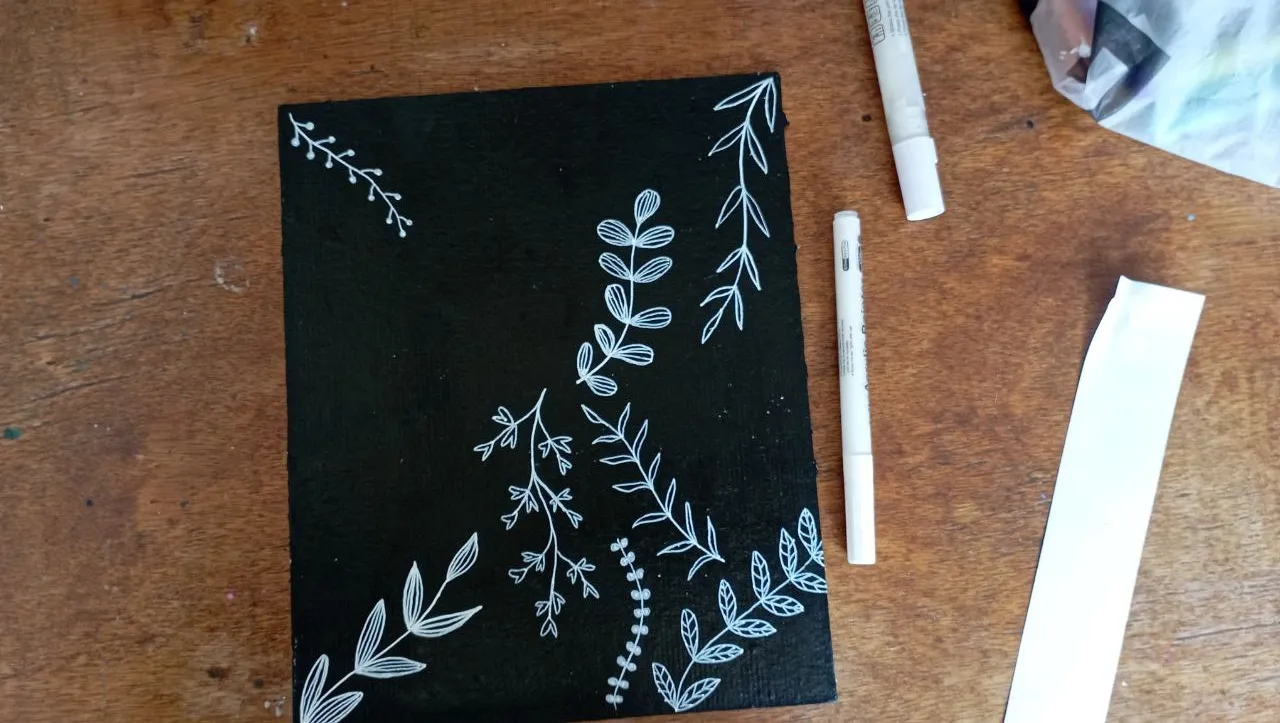
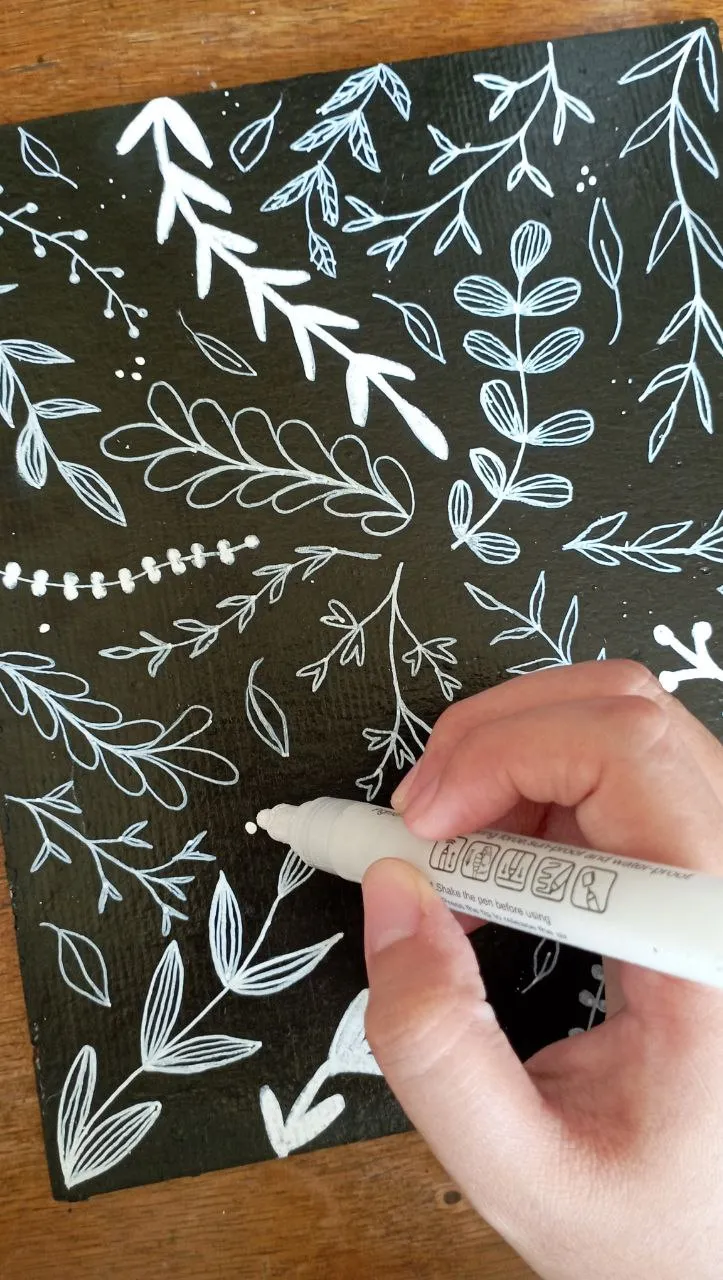
Llegó la hora de decorar el cartón. Quería algo que se viera elegante y bonito, y como mi abuela sujeta un ramo de flores en la foto decidí pintar doodles de hojas y plantas en el fondo. Para esto use dos marcadores de pintura acrílica color blanco; uno con una punta de 0.7mm y otro con punta de 1.3mm para dar contraste entre las plantas.
 |  |
|---|
 |  |
|---|
PASO 3
Dejé secar el dibujo hasta el otro día, mientras me encargaba de limpiar el vidrio y la base del portaretrato. Antes de ensamblar, para esto, corte una cartulina de color blanco usando de base el tamaño de la fotografia, pero añadiendo 1 cm más, cosa de hacerle un pequeño marco.
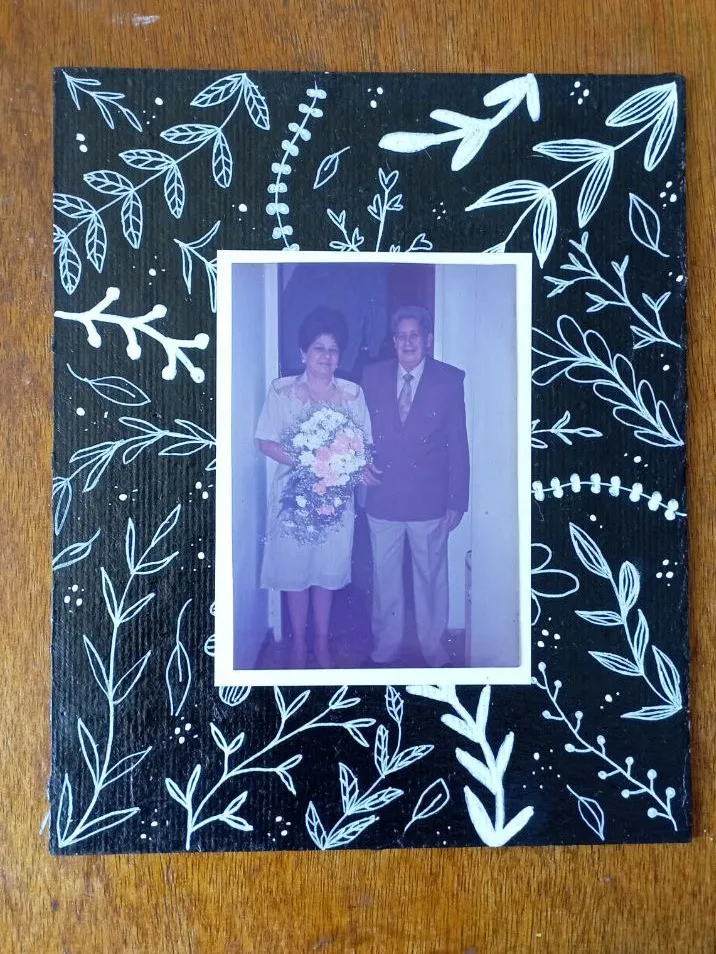
PASO 4
Hora de ensamblar. Primero ubique el cartón, luego centre la cartulina y encima centre la fotografía de mis abuelos. Una vez que quede segura del sitio, le puse el vidrio encima y con mucho cuidado, apretando el lote que formaban: cartón, cartulina, fotografía y vidrio, lo introduje en la base del porta retrato.
 |  |
|---|
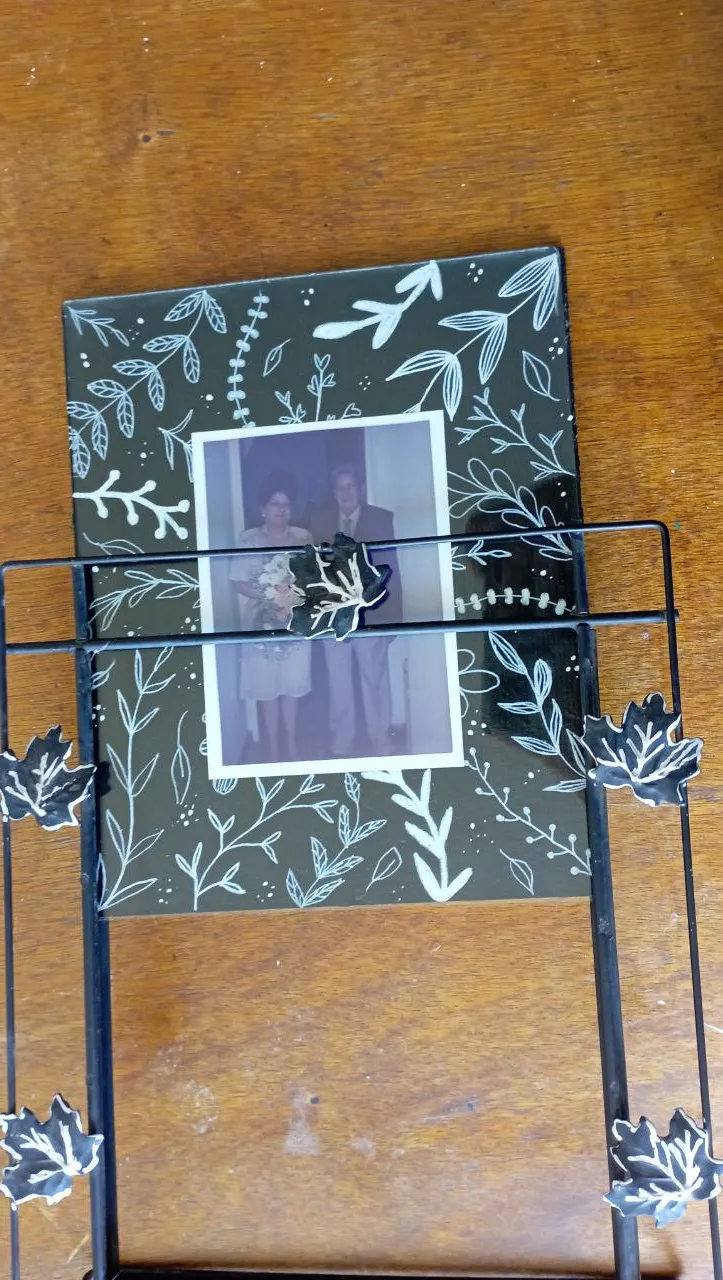
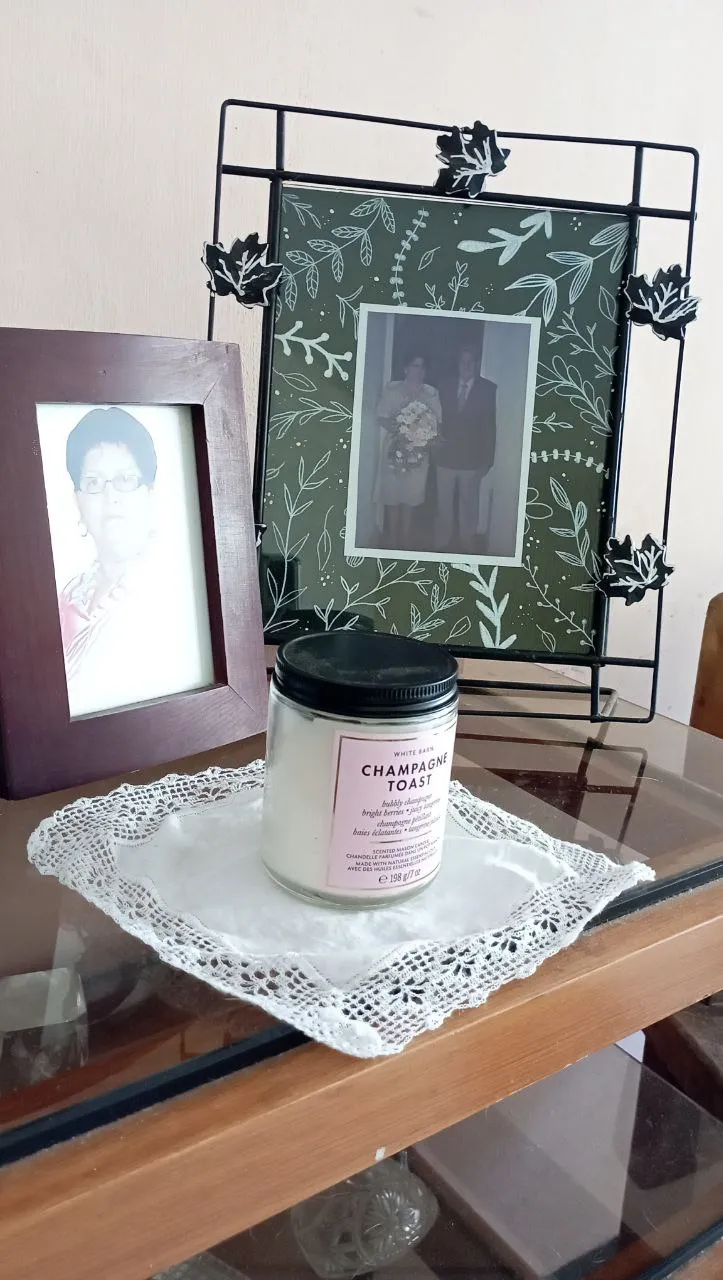
PASO 5
¡Porta retrato listo!
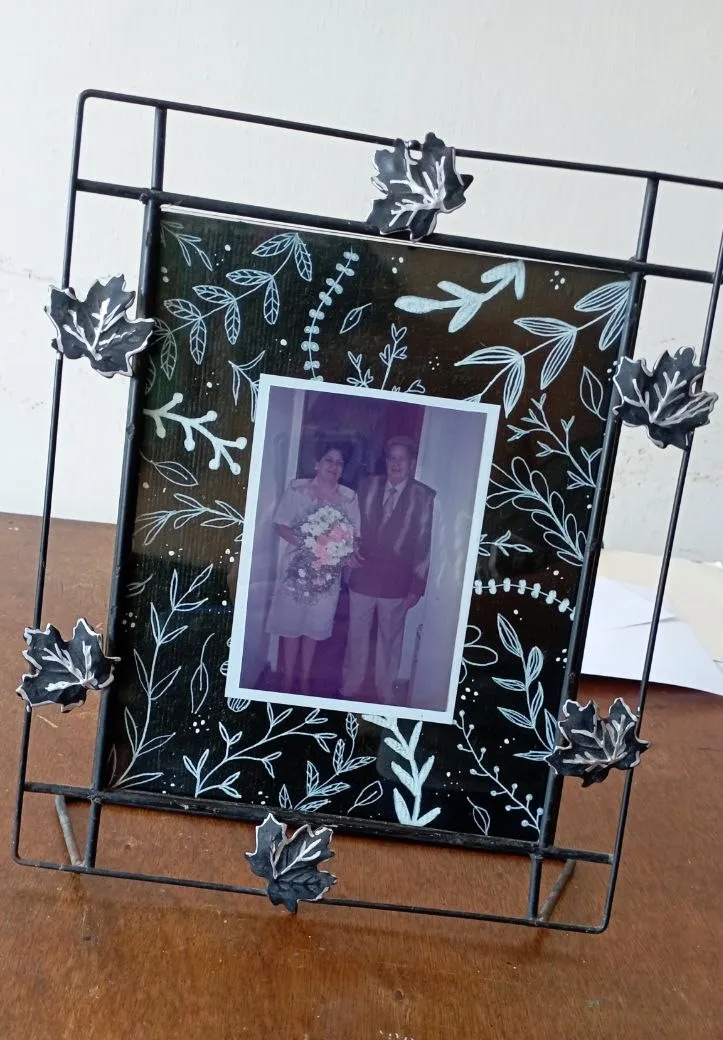
Quedé enamorada del resultado final. Dibujar doodles me encanta y más cuando es arte botánico. Mi mamá quedó encantada con el resultado y se emocionó al verlo. Más que complacerla, me pareció una bonita forma de honrar a mis abuelos Luis y María y darles un lugar bonito.
Gracias por leerme
Con cariño, G.

Hi hivers! 💜
I hope you are well and happy, dear crafters. Recently, the portrait holder of a photo I have of my grandparents just before my parents' marriage was damaged. It is an important photo to my mom, as it is one of the last photos they took together. She asked me to look for a way to fix the portrait holder, but I considered looking for another one and transforming it.
I found this one with a phrase that I illustrated with lettering and I thought about redesigning the background. My initial idea was to put a background color and that was it. That turned out to be a disaster. I used a shade of yellow and it looked ugly, so I'll tell you how I did it:
MATERIALES
Photograph
Portrait holder cardboard
Paint (use black to cover the ugly)
Acrylic paint markers (use white)
Cardboard (use white)
Portrait holder glass
Portrait holder base
STEP BY STEP
| |
|---|
STEP 1
First and foremost, cover the yellow color. For this I used black acrylic paint. I had to give at least 2 coats to each side of the cardboard to make it uniform. I had to let each side of the cardboard dry for at least 8 hours to be sure I could paint the other side.
| |
|---|
| |
|---|
STEP 2
It was time to decorate the cardboard. I wanted something that would look elegant and pretty, and since my grandmother is holding a bouquet of flowers in the photo I decided to paint doodles of leaves and plants in the background. For this I used two white acrylic paint markers; one with a 0.7mm tip and one with a 1.3mm tip to give contrast between the plants.
| |
|---|
| |
|---|
STEP 3
I let the drawing dry until the next day, while I took care of cleaning the glass and the base of the picture frame. Before assembling, for this, I cut a white cardboard using the size of the picture as a base, but adding 1 cm more, to make a small frame.
STEP 4
Time to assemble. First place the cardboard, then center the cardboard and center the photograph of my grandparents on top of it. Once it was securely in place, I placed the glass on top and very carefully, pressing together the cardboard, cardboard, photograph and glass, I inserted it into the base of the portrait holder.
| |
|---|
STEP 5
Portrait holder ready!
I was in love with the final result. I love drawing doodles and even more when it is botanical art. My mom was delighted with the result and was thrilled to see it. More than pleasing her, I thought it was a nice way to honor my grandparents Luis and Maria and give them a nice place.
Thank you for reading me
With love, G..
FUENTE
Fotos: tomadas por mi desde mi redmi 10
Traducción: Deepl
SOURCE
Photos: taken by me from my redmi 10
Translation: Deepl
