Tutorial Fuego digital

English
Greetings Hivearte community, Today I want to share with you a small but very useful tutorial on how to draw fire.
This tutorial is aimed at people who are just starting in digital art and it is difficult to draw certain things in this case the fire.
There are many methods and styles, which one you use depends on your tastes and style of drawing, this is one of them and maybe it can help you a little if you are starting in digital art.
The following tutorial was created in the Paint tool sai 2 program, but I will try to explain it in such a way that you can adjust it to the program of your preference, really the important thing is to learn the trick, the rest is up to your imagination.
You can even practice it if you don't have a graphics tablet.
Let's get started!
Español
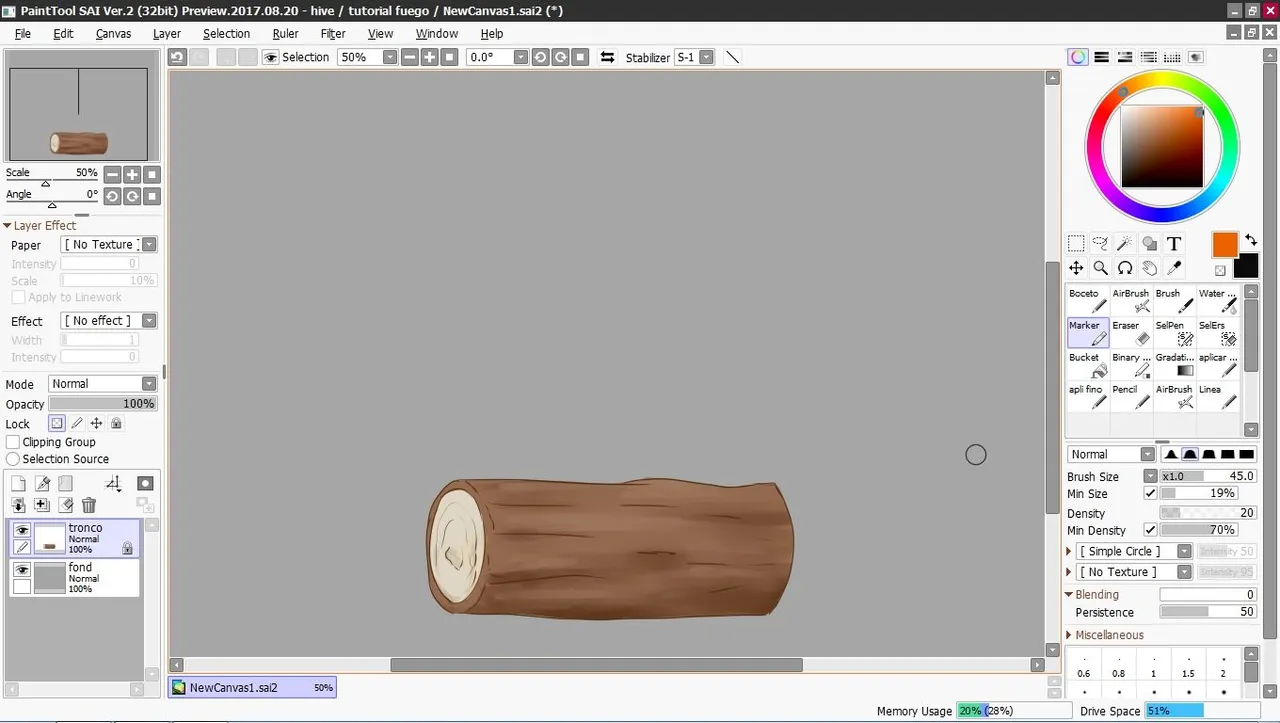
We open the program, in this case the tool sai 2, the functions that we will use are very similar in other programs like clip studio, ibis etc...
Oh I took the trouble to draw a small trunk for our fire.
Abrimos el programa, en este caso el tool sai 2, las funciones que usaremos son muy similares en otros programas como el clip studio, ibis etc...
Oh me tome la molestia de dibujar un pequeño tronco para nuestro fuego.
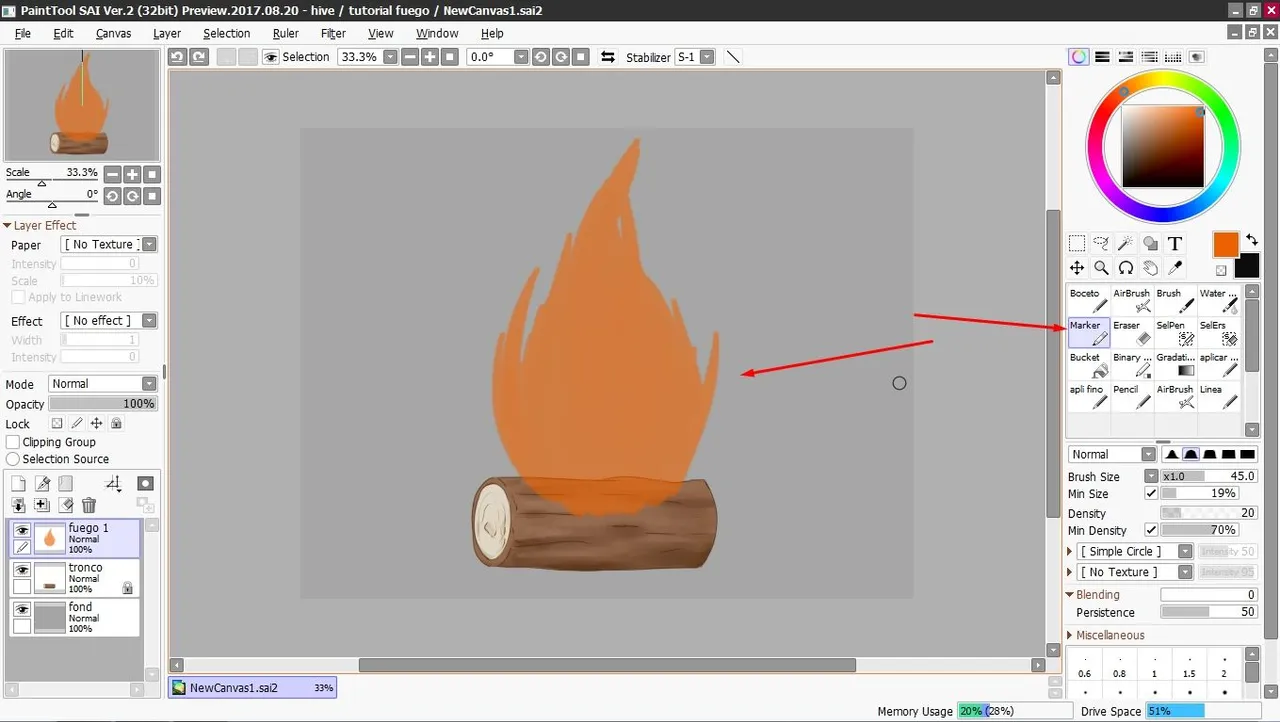
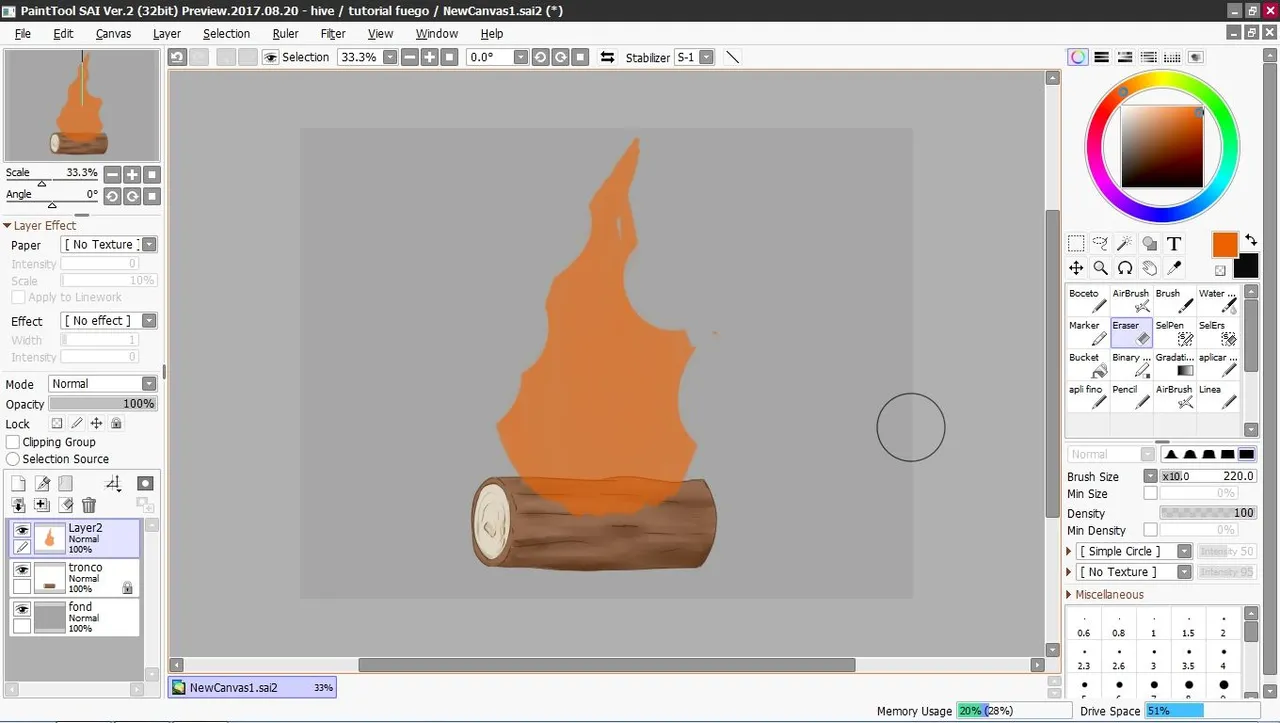
The first step is to draw the base of our fire, for this I used the "marker" brush that gives some transparency and blending of the color, but you can really use one that you like and adjust it to your taste.
El primer paso es dibujar la base de nuestro fuego, para esto use el pincel "marker" que da cierta transparencia y mezclado del color, pero realmente puedes usar uno que te guste y ajustarlo a tus gustos.
The next step is to remove small parts with the eraser, you can give it the shape you like or need, remember that if there is wind the fire should have more movement.
There are other styles where the edges are left like this.
El siguiente paso es quitarle pequeñas partes con el borrador, puedes darle la forma que gustes o necesites, recuerda que si hay viento el fuego debe tener más movimiento.
Hay otros estilos donde dejan así los bordes.
Now we blur the edges with the blurring brush. How much we blur the edges is up to our taste.
Ahora difuminamos los bordes con el pincel de difuminar. que tanto lo difuminamos es a nuestro gusto.
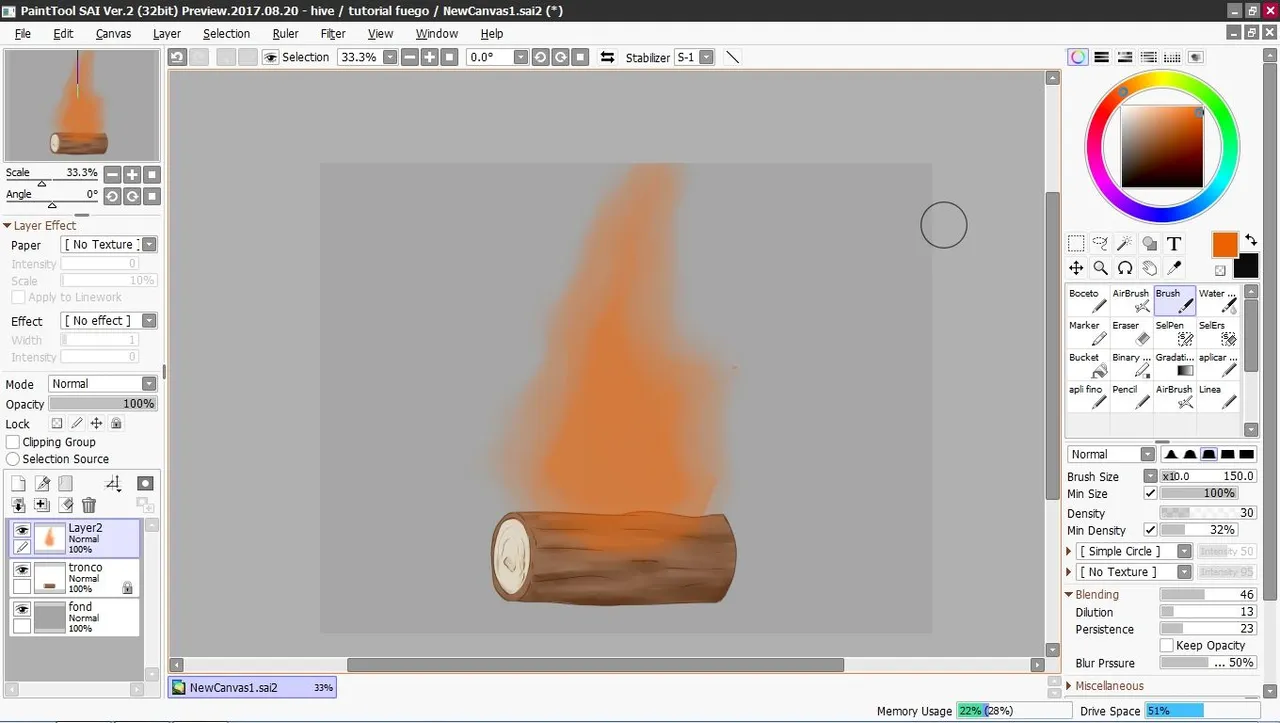
Basically, we already have the basis of our fire.
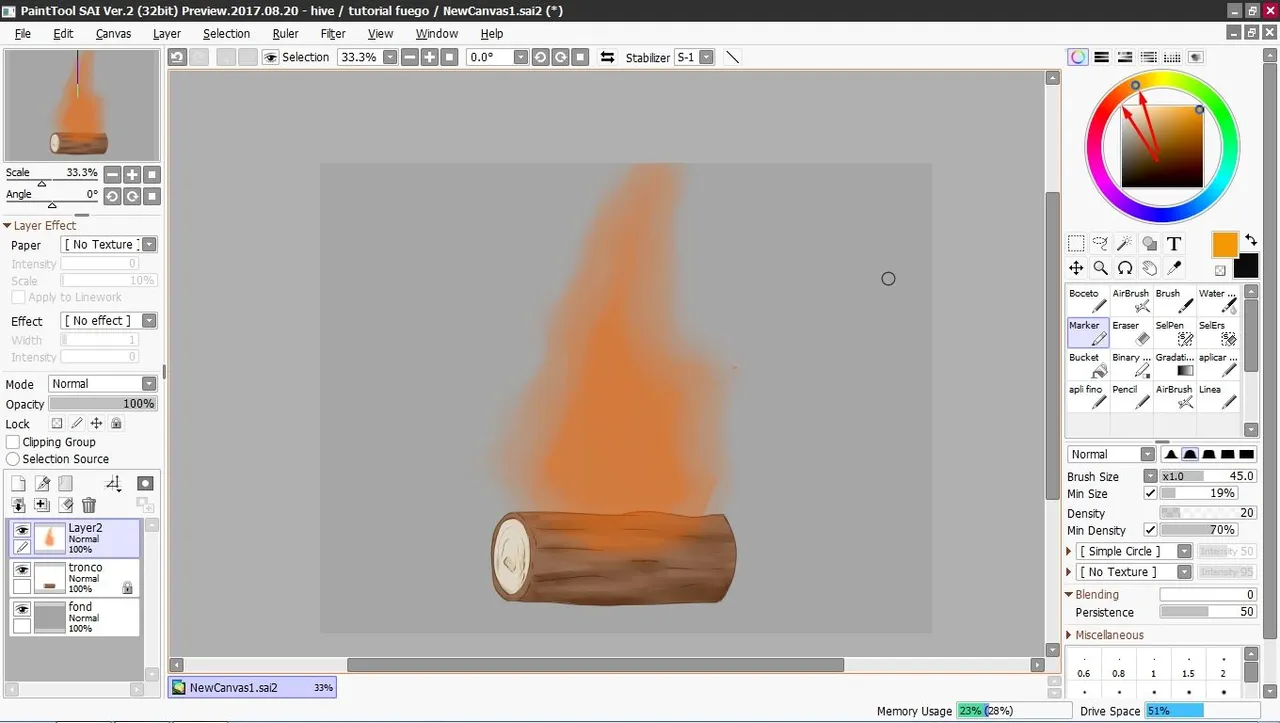
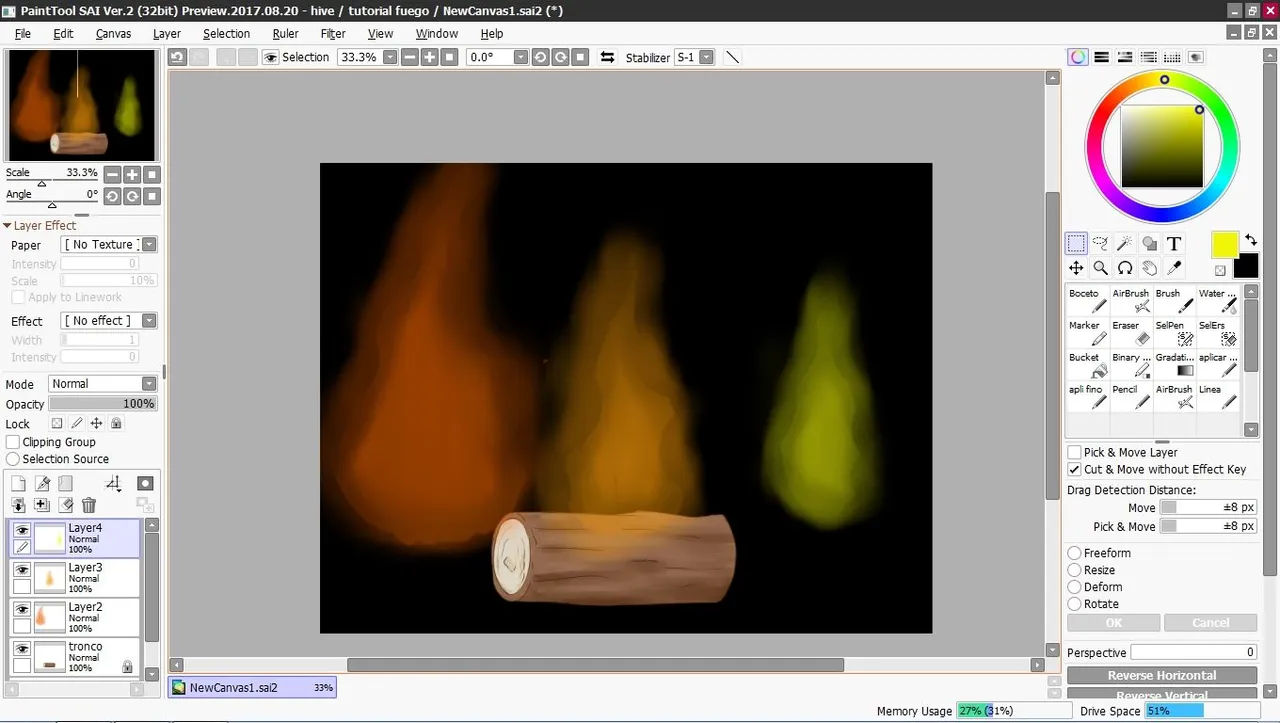
To continue we advance a little more in the chromatic circle and with this new color we do exactly the same, but with the difference that this second layer is smaller.
That is, we make a center with a different color, brighter and smaller.
Básicamente, ya tenemos la base de nuestro fuego.
Para continuar avanzamos un poco más en el círculo cromático y con este nuevo color hacemos exactamente lo mismo, pero con la diferencia que esta segunda capa es mas pequeña.
Es decir, hacemos un centro con un color diferente, mas brilloso y pequeño.
We repeat the same process, this time with a much more intense and lighter color.
Change the background to a black color so you can better appreciate how our fire is turning out.
Repetimos el mismo proceso, esta vez con un color mucho más intenso y claro.
Cambie el fondo a un color negro para que puedan apreciar mejor como está quedando nuestro fuego.
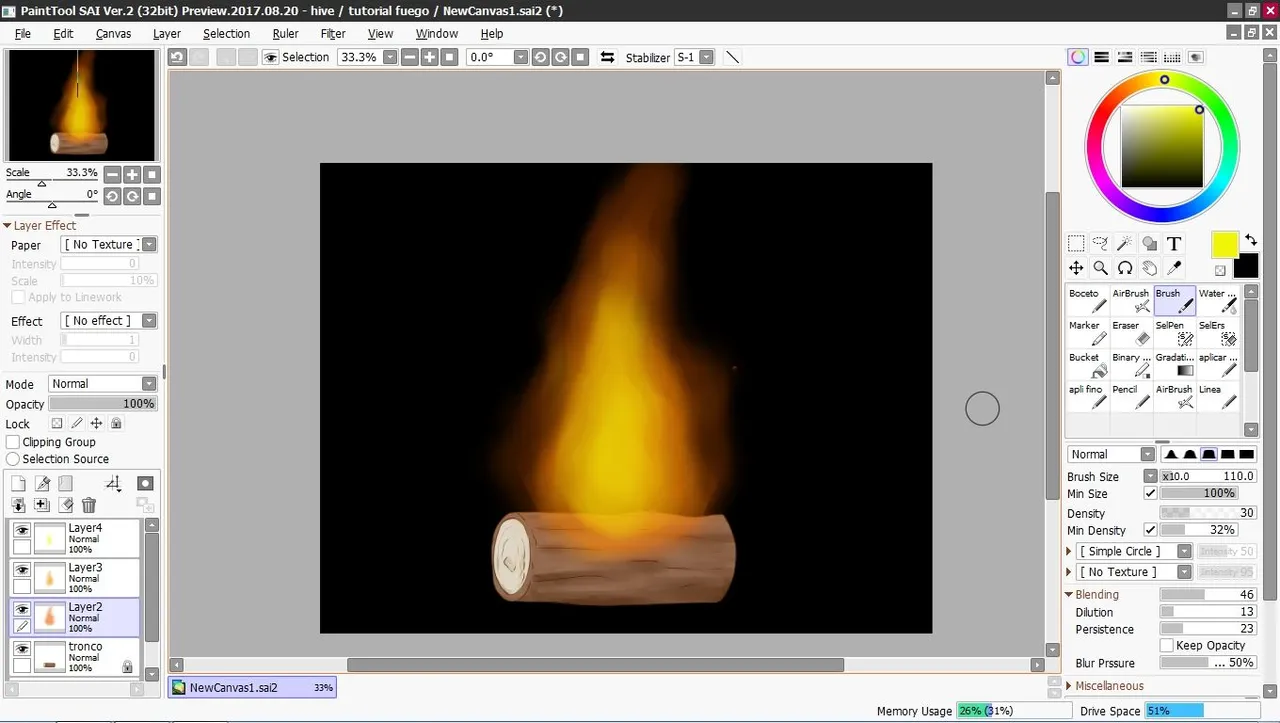
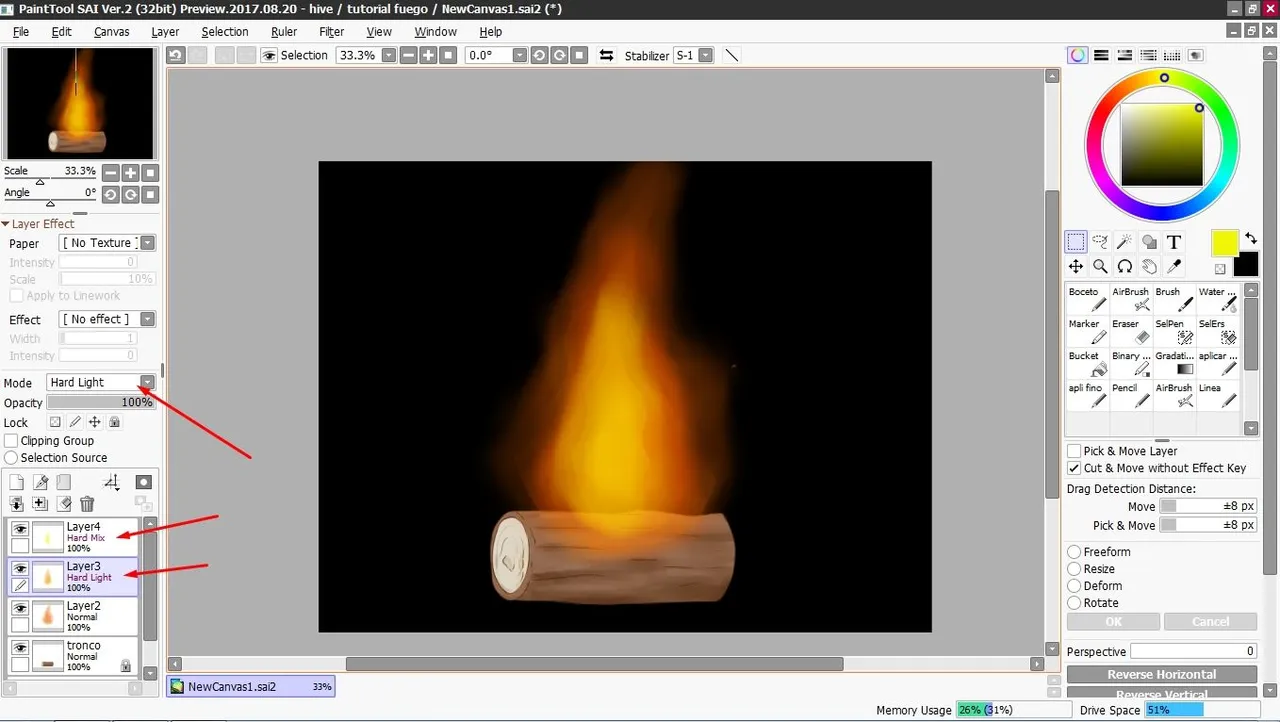
Separate the different layers so you can appreciate what we have so far, we can leave it like this but let's go a little further I want to show you other options.
Separe las diferentes capas para que puedan apreciar lo que llevamos hasta ahora, podemos dejarlo asi, pero vamos un poco más quiero mostrarles otras opciones.
We will play with the effects of the layers, until we find one that fits our taste, there are even some that give the effect of burning in the wood. In my case I will only look for a shiny one, this only applies to all the layers except the base fire layer.
Jugaremos con los efectos de las capas, hasta encontrar alguno que se ajuste a nuestro gusto, incluso hay unos que dan el efecto de quemado en la madera. En mi caso solo buscaré alguno brillante, esto solo se aplica a todas las capas excepto la capa de fuego base.
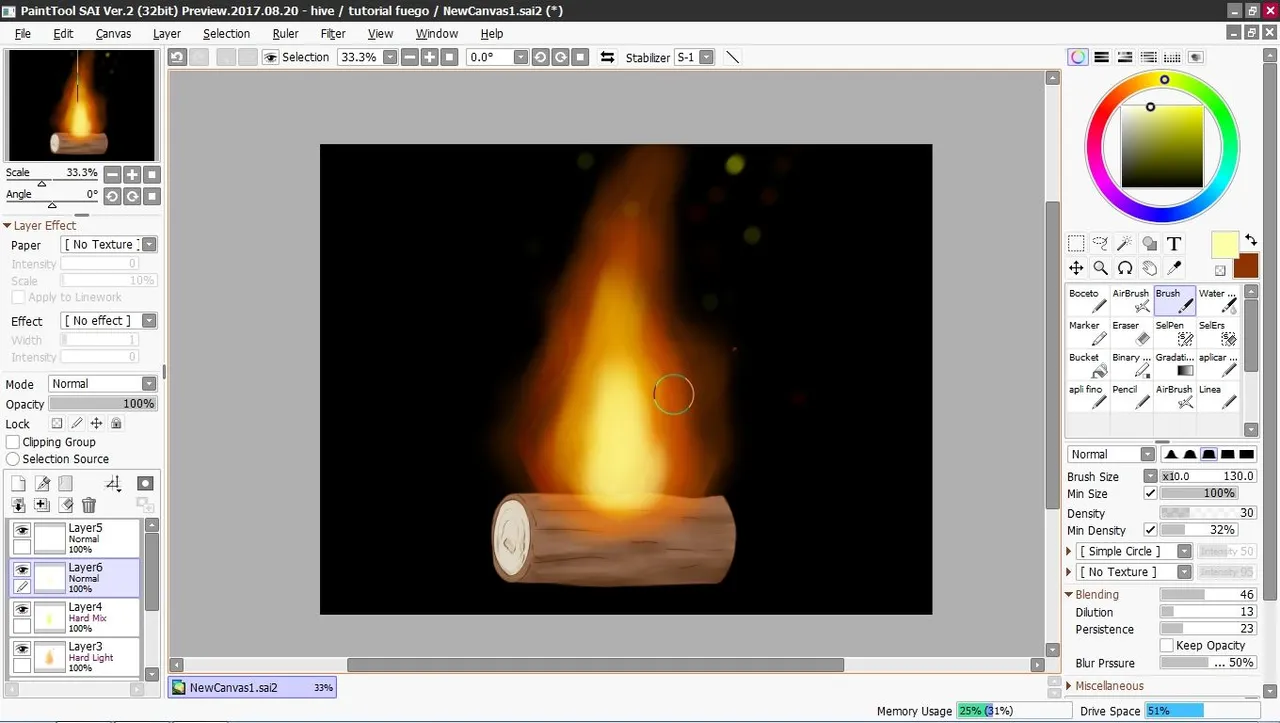
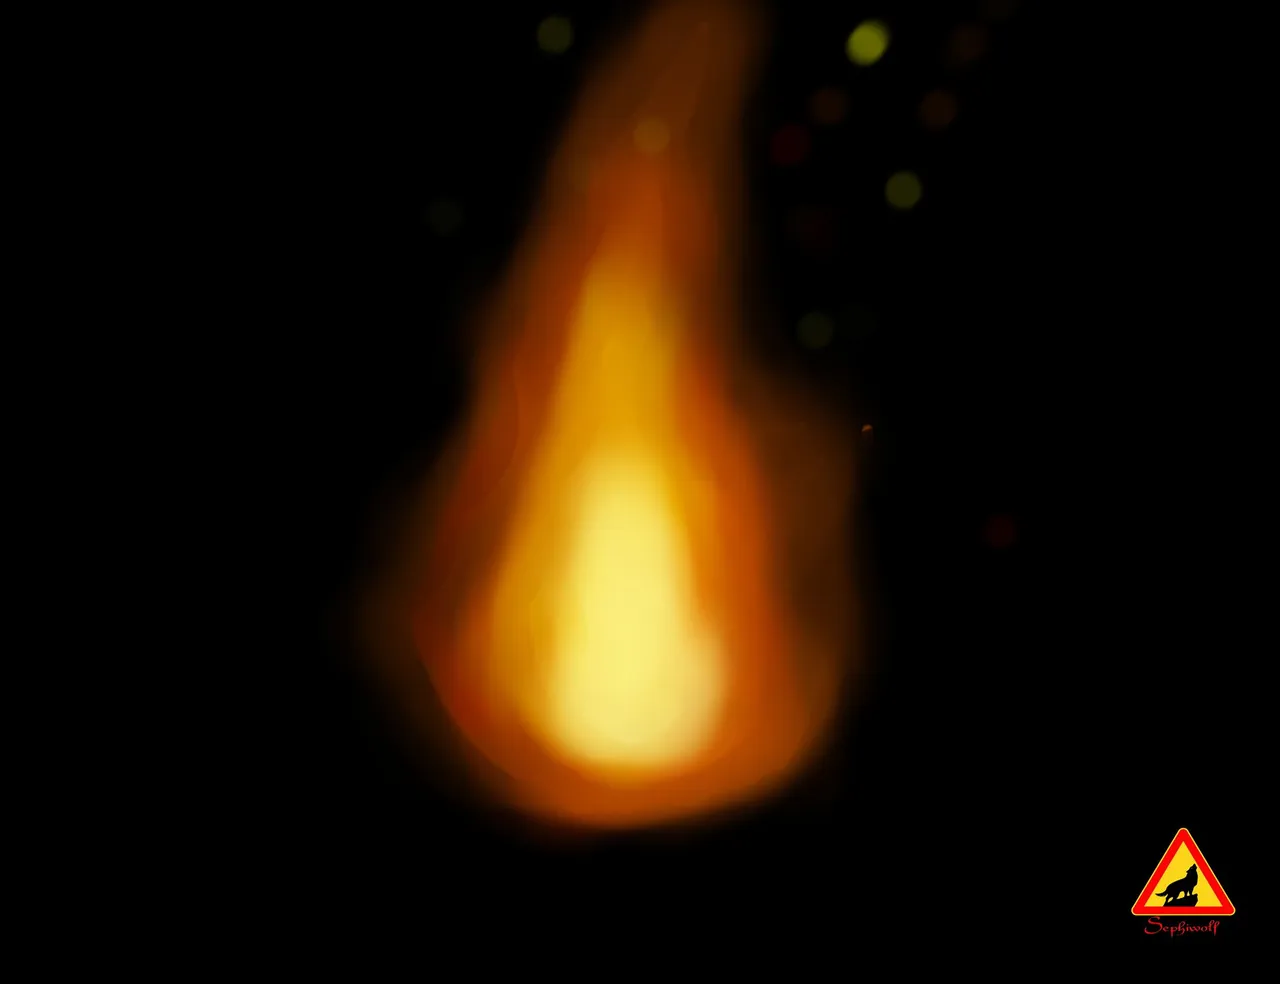
To give more intensity to the fire I added another layer even lighter and did all the process explained above. also some small floating lights give the effect of embers in the air.
Para darle mas intensidad al fuego agregué otra capa aun más clara y le hice todo el proceso anteriormente explicado. también unas pequeñas luces flotando dan el efecto de brasas al aire.
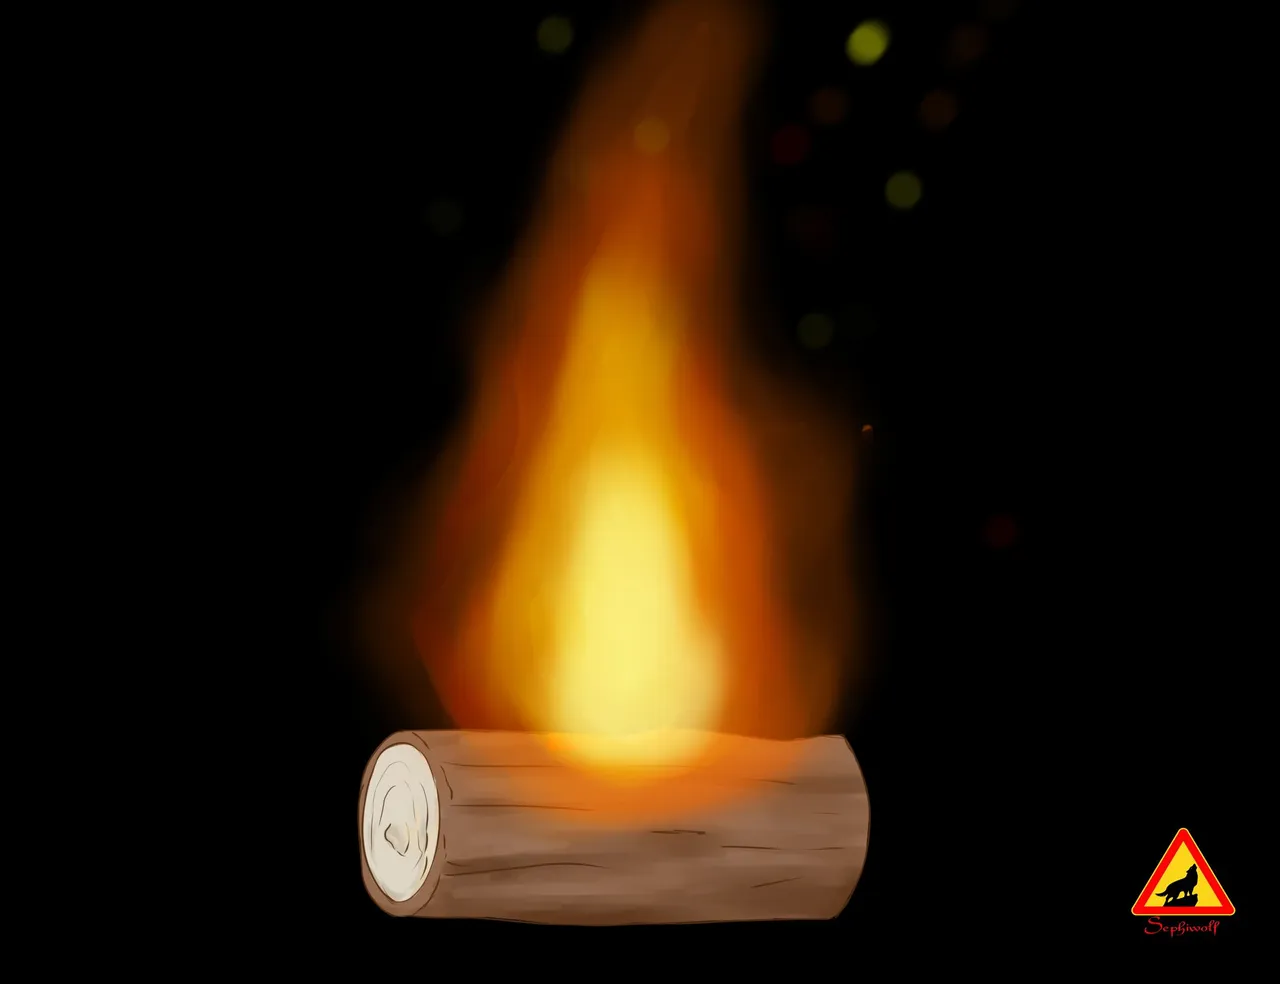
Finally we finished our fire, easy, fast and beautiful.
I think it may be useful at some point to know this style of fire. it can be done in many ways and experiment with changing the color, shape and play with the other options, remember the limit is you.
Finalmente terminamos nuestro fuego, fácil, rápido y bonito.
Creo que puede ser de utilidad en algún momento conocer este estilo de fuego. se puede hacer de muchísimas formas y experimentar como cambiar el color, forma y jugar con las otras opciones, recuerda el límite lo pones tú.
Friends I hope you find this tutorial useful, I hope this is the first of many. See you cowboys
Amigos espero les sea de utilidad este tutorial, espero este sea el primero de muchos. Nos vemos vaqueros
En memoria de Rui Torres
Tools:
- PaintTool SAI 2
- Inspiroy H640 Pen Tablets
- Corel photo paint x3