This is a junked revolver rebuild post with lots of photos and info! Enjoy!
I used to manage a local gunshop prior to 2020 and one of the perks other than buying firearms and ammo at dealer cost was coming across broken and junked guns and parts. This revolver was gifted to me by one of my best customers, a fellow that spent a lot of time on the road running a construction company. He had a friend that had attempted to lighten the trigger on this .357, but just ended up messing it up and losing a few key parts including the mainspring, the frame screws, grips, and the "hand". This dismantled gun ended up collecting dust in a junk drawer for a few years before he gave it to me.
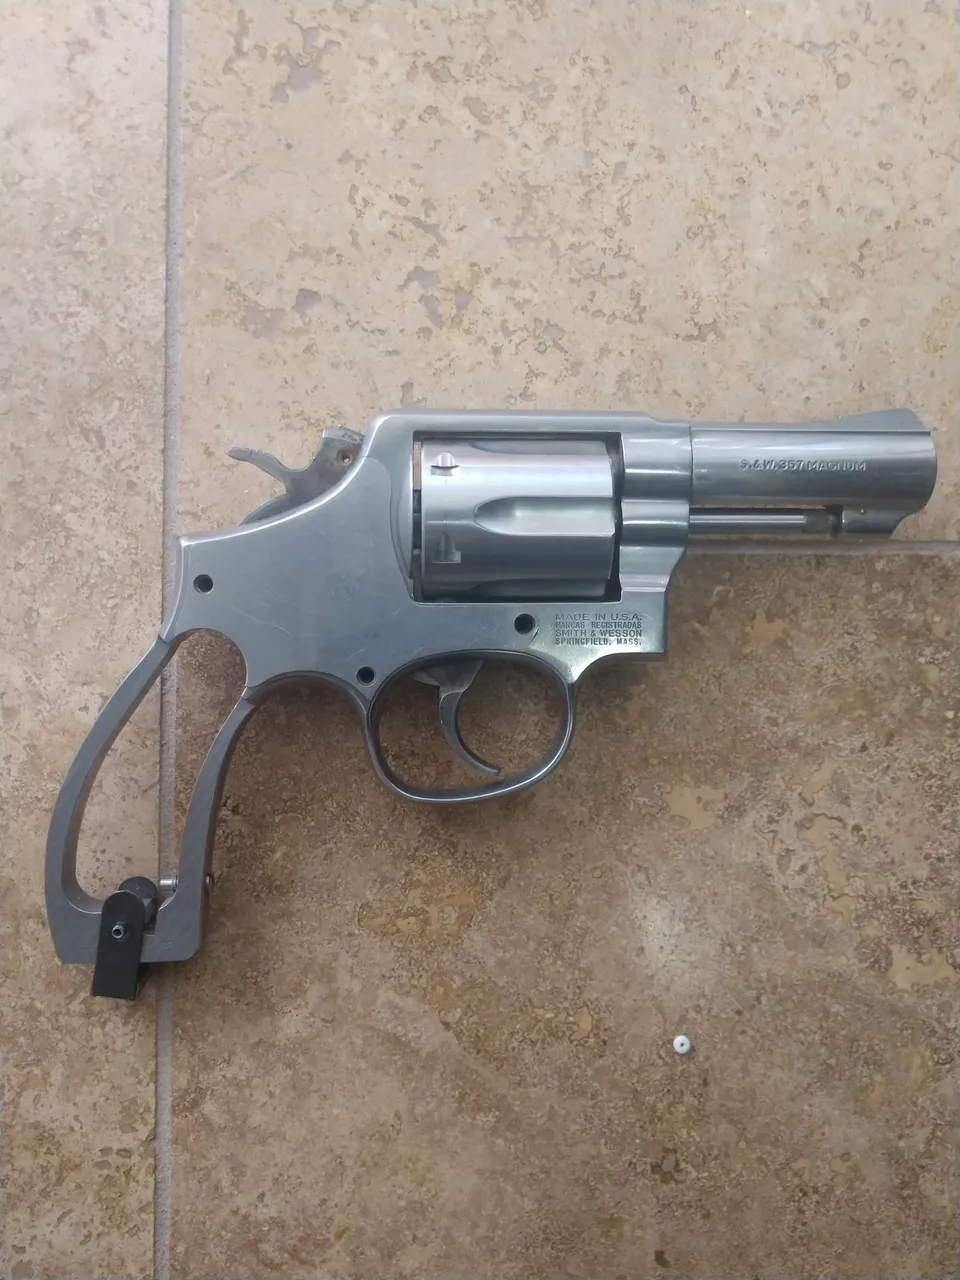
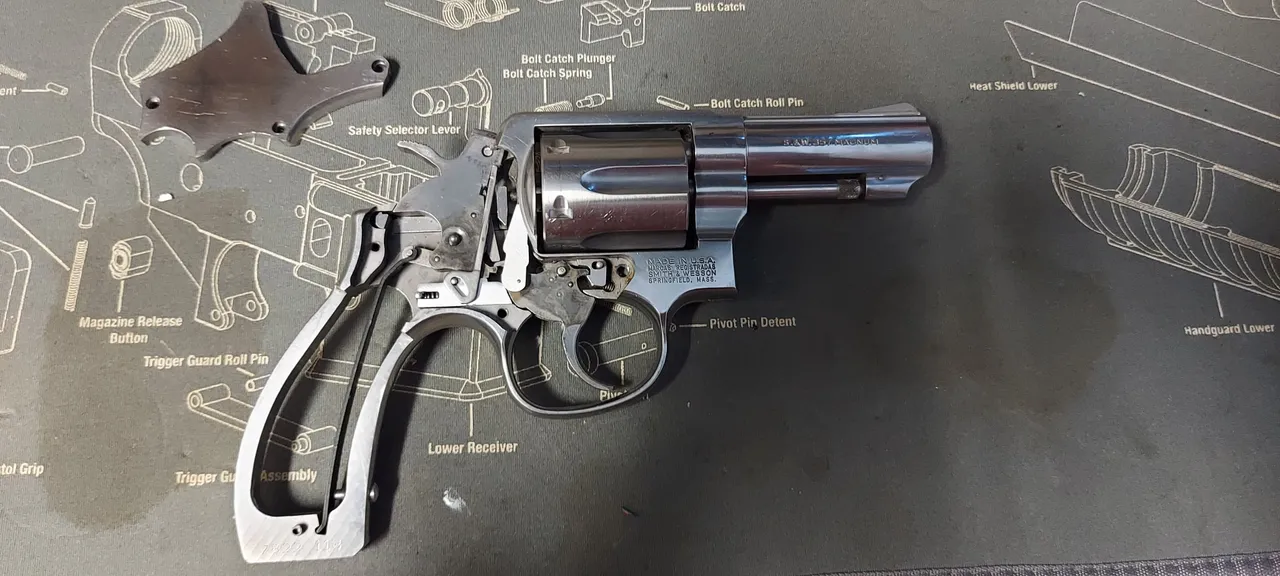
"You could probably do something with this hunk of metal," George told me with a smile as he handed over a clear plastic bag filled with a scratched stainless and dismantled Smith & Wesson Model 65-5 .357magnum. The revolver at least had the most important parts present: the frame, cylinder, side plate, trigger assembly and hammer.
What a lucky day! It's not very often that you come across an absolutely free fixer-upper with such great potential, plus the barrel rifling looked great! It just needed parts. Lots of them.
And in case anyone is wondering, I did my due diligence to make sure it wasn't reported stolen or missing.
This is a picture of what the SW 65-5 looked like before getting everything back together.
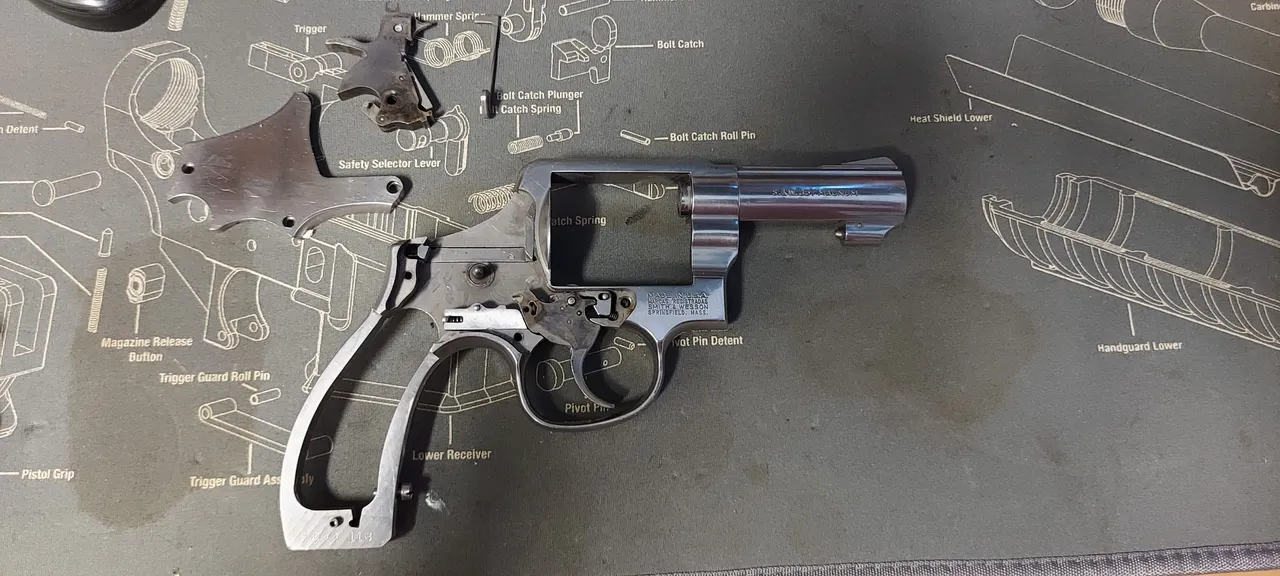
It may be difficult to tell in the photos, but the finish was scratched up pretty badly around the screw holes. The damage was probably from someone trying to remove the sideplate without the proper tools and the screwdriver would slip and skip across the stainless steel. I did a fair amount of light buffing with a mild polishing compound and a buffing wheel, but the damage was deep and really difficult to remove.
Using a few parts diagrams for this model, I assembled a list of the missing parts
-Thumbpiece Nut, New Factory Original $5.65
-Thumbpiece, Stainless, New Factory Original $18.50
-Bolt Plunger Spring, New Factory Original $2.45
-Bolt Plunger, Used Factory Original $2.75
-Yoke Screw Assembly, Stainless Glass Bead $9.80
-Plate Screw, Stainless, New Reproduction (Flat Head)x2 $4.25
-Rebound Slide Spring, New Factory Original $3.50
-Hand, 3-Pin, New Factory Original $2.45
-Gas Ring, New $8.00
-Hand, 3 Pin, Post 1990 $19.25
-Mainspring, Steel, New Factory Original (Flat) $11.75
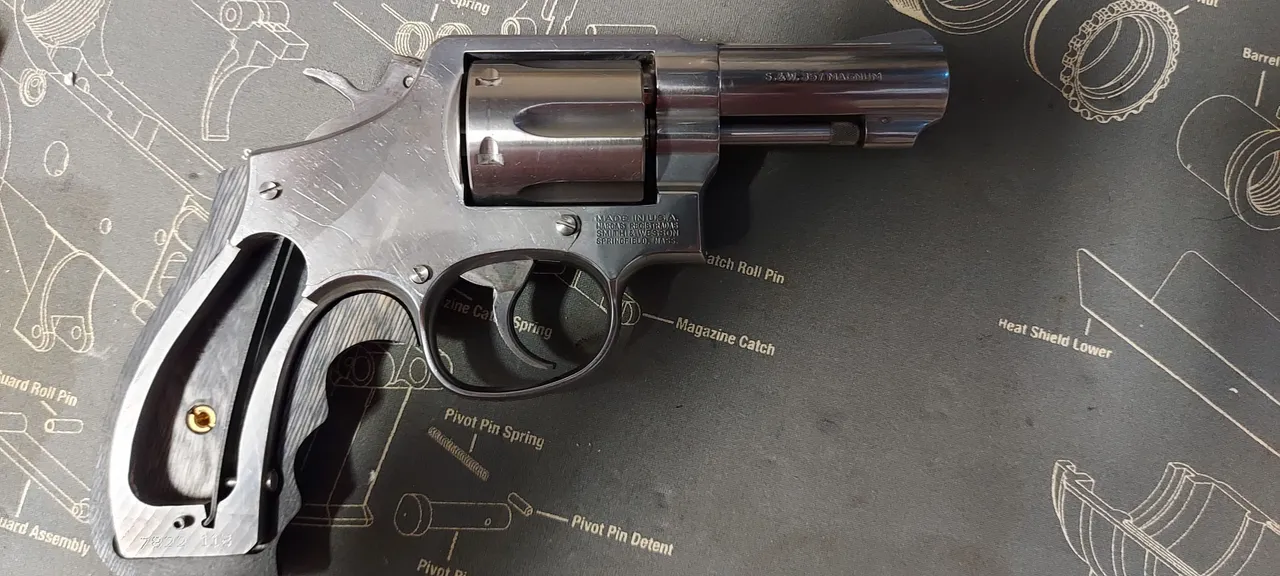
This is the revolver after cleaning and buffing, a bit better than before.
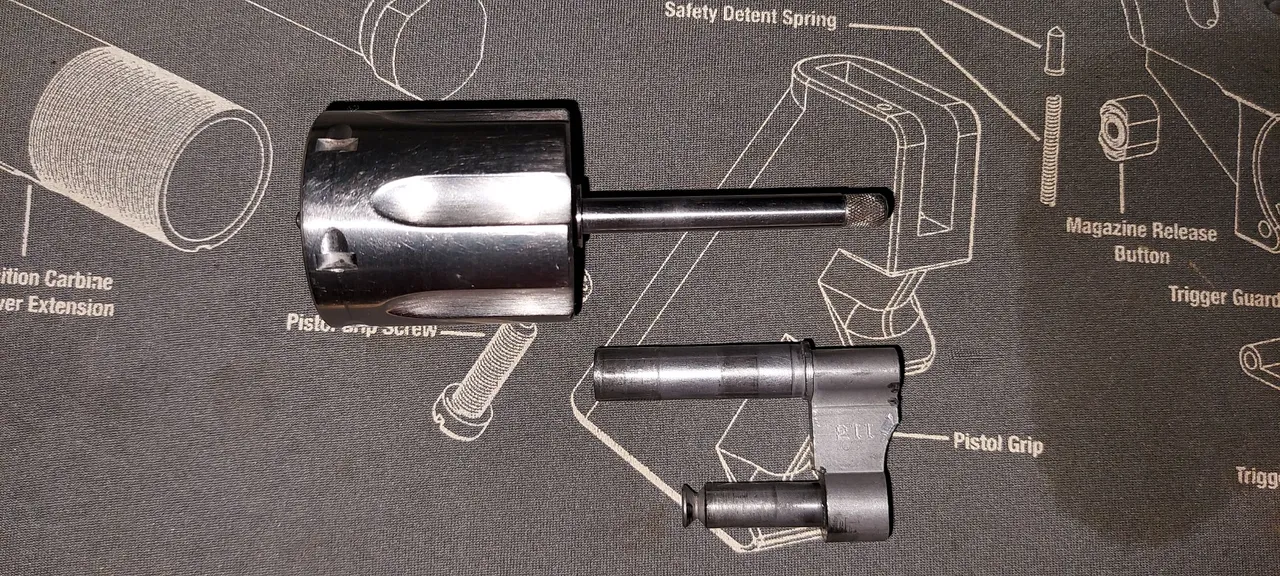
The completed cylinder and yoke. I already installed the bolt plunger and bolt plunger spring. Very simple to do.
I have a replacement mainspring from Wilson Combat, 2 replacement frame screws. 1 yoke screw, a 3-pin Hand, and the replacement thumbpiece and nut.

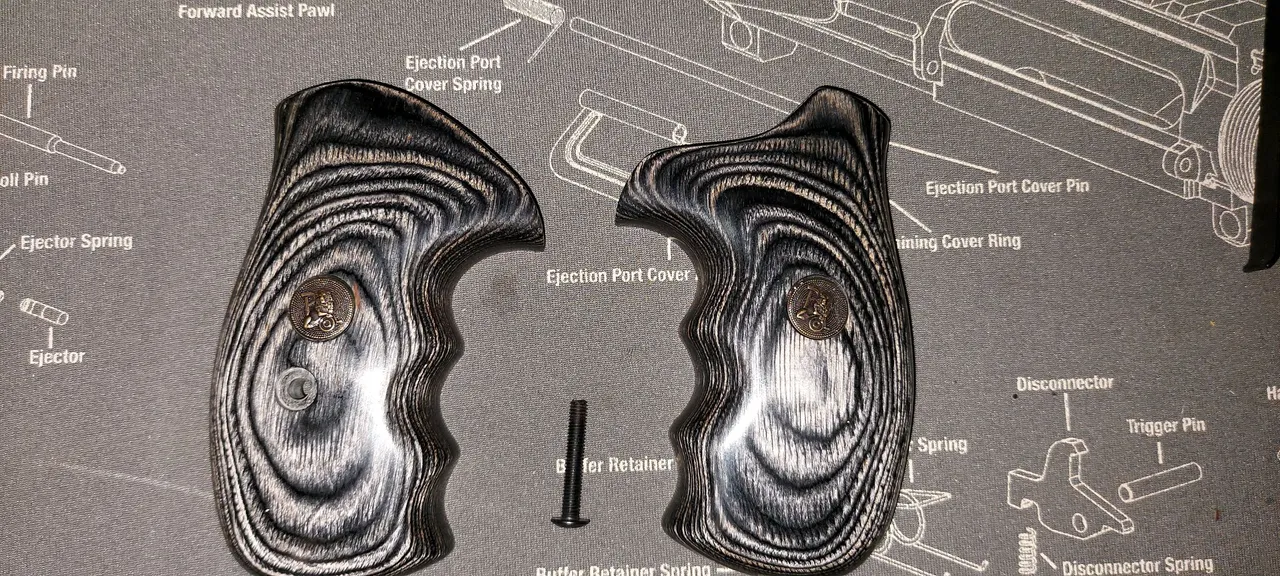
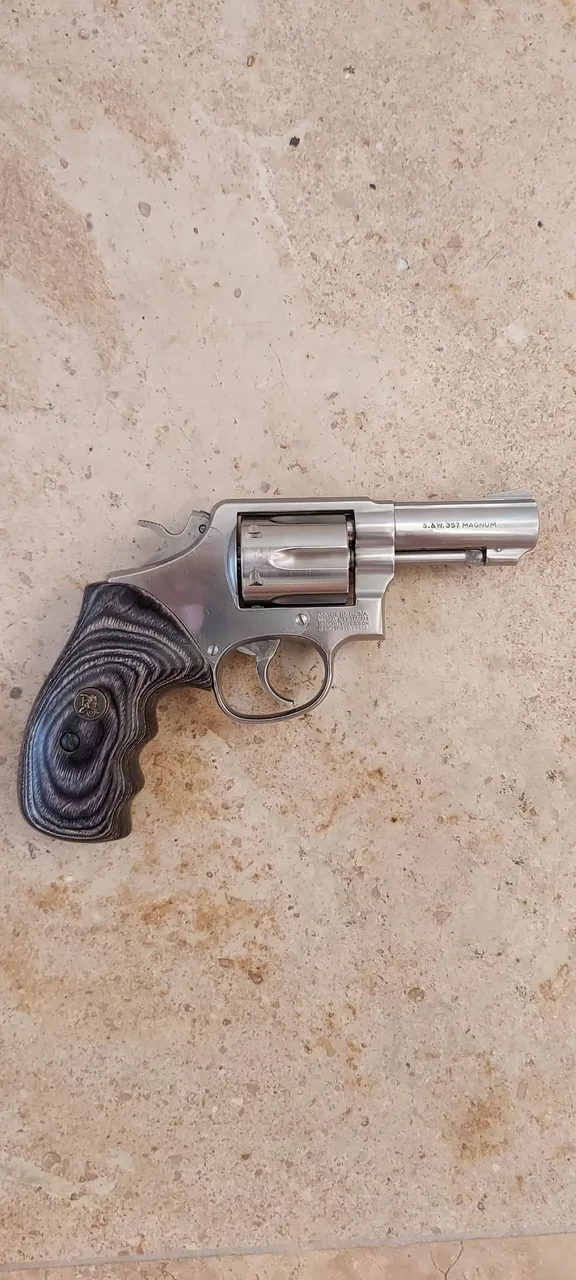
Replacement Pachmayr K-frame grips.
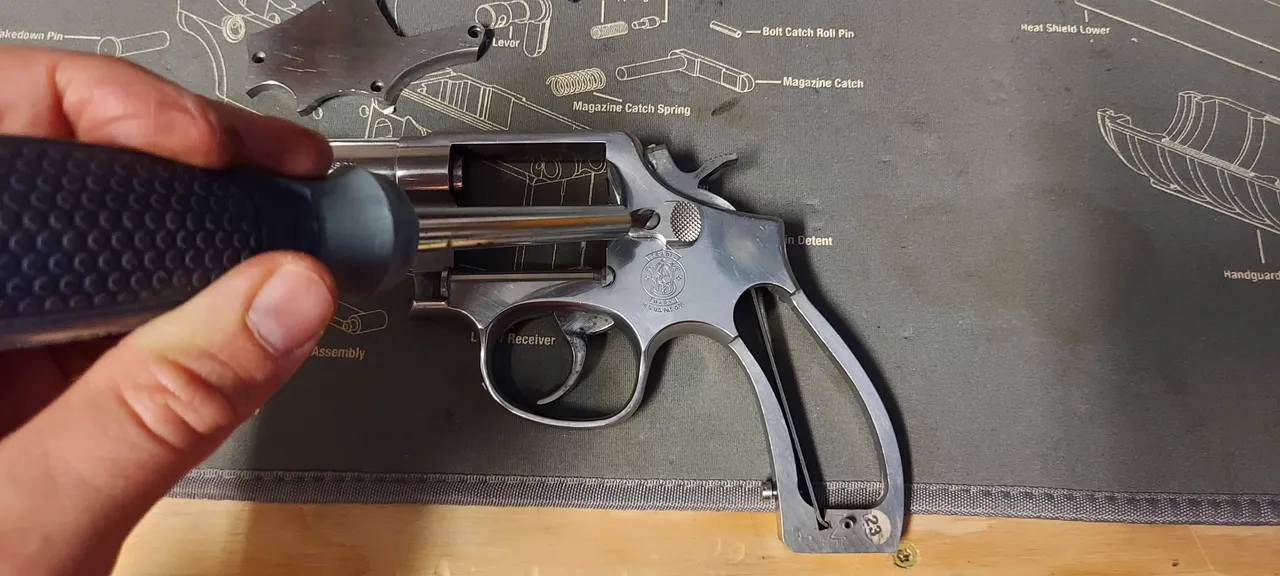
Easy install of the thumbpiece, however I did not take pictures of the bolt plunger and bolt plunger spring install because I couldn't hold a phone and do it at the same time.
Install for the 3-pin hand. This one was a real pain in the ass, getting the hand spring in the trigger assembly moved over the pin on the hand to give it tension was a tedious task. I recommend youtube videos, or a repair manual to do it. Also, a nice thin pair of tweezers to move the spring in the tight confines of the trigger group.
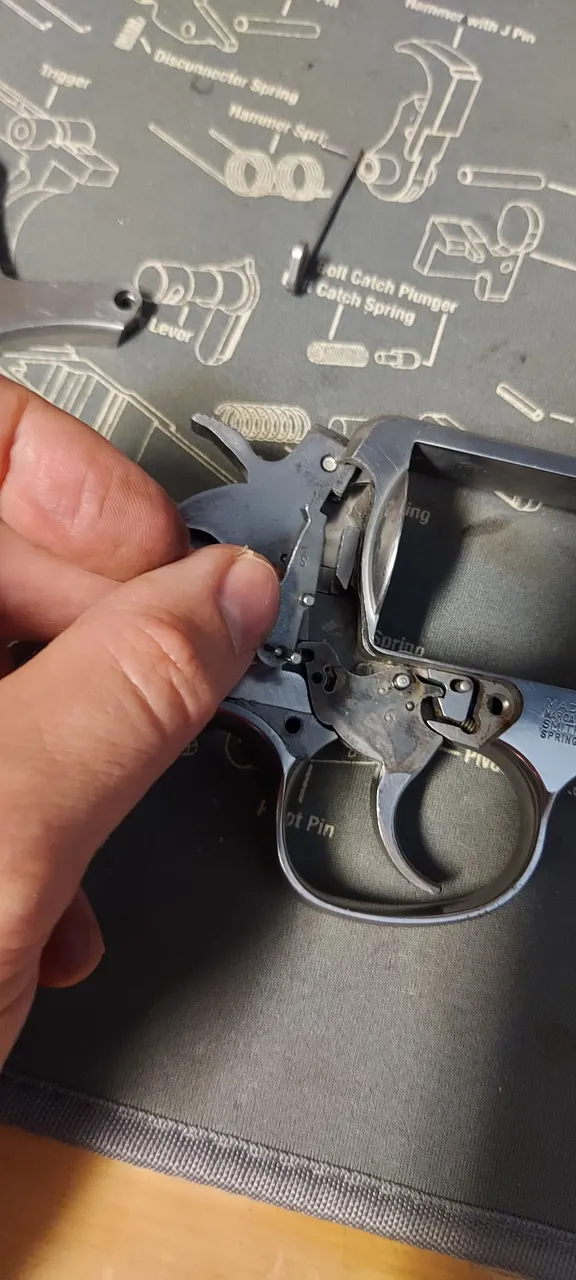
Installed! Like I mentioned before, it sucked to do, but it needs to be done right or the cylinder won't cycle properly.

Installing the mainspring, and then tightening the strain screw.
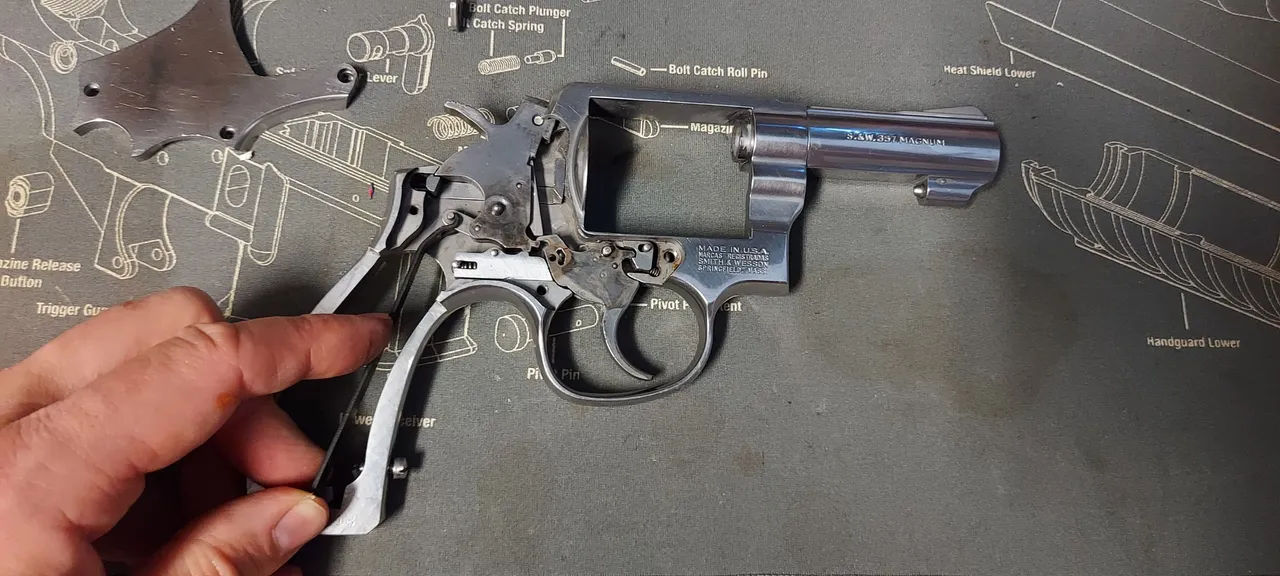
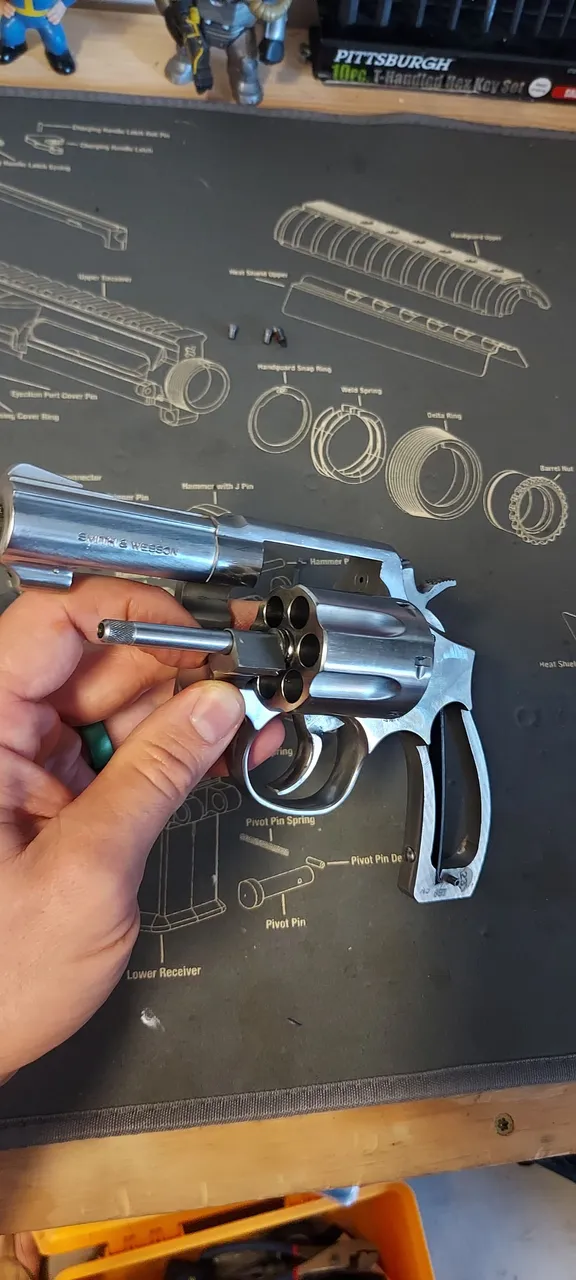
Re-install the cylinder and yoke, making sure to tighten the extractor rod enough so the cylinder opens and closes smoothly.
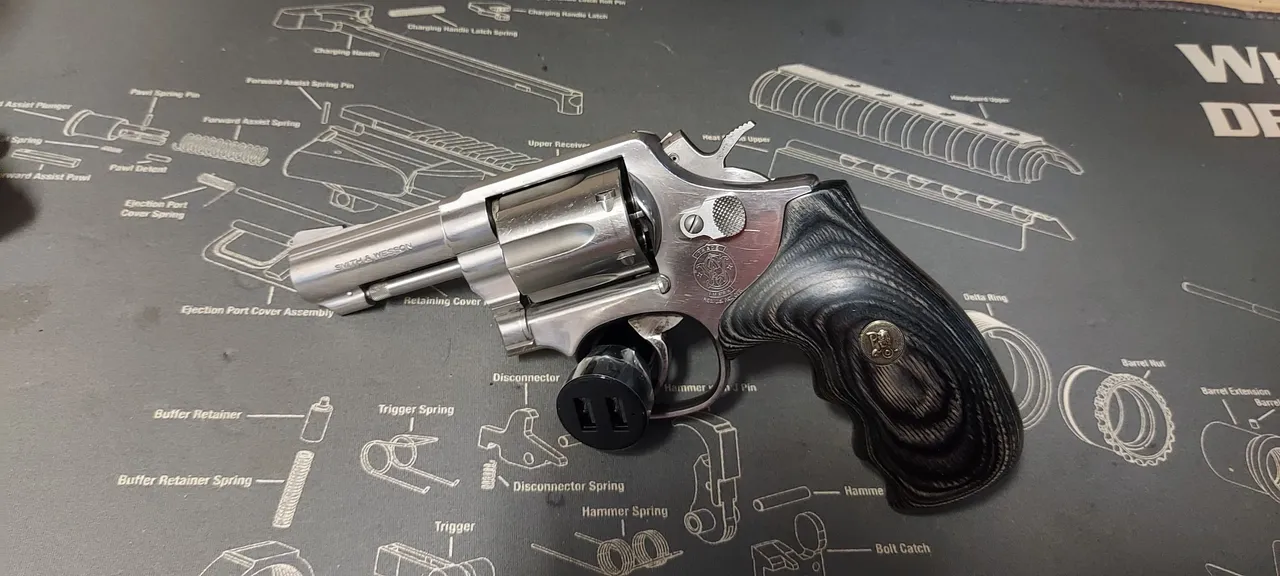
Completed internals with the hammer block set in.
I carefully tapped the sideplate back in place with a rubber mallet. This is before tightening the replacement screws. I really wish the guy that decided to take this apart at least held onto the screws..almost $30 just for those alone!
A few shots of the completed revolver.
I'll have my old gunsmith friend take a look at it to make sure its all in order before I hit the range with it.
The project isn't quite finished because I plan on getting this beauty bead blasted to get that nice matte stainless finish and hide the last of the scratches that buffing alone wouldn't remove.
Thanks for reading this long post and please upvote!