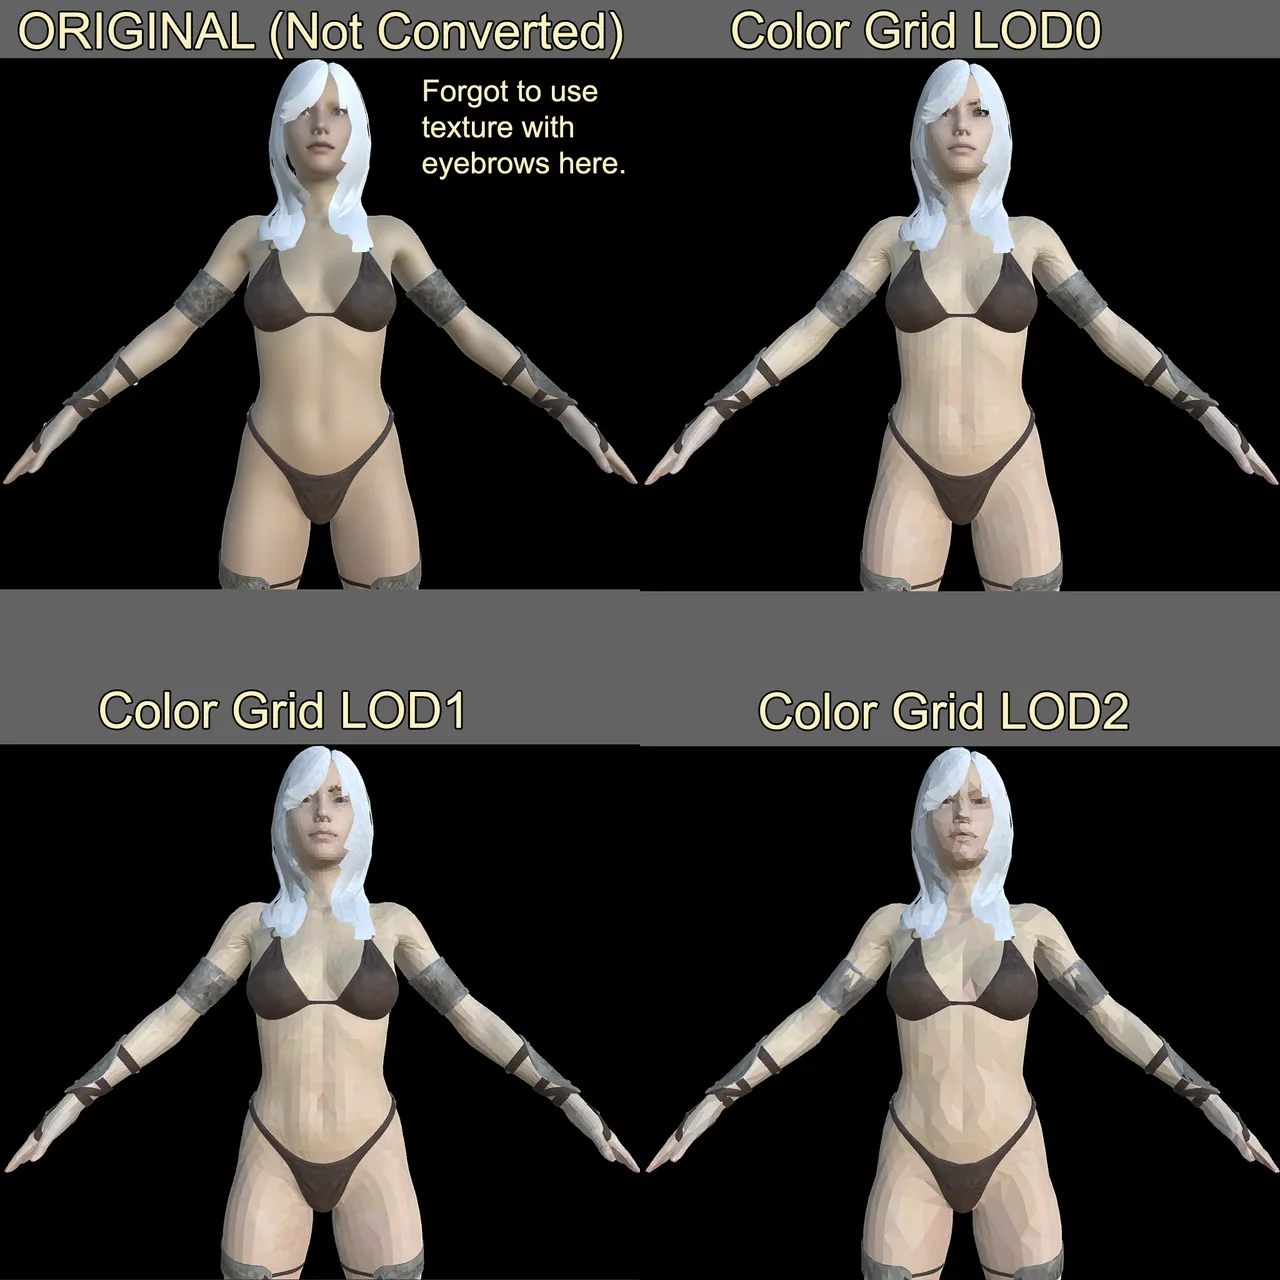
To start off I am going to show you the original model I had in the previous installment before conversion to Color Grid and three levels of detail (LODs). I will then discuss how this is done. After that I'll show you some different skins. (NOTE: The images if clicked on should be a little larger if you wish to look at them closer) Part 1 of this series
Creating the Color Grid
I have several variants on Color Grids that I use but in this particular case I am using a grid that has 16,384 different colors. Furthermore, I have it represented at some different levels of metallic, opacity, and emissions for PBR type effects.
The tool I built to make these Color Grids (and other atlases) accepts any number of textures to learn colors from. In this case I told it 3 colors I wanted to make absolutely certain were included in the grid. After that I passed it about 60 different Synty Studios textures for their Polygon Series assets and told my tool to LEARN COLORS from that. I did also include a few of the original skin textures so that some common colors from the models I was using would also be included.
It did so until it had 16,384 unique colors.
At that point I was using a 4x4 grid that duplicated those colors 16 times with each cell being a different opacity, emission, or metal value. The end result looks something like this.
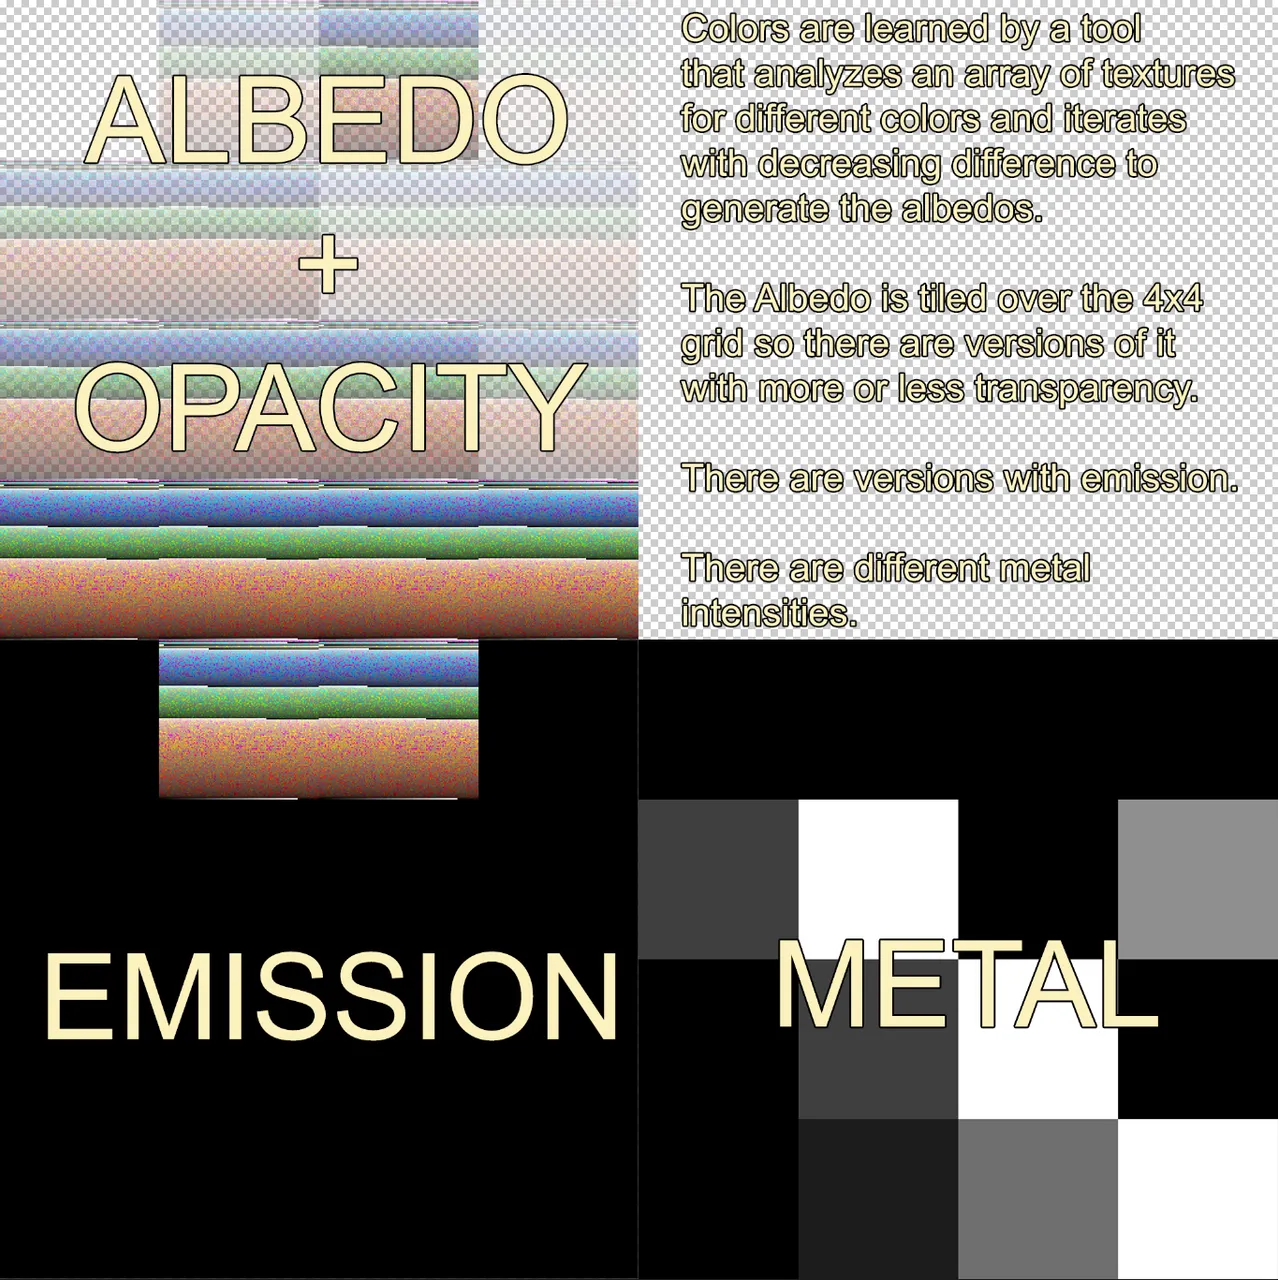
They are individual textures for Albedo + Opacity, Emission, and Metal. THREE textures. In the image I consolidated them to make a useful visual for this post.
Why emission? Glowing eyes, or anything else that needs to glow.
How it is used...
The models are converted to a faceted look. They make certain that every vertice of a triangle is unique to that triangle. This can result in more vertices than the original model had, but the same number of triangles.
Then the tool goes through each triangle. Looks at all the materials and textures to average the color of all the pixels contained by that triangle. It also averages the opacity, emission, and metal.
It identifies the closest color match from the 16,384 colors in the color grid. Then it determines which of the 16 cells (4x4) is the best match for the PBR qualities in terms of opacity, emission, and metal.
It then remaps the triangle's UV coordinates to center on the appropriate color square in the appropriate cell out of 16 to match those findings.
That is how the look is produced.
Early results from the past couple of years...
Early on I noticed that the end result was significantly smaller than the original model + texture. I was reducing my project size significantly post conversion. However, this process maps to a shared material so the UV coordinates are different for the model. To change the look you cannot simply swap out the texture like normal. That will fail miserably. I initially was creating a new mesh with new UV coordinates for every skin that was produced. This may seem wasteful but the end result was still significantly smaller than the original I converted from. Often I'd have it about 20% the original disk space after I was done converting the various skins.
Blendshapes and some issues with those...
My tool is currently a Unity Engine tool though the technique could be applied to any engine. When you mess with blendshapes (adding them, rebuilding a mesh with them, etc) UNITY is very slow when it comes to accessing them for this purpose. There is a very large lag spike. In addition, blendshapes cause a model to be significantly larger. If I am creating a mesh for each and every skin variation with blendshapes this conversion takes a long time and the end result starts to lose the size benefit.
Blendshape injection...
I came up with the concept of what I call a Blendshape Injection. Blendshapes are just delta values for how much to change vertice positions (can also include normals and tangents). I thought about pulling that data out of the model and manually deforming the meshes with my own code when a blendshape needs to be applied. Using this technique I decoupled the blendshape data from the mesh so making numerous copies was no longer an issue and I could use my same Blendshape Injection File to blend any of the meshes with the same initial topology. Furthermore, I could exaggerate it and blend at a much higher level than 100% and I could even blend in the opposite negative direction if I wanted.
This worked well and saved a lot of space. I still do this.
UV Mesh Map Library...
I came up with the idea recently to decouple the UV coordinates for the different skins from the mesh. This enables me to save the new UV coordinates for a skin in a simple array. I only need a single mesh. I never have to duplicate it to file. I simply pass it or a new instance of it the new UV Map coordinates when I want to change the skin. This makes a HUGE difference in the size of the project.
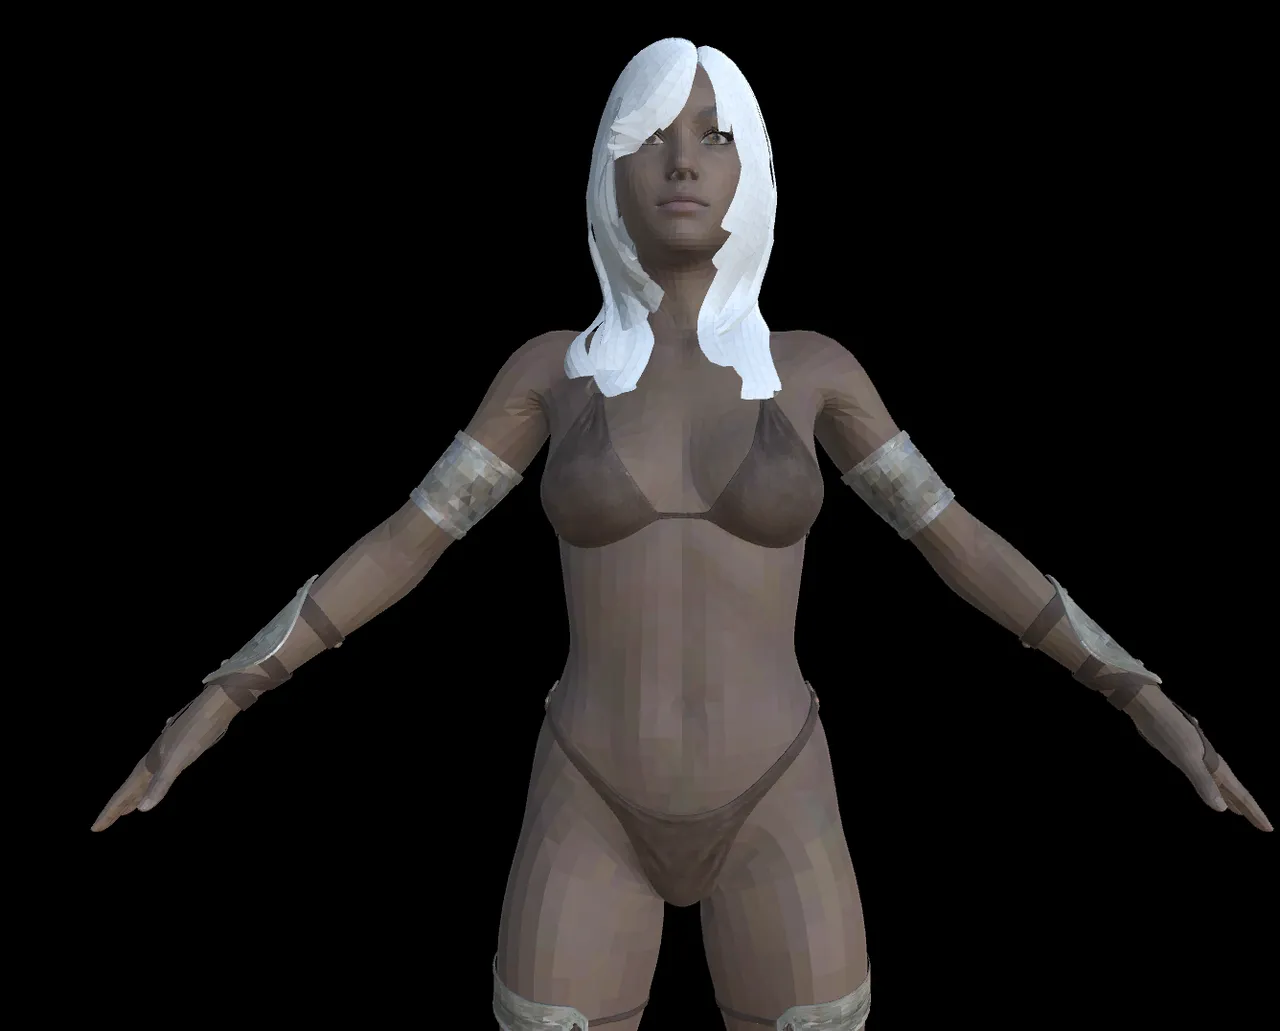
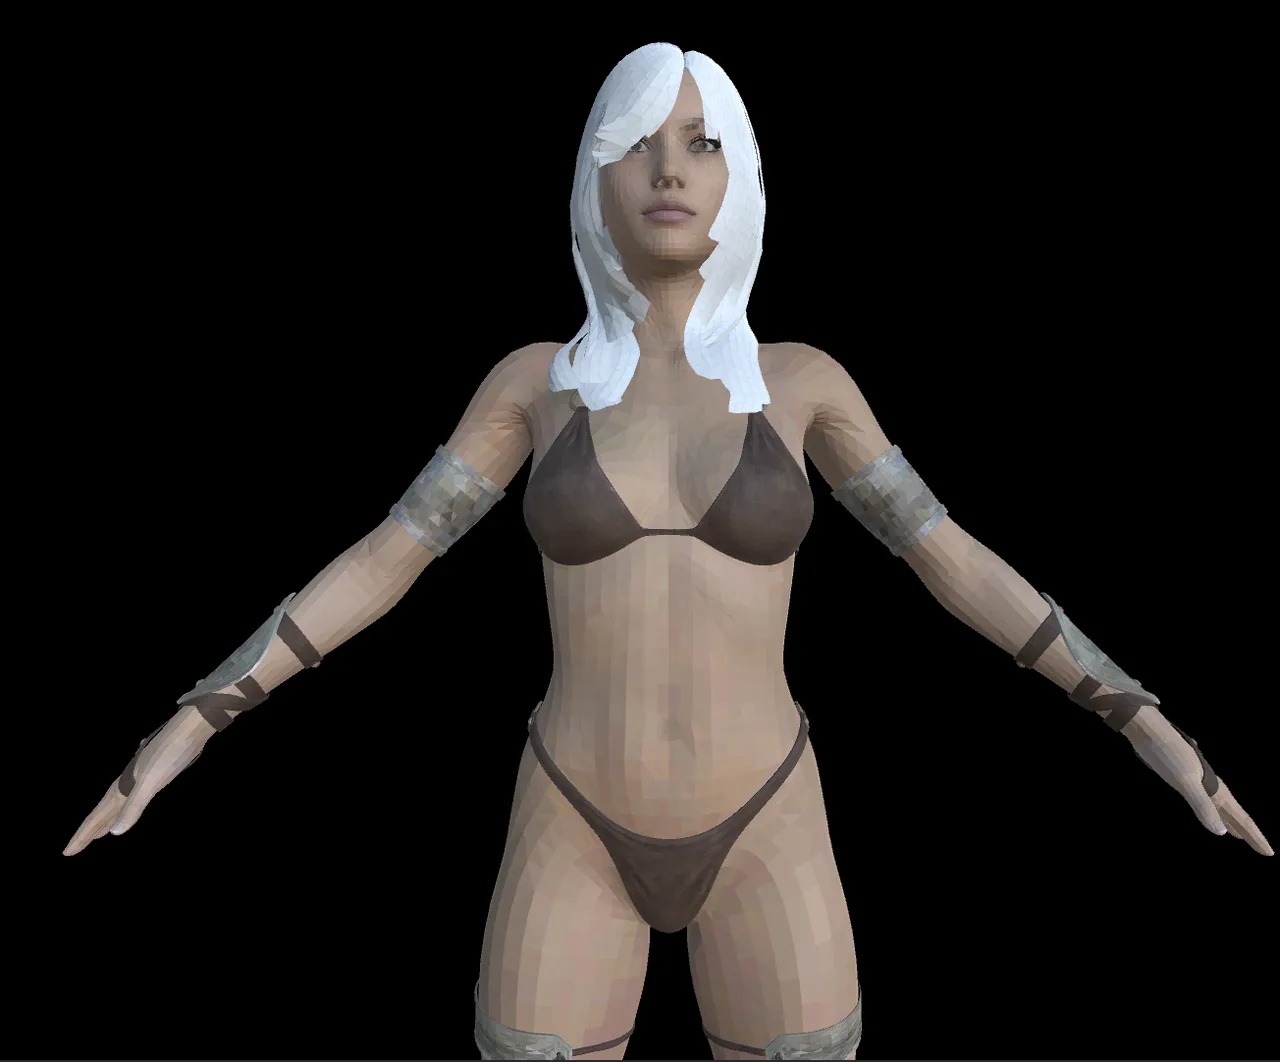
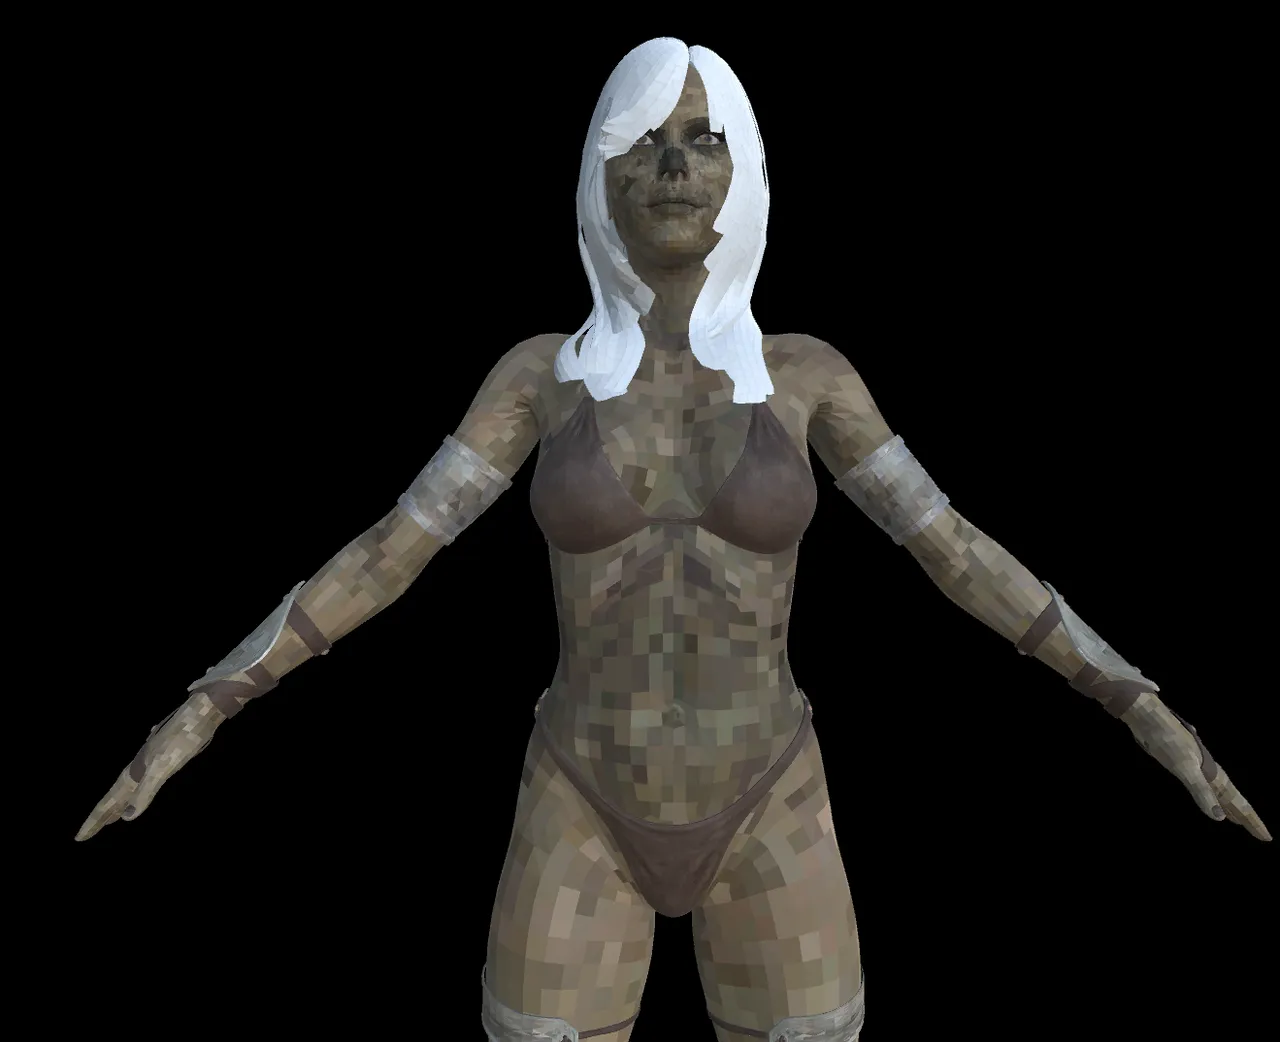
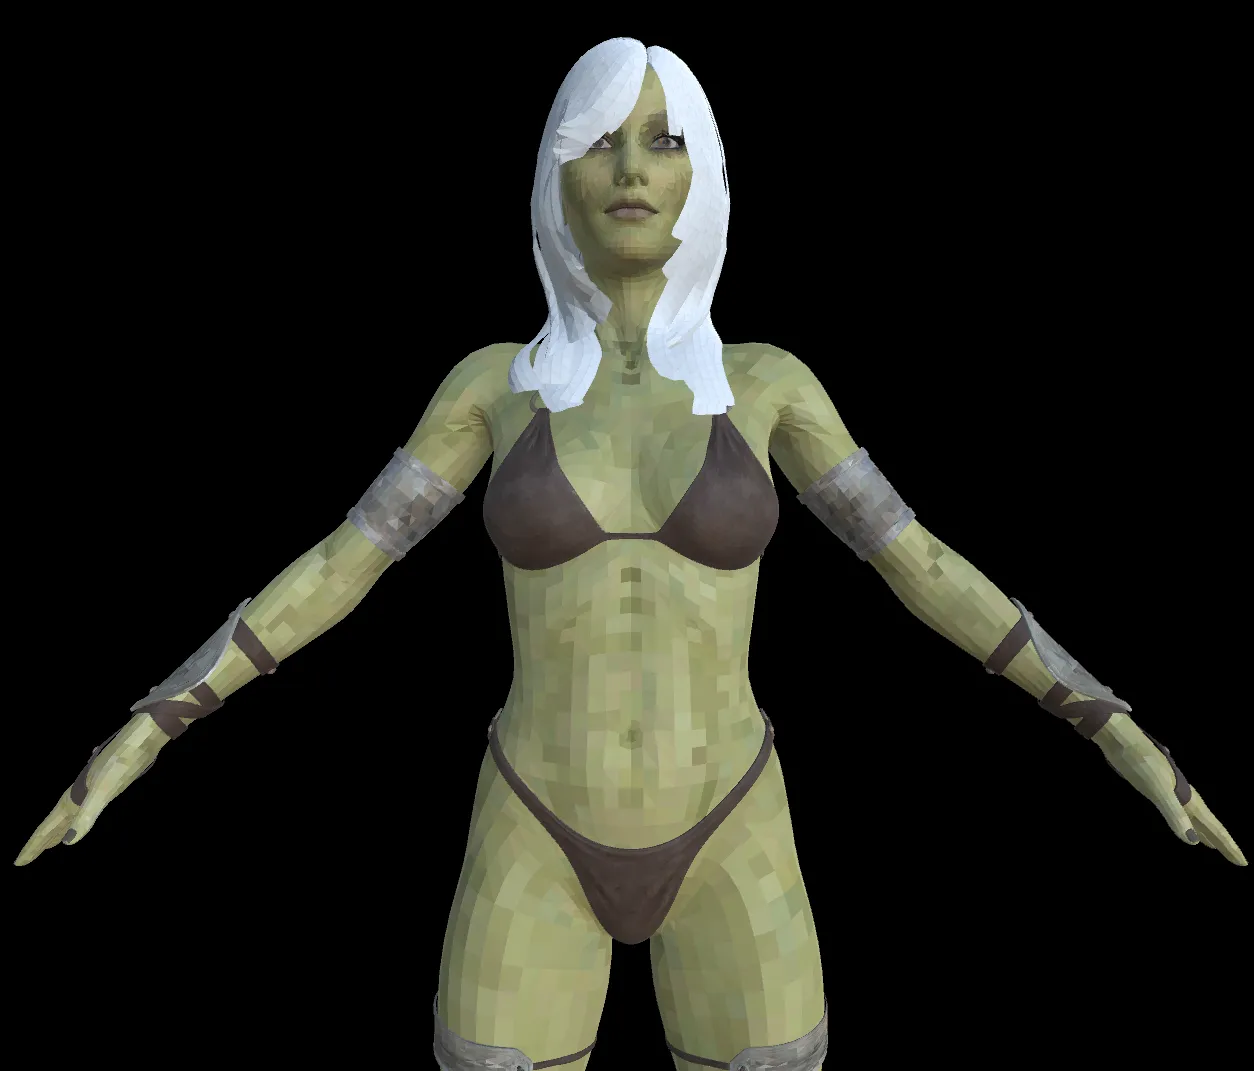
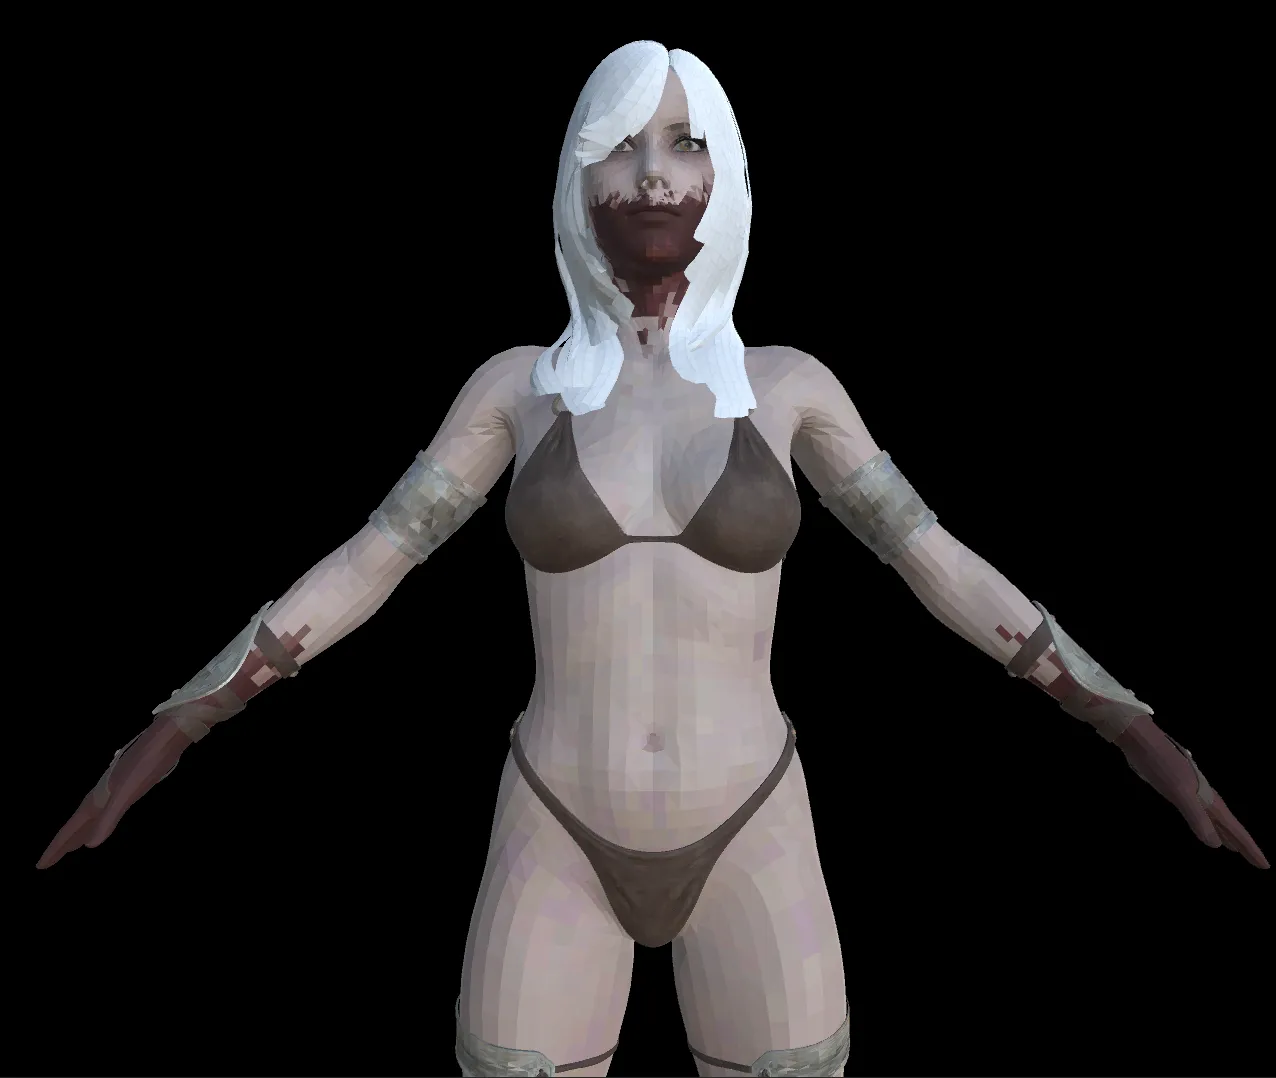
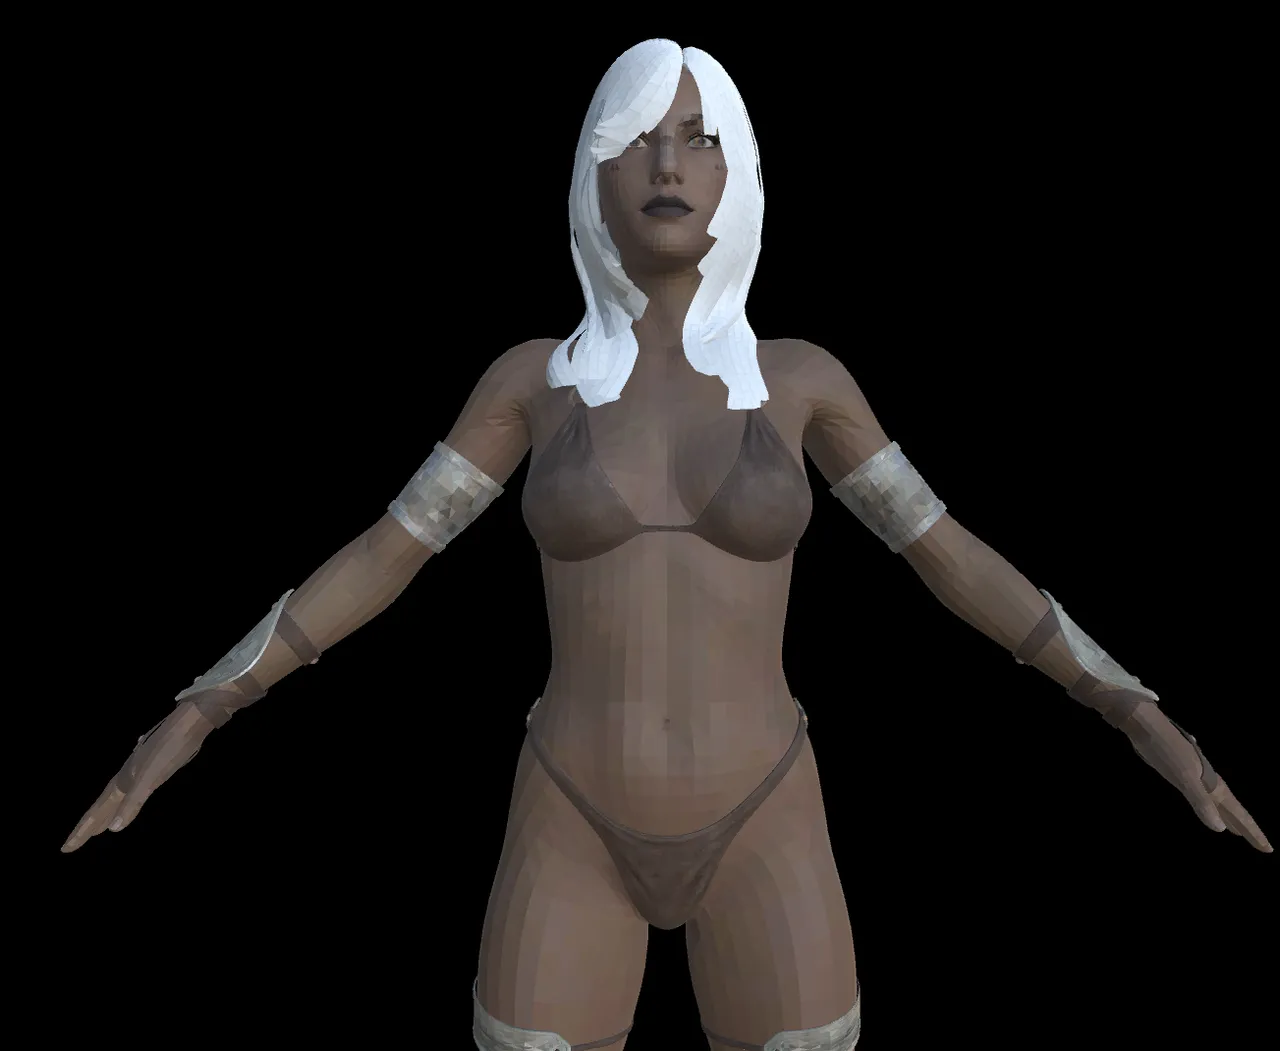
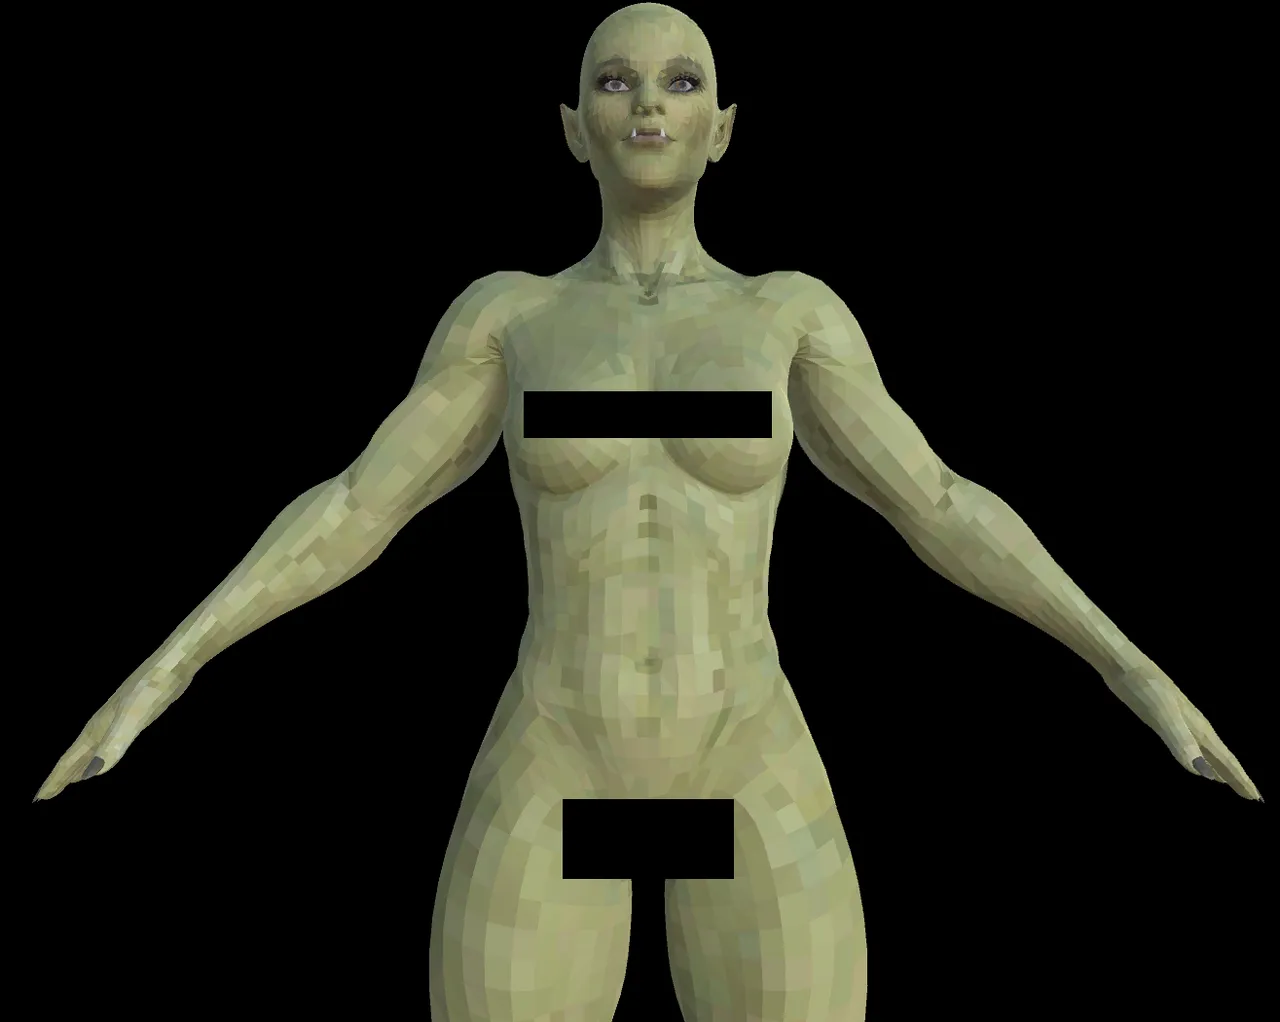
How do skins look?
I changed to different skin numbers for that model above to add at the bottom of this post to show off some of the looks I have. There are over 300 skins for that particular model in less than 40 MB of saved UV Map information.
11
33
44
49

54
75
128
That concludes this showing. I have described the process. I actually have provided enough detail that someone that knows what they are doing could duplicate what I am doing.
I may provide my tools in the future on the Unity Asset Store. That depends upon how friendly I make them. I am more interested in using them. The technique though has produced interesting results.
I may do a third and final post on this pointing out some of the places this technique fails and some different approaches I have tried to work with those cases.
EDIT:
I decided to take skin 49 and apply the RAW She Orc Blend to it so you can see what a skin looks like when the proper blend intended for that skin is applied.
When I made this I found I hadn't properly converted the clothing I was using with regard to blendshapes so I could not make it conform to the body in this particular test. I will be addressing that for my own work and so that outfit is useable for what I was going to use it for (primarily one of the undergarment female variants).