Making soap is just another wonderful way to express your creativity and take back your health. Make your own soap and you will probably never want to use commercial products again! My health journey began a long, long time ago but there is always something new to learn. This week it was Oxymel which I made by foraging from the magnificent African veld. While I was out with my goats, my foraging brought me to Aloe Ferox, another healing powerhouse growing on our mountainside. Aloe Ferox is also known as Cape Aloe or Bitter Aloe and it is far more nutritionally and medicinally potent than any other Aloe. Combined with organic goats milk and plant oils it makes an amazing soap. Most people don't understand that the purpose of soap is not just to clean but also to nourish your body. Sadly commercial products today wash but in the process strip your skin. Over the years I have made hundreds of batches of soap. But that first batch ever was really scary. Until I had made it. Like most things, making soap is easy - once you know how. You just need to stick to some very important rules. The country homeschooling community has asked me to give goat related lessons in making soap, cheese, yoghurt, moisturisers so while I prepare I thought it time to give the cyber community a lesson.
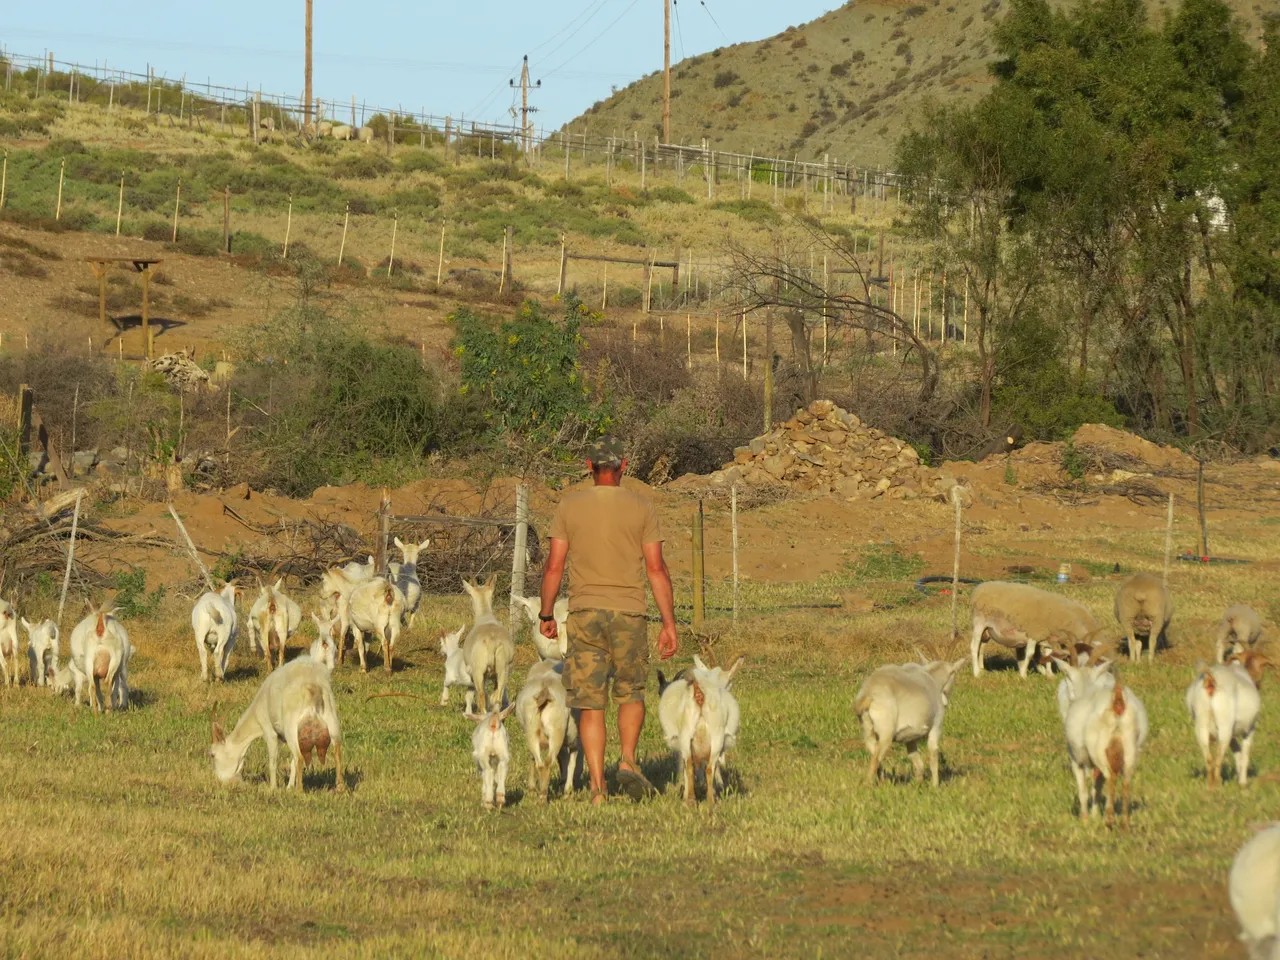
Although most people think I have goats simply because I adore them there are many reasons to use goats milk - while enjoying a regular dose of goatie cuddles. I view Aloe the way I view goats milk in that both contain a powerhouse of healing properties, whether internally or externally. As far as soap or shampoo goes Aloe and goats milk nourish and regenerate skin and hair. Both contain anti-inflammatory properties as well as being anti-bacterial and stimulate healing. There are two ways to incorporate the Aloe in your soap making.
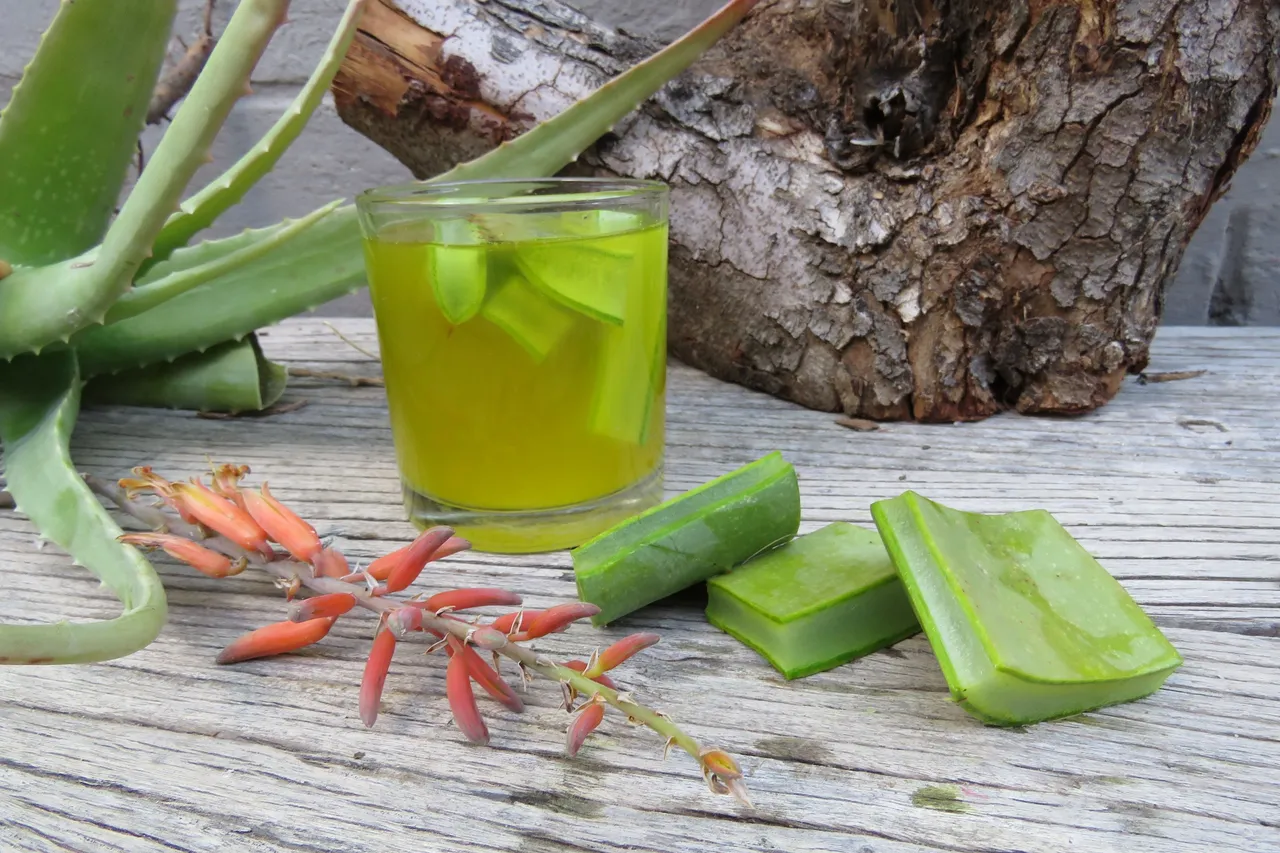
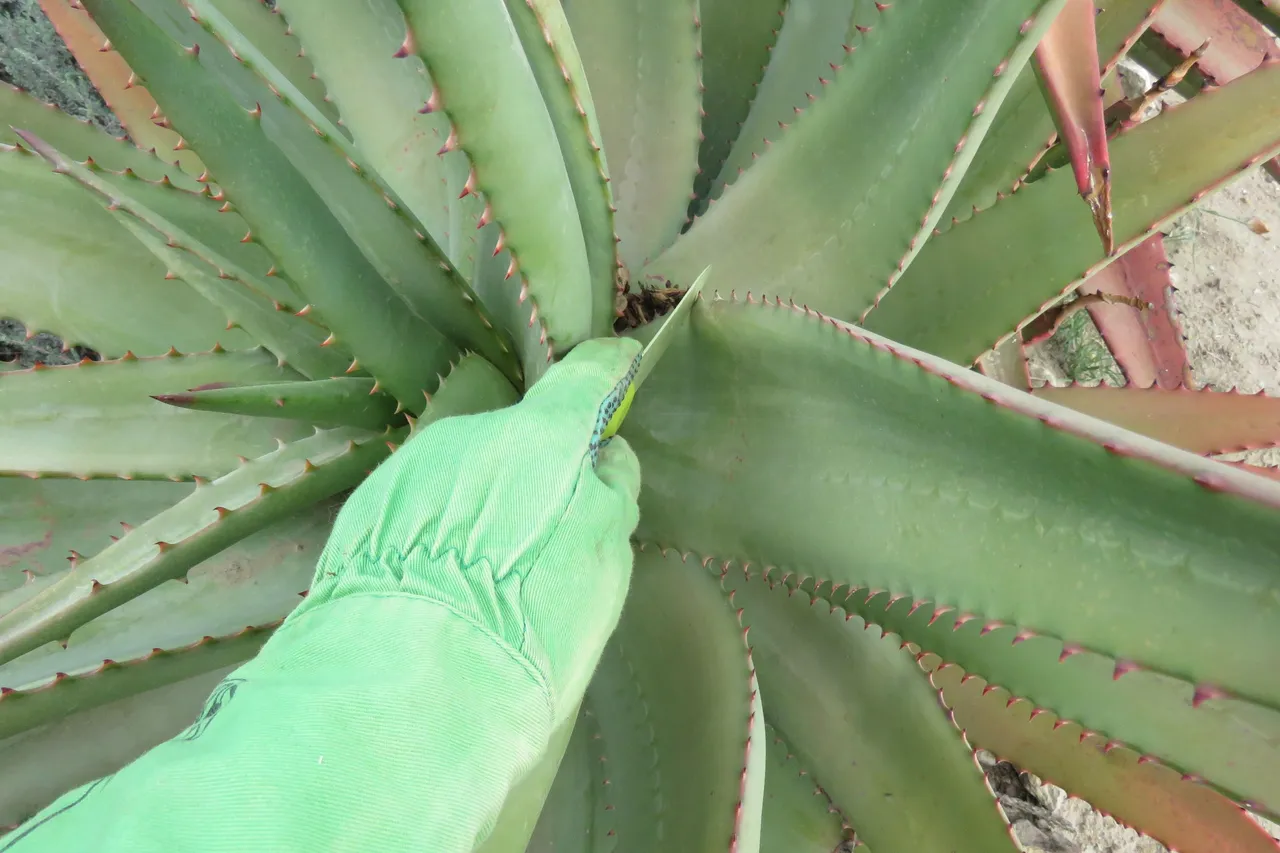
The first is to stand the chopped up leaves in a tiny shot of water. The second - which I prefer - is to juice the leaves. Quickly remove the thorns, cut up the Aloe and push through the Oscar (or whichever veggie juicer you have). When you are ready to make the soap you harvest the Aloe very quickly. Having a bucket with a tiny amount of water you need to cut a large Aloe leaf and immediately pop it in the water. That wonderful yellow sap pours off in the first couple minutes and you can't lose it! I regularly chop up Aloe Ferox into my goats and chickens water troughs as an anti-parasitic and immune booster.
VERY IMPORTANT IS CORRECT EQUIPMENT AND PREPARATION!!
*Work outside or at least in an area with plenty of ventilation.
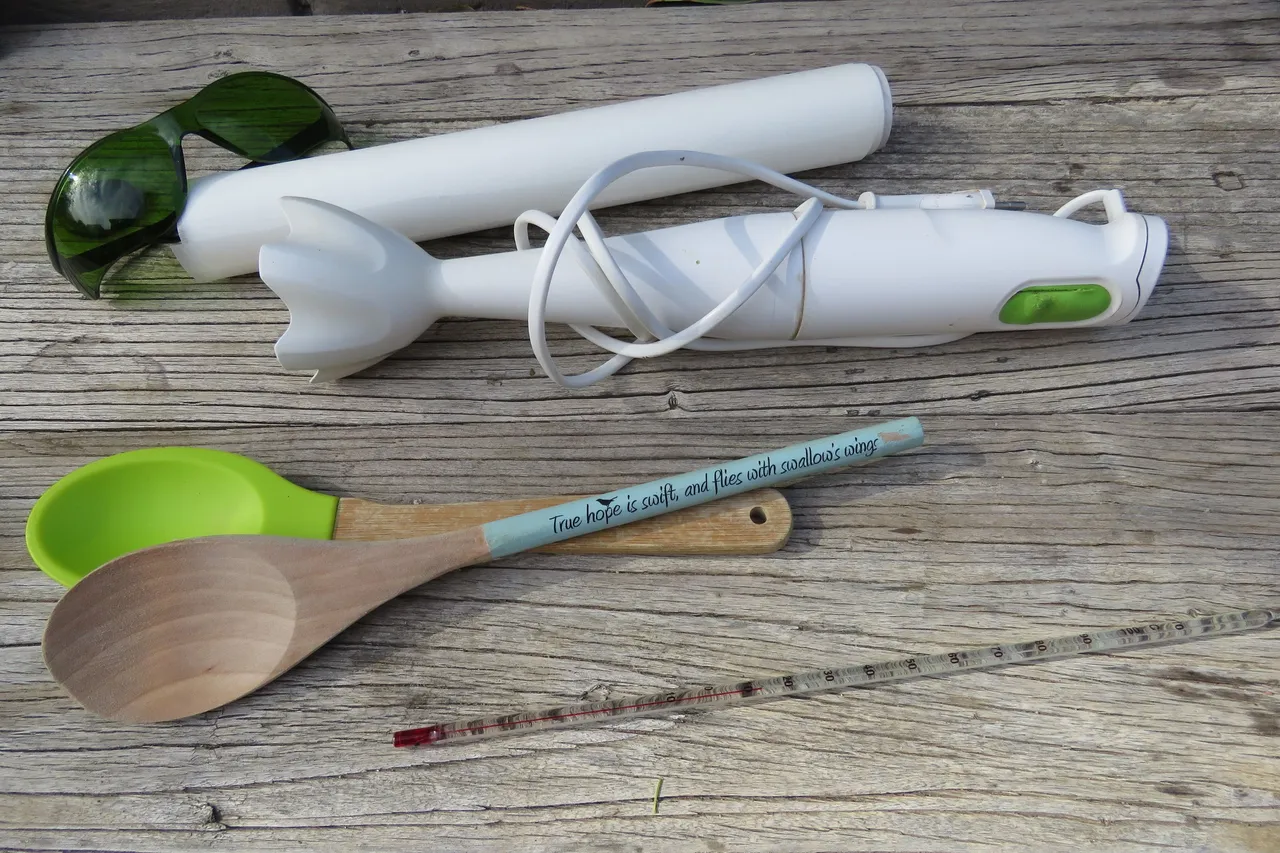
*Make sure you have protective gear! You'll be working with lye which is highly caustic. You need gloves, mask and goggles. Preferably wear old work clothes or an apron. The containers you mix your liquid and oil in must be plastic (although to melt the oil a regular pot will do initially).
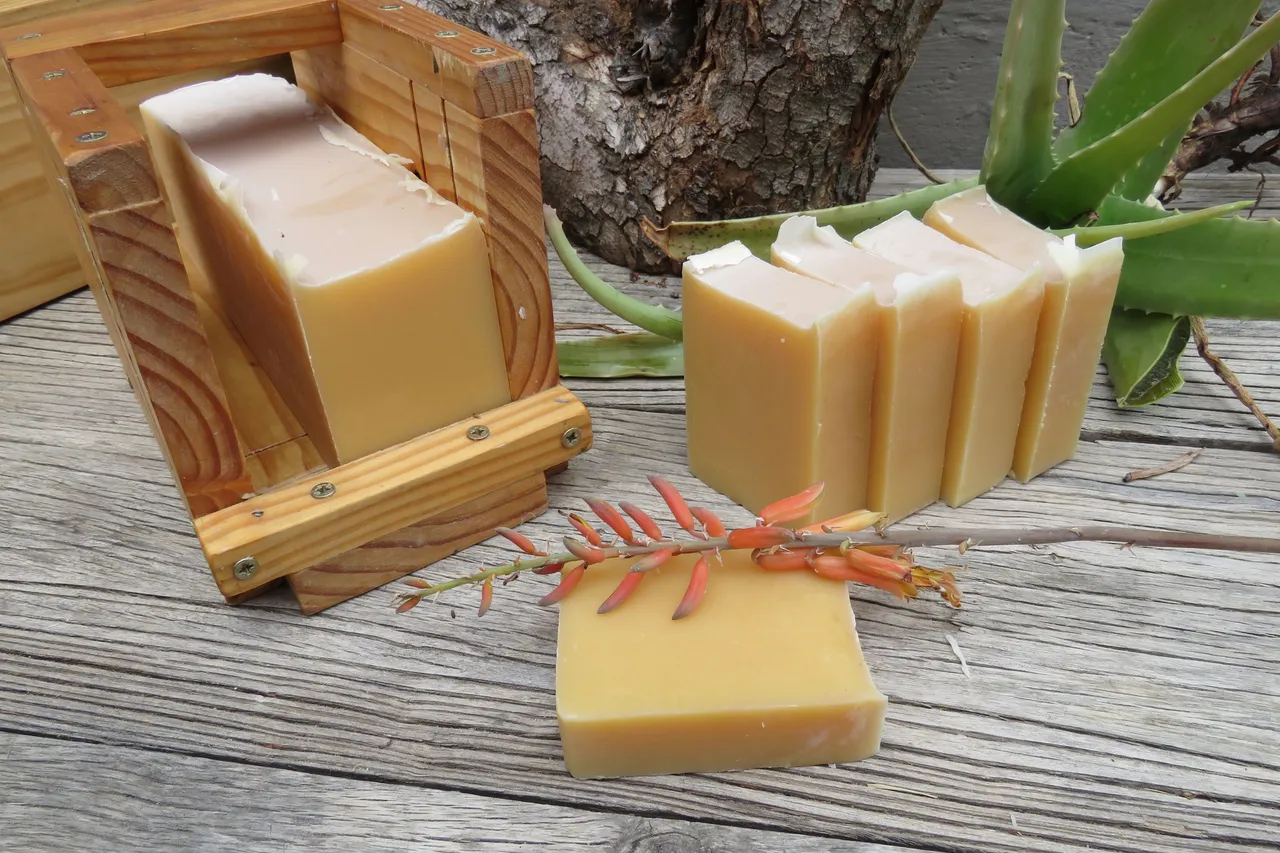
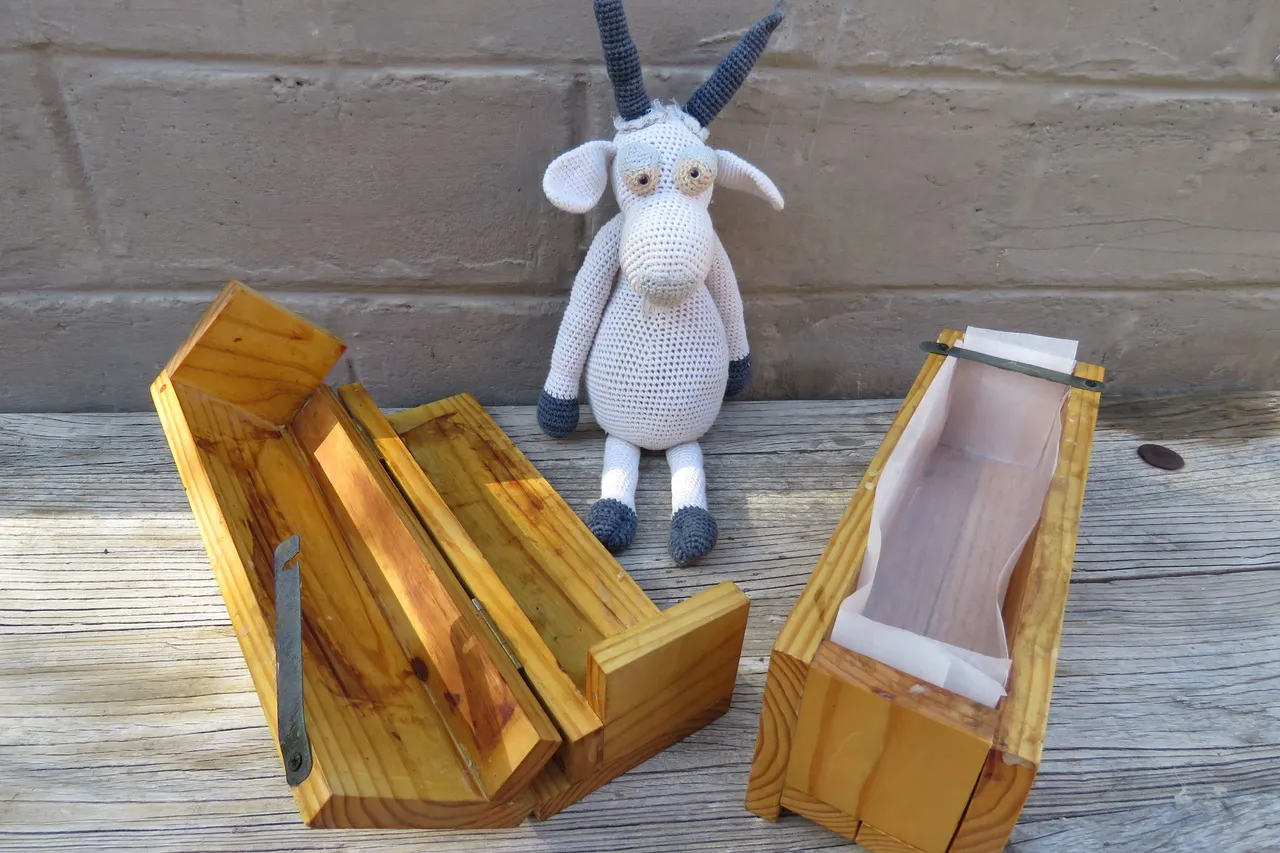
*You'll need a thermometer, a wooden or plastic spoon, spatula and a stick blender. For smaller quantities of soap a silicon loaf pan or little silicon muffin trays works perfectly! I make 10kgs of soap at a time so I have two hinged wooden soap trays which I line with parchment paper. You also need a couple towels and a blanket to tuck your soap up for its initial 24 hour saponification.
To get started you need to measure out your goats milk and freeze it. The reaction of lye to liquid is such that it heats to incredible temperatures and would curdle the goats milk. I freeze the goats milk whenever I have excess so that I can make soap on a whim. Which is an hilarious thought as our homestead doesn't generally allow for whimsical behaviour.
Let's get started!!!!!
GOATS MILK SOAP RECIPE with ALOE FEROX
650g Organic Goats Milk (frozen)
800g Extra Virgin Olive oil
700g Coconut Oil
350g Castor Oil
250g Lye
1/2 Cup Fresh Aloe Ferox Juice
Optional Essential Oils

Step ONE:
Remember there will be fumes as the lye mixes with the liquid! Do not breath them in.
Place the frozen goats milk in a big plastic container (I use a 10litre bucket) and allow it to slightly thaw. It should look like crushed ice. It must not melt! With your safety goggles and gloves on very slowly add the lye to the frozen goats milk. Stirring the entire time. Don't get too close as the fumes are quite overpowering. I add a couple spoons of lye at a time and stir until dissolved then add the next few spoons. It can take about 15 minutes. The milk will at this rate defrost and heat up quite quickly. You'll also notice the caramelization of the lactase as the chemical reaction occurs. The goats milk becomes a beautiful yellow colour. You need it to drop to 29 C. This can take a couple hours (depending on the weather). Leave it outside to breath (and out of danger). Remember to stir occasionally - every 15 minutes at least or it can still curdle or burn.
Step TWO:
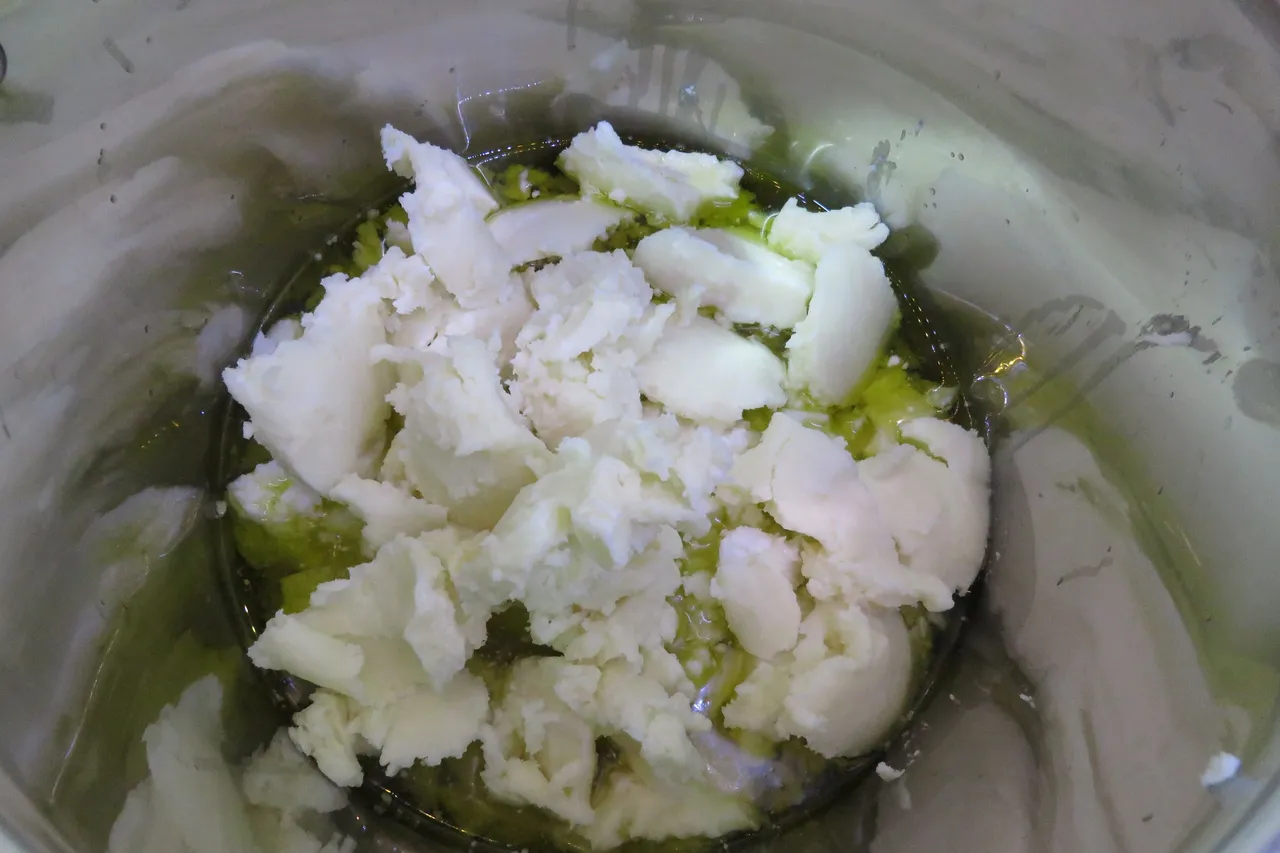
While the goats milk and lye mix is cooling to 29 C, measure out your extra virgin olive, coconut and castor oils. You'll need to melt them and get them to 29 C as well.
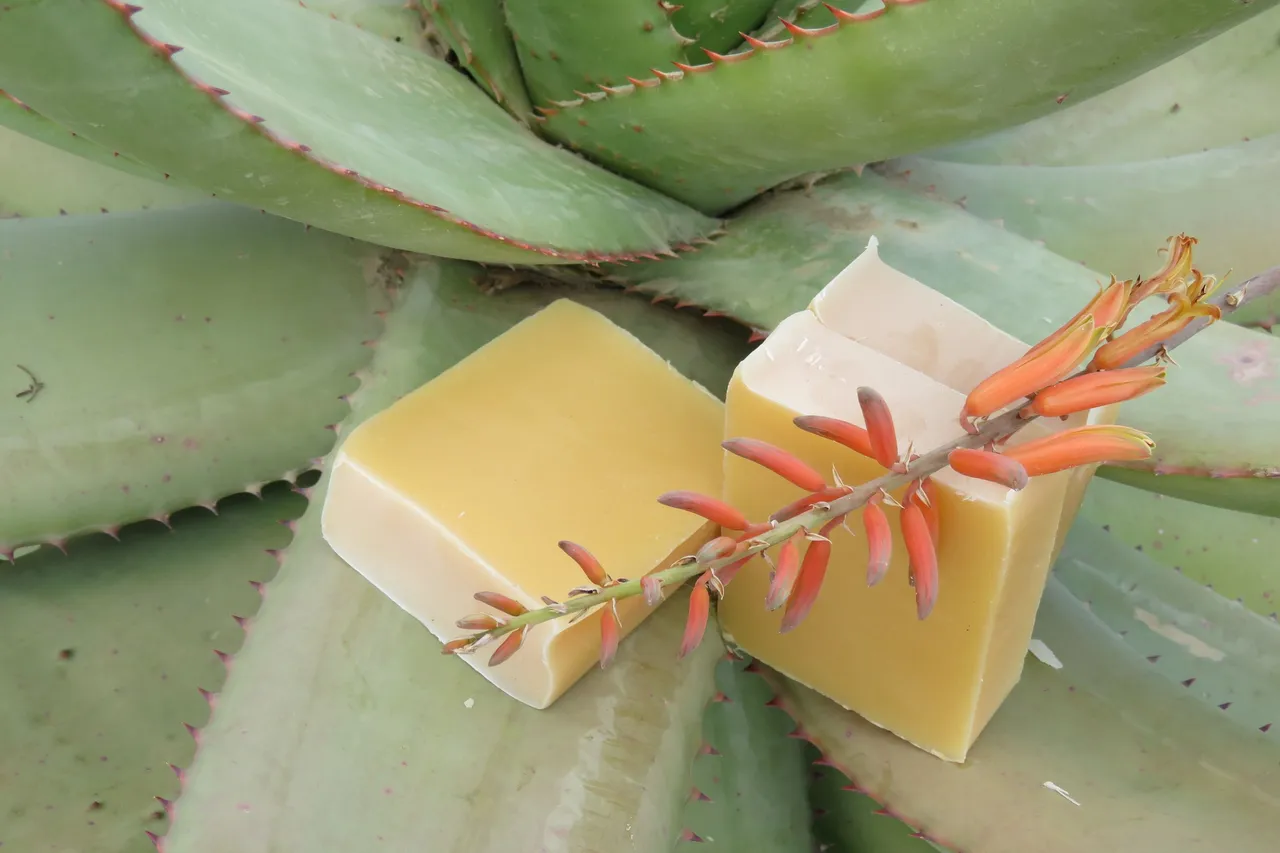
All my soaps are made with goats milk, plant oils (always extra virgin olive oil, coconut and or castor oil) The essential oils vary. As do the scrubs and additional nourishing butters. These can be oats, honey, coffee grounds or rooibos tea leaves (for a scrub) as well as clay or activated charcoal for a more cleansing wash. There are many natural means of colouring your soap but I let each soap be toned by the extras I add. Contrary to what one would believe the pure white of goats milk does not mean a white soap. Due to the chemical reaction that takes place, and the caramelizing of the lactase in the goats milk, the plain colour would be a light caramel colour.
Remember! You can cool or warm the oils but do not try to heat the goats milk. Lye is volatile and needs to be handled with extreme caution!

Step THREE:
Make sure your melted oils are also in a plastic bucket. Do all the other preparation. The soap containers must be clean and lined if necessary. Silicon doesn't need to be lined but wood or glass must be lined with parchment paper. Prepare your safe area with towels and blankets where your soap will saponify for 24 hours. Get any essential oils ready. This is when I also prepare my aloe ferox.

Step FOUR:
This part comes with a WARNING!!!!!!
ADD LYE TO OIL AND NOT OIL TO LYE
SLOWLY ADD THE GOATS MILK AND LYE TO THE OILS. NEVER THE OTHER WAY AROUND
DO NOT ADD OIL TO LYE!!!!
To quote Soap Queen; "A popular rhyme to help you remember the order is: “It’s smarter to add lye to water! Add water to lye and you may die!”
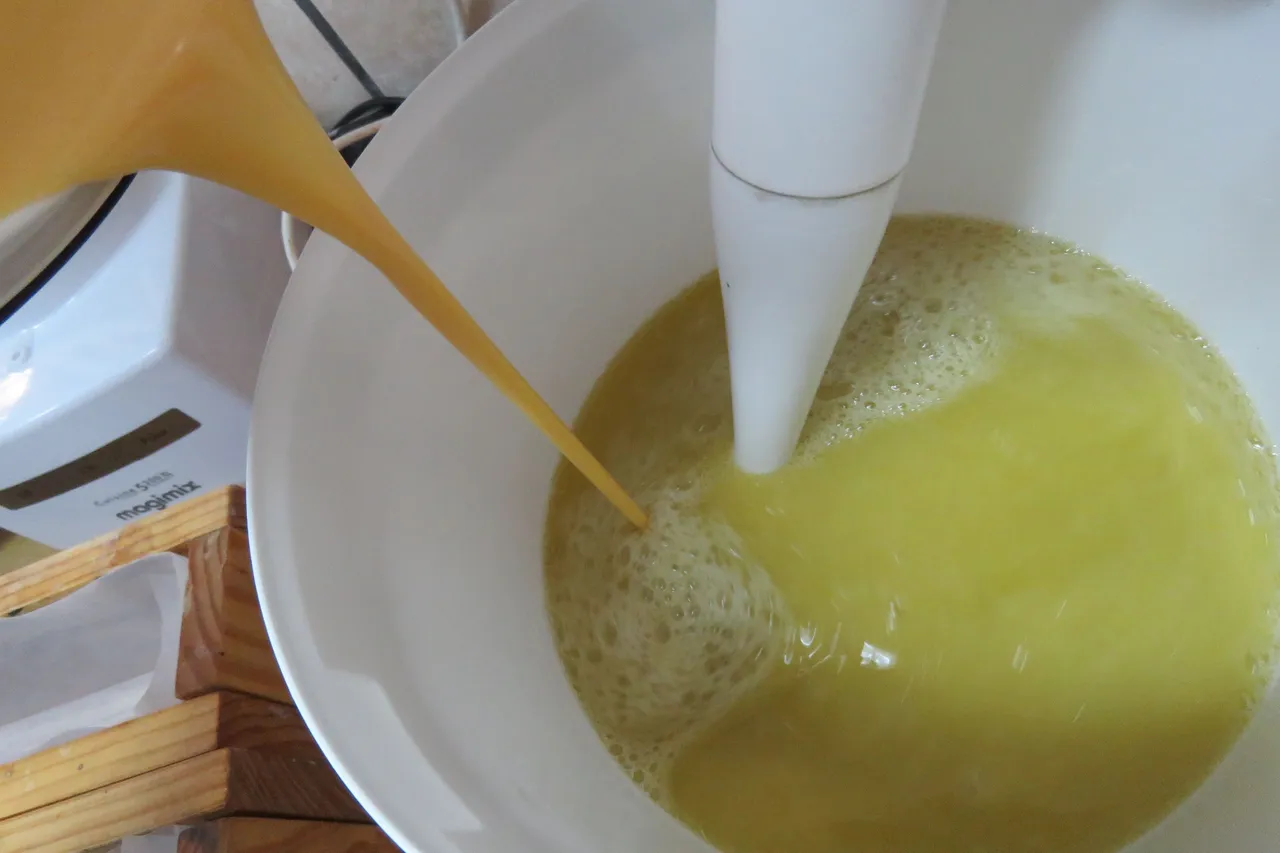
Get started with a wooden spoon. While stirring the oil slowly add the goats milk and lye mix in. REMEMBER! Lye to Oil!! Once the goats milk and lye is all in use your stick blender to mix. It takes a few minutes for the cloudy mix to thicken. This is where timing is important. Before the soap reaches trace you need to carefully mix in the aloe juice. Also any extras such as the essential oils.

Step FIVE:
If you add your extras too early it will interfere in the emulsification process. Too late and you will have the saponification happening in the bucket which means a big blob of soap. As the soap reaches trace you can quickly add in your essential oils. What trace means is; the oils and liquid have emulsified and will not separate. In the initial blending your mix will be cloudy but it suddenly thickens and you can actually trace lines across the surface of the soap. This is seen in the following photo. If you are unsure of trace switch to using the wooden spoon to thoroughly mix your soap. At this stage the stick blender will cause advanced emulsification - unless you know what you are doing :)

Step SIX:
Don't stop to reward yourself with a cup of tea now because at this stage the soap is thickening really quickly. Work carefully but quickly. Any splashes need to be washed immediately and thoroughly. Carefully pour your soap into your prepared boxes or silicon trays. Then cover with a plastic lid before wrapping up in towels and blankets for the next 24 hours.

Step SEVEN:
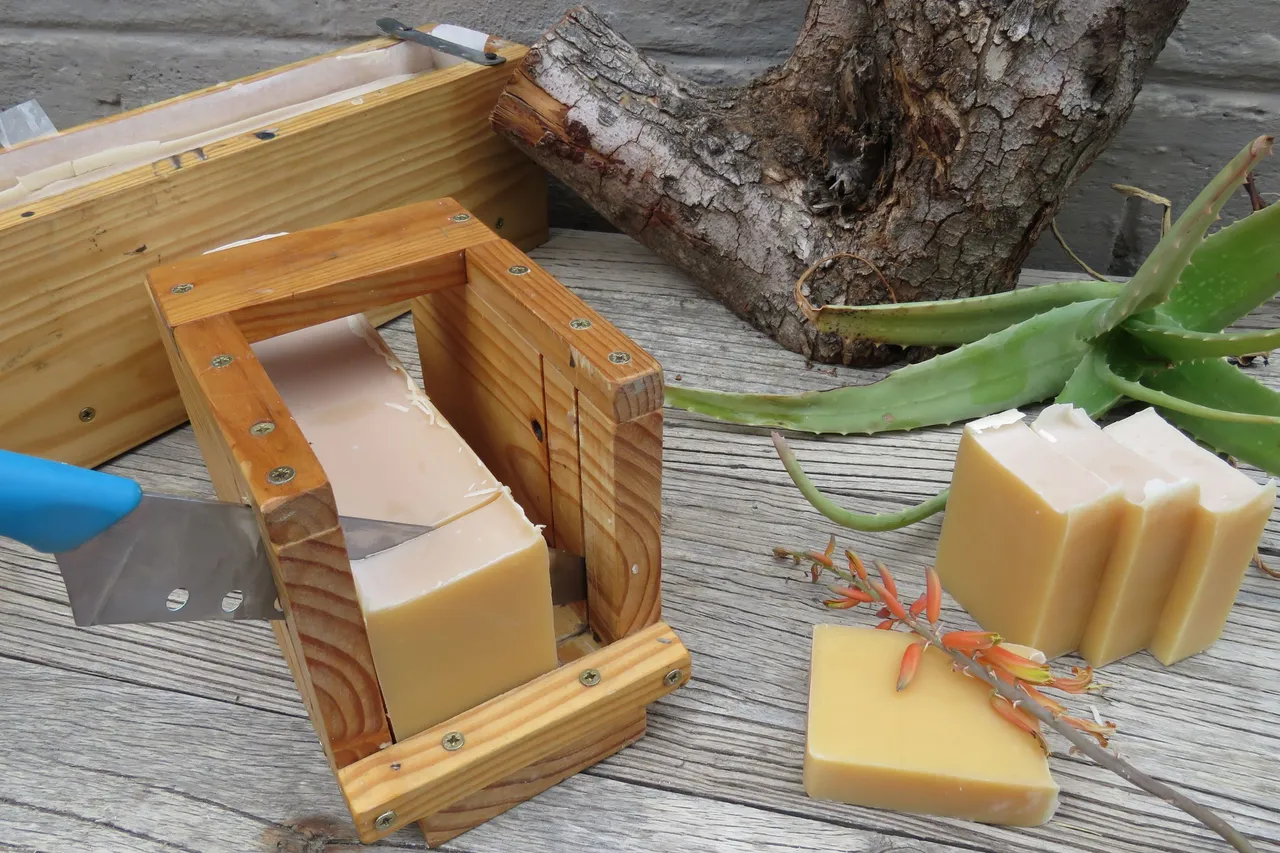
After the 24 hours you can safely unwrap the blankies and take out your hardened soap. During the 24 hour process the saponification takes place. It does so at a surprisingly high temperature. Once the 24 hour period is over you can cut your soap bars. You can handle the soap but be sure to wash your hands and equipment afterwards as there is still a strong lye presence. You can see this by a light layering of white ash.
Step EIGHT:
Hurry up and wait!!
There is a cold process and a hot process to making soap. My preference is the cold process. What this means though is that you cannot use your soap until it is cured. Soap makers generally wait 4 - 6 weeks. I prefer 8 weeks. In that time the saponification is completed and you will have a harder soap. Different oils make a harder or softer soap as well as a foamy lather or not.
For those of you who haven't already run away screaming why not make your own soap? I love that my family wash with these amazing little bars of soap. I love that I have such special gifts always available. I love that this is part of my journey of helping others with their health. While so many are concerned about what goes into our body have you ever considered what you put on your body? Our skin is our biggest organ and should be treasured. And pampered. Remember that using soap is not just about washing your body but also about nourishing your body. Take back your health and enjoy the journey!