I have a number of Raspberry Pi computers of various types and have been looking for applications for them. One I thought of was as a digital photo frame so we can see some of our pictures more often. We were given a basic one years ago, but it could sometimes lock up and you needed to keep adding pictures to the SD card to keep it fresh. A Pi should have more than enough power to do better than that.
I had a Pi 3 that seemed ideal. I have a couple of Model B and some Pi Zero, but those are much more limited. I found this site that has lots of articles on how to implement your perfect frame and much of it uses a Pi. A Pi 4 would be ideal, but this had to be zero cost project using what I have. For a screen I have an 19" HP model that was not being used. I needed an adaptor to plug the HDMI cable into the DVI socket on the monitor. I knew I had one around, but it took me a while to find it as it was in the back of another monitor.
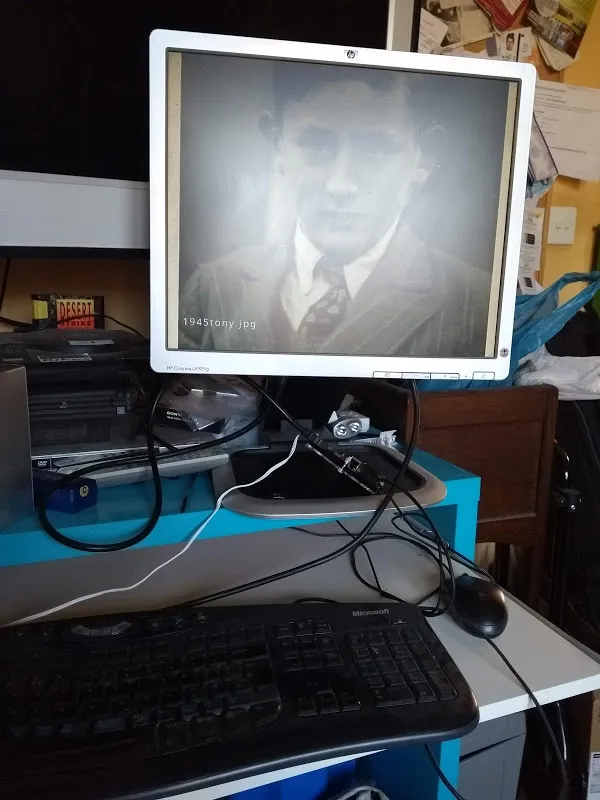
This is the set-up for testing. In real use it will not have a keyboard and mouse. The first step was to create a boot image on the Micro SD card (32GB). I used the Raspberry Pi Imager software that is available on Windows, Apple or Linux. I have a PC running Ubuntu. This app downloads the image you select.
Once the Pi was booting I needed to configure a few things such as a password and to get it connected to my wifi. The latter proved to be challenging as it has been before. You can set it up in the graphical interface, but I needed the Pi to boot to a command line. I had to resort to the method of creating a wpa_supplicant file which contains some slightly cryptic lines. You can get the details online. I also needed to enable ssh (secure shell) access as it is much easier to copy over commands and configuration on my PC and it would allow me to access the Pi later on. I installed Samba which lets you access the storage on the Pi remotely so I could copy over files, including photos.
The site recommended Pi3D as the photo viewing software as it allows for nice transitions. It is actually a whole library of graphical functions, but one of the demo applications is a photo viewer. Somewhere along the line I ended up turning off the power for the Pi and this may have corrupted the storage. Luckily I was able to recover it by using the fsck command (file system check) on my PC. I could have created the image again, but it takes a while to get everything set up again.
I was able to start the software from my PC over ssh and tried some of the 3D graphics demos. I think it was during the above corruption issues that it somehow lost an important file (called six_mod.py). I was able to download this from the project. I was not sure where to put it, but it is working fine in the folder where the various demos are stored. I copied some photos over and they appeared in random sequence when I ran the software.
There was a further configuration step to create a service which would run when the Pi starts. I am not sure how, but the file ended up with the wrong text in it, so that did not work at first, but now it does since I fixed it. So I am at least part of the way to where I want to be. There is an issue with the Pi not connecting to the wifi sometimes, but restarting it seems to fix that and Samba is not always running. I need to check on how to ensure that always runs.
To easily add photos to display you can synchronise from Google Photos. This uses rclone which can work with various cloud storage. That can be Dropbox, Nextcloud or even an FTP server. Google makes it easy as all my photos are there anyway and I just need to add them to the appropriate album.
Now I need to see if this setup is rated as 'family friendly' so it can go somewhere we will see it. The site has some examples of what people have created. Some have mounted their screens in actual picture frames and hidden the cables from view. I will look into that.
This is all a fairly technical process to get running, but the instructions given are pretty clear. It should be possible to create a Pi image that has everything set up already, but there will be different user requirements and it is just a matter of getting the right combination of software. For the hardware you will need a Raspberry Pi, which will cost from about £50 once you factor in power supply, memory card, case and cables. It should be possible to find a second hand monitor fairly cheaply.
Hive five!