Bienvenido a mi blog.
Welcome to my blog.
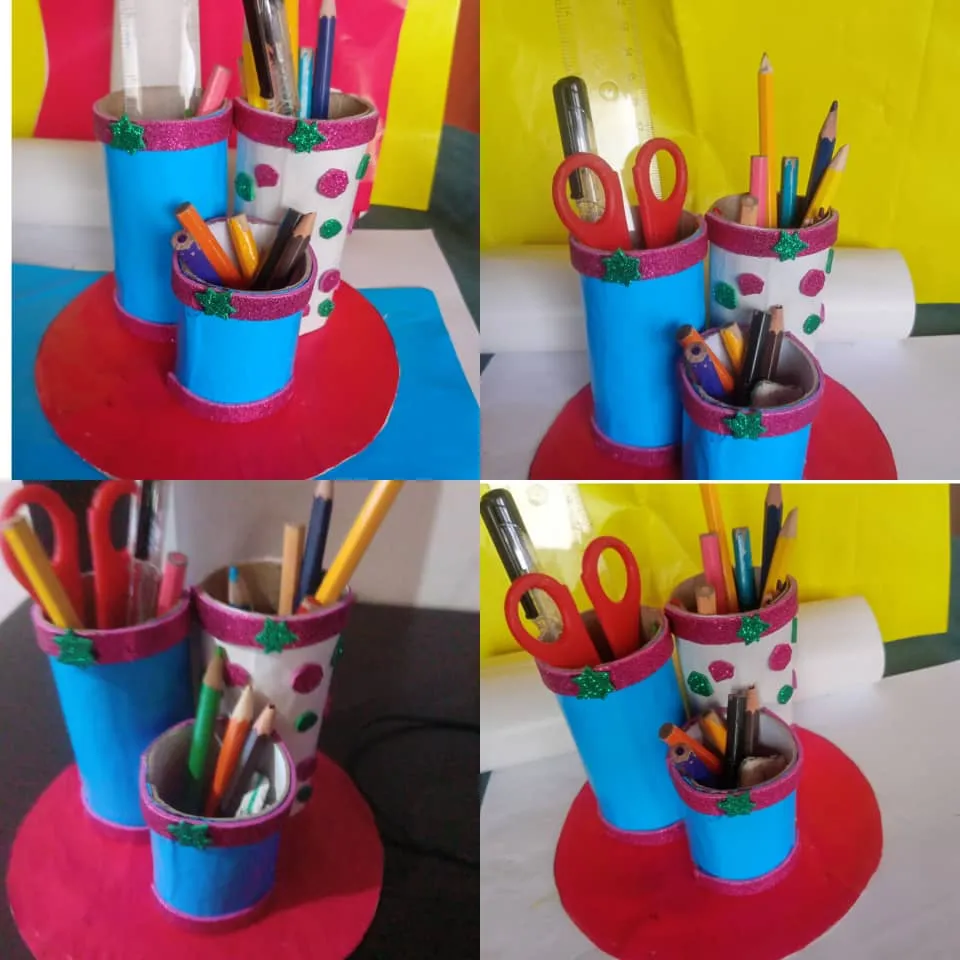
Buenos días, Amigos de #hive, feliz de estar de nuevo con ustedes, hoy quiero compartir de nuevo con ustedes, en esta oportunidad le comparto una manualidad hecho con materiales de provecho para la escuela de mi hija; Se trata de :Como hacer un portalápices con tubo de papel higiénico. Comencemos con algo muy fácil y sencillo que siempre tenemos en casa que es tubo de papel vacio, también se puede hacer con botella, o caja de cartón. Espero que le guste mi manualidad.
Good morning, Friends of #hive, happy to be back with you, today I want to share again with you, this time I share with you a craft made with useful materials for my daughter's school; This is :How to make a pencil holder with toilet paper tube. Let's start with something very easy and simple that we always have at home that is empty paper tube, can also be done with bottle, or cardboard box. I hope you like my craft.
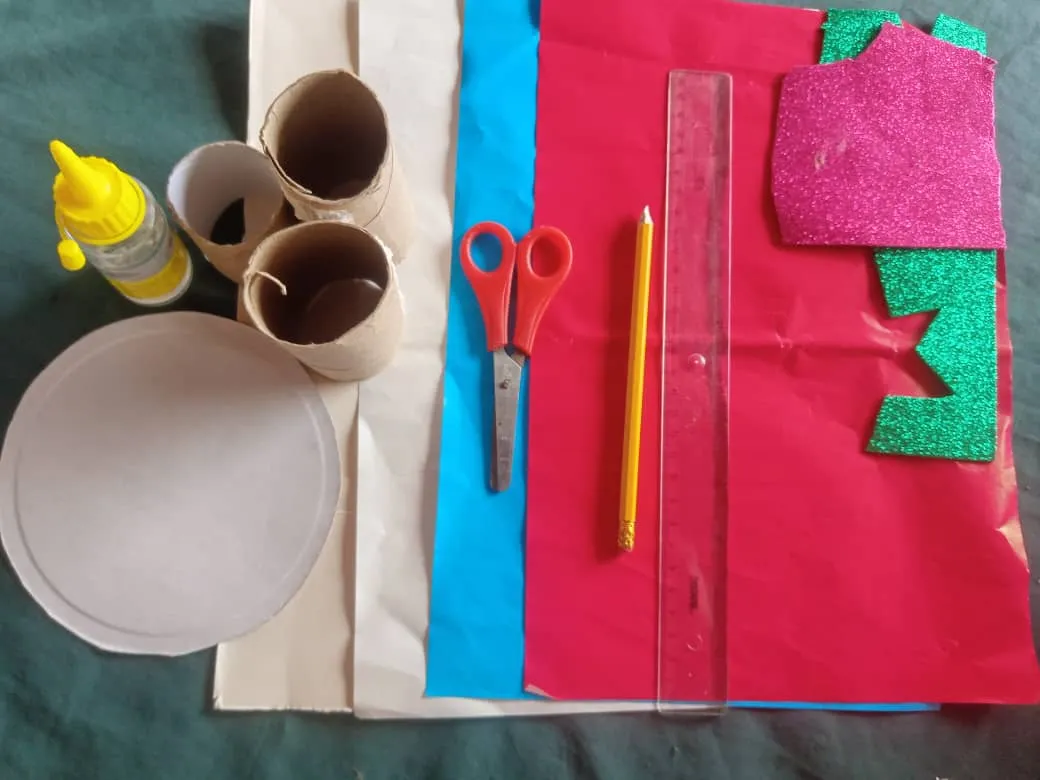
Para empezar se necesita el siguiente material.
1 silicón el líquido.
3 papeles lustrillo de cualquier color.
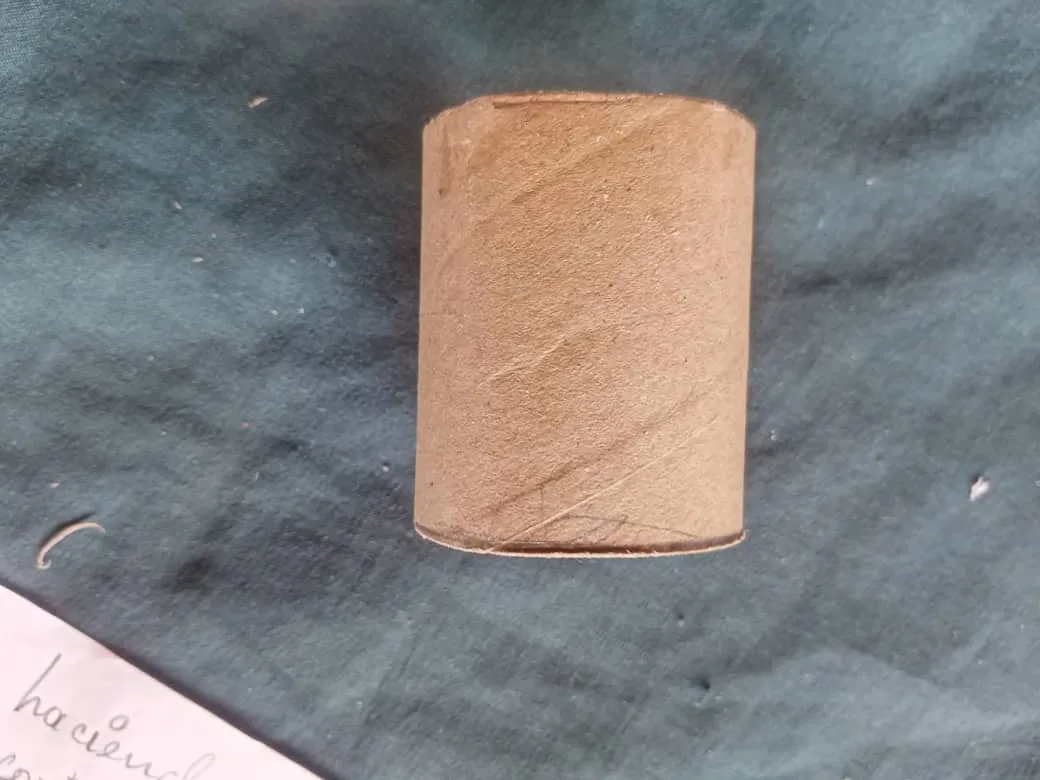
3 rollo de papel vacio higiénico.
1 regla.
1 tijera.
1 lápiz
Foami que tenía guardado para decorar.
1 cartón cuadrado de 30 centímetro. Reciclado
To get started you will need the following material.
1 liquid silicone.
3 lustrillo papers of any color.
3 empty toilet paper rolls.
1 ruler.
1 scissors.
1 pencil
Foami that I had saved to decorate.
1 30-centimeter square cardboard. Recycled
Instrucciones para empezar hacer portalápices:
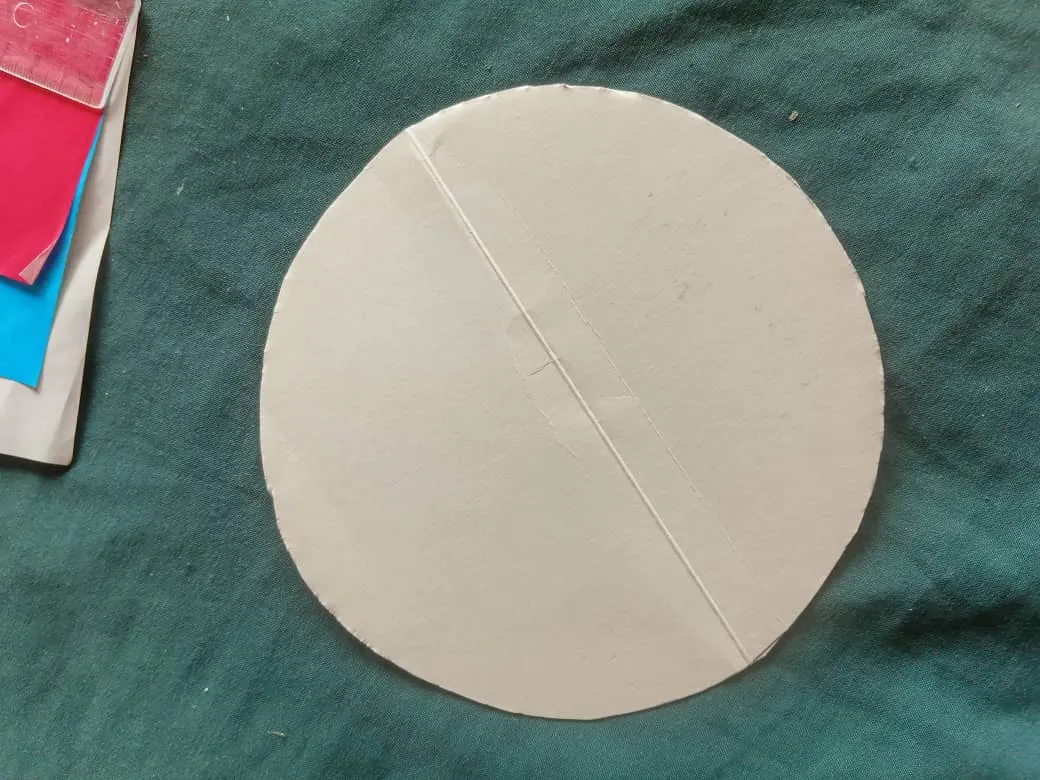
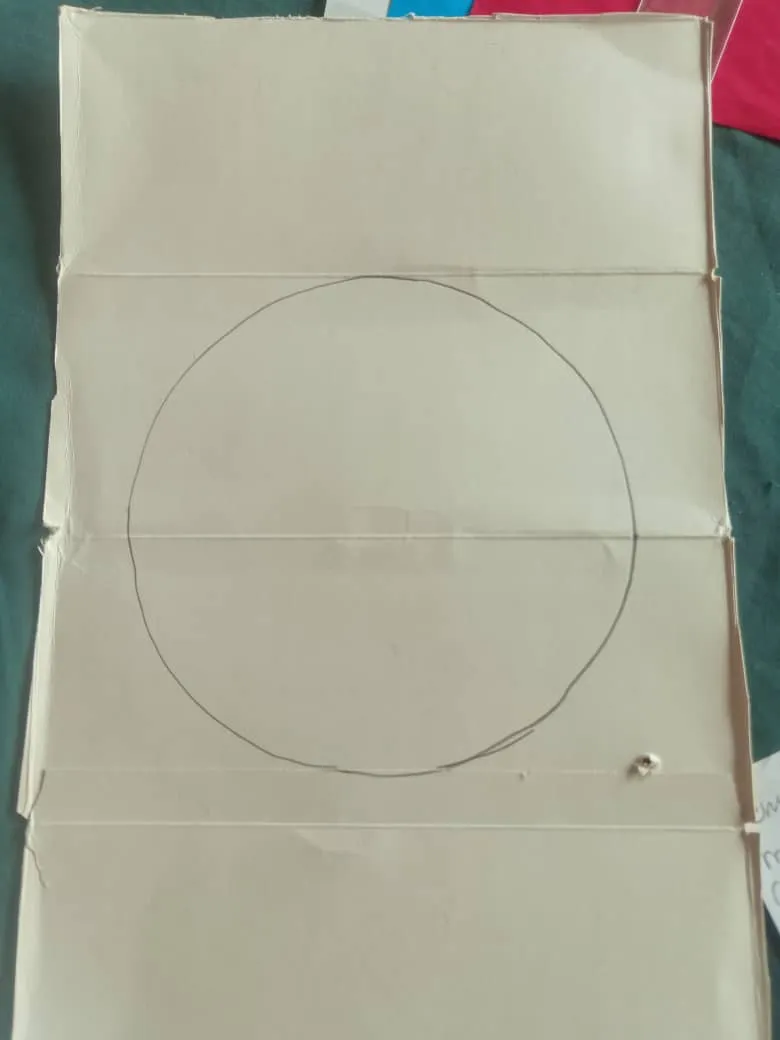
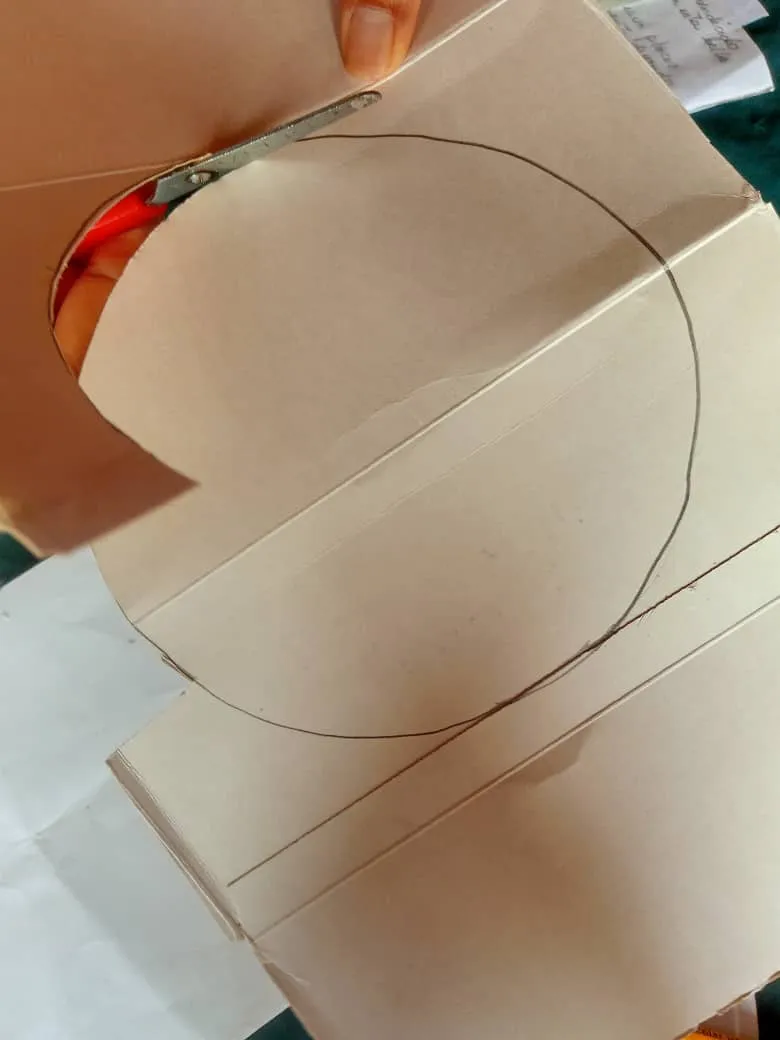
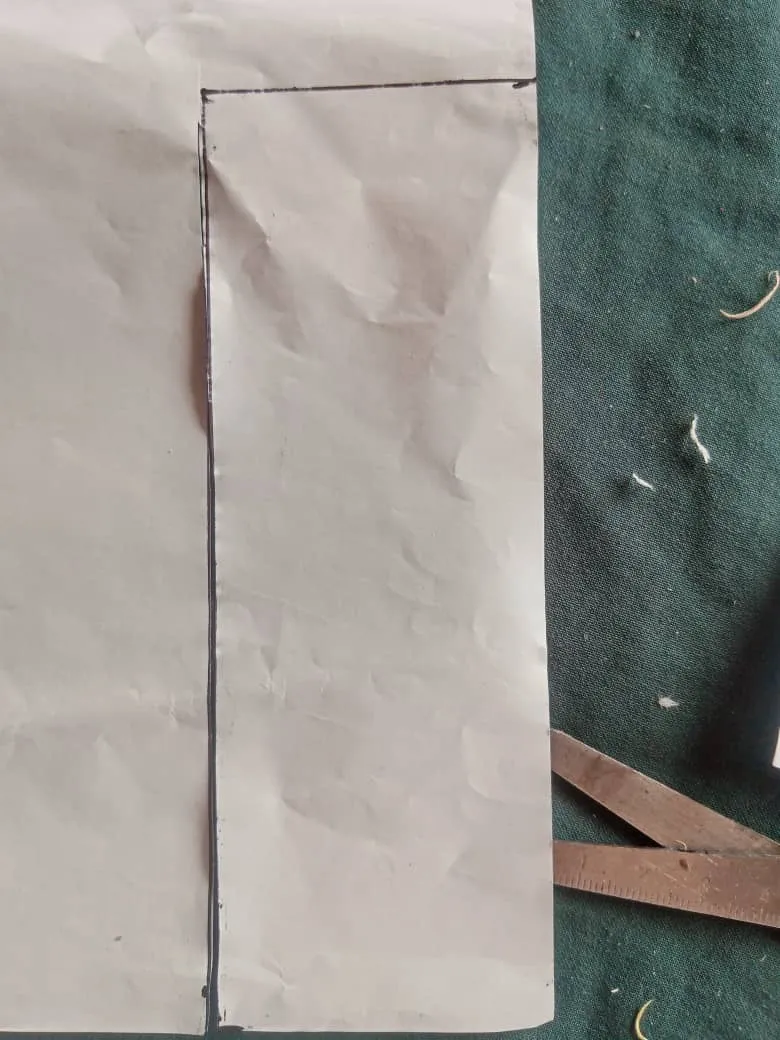
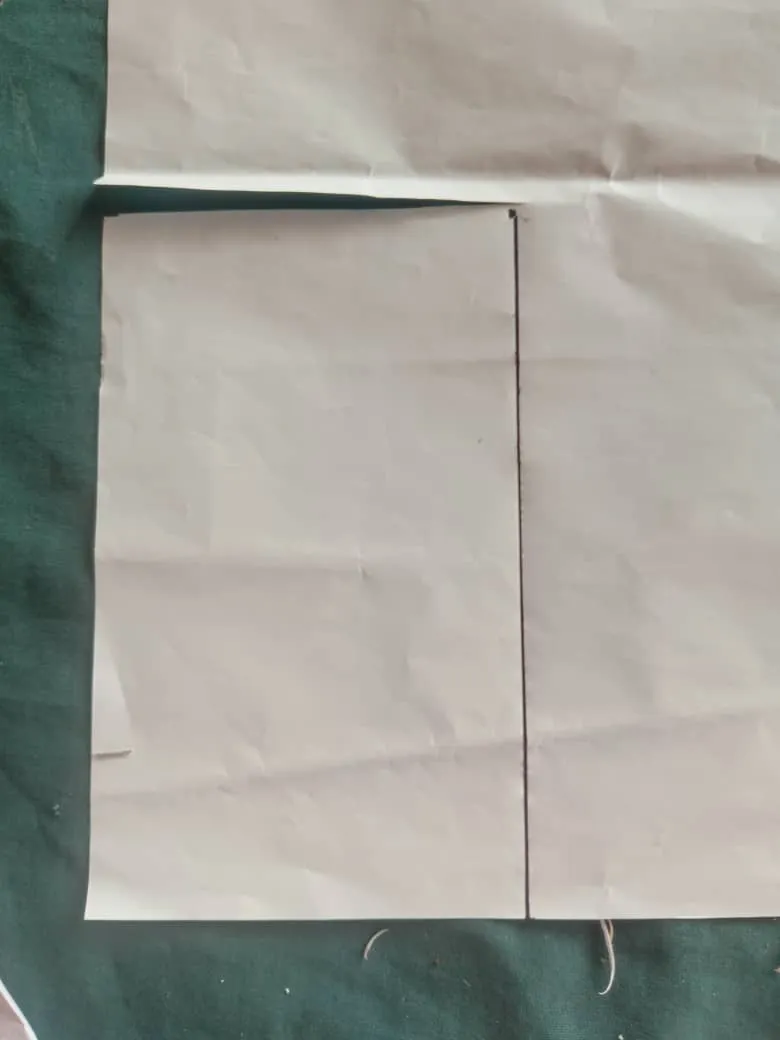
Empezamos haciendo la base, ya tengo un molde para recorta la base, tomo un cartón reciclado que mida 30cm de largo 20 de ancho. Lo marcamos con un lápiz y luego recortamos el monde.
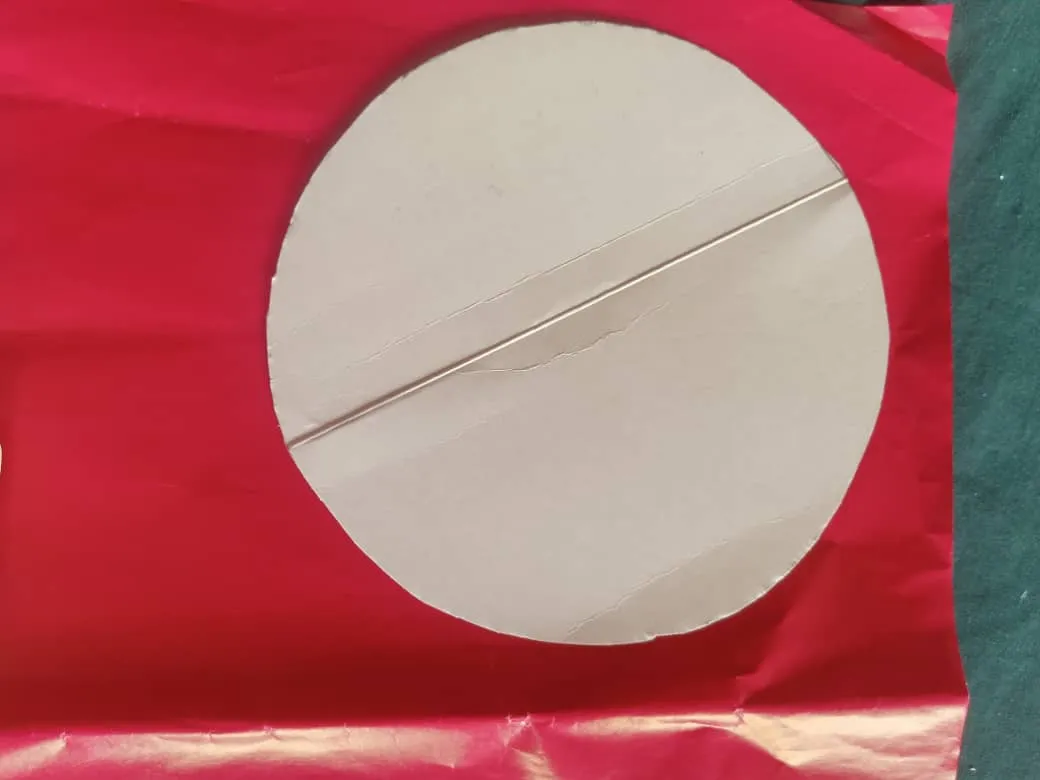
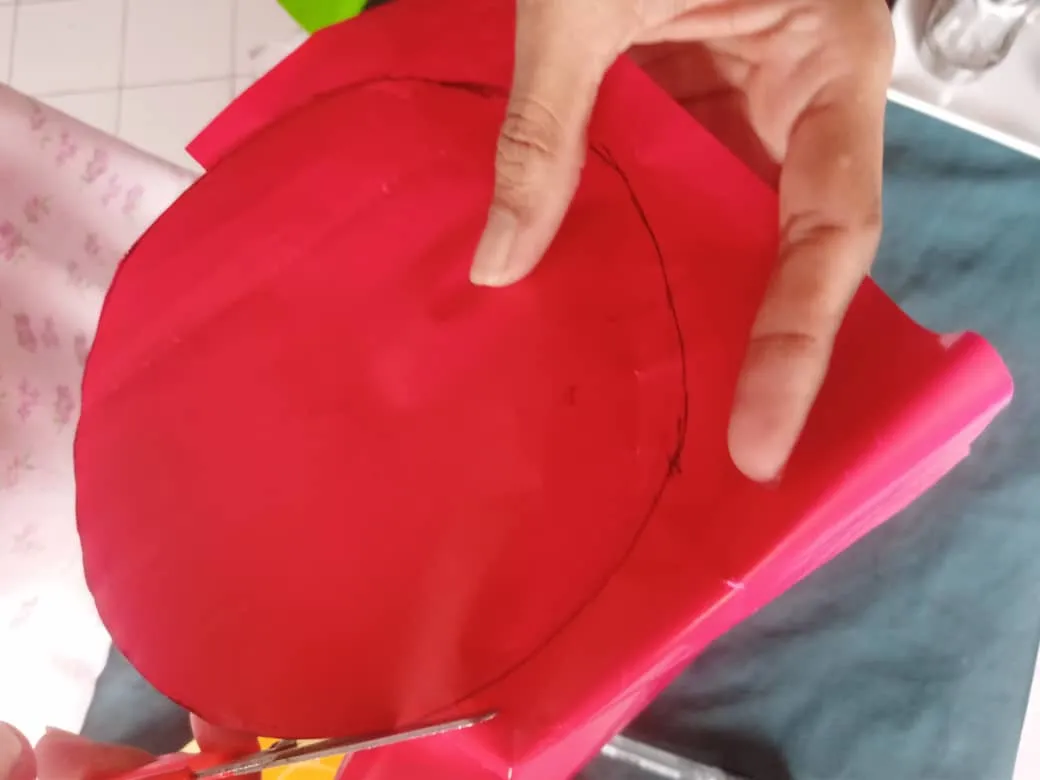
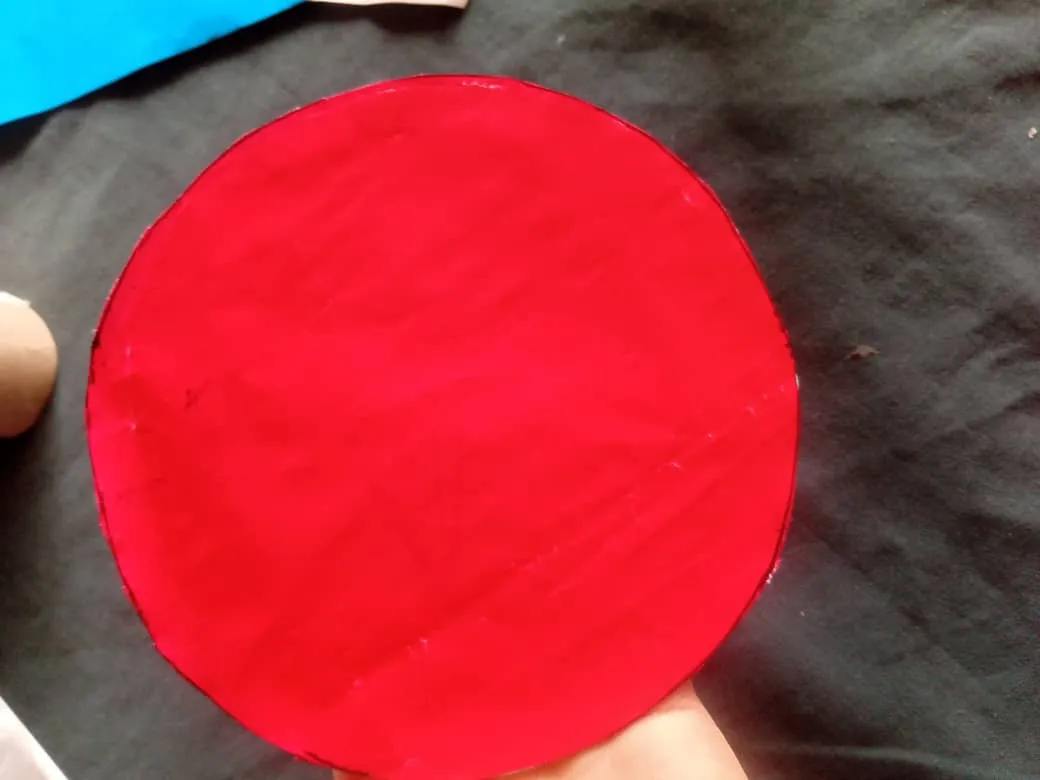
Después aparte agarramos un papel lustrillo, yo tome el color rojo, lo cortamos redondo y pegamos con el monde de la base.
Instructions to start making pencil holders:
We start making the base, I already have a mold to cut the base, I take a recycled cardboard measuring 30cm long and 20cm wide. We mark it with a pencil and then we cut out the monde.
Then we take a piece of luster paper, I took the red color, cut it round and glue it to the base.
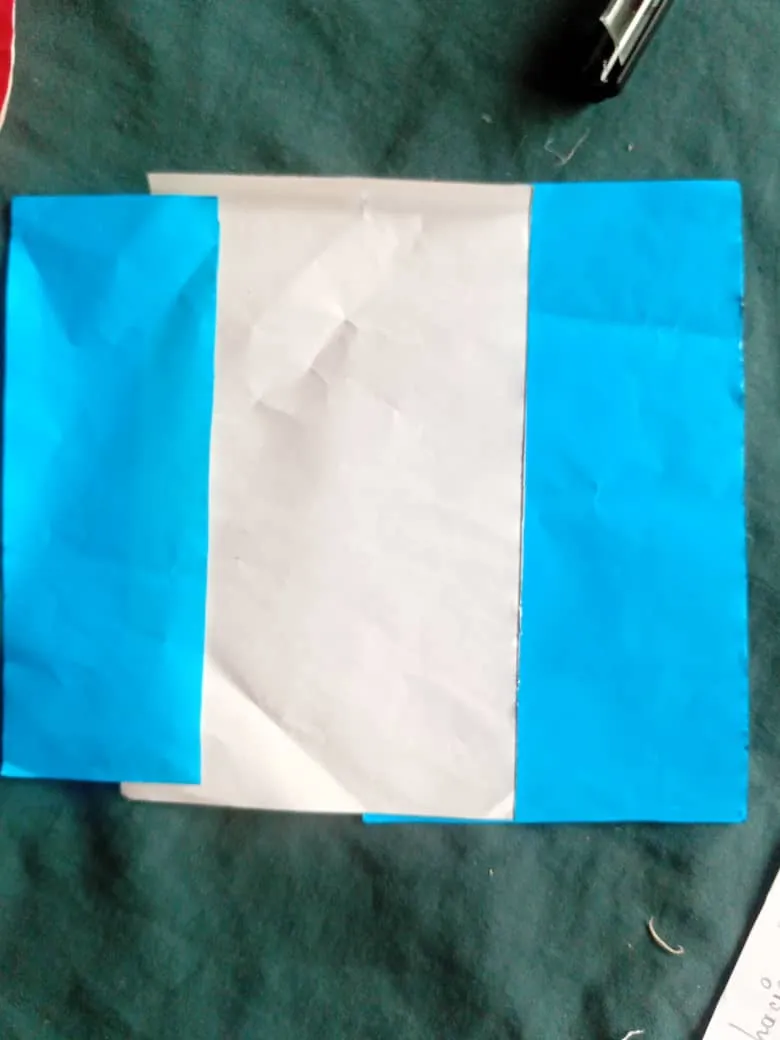
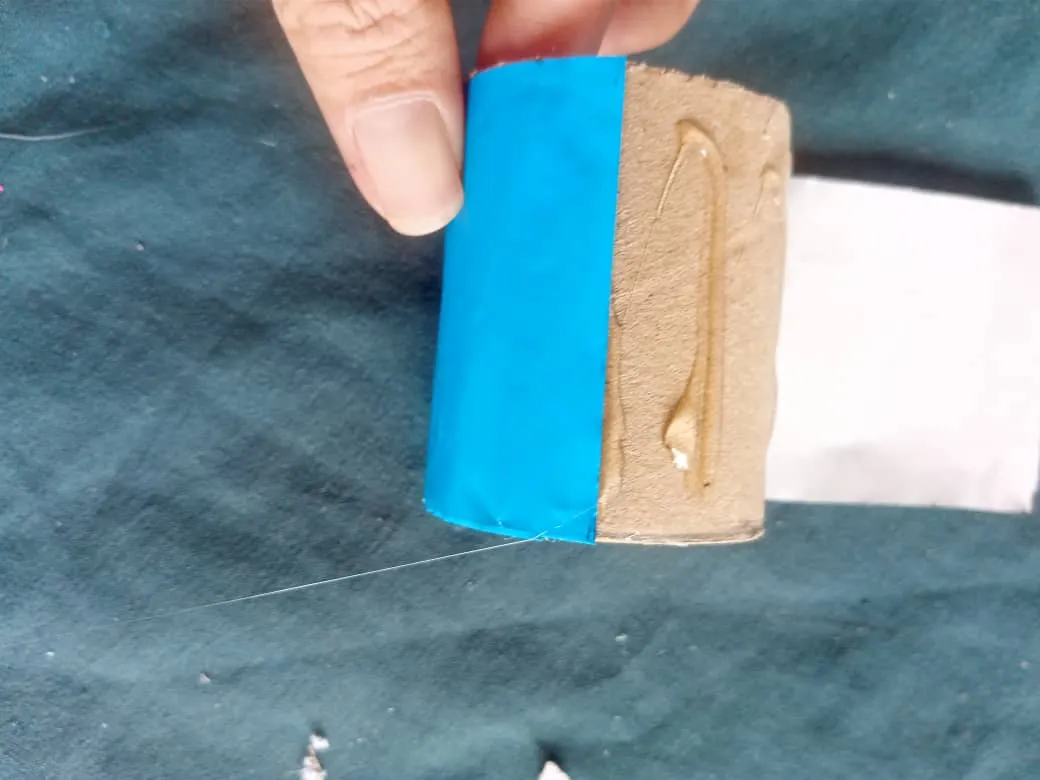
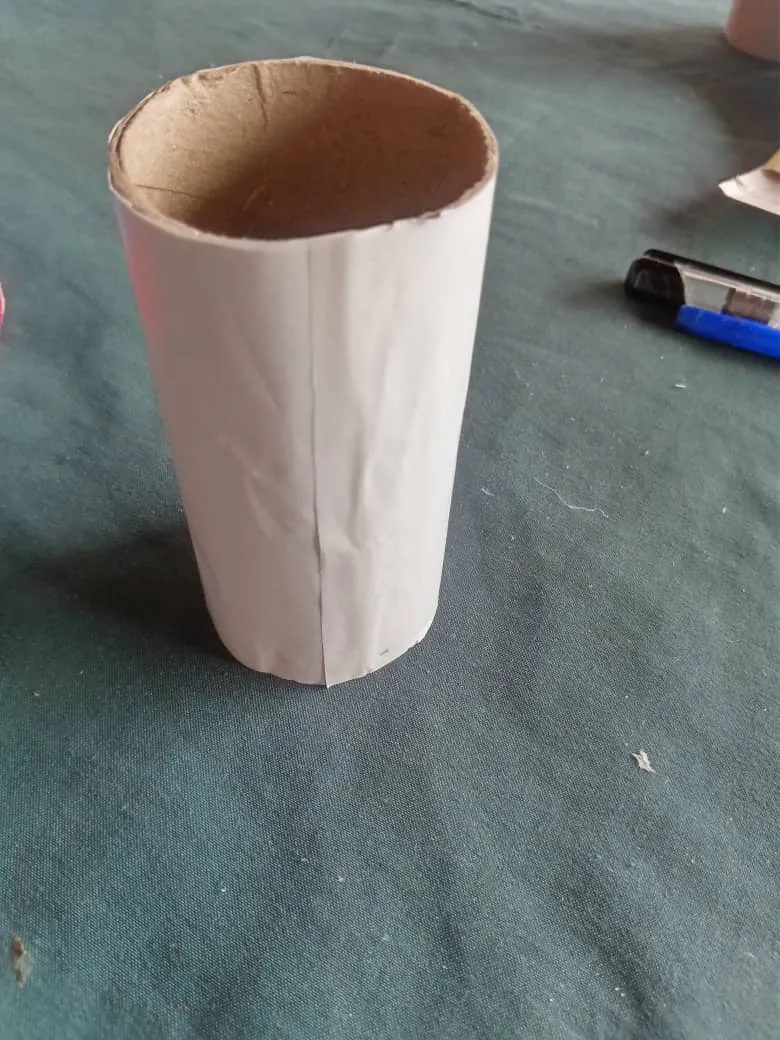
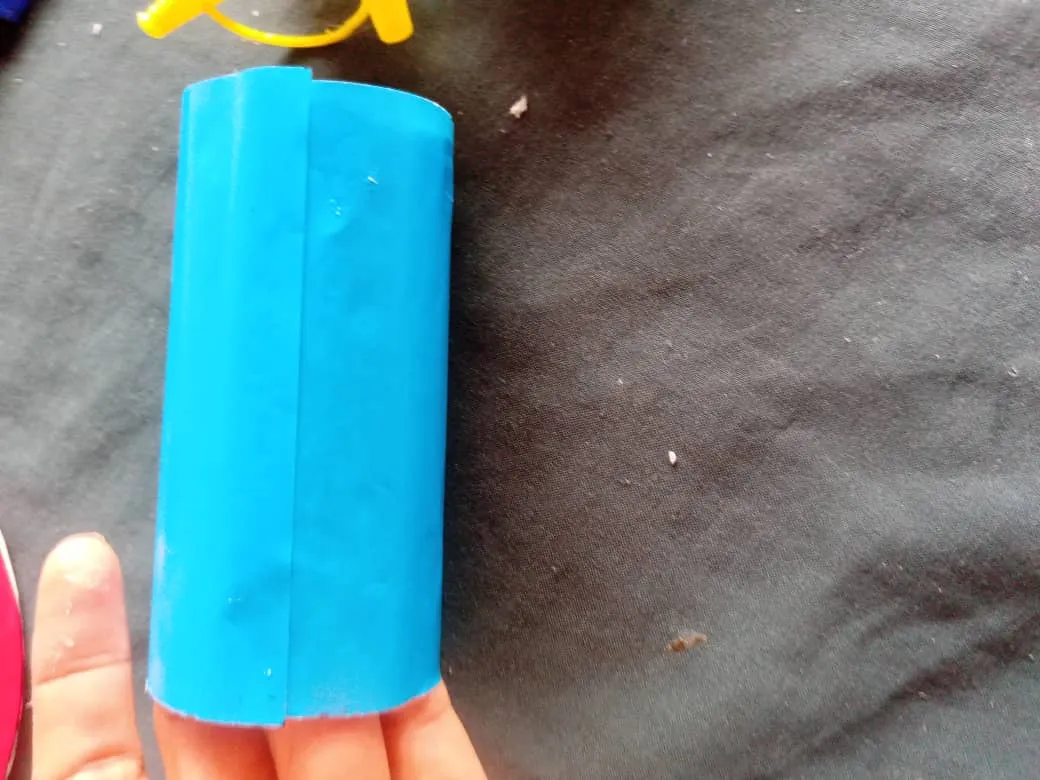
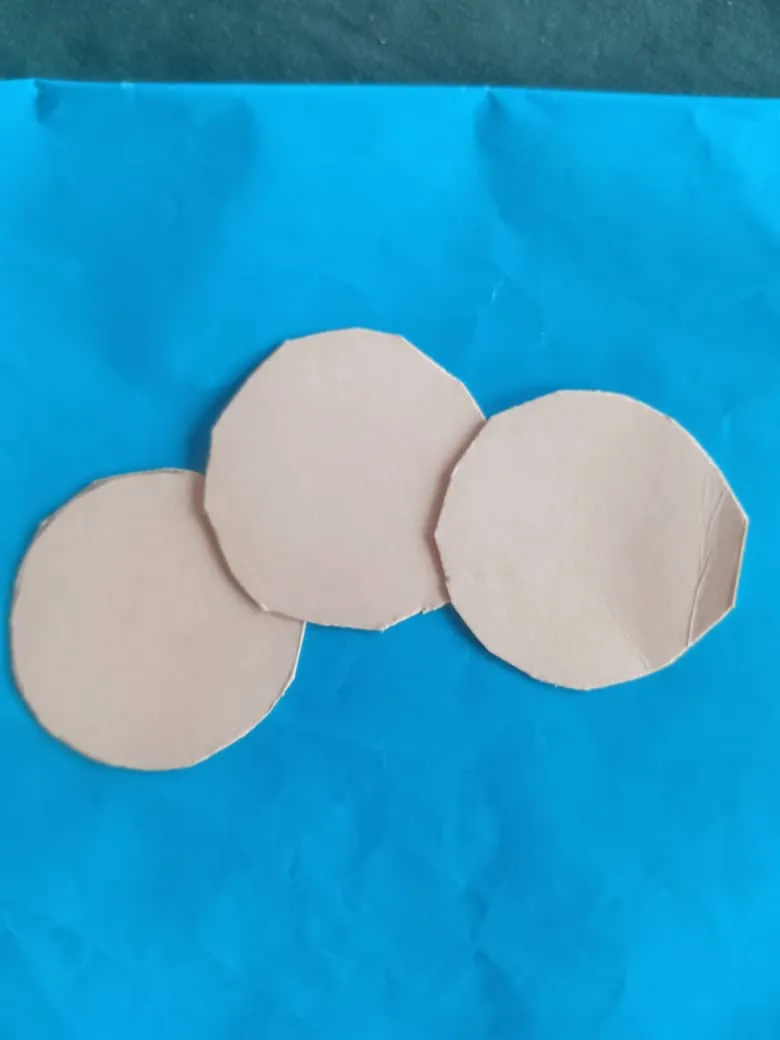
Aparte mido el papel que tome para decorar los tubos de papel el tubo pequeño mide 5cm de ancho x 17 cm de largo los dos tubos grande mide 10cm de ancho x 17 de largo. Ya tengo listo mis tres forros cortados.
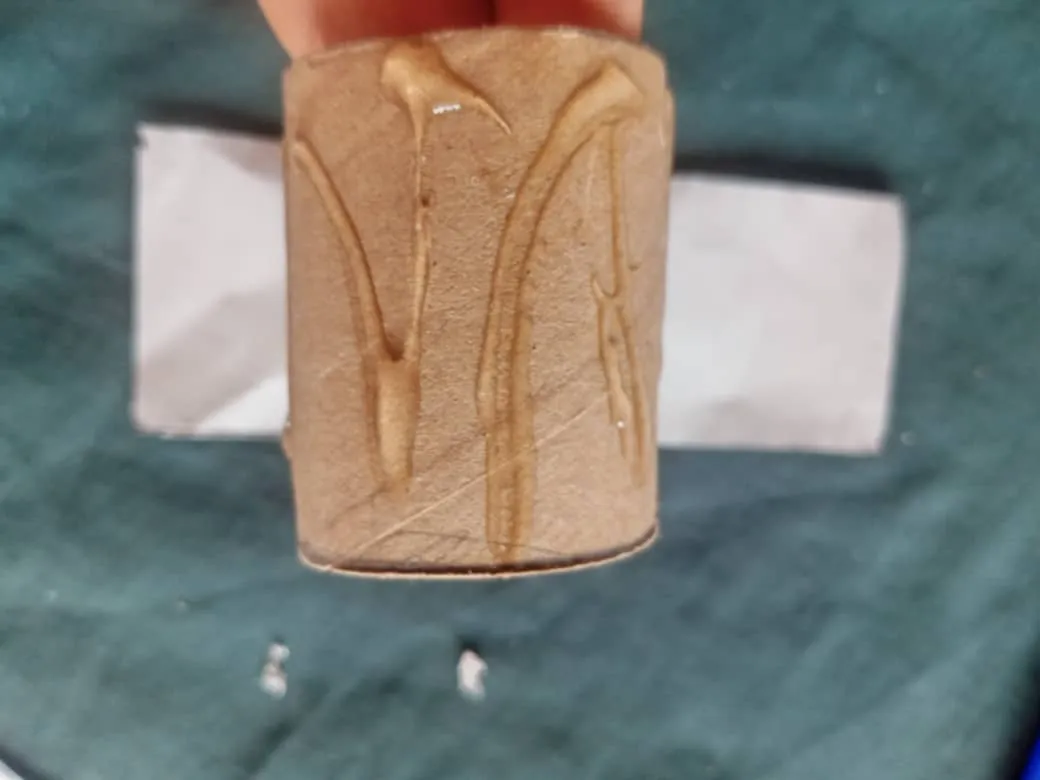
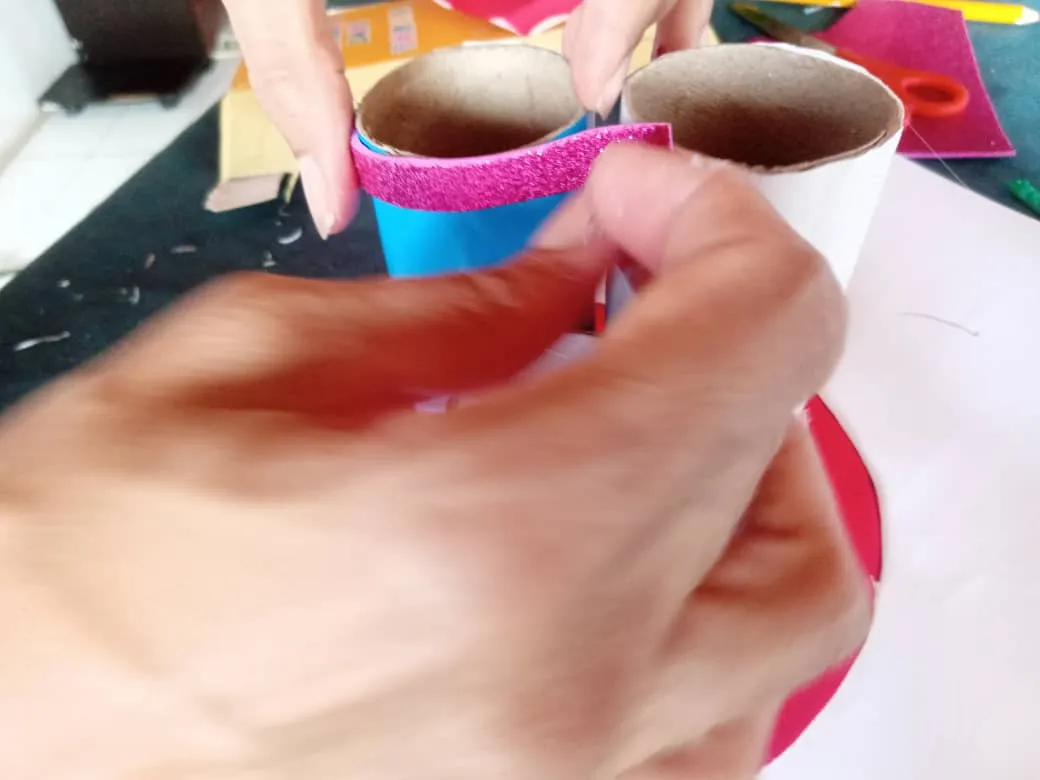
Comienzo a envolver los tubos le agrego pega y después le doy vuelta lo voy aplanando con los dedo que quede bien liso, así sucesivamente hago con todo me aseguro pegarlo bien en el borde y córtalos.
I measure the paper I took to decorate the paper tubes the small tube measures 5cm wide x 17 cm long the two big tubes measure 10cm wide x 17 cm long. I now have my three cut liners ready.
I start wrapping the tubes I add glue and then I turn it over and flatten it with my fingers so that it is smooth, and so on I do with everything I make sure to glue it well on the edge and cut them.
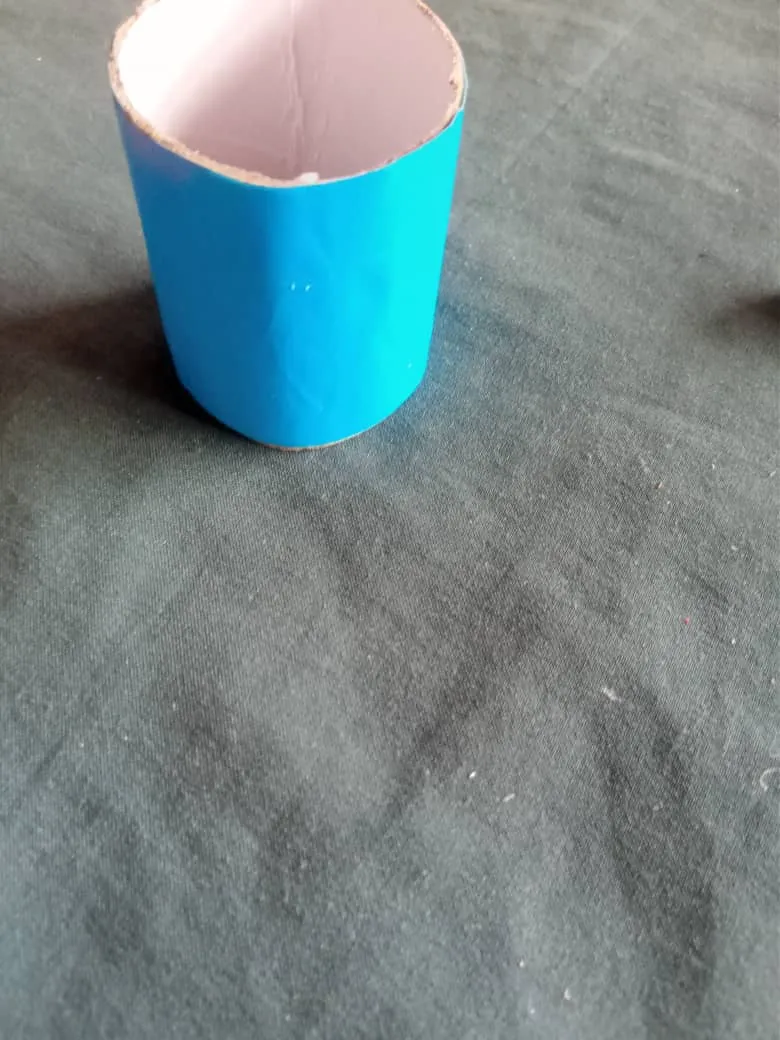
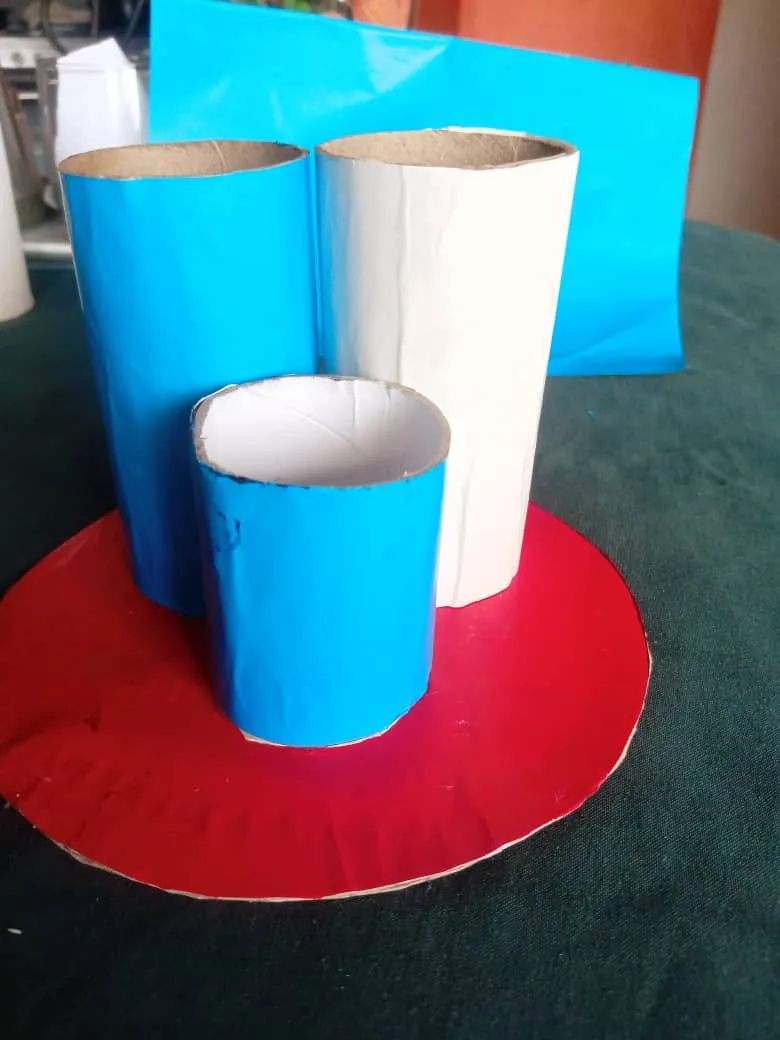
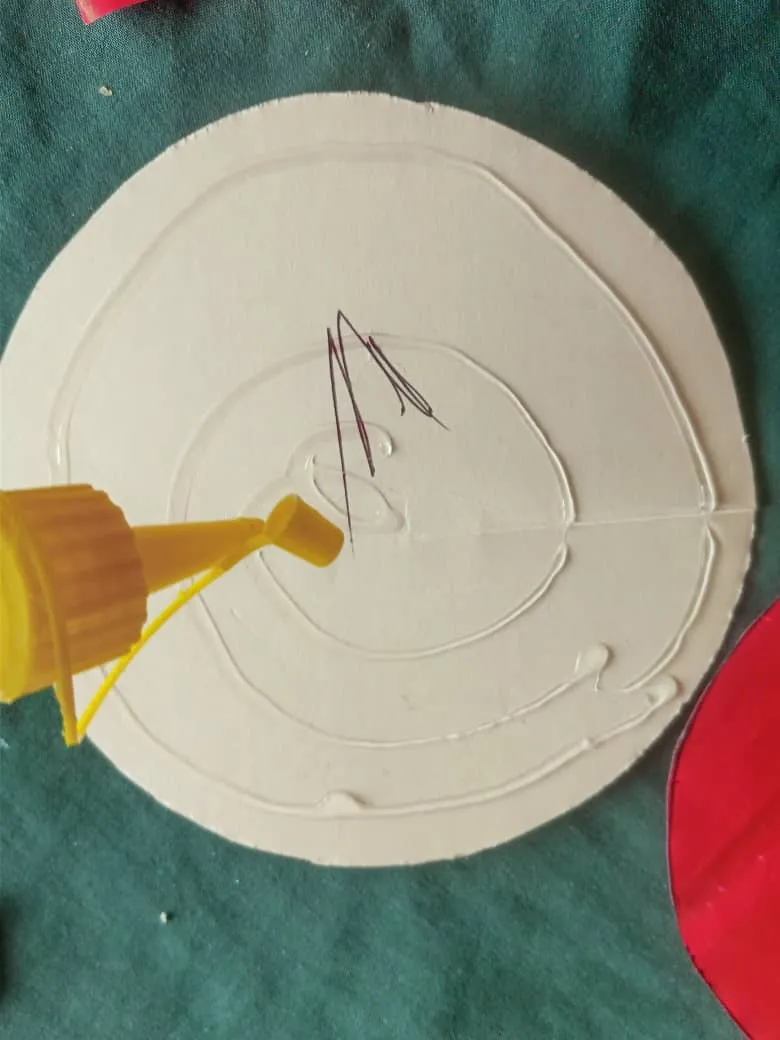
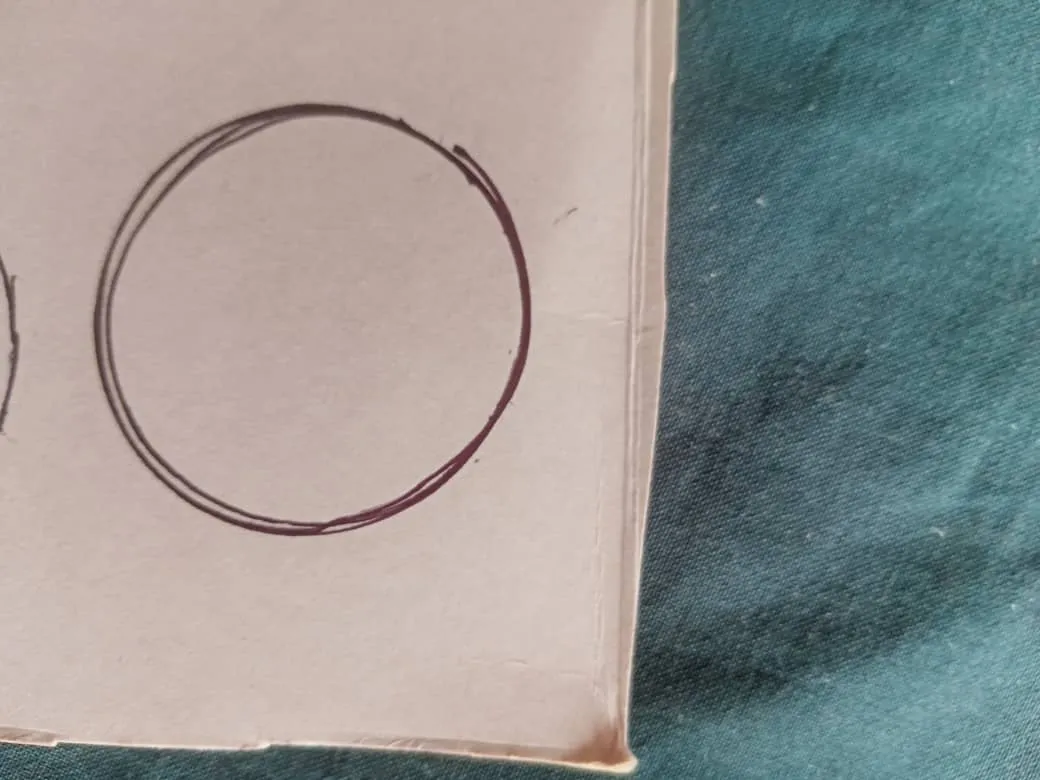
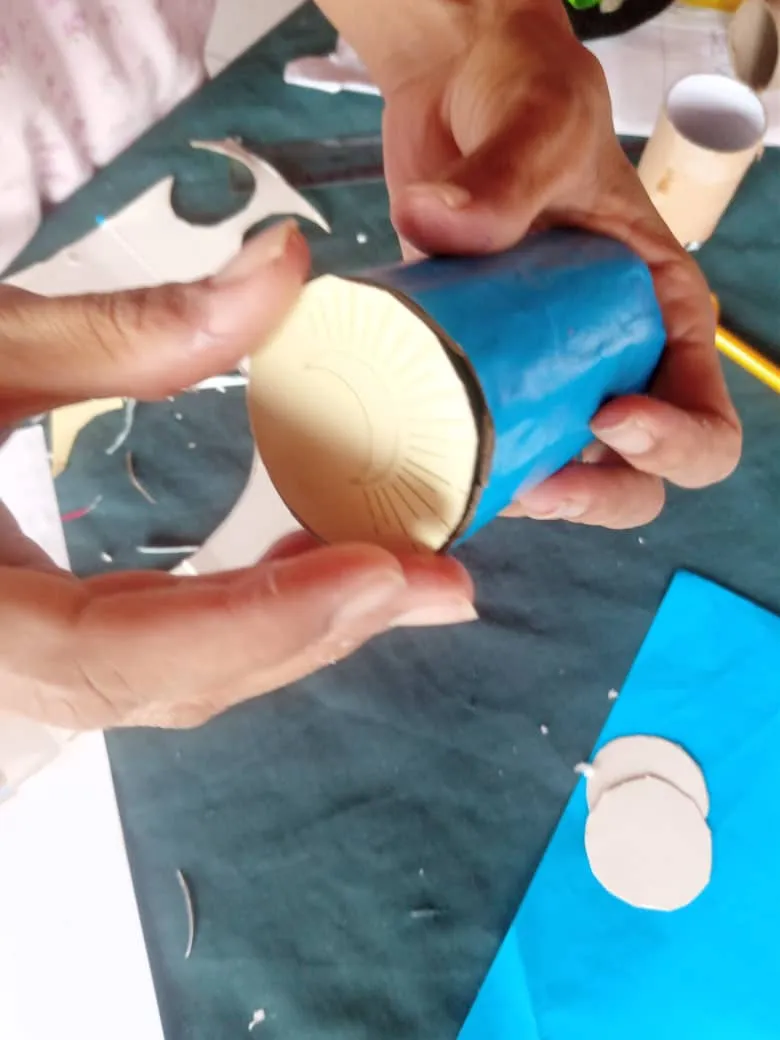
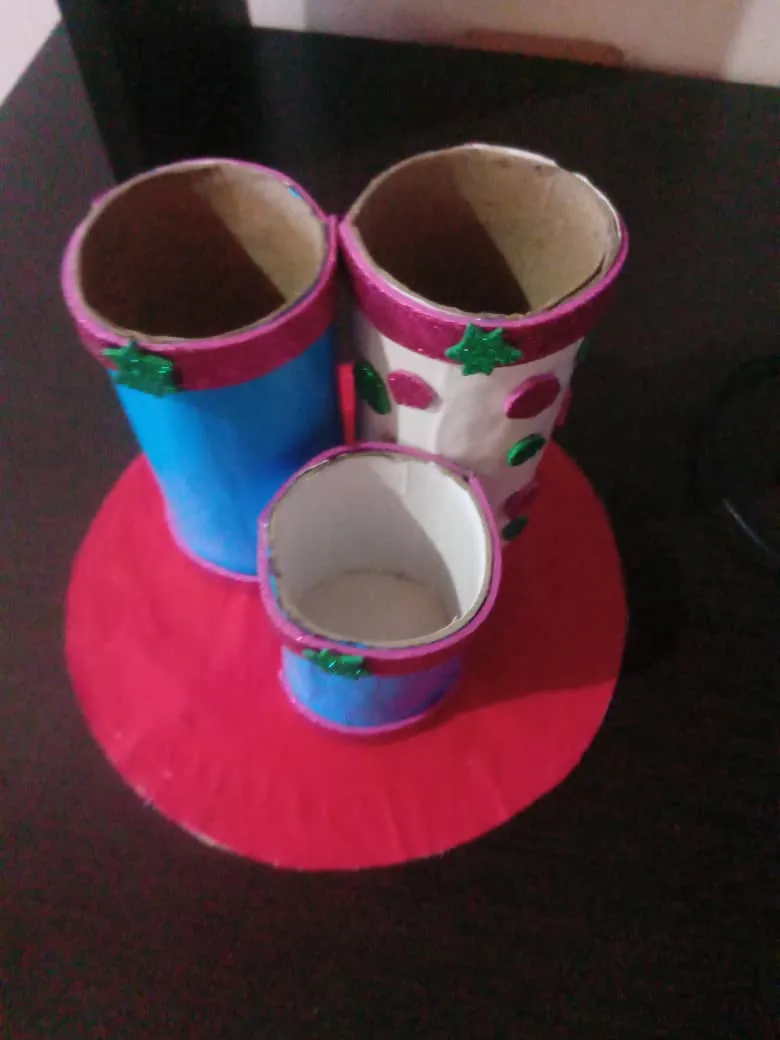
Dibujamos una circunferencia más grande que lo agujero del portalápices lo recorta y lo pega en la parte inferior te, asegura que ya esté todo bien pegado y procede a pegarlo en la base uno por uno hasta tener los tres pegado.
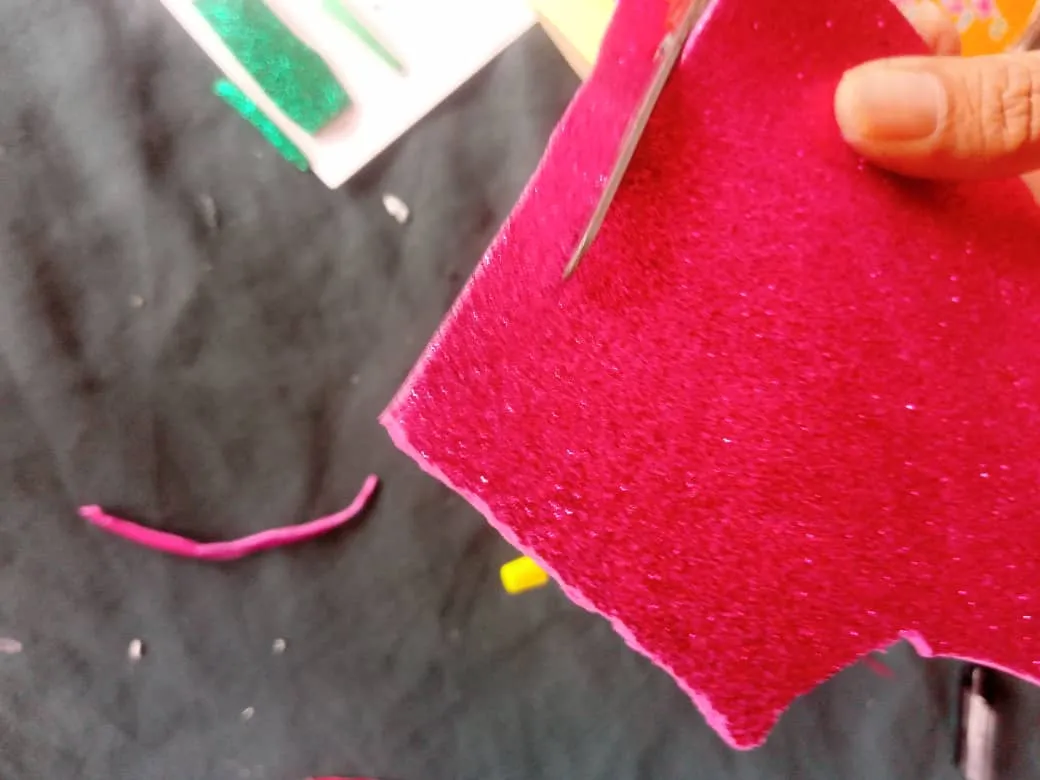
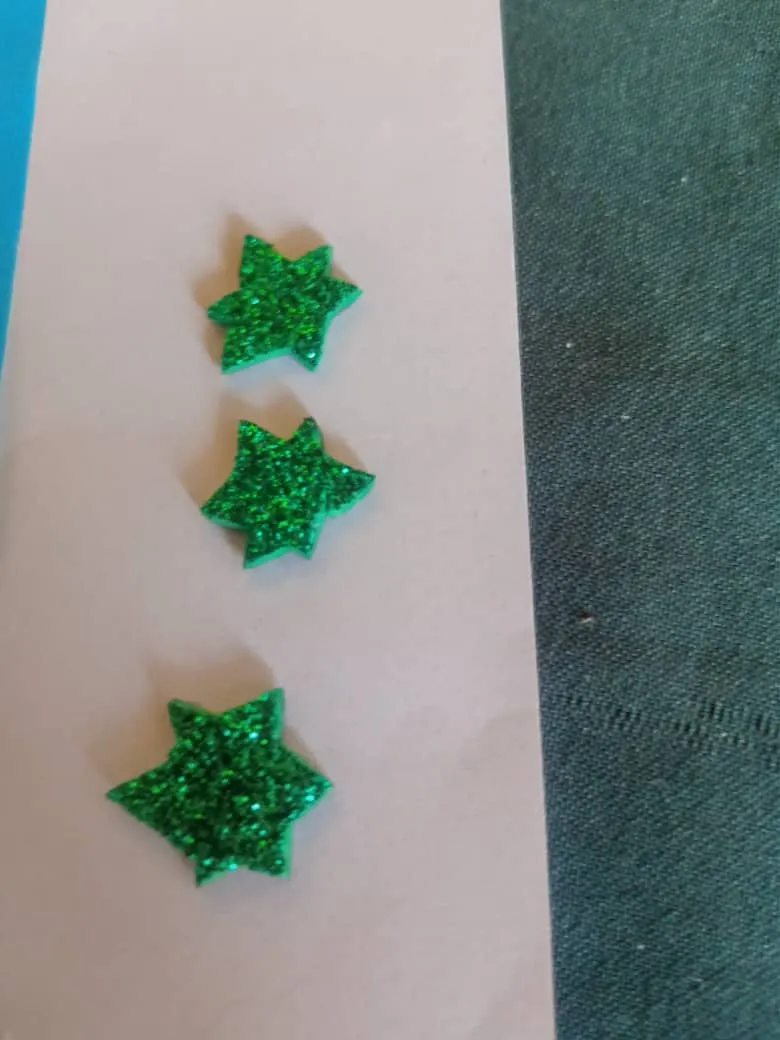
Por último cuando te asegure que este bien pegado en la base, lo decora a tu gusto, yo tenía un pedazo foami de escarcha rosada y verde lo recorte el tirilla para colocarle en lo borde, también una estrella, punto rosado y verde lo pegue con la ayuda de mi
hija que fue quien lo decoro a su gusto.
Al final ya tenemos listo el portalápices de reciclar, esta idea es maravillosa a la hora de hacer este tipo de manualidad, para los niños, ya que crea un momento de creatividad en su momentos libre y así no divertimos con ellos aportando idea.
Draw a circumference larger than the hole in the pencil holder, cut it out and glue it to the bottom, make sure everything is well glued and proceed to glue it to the base one by one until you have all three glued.
Finally when you make sure it is well glued to the base, decorate it to your liking, I had a piece of pink and green frosting foamy, I cut it out and put it on the edge, also a star, pink and green dot, I glued it with the help of my daughter who was the one who decorated it to her liking.
At the end we have ready the pencil holder to recycle, this idea is wonderful when making this type of craft, for children, as it creates a moment of creativity in their free time and so we have fun with them bringing idea.
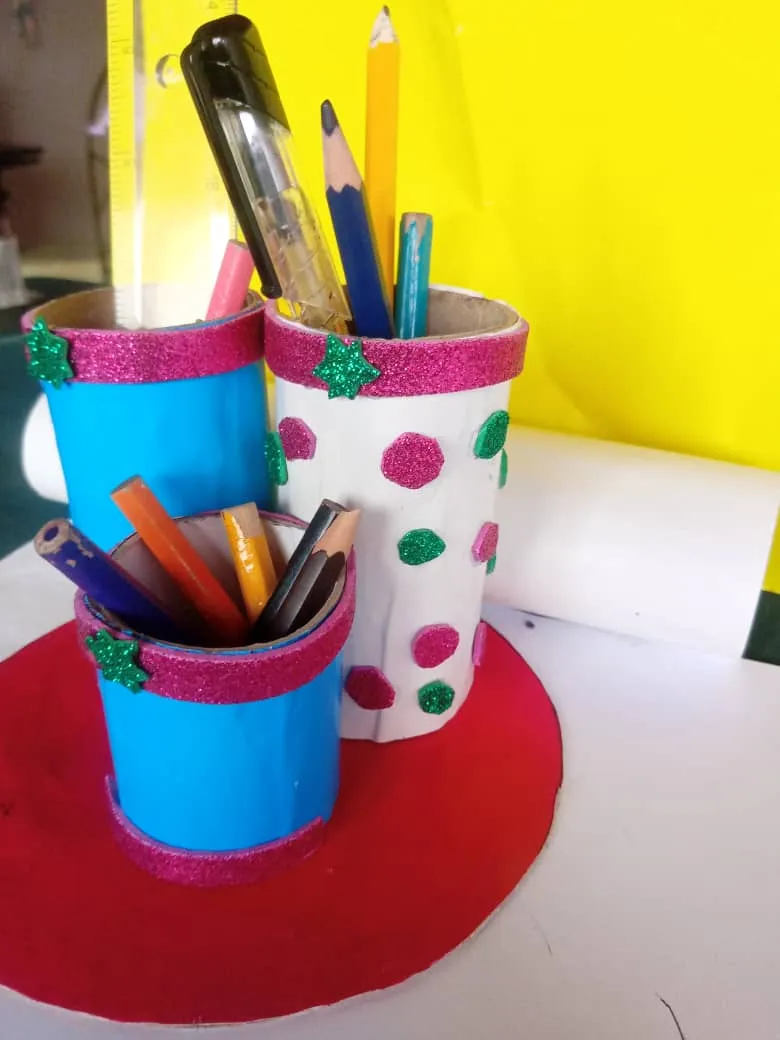
Espero que le haya gustado mi manualidad que es creativa y divertida para los niños y así le enseña como reciclar y cuidar sobre el medio ambiente.
Bendiciones a todo feliz día.
I hope you liked my craft which is creative and fun for children and thus teaches them how to recycle and care about the environment.
Blessings to all happy days.
Las fotos son mías , tomadas con teléfono alcatel , editadas con incollage y traducidas con Deepl.
The photos are mine, taken with alcatel phone, edited with incollage and translated with Deepl.