ESPAÑOL
¡Hola a todos!
Hace un tiempo hice un post anunciando que empezaría a dar clases de guitarra. Y lo siguiente que hice fue perderme en la nebulosa. Perdonen por eso…
Pero al fin, aquí está la primera clase de guitarra impartida por mí. Me entusiasma mucho crear este tipo de contenido aquí en la Hive Blockchain, considerando las infinitas posibilidades de la red, pensé en que también podía aportar un poco sobre los conocimientos que he adquirido tocando y enseñando guitarra acústica.
En la siguiente lección veremos conceptos muy, muy, MUY básicos de este arte. De modo que si ya los conoces, puedes simplemente pasar el siguiente post (cuando lo publique 😆). Aunque si quieres puedes seguir leyendo a modo de repaso.
Sin más, vamos a empezar 😃
ENGLISH
Hello everyone!
A while ago I made a post announcing that I would start teaching guitar lessons. And the next thing I did was get lost in the nebula. Sorry about that...
But at last, here is the first guitar lesson taught by me. I'm very excited to create this kind of content here on the Hive Blockchain, considering the infinite possibilities of the web, I thought I might as well contribute a bit about the knowledge I've gained playing and teaching acoustic guitar.
In the next lesson, we will look at very, very, VERY basic concepts of this art. So if you already know them, you can just skip the next post (when I publish it 😆). Although if you want you can keep reading as a review.
Without further ado, let's get started 😃
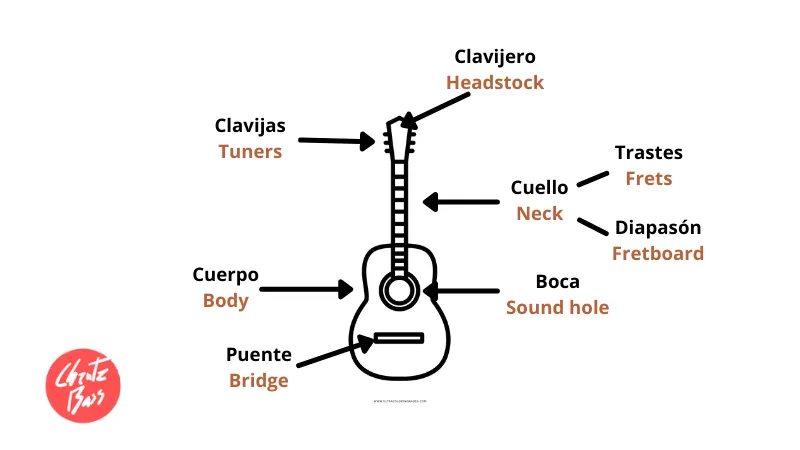
THE PARTS | LAS PARTES
Bien, esto es probable que ya lo sepas. Y tal vez parezca demasiado obvio, pero quiero asegurarme que de aquí en adelante todos tengamos claro este asunto. Sería raro que llegaran a ser guitarristas de alto nivel y aún no conozcan del todo su instrumento, es algo improbable, pero imaginarlo me parece hilarante jajaja... ok, ok... Continuemos...
Échale un ojo a la imagen y trata de ver cuál no conocías.
Nota: Es probable que en tu país o región le digan de otra forma. Házmelo saber en los comentarios 😊
Well, you probably already know this. And maybe it seems too obvious, but I want to make sure that from now on we are all clear on this issue. It would be weird if you become a top-level guitarist and still don't know your instrument at all, it's unlikely, but I find it hilarious to imagine it hahaha... ok, ok... Let's continue...
Take a look at the image and try to see which one you didn't know.
Note: It's probably called differently in your country or region. Let me know in the comments 😊.

THE POSITION | LA POSICIÓN
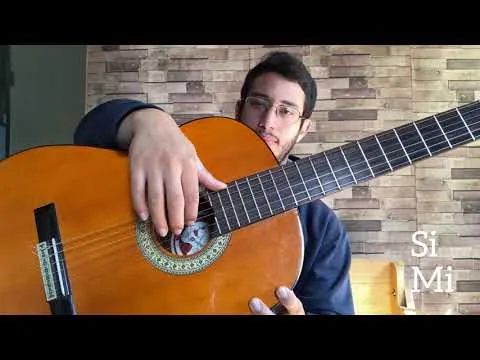
Lo siguiente es determinar cuál es la correcta postura para tocar la guitarra. No pienso venir a decirles que una determinada postura es la que los volverá unos prodigios de la guitarra o que les desbloqueará todos los secretos de su ejecución.
Pero permítanme hacerles saber unos consejos muy útiles para una posición eficiente.
Lo primero es el lugar sobre el que tocarán. Procuren una silla o asiento que les permita mantener la espalda erguida (para evitarnos complicaciones a futuro). Y en la que puedan colocar los pies bien firmes en el suelo. Por supuesto, que no tenga obstáculos a los lados para poder tocar.
No separar o inclinar demasiado la guitarra. Tener la guitarra pegada al cuerpo es una complicación a la hora de tocar, pero tampoco debe estar demasiado lejos. También debemos luchar con la tentación de inclinar con la idea de ver mejor el diapasón. Con la posición correcta, tendremos vista suficiente para corregir nuestra mano. A fin de cuentas, gran parte de esta destreza se basa en memoria muscular, así que no es necesario tener el ojo siempre sobre los trastes.
La ángulo de inclinación del diapasón debe ser lo suficiente para que podamos alcanzar los trastes inferiores.
El codo debería estar ligeramente separado del cuerpo y libre de tensión para poder hacer uso de esta articulación cuando sea necesario.
Extra: Si vas a usar correa, procura que la longitud sea una que, al estar sentado, deje reposar la guitarra en la pierna sin quedarse floja o demasiado apretada al cuello.
Si tienes estos puntos claros, bien puedes elegir la posición que más te guste.
The next thing is to determine what the correct guitar playing posture is. I'm not going to come here and tell you that a certain posture is the one that will make you a guitar prodigy or unlock all the secrets of your playing.
But let me let you know some very useful tips for an efficient position.
The first thing is the place on which you will play. Try to find a chair or seat that allows you to keep your back upright (to avoid complications in the future). And in which you can place your feet firmly on the floor. Of course, it should have no obstacles on the sides to be able to play.
Do not separate or tilt the guitar too much. Having the guitar close to the body is a complication when playing, but it should not be too far away either. We must also fight the temptation to lean too much on the guitar with the idea of seeing the fretboard better. With the correct position, we will have enough sight to correct our hands. After all, much of this skill is based on muscle memory, so it is not necessary to always have your eye on the frets.
The angle of the fretboard should be just enough so that we can reach the lower frets.
The elbow should be slightly separated from the body and free of tension to be able to make use of this joint when necessary.
Extra: If you are going to use a strap, make sure that the length of the strap is one that, when seated, allows the guitar to rest on the leg without being loose or too tight on the neck.
If you have these points clear, you can choose the position you like best.
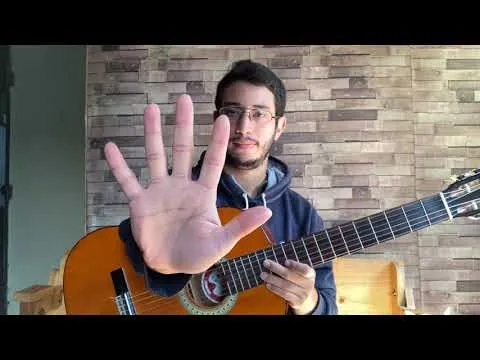
THE FINGERS | LOS DEDOS
Ahora debemos identificar nuestros dedos de forma que nos resulte fácil identificarlos en las indicaciones de las lecciones. Además, los compositores o los arreglistas suelen dejar algunas guías o recomendaciones de esta forma.
En la mano que usaremos para la digitación, es decir, que tocará el diapasón los dedos serán identificados con números de esta forma: indice (1), medio (2), anular (3) y meñique (4). Ojo, cuando se nos indique el número 0, se refiere a cuerdas al aire, sin pulsar.
En los dedos de la mano que rasgaran las cuerdas, los identificaremos con las iniciales de su nombre: indice (i), medio (m), anular (a) y pulgar (p). Ojo, el meñique se usa muy poco, de manera que lo mencionaremos por ahora.
Now we must identify our fingers in a way that makes it easy for us to identify them in the lesson directions. In addition, composers or arrangers usually leave some guidelines or recommendations in this way.
In the hand that we will use for fingering, that is to say, that will play the fingerboard, the fingers will be identified with numbers like this: index (1), middle (2), ring (3), and little finger (4). Note that when the number 0 is indicated, it refers to strings in the air, without plucking.
In the fingers of the hand that strums the strings, we will identify them with the initials of their name: index (i), middle (m), ring (a), and thumb (p). Note that the little finger is rarely used, so we will mention it for now.
Note: As you notice, I will use the initials of the fingers in Spanish.
THE STRINGS | LAS CUERDAS
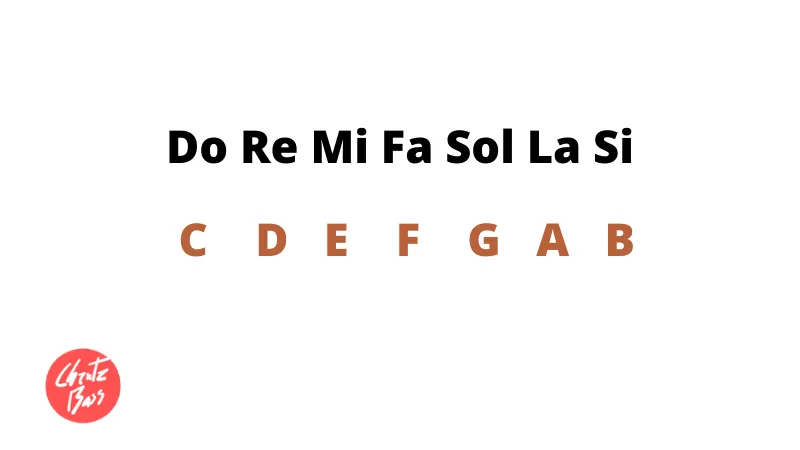
Bien, ahora un poco de lenguaje musical. Los sonidos son a la música, lo que los colores a la pintura o las palabras a la poesía. Y cada uno de ellos tienen un nombre. Y en la música occidental los reconocemos con los siguientes:
Okay, now a little bit of musical language. Sounds are to music what colors are to painting or words are to poetry. And each of them has a name. And in western music we recognize them with the following:
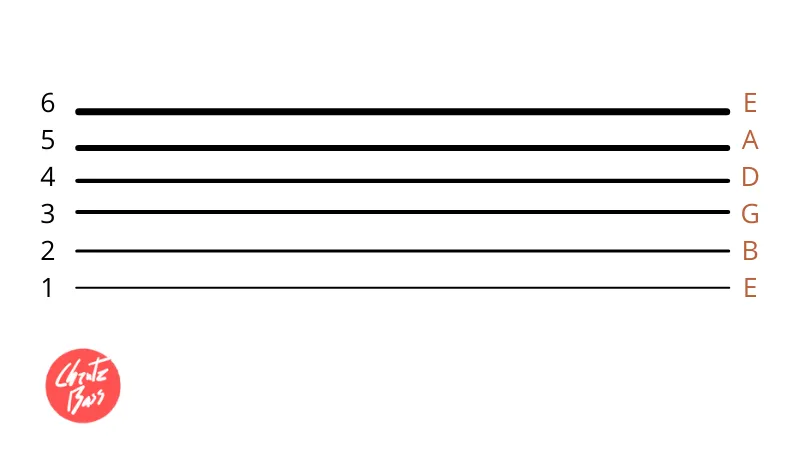
Como se imaginarán cada cuerda de la guitarra reproducirá alguno de estos sonidos, por lo que las reconoceremos con los de la imagen siguiente. Además, fíjate que dos de ellas se llaman igual, pero la diferencia es que una es aguda y la otra es más grave.
As you can imagine, each string of the guitar will reproduce one of these sounds, so we will recognize them with the ones in the following image. Also, notice that two of them have the same name, but the difference is that one is sharp and the other is lower.
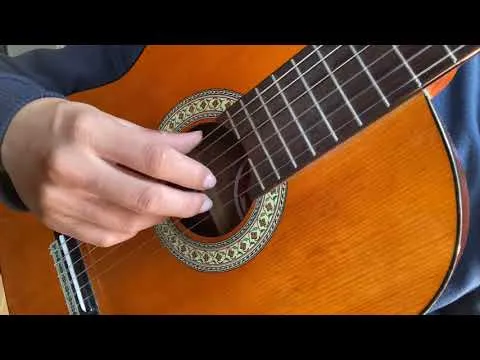
THE REST STROKE | EL APOYO
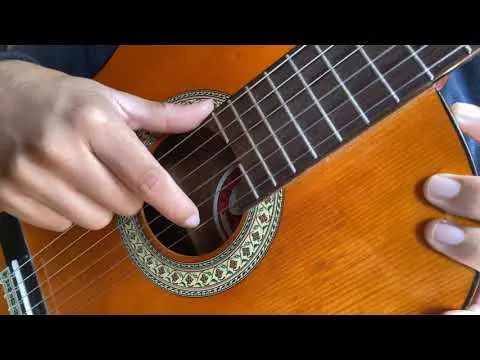
Una vez que estamos en posición y nuestros dedos identificados, prosigamos a describir una técnica que debemos dominar rápidamente. Apoyar una nota consiste en tocar una cuerda e inmediatamente apoyar el dedo en la cuerda superior. Esto provocará un sonido más claro y más fuerte.
No siempre lo usaremos, pero es muy útil dominarlo en etapas tempranas.
Once we are in position and our fingers are identified, let's proceed to describe a technique that we must quickly master. To rest a note consists of touching a string and immediately resting the finger on the upper string. This will result in a clearer and louder sound.
We will not always use it, but it is very useful to master it in the early stages.
EXERCISE 1 | EJERCICIO 1
Bien, ahora estamos listos para nuestro primer ejercicio.
Es bastante simple. Y consiste simplemente en tocar todas las cuerdas varias veces apoyando todos los dedos (i, m y a) y repitiendo en nuestra mente sus nombres. Esto con el propósito de acostumbrarnos a la textura de las cuerdas, la tensión, la posición de la guitarra, su sonido... Explora con detenimiento cada uno de estos aspectos.
Okay, now we are ready for our first exercise.
It is quite simple. And it consists simply in playing all the strings several times supporting all the fingers (i, m and a) and repeating in our mind their names. The purpose of this is to get used to the texture of the strings, the tension, the position of the guitar, how it's sound... Explore carefully each of these aspects.
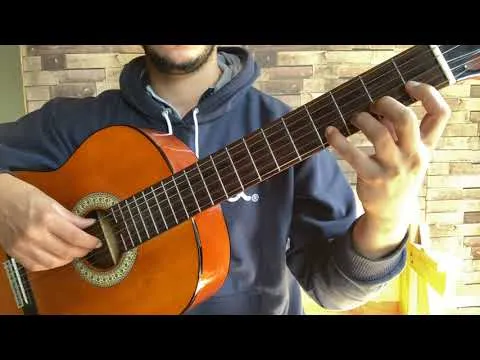
EXERCISE 2 | EJERCICIO 2
El segundo ejercicio que haremos en esta clase será uno de estiramiento. Este consiste en hacer "caminar" la mano por el diapasón.
Colocaremos los dedos, desde el 1 hasta al 4, uno por uno, a partir del primer traste de la cuerda 1.ª (la más aguda) y escuchar como cambia el sonido de la cuerda a medida que pisamos con un nuevo dedo. Cuando todos estén puestos sobre la cuerda, pasaremos a la siguiente de la misma forma, uno por uno. Pero intentando no separar demasiado los dedos de la cuerda anterior.
Así hasta llegar a la última cuerda (la más grave).
Este ejercicio nos proporcionará flexibilidad, fuerza y mayor destreza.
The second exercise we will do in this class will be a stretching exercise. It consists of "walking" the hand along the fingerboard.
We will place our fingers, from 1 to 4, one by one, starting on the first fret of the 1st string (the highest) and listen to how the sound of the string changes as we step on it with a new finger. When all the fingers are on the string, we move on to the next string, in the same way, one by one. But trying not to separate the fingers too much from the previous string.
This way until we reach the last string (the lowest).
This exercise will provide us with flexibility, strength, and greater dexterity.
Eso es todo por hoy. Recuerda que si tienes alguna duda puedes dejármela en los comentarios. Si te gusta este contenido, recuerda dejar tu voto y compartirlo con tus amigos.
Gracias por leer. Nos vemos en la siguiente clase.
That's all for today. Remember that if you have any questions you can leave them in the comments. If you like this content, remember to leave your vote and share it with your friends.
Thanks for reading. See you in the next class.