Behind the scenes — "Yjonra Outskirts" images
.by @dpend.extra
.


Greetings!
It's been a long time since I did a behind-the-scenes post and I thought "Yjonra Outskirts" would be a great one to do it for, so that I could show the method I used to combine different Deep Dream Generator process "layers" into a composite image.
If you haven't heard of it, Deep Dream Generator is a platform where you can upload images and process them through other images or "layers" of a preset engine and get very interesting results. Playing around with processing my original photographs has been one of my favorite past-times in recent months.
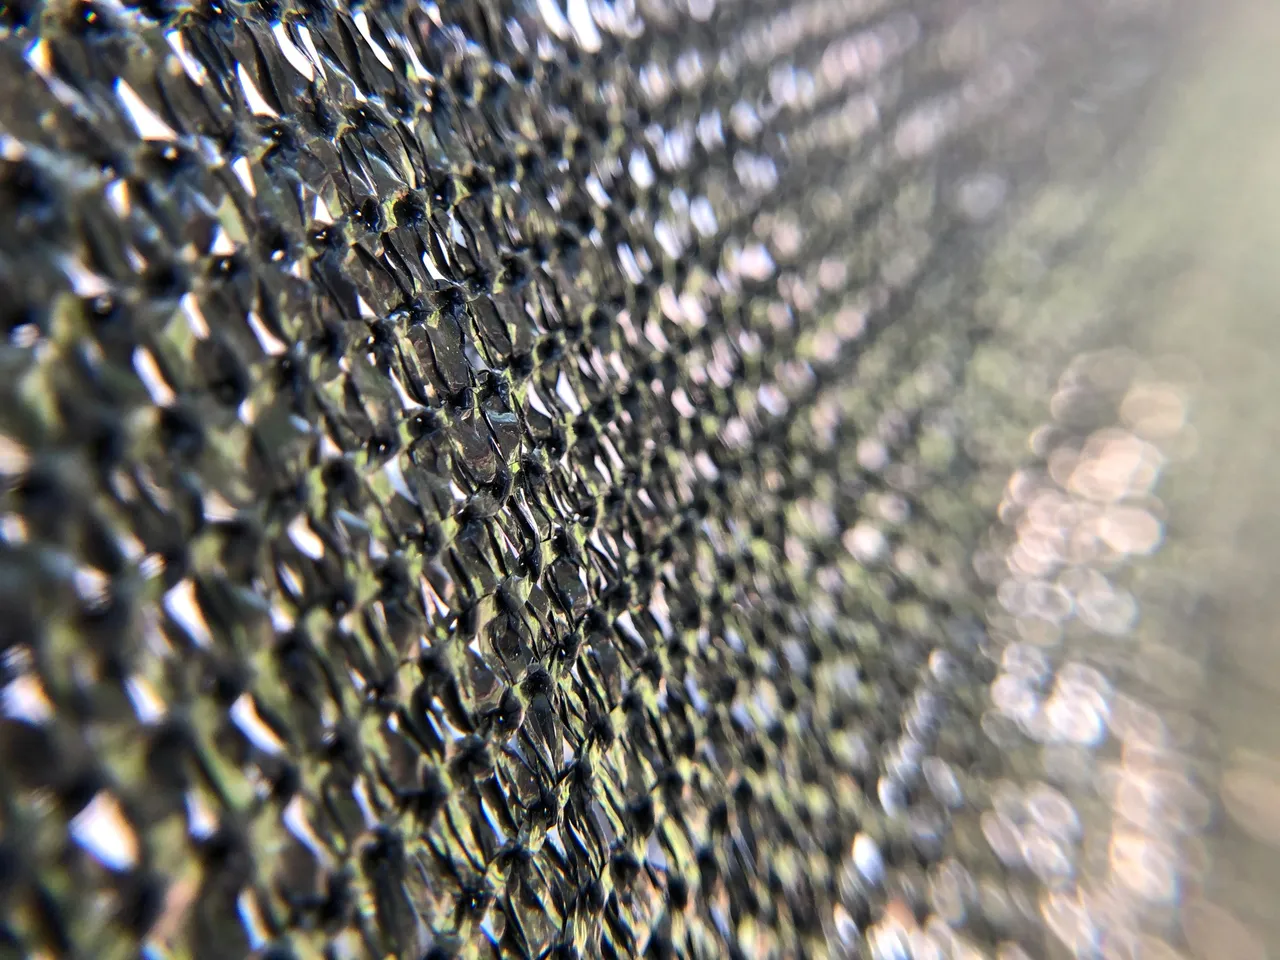
All of the images at the top of this post were taken by me with iPhone 8+ with a macro lens attachment in June of 2020. They are the base material I started with before beginning to process.
Now, to show the process for each image in this post would take quite a long time as I typically end up generating 5+ images for each starting image along the way to a finished one. So, I'll show it in detail for a few!
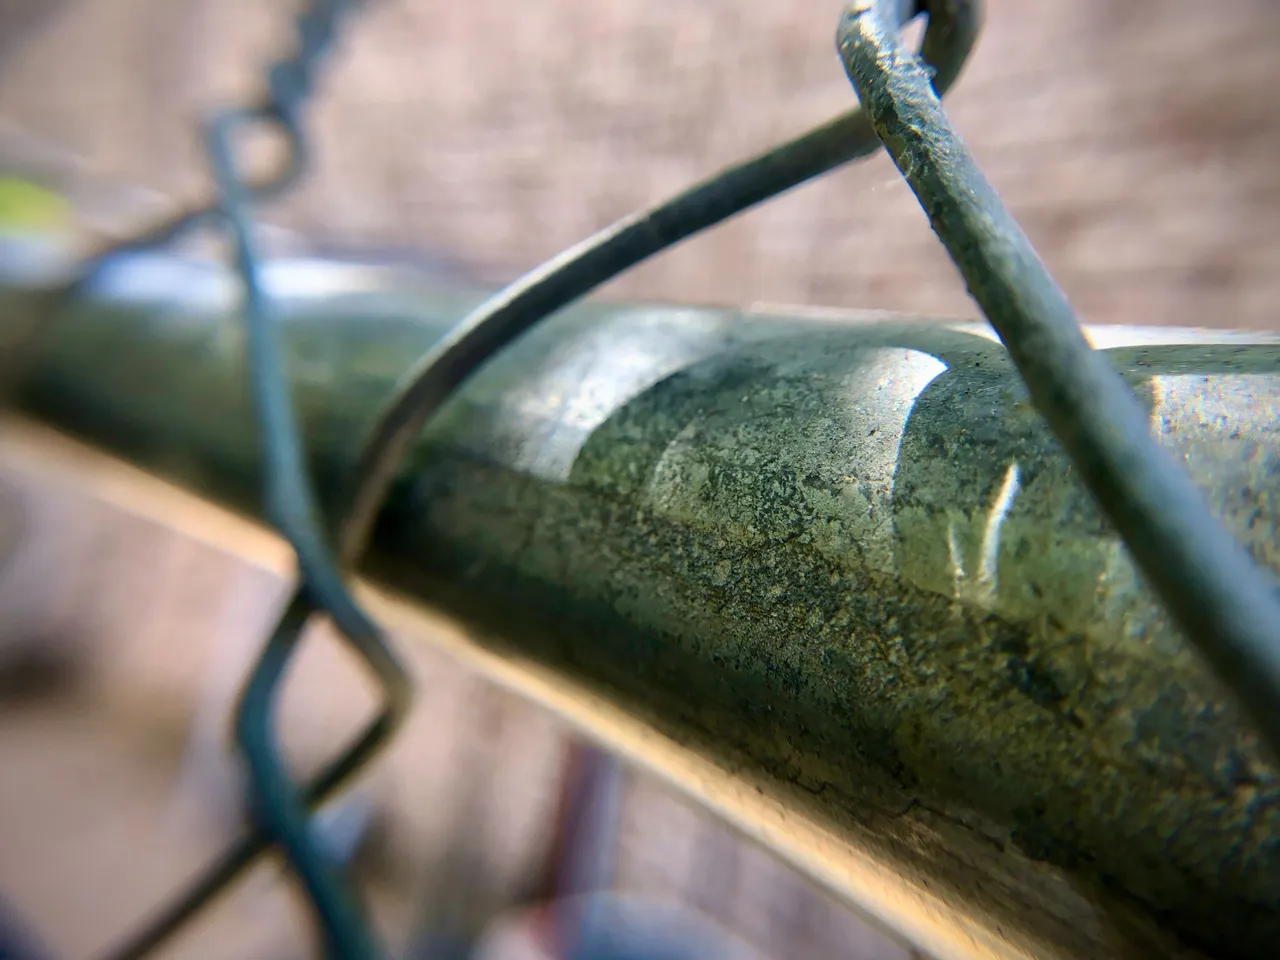
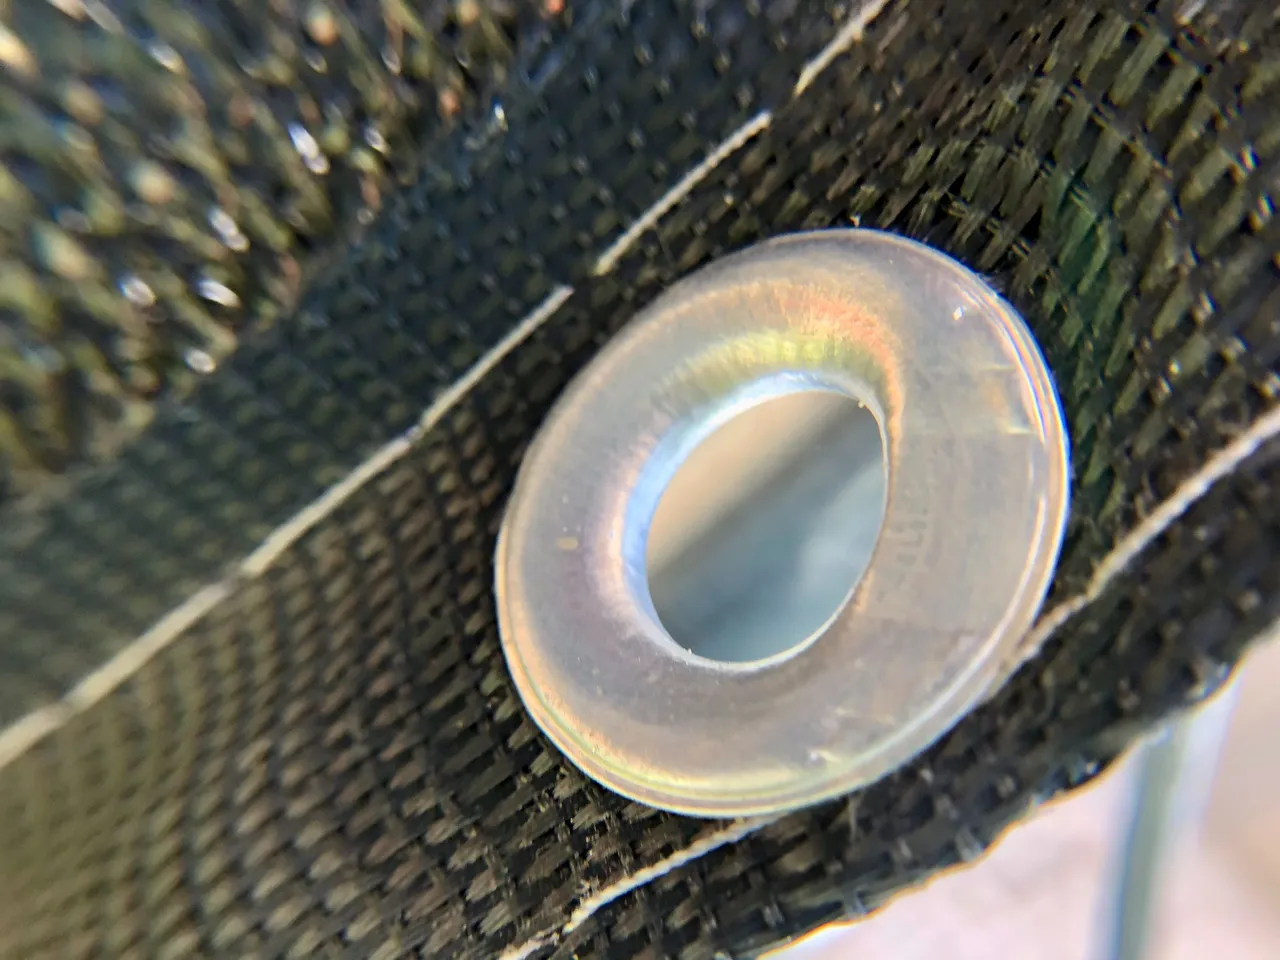
Let's start with this macro photograph of this black mesh fence with a blurry tree in the background:
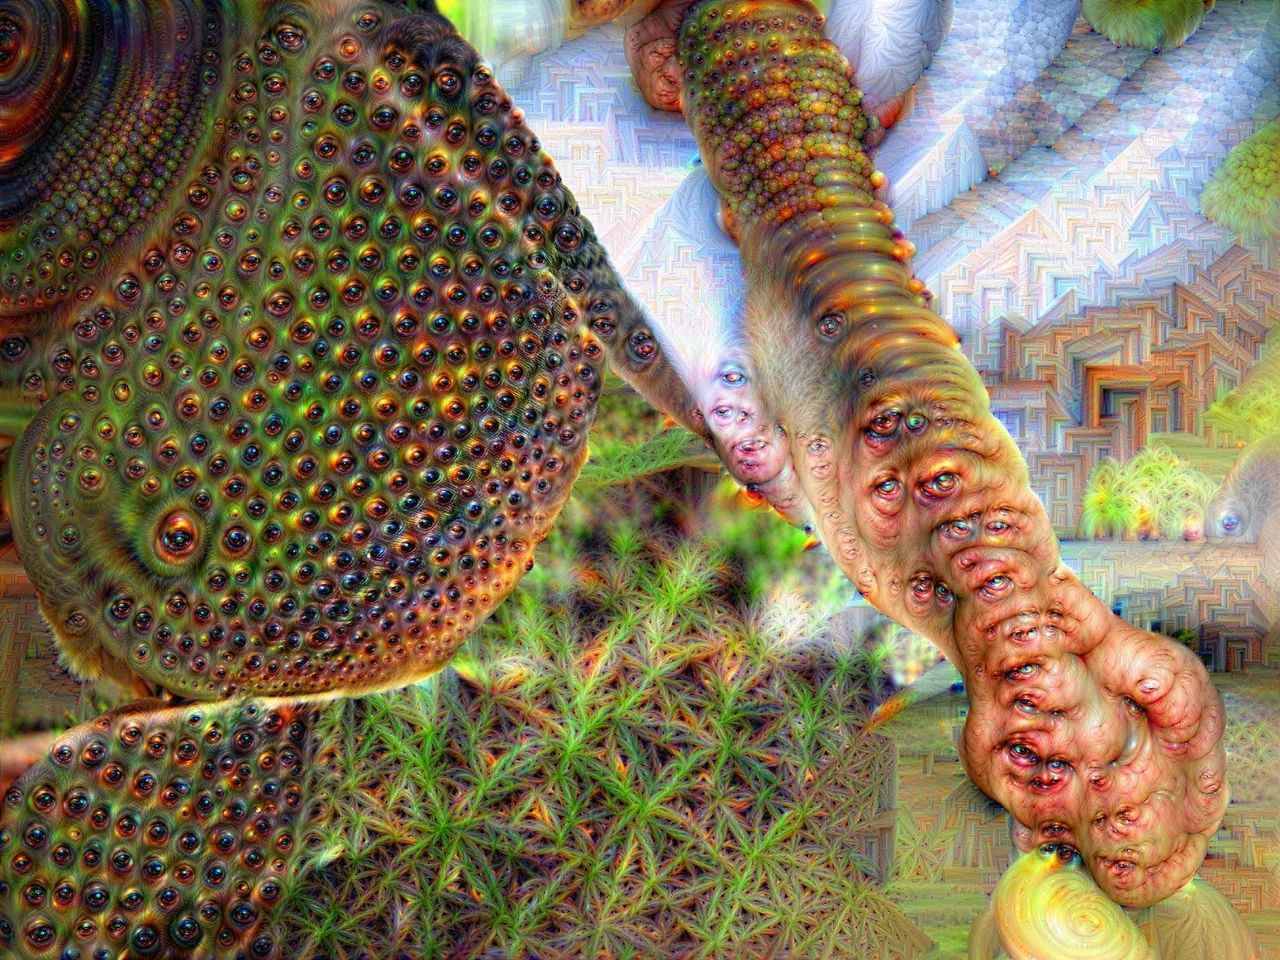
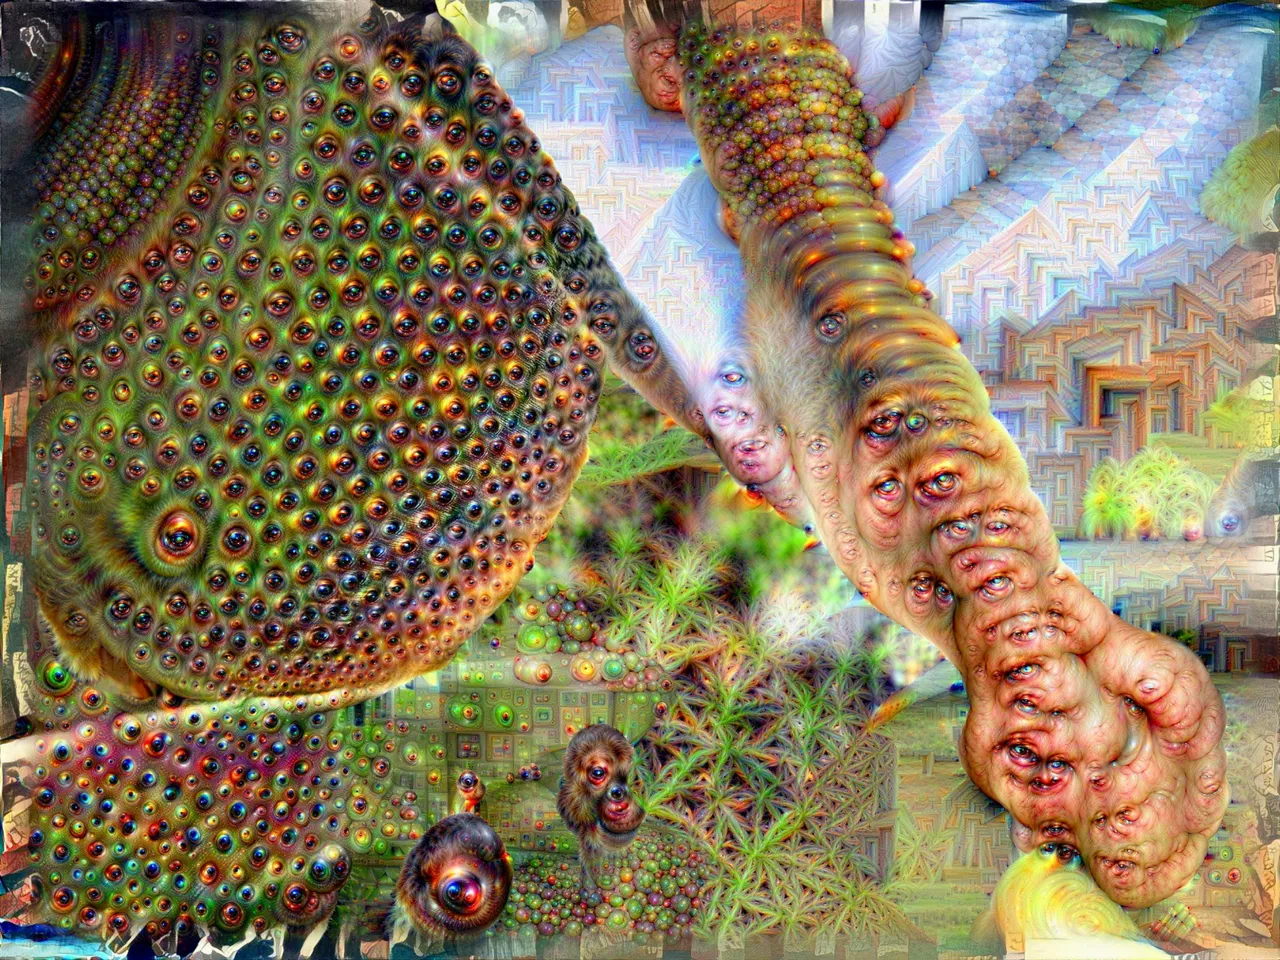
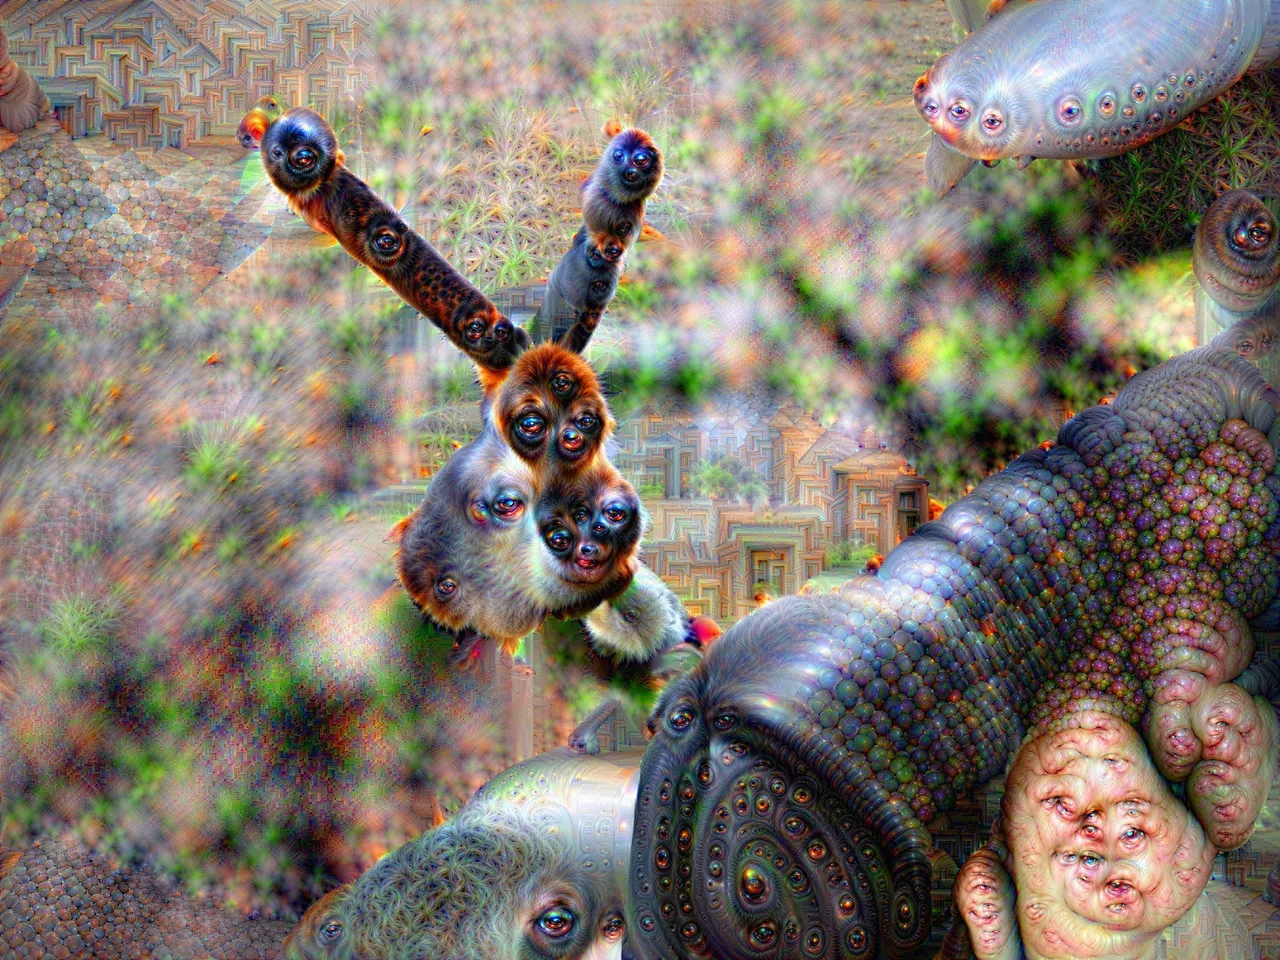
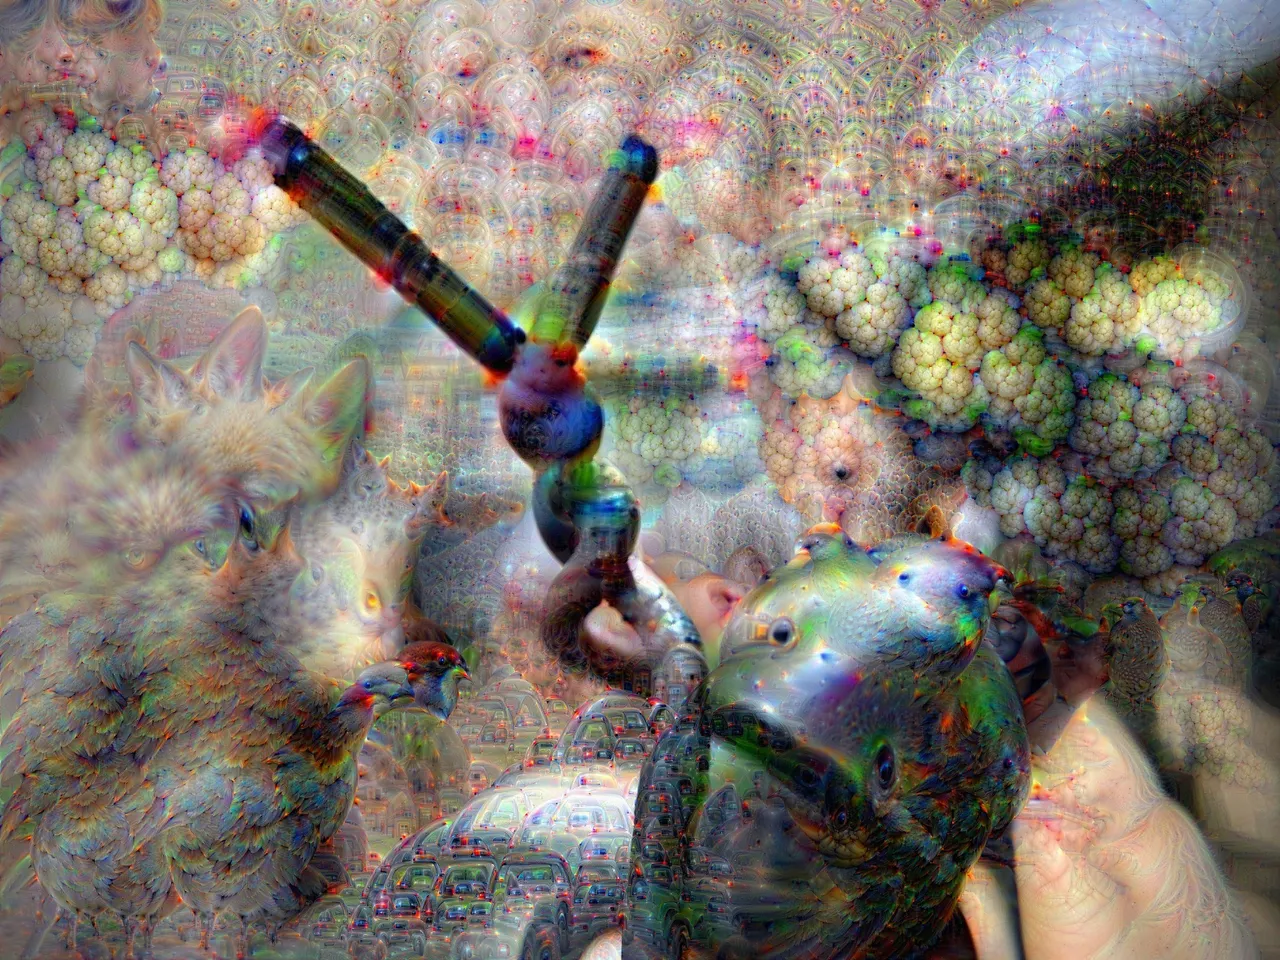
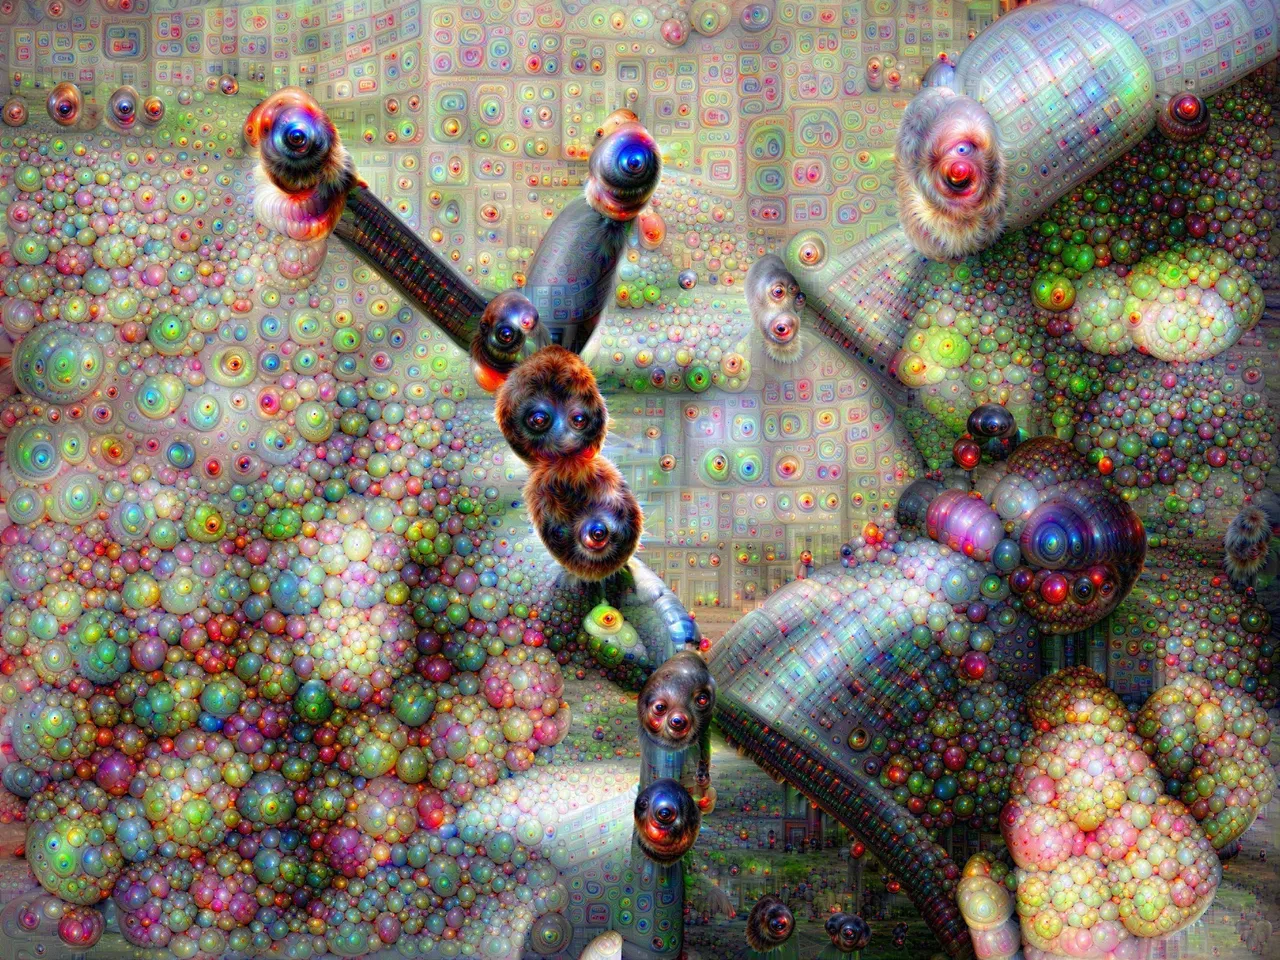
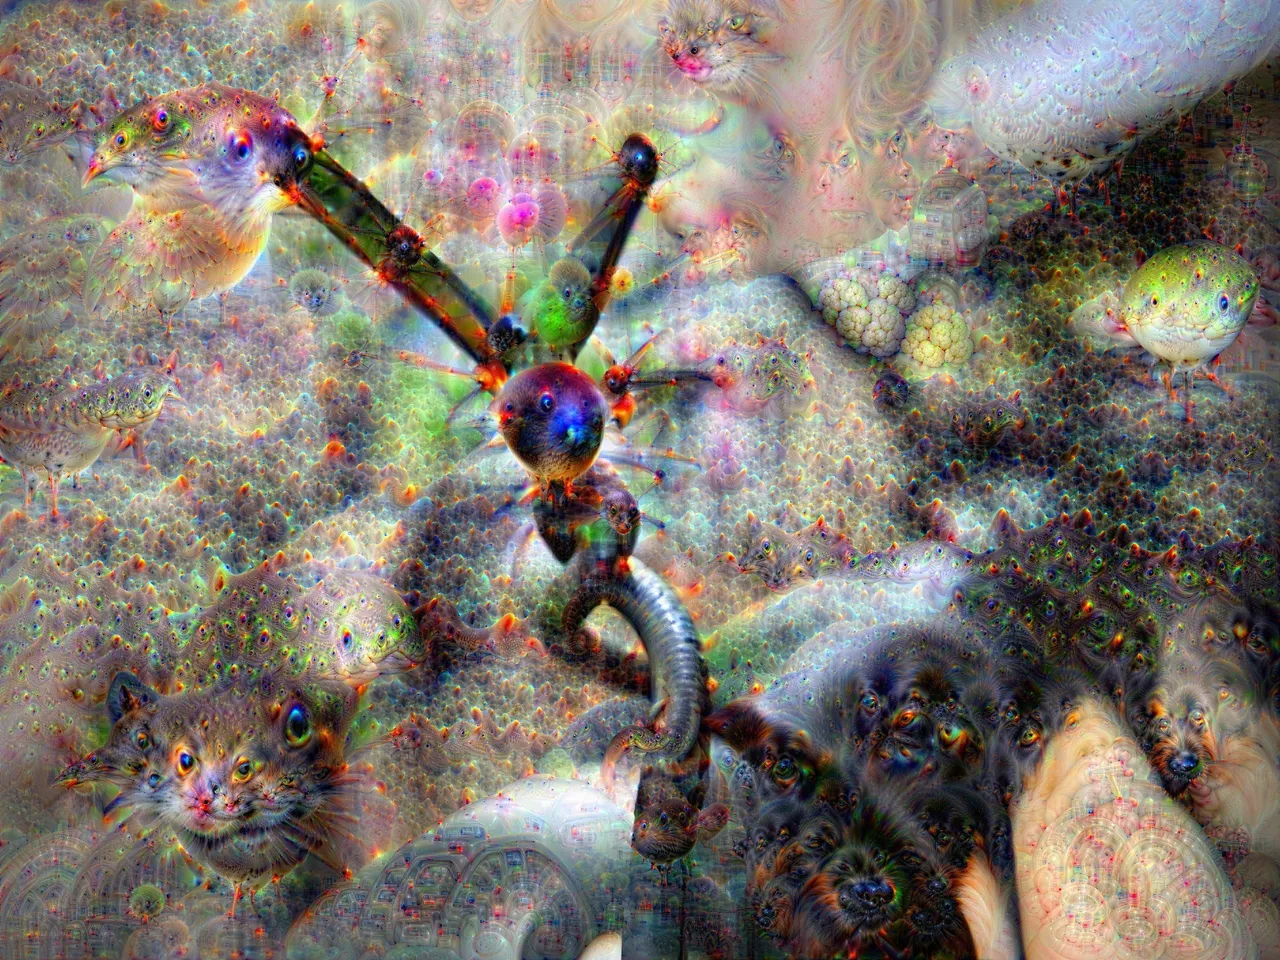
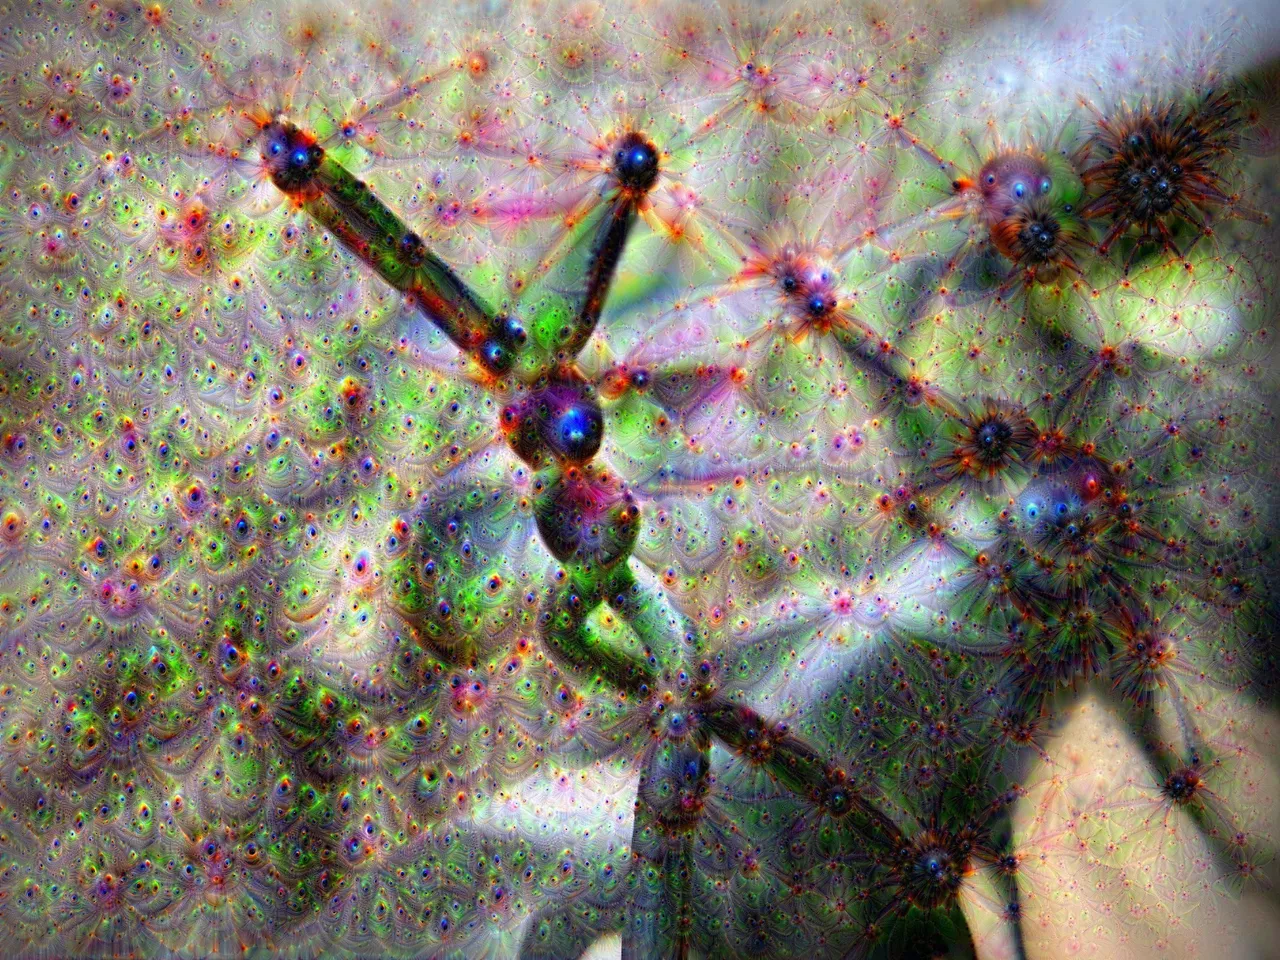
I processed this image through several pre-set "layers" of the Deep Dream engine to the deepest depth called "fathomless." Here are the results:
.
.
.

.
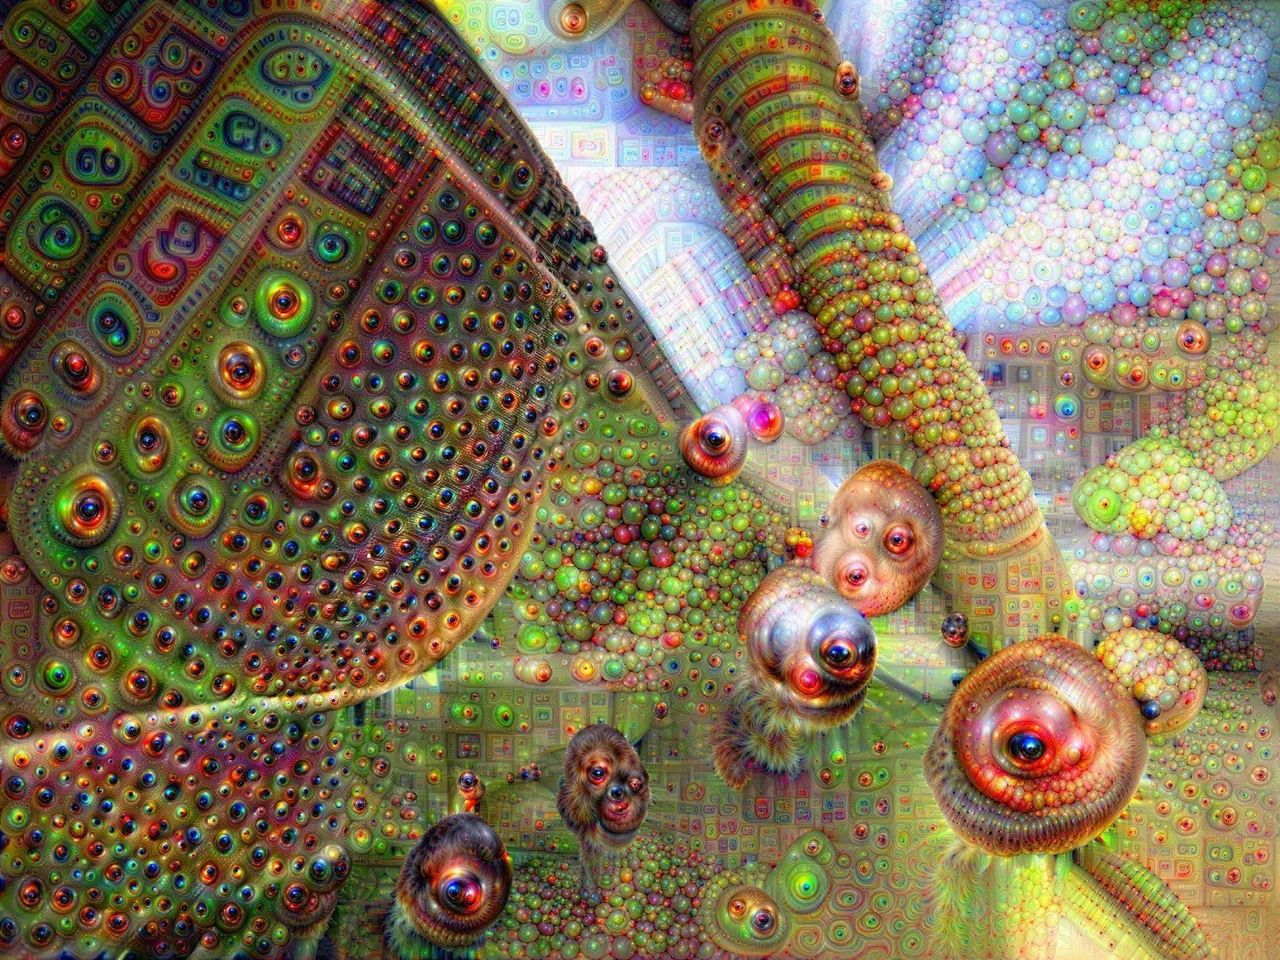
.
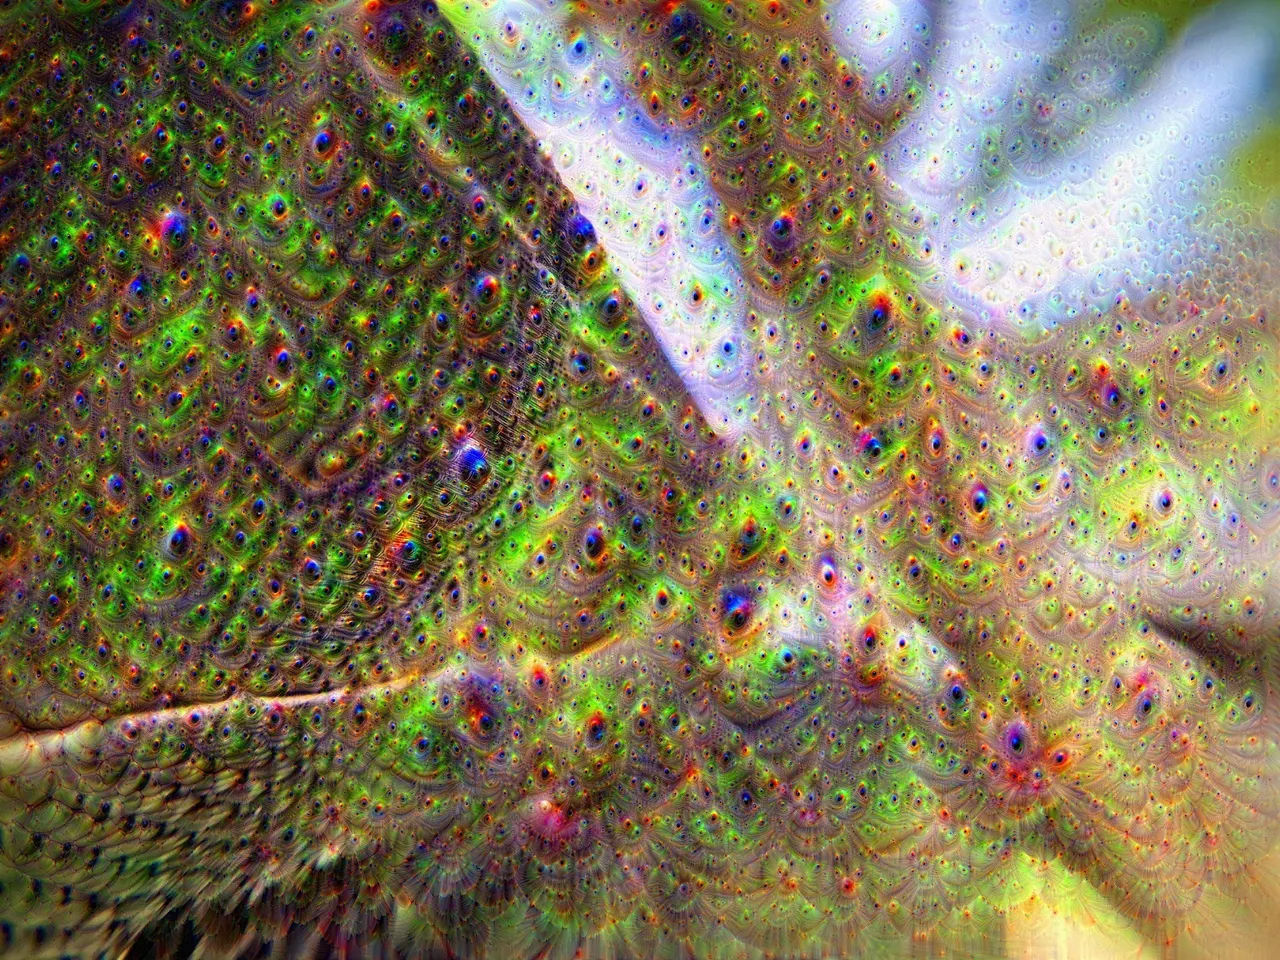
.
.
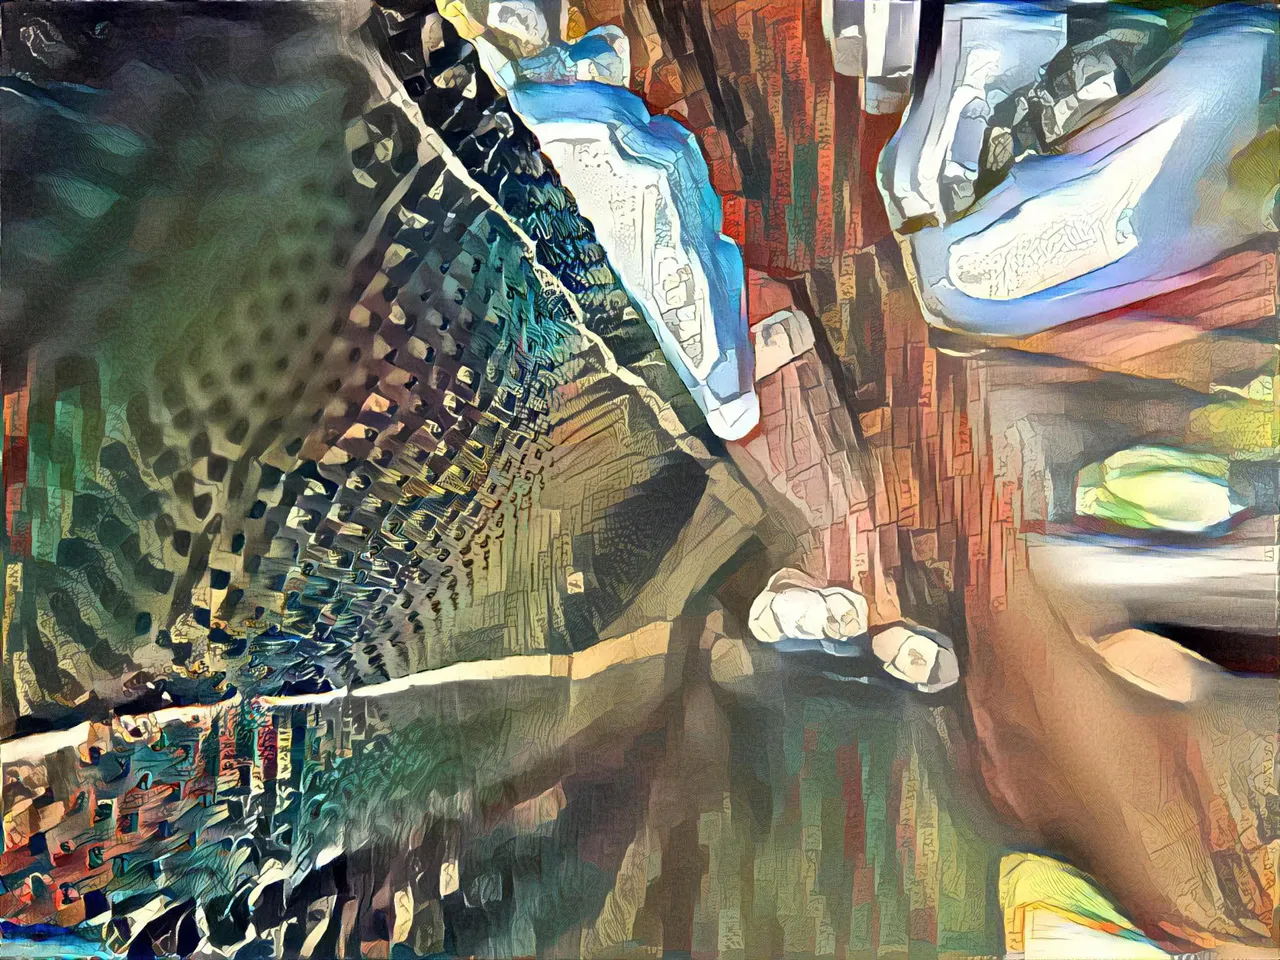
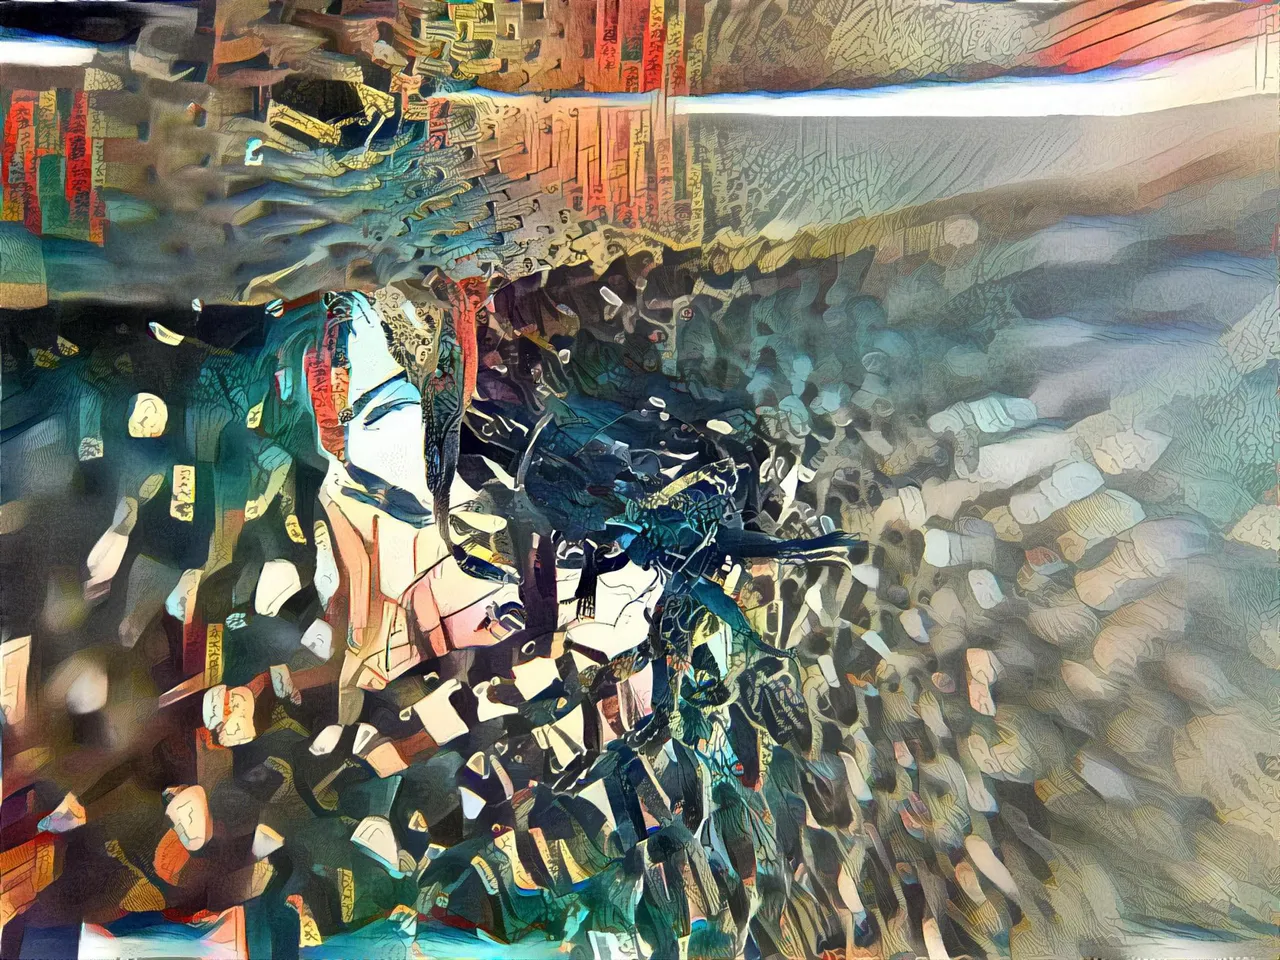
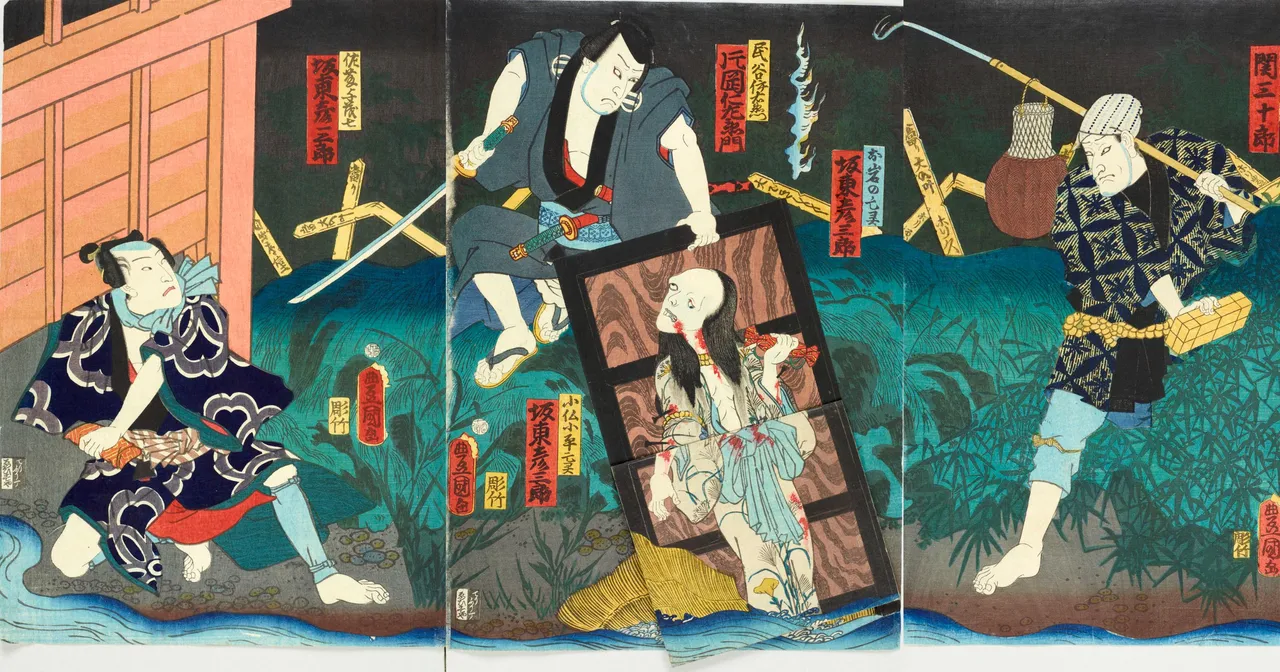
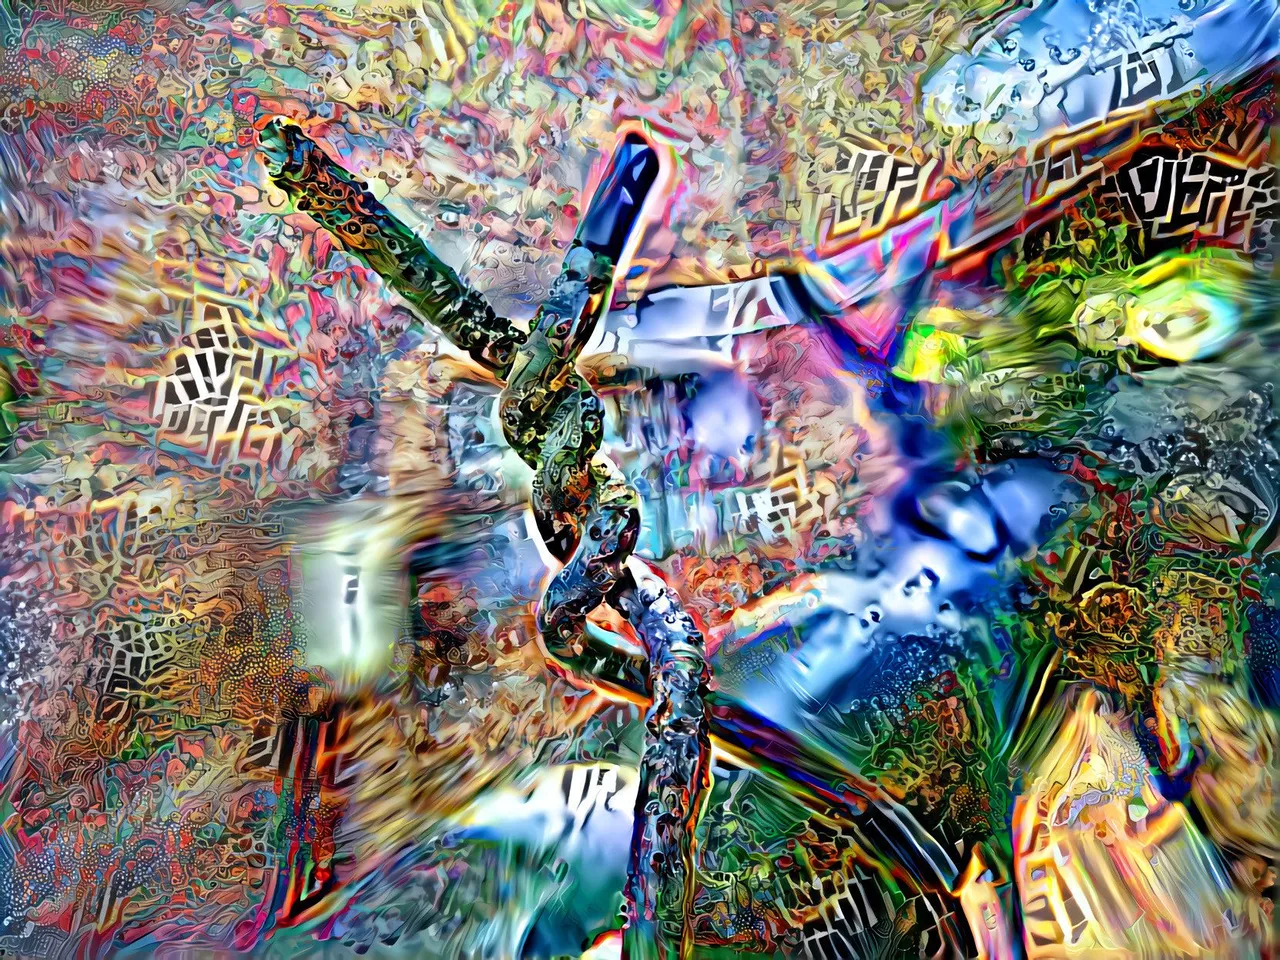
The final image was created with a different tool that allows you to use your own style filter. It was processed through this image of traditional Japanese woodcut art (ukiyo-e.)
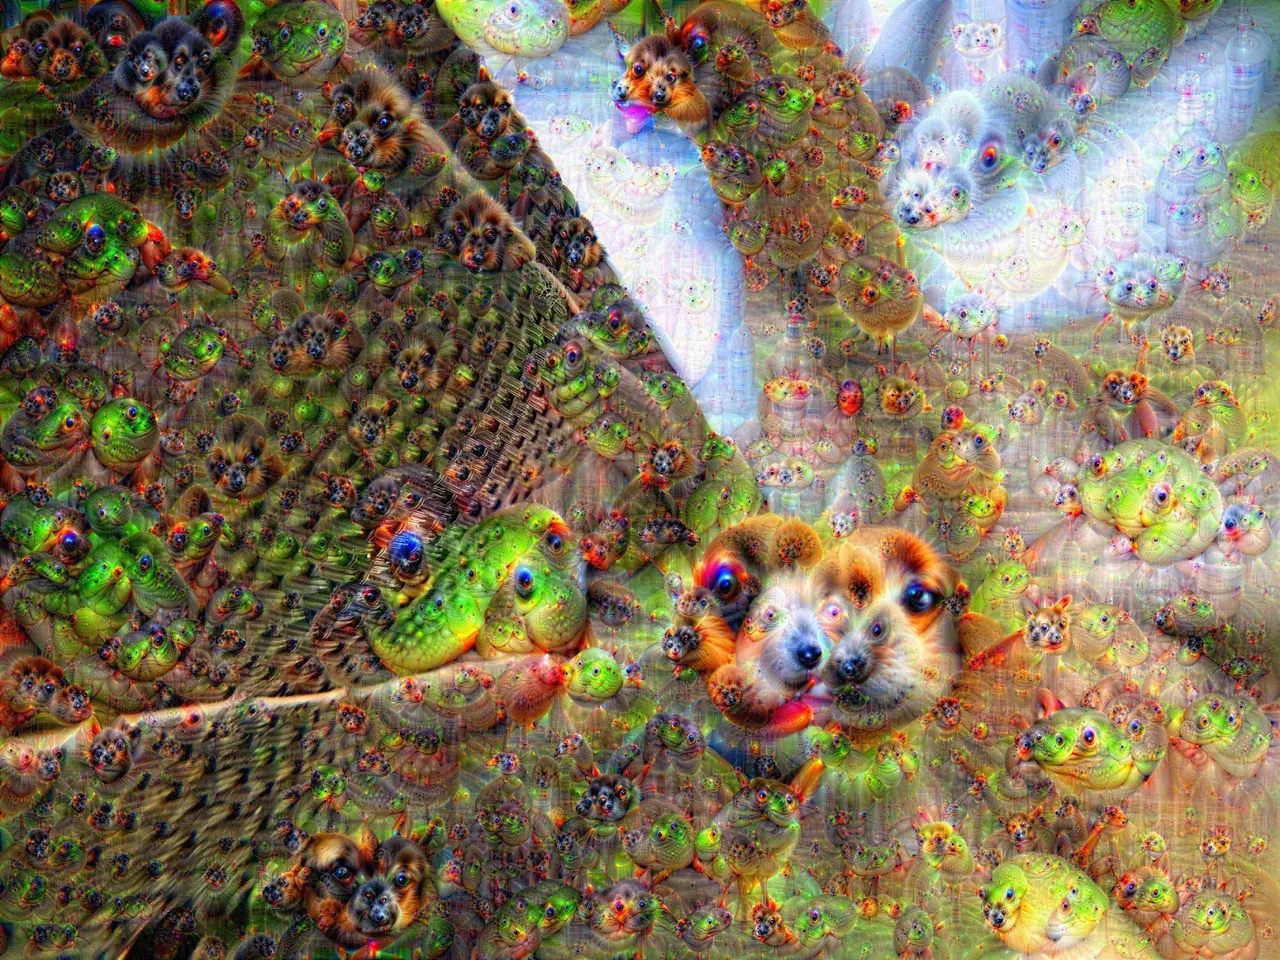
Once I had all those versions, I imported them into Final Cut Pro to apply draw masks over the parts of the processed images I wanted to be in the final image. In this case, I wanted to mostly use content from the Layer 13 version, but I did incorporate some textures from the others as well, including a subtle border of the ukiyo-e processed image. Here is the raw hybrid image:
Then it was time to re-import the image into Deep Dream Generator, and process the new hybrid to a "normal" depth on layer 13 to pull it all together. Here is the final version —


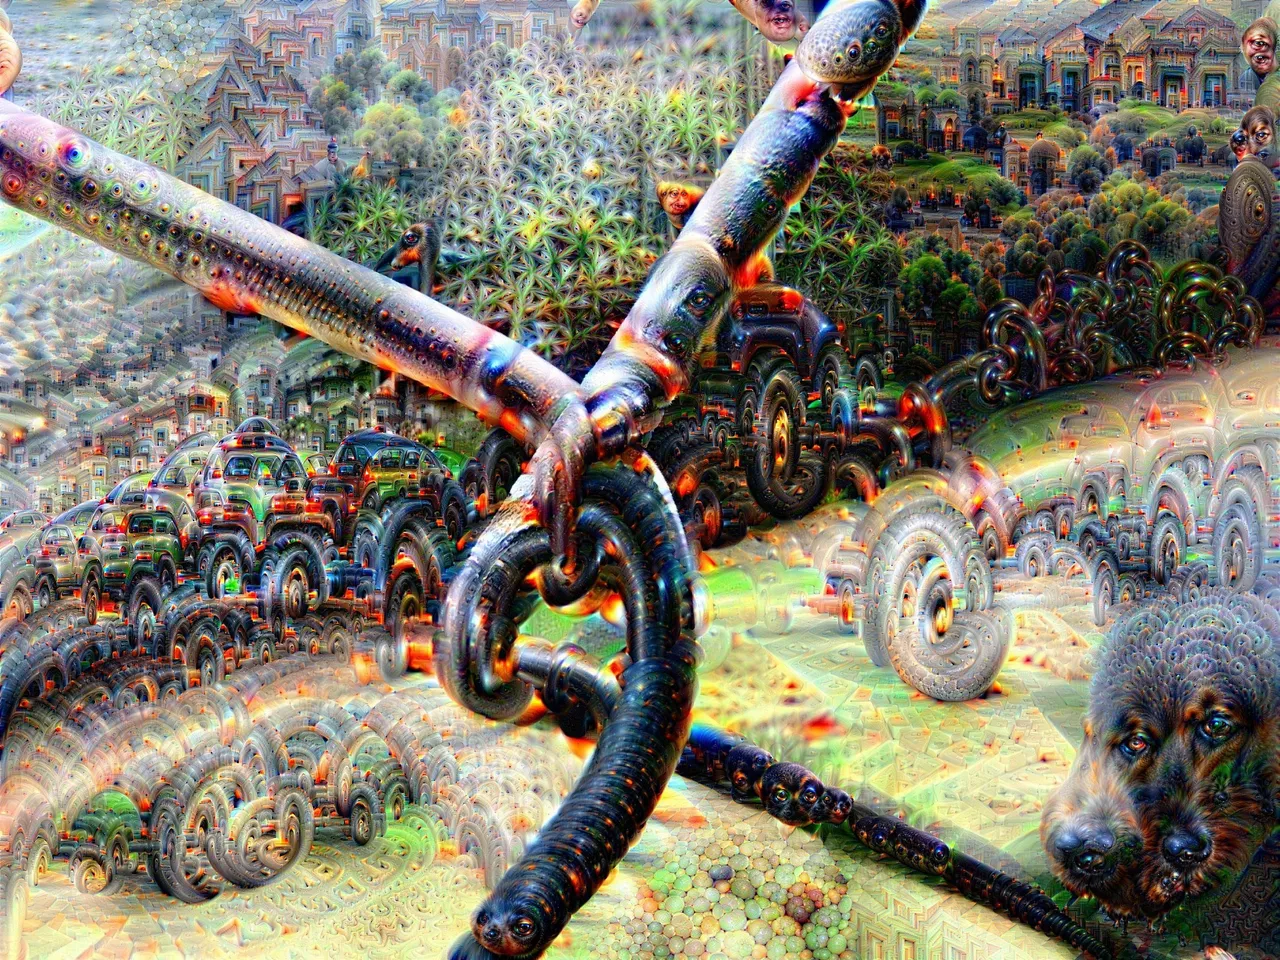
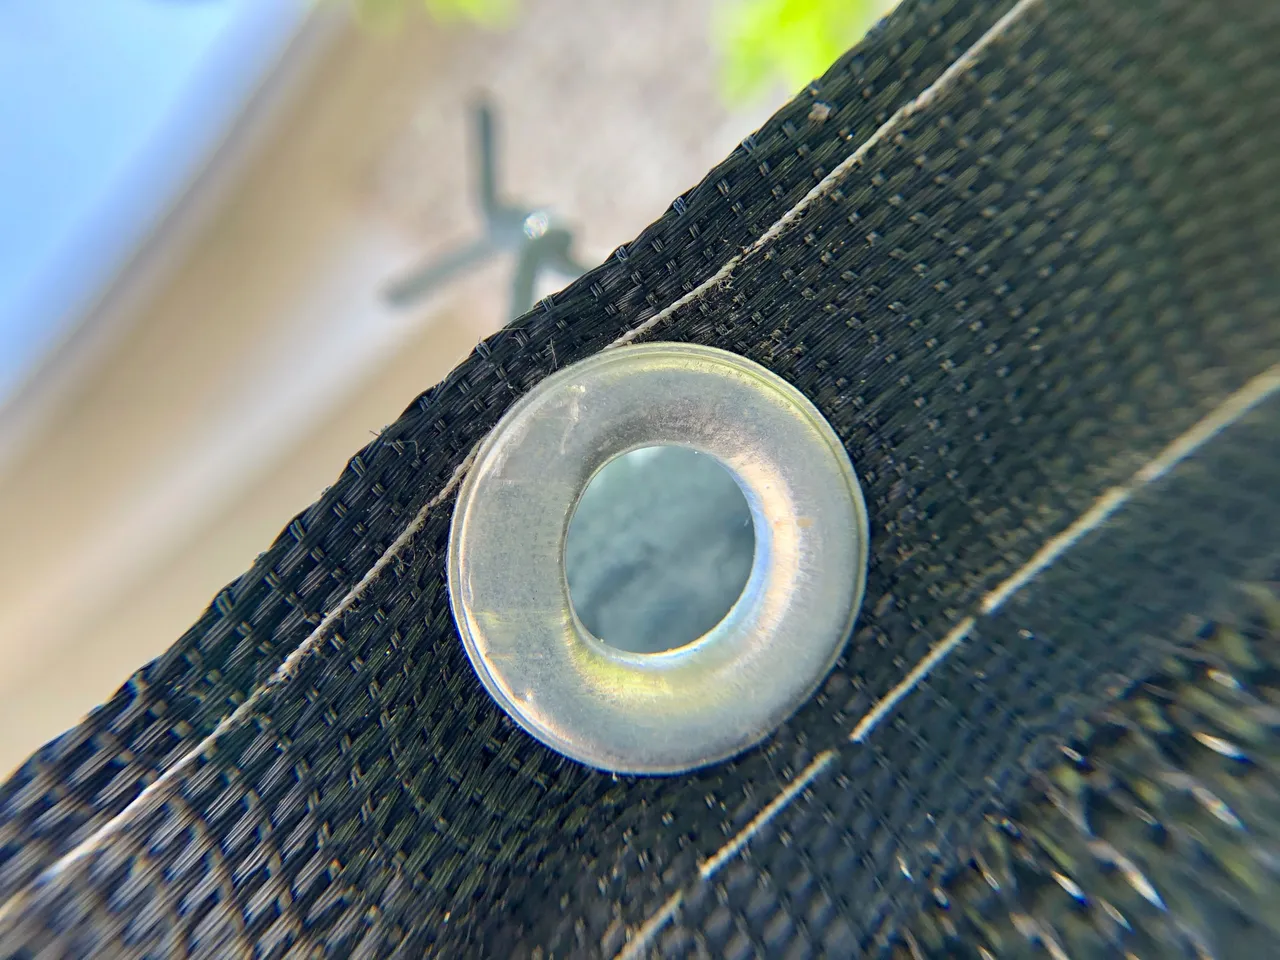
Image 2 — "Brutal Twist"
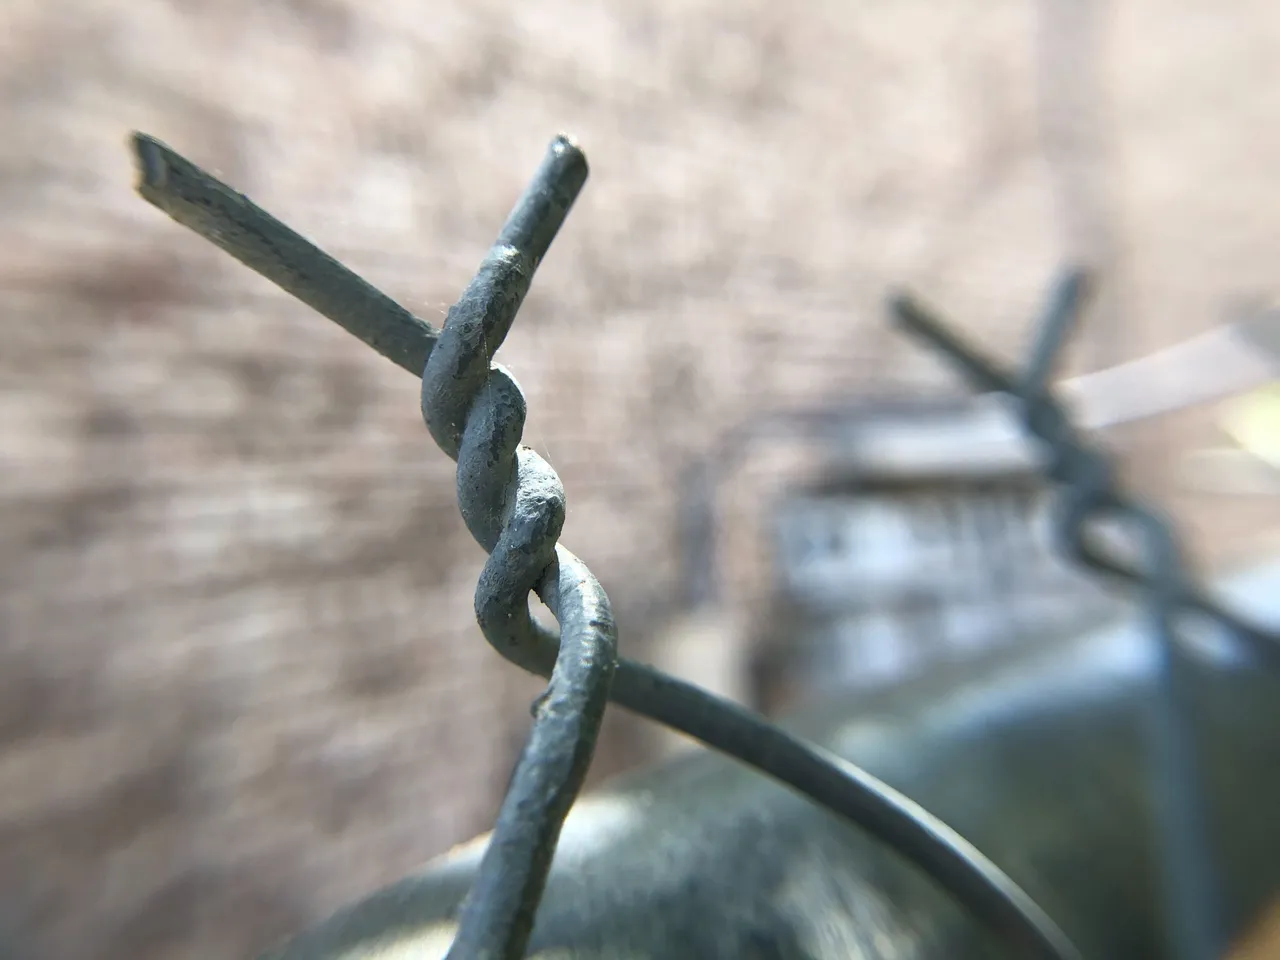
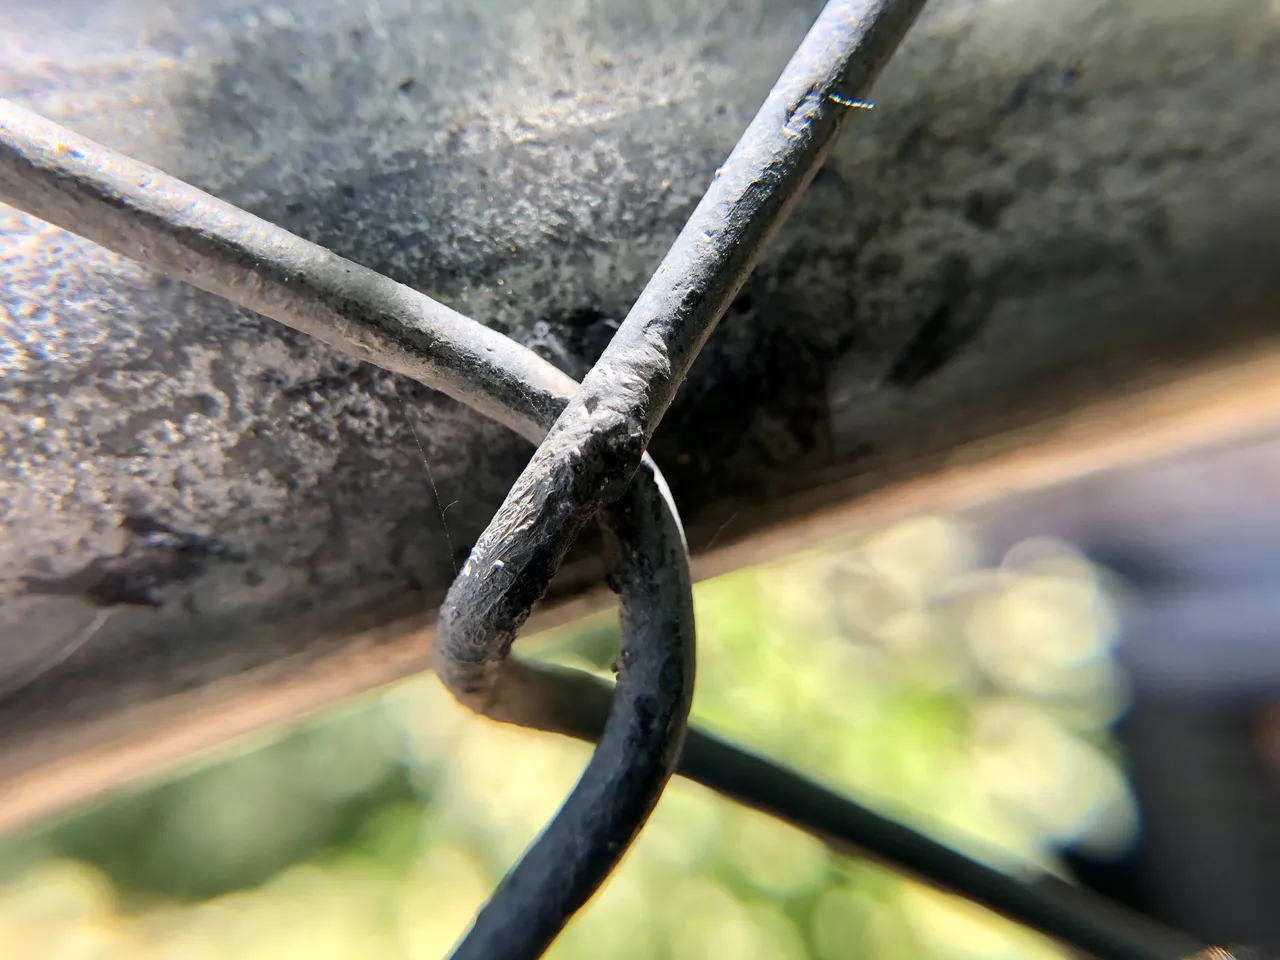
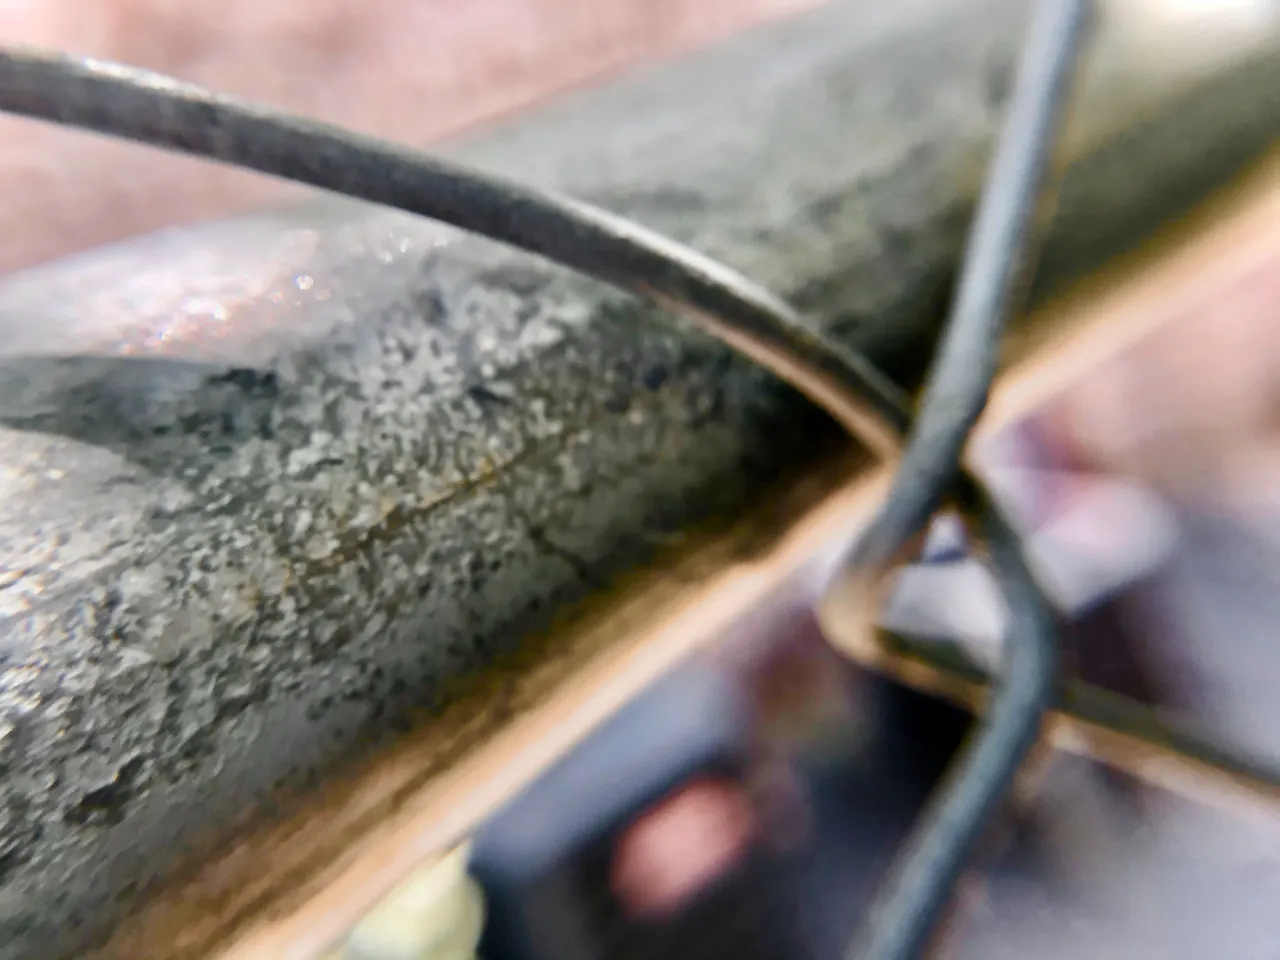
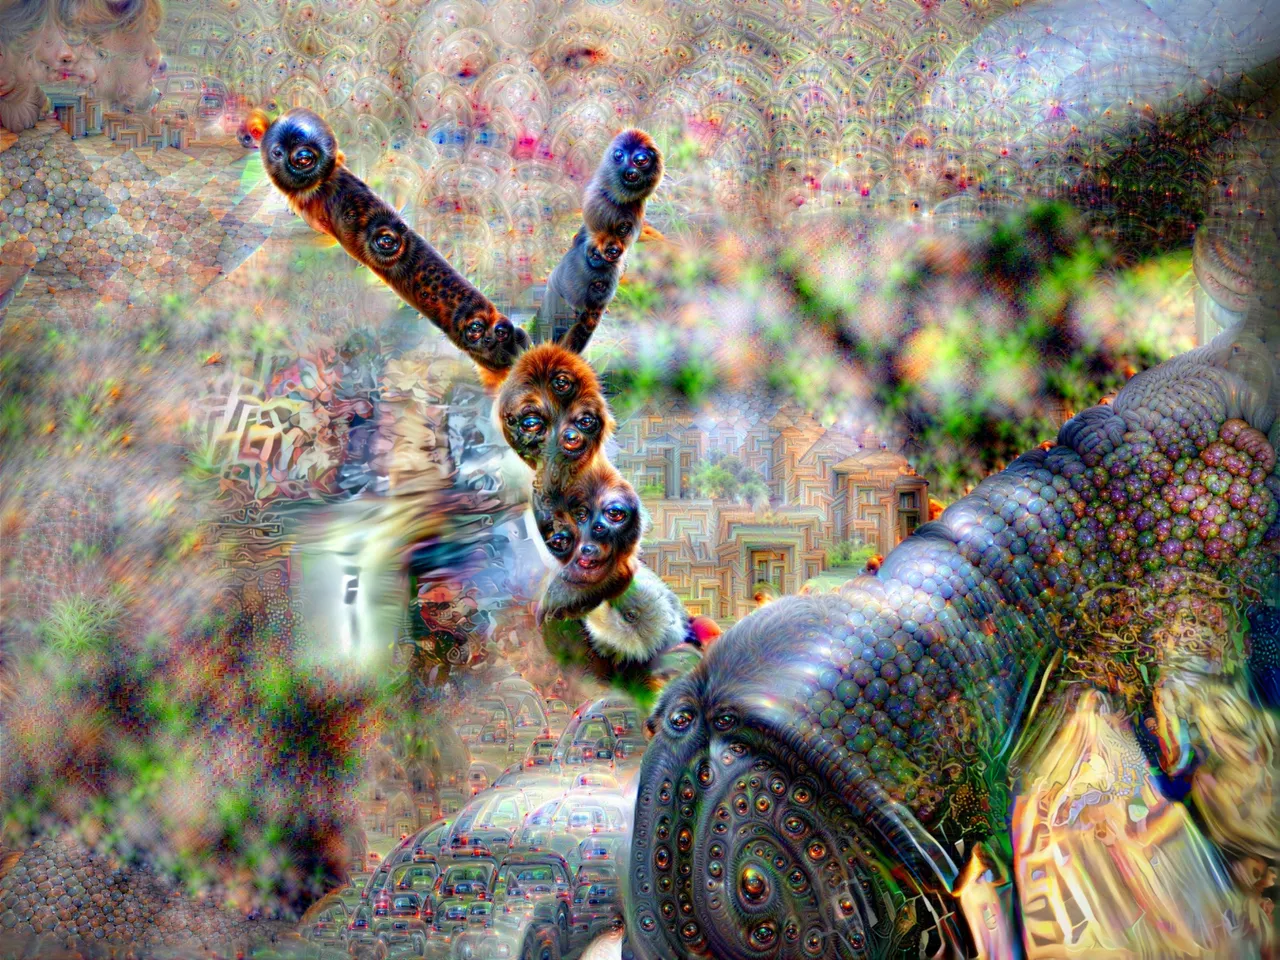
Let's look at another example, one that perhaps incorporated a more even mix of different images. How about this close-up of the twisted top of a metal fence?
.
Layer 13 Fathomless
.
Layer 22 Fathomless
.
Layer 11 Fathomless
.
Layer 19 Fathomless
.
Layer 20 Fathomless
.
Processed through collage image designed by me
.
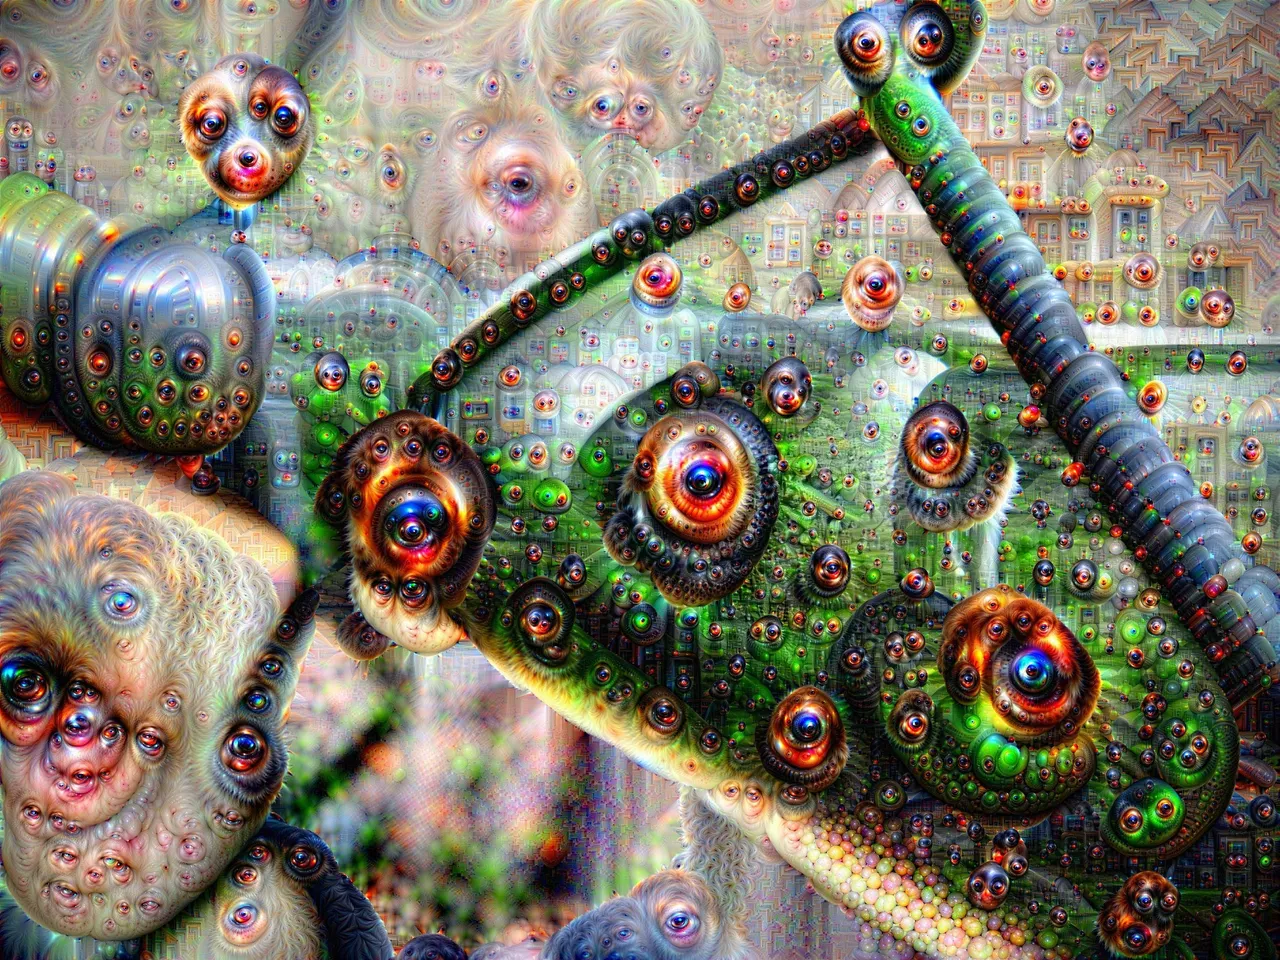
On this image, there were sections of many of the different processes that I wanted to include. Can you spot which parts of this hybrid image came from which original layer?
.
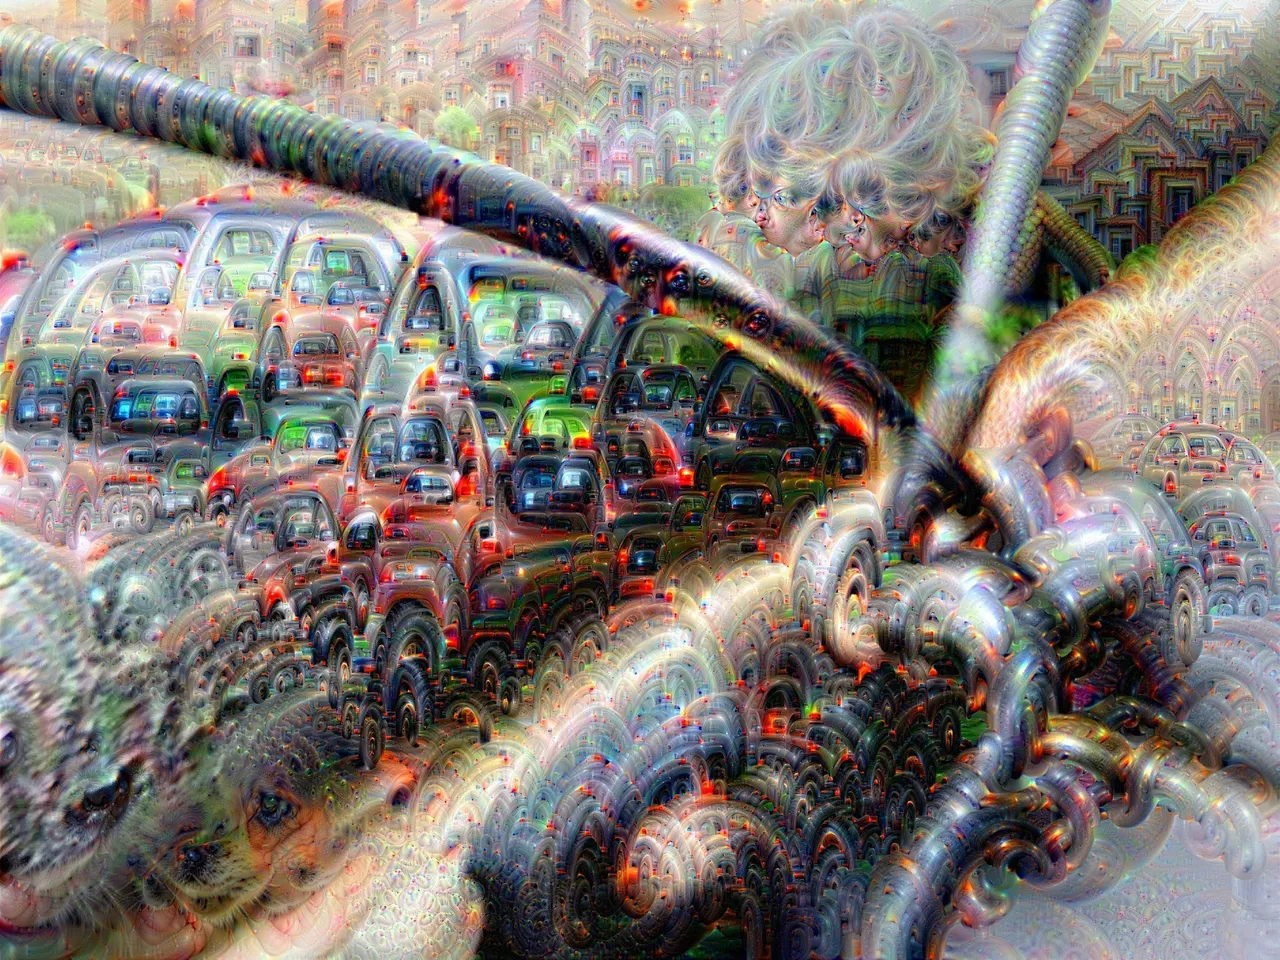
Now let's throw the whole thing back in through Layer 22 at Normal Depth.
.
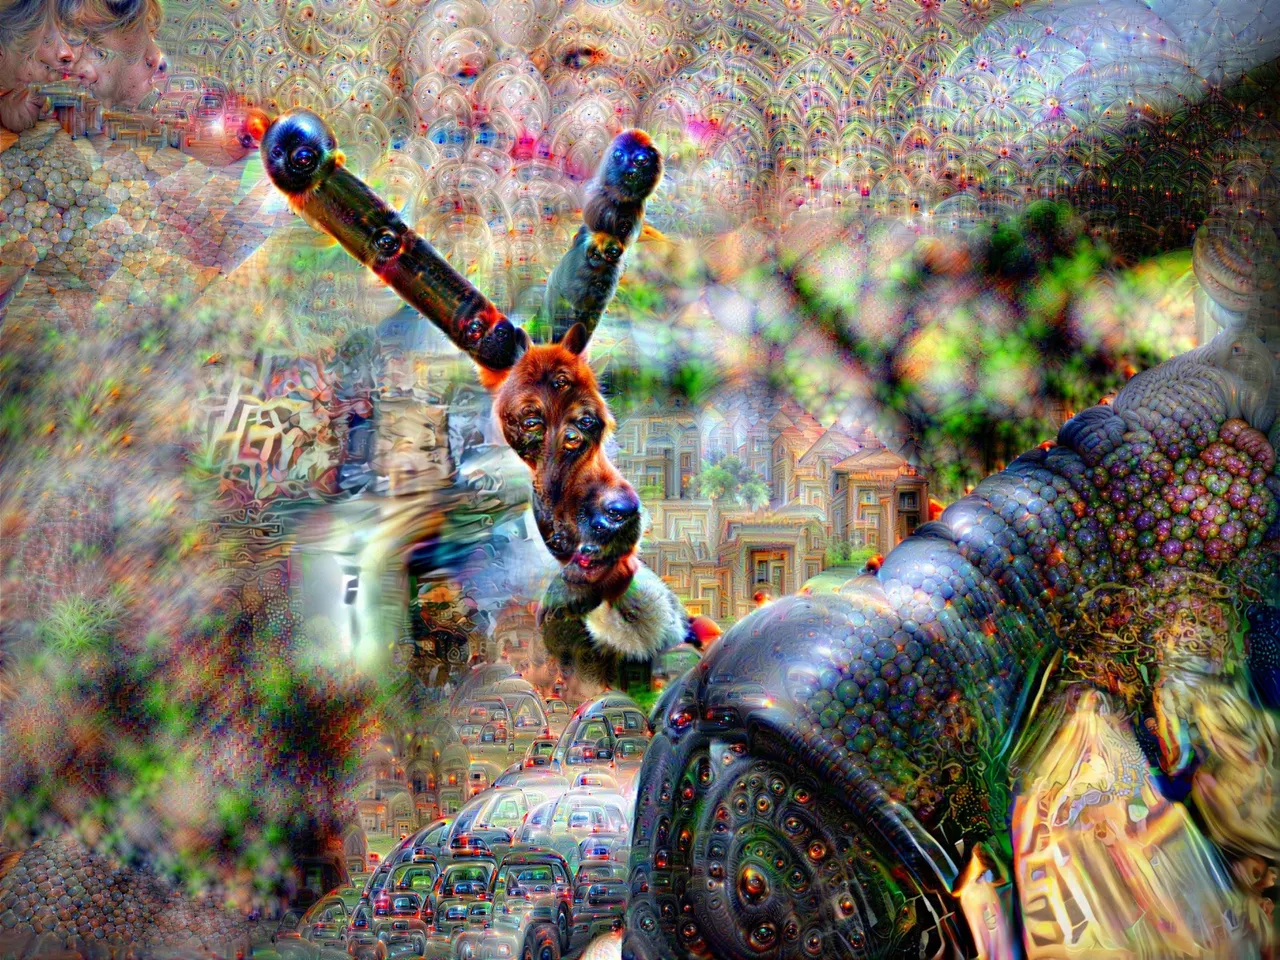
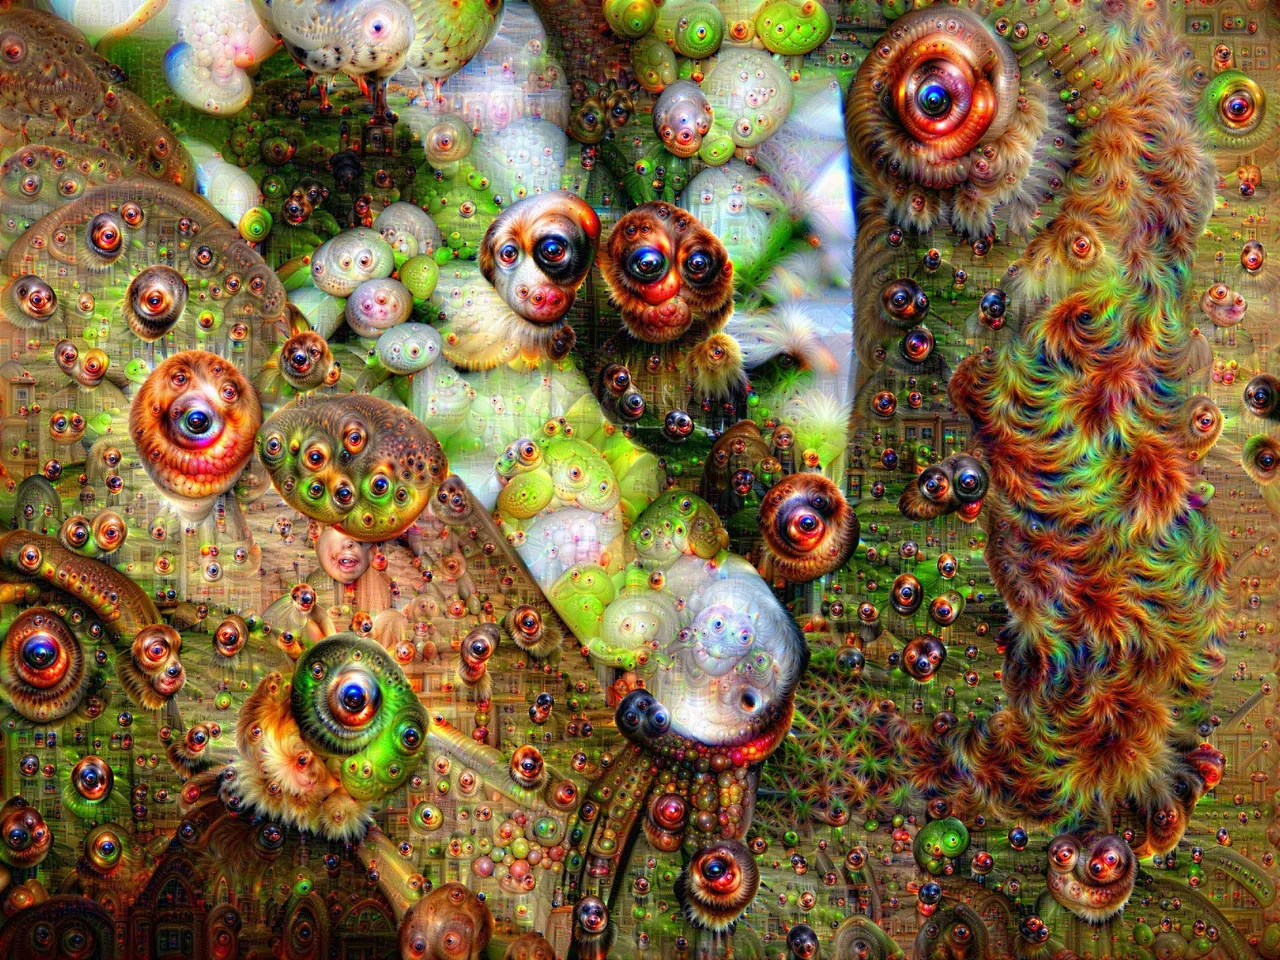
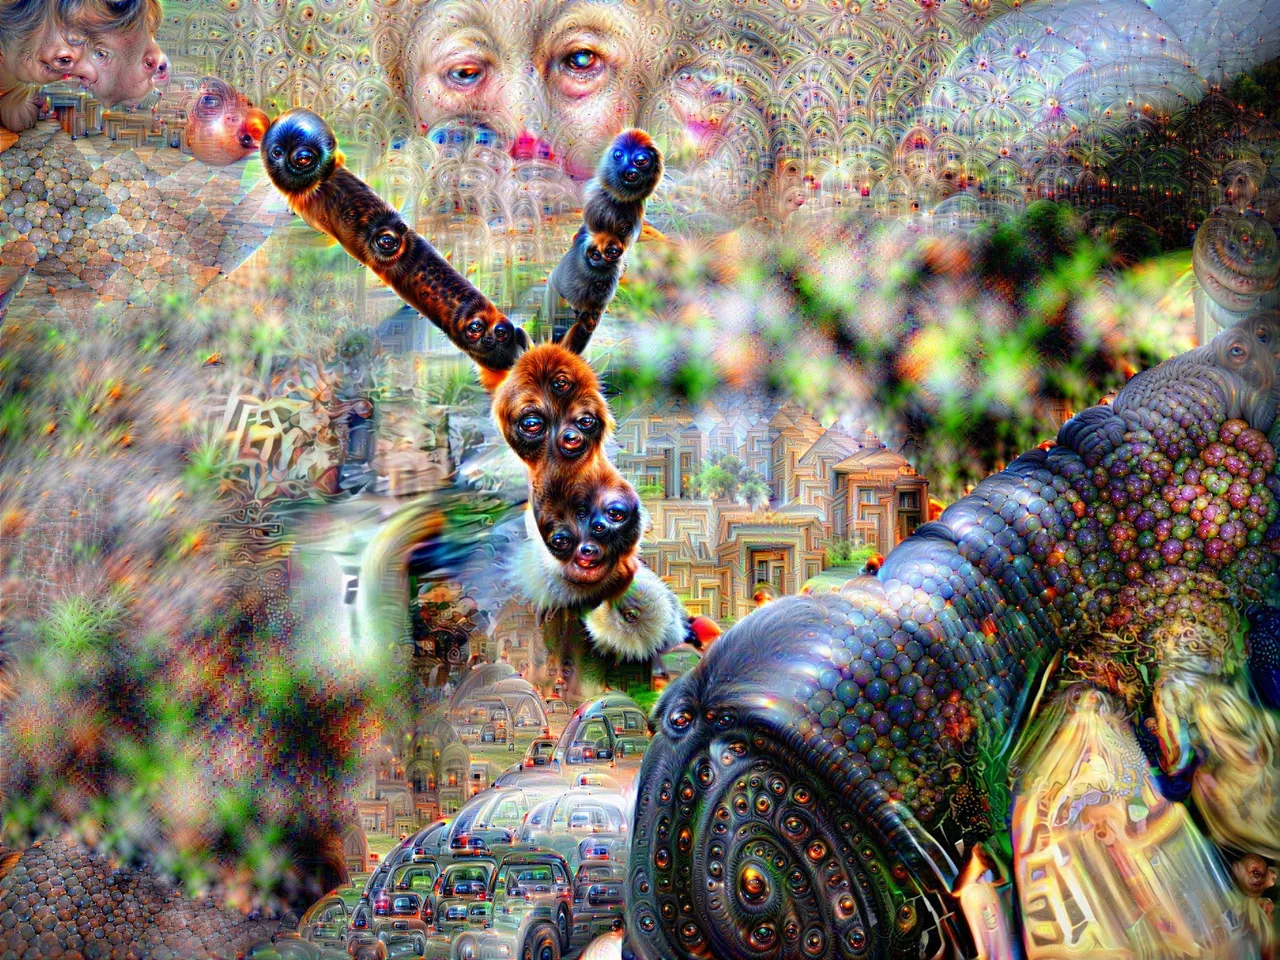
Very nice... we're getting somewhere. To top it all off, let's iterate once more to a normal depth on Layer 13.
.

Conclusion
Now that I showed you the details for a couple of the images, I think you get a sense of the overall approach to creating these images, which did not differ too substantially for the remaining ones!
I hope you enjoyed this step-by-step behind-the-scenes post showing the process for creating the images in "Yjonra Outskirts!" If you have any questions or comments to add, please drop them in the comment section below :-)
Also, if you have a Deep Dream Generator account, do feel free to drop the link to it below so I can follow you there. _ I am going to put the rest of the finished images below in case you missed the original Yjonra Outskirts post yesterday.
@d-pend / @dpend.extra
.
original post by @dpend.extra
created for GEMS on HIVE
on December 2, 2021.