hello my Hiver's
Today I come to teach how to create a logo
This time I will start with the logo of the fantastic web platform of '' Hive Blog ''
We will start using the Ps CC 2017 software
you can use any version works for all
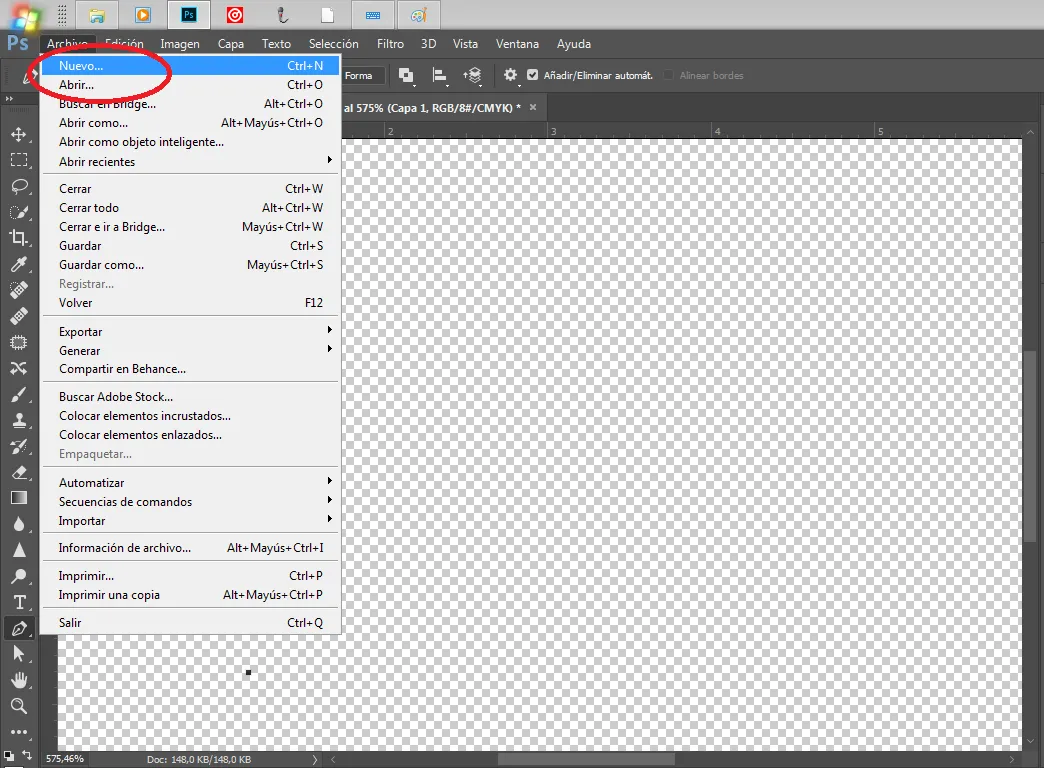
- First step open our program
and click on file and select New
or it also works by pressing control + N at the same time

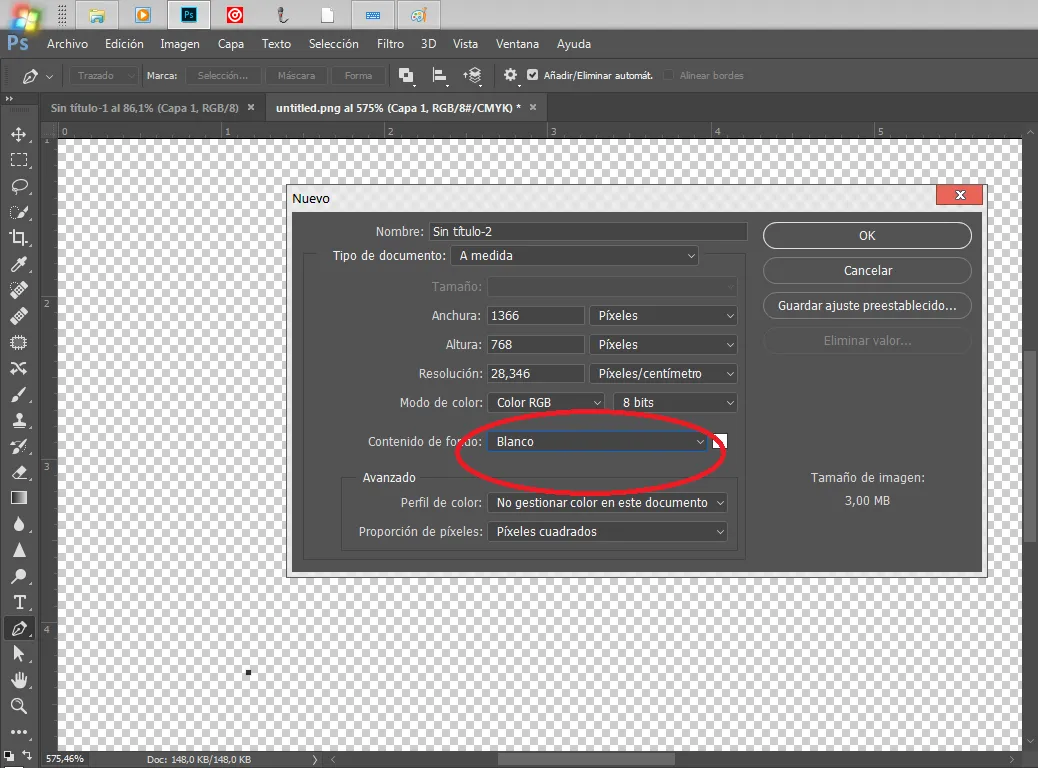
- Step 2
We click on the option where it says white to change the background
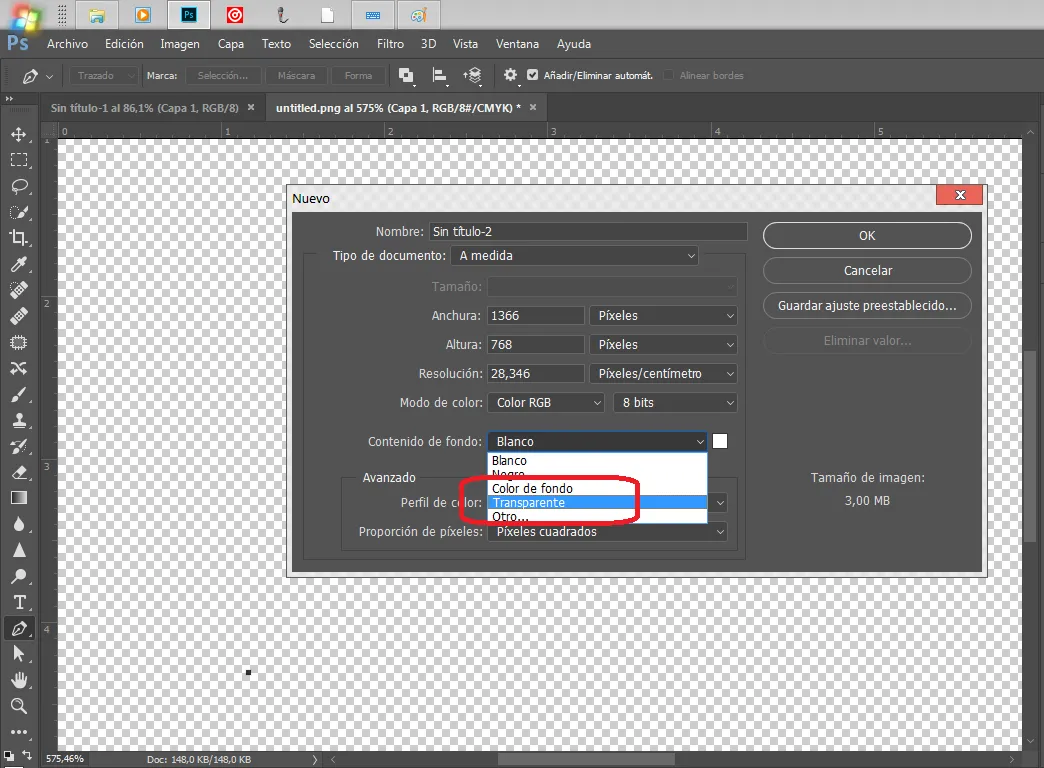
-Step 3
And we select in transparent and we click on the Ok box to confirm our work in transparent
-Step 4
Already done that we do not go in the lower part on the left side
from our screen and select the pen tool
We can also select it by pressing the letter '' P ''
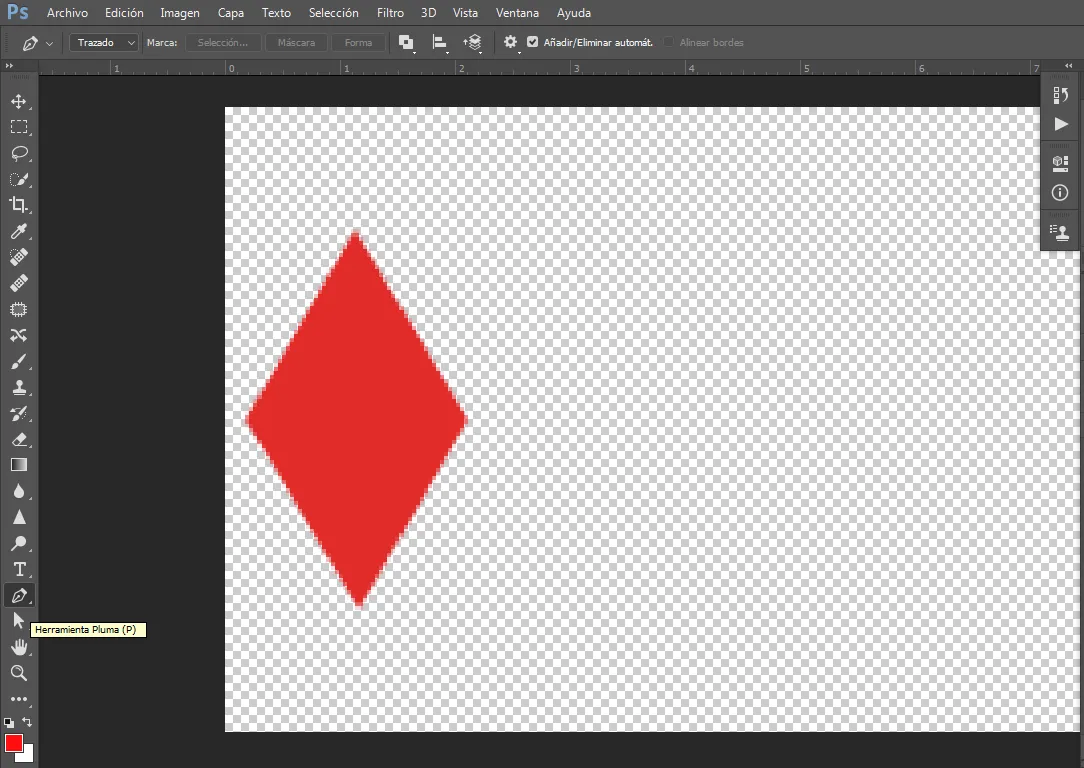
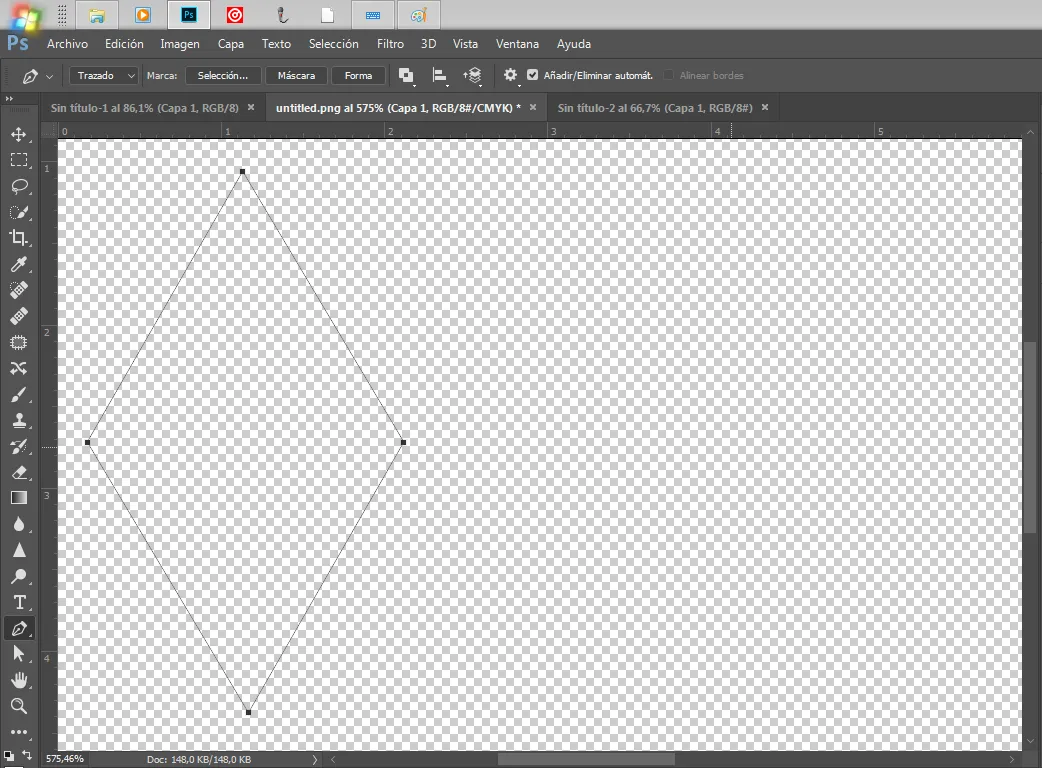
-Step 5
With this tool we are going to draw a triangle shape
suitable for the Hive Blog logo
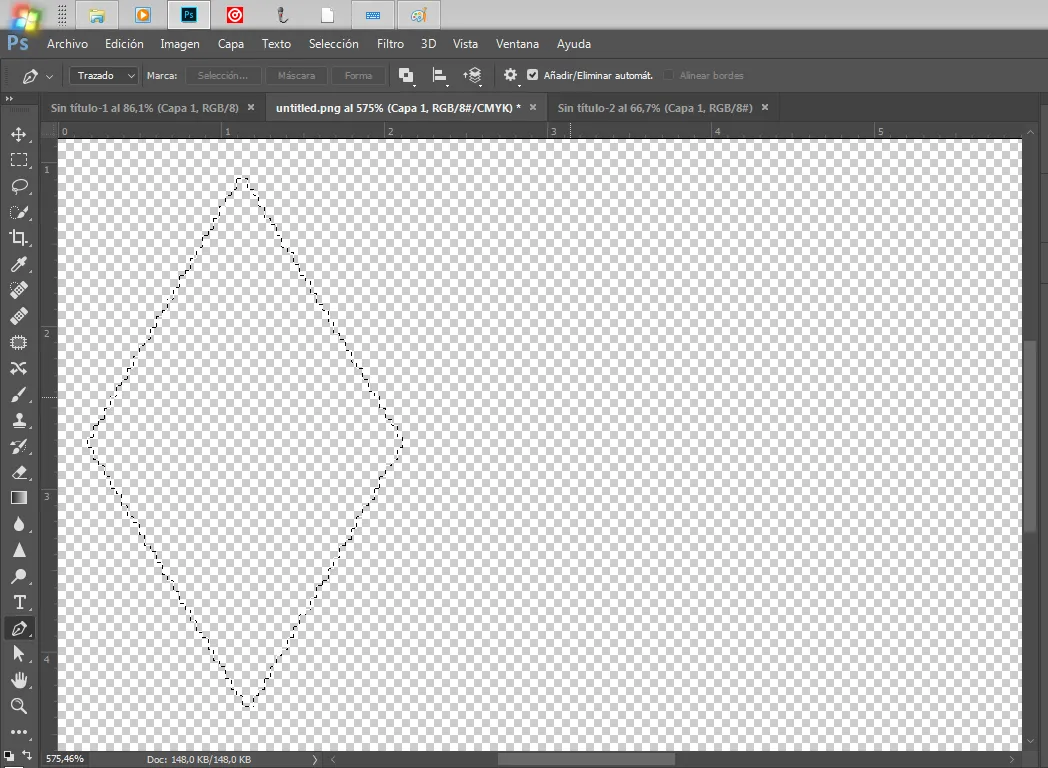
-Step 6
Now we press on our keyboard the command control + enter
to select that triangle that we have drawn with our pen tool
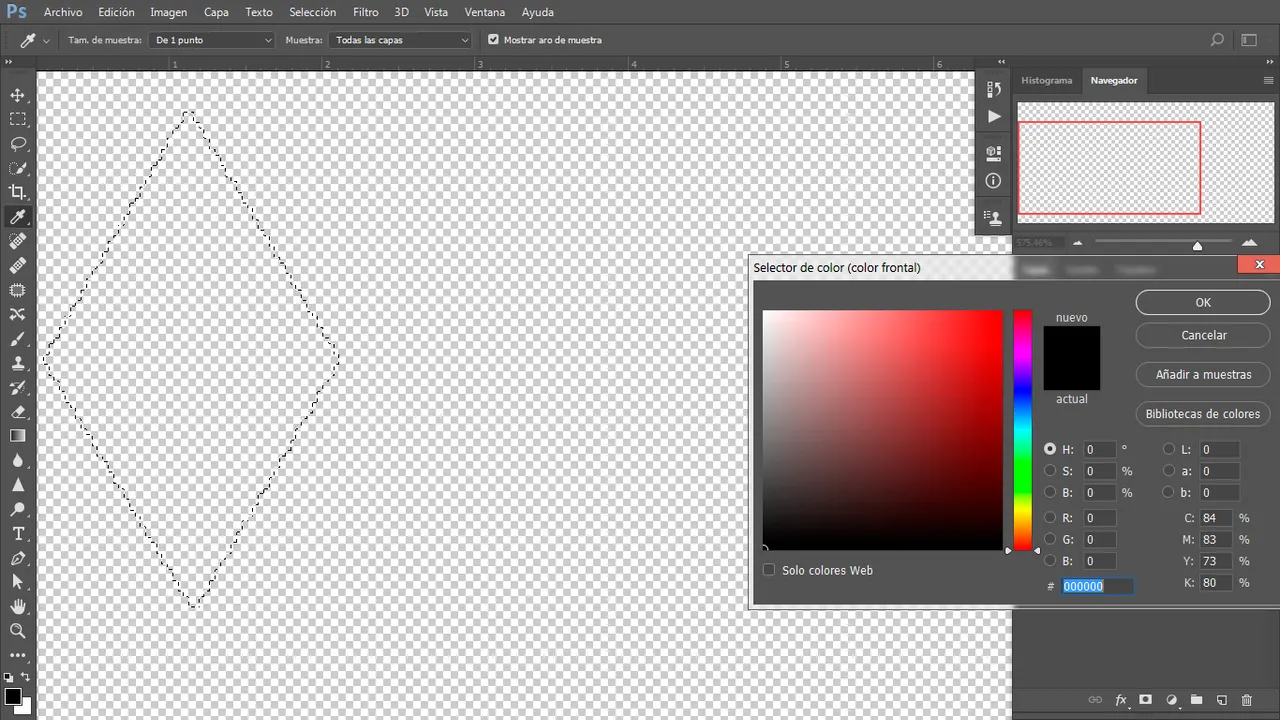
-Step 7
We go to in colors and select the color that we will use in our aforementioned logo and we will say `` ok ''
-Step 8
We now select the tool '' Paint border ''
To paint
-Step 9
Now we will paint our already selected triangle red with the paint border inside it.
-Step 10
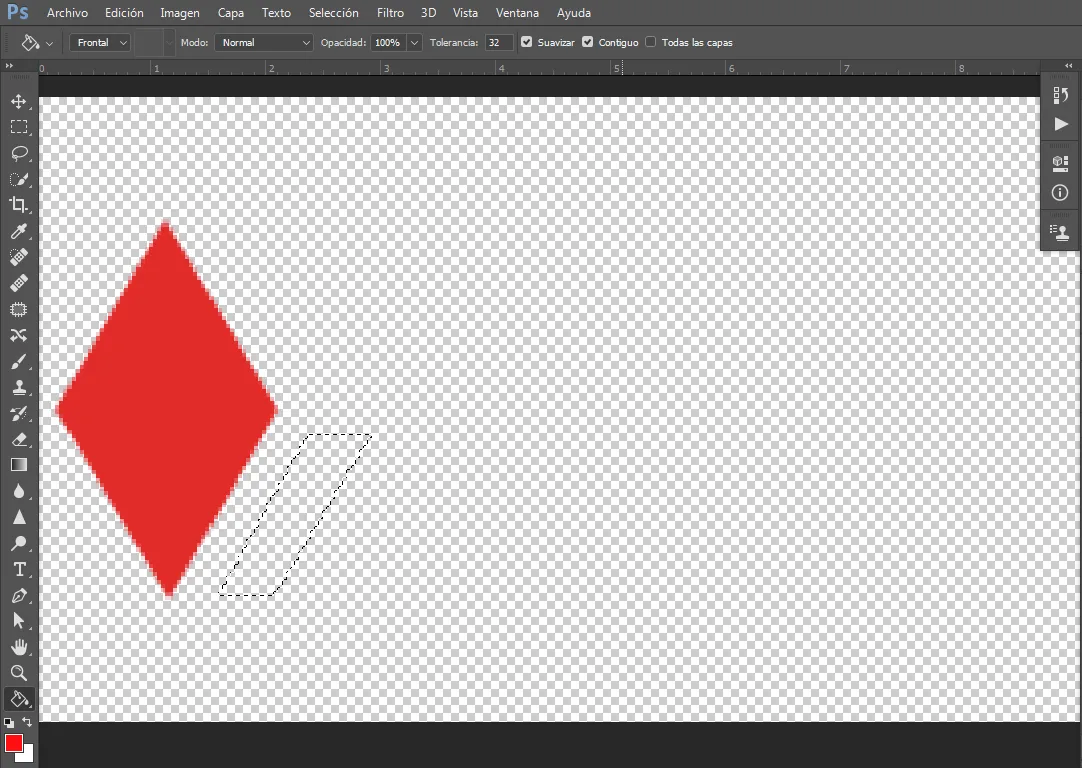
Now with the same pen tool we are going to make the second shape of our logo, but this time the shape will be smaller.
and adjustable to the original logo
-Step 11
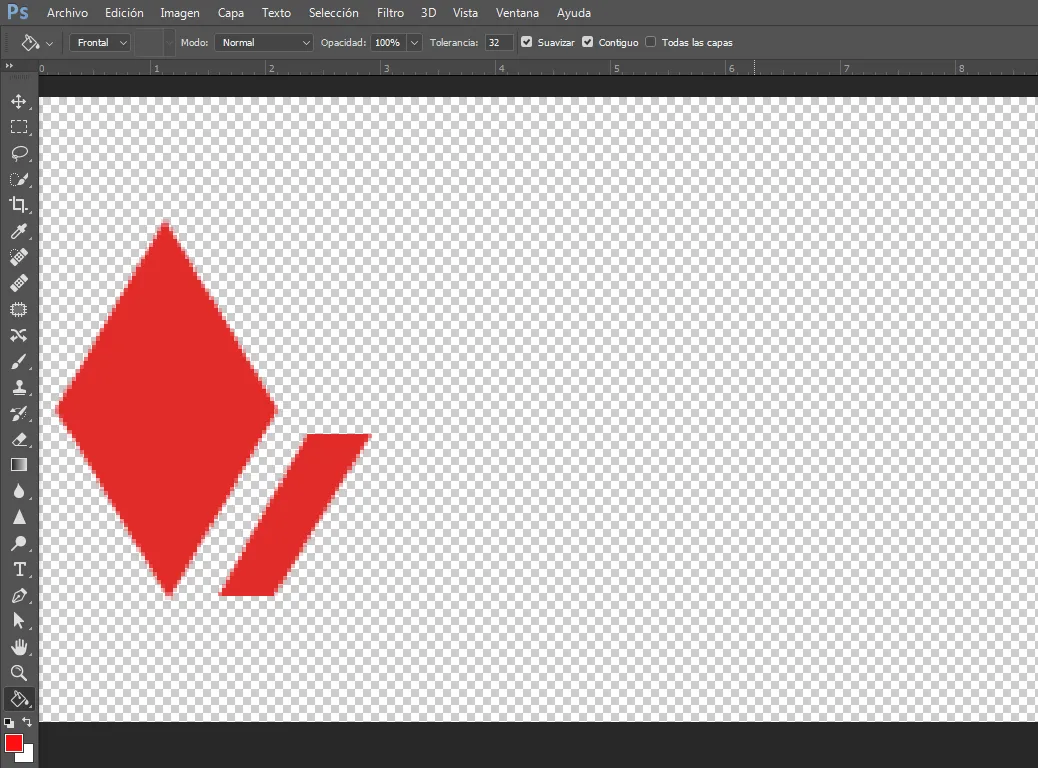
We will do the same and we will paint it with the same paint border as we did previously in the triangle
-Step 12
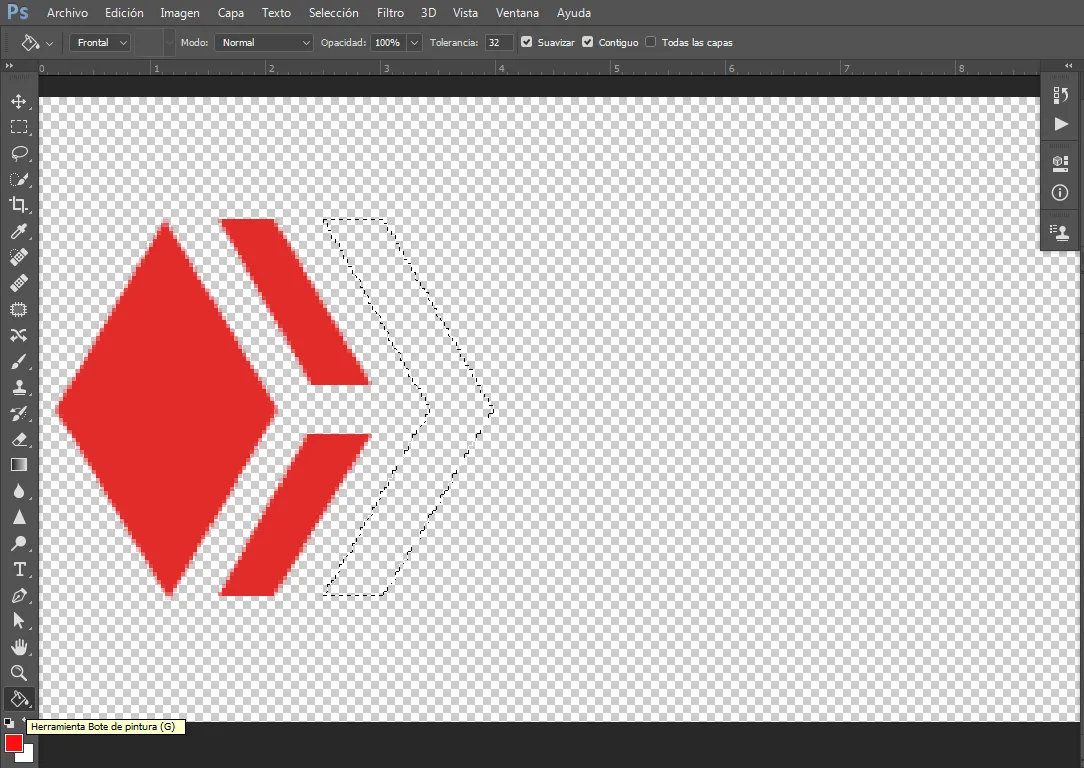
We will do the same with the other forms
we draw with the pen tool, select and paint
So
-Step 13
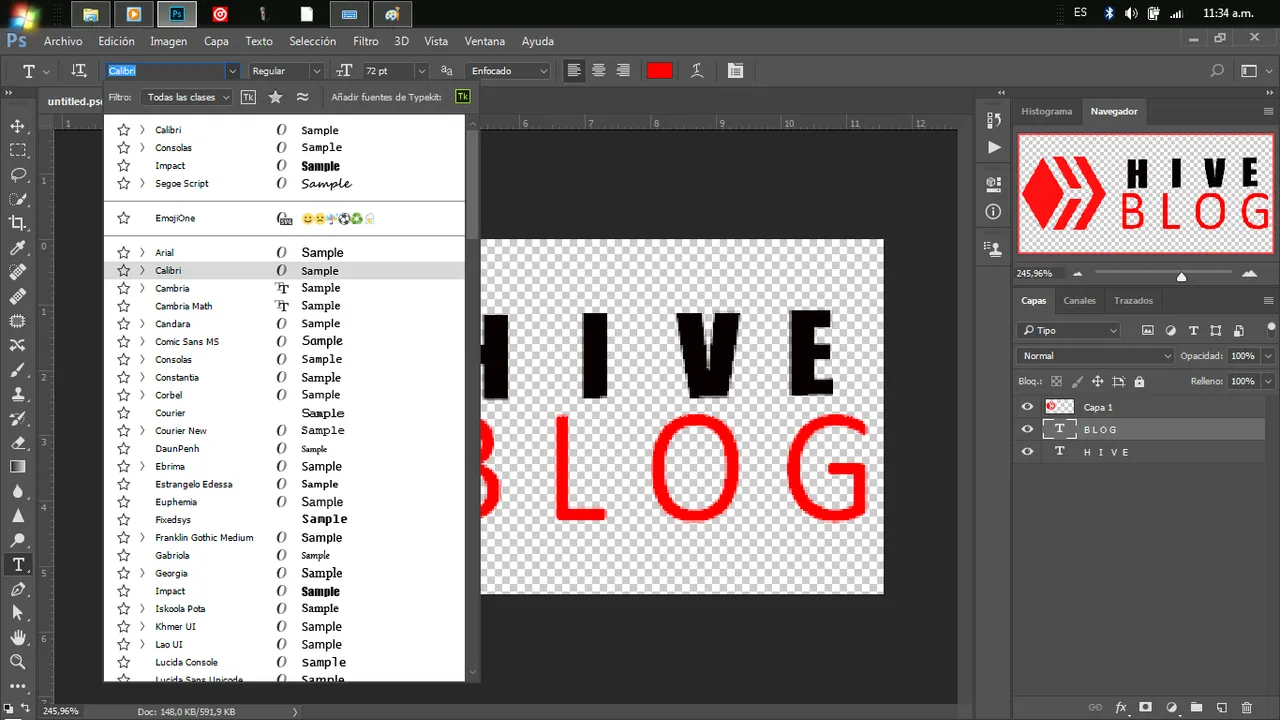
Having finished, we will start writing by selecting
the text tool to write the brand name
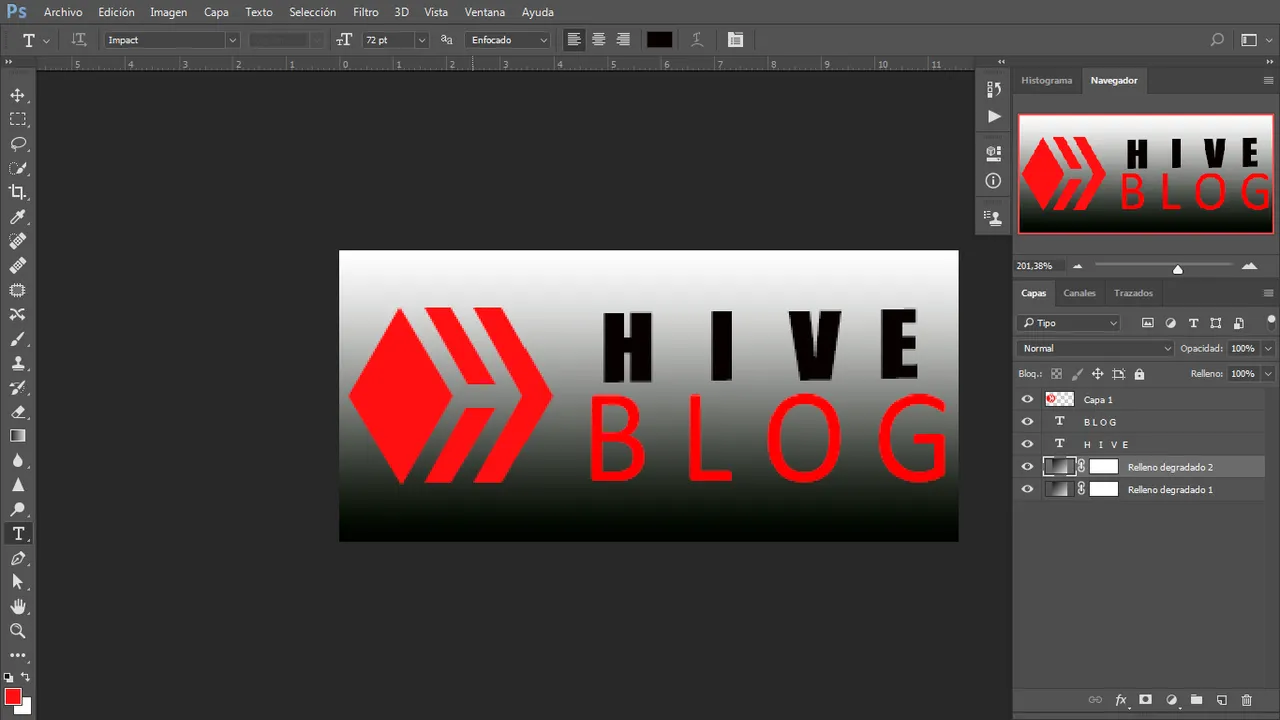
We will write '' Hive '' in '' black '' with the subject '' Impact '' in 46 text size and '' Blog '' in '' red '' in the subject of '' Calibri '' in size of text in 72 text like this
-step 14
we arrange and place the words each one in its position
and we give '' ok ''
-Step 15 now we create a new layer and we will make it a degree and it will be like this
Hola mi Hiver's
Hoy vengo a enseñar a como crear un logo
en esta oportunidad empezaré con el logo de la fantastica plataforma web de ''Hive Blog''
Enpezaremos utilizando el software de Ps CC 2017
ustedes pueden utilizar cualquier versión funciona para todas
- Primer paso abrir la nuestro programa
y darle click en archivo y seleccionamos Nuevo
o también funciona presionando al mismo tiempo control + N
- paso 2
Le damos click a opcion donde dice blanco para cambiar el fondo
- paso 3
Y seleccionamos en transparente y le damos click en el cuadro de Ok para confirmar nuestro trabajo en transparente
Paso 4
Ya hecho eso no vamos en la parte inferior en lado izquierdo
de nuestra pantalla y seleccionamos la herramienta pluma
también la podemos seleccionar presionando la letra ''P''
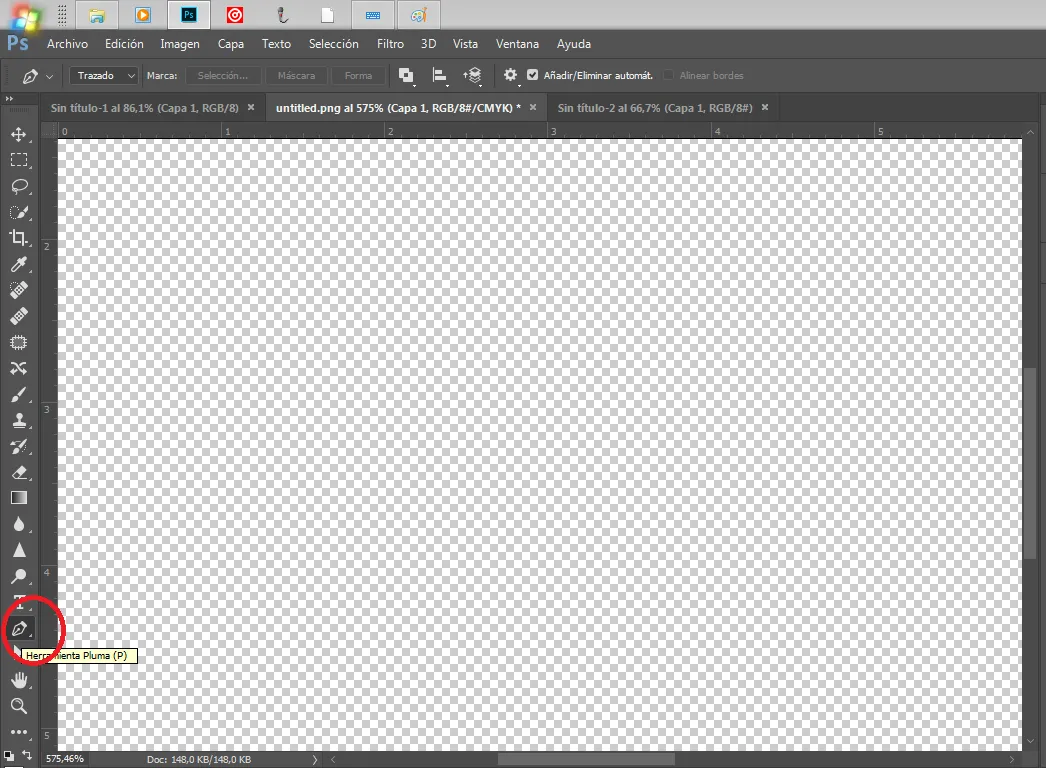
-Paso 5
Con esta herramienta vamos a dibujar una forma en triangulo
adecuada al logo de Hive Blog
Paso 6
Ahora Presionamos en nuestro teclado los comando control + enter
para seleccionar ese triangulo que hemos dibujado con nuestra herramienta pluma
-Paso 7
Vamos a en colores y seleccionamos el color que usaremos en nuestro logo ya mencionado y daremos ''ok''
Paso 8
Seleccionamos ahora la herramienta ''Borde de pintura''
Para pintar

-Paso 9
Ahora pintaremos de color rojo nuestro triangulo ya seleccionado con el borde de pintura adentro del mismo
-Paso 10
Ahora con la misma herramienta pluma vamos a hacer la segunda forma de nuestro logo,Pero esta vez la forma será mas reducida
y ajustable al logo original
-Paso 11
Haremos lo mismo y lo vamos a pintar con el mismo borde de pintura como lo hicimos anteriormente en el triangulo
-Paso 12
Haremos lo mismo con los otras forma
dibujamos con la herramienta pluma seleccionamos y pintamos
asi

-Paso 13
Ya habiendo terminado empezaremos a escribir seleccionando
la herramienta texto para escribir el nombre de le la marca
Escribiremos ''Hive'' en ''negro'' con el tema ''Impact'' En 46 de tamaño de texto y ''Blog'' en ''rojo'' en el tema de ''Calibri'' en tamaño de texto en 72 de texto así

-paso 14
acomodamos y situamos las palabras cada una en su posición
y le damos ''ok''
-Paso 15 ahora creamos una nueva capa y le haremos un degrado y nos quedara así
**