¡SALUDOS Y BENDICIONES!. Querida y apreciada colmena, Espero hayan tenido un próspero y glorioso día, nuevamente por aquí para compartirles la elaboración de una preciosa nube, sin gastar mucho dinero, y facil de hacer.
GREETINGS AND BLESSINGS. Dearest and appreciated hive, I hope you had a prosperous and glorious day, back here again to share with you the making of a beautiful cloud, without spending much money, and easy to make.

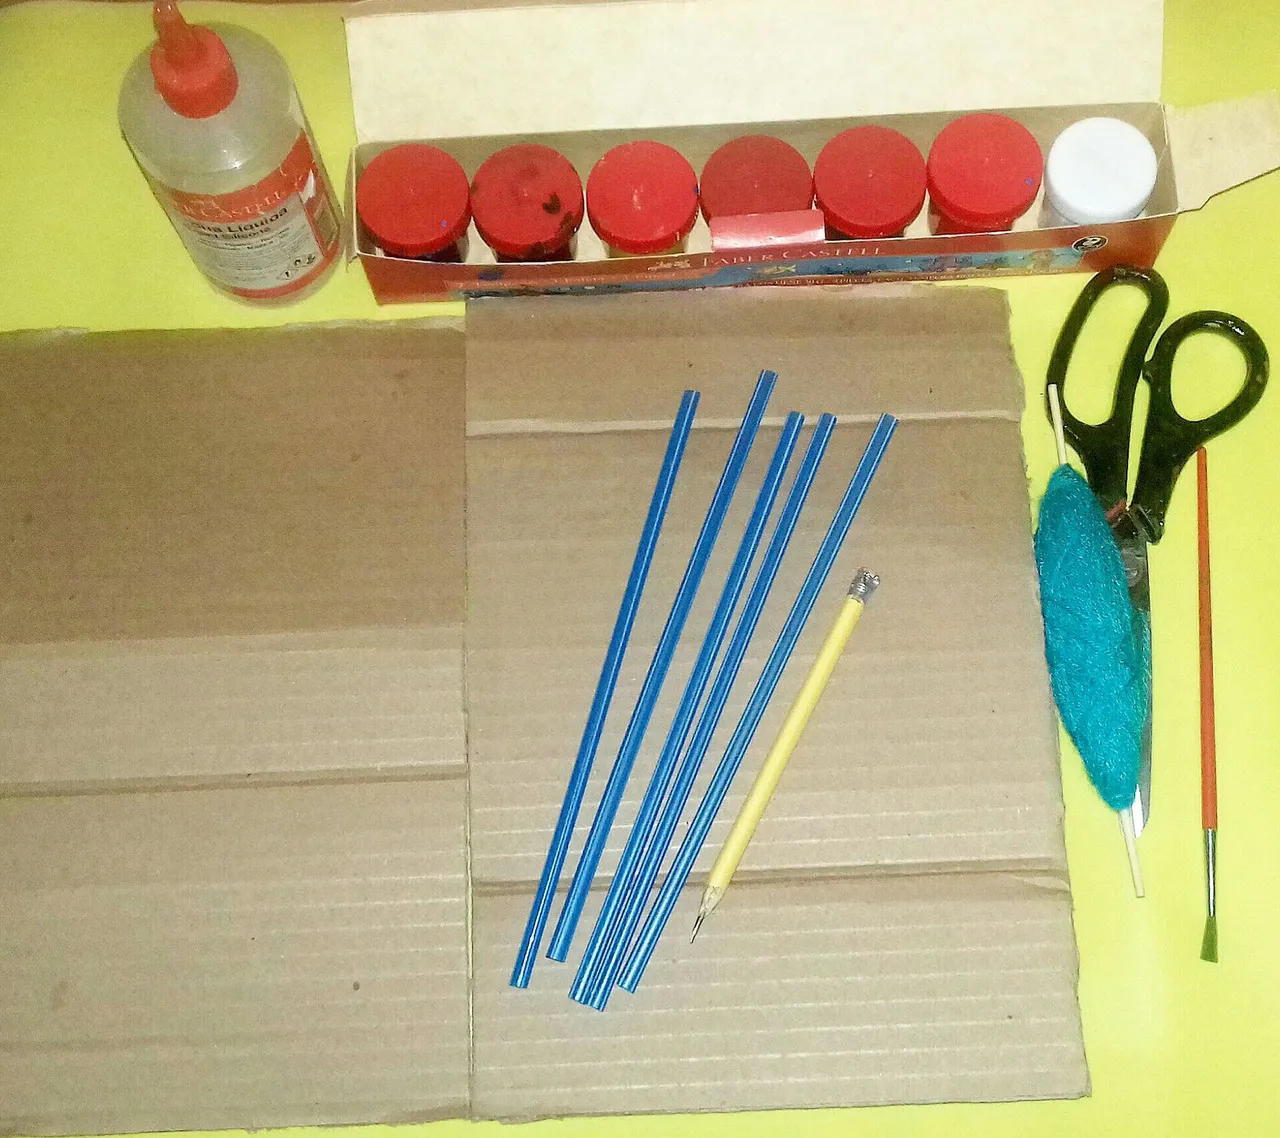
MATERIALES:
• CARTÓN.
• TIJERA.
• SILICÓN LÍQUIDO.
• TÉMPERAS.
• PINCEL.
• LÁPIZ.
• 7 PAJILLAS
• LANA O ESTAMBRE.
MATERIALS:
• CARDBOARD.
• SCISSOR.
• LIQUID SILICONE.
• TEMPERAS.
• PENCIL.
• PENCIL.
• 7 PAJILLAS.
• WOOL OR YARN.
Pasos a seguir:
Steps to follow:

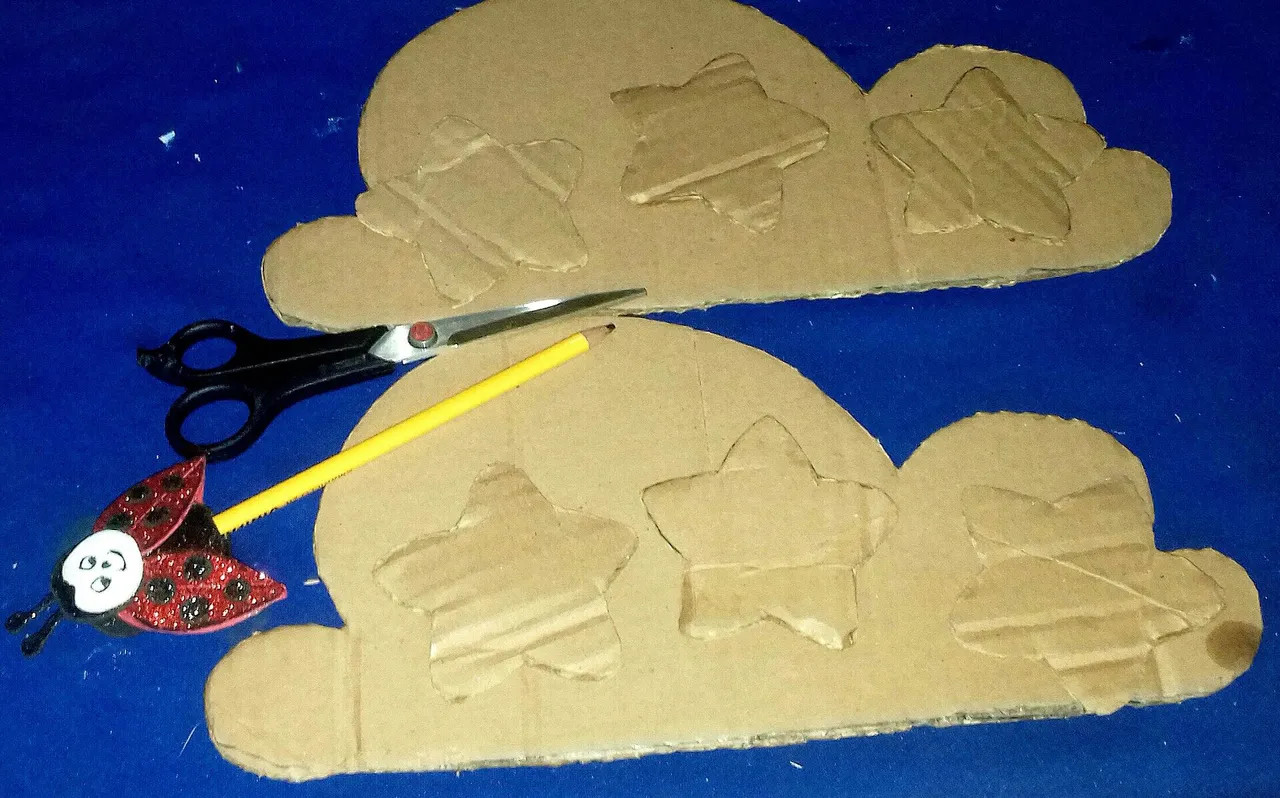
PASO 1:
En el cartón se van a dibujar y cortar, 2 nubes y 6 estrellas.
(estas formas serán de el tamaño que desees).
STEP 1:
On the cardboard you are going to draw and cut 2 clouds and 6 stars.
(these shapes will be the size you want).
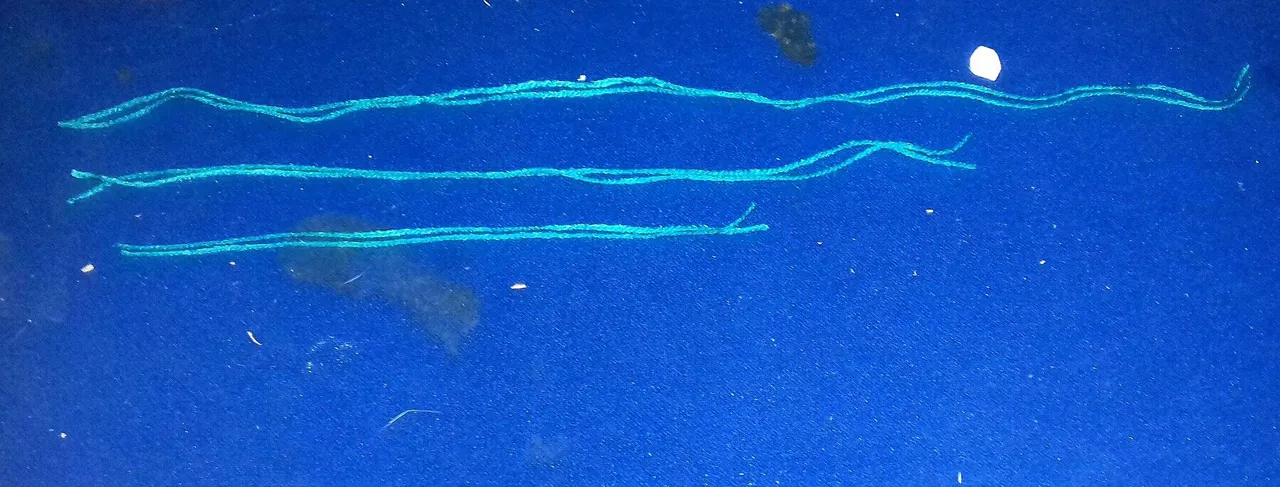
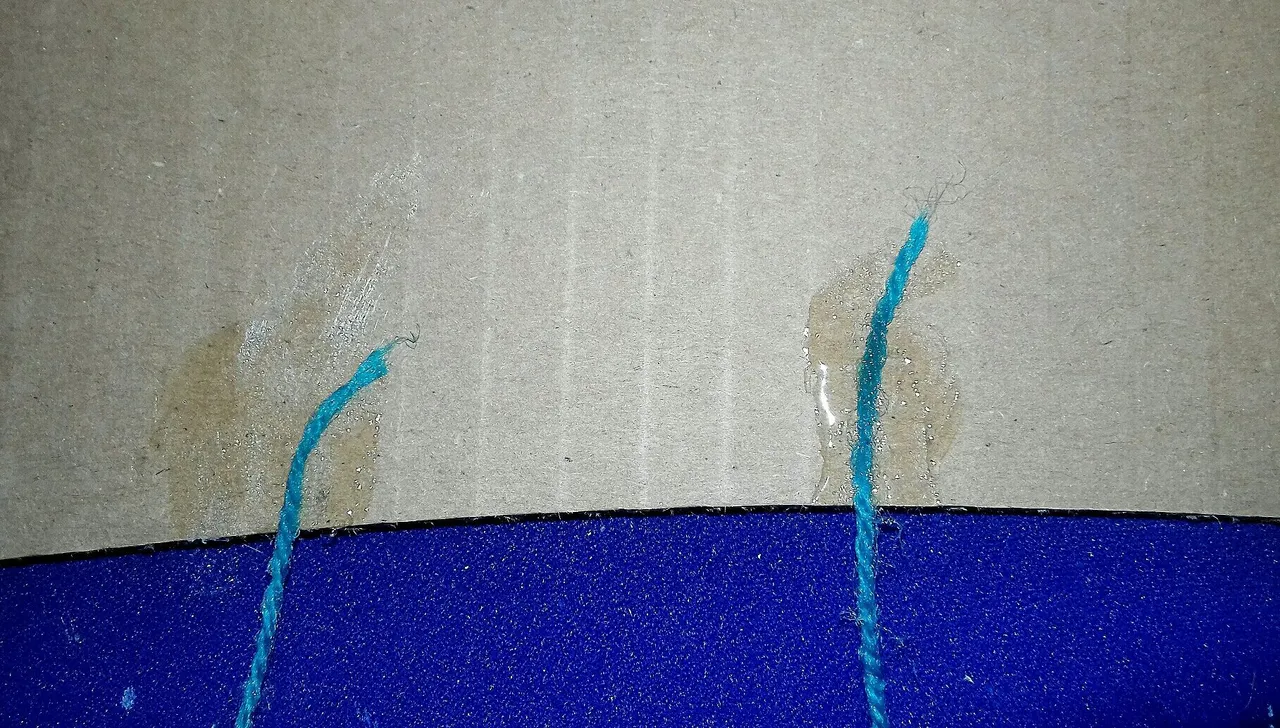
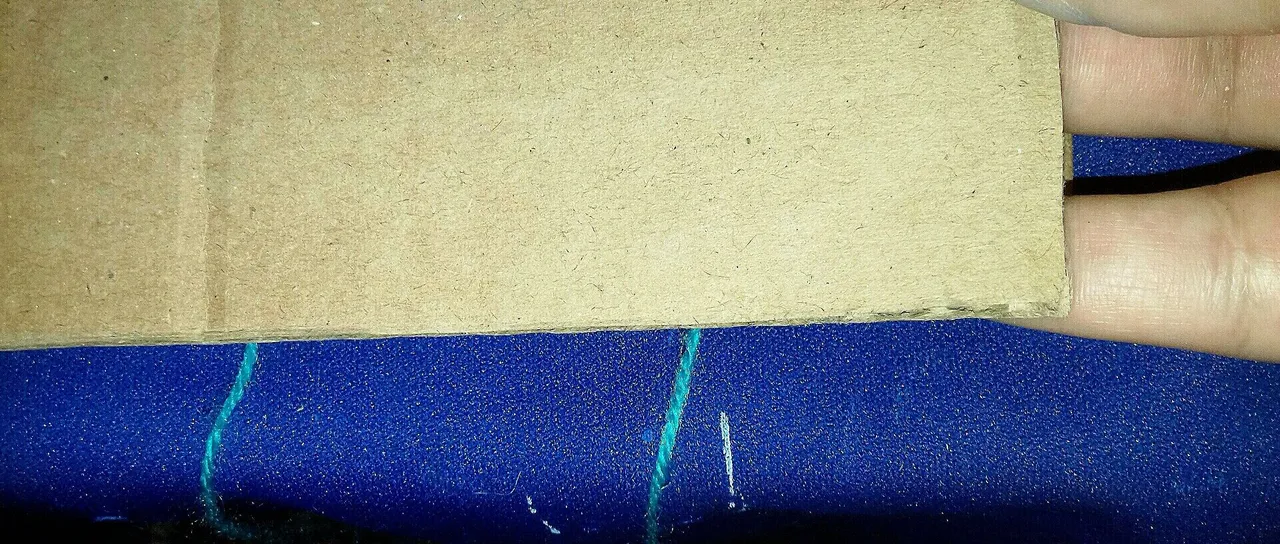
PASO 2:
• Luego cortaremos 6 pedazos de estambre, 2 serán de 40 cm de largo, 2 de 30cm de largo, y 2 de 20cm de largo.
• Esos pedazos de estambre lo pegaremos en la parte inferior de una de las nubes.
(Los 2 pedazos de 40 irán en las esquinas, las 2 de 30cm de largo irán al lado de estas, y las de 20cm en el medio de la nube)
• Ahora pegamos las dos nubes, una sobre la otra.
STEP 2:
• Next we will cut 6 pieces of worsted, 2 will be 40cm long, 2 will be 30cm long, and 2 will be 20cm long.
• These pieces of yarn will be glued to the bottom of one of the clouds.
(The 2 pieces of 40 will go in the corners, the 2 pieces of 30cm long will go next to them, and the 20cm long will go in the middle of the cloud).
• Now we glue the two clouds, one on top of the other.
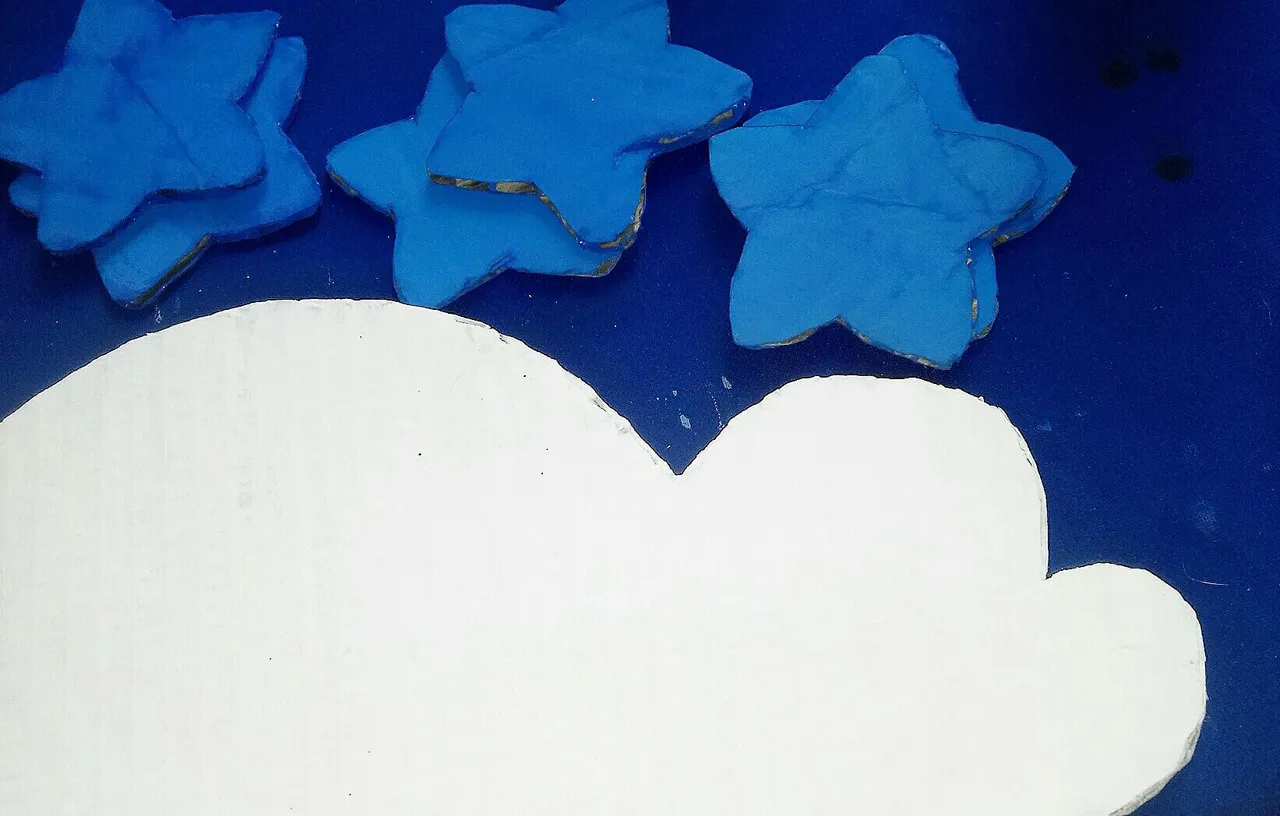
PASO 3:
• Seguidamente pintamos la nube y las estrellas con los distintos colores de las témperas.
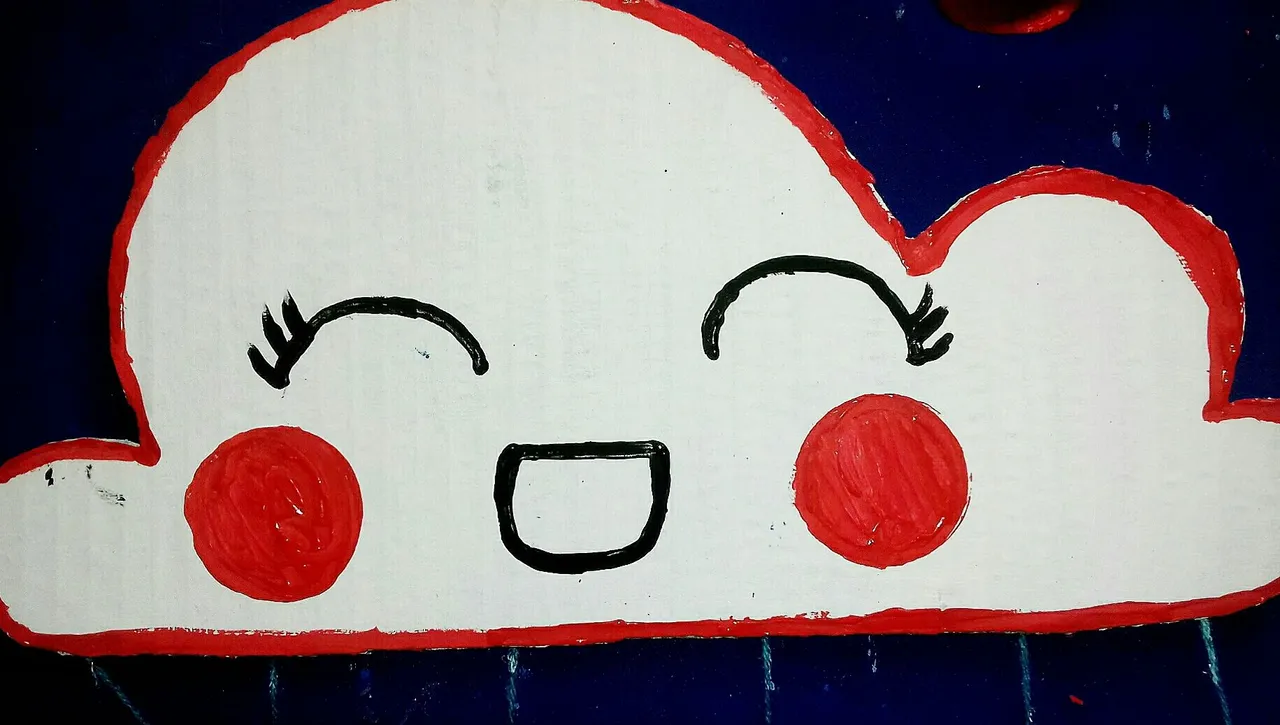
• Asimismo le dibujaremos la cara a la nube.
Este paso es libre de realizar,se hará como quieran y deseen hacerlo.
STEP 3:
• Next we paint the cloud and the stars with the different colors of the tempera paints.
• We will also draw the face of the cloud.
This step is free to do, it will be done as you want and wish to do it.
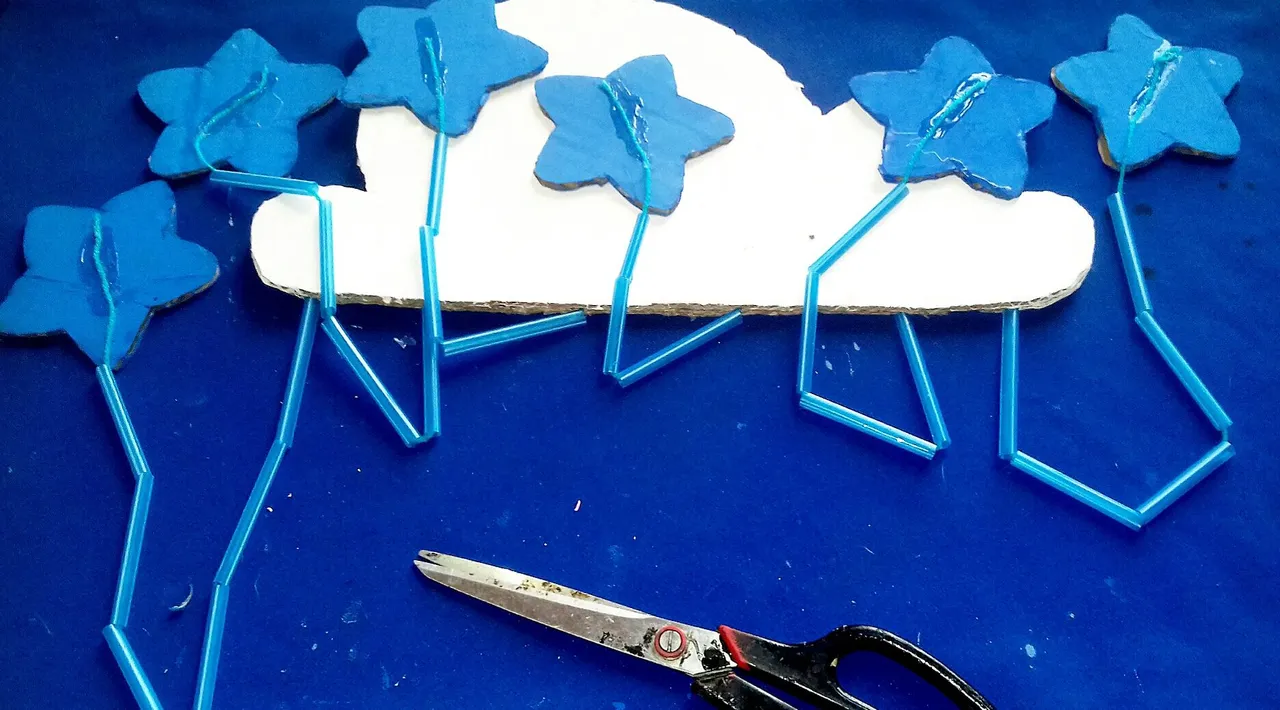
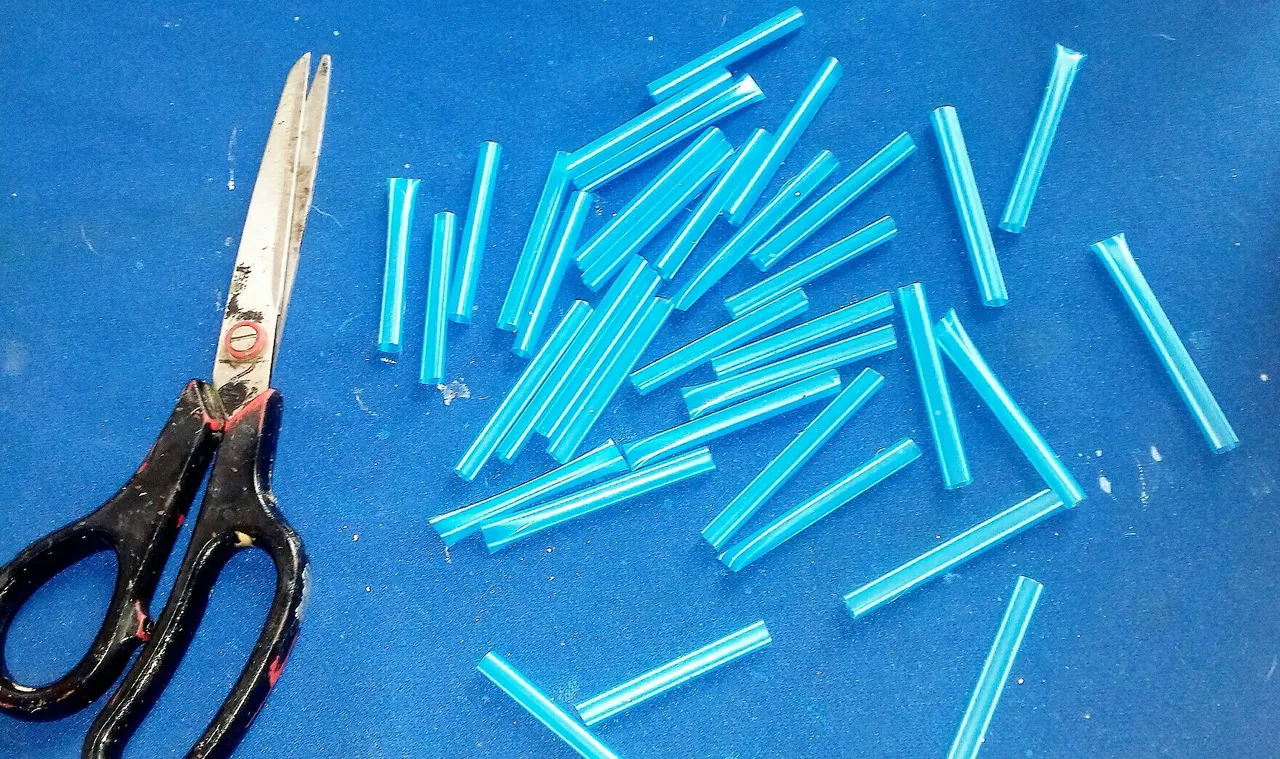
PASO 4:
• Ya para finalizar, con ayuda de la tijera vamos a cortar las 7 pajillas, en 4 parte cada una.
• Ya cortadas las pajillas vamos a introducirlas en el estambre Hasta cubrir todo los pedazos de estambre.
• "OJO" se dejará un 2 dedos de estambre sin cubrir para pegar las estrellas; Como se puede observar en la siguiente imagen.
STEP 4:
• Now to finish, with the help of the scissors we are going to cut the 7 straws, in 4 parts each one.
• Once the straws are cut, we are going to introduce them into the yarn until all the yarn pieces are covered.
• EYE" we will leave 2 fingers of yarn uncovered to glue the stars; As you can see in the following image.
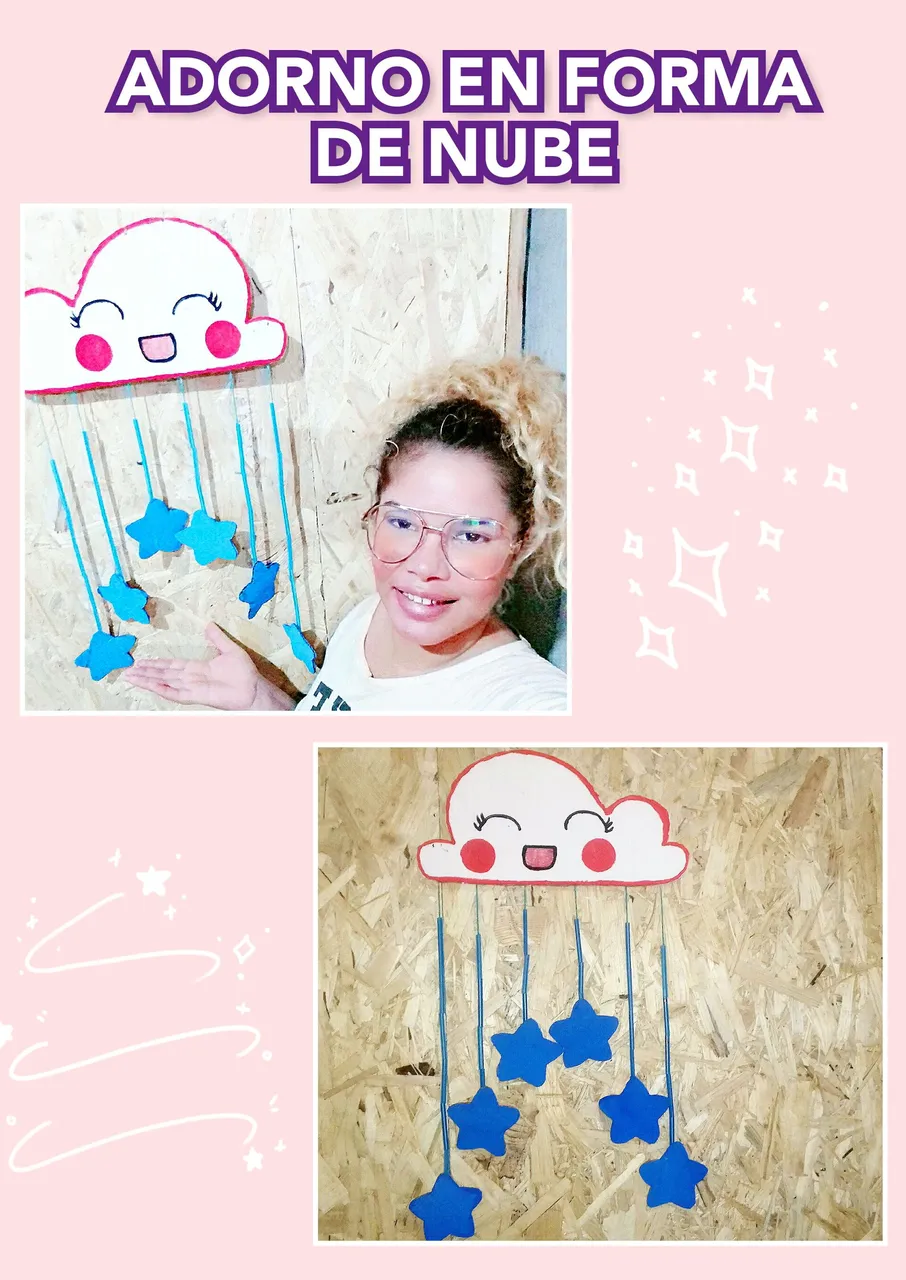
¡Muy bien! queridos amigos ya terminamos este bello proyecto y este es el resultado final.
Very well! dear friends we have finished this beautiful project and this is the final result.
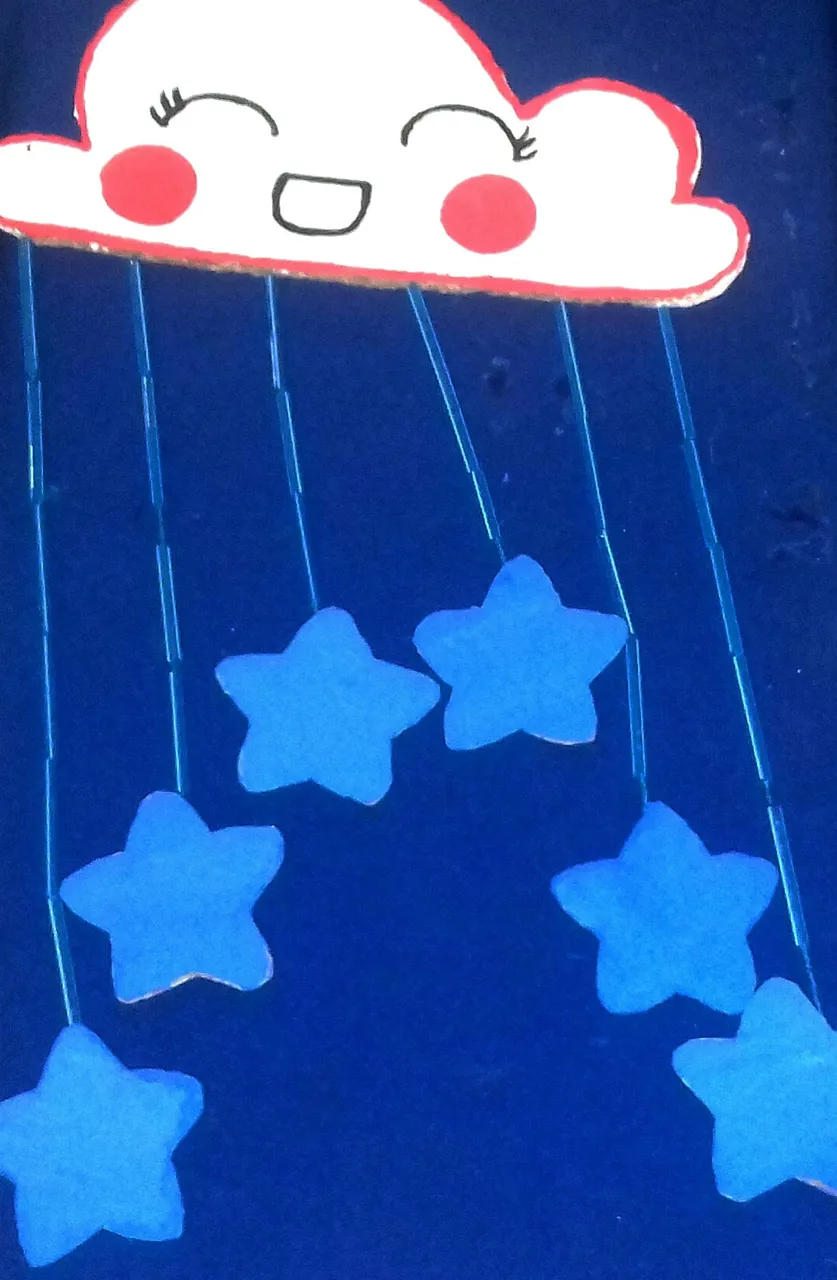
¡Listo!
Ahora tenemos una linda nube para adornar y personalizar ese lugar favorito de nuestro hogar.
That's it!
Now we have a nice cloud to decorate and personalize that favorite place in our home.
Espero les gustes y lo hayan disfrutado tanto como ami.
I hope you like it and enjoyed it as much as I did.
Dios les bendiga
God bless you
¡Saludos y abrazos de su amiga @gemahernandez!
Greetings and hugs from your friend @gemahernandez!