¡Hola, hola!. Querida y apreciada colmena. ¿Cómo se encuentran hoy?. Confío en Dios que esten muy bien, llenos de salud y paz. Me llena de alegría estar aquí nuevamente con ustedes, compartiendo la elaboración de una agenda organizadora con materiales de provecho.
Hello, hello! Dearest and dear hive, how are you today? I trust in God that you are very well, full of health and peace. It fills me with joy to be here with you again, sharing the elaboration of an organizing agenda with useful materials.
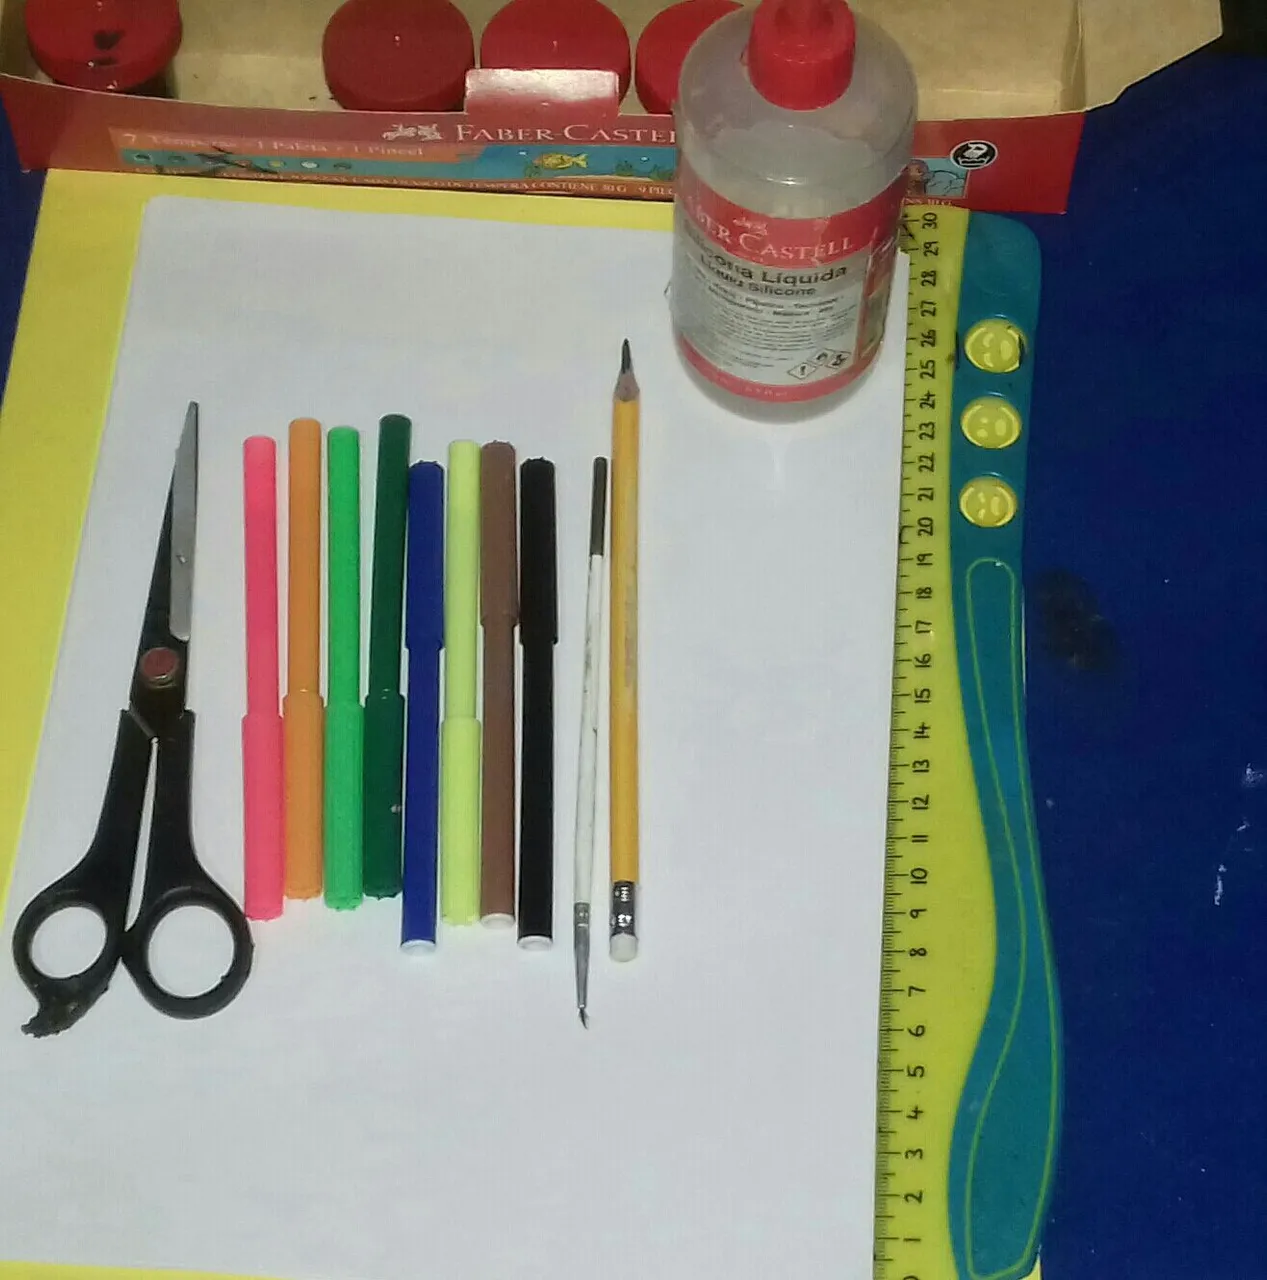
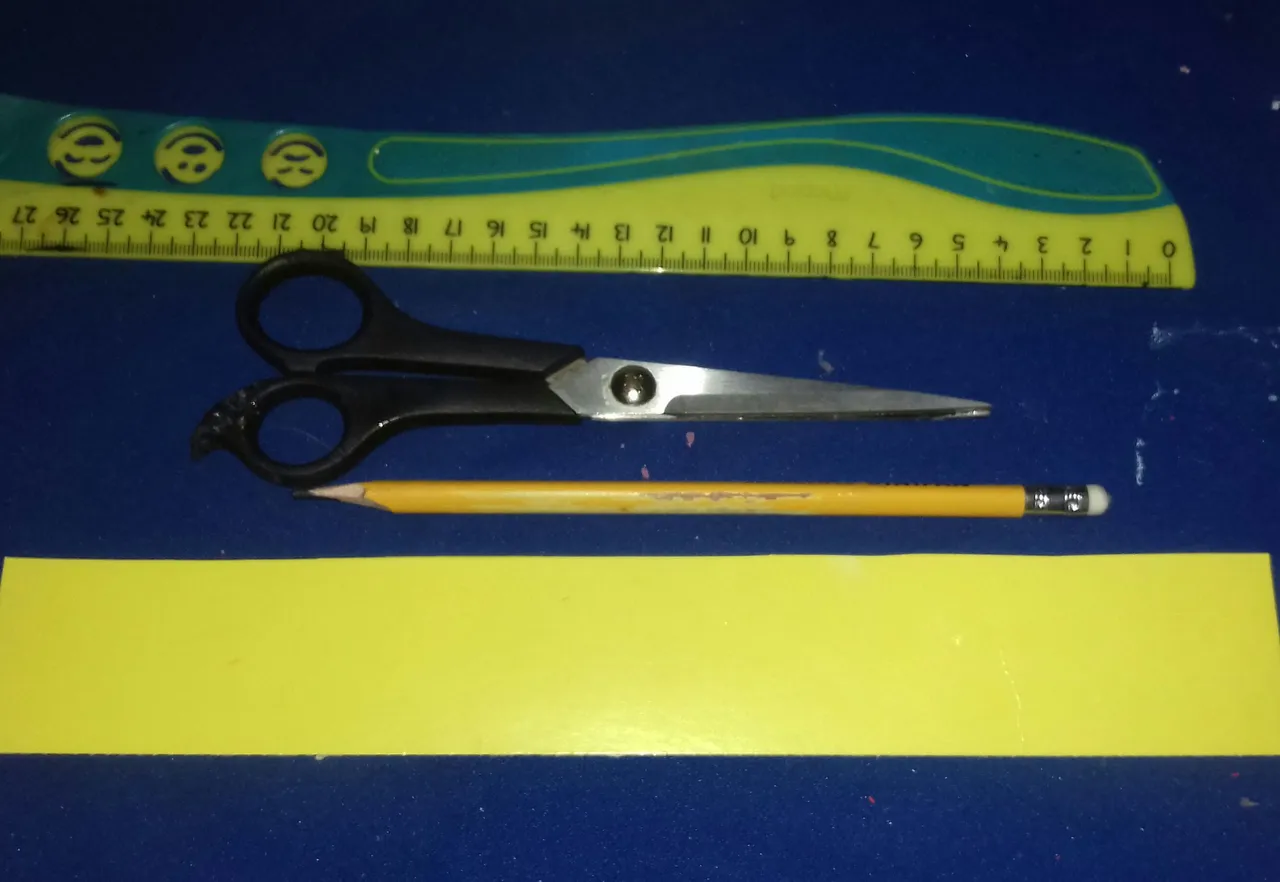
MATERIALES:
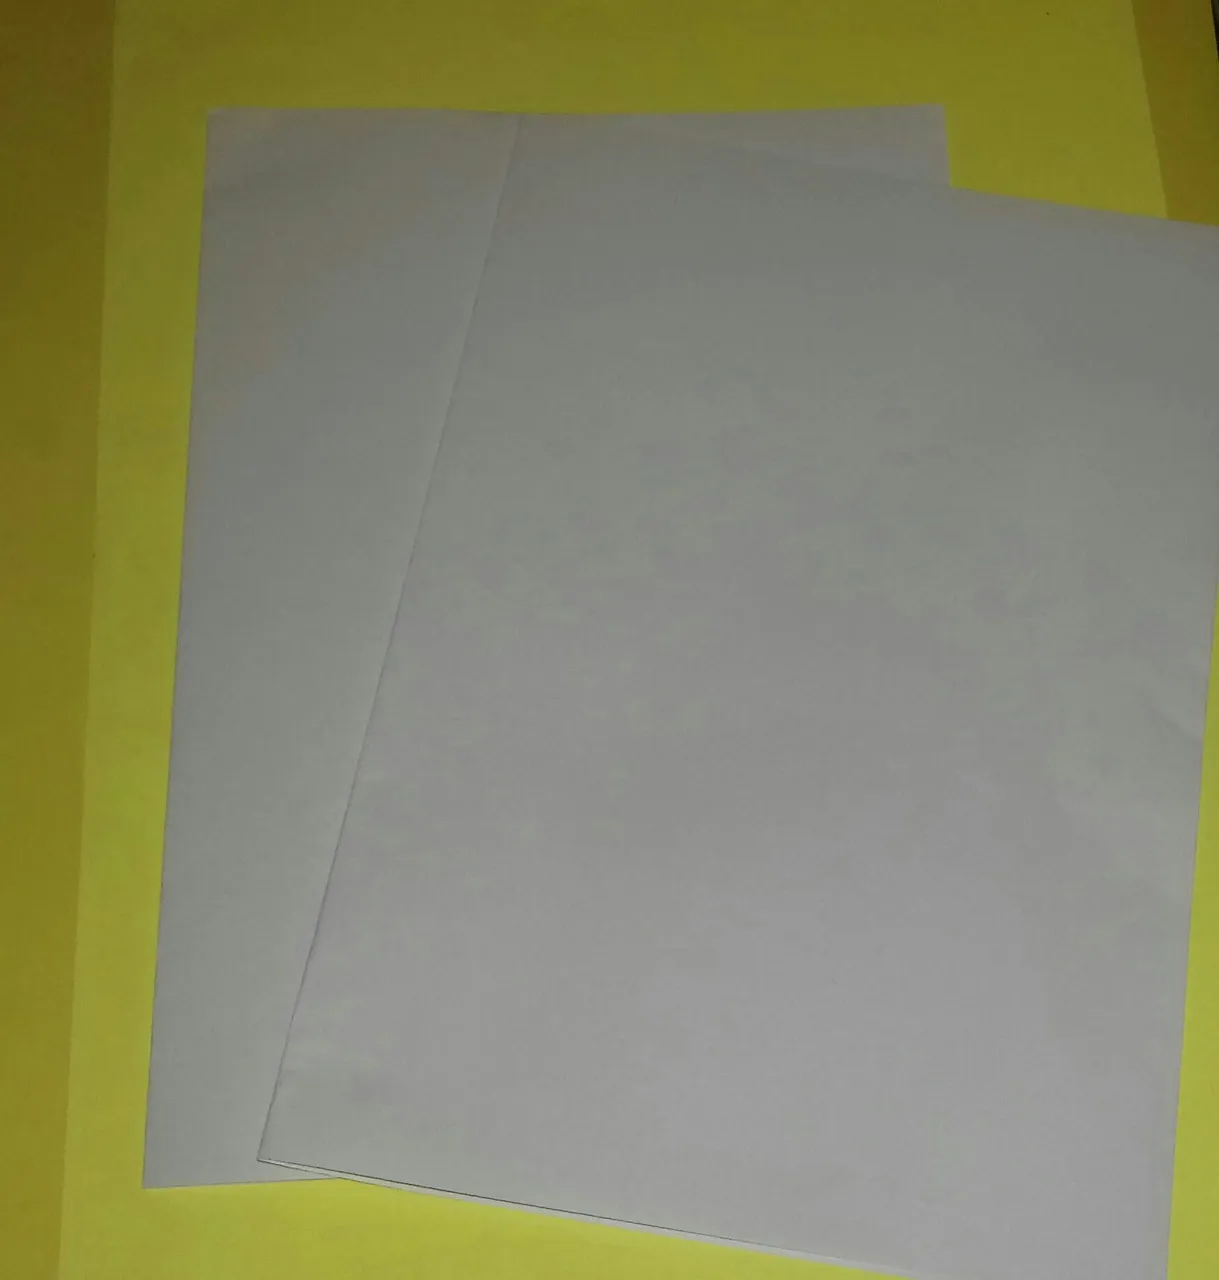
• Hojas blancas de papel (20).
• Cartulina de color amarillo.
• Marcadores de colores.
• Tempéras.
• Pincel.
• Lápiz.
• Regla.
• Silicón líquido.
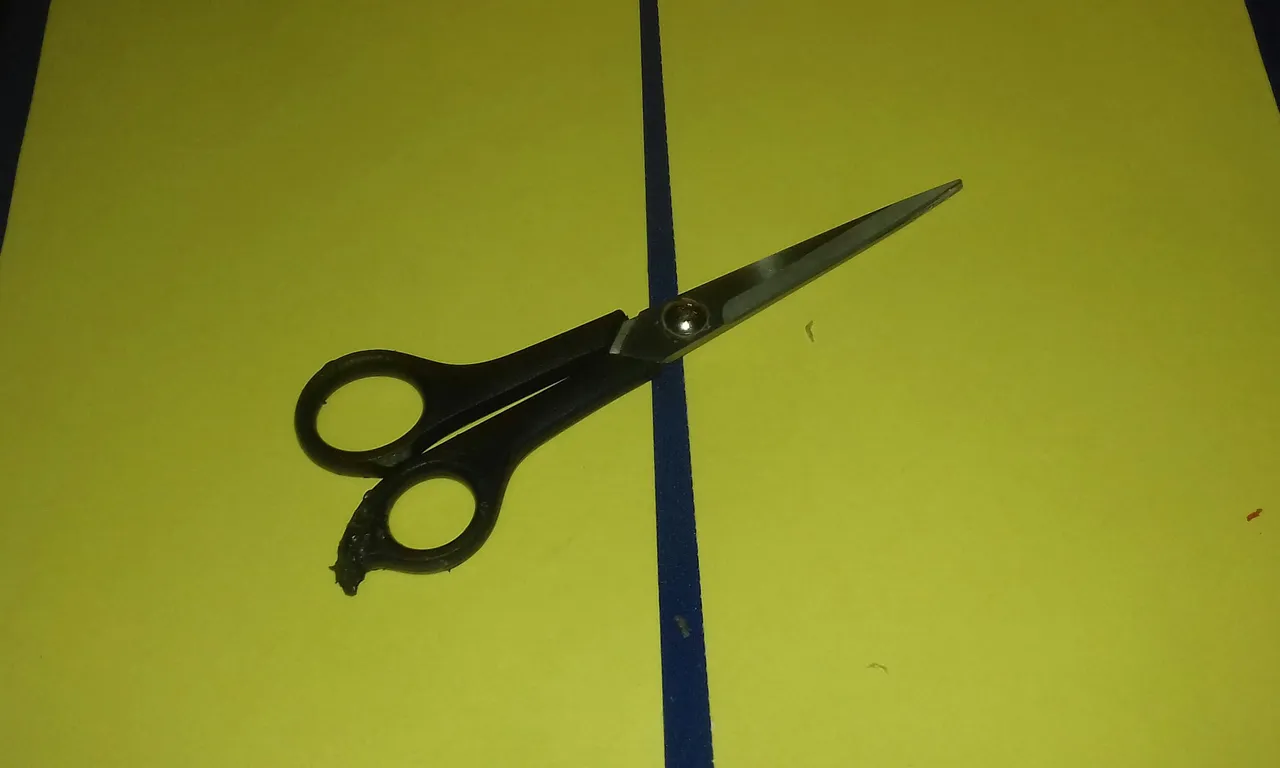
• Tijera.
MATERIALS:
• White sheets of paper (20).
• Yellow cardboard.
• Colored markers.
• Tempera.
• Paintbrush.
• Pencil.
• Ruler.
• Liquid silicone.
•Scissors.
Pasos a seguir:
Steps to follow:
Paso 1:
• Doblamos por la mitad cada una de las hojas de papel.
• Ese mismo método lo hacemos con la cartulina, para luego cortar.
• También hacemos una tira de 30cm de alto y 8cm de ancho.
Step 1:
• Fold in half each of the sheets of paper.
• The same method we do with the cardboard, and then cut.
• We also make a strip of 30cm high and 8cm wide.
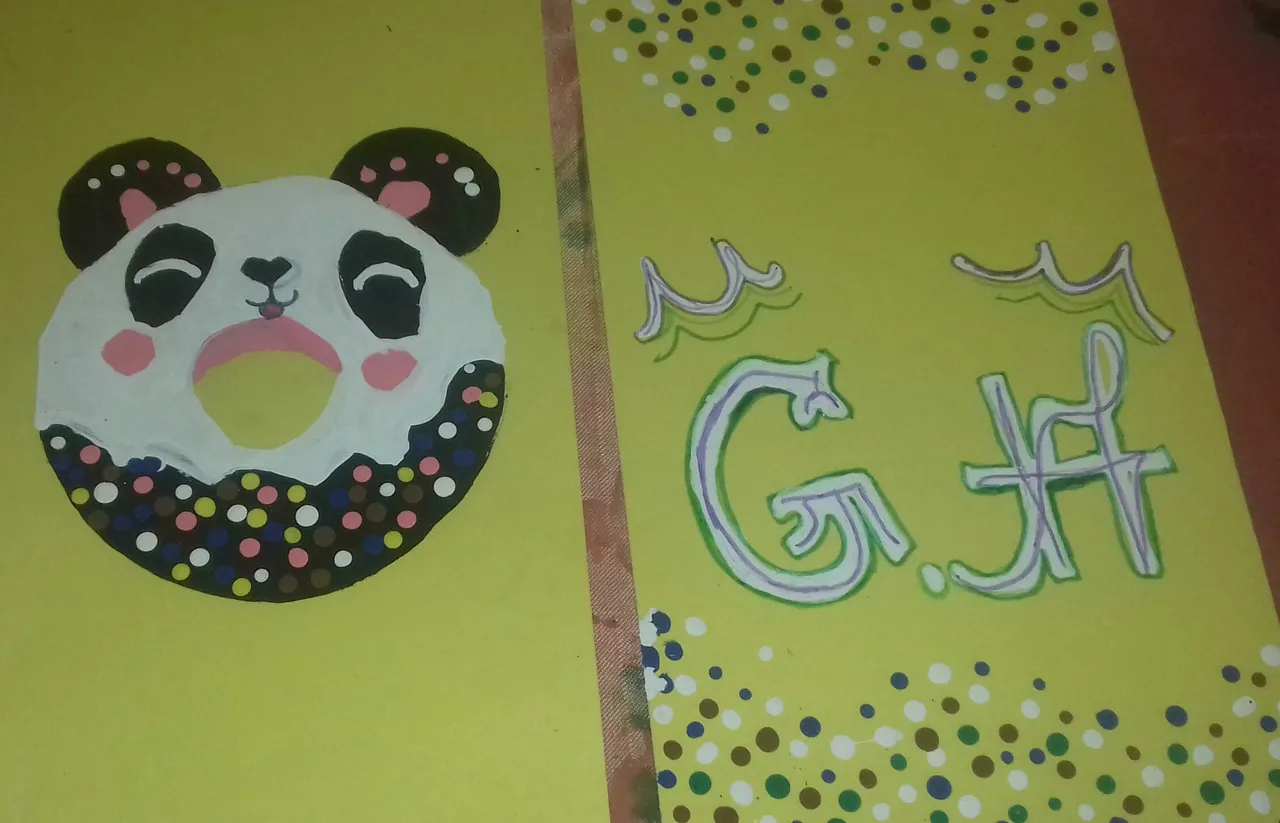
Paso 2:
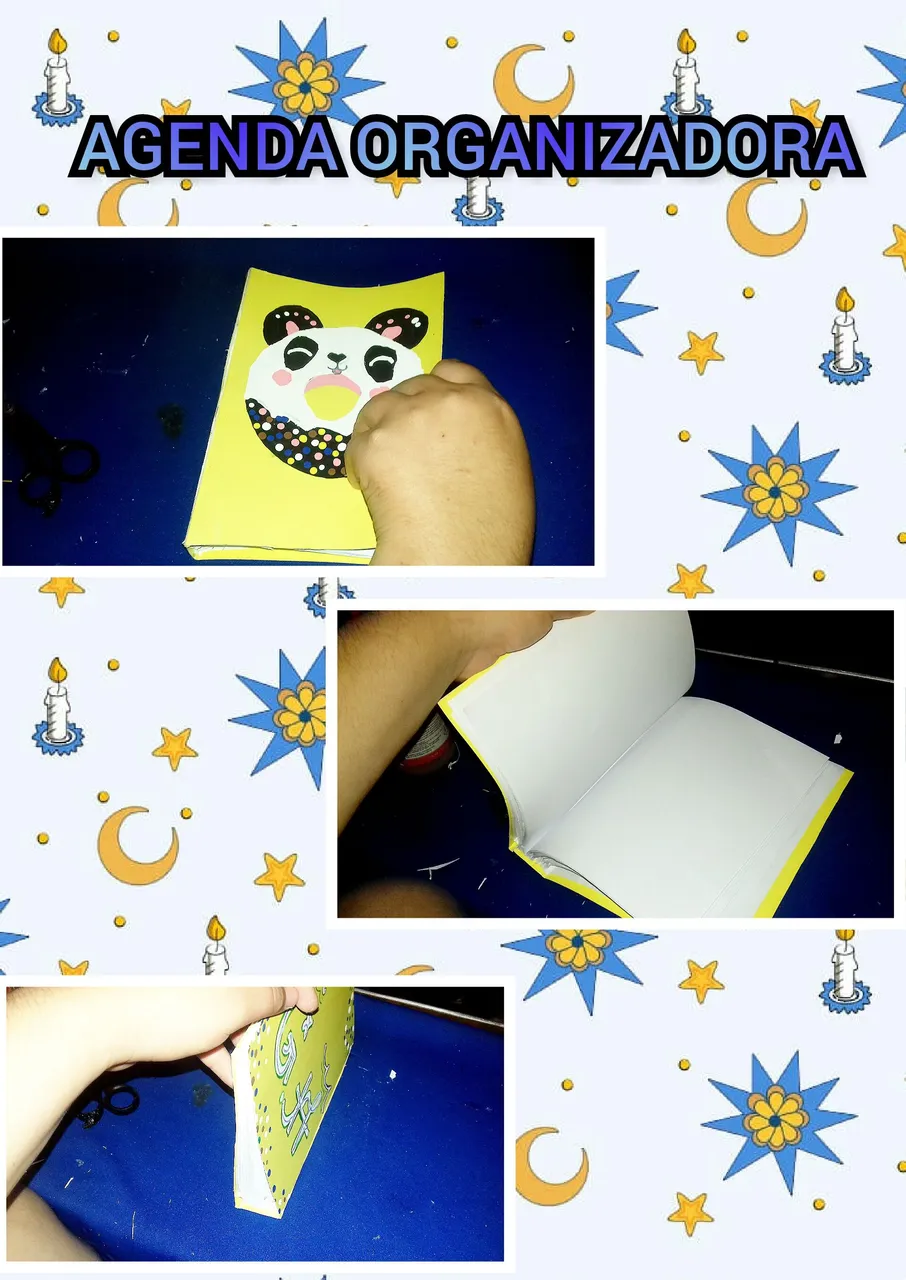
• Las dos mitades de cartulinas se pintarán, con el diseño que desees, en mi caso hice una dona panda en una mitad, la cual va hacer la portada de la agenda, y en la otra mitad hice varios puntos de colores y mis iniciales.
• En el dobles de las hojas, se pegarán en la tira de cartulina.
Step 2:
• The two halves of cardstock will be painted, with the design of your choice, in my case I made a panda donut on one half, which will make the cover of the planner, and on the other half I made several colorful dots and my initials.
• On the double sheets, they will be glued on the cardboard strip.
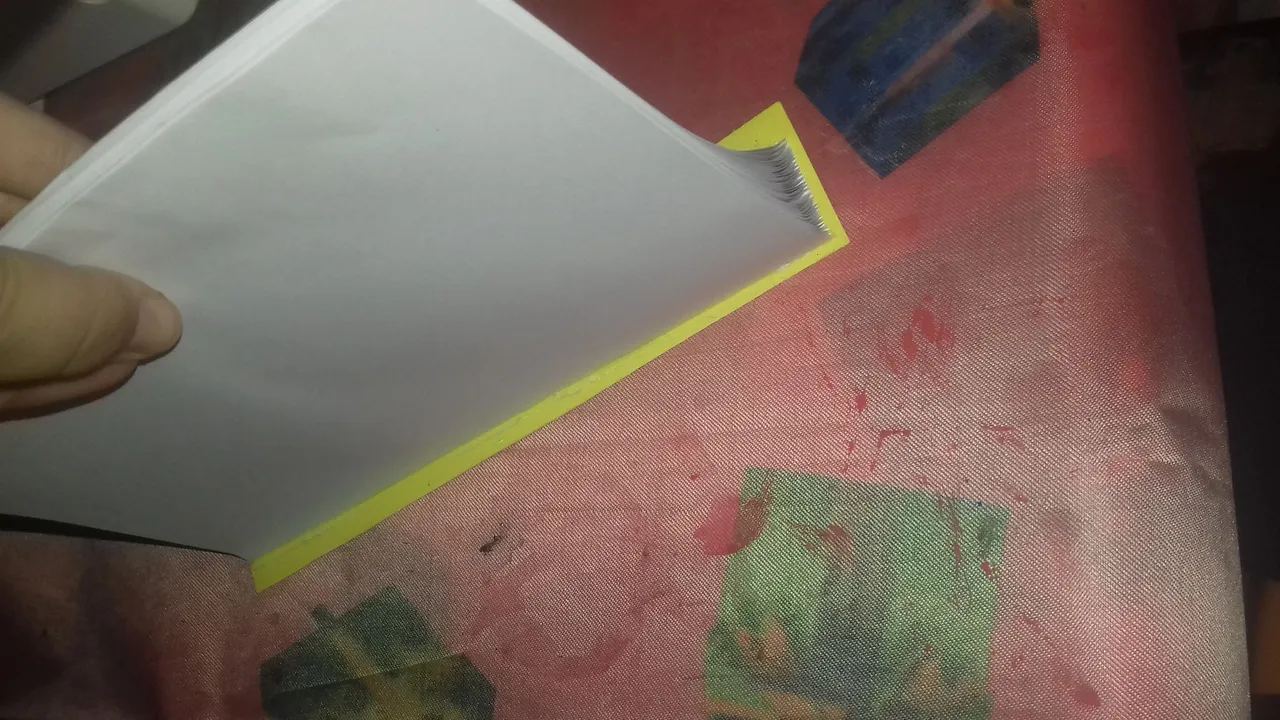
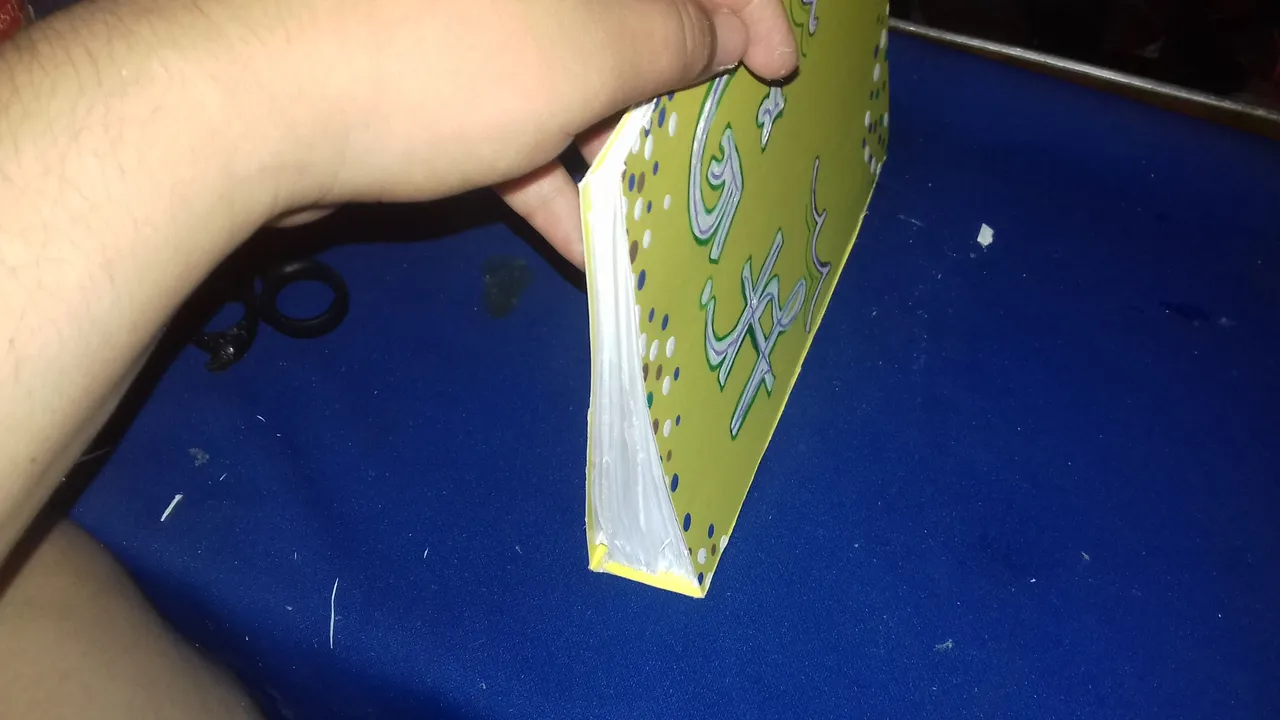
Paso 3:
• La portada de la agenda, la colocamos delante de las hojas de papel y la fijamos en la tira de cartulina.
• De igual manera, colocamos la parte trasera de la agenda al final de las hojas, y la pegamos en la tira de la cartulina.
Step 3:
• The cover of the diary, we place it in front of the sheets of paper and attach it to the cardboard strip.
• In the same way, we place the back of the agenda at the end of the sheets, and we glue it on the cardboard strip.
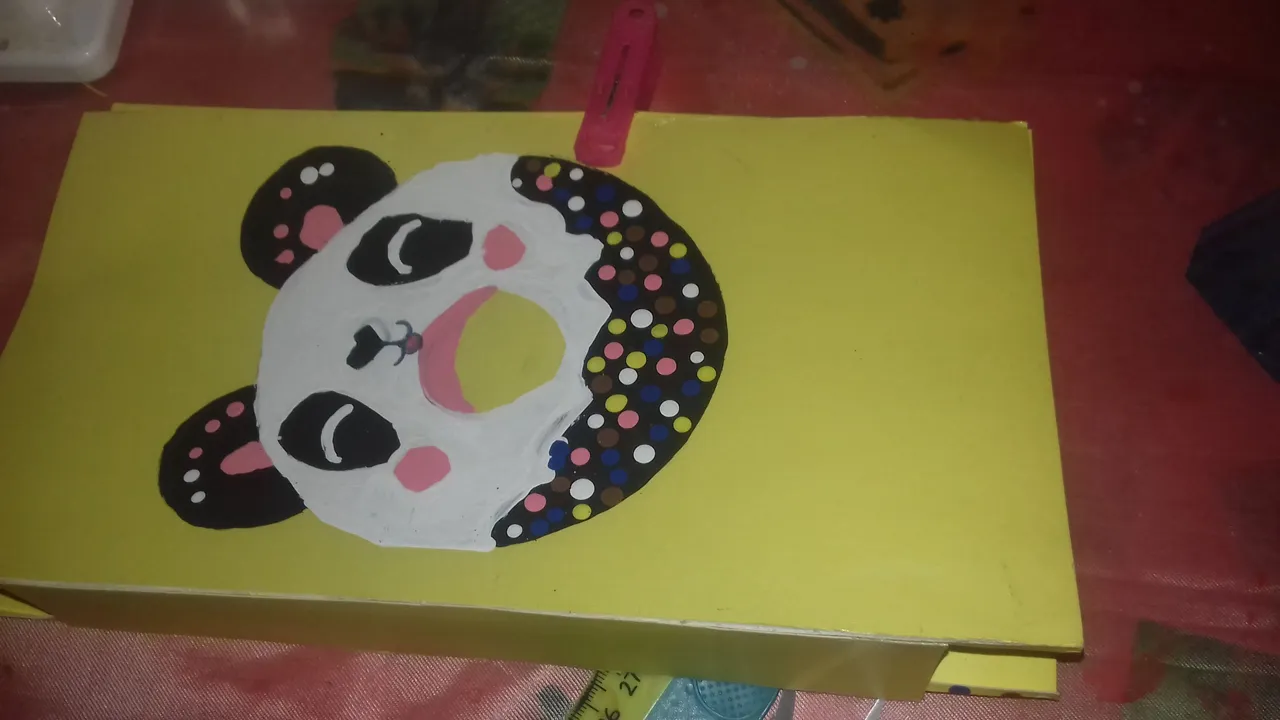

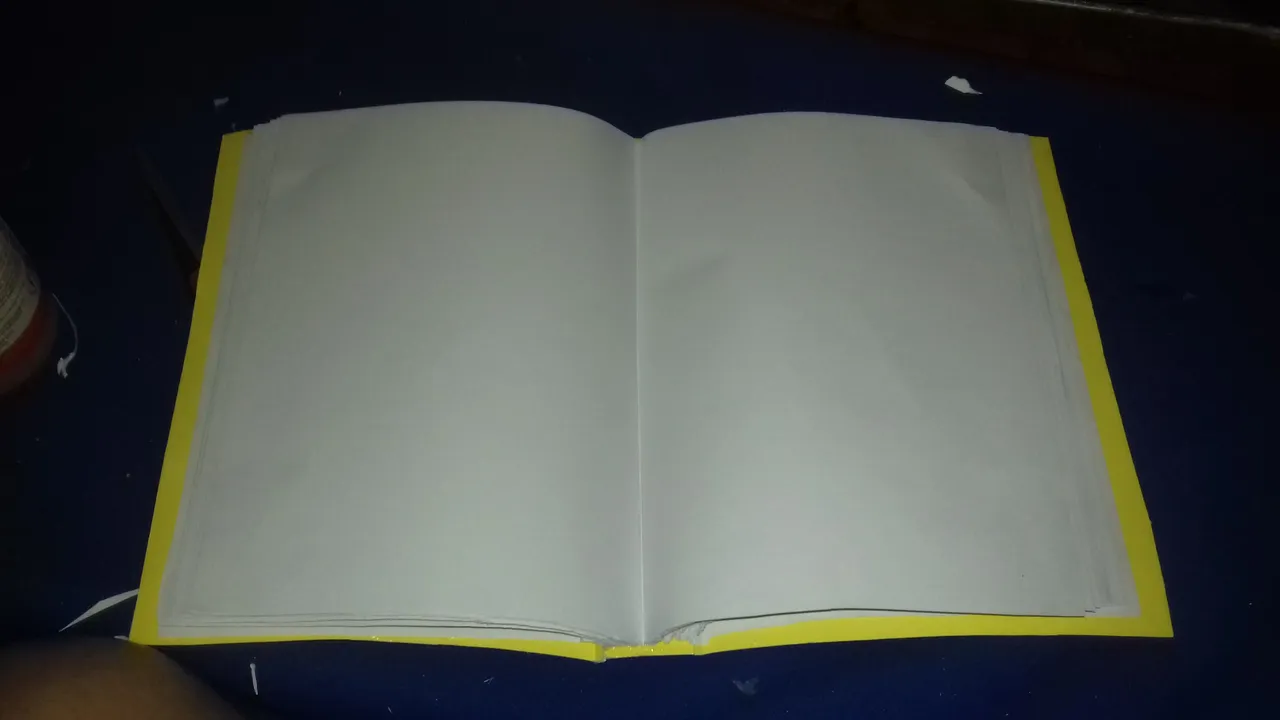
Paso 4:
Para terminar cortamos los sobrantes de cartulina, para que nuestra agenda organizadora quede lo mejor posible .
Step 4:
Finally, we cut the leftover cardboard, so that our organizer agenda looks as good as possible.
¡ESPERO LES GUSTE Y LO PUEDAN PONER EN PRÁCTICA!
I HOPE YOU LIKE IT AND CAN PUT IT INTO PRACTICE!
¡EXPLOTA TU CREATIVIDAD!
EXPLOIT YOUR CREATIVITY!
¡SALUDOS Y ABRAZOS DE SU AMIGA @gemahernandez!
¡SALUDOS Y ABRAZOS DE SU AMIGA @gemahernandez!

fotos tomadas de mi celular Samsung j3 2016. Gif elaborado y editado por mi.
photos taken from my Samsung j3 2016 cell phone. Gif made and edited by me.