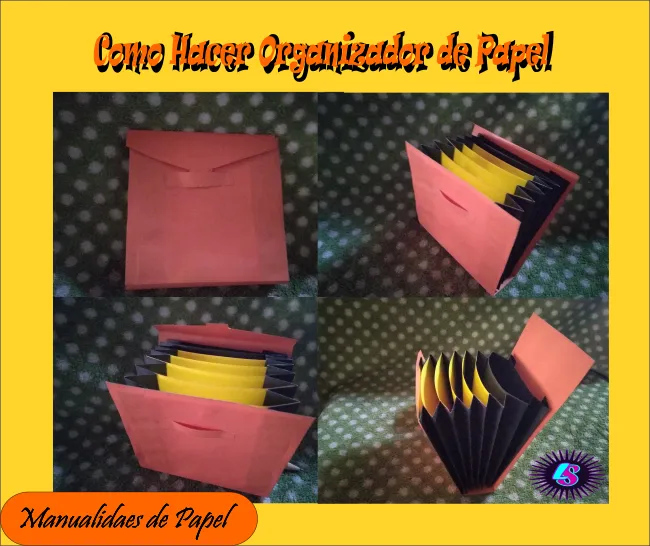
Greetings friends of this great community, today in a blog I will show you how to make a paper organizer, ideal for storing organized documents.
It is very useful to have this type of organizer and the best thing is we can do it just by having paper. Generally, at my workplace I work a lot with this type of organizers to store student documents alphabetically.
En este post te enseñare como realizarlo utilizando los siguientes materiales
In this post I will show you how to do it using the following materials *
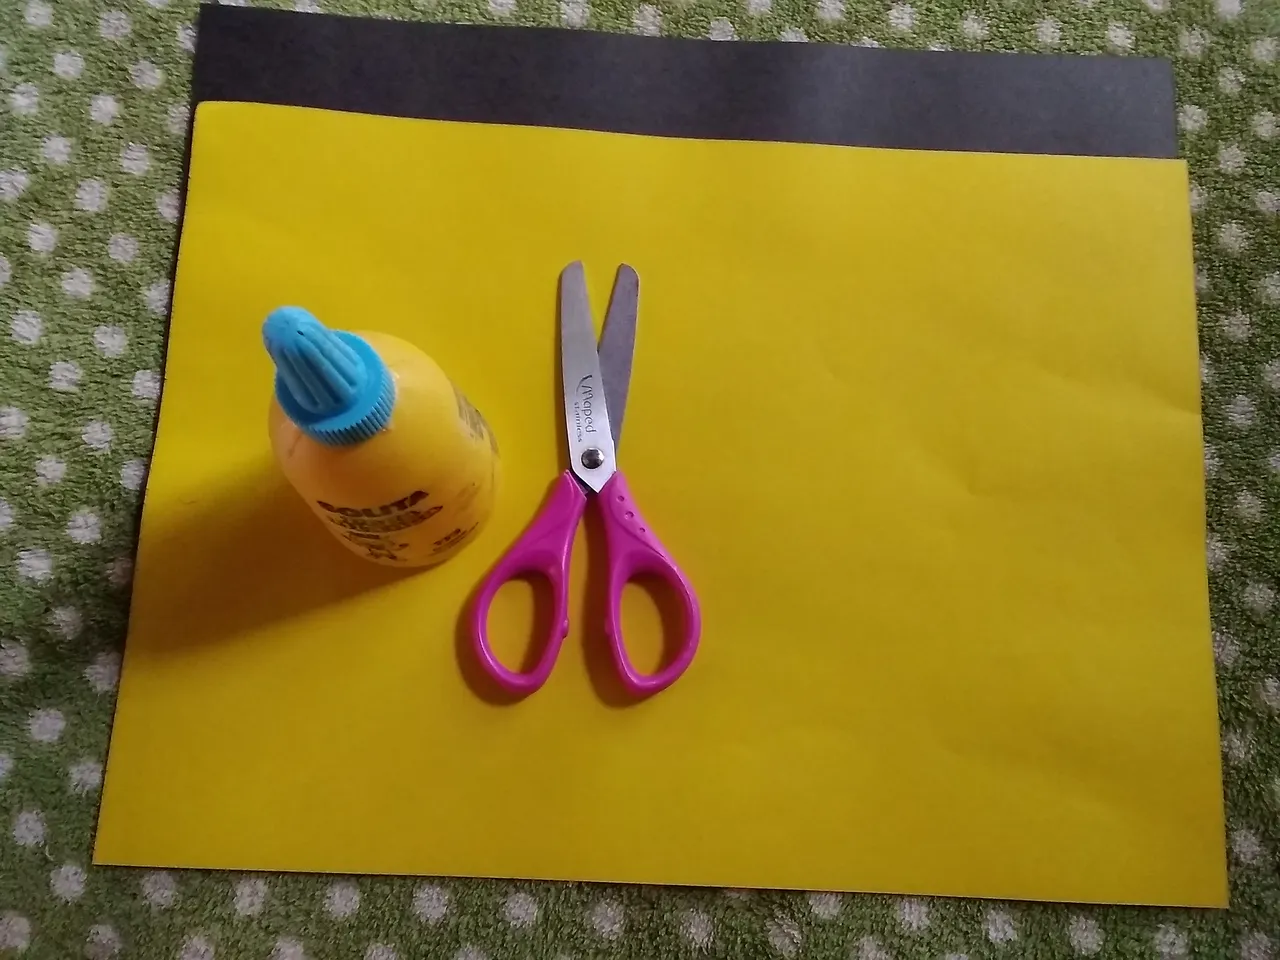
Materiales
- Cartulina de Color
- Pega
- Tijera
materials
- Color Cardstock
- Job
- Scissors
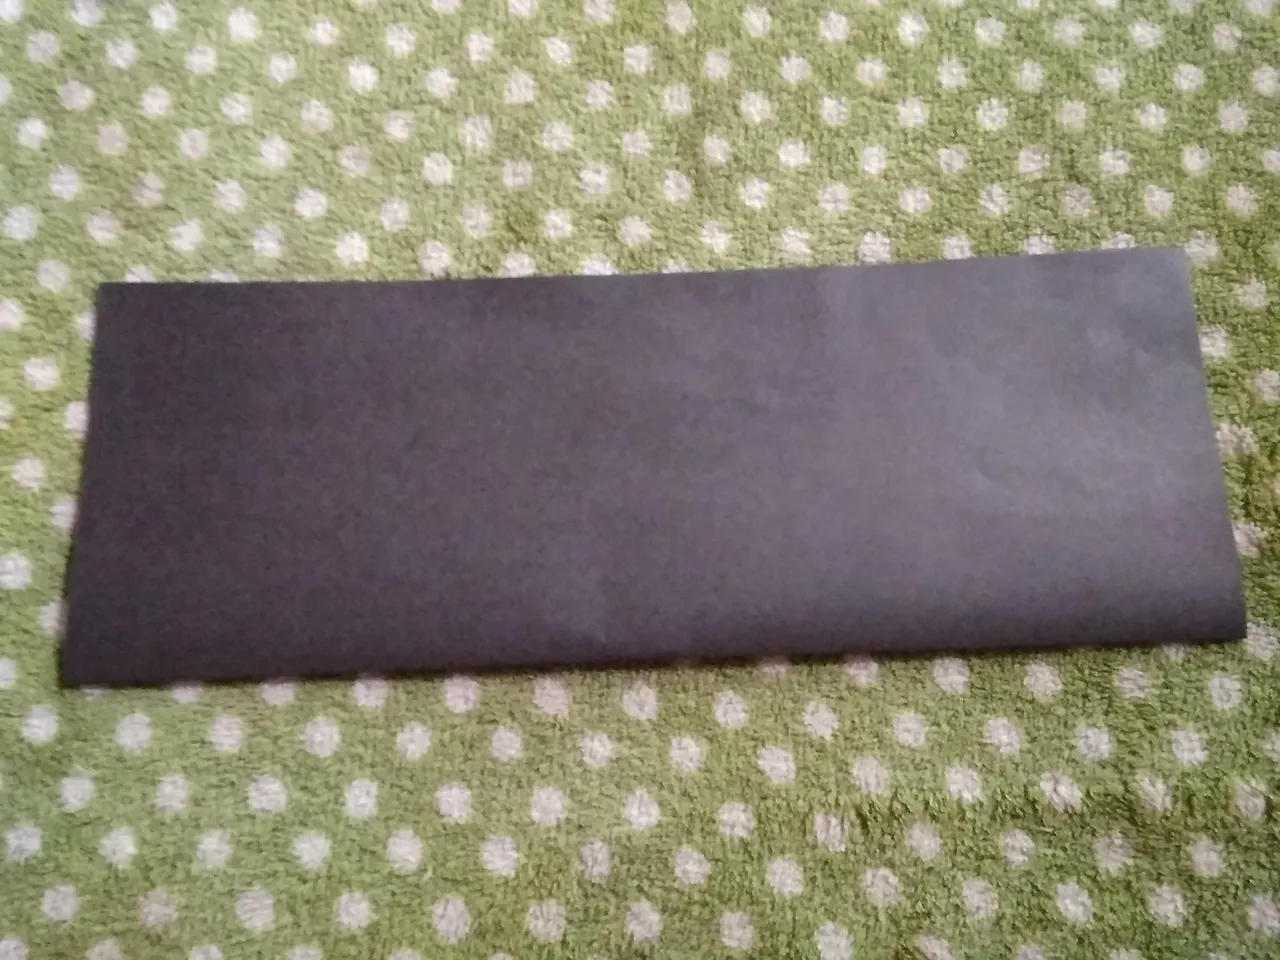
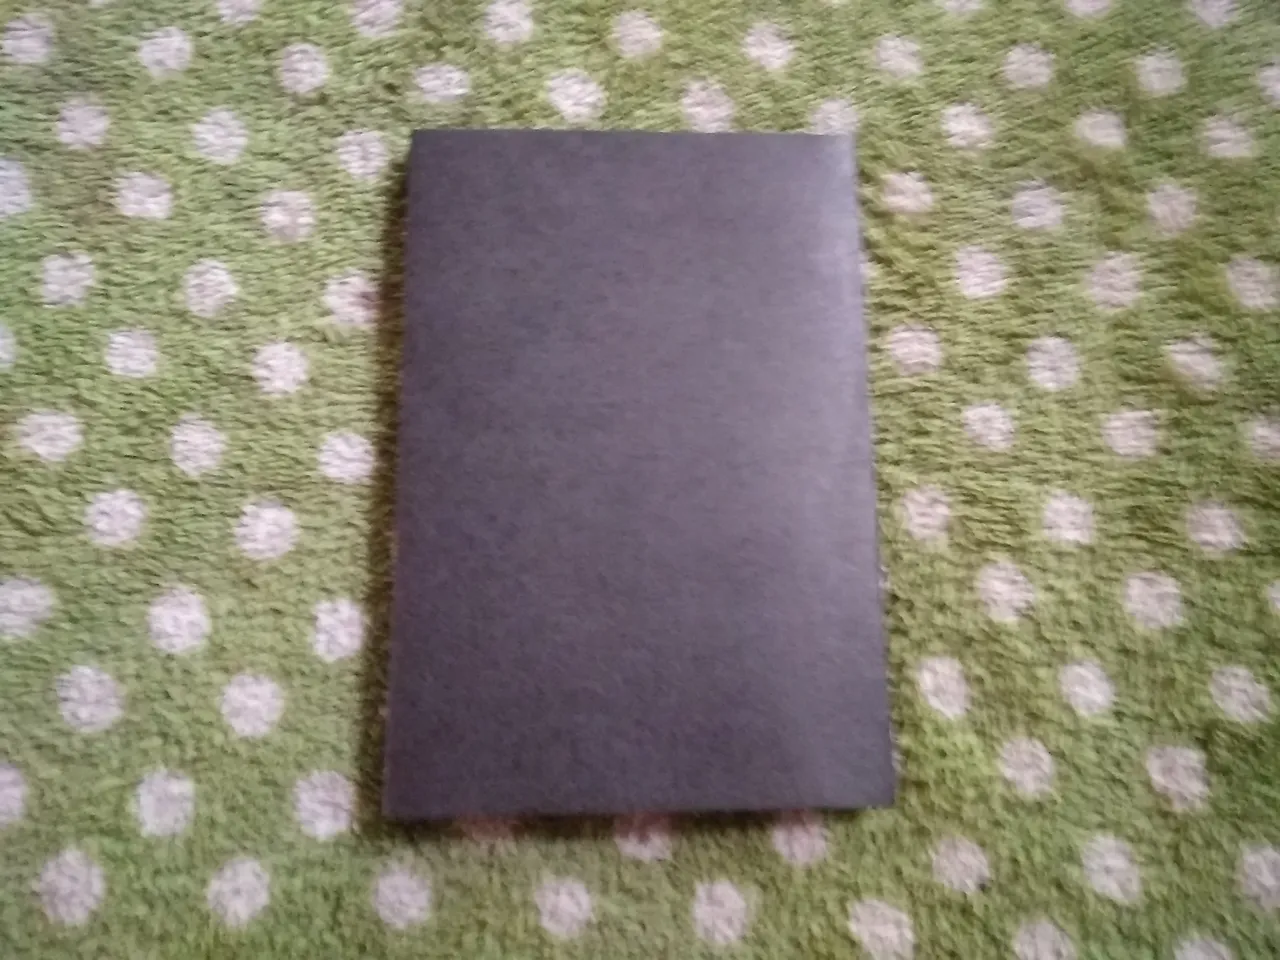
- Lo primero que haremos es tomar la cartulina negra la doblamos por la mitad y luego la cortamos.
The first thing we will do is take the black cardboard, fold it in half and then cut it.
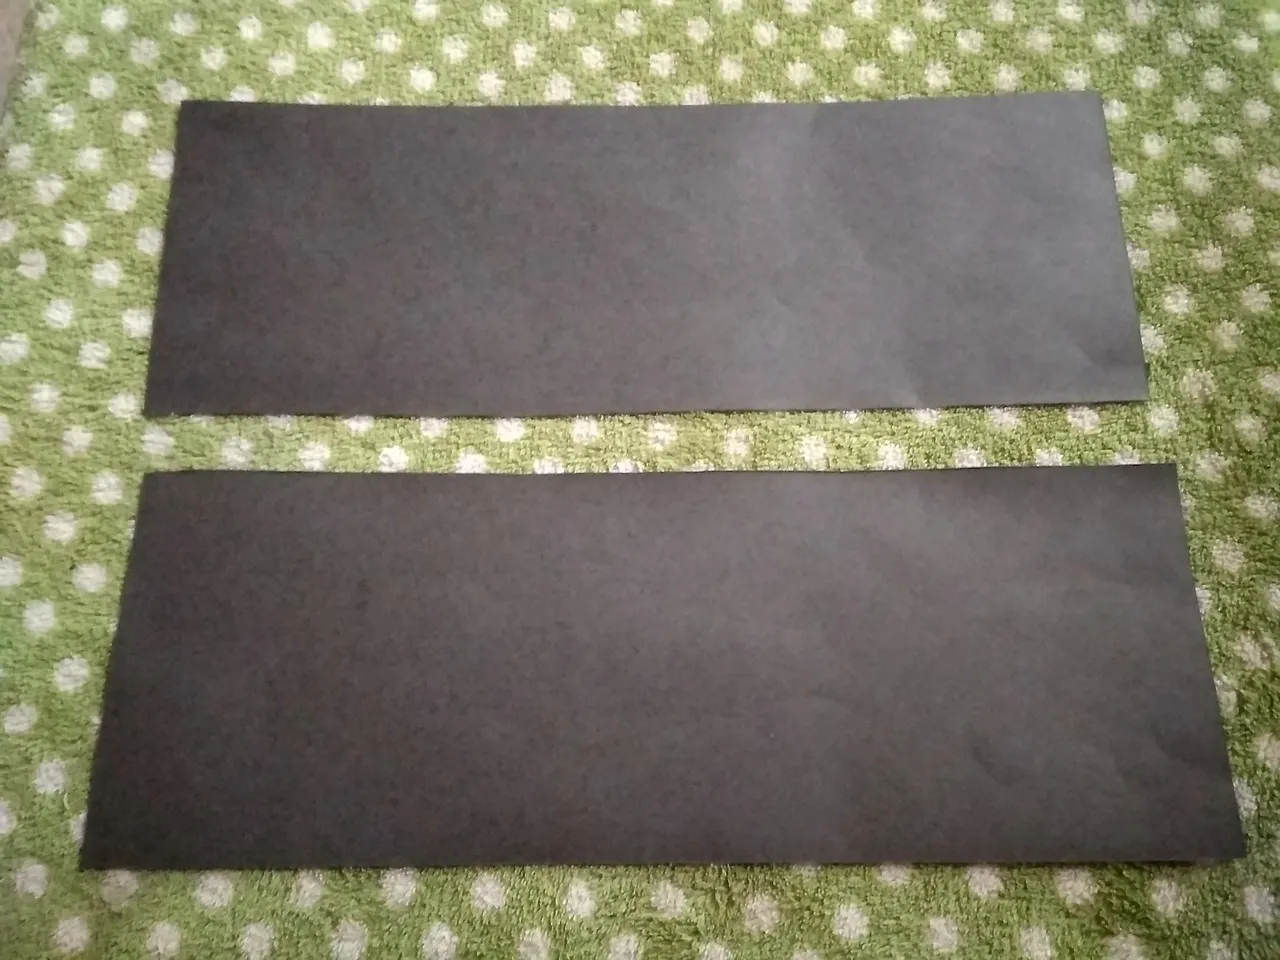
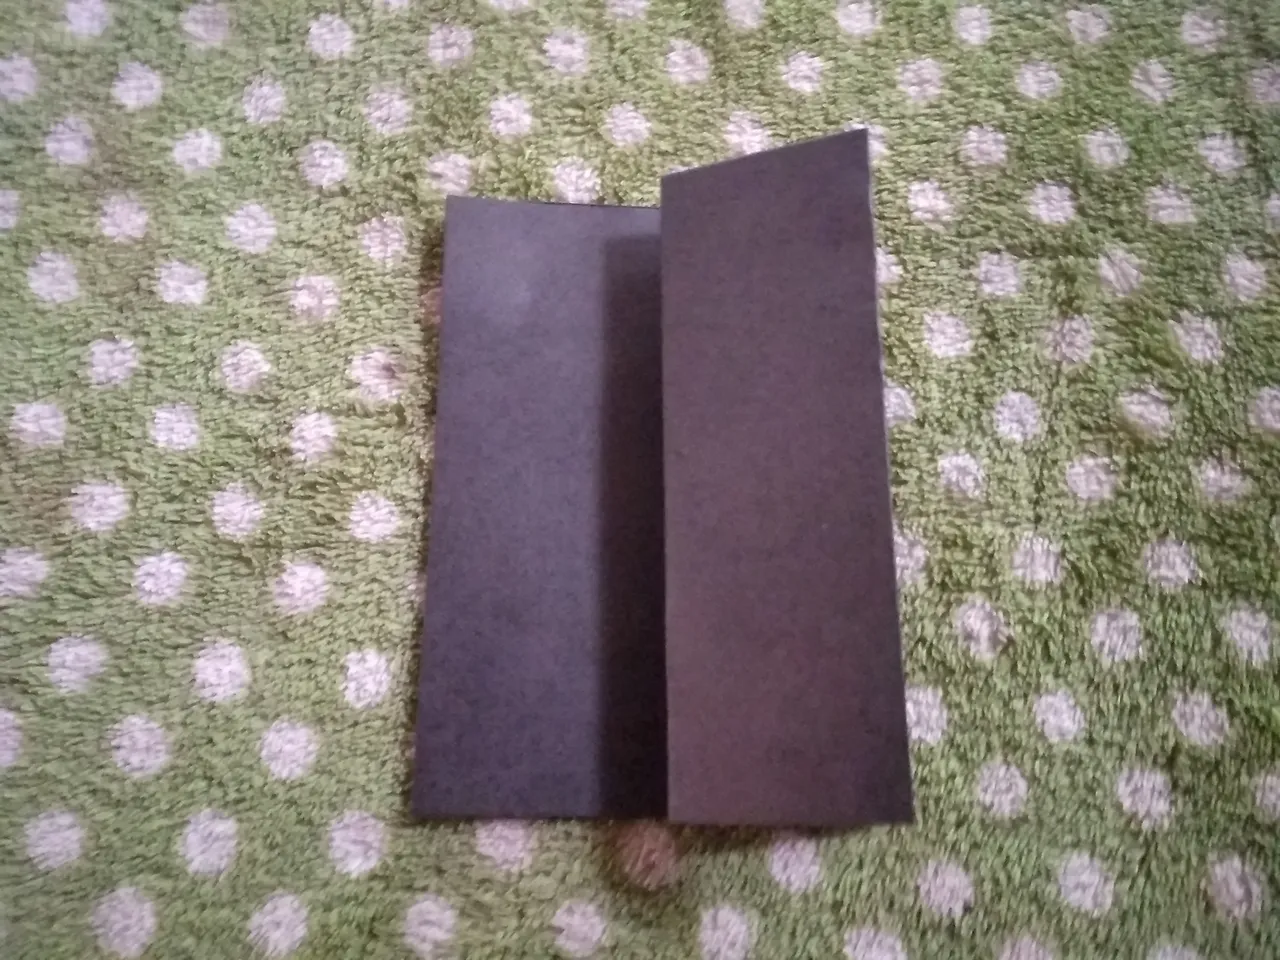
- Luego doblamos por la mitad y volvemos a doblar.
Then we fold in half and fold again.
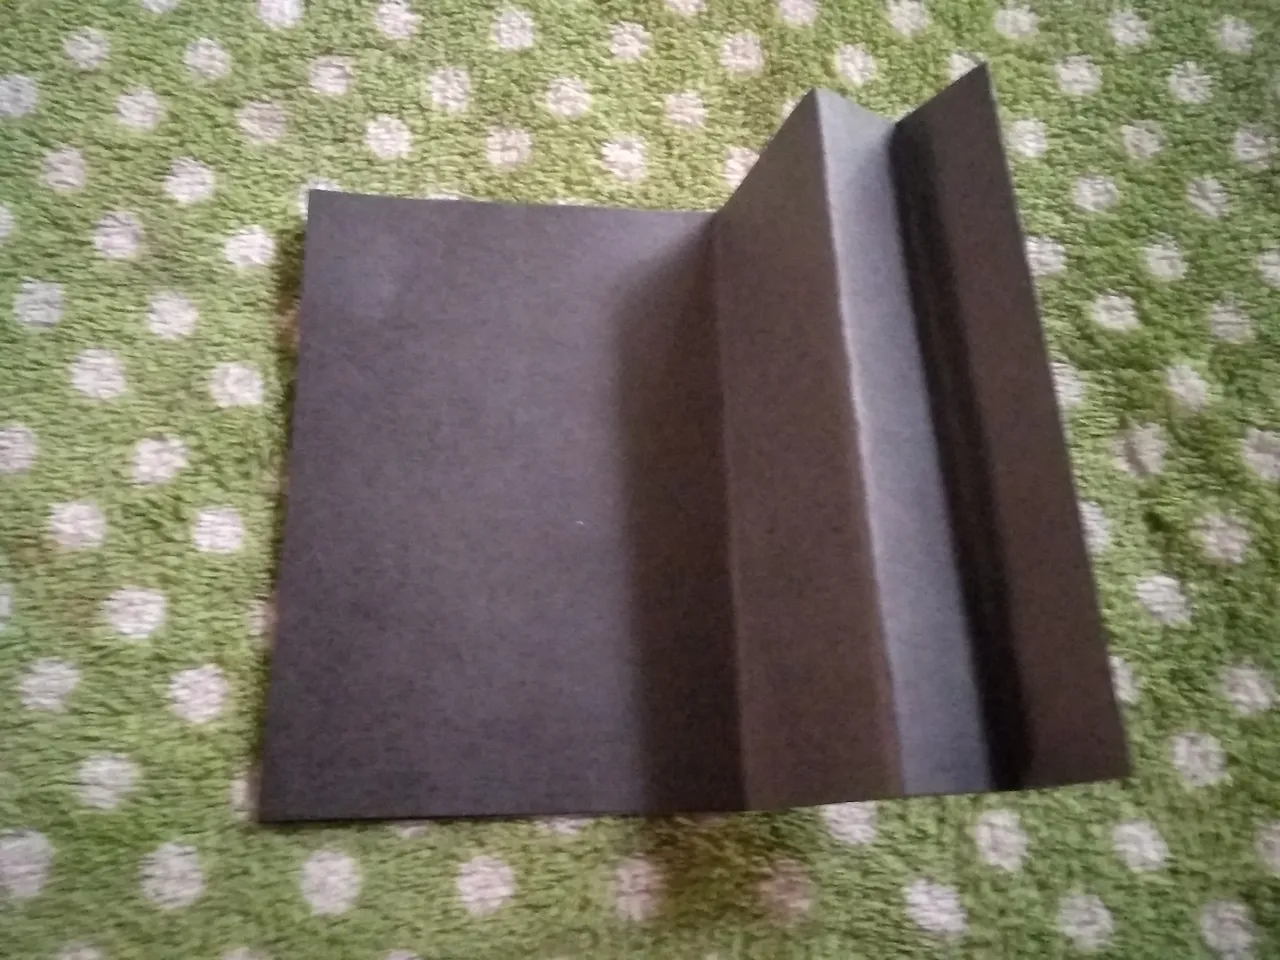
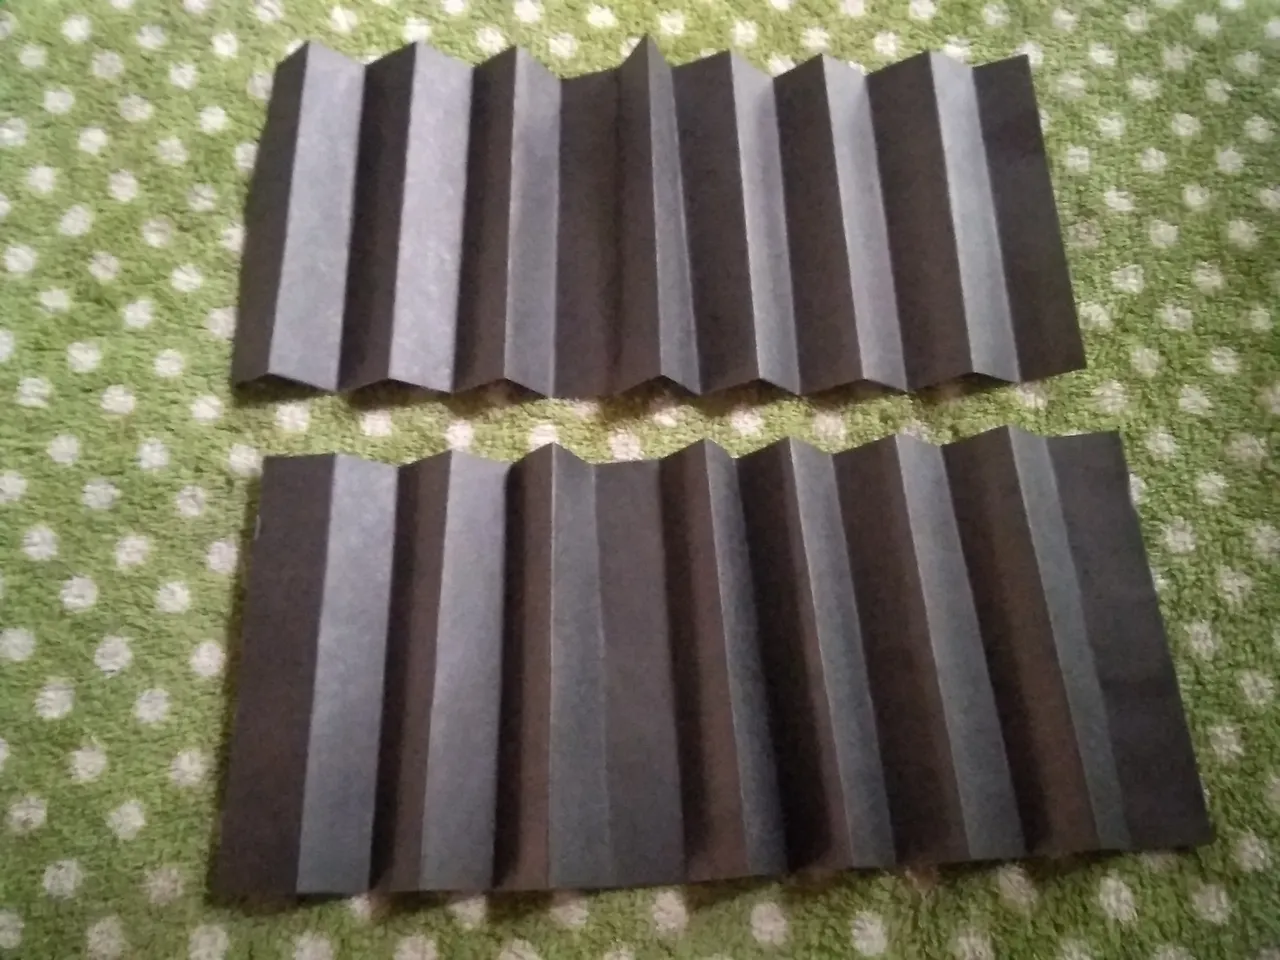
- Aquí debemos comenzar a realizar los dobles para obtener zigzag en ambas cartulina negra
Here we must begin to make the doubles to obtain zigzag in both black cardboard
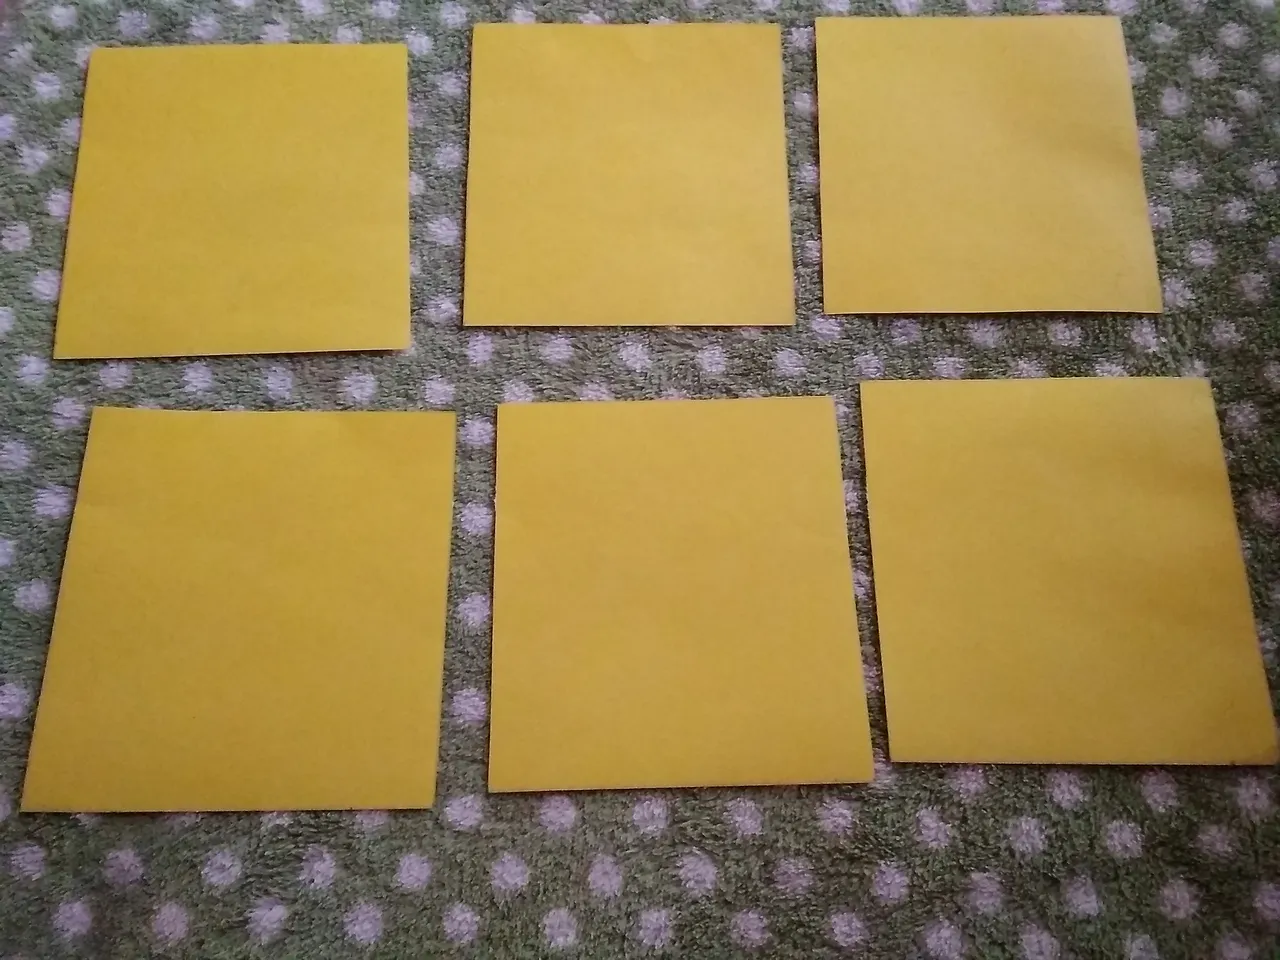
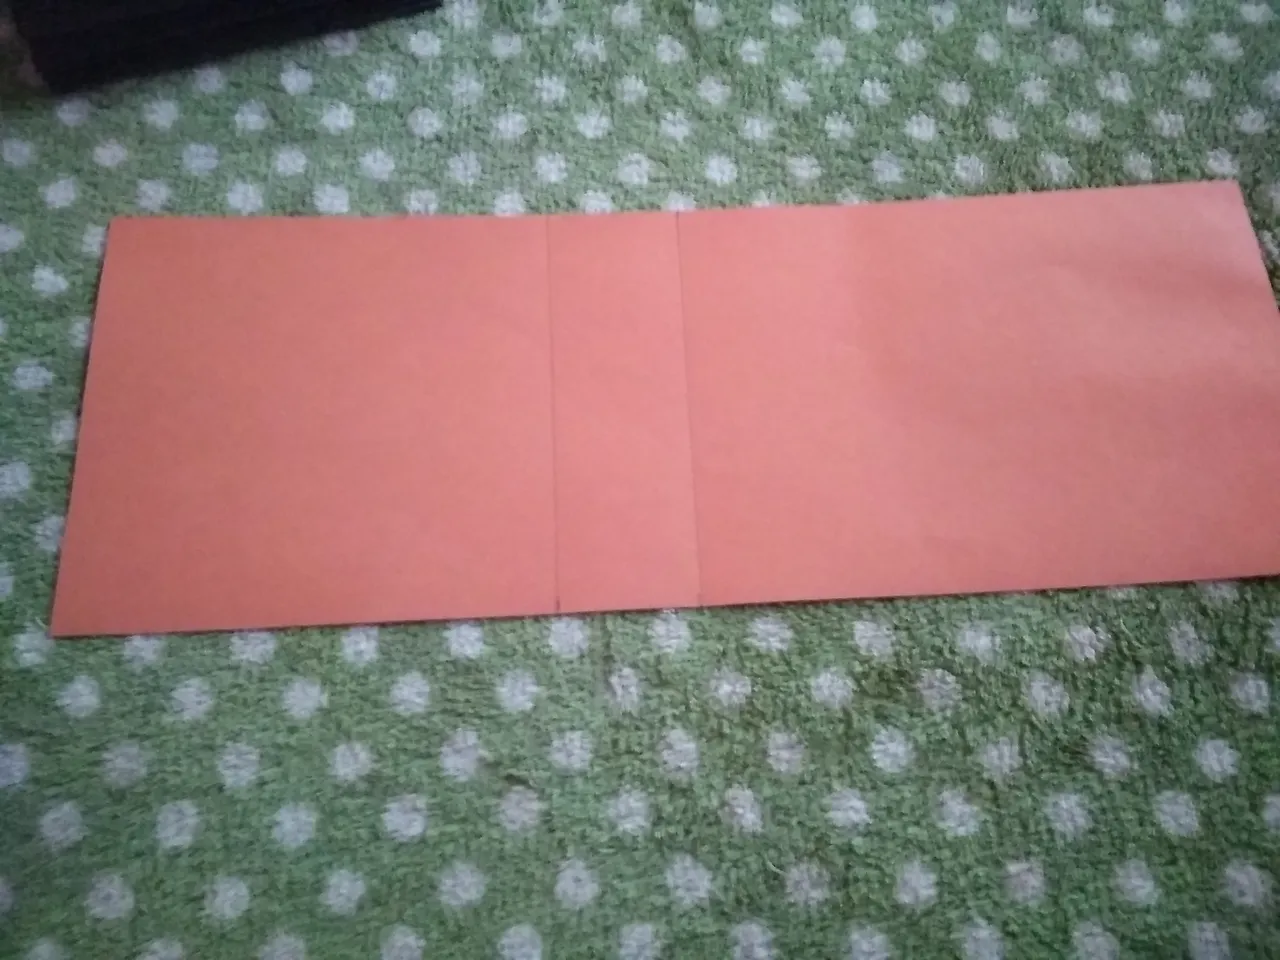
- Luego tomamos otro color de cartulina y realizamos rectángulo que midan 11* 10 cm, debemos realizar 8.
Then we take another color of cardboard and make a rectangle measuring 11 * 10 cm, we must make 8.
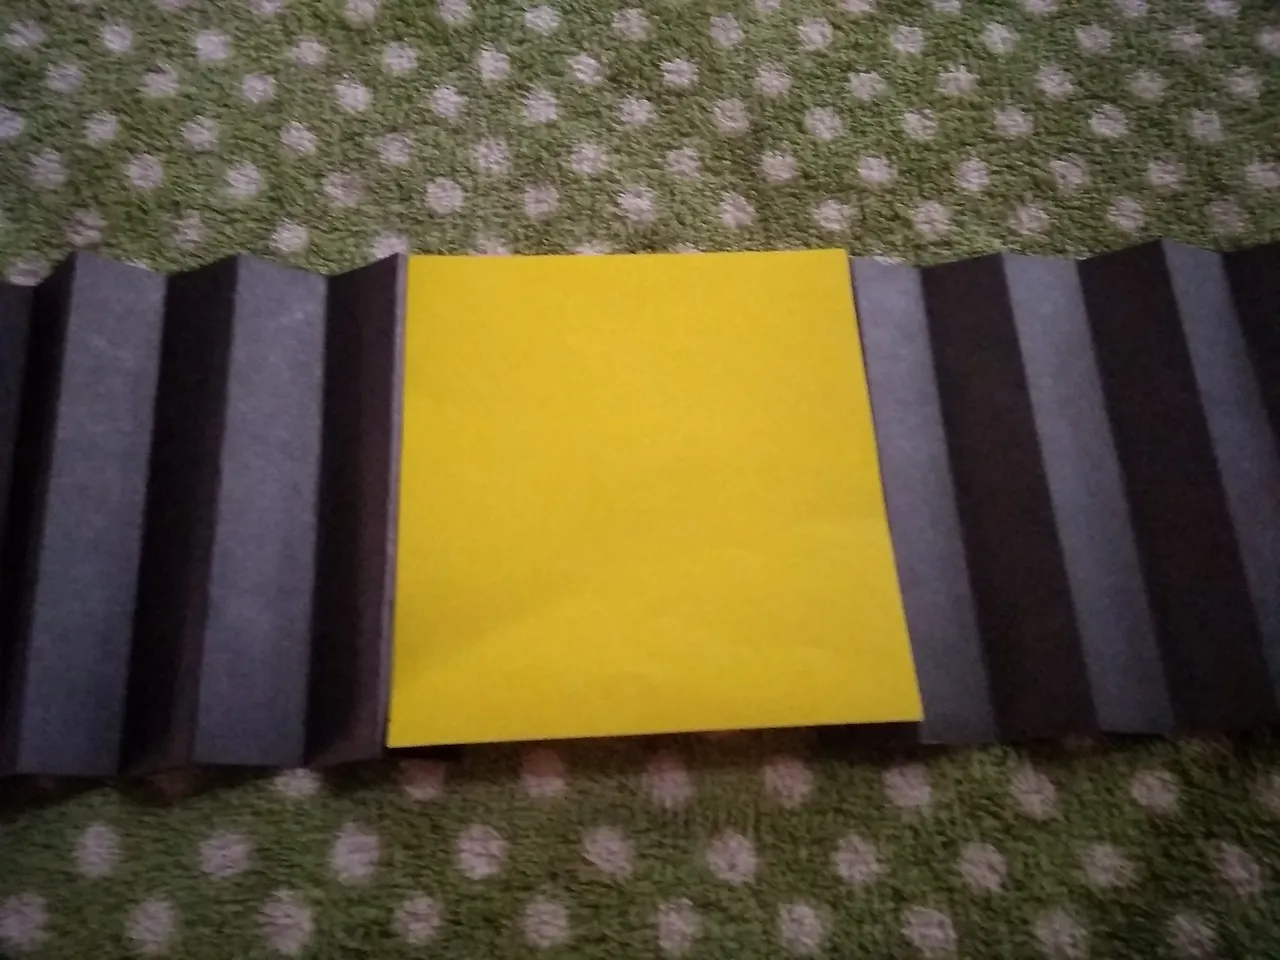
- Luego tomamos los dos acordeones de color negro y comenzamos a pegar los rectángulos.
Then we take the two black accordions and start gluing the rectangles.
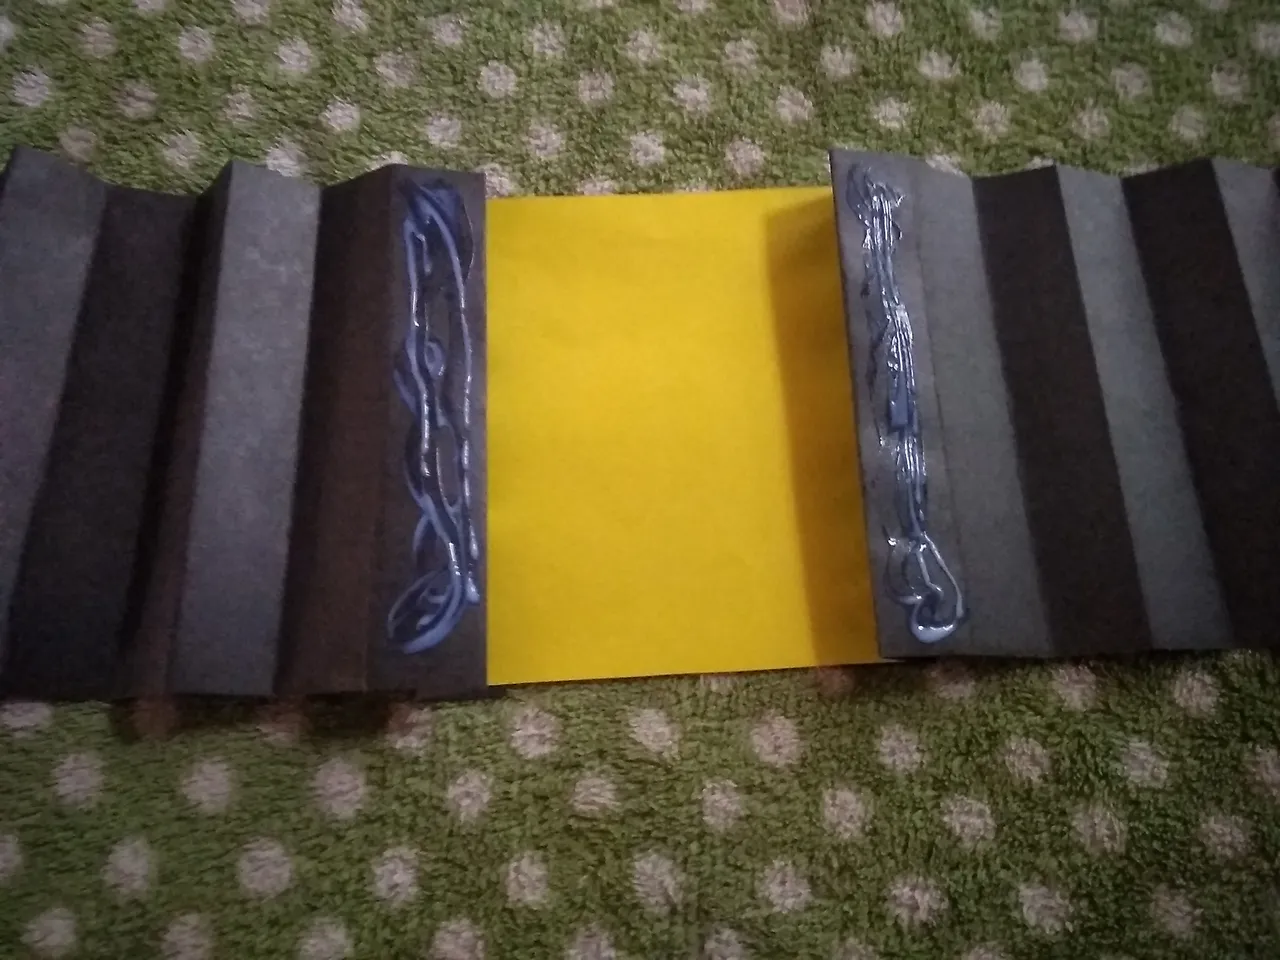
- Para incorporar los otros rectángulos debemos doblar un zigzag y pegamos y así sucesivamente se deja uno por el medio
To incorporate the other rectangles we must fold a zigzag and paste and so on, one is left in the middle

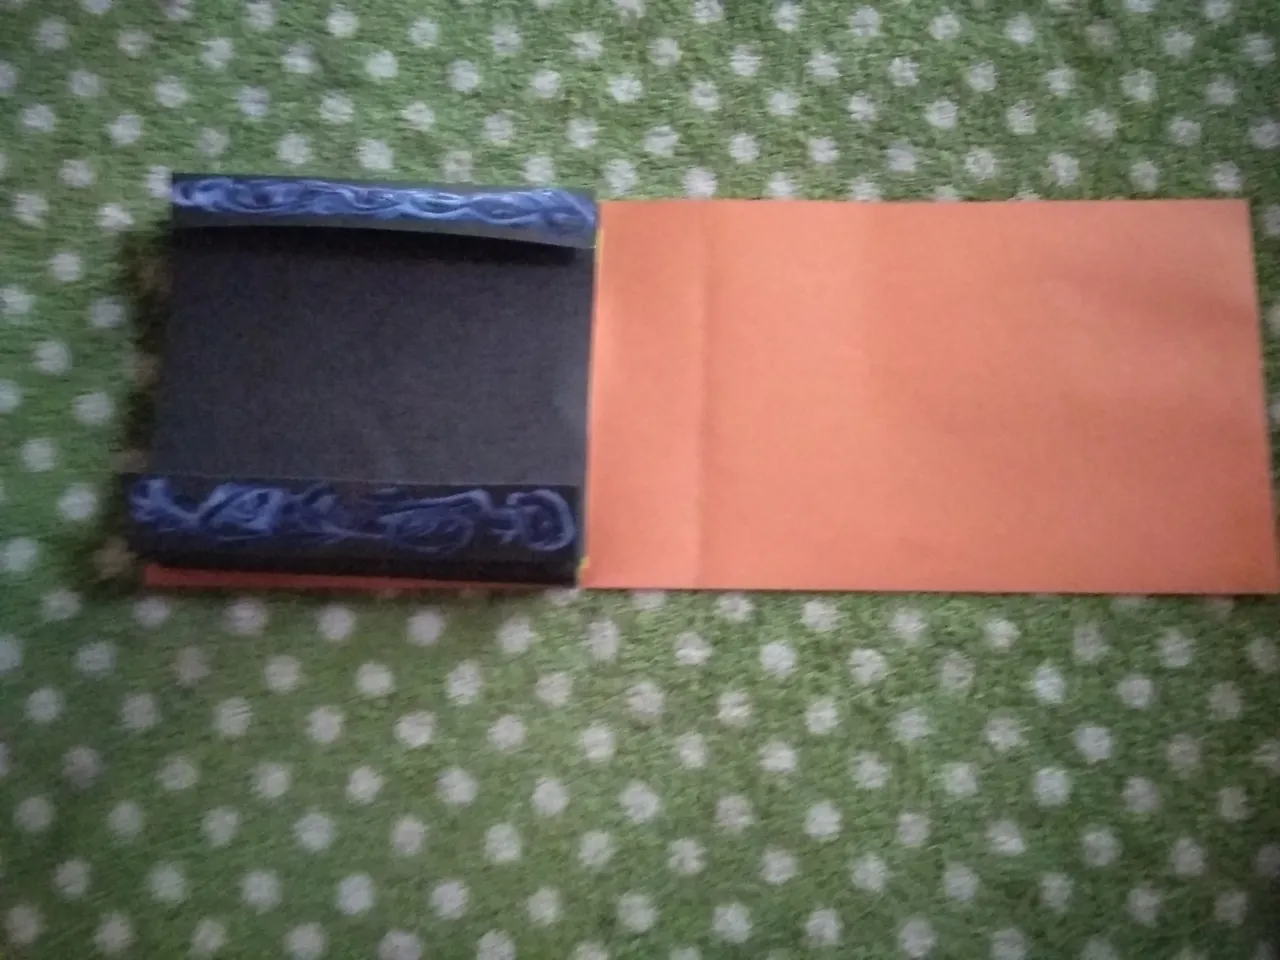
*Luego tomas la mitad de otro color de cartulina y colocas encima para medir cual será la base del mismo y marcar con una regla.
Then you take half of another color of cardboard and place on top to measure what the base of it will be and mark with a ruler.
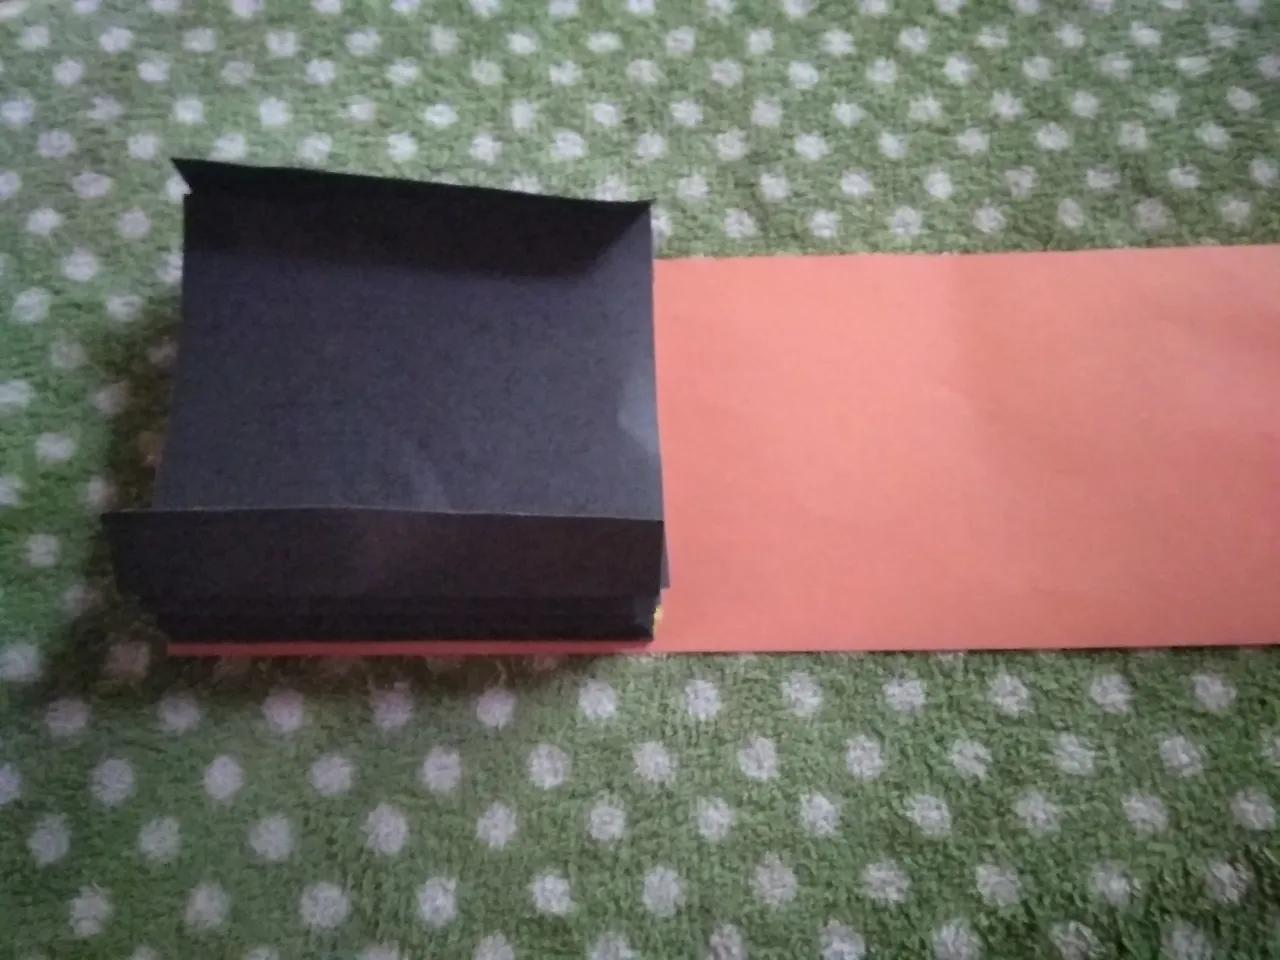
- Colocamos pega y así fijamos la primera parte.
We place glue and thus we fix the first part.
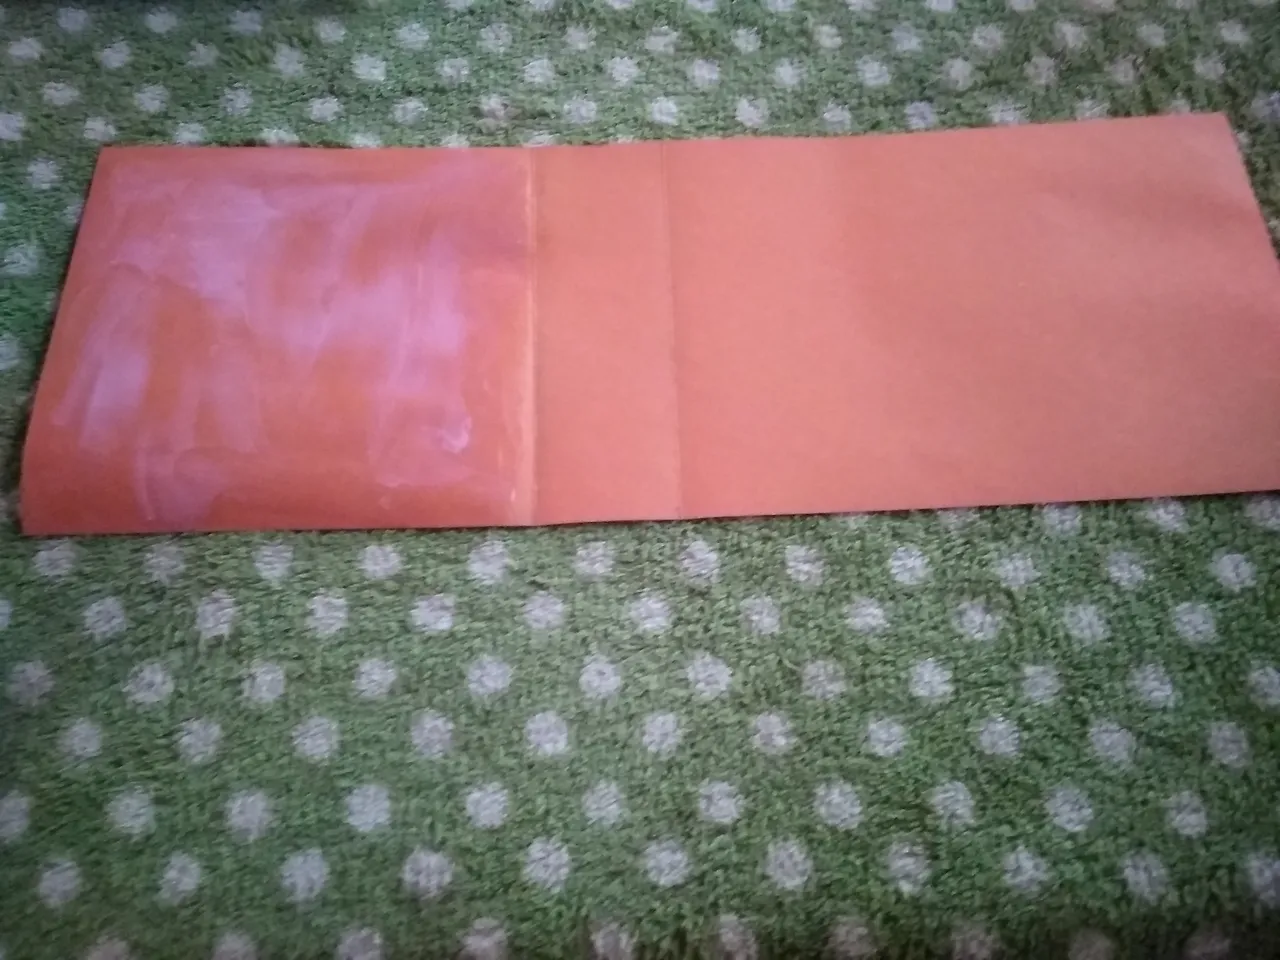
- Luego en la otra parte solo agregamos pegas en las aristas que nos quedan.
Then in the other part we only add paste on the edges that we have left.
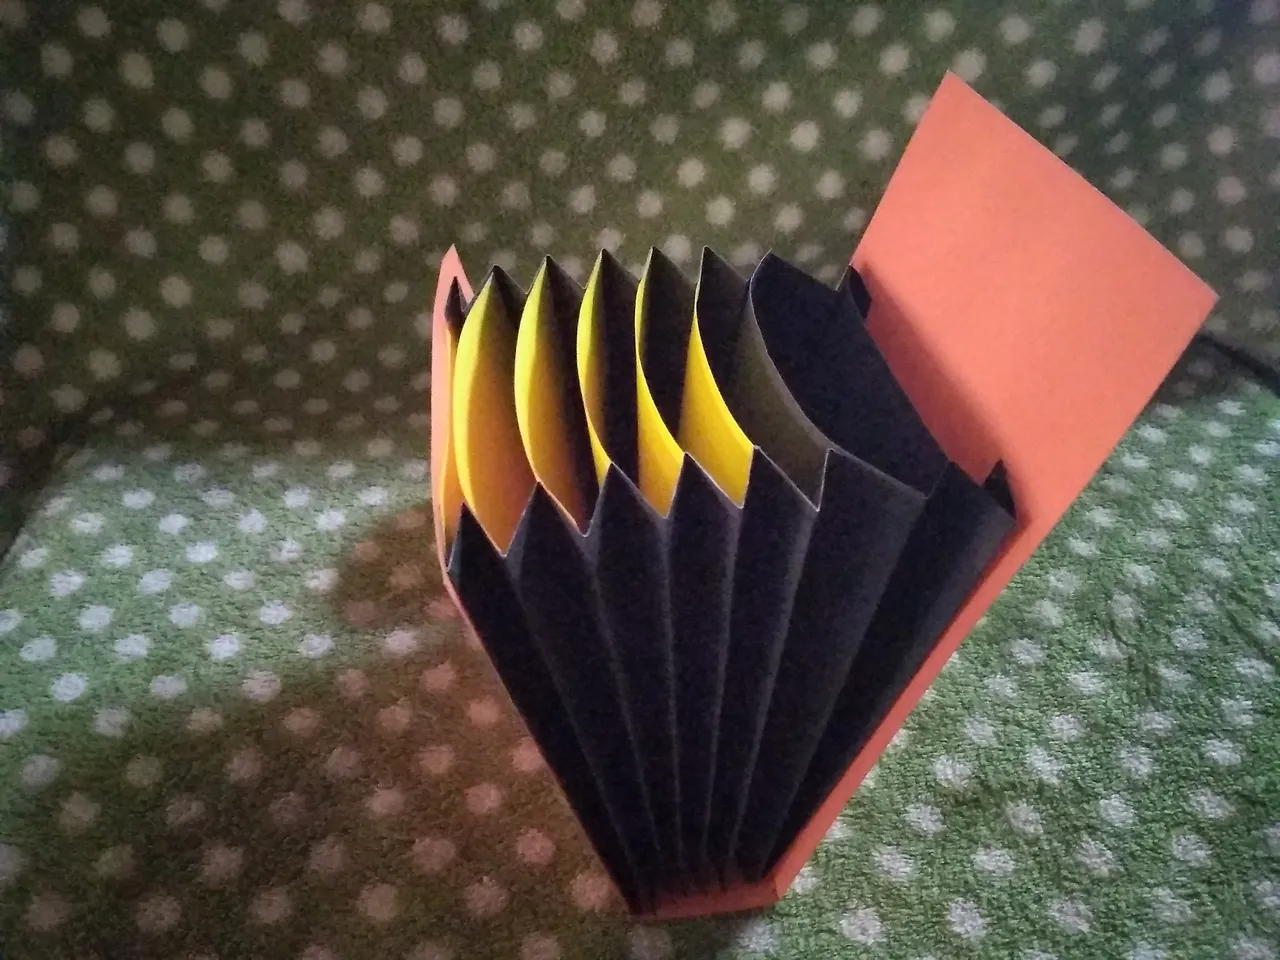
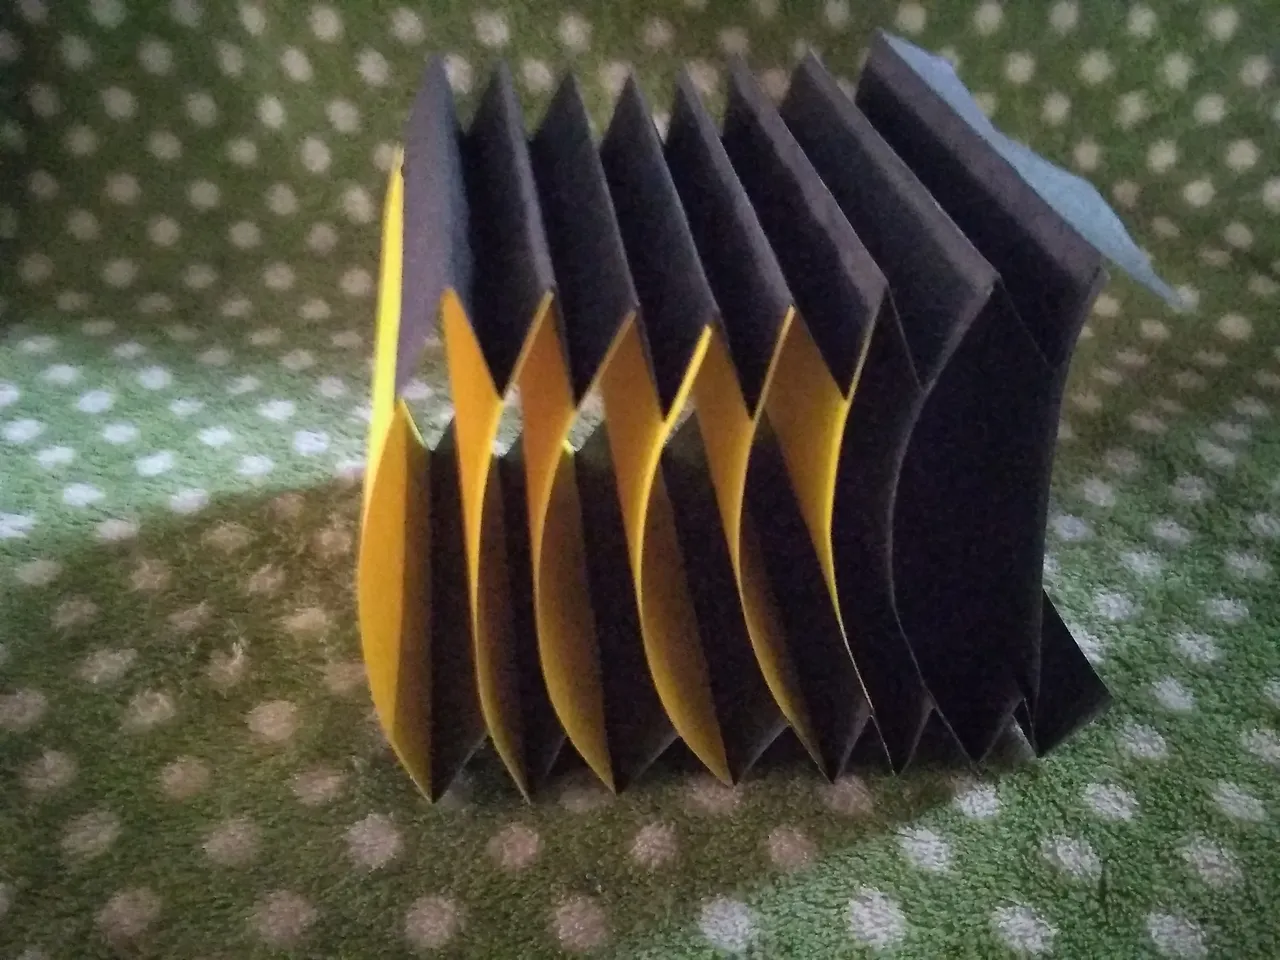
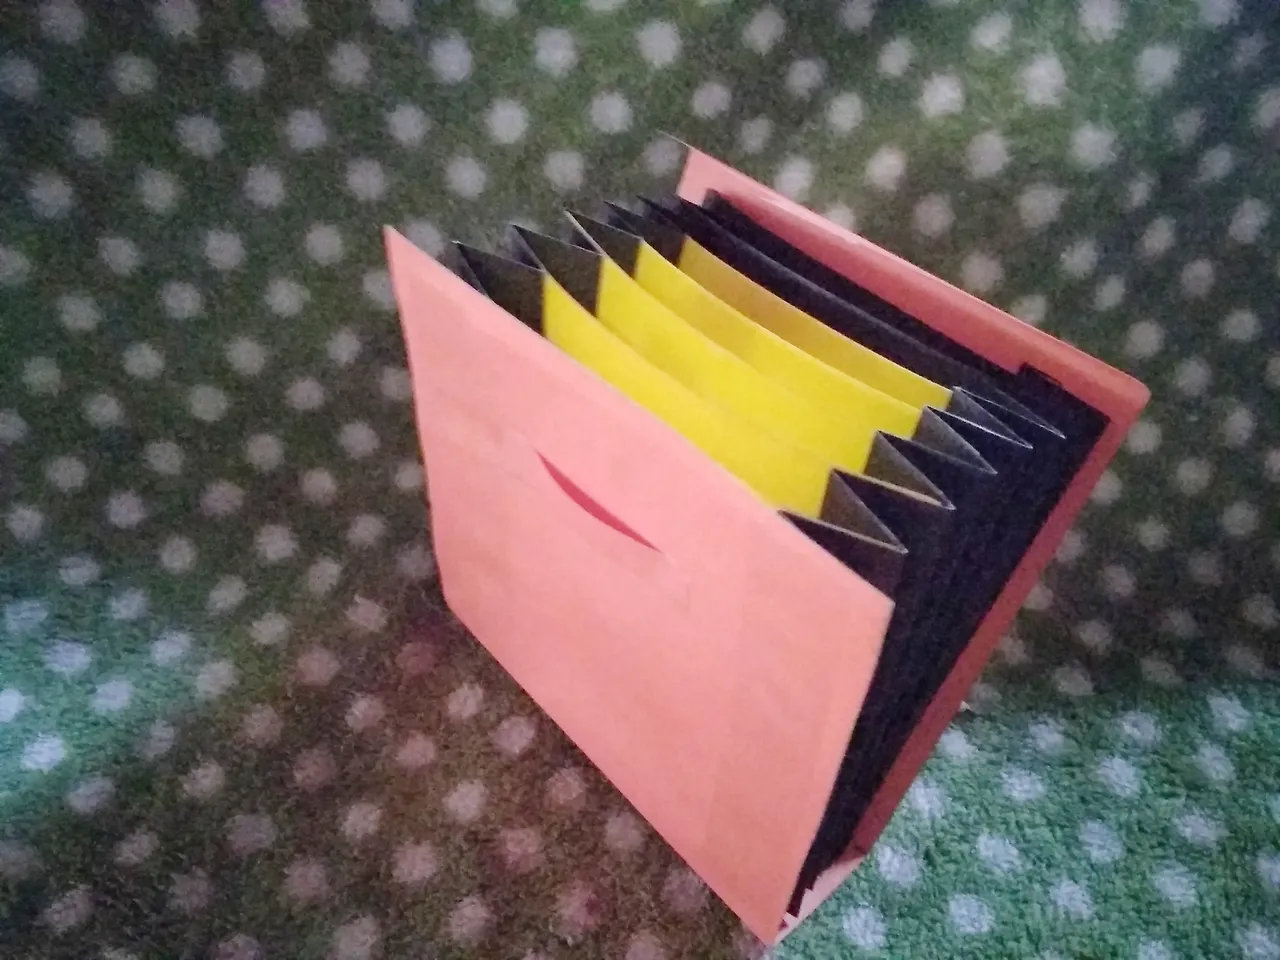
- Así va quedando nuestro organizador.
This is how our organizer looks.
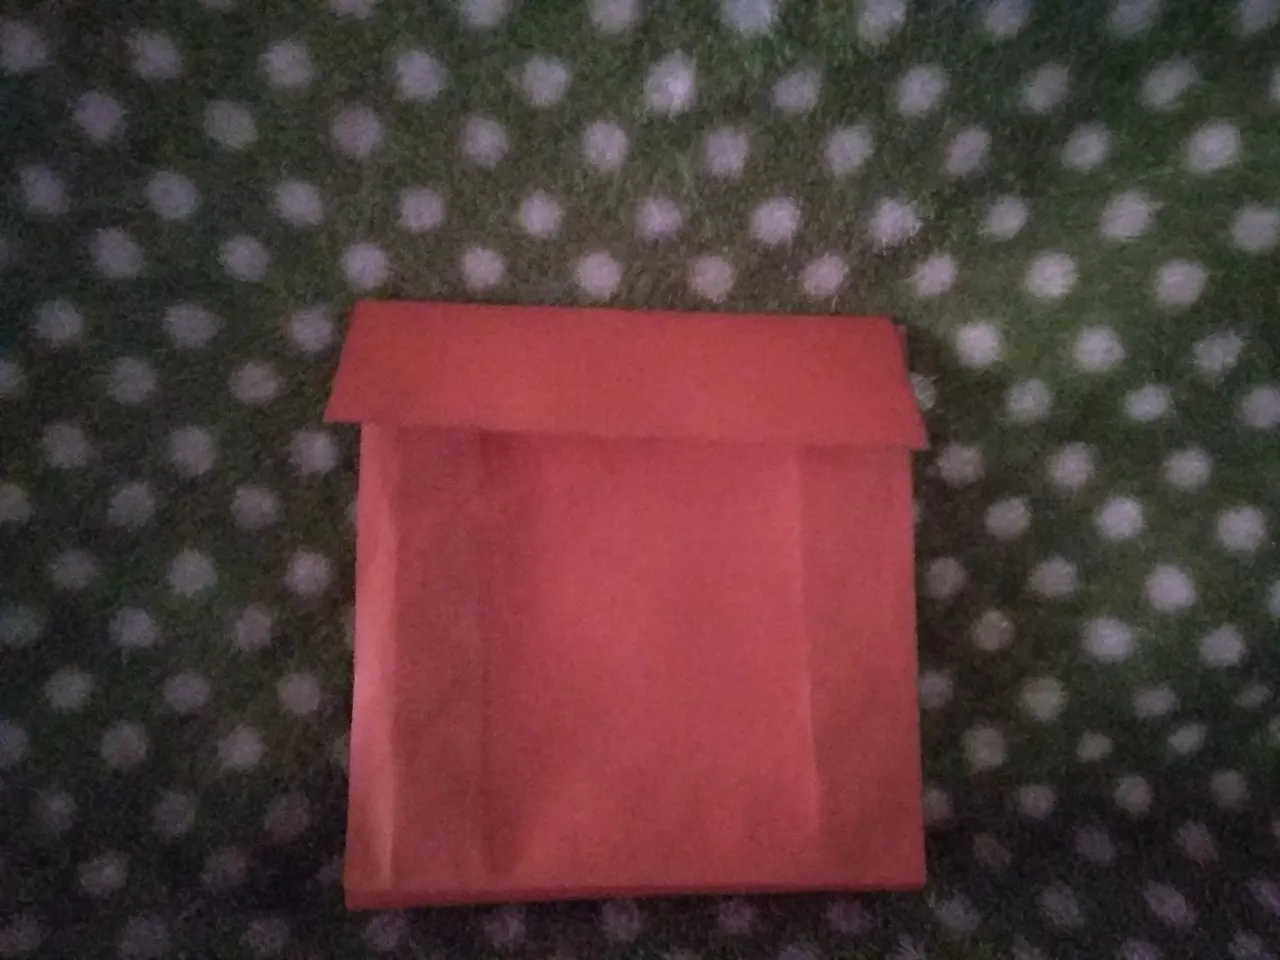
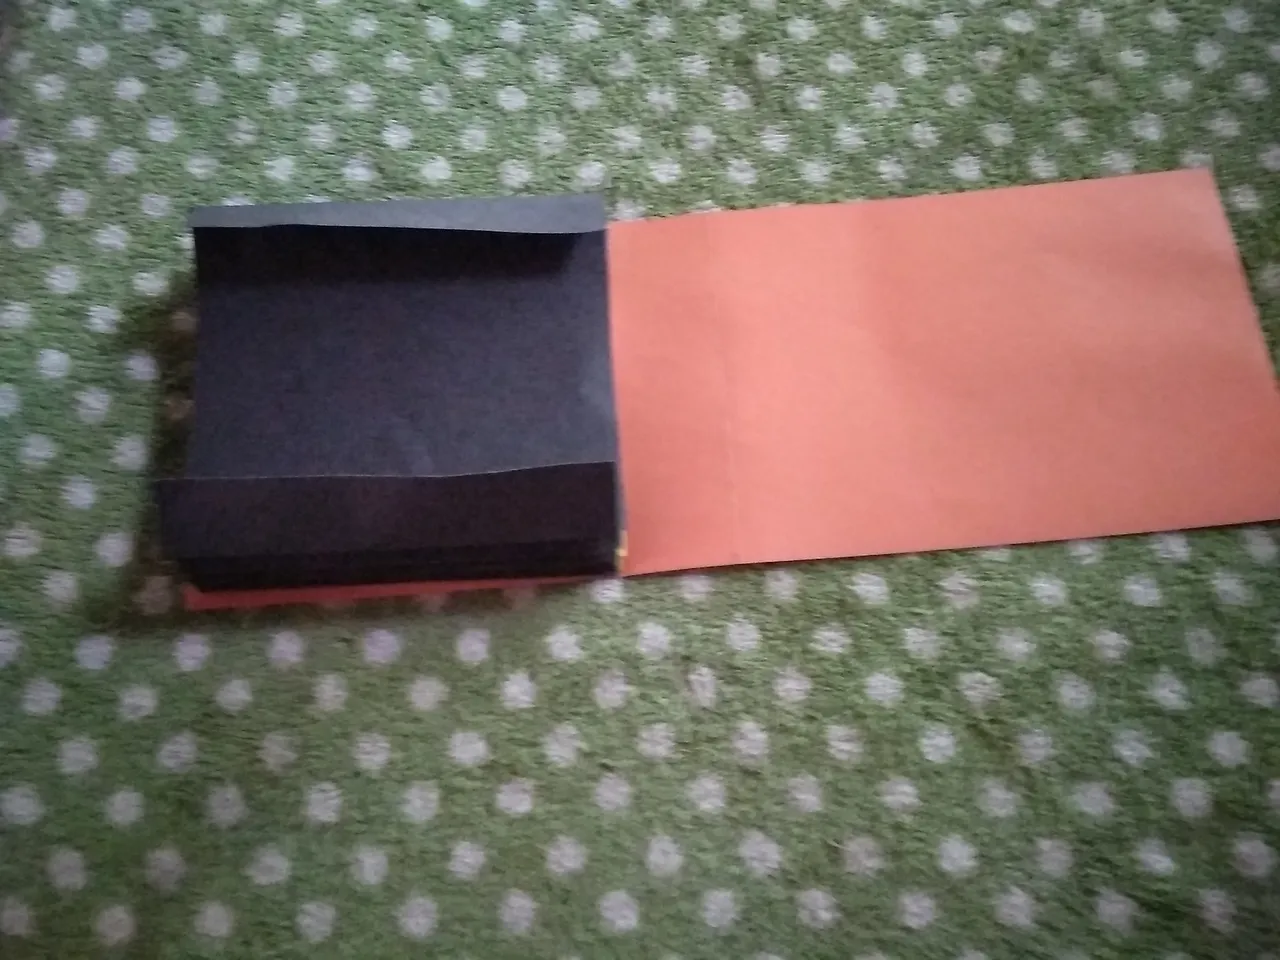
- Luego para que pueda cerrar cortamos en la parte delantera como lo muestra la fotografía y pegamos una tira abajo que servirá de broche.
Then, so that it can close, we cut in the front part as shown in the photograph and we glue a strip below that will serve as a clasp.
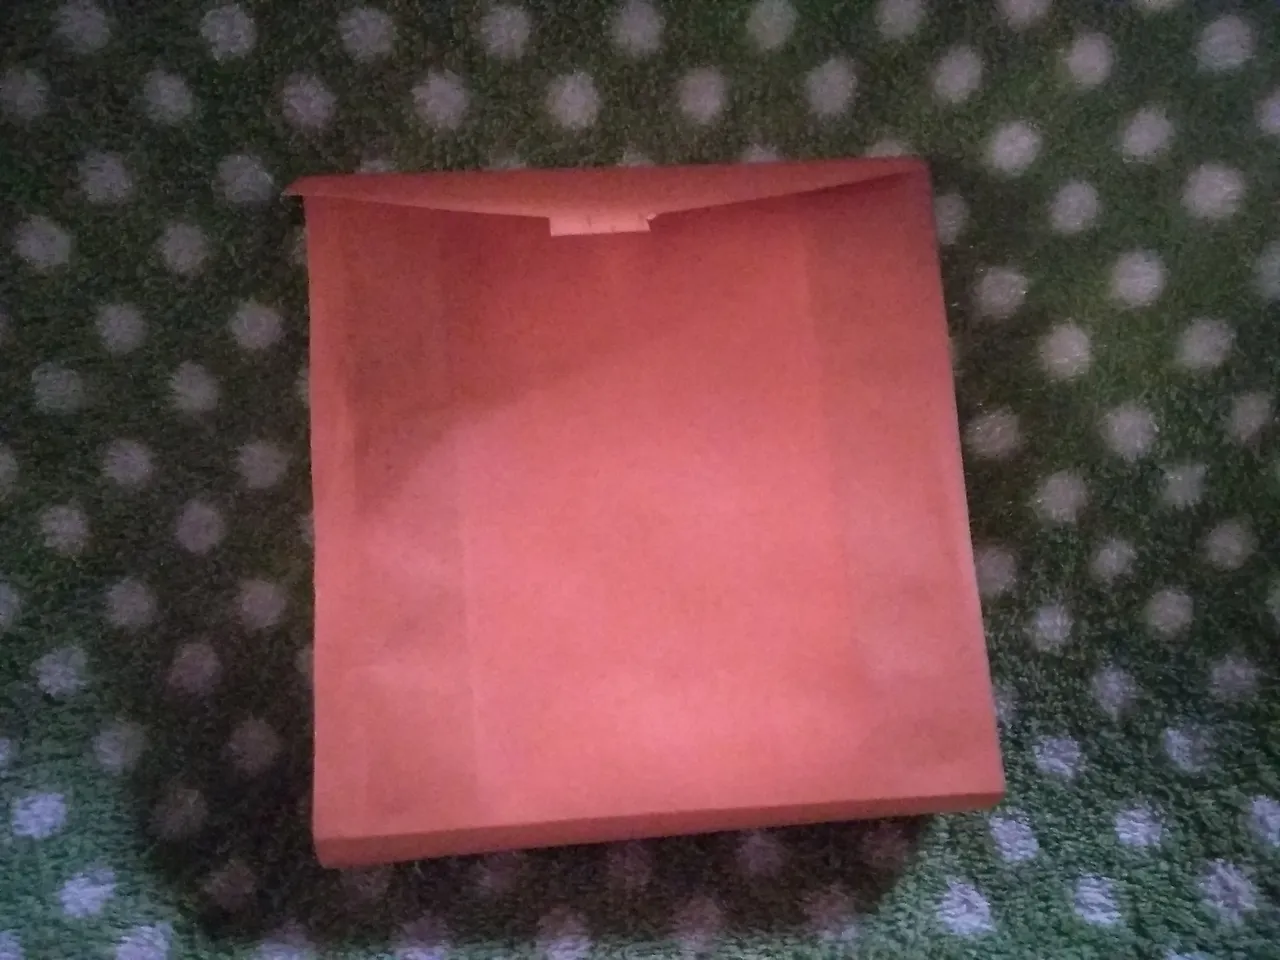
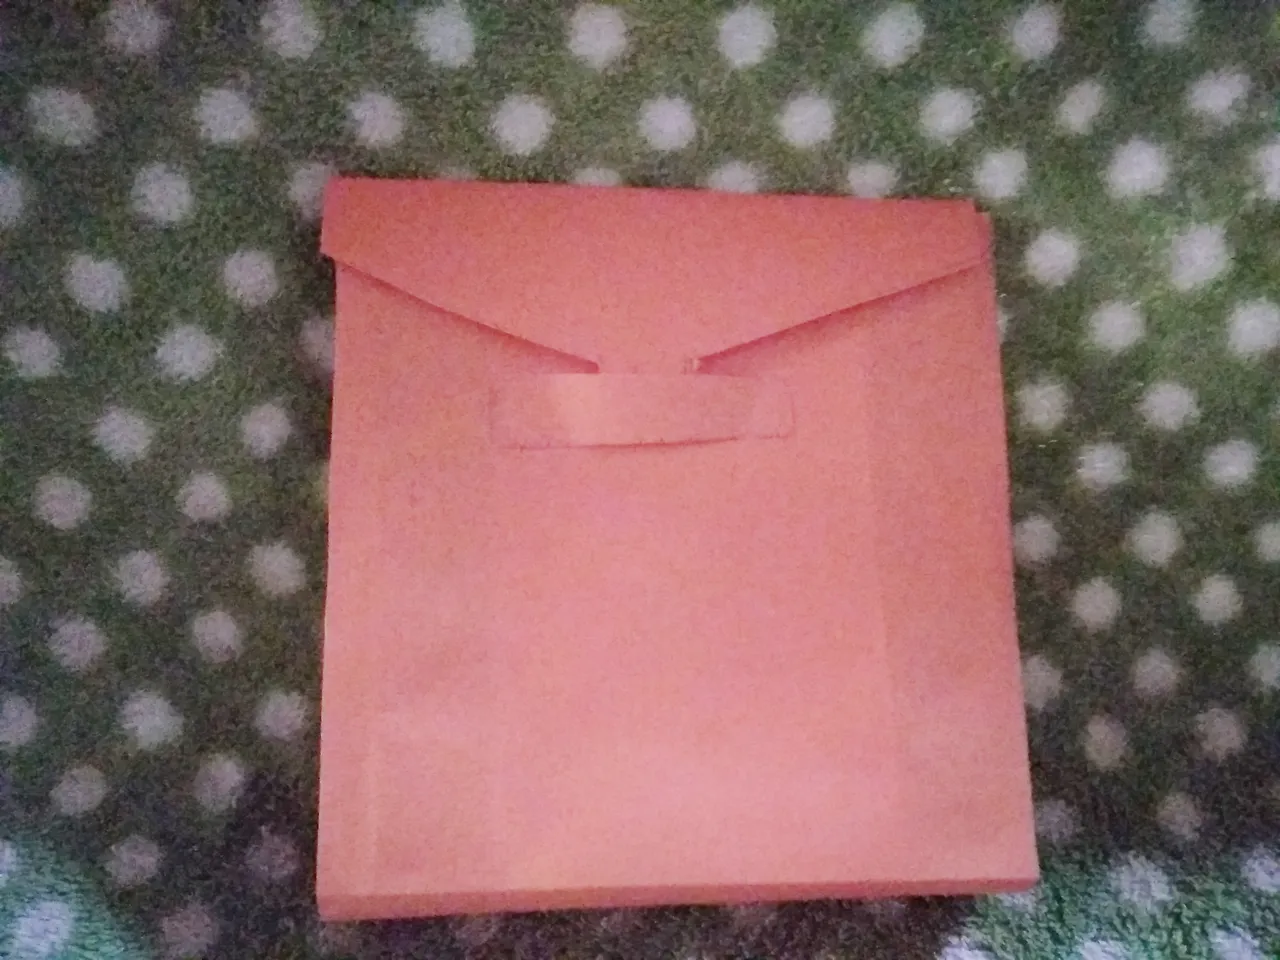
- De esta manera obtenemos el resultado final del organizador de papel tipo acordeón. Si deseas realizarlo más grande para guardar documentos tamaño carta solo tienes que utilizar la hoja completa sin cortar por la mitad.
In this way we obtain the final result of the accordion type paper organizer. If you want to make it larger to store letter-size documents, you just have to use the entire sheet without cutting in half.


Espero les guste
Fotografías tomadas desde mi teléfono RedmiGo Xiaomi
Gracias por Leerme