In this post I want to share with you about optimizing your images before using them in your post/blog.
Optimizing image is about presenting image in the right format, dimension and resolution and at the same time keeping the size as small as possible.
FORMAT
There are several different type of format available (JPG, BMP, PNG, SVG, TIFF...) but I normally use JPG and PNG which supports transparent background.
DIMENSION
Presenting your image on computer screen is not the same as when you want to have it printed. Image of size 4000 px x 1000 px is definitely too large for screen display, resize it! You don't want your viewer to scroll and pan while viewing.
SIZE
Size is about how big is your image in term of bytes. An image of 10 MB would load much slower compared to image of 250 KB. This will impact your page load speed! The larger the file, the slower and the more bandwidth it consumes to download. You have to take into account that not everyone is using unlimited broadband, there are viewers using mobile phone with Internet quota limitation.
DPI (dot per inch) - affects size of an image. For print quality, you'd need a minimum of 200 dpi, and for photos 300 dpi. When I create an image for screen display on Photoshop or any image editor, I set the image dimension not exceeding 1024 px with DPI set to 72.
OPTIMIZING YOUR IMAGE
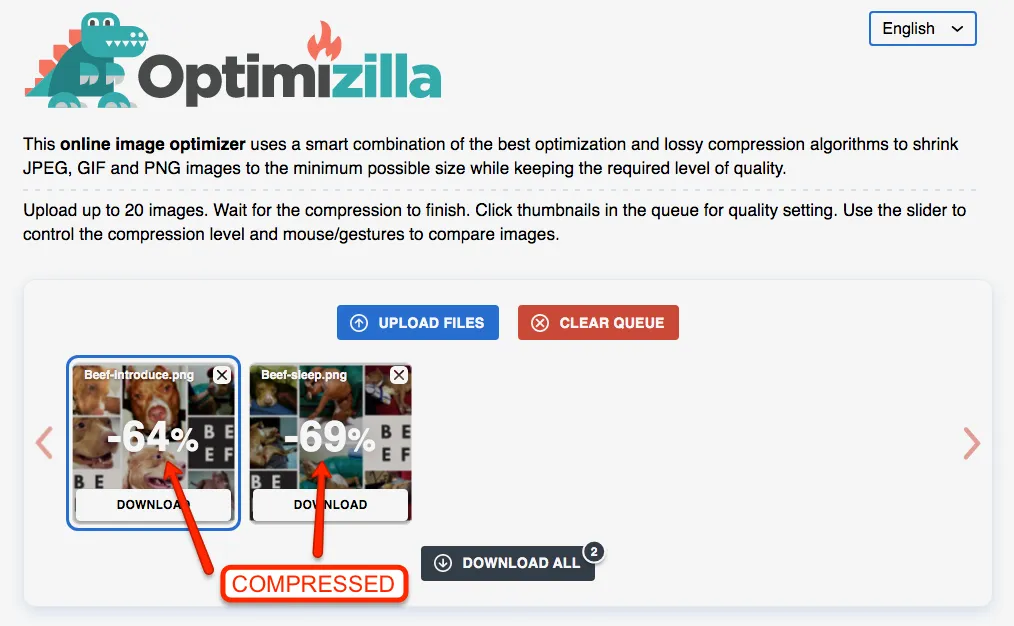
There are plenty sites that offers image compression services and my favorite is Optimizilla.

To illustrate... I have 2 images that I created in Canva and their original size were 2.6 MB and 3 MB. See how much bandwidth you could save when downloading (viewing) the images without sacrificing the quality. If you are a photographer and want to showcase your works or build portfolios, then think about your mobile viewers.
Thank you for reading and if you find this article useful, share it.😊