

Warm greetings fellow Linux-and-FOSS lovers! 😁🙏💚✨🤙
Welcmme to another installment of Let's Learn Linux! Before we dive into the topic this week, I wanted to give a quick update on my new laptop that I received on March 29th. I absolutely love 😍 this computer! It's a very solid, well-made machine that works very well with Arch Linux. The more I use it the more I dig it! It's funny, my two high-end routers, an RT-AC68R and a RT-AC5300 (both running excellent custom Linux firmware), are both by ASUS, so with my new ASUS TUF Gaming F15 Laptop, that's three ASUS devices! I guess I really like ASUS!

Another cool bit of news is that I finally ran an ethernet line up to the Flow House (an open-air bamboo yurt up on the lava from the 2018 eruption), so now my internet connection is a bit more solid. I also changed the operating mode of my router at the Flow House from repeater back to regular router mode, since the other end of the ethernet line connects to my other router in the Landing. I had to adjust their LAN IP addresses to make it work, but now everything works exactly as it should!
Now let's jump into this week's topic: Linux Live Environments! So, what exactly is a Linux live environment? Well, many Linux distributions include a live environment in their installation media, which gives people the ability to test it out on their computer before they install it. This is incredibly helpful, obviously, as you can see how it works out-of-the-box on your specific hardware.
Linux live environments also have all sorts of other very helpful uses, like rescuing an unbootable Linux installation (it doesn't even have to be of the same distribution), accessing data on hard drives or SSDs of unbootable OSes (Windows, MacOS, or other Linux installations), repartitioning hard drives or SSDs, along with lots of other useful tasks. I always keep a USB stick around with the latest version of Ubuntu on it, as it comes in handy for all sorts of things!
Since so many people have no experience with Linux because the only OSes usually installed on their computers are either some version of Windows or MacOS. Because I love and am very passionate about Linux, I want to help people get their feet wet by showing them just how easy it can be to give it a try.
The very first thing you need to do is decide which distribution's live environment to try. While there are many, to make it simple, I usually just recommend using Ubuntu, since it has a great, very easy-to-use live environment.
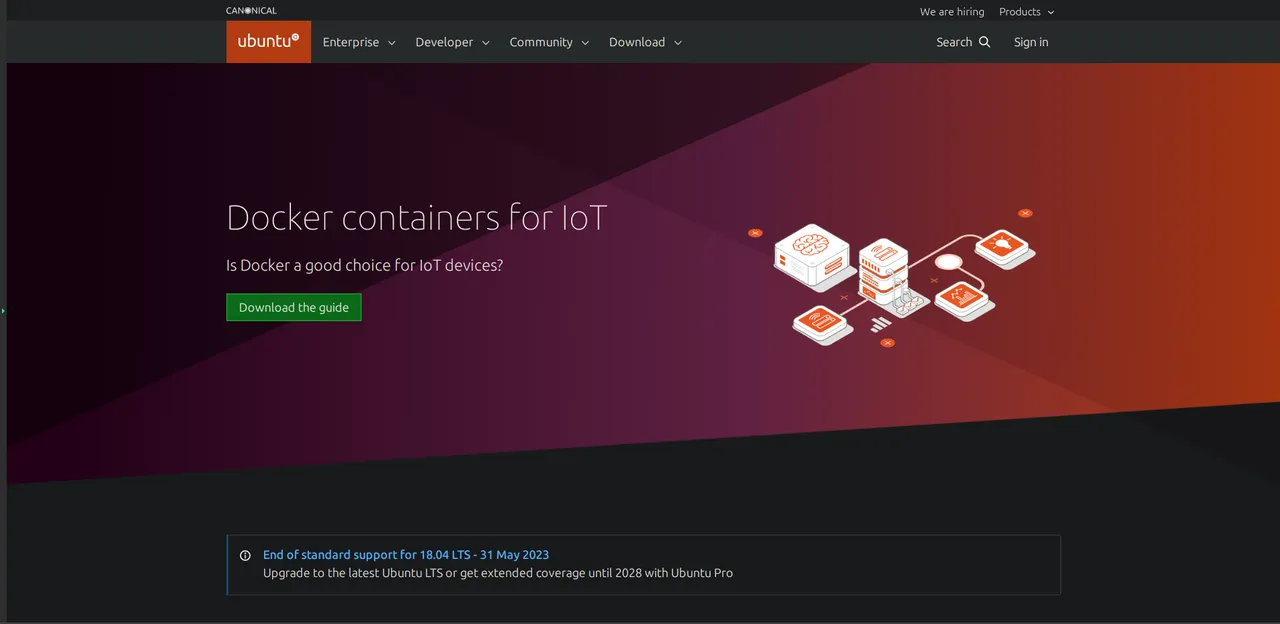
The first step is to head over to Ubuntu's website to download the installation media. The download link is at the top-middle of the main page.
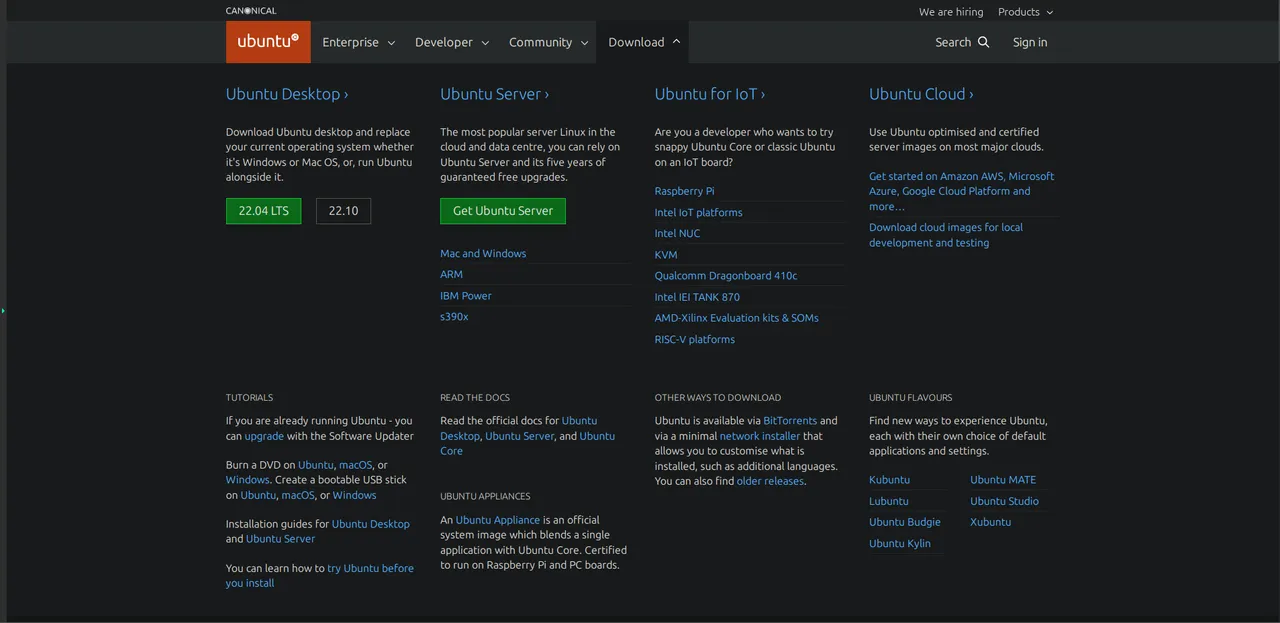
Clicking on the Download link will open a pull-down menu of download options. For most people with a desktop or laptop/notebook computer, the Ubuntu Desktop option is the one to choose.
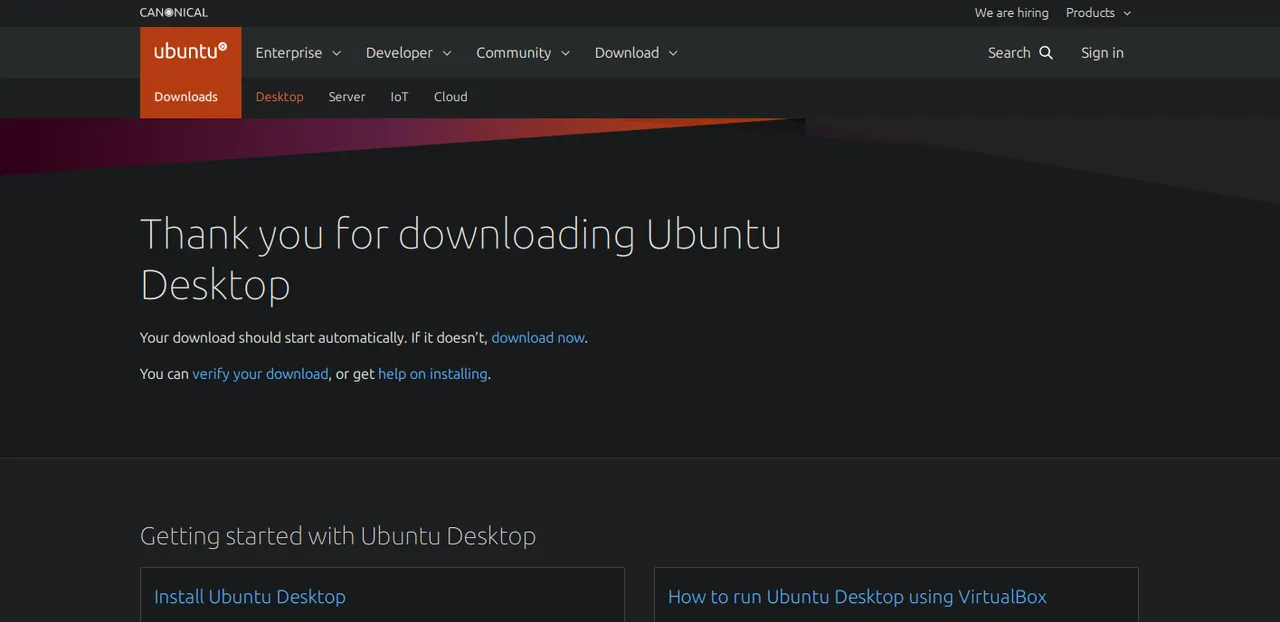
Once you click on the Ubuntu Desktop link, you'll be taken to the download page, and the download should start automatically.
Once the installation media (an ISO file of few gigabytes in size) is downloaded, it needs to be mounted on a USB stick (it can also be burned to a CD, though most people don't have those anymore). This can be done easily in Windows, MacOS, or Linux using applications specifically created for such a task. Since there are so many options across the operating systems, basically you just need to find an application that creates bootable USBs. Once the installation media has been made bootable on a USB stick, the next step is to make your computer boot into it. Usually you have to hit a specific key or keys on boot to go into BIOS, or to choose boot order. Different makes and models of computers have different keys and key combinations, so if you don't know what it is for your system, it's generally easy to look up.
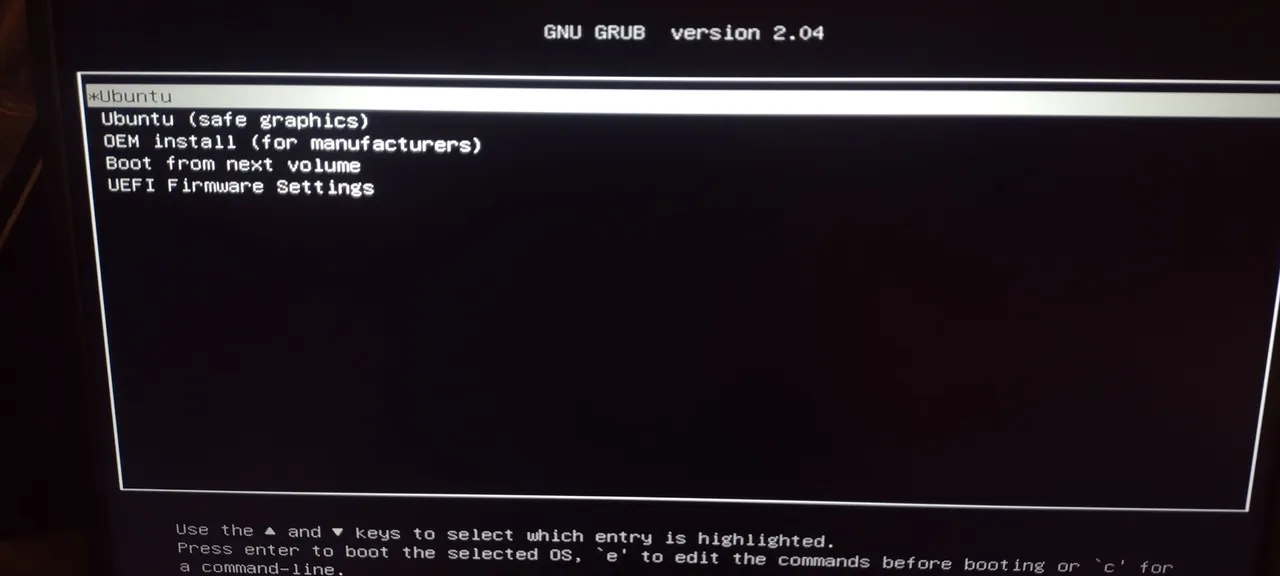
Once you successfully get the USB with Ubuntu on it to boot, you'll see a very simple GRUB boot menu. The first option at the top of the menu that says Ubuntu is the one that you want (most of the time, anyway).
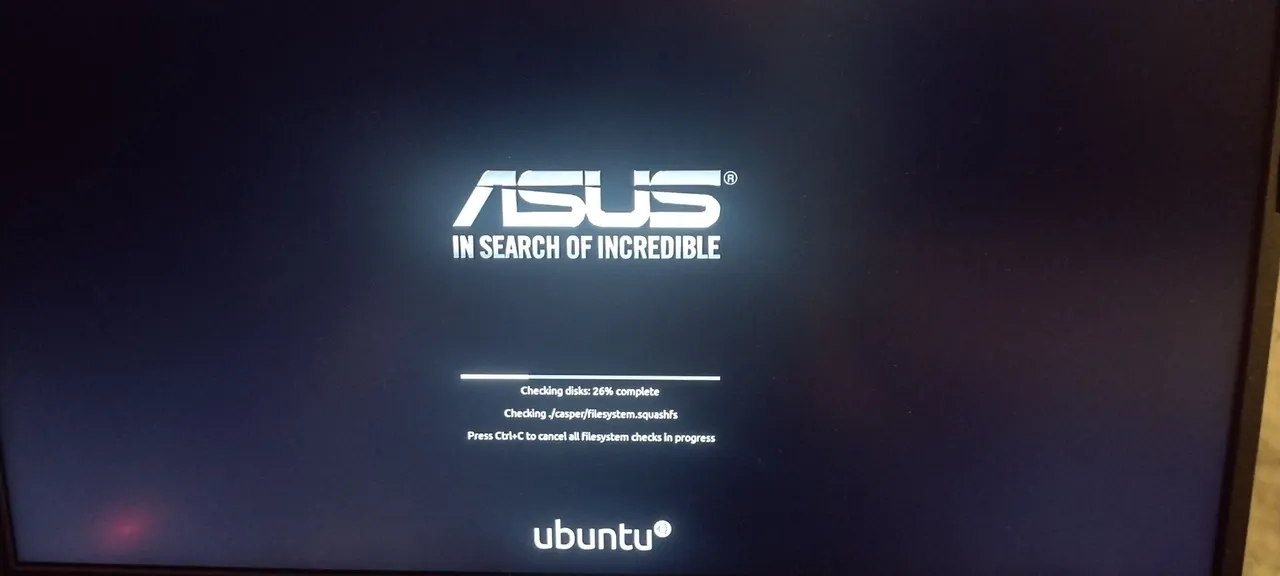
Once you select the top menu option, the installation media will do a self-check, to verify that all files are intact and functional.
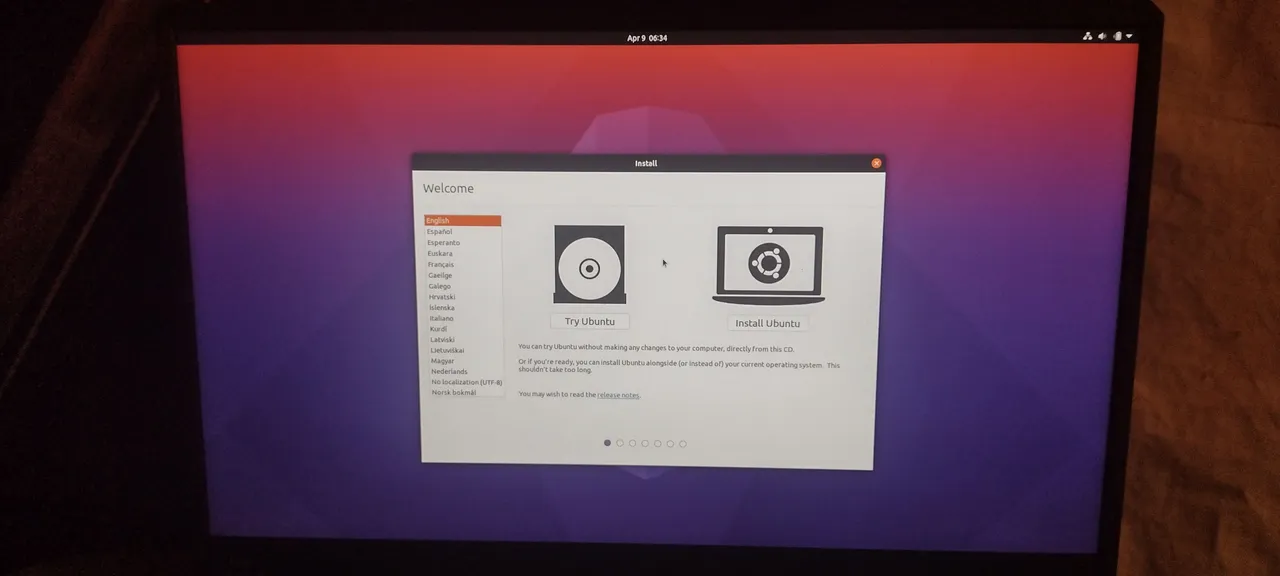
Soon you'll see a graphical screen appear with two options (well, three if you count language selection), Try Ubuntu and Install Ubuntu. To give Ubuntu a test drive, select Try Ubuntu.
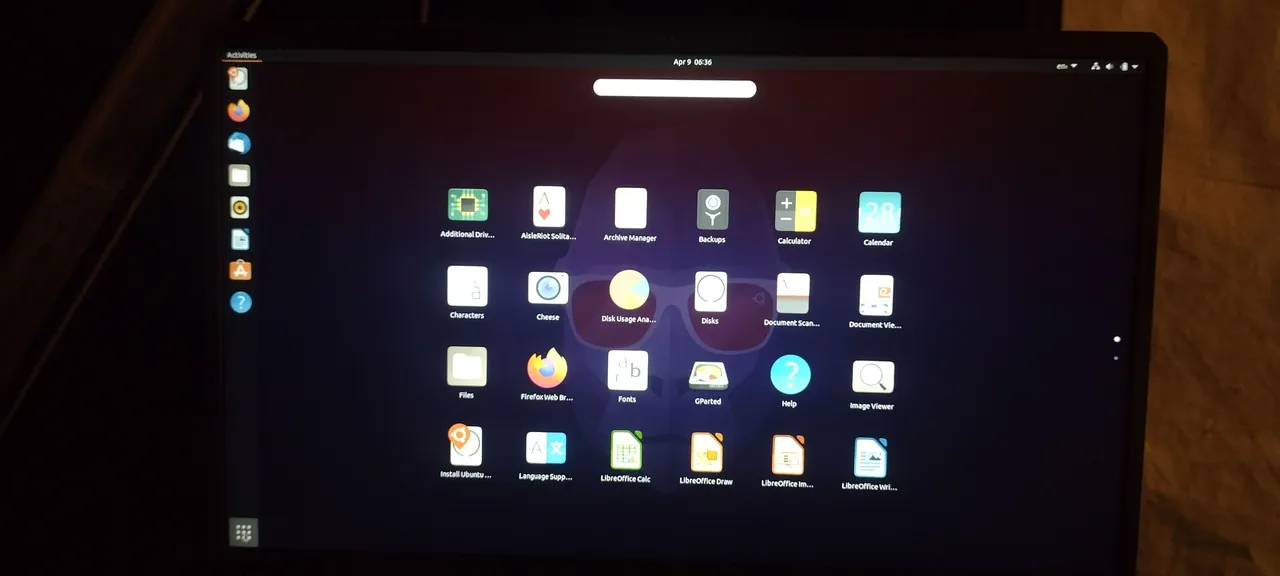
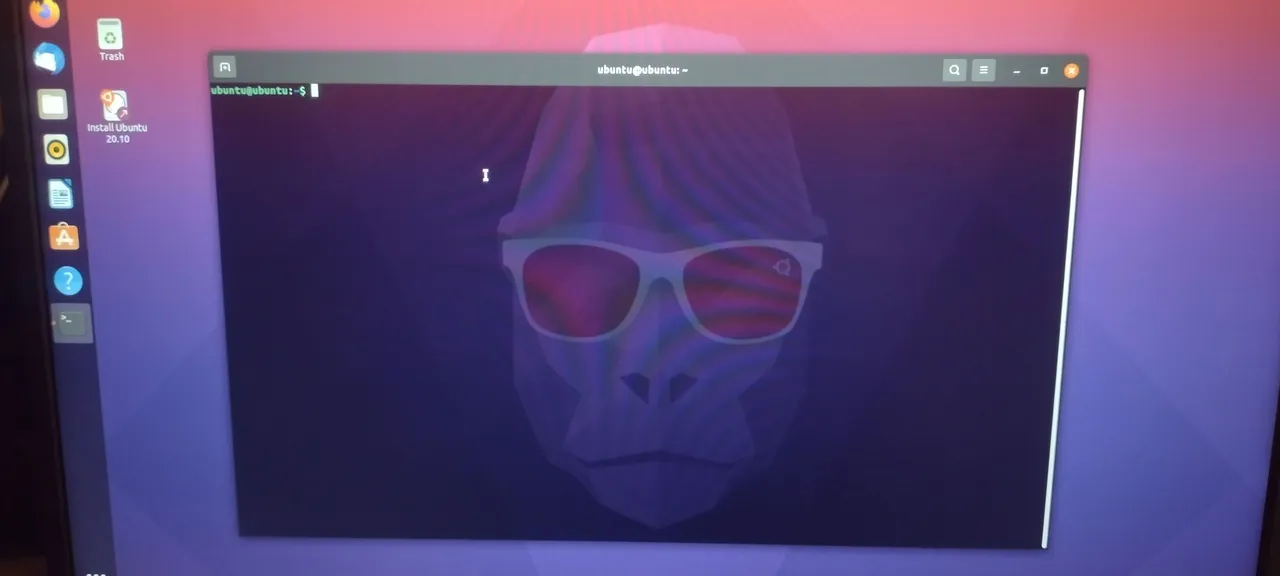
In a moment you'll be taken to the desktop in the live environment. This is a modified version of the Gnome Desktop Environment.
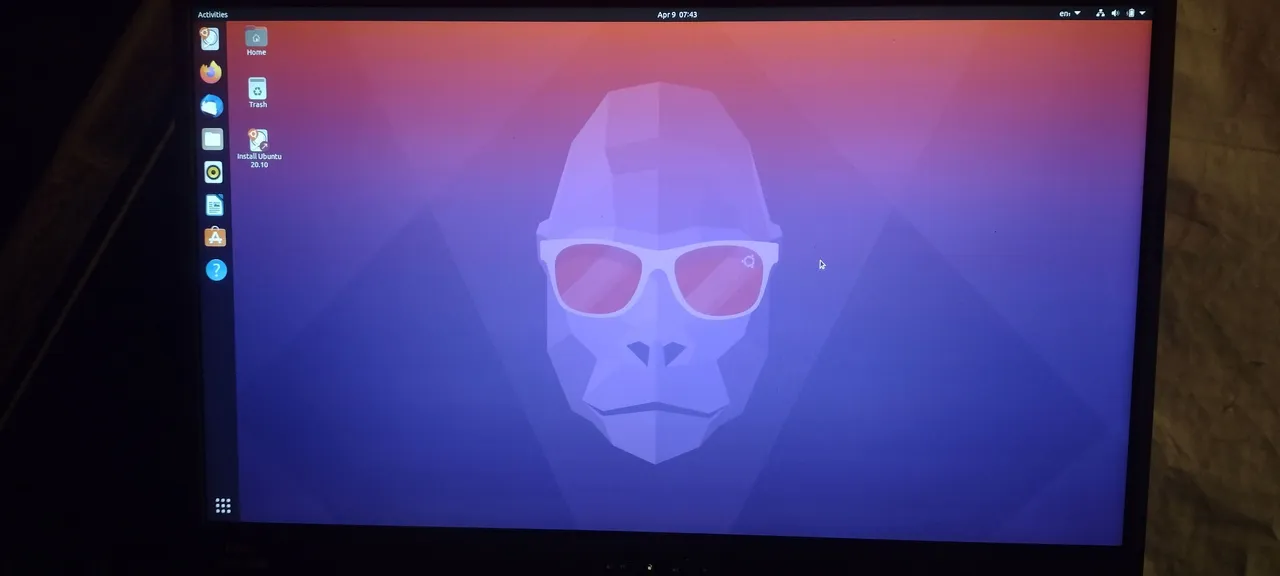
If you click on the application menu in the lower left, the installed applications will appear. You can give any of them a try if you like.
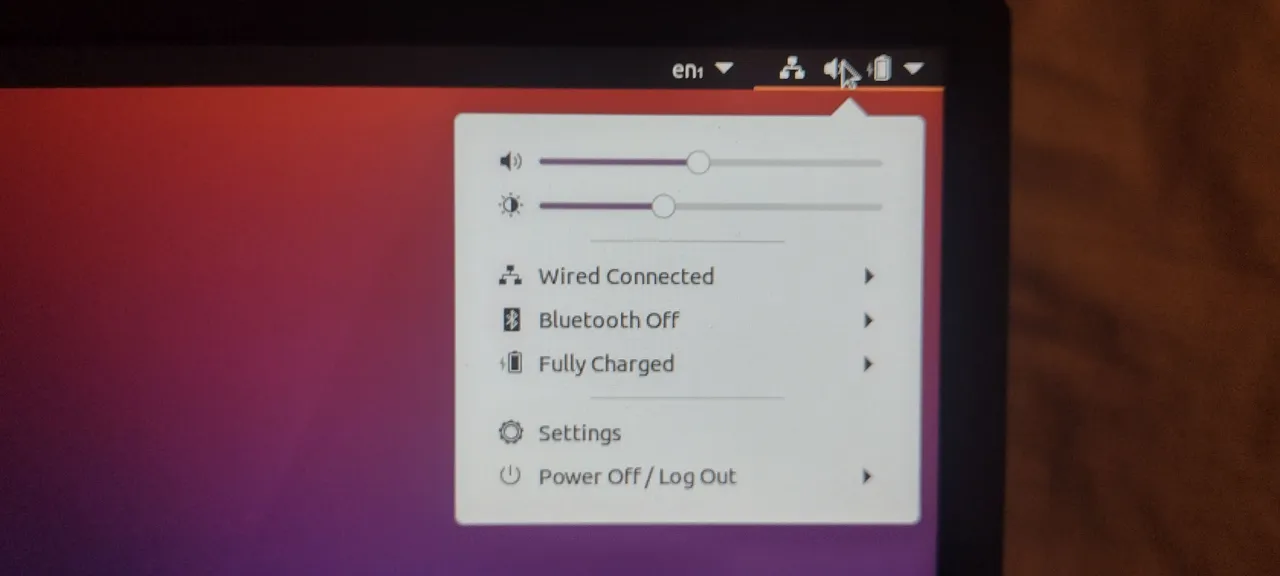
Clicking on the tray in the upper right will open a pull-down menu, with various options. Networking, sound, brightness, settings, bluetooth, and power off/log out are visible. Since I have an ethernet cord plugged in to my computer, the wifi interface was not activated. If the etherner cable were not plugged in, wifi would be activated and visible.
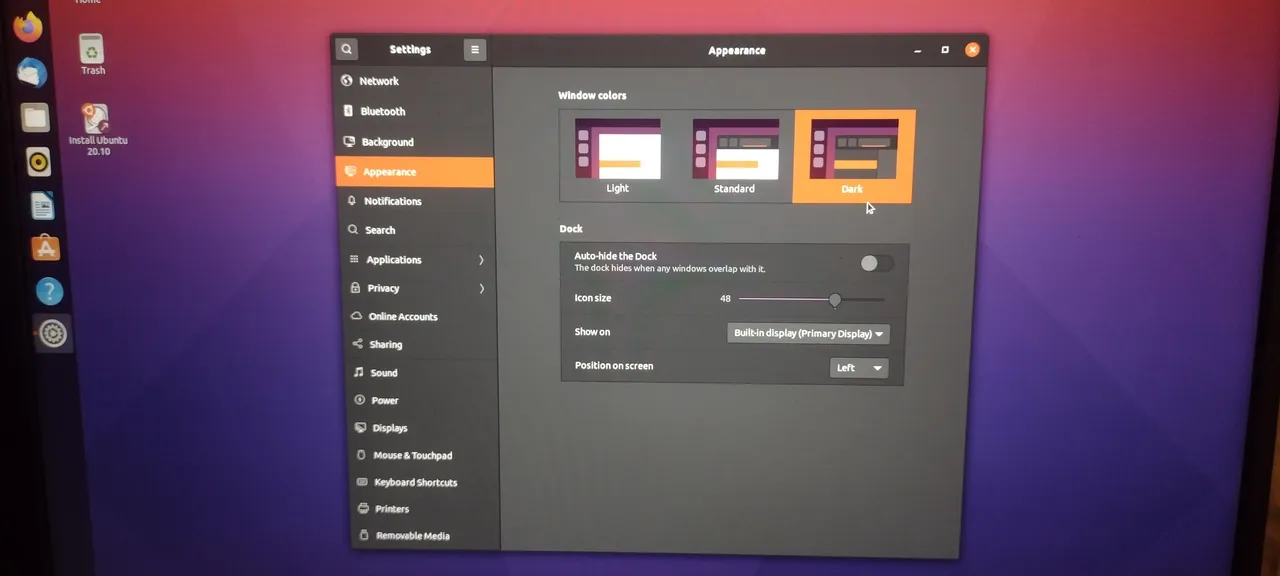
One of the first things that I do is to open system settings and choose a dark theme, as it's way easier on my eyes.
One of the other first things I do is to open a terminal. In Ubuntu you can open the terminal by hitting CTL+ALT+T.
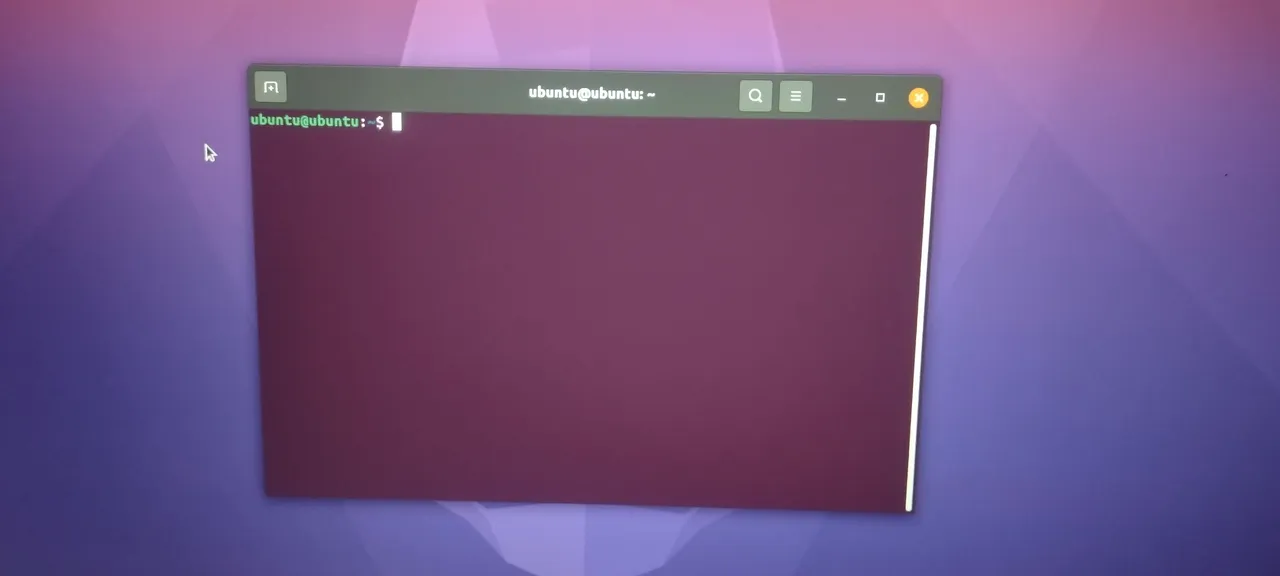
Then, of course, I need to make the terminal pretty by changing the font color, and giving the background some transparency. I also make the terminal window a bit bigger.
Typing sudo su will open a root prompt, which will allow you to do anything on the system, so it must be used with care. Since this is a live environment you will not be prompted to enter a password. You can do all sorts of things in a terminal, including searching for and installing software.
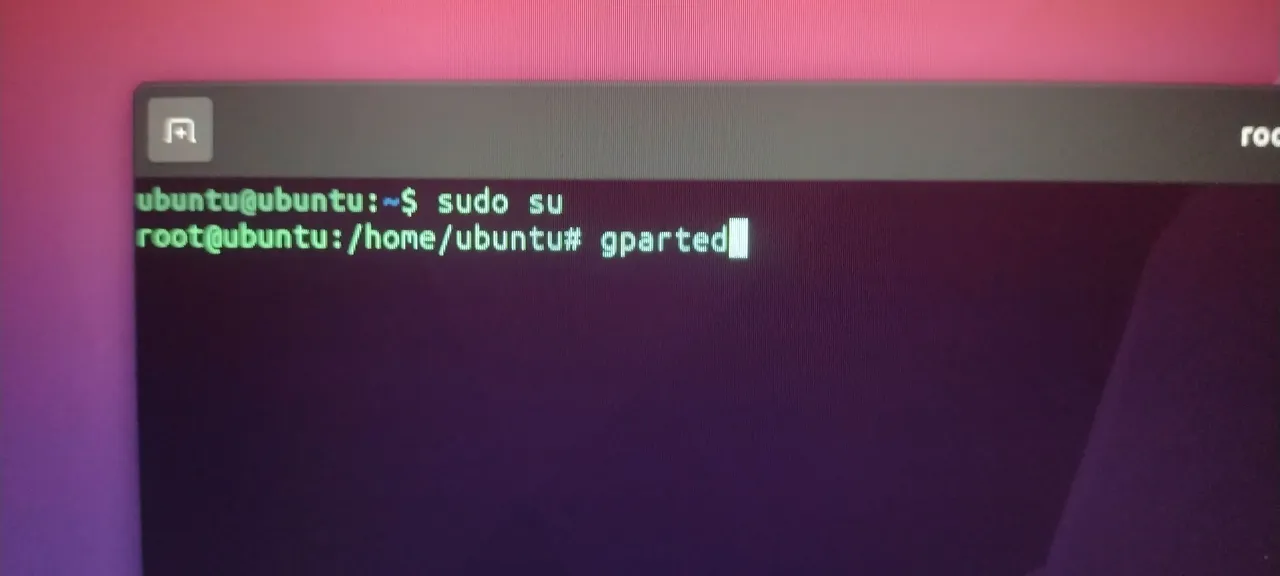
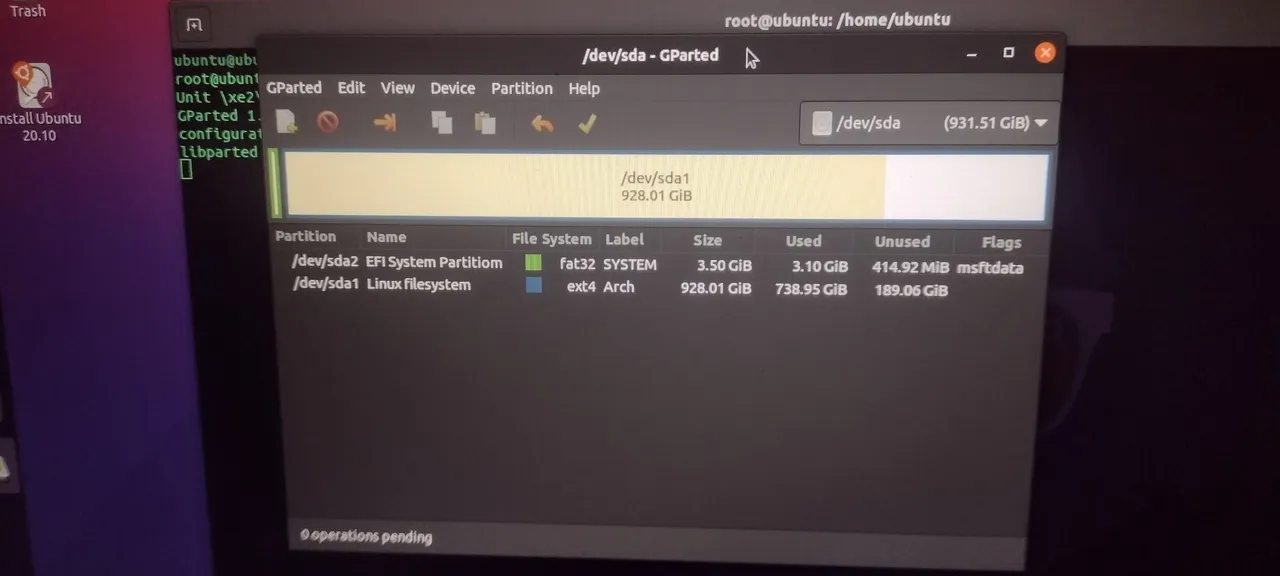
Typing gparted in the root prompt will open the graphical GParted application, which is used to manipulate hard drives and SSDs. This is how I repartition my hard drives or change the size of existing partitions without losing data. Needless to say, you must know what you are doing so that you don't inadvertently erase or delete something important. Luckily in Linux even if something important were erased, there are ways to recover it. You can see my Arch Linux partition and my EFI partition.
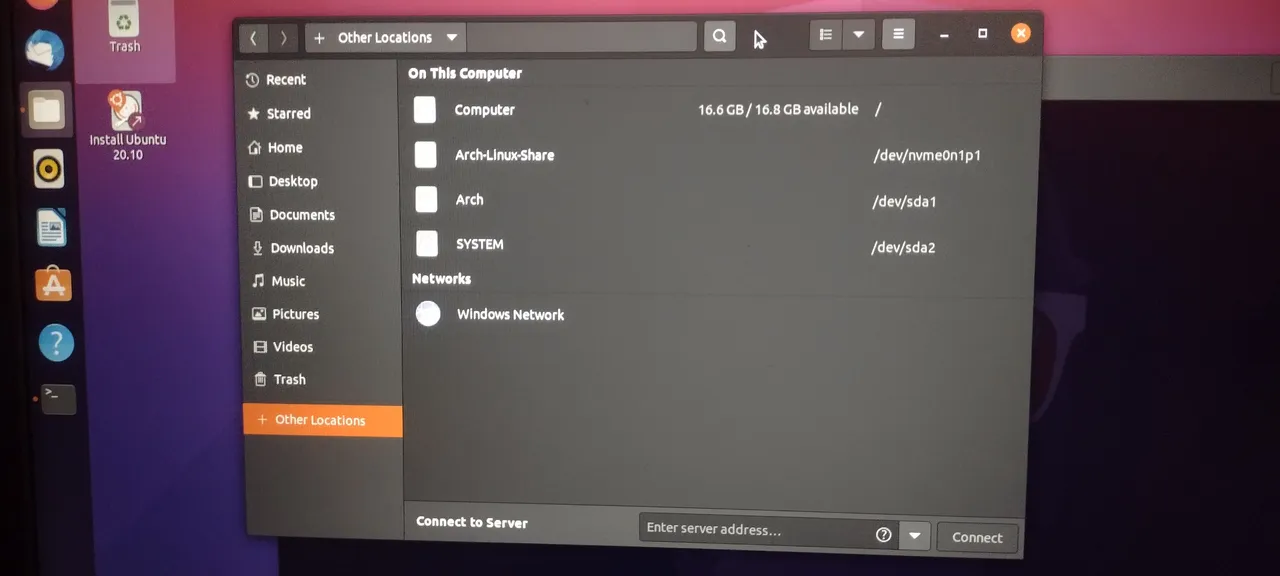
If you open the file manager, and select other locations, you'll see the partitions on the hard drive or SSD. Here you can see my Arch Linux partition and the EFI partitions again, along with the SSD that I use to transfer files between my three Arch installations. The file manager can be used to access files on hard drives or SSDs, so it can be used to recover data.
The live environment also comes with a user guide, to help you orient.

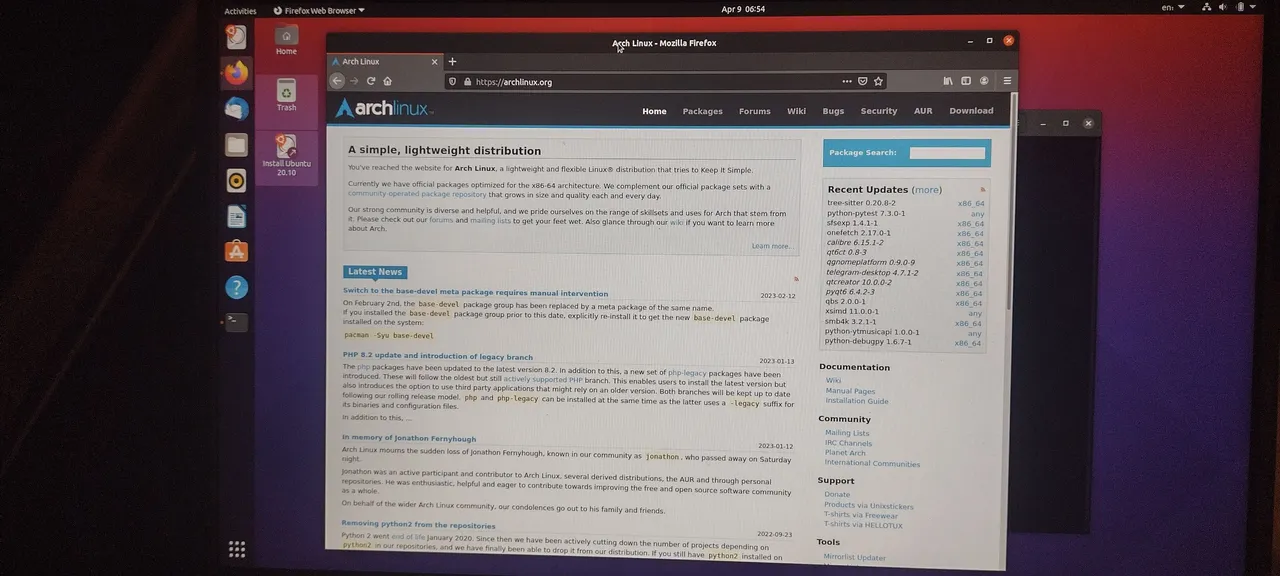
You can open the web browser to find things online. Oh my! How did that website get there?!?
There is also the Ubuntu Software Store, which allows you to search for and install applications. Sadly I didn't get a shot of that. Finding and installing software can be done via a GUI or via a terminal.
If you find that you've fallen in love with Ubuntu, and want it in your computer, there are two helpful Install Ubuntu links visible in the live environment. Installation is usually quite quick and easy. I would suggest partitioning your hard drive or SSD before you install Ubuntu, just so you're clear about where everything is getting installed. You can install Ubuntu along side Windows or MacOS if you like, and Ubuntu will create a GRUB boot menu where you can choose which OS to boot.
I hope this tutorial has been interesting, engaging, and useful. If you feel inspired to give Ubuntu (or any other distro with a live environment) a try, all the better!
That brings us to the end of this installment of Let's Learn Linux! Until next week!
All images were taken with my Motorola G Power Android Phone or are screen shots from my laptop.

Thank you all so much who have helped me get to where I am today, and allowing me to share more of the beauty and magic from my life and my world with you, and for your continuous appreciation and support! I am truly deeply grateful! 😁🙏💚✨🤙
If you'd like to find me on other alternative platforms where I have accounts (I spend most of my time here on Hive), click on this signature image below to go to my LinkTree page.

If you'd like to send me a BTC Lighting Tip (made possible by the fantastic work of brianoflondon on @v4vapp), just scan the QR image below. 👇

Sources
Signature image created by @doze, and the dividers made by @thepeakstudio, with all tweaked to their present form by me.
Banner image created by me using Polish, with the Arch Linux logo converted into ASCII art, and Tux the Linux Peguin created by Larry Ewing.