Hi guys!! The #newbiesinitiative has been amazing since it kicked off, I've learned so many more things about Hive than I could imagine. For task #5 for the newbies initiative, we talked about thumbnails, and how much it makes your post stand out. Thanks to our amazing teacher @olujay who took his time to explain everything for us. I must say he made editing look very easy and simple, I'm certain you'll learn a lot from this tutorial.
*For this task, I had the privilege to partner with @wallay *
For our task, we were asked t talk about thumbnails and how important it is for our content. We also learned some basic editing skills, which I will be teaching you today. I hope you find it very helpful as much as I did.
Before now, what I usually did was go to Canva, look for a cover image, replace the writeup, and also change the image hihihi, seems pretty easy right?
Well do you know you can make your design from scratch?
It's as easy as deleting and replacing like I used to do hehe, but this time around you just have to put in a little bit of effort.
Let's go into our task for week #5
With your understanding, explain what you understand by "thumbnail." Hence, discuss why they have to be stunning and what importance of creating content
A thumbnail is an image that gives you an idea of what the content is all about.
One should be able to get the idea of your post just by merely looking at your thumbnail.
Your thumbnail can either attract readers to your post or it can also stop them from clicking on your post.
Your thumbnail should reflect your content.
Just like the saying goes, appearance matters, and so does your thumbnail.
Imagine using a thumbnail that has a Rabit design all over it, for a post that says "Stay Away from Hard Drugs".
I know you'd agree with me, that the topic and the image don't go hand in hand. And I bet you wouldn't click on that kind of post either.
What are the dimensions of creating thumbnails? What is the general size (or dimensions) for a thumbnail, and explain why it is s.
The Dimension in creating a thumbnail is 1280× 720. Which is 1280 for the width and 720 for the height, which is the YouTube thumbnail.
It's best to use this thumbnail because it makes your design easy to upload. and it's not too big either.
Explain why the JPG format should be your preferred export format
Saving your picture in Jpeg format makes it easier to share and upload online( because they compress large images Into smaller files.) while still keeping its color and detail and also not reducing its quality.
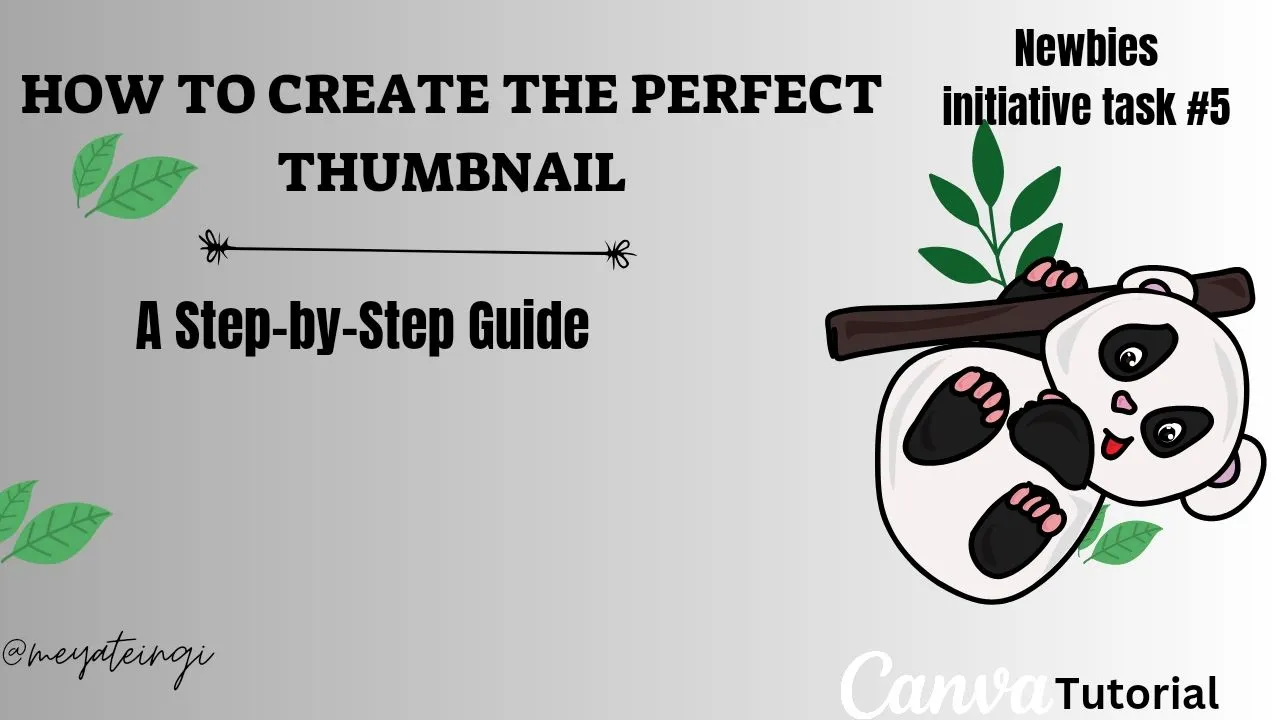
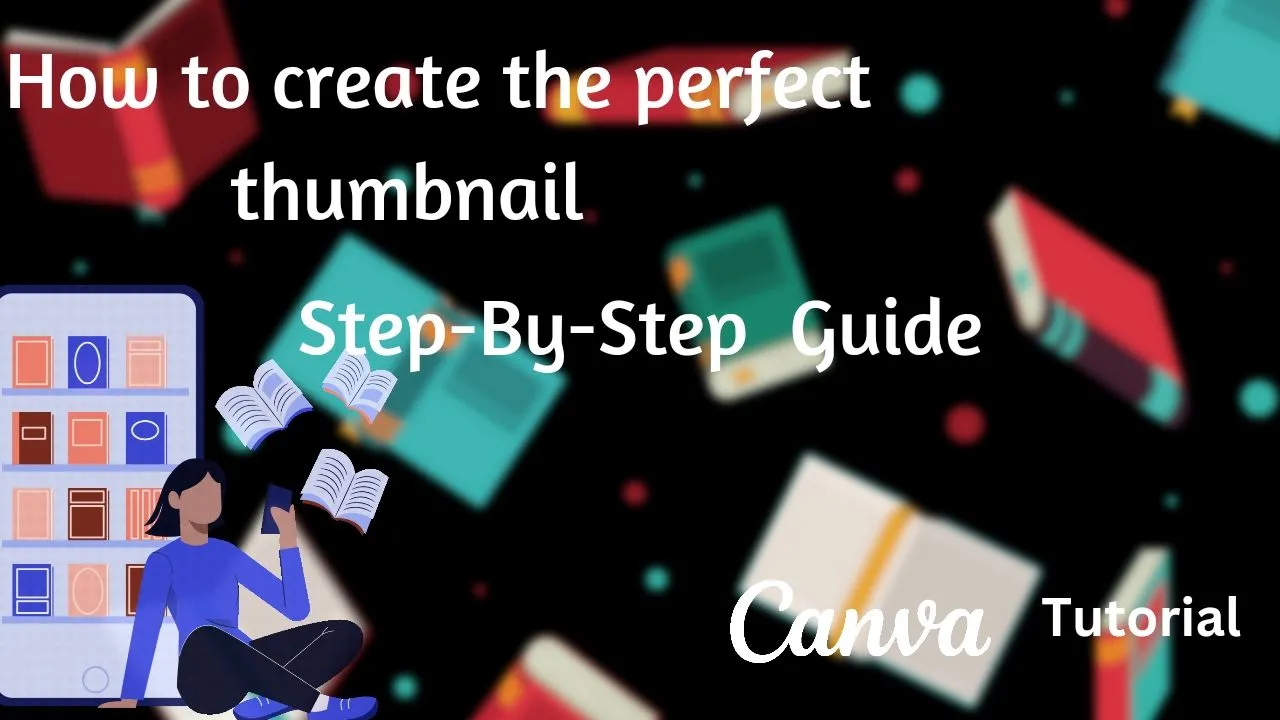
For this task, make two thumbnails. Use one as the main, and provide the other in the post. Both images should be different yet relevant to the post. Hence, provide a step-by-step explanation of how you achieve each. Remember, there is no need to overthink; just flow and keep it simple yet creative—something that conveys sufficient information and would be appealing.
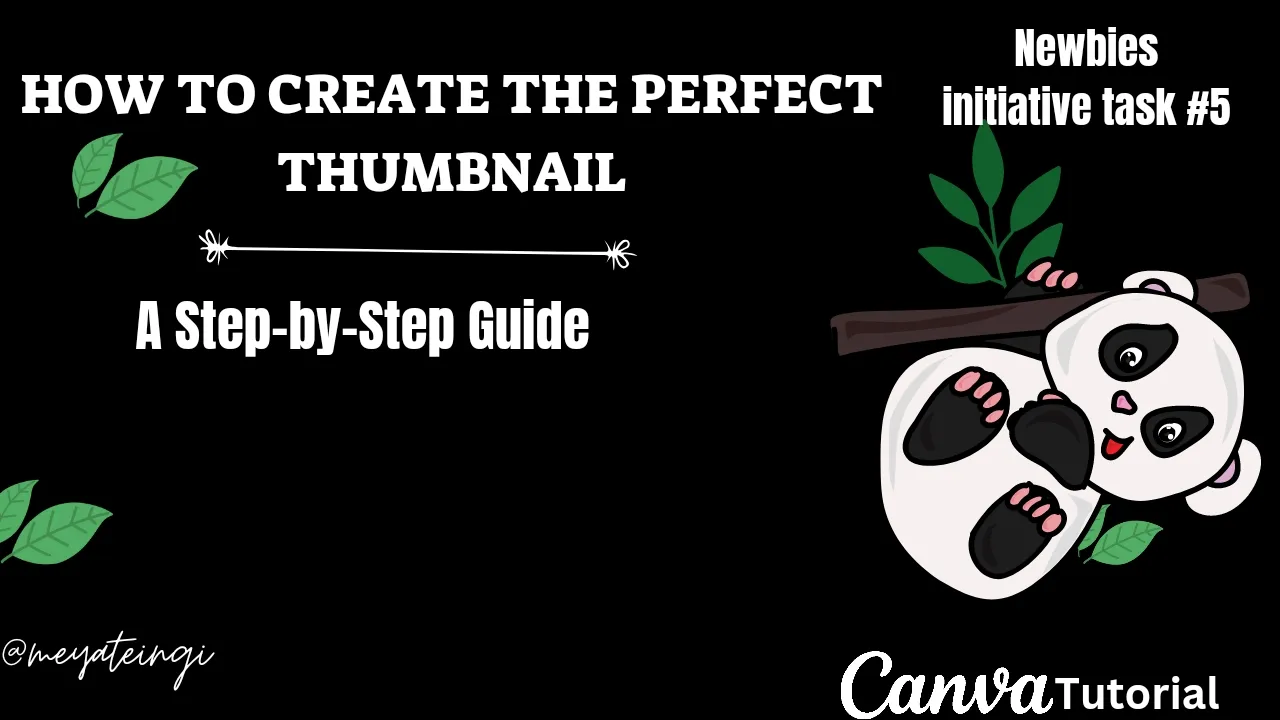
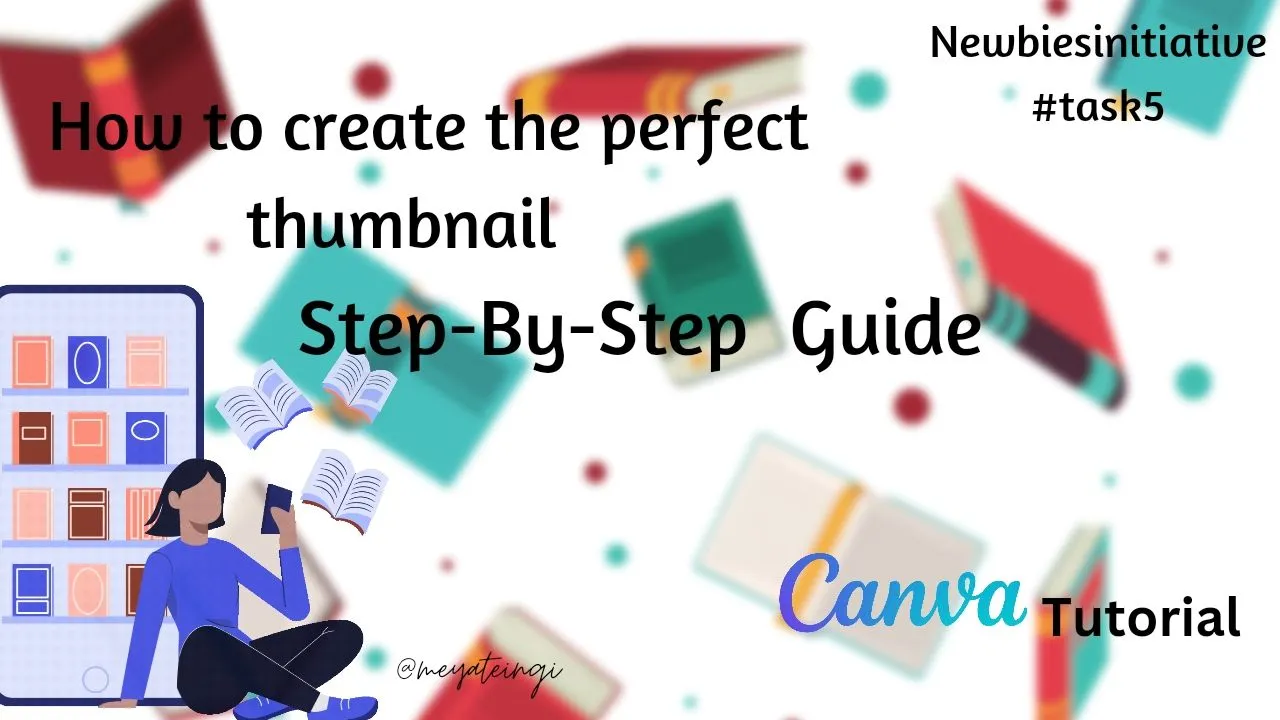
Please make sure to use the images for reference
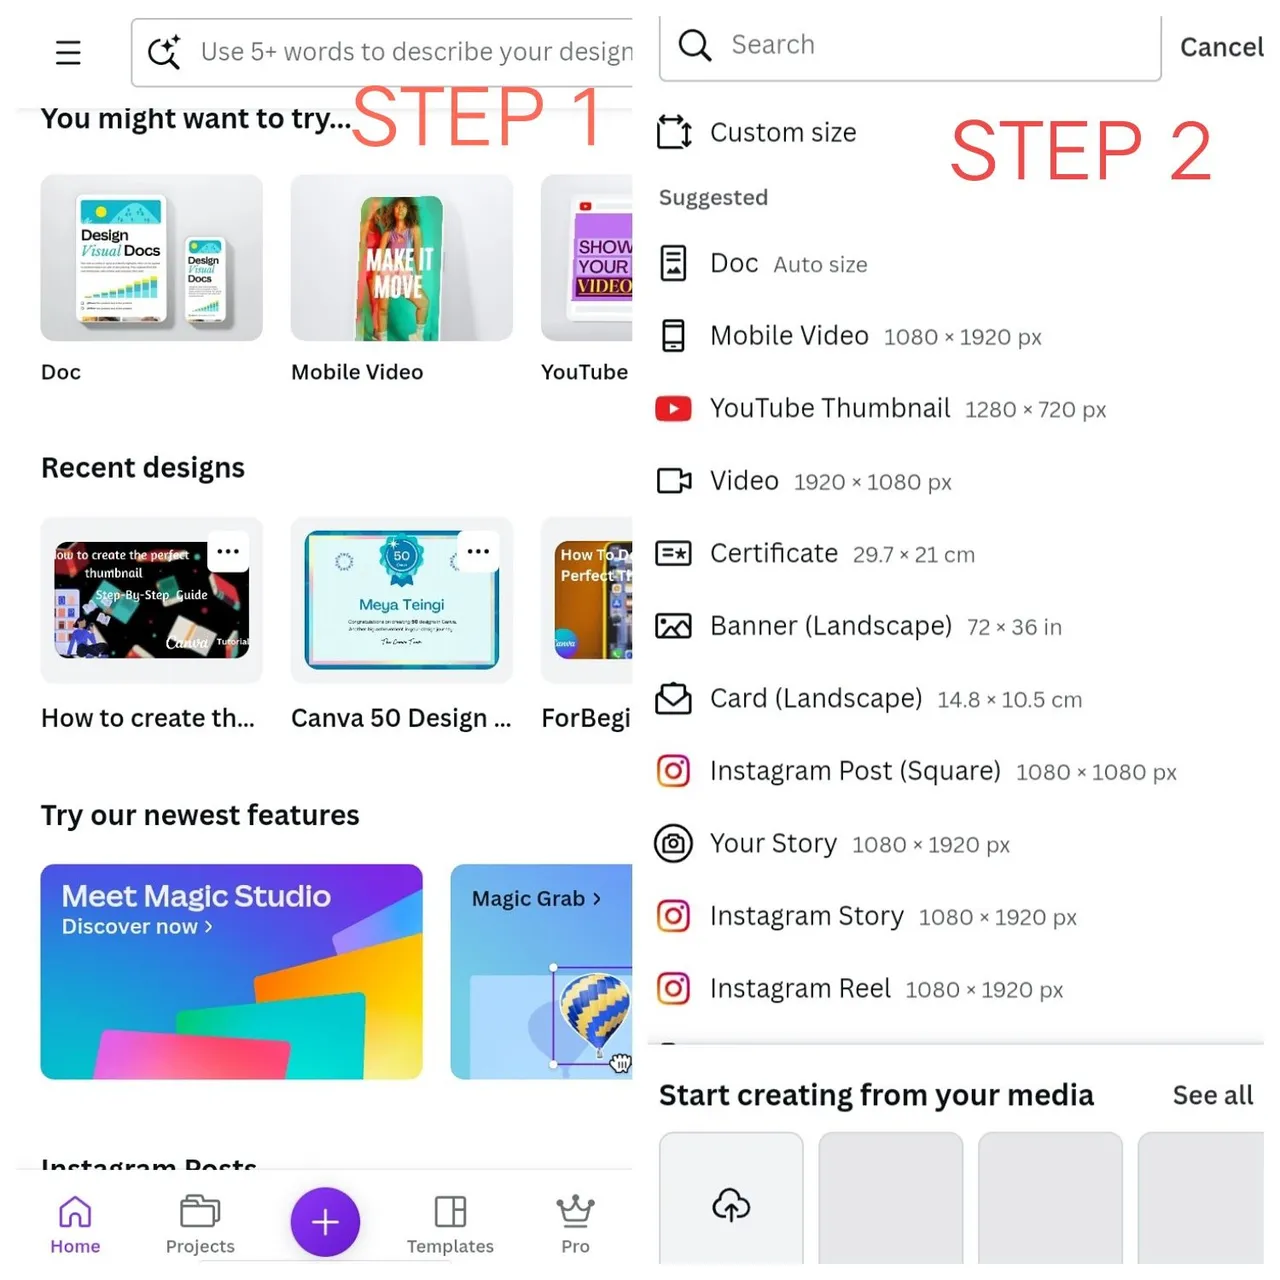
Step 1
If you don't have the Canva app, make sure to download it from the Play Store.
Click on the App, and at the bottom, click on the plus sign.
Step 2
Select the Size ( click on the YouTube 1280×720)
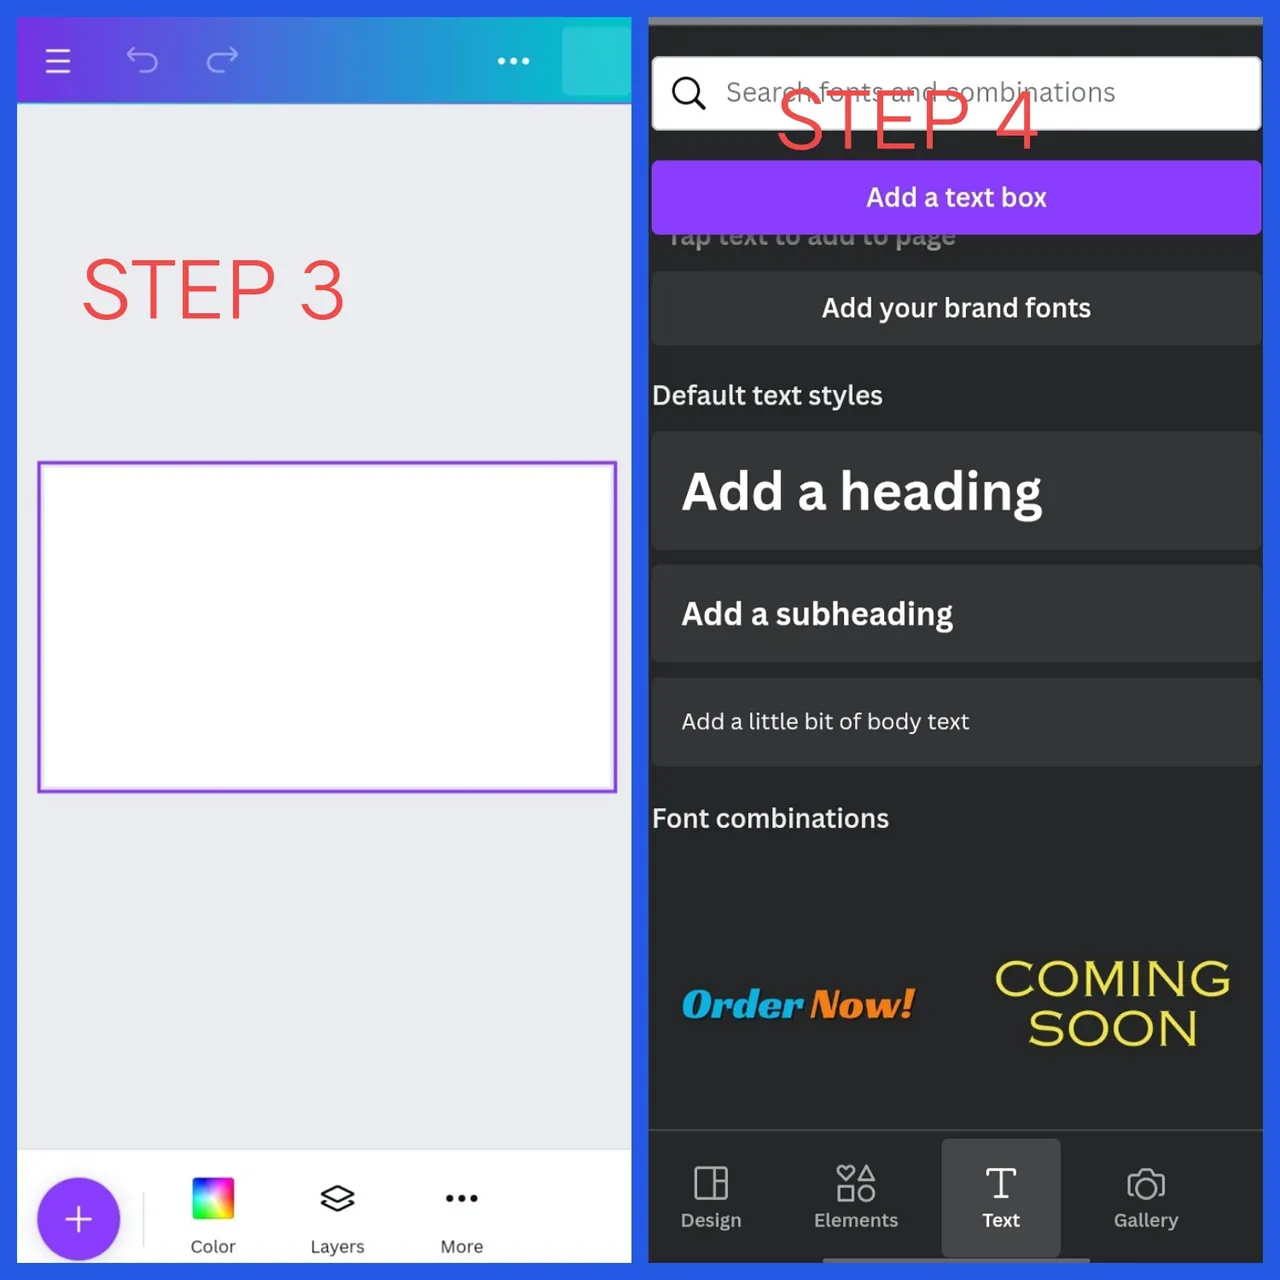
Step3
Click on the Plus sign on the bottom left.
Step 4
Here you'll see a new screen, Click on Text, and select the one you want.
you should have your texts down before editing fully, that way, you'll have to work around the space left)
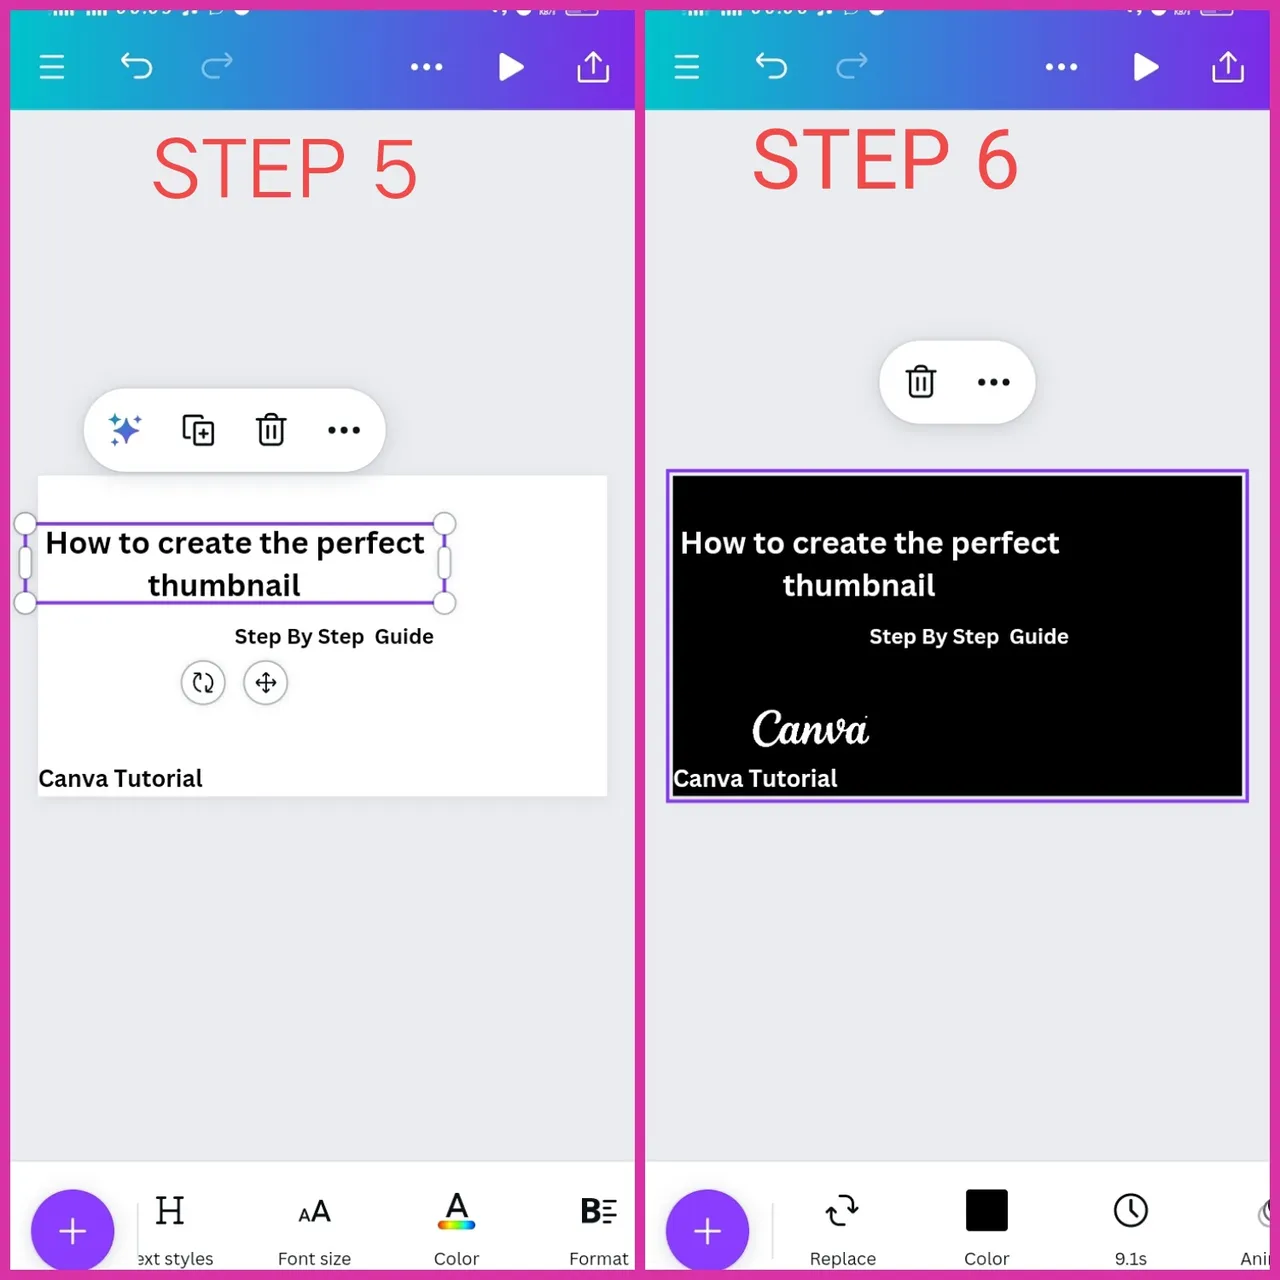
Step 5
On the bottom of the screen, you'll see where you can change your fonts, text color, and so many other things.
Step 6
Still,l on that same screen, click on the full page, and you'll see at the bottom of your screen where you can change the color (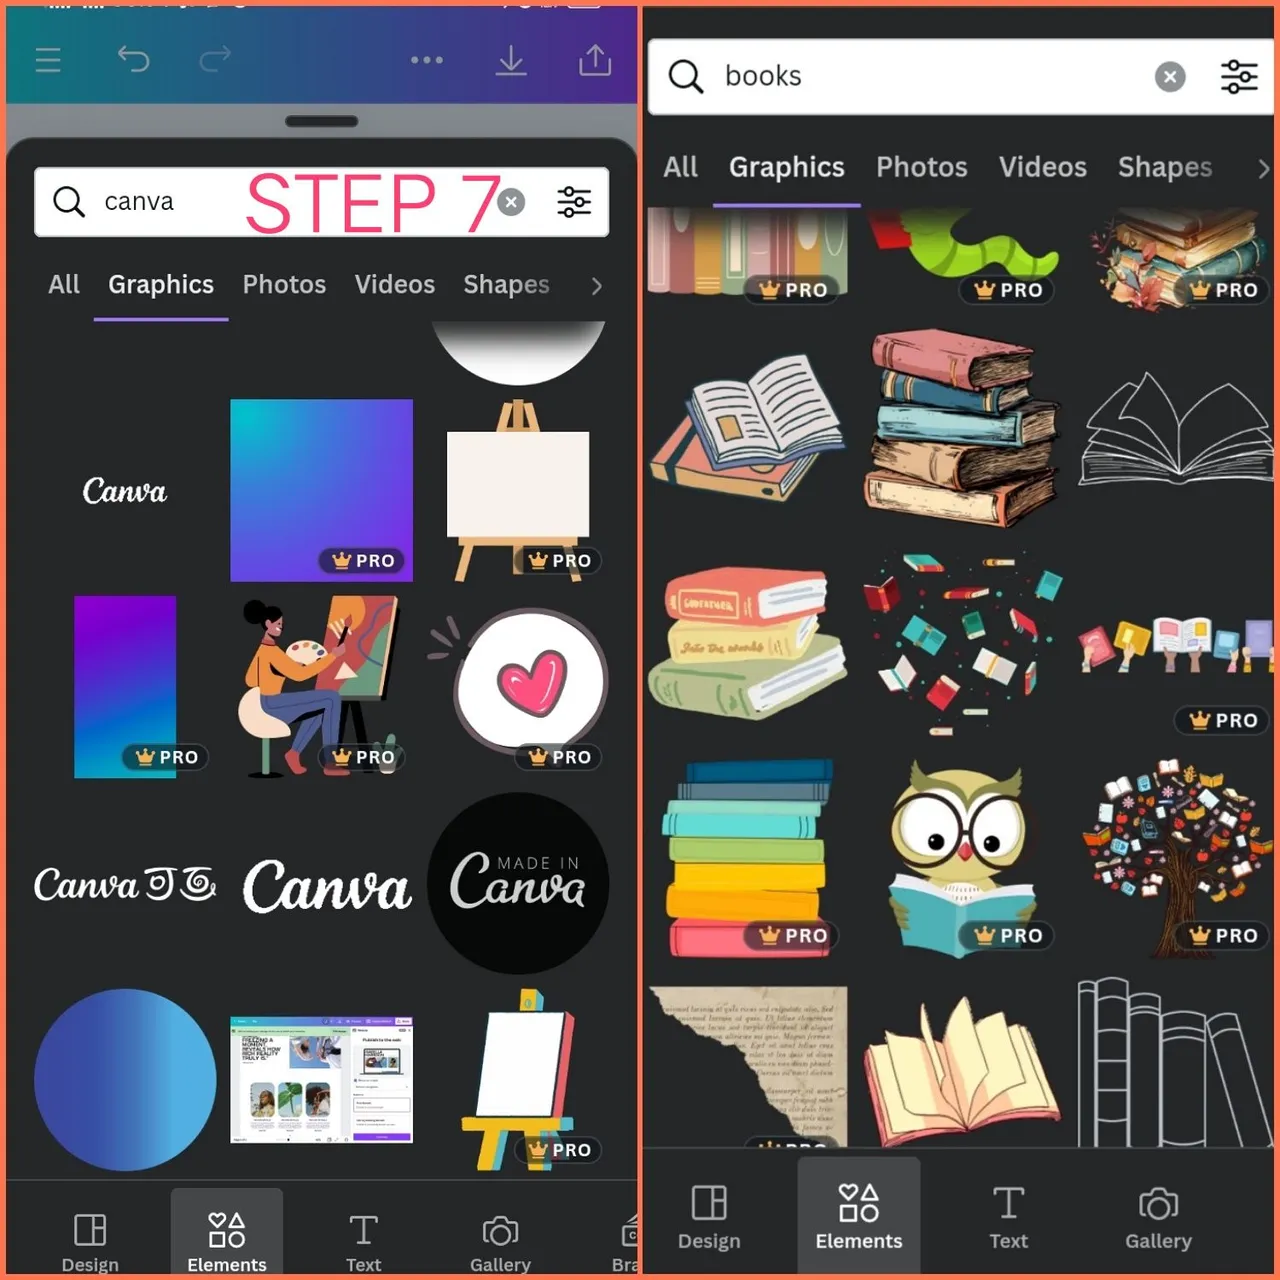 )
)
Step 7
Click on the plus sign at your bottom left, click on elements, and search for anything you want. Immediately you click on anything you want, it automatically appears on your page. (You can click on the image and delete it if you feel it's not what you want ) you can also see an icon Gallery to get any image from your gallery)
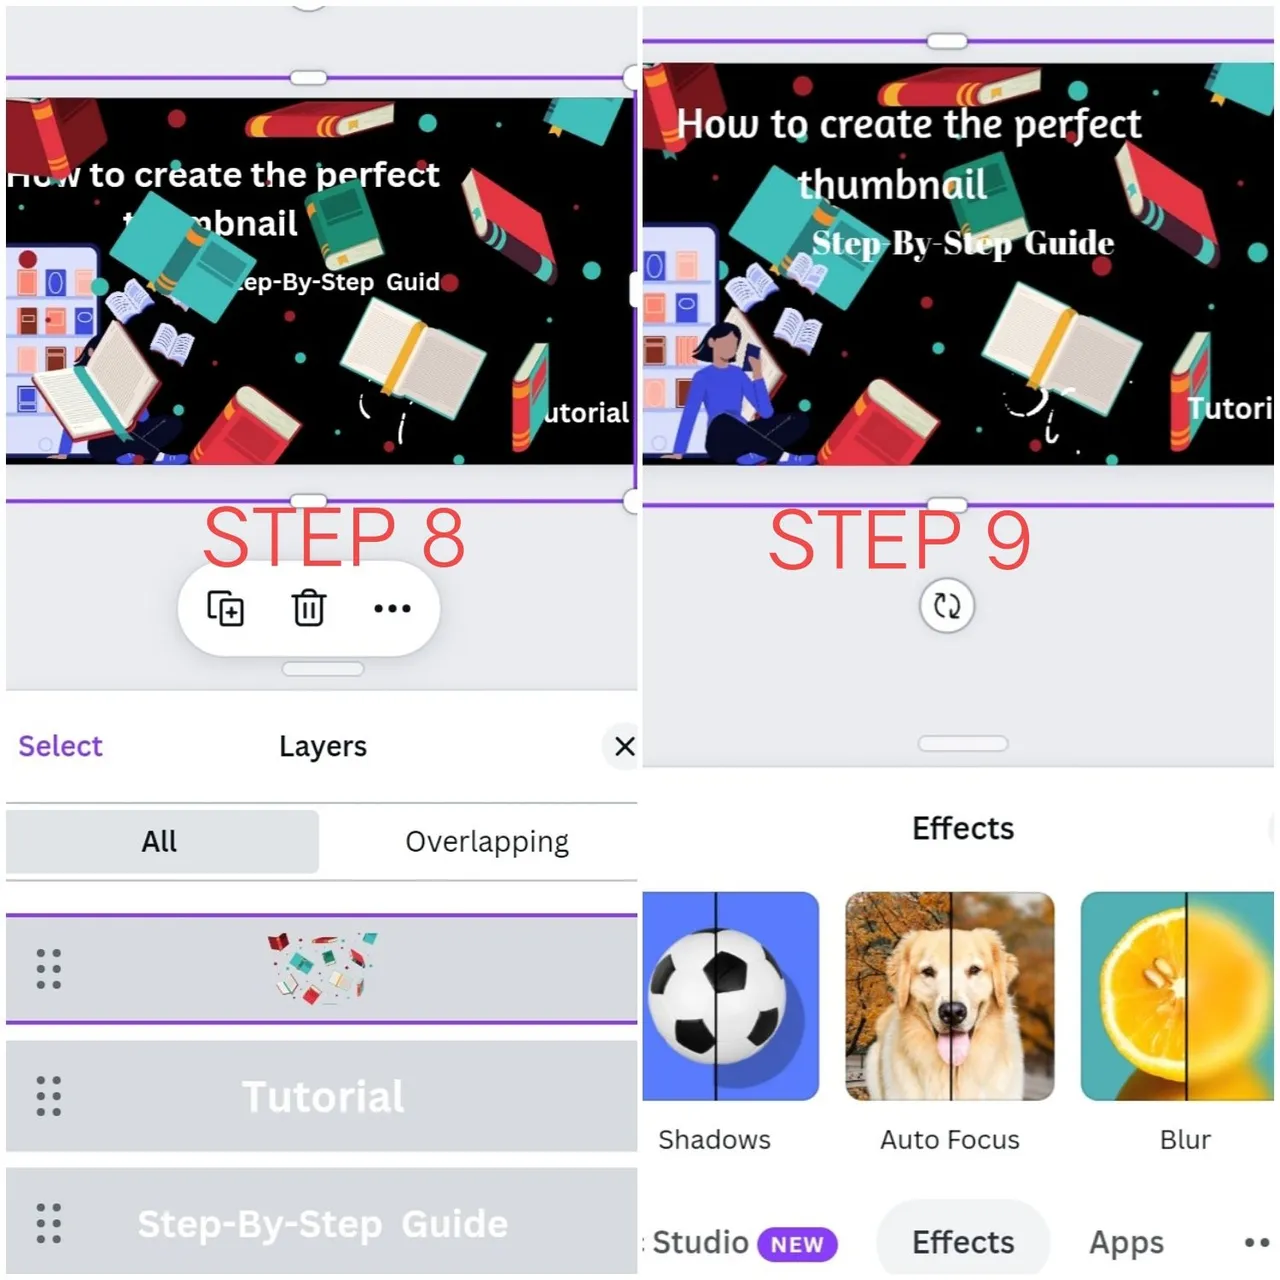
Step 8
Scroll to the bottom, and click on layers. This arranges your designs on what comes first. I moved the design from the top to the bottom, that way, all my writings were on top of it, instead of the other way around. If you look closely, you'll notice how scattered my work is. That's because I just placed everything I wanted on the whole page.
Step 9
Click on effects, click on blu,r, and adjust it to the way you want.
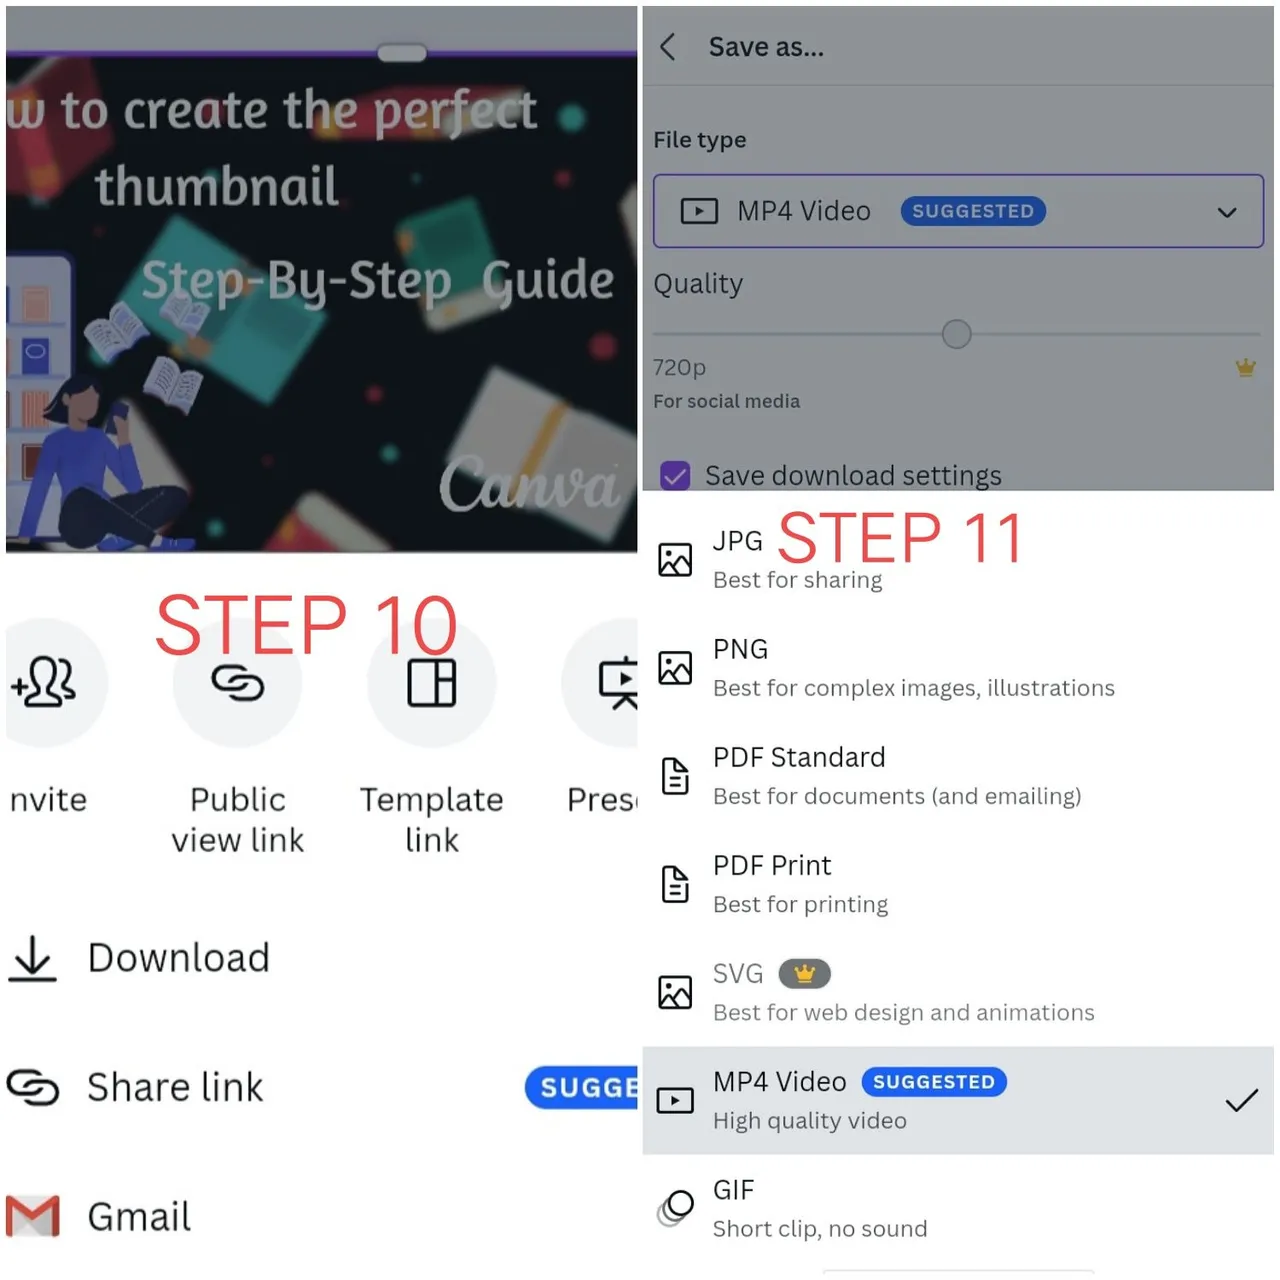
Step 10
At the top right corner, you'll see three straight lines, click on it, and click on download. It will take you to another page. Select the format you want to save your picture in. ( make sure you save it in Jpeg format) and click on download.
Voila, your design is ready!!
I know right? It's just too easy!
I did the same pattern for the other design, but this time around, I did not blur it.
I hope you were able to earn a thing or two about editing.
Thanks for reading❤
Images were edited by me using Canva