Original Image Source: TheDigitalArtist- Pixibay- Modified by @saydie
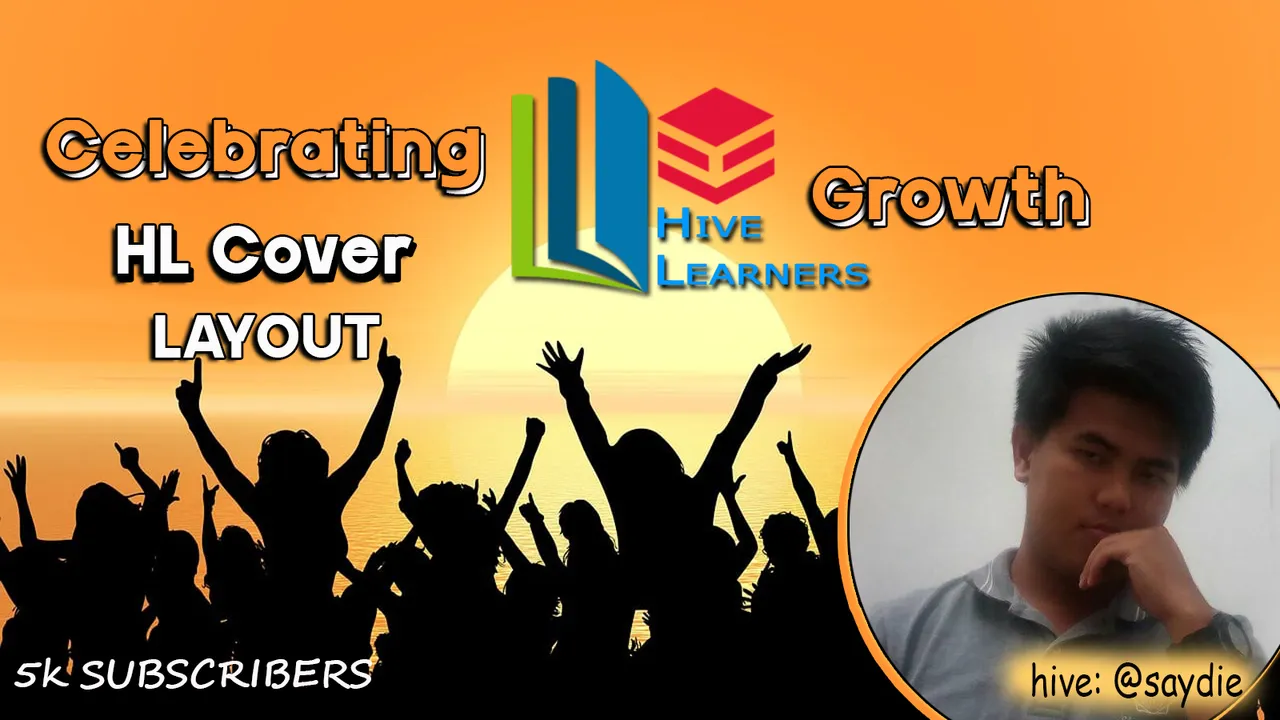
Just recently, Hive Learners has reached a new milestone for reaching 5k subscribers and I can credit it to the Featured Topics and Sunday Initiative that inspired people to interesting content and to the handwork of the mods and admins to look on each content. To celebrate this achievement, a contest to design a new cover for Hive Learners was made and anyone was free to participate in the contest even if they are not a member of the community where the top 7 designs will be sharing on the reward pool of 100 hive. In this post, I will be sharing my design and the steps that I took to make it. For my design, I use Canva to make the background image then proceed with photoshop because I'm only using capped internet data since my main internet was broken reason why I was almost inactive last week so I was working on the design off-line to save some data.
Design Step Procedure
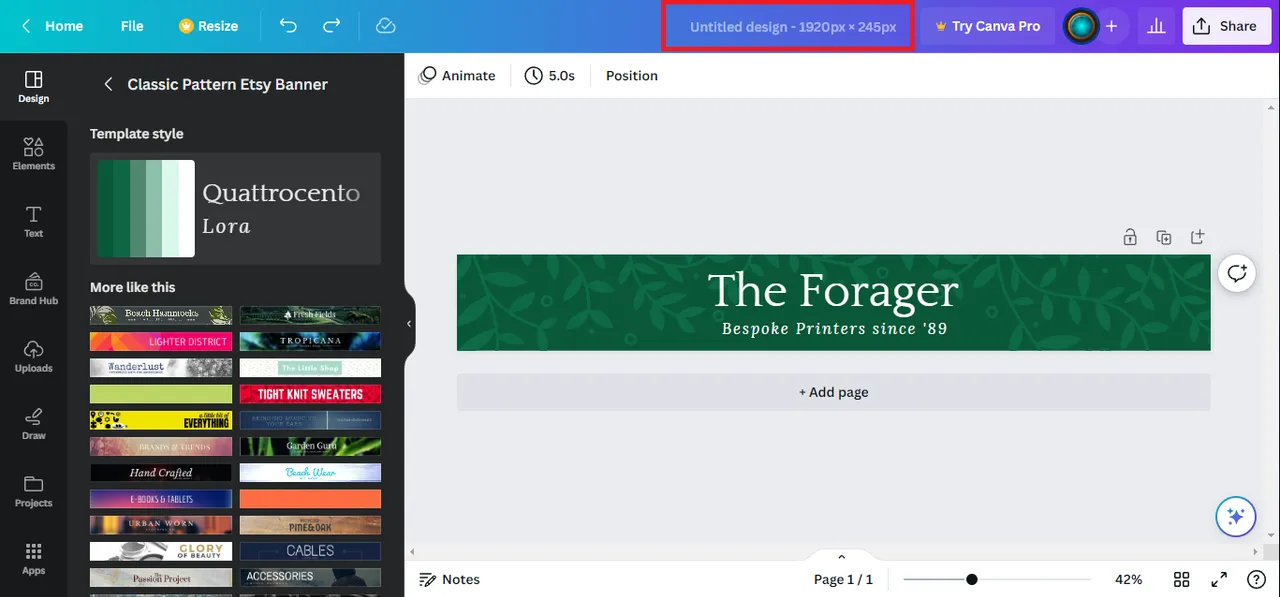
Step1: Making the background Image
I go to Canva to create a new design with the suggested dimension, 1920 x 245 and when I did, multiple patterns for Etsy banner have shown and this is where I choose what my background image will be and came up with this green leafy background. After that, I remove the text and save the background as a PNG file.
Step 2: Collecting Source Images
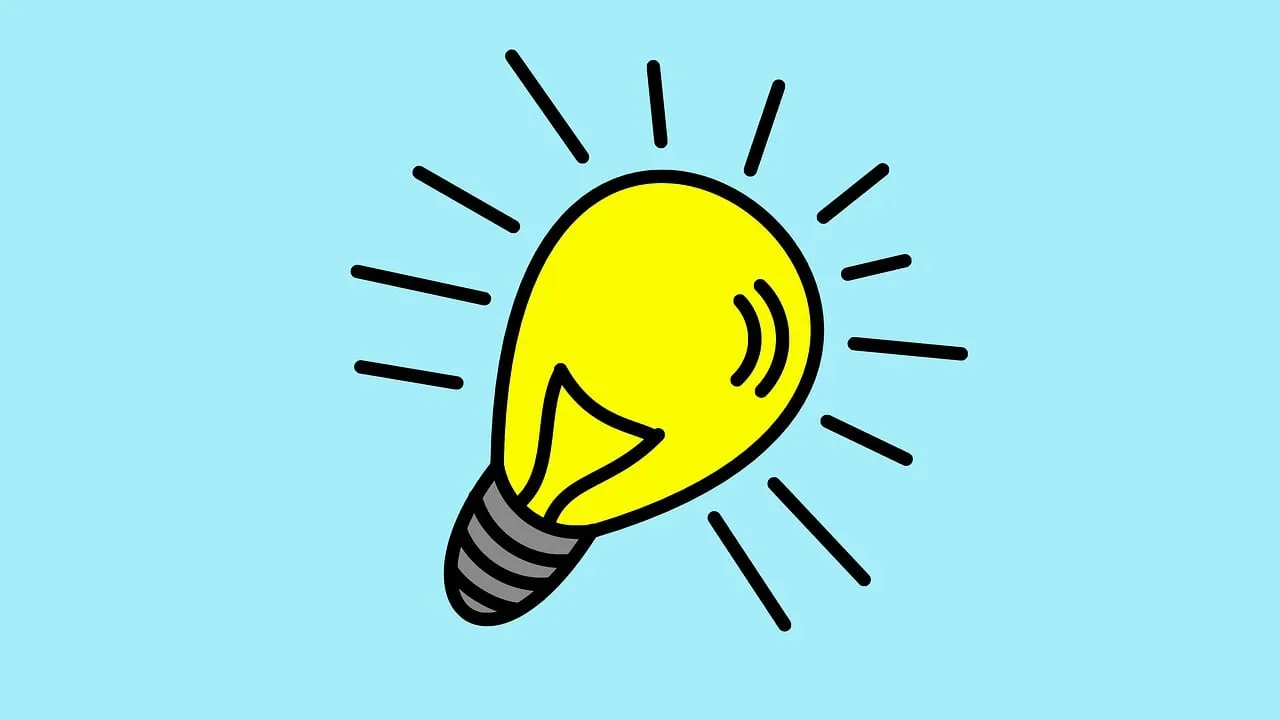
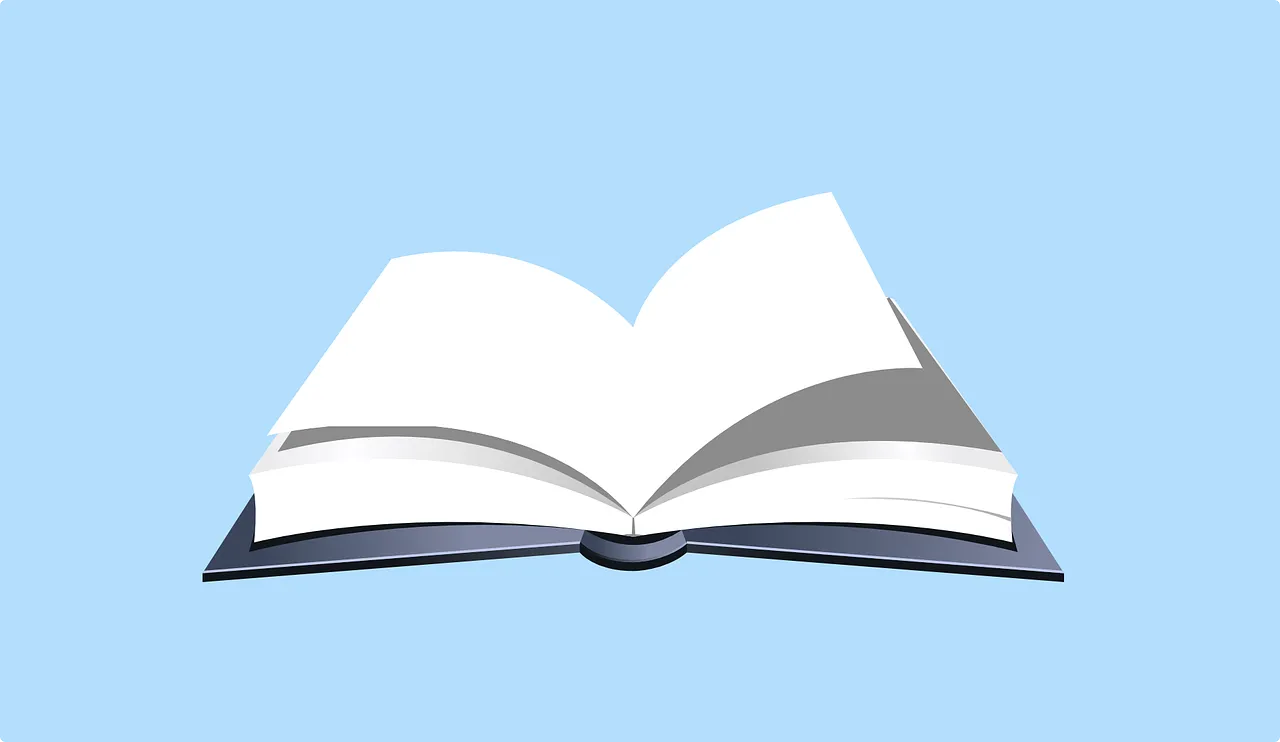
Aside from downloading the Hive Learners logo from the discord channel, I also downloaded some of the previous covers from hive learners to get an idea what to do and to crop some images that I might be able to use for my layout. Aside from that, I also downloaded free images from Pixibay which are all sourced. As you can see, some of the image has background so Initially modified it with photoshop to make it transparent and to fit for my layout.
 |  |  |  |
|---|---|---|---|
Step 3: Working on the left side
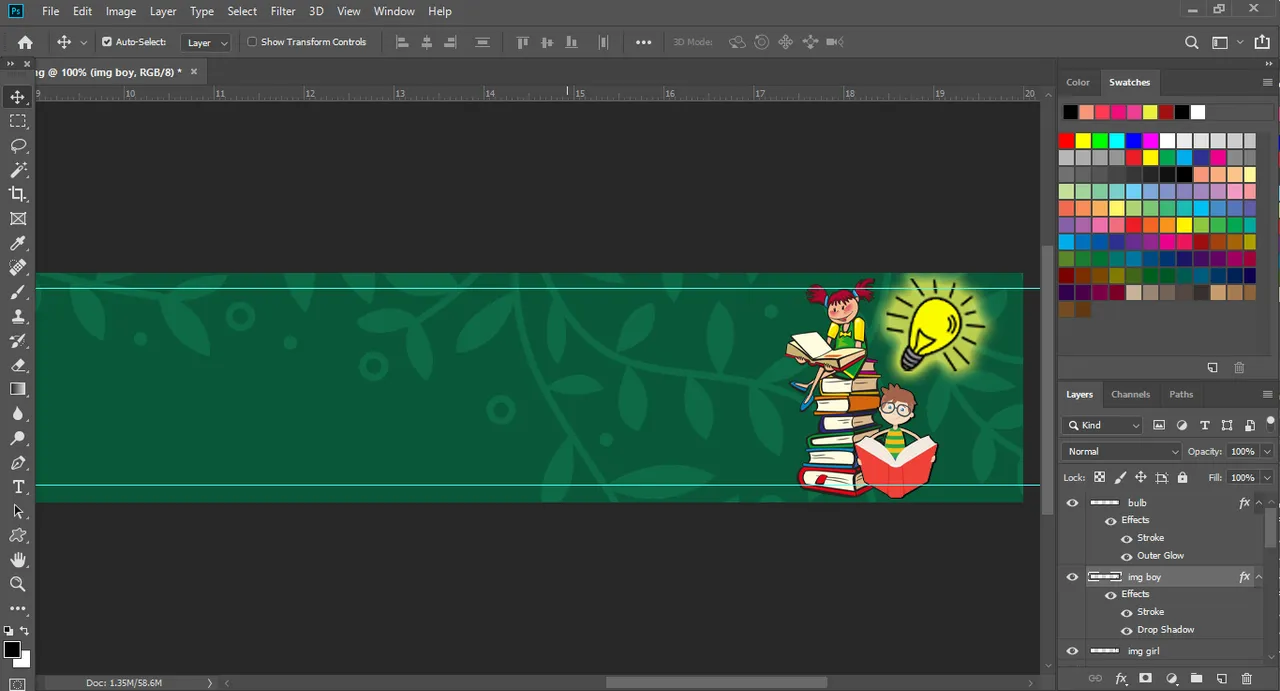
As you can see, I uploaded the background image that I made using Canva on Photoshop and use the ruler tool to make those guidelines so that I can make my layout proportionate. After that I placed the first 3 images that I downloaded and rename them to make them easier to find and edit. The img girl was good as it is but the img boy lacks shadow so I added some stroke and shadow on it while I put a yellow glow the bulb to make it seem that it has power. Next, I made it seem like that the img girl and img boy was reading together and place the bulb next to it. This is to signify that as we learn new things, new ideas also appear to us.
Step 4: Working on right side

On the right side, I placed the last image that I downloaded and did some modifications into it to make it seems like it was flat out open then I placed the tree which I get from the previous Hive Learners cover to make it seem like that the tree is taking roots from the book to symbolize Tree of Knowledge. I also think of the tree to represent us because as we learn new things, we also grow as an individual and those different branches represent the different type of knowledge that we acquire.
Step 5: Back to the left side
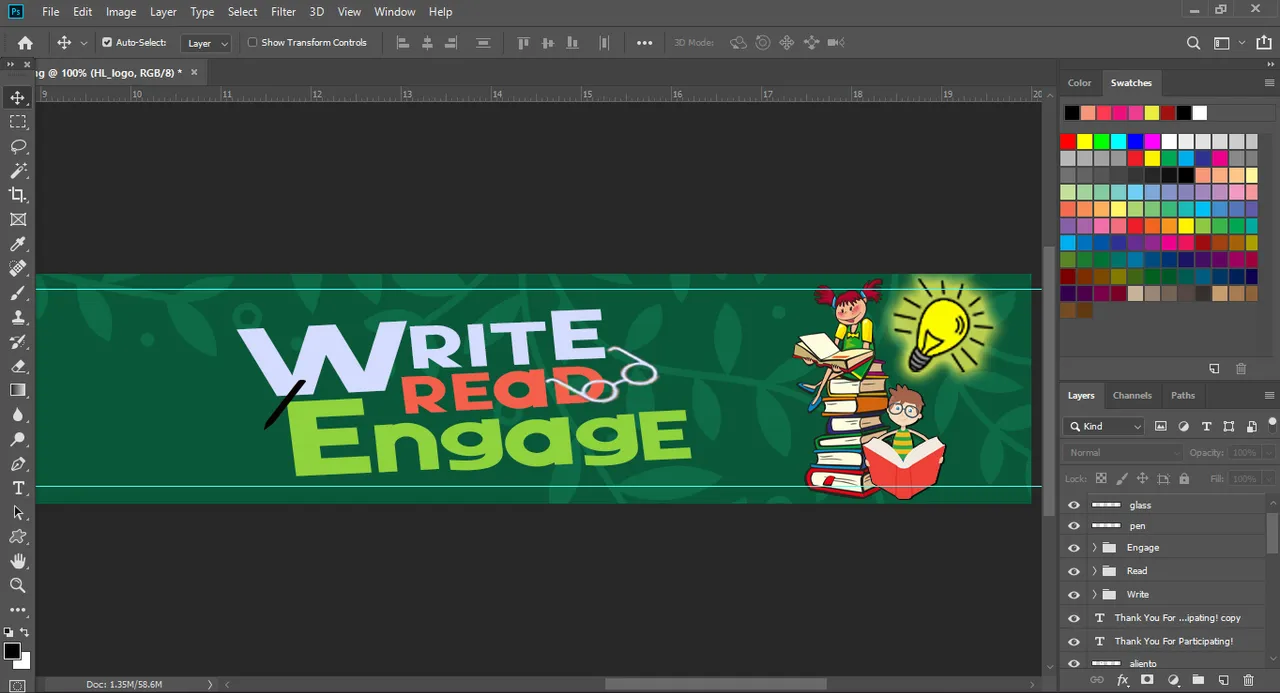
For this part, I added the text "Write, Read, Engage" which is to say what we need to do to be a good member of the community which is after making our content, we should also read and engage with other community members which also serve as a personal "note to self" to me to engage and support other people's content. I make it similar to the design of the "Learning Never Ends" because I think it's cool and also fits because I have only use 3 words. The reading glasses also fits for the word read but I replace the magnifying glass with pen for write. The font style I used was Gila which is free to use for commercial use.
Step 6: back to the right side
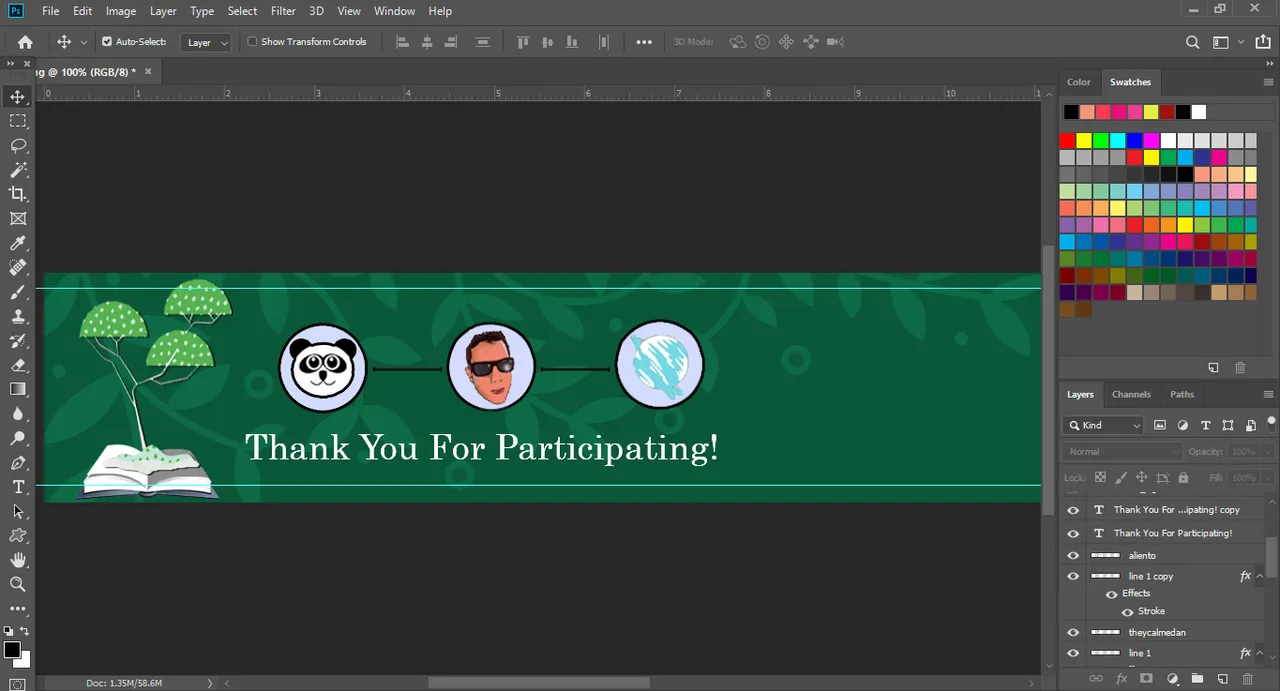
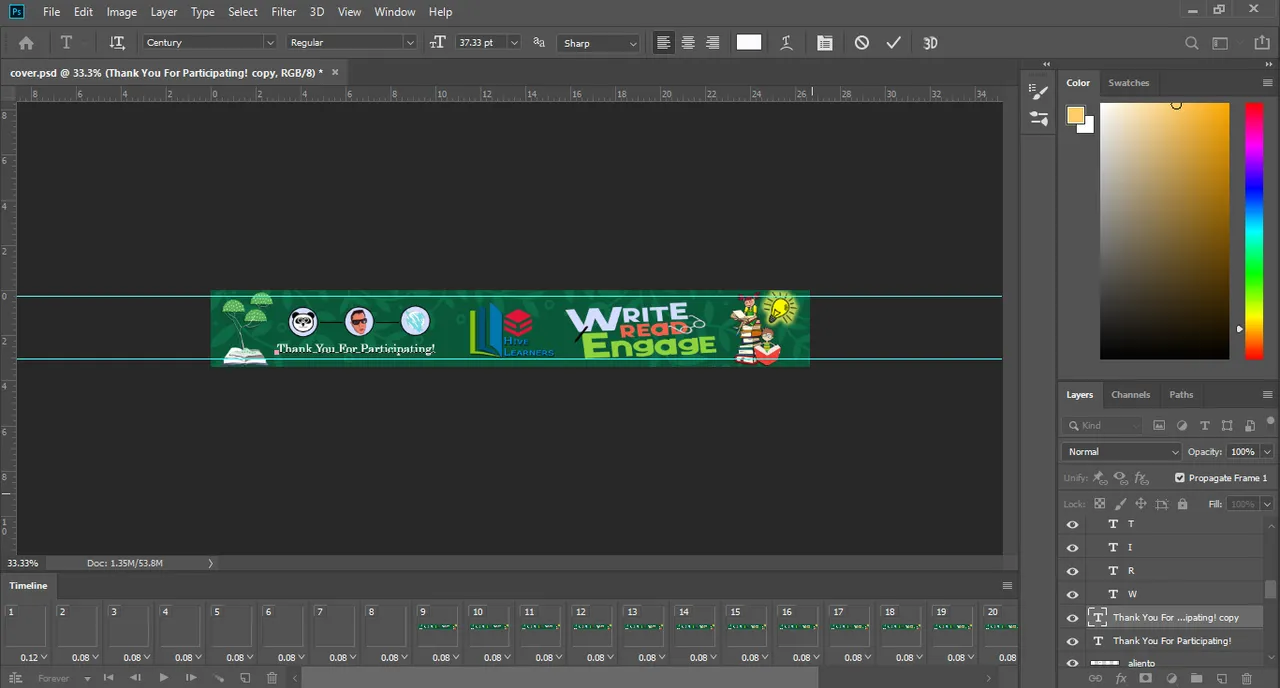
Here, I placed the picture from lazypanda,theycallmedan and aliento which I also get from the previous HL image. I did it to show appreciation to them for supporting the community which is very significant to the growth of the Hive Learners Community and so that other Hivers that are not subscribe to Hive Learners would know that we get curation from this accounts which might convinced them to join the community. I am not sure if it is ok to use the image because I did not ask for the permission but I have a alternate design below in case that it is not. I wrote Thank You For Participating because I just assume that it will be used for the future contest but can be changed anytime. I used Century font which is free fro commercial use.
Step 7: Finishing touches
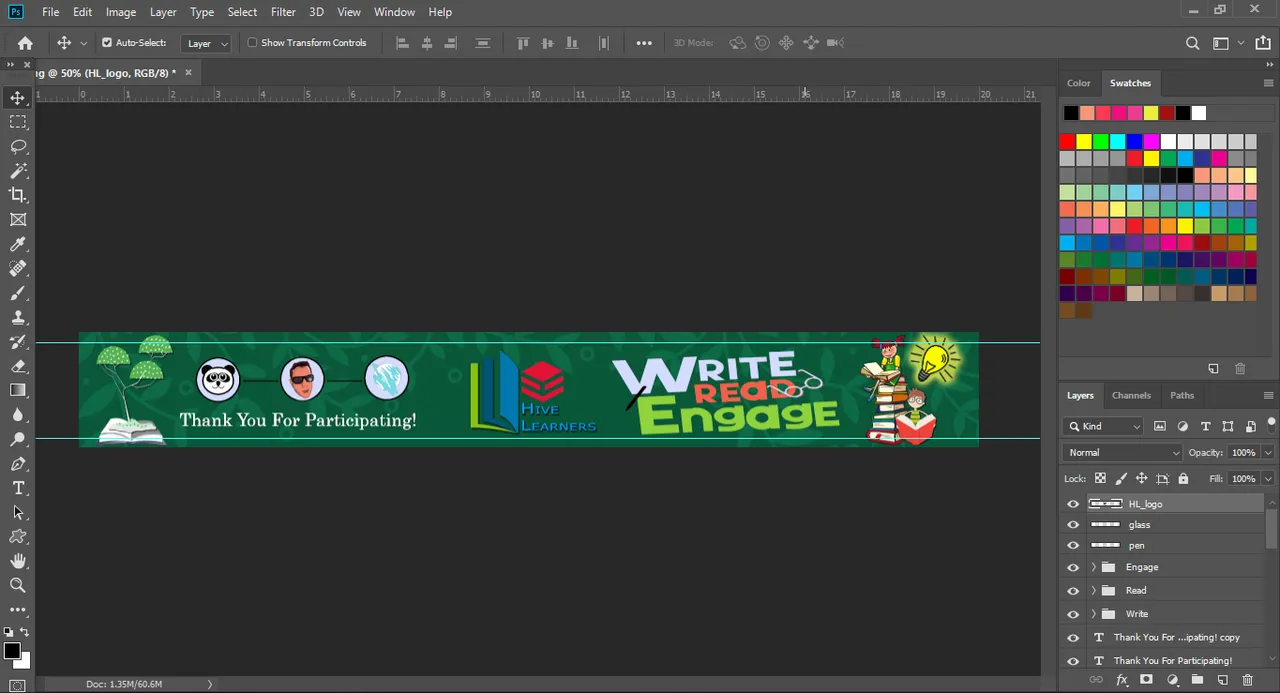
For this part, I now place the Hive Learners logo in the middle, did some adjustments on the position of the designs and save the file as PNG format.
Step 8: Optional Animation
While saving the cover as PNG file was already a finished product, I did some animation with the text because why not. The text animation was similar to the Wipe and Fade animation in Canva but much slower. That was another perks why I use photoshop because I can adjust the time for the animation which I cannot do on Canva because I only have the Free subscription.
Finished Product
Cover 1:

Cover 2:

Cover GIF

And that was it for this post. I congratulate Hive Learners for reaching 5k subscribers and was looking forward for it reaching 10k subscribers soon. If you have suggestions upon my work, feel free to put comment below. I give consent to Hive Learners to officially use the image. Thank you and see you at my next post.