Modified by @saydie using Canva- Fonts used are Open Source
Hello everyone! @saydie here and this will be my entry for the Newbies Task 2 of the Newbies Initiative that will be focused on various guidelines that we need to know to avoid making mistake within the Hive Blockchain which I have neglected to know up to this point. I would also talk about how to use Canva to make thumbnail image as well as markdown codes to make our blog post more presentable and organized.

Things Expected on a Hivean
I am really grateful to be able to discover Hive that brings earning opportunity to me by creating blog content that are rewarded by the community but as a Hivean there are things that we must do in order to keep the support of the community to the contents that we make and here are them:
Sourcing
When creating post, we often use images for some visual representation for the content that we made in order to make it more eye- catching for the readers but most of the times, the image that we use does not belong to us and as a Hiveans, we are expected to Source where we get the image that we use to give credit to the owners of those materials. As example, I will be using the thumbnail that I use for my first task below:
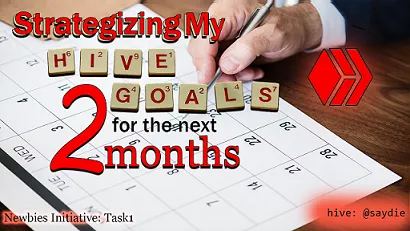
As you can see, there was a Source link that was written under the image that not only tells that the image does not belong to me and would also tell others from where to get the original image. Another consideration when acquiring image was for them to have Creative Commons licenses for usage rights to avoid the image from being removed from your content.
Engagement
"No man is an island!" and we as Hiveans needs the support of the community in order to grow within Hive and for us to accomplish that, engagement is very important for you to get noticed by others. Like social media, engagement are important to keep you connected with others but for Hive, it also increases our earning opportunity. The best way to engage is by giving meaningful comment to a fellow creator about the post that they made and befriend them so that they will support you back in the future.
We can also increase our engagement by participating on community contest as well as joining community discord and chat to the other users.
Tags
In order to reach the target audience for the content that we make, the use of proper tags is very important. Tags help on getting your content easy to search for other users who share the same interest that would more likely to upvote your content.
For example, you created a horror movie review. The use of movie tag will help your post to get exposed to other hive users that have interest for movies and if you add horror as another tag, so that users looking for a horror movie to watch can search for your blog easier.
Things Hiveans Must Not Make
Plagiarism
Plagiarism is the act of using other peoples idea as your own content to take credit for their work. On Hive, Plagiarizing was strictly prohibited because it will not promote growth for the content creators. It will just encourage opportunist to flood on Hive for some quick profit so in order to prevent that, Hiveans can also downvote the users that are plagiarizing content to remove the rewards from the user and can also cause for the user's reputation go decrease.
As an example, I saw the account bellow plat out copy pasting an entire article for his post and got it downvoted. As a result, the user did not earn from its post and got its reputation bellow 10 when the starting reputation upon the creation of a Hive account was 25. I just hope that with this incident, this user have leaned his lesson.

Vote Begging
As we create post on Hive, there are times that they do not get the expected upvotes for the effort that we spent and that always feels very discouraging even for me but that does not mean that we should beg for upvotes. As a creator we should be proud of the work we made and take the failures from this event as a learning experience to improve our selves. With continued engagement and consistent quality of content, the upvotes will eventually come to us as long as we became patient. On the other hand, vote begging may also encourage other users from muting you or downvoted your content instead.
Markdowns
Markdowns are commands that we use in order to organize our blog. Whether you want to make the text stand out by making it Bold or Italic, you will be using this codes. As someone with coding background, I am quite confident on my knowledge of using markdowns and if you know about HTML, they have different syntax to markdowns but works the same and sometimes even better but this blog will take too long if I discuss it all here and thankfully, I have already created a Markdown and HTML guide before containing the fruits of my trial and errors reading through other markdown tutorials so I will just link it there.
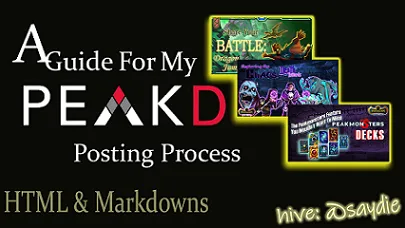
A Guide For My PeakD Posting Process
Canva
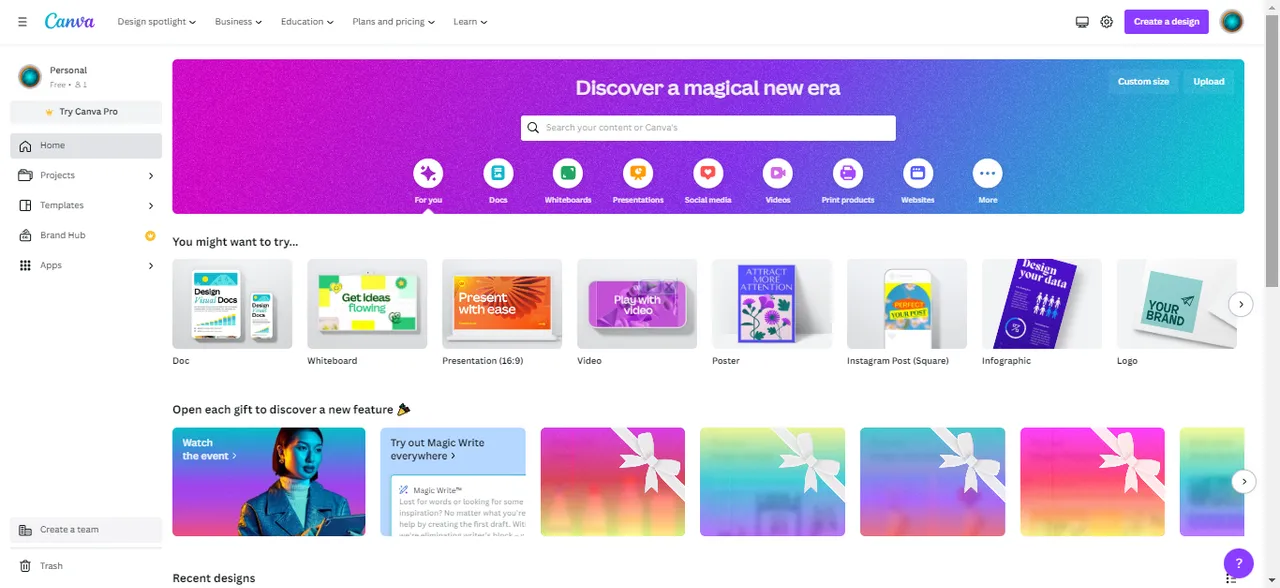
Canva is a web- based editing tool to customized images that makes it more accessible than others and everyone can use it for free though to access all of its features, one needs to pay for the premium. For this part, I will gave you a walkthrough on using Canva by showing the process for making a simple blog thumbnail for this post.
- The 1st thing to do was go to their Website and create an account and after that, you can now start to make your thumbnail.
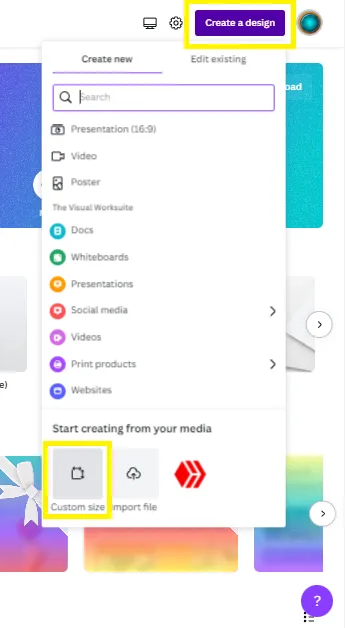
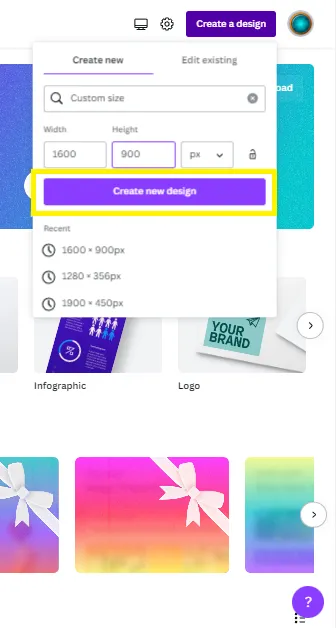
- To start creating thumbnail, click on the "Create a design" button and among the options, I choose the "Custom Size" to make the size to 1600 x 900 px cause it will make a good size for my thumbnail and will look good when I share the post on social media platforms like Twitter.
 |  |
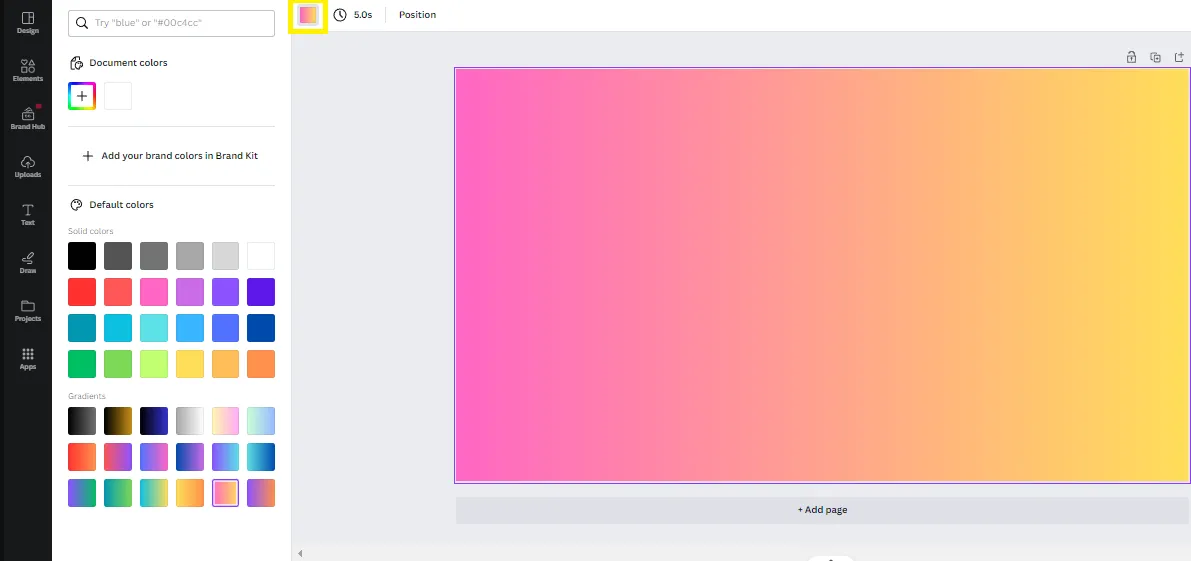
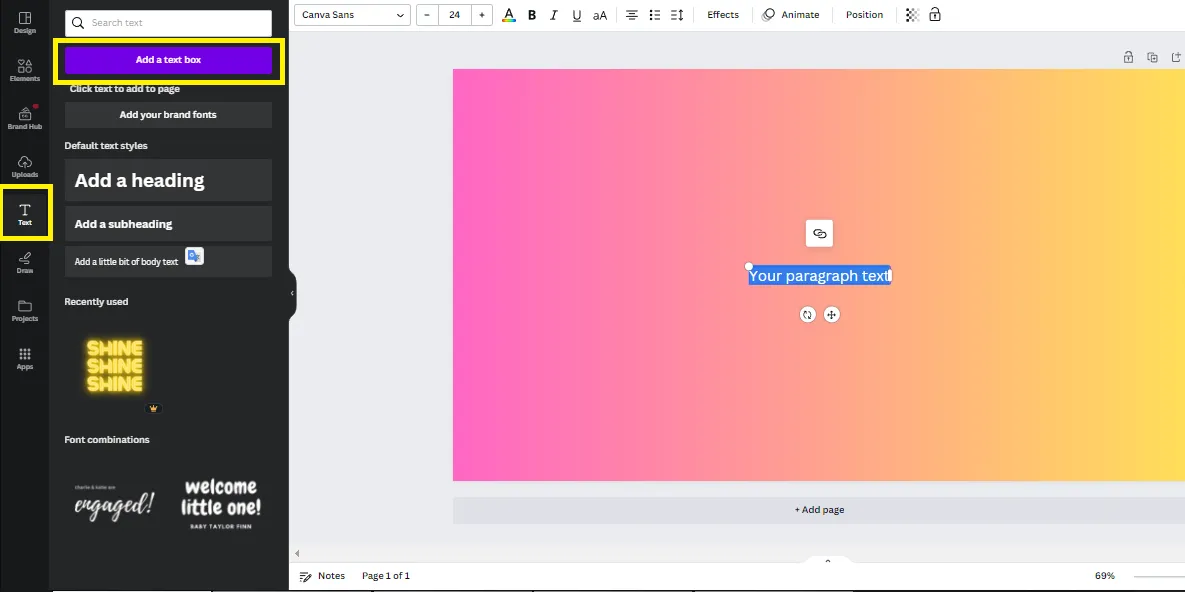
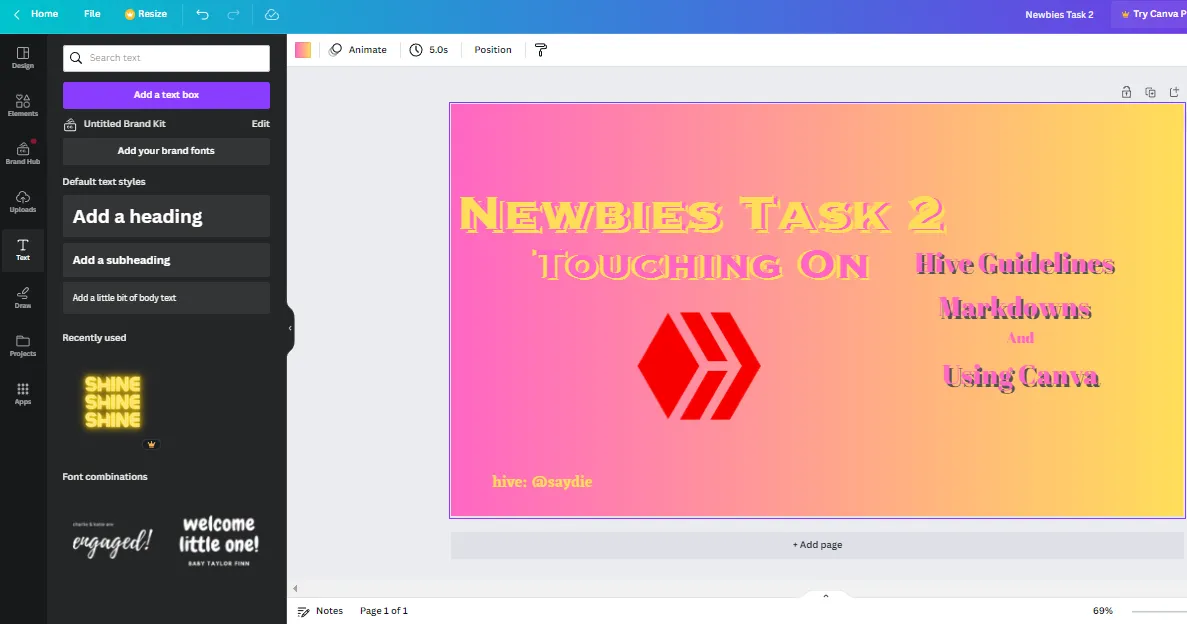
- After that, you will be transferred to a white page where I create the thumbnail, I changed the color of the background. Then, I switched to the "Text" button and By clicking on the "Add a text box", I added the title for my post and tweak some of them by editing their font style, size and color.
 |  | 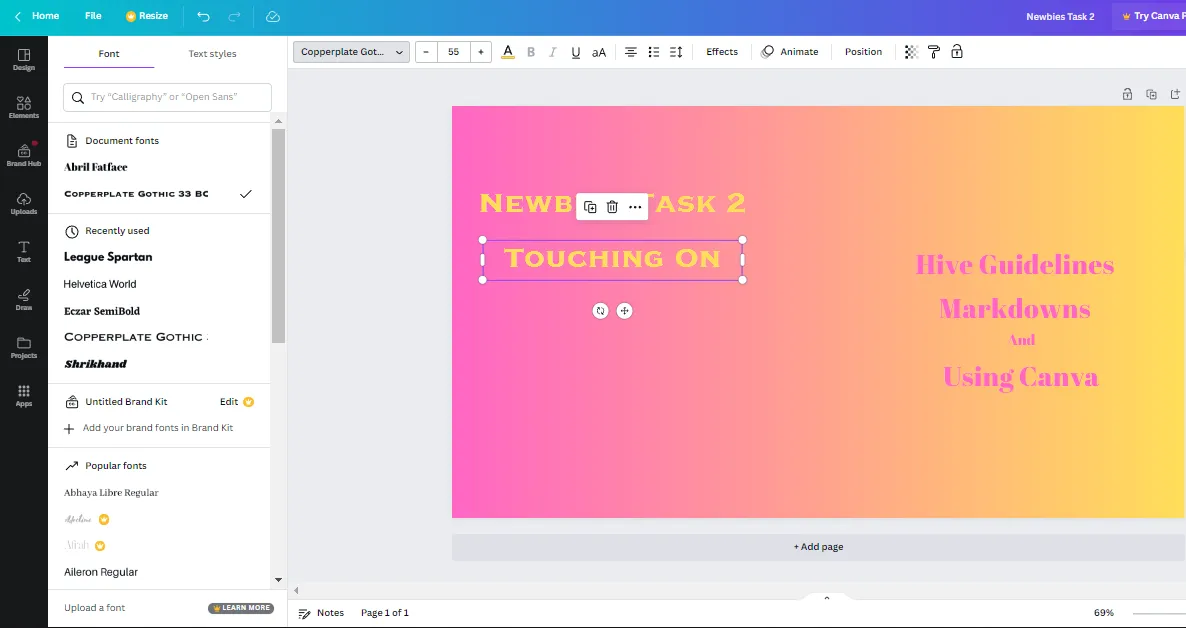 |
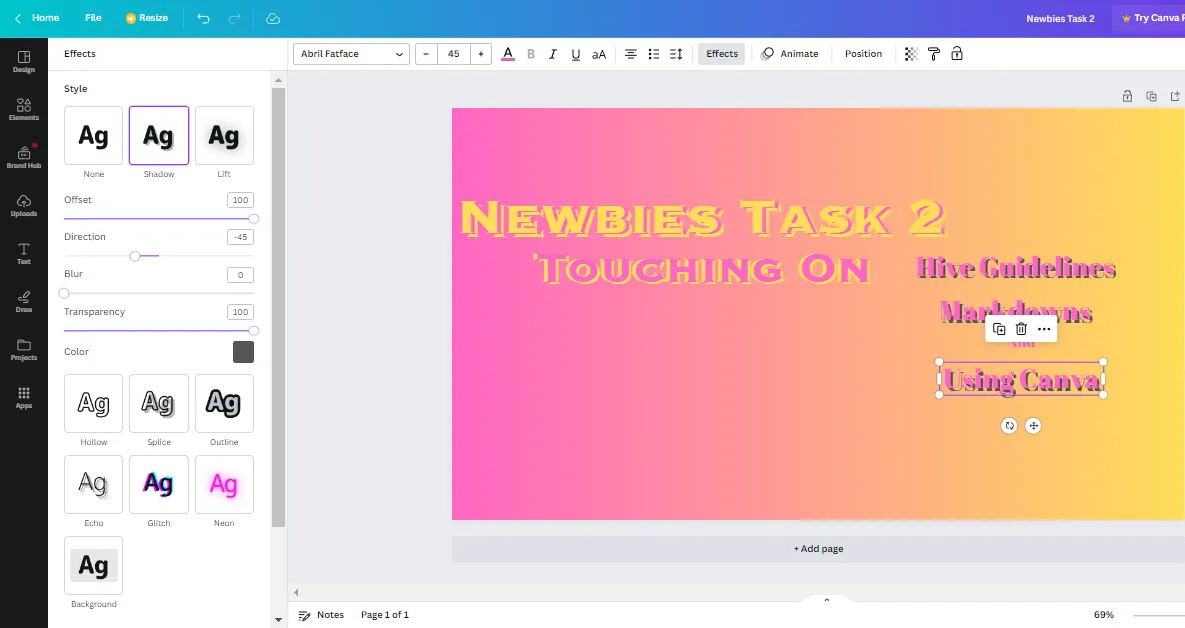
- The next I do was to make duplicate to some of the text by clicking on ... to show more options and this will allow me to view the Image Layers.
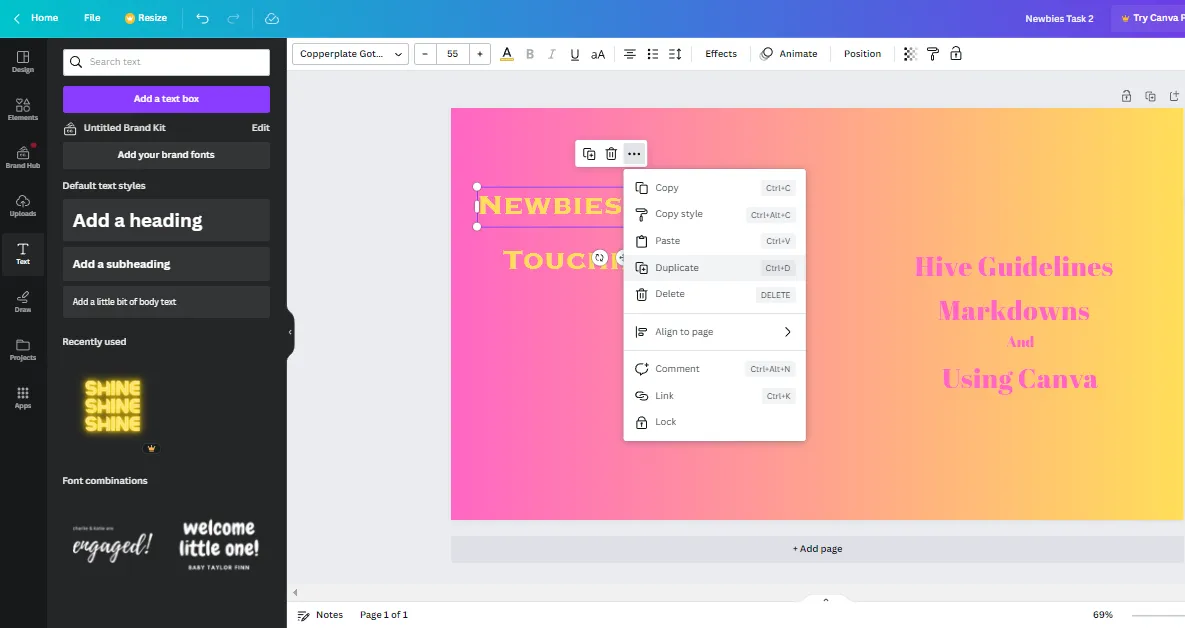 | 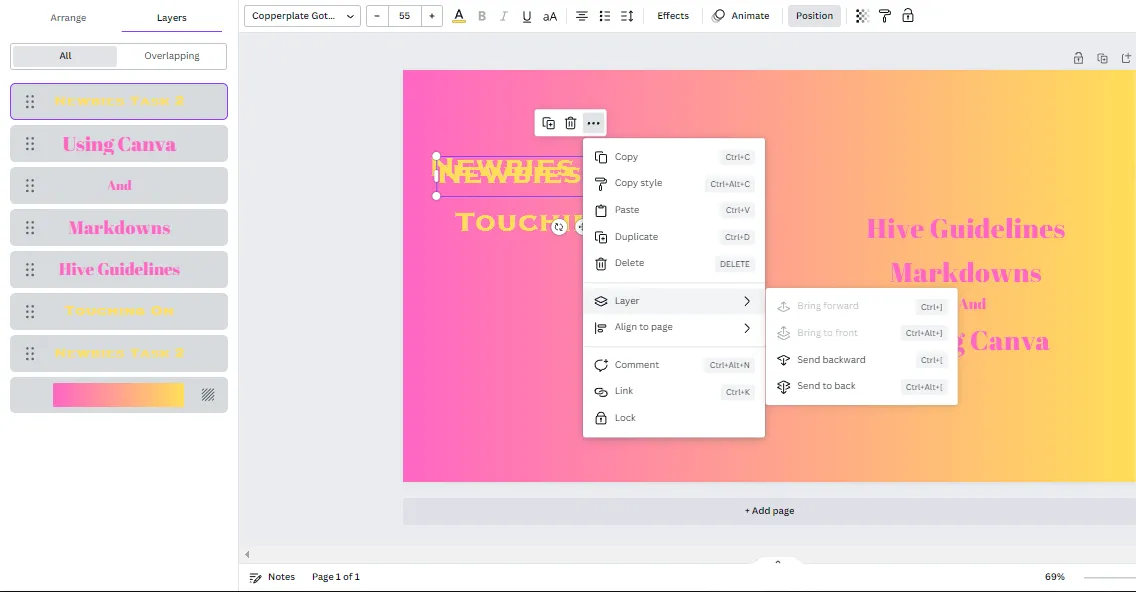 |
- After playing with the font style and color, I came with the design that I was satisfied then proceed with the rest of the text and edit their styles.
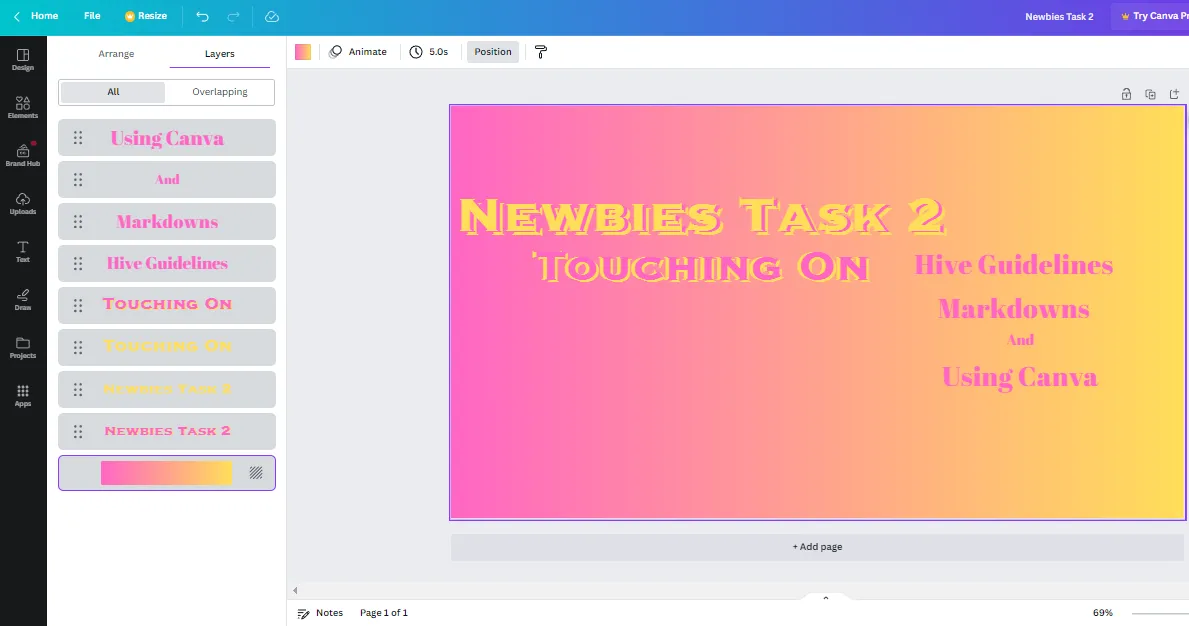 |  |
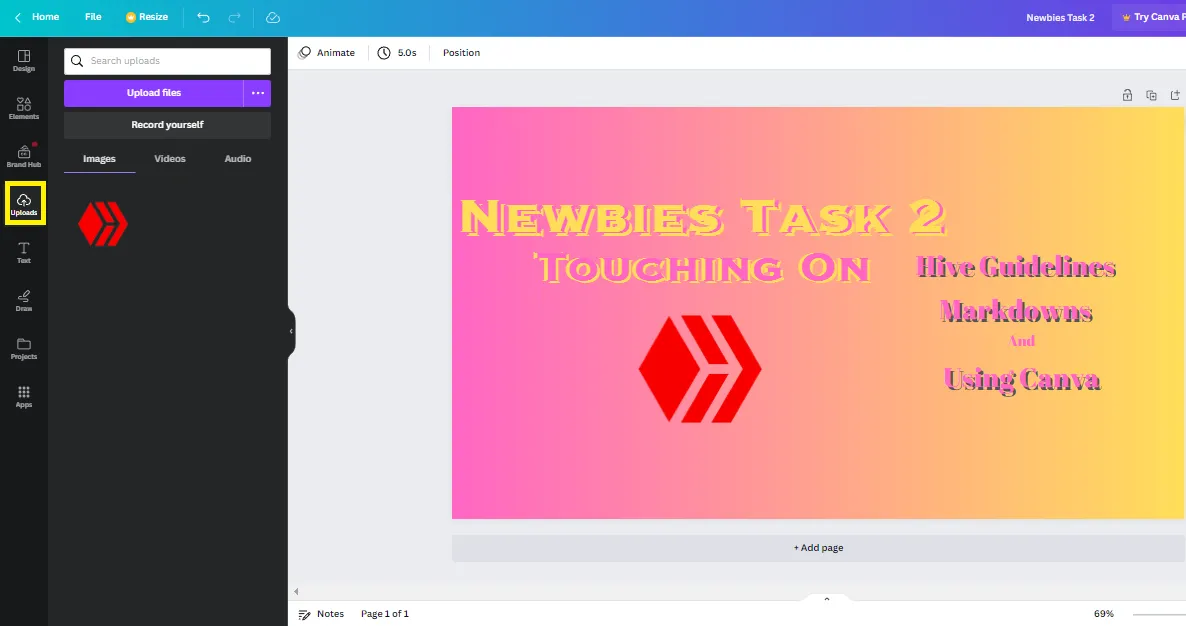
- Next, I go to the "Upload" to fetch the logo for hive for the final touch and before I forgot, I also include my ign for my thumbnail.
 |  |
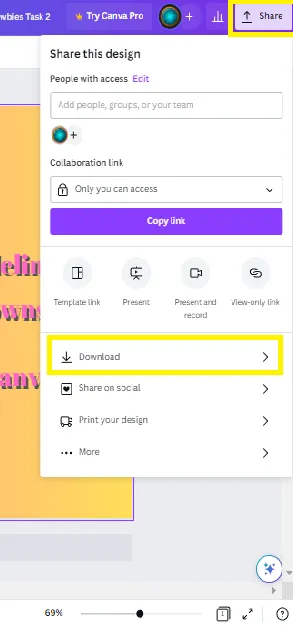
- All I need to do now is to go to the share button, click on downloads and save my thumbnail and after that, I can download it to be uploaded for my blog thumbnail.
 | 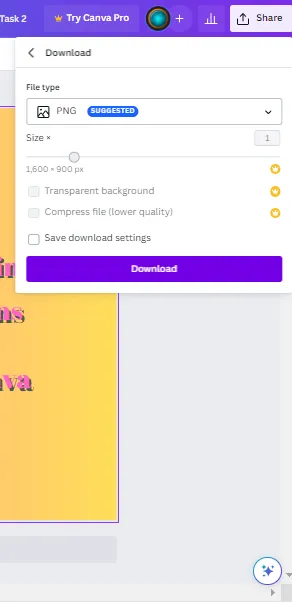 |
Conclusion
The Do's and Don'ts in hive was just something that I did not pay attention before but I realize now how important this knowledge is for my Hive journey so I'm really glad to enter the initiative. On the other hand, my coding experience was able to familiarize me quite easily to markdowns and made it easier for blogging. For the thumbnail image, I choose not to make a very elaborate thumbnail so that it will be easy for anyone to follow but I believe that learning Image Layers was necessary tool everyone should know since they would allow options to customized their work even further that's why I show how it can be used.
Thank you for reading my post and see you on the next task!
Credits
The Dividers with the Hive logo in this post were created by @thepeakstudio and if you like them you can use them for free, the Hive logo is property of https://hive.io