
Español
Hola querida familia de Hive 🙋 Este hermoso día traigo para ustedes un divertidísimo paso a paso lleno de estilo, en dónde les mostrare como elaborar un cuadro de un vestido de gala, la cual luce un vestido muy hermoso y elegante, pues, si les gusta la moda, este es su cuadro ideal, y por supuesto no olviden que pueden agregarle los detalles que deseen, y fortalecerán su originalidad. Así que manos a la obra y sigamos aprendiendo nuevas ideas en esta cuarentena.
English
Hello dear Hive family 💁 This beautiful day I bring you a hilarious step by step full of style, where I will show you how to make a painting of a gala dress, which wears a very beautiful and elegant dress, well, if you like the fashion, this is your ideal painting, and of course do not forget that you can add any details you want, and they will strengthen its originality. So let's get down to business and let's keep learning new ideas in this quarantine.
¿Qué están esperando?
Utilizar estos hermosos materiales para transformarlos en un hermoso cuadro de vestido de gala, es una idea muy original y económica para decorar nuestro entorno y darle un toque de creatividad a nuestras paredes. Antes de comenzar no olvidemos lavarnos nuestras manos.
What are they waiting for?
Using these beautiful materials to transform them into a beautiful gala dress box is a very original and economical idea to decorate our surroundings and give our walls a touch of creativity. Before we start, let's not forget to wash our hands.
 >
>[Materiales | Materials]
Para hacer esta precioso cuadro necesitaremos:
- Moldes.
- Foami o goma eva.
- Lamina de cartón.
- Papel lustrillo.
- Brillantina.
- Lápiz.
- Pincel.
- Pinturas.
- Tijera.
- Cúter.
- Pegamento o silicón liquido.
To make this precious painting will need:
- Molds.
- Foamy or EVA foam.
- Cardboard sheet.
- Glossy paper.
- Glitter.
- Pencil.
- Brush.
- Paintings.
- Scissors.
- Cutter.
- Glue or liquid silicone.
Procedimiento (paso a paso)
Process (step by step)
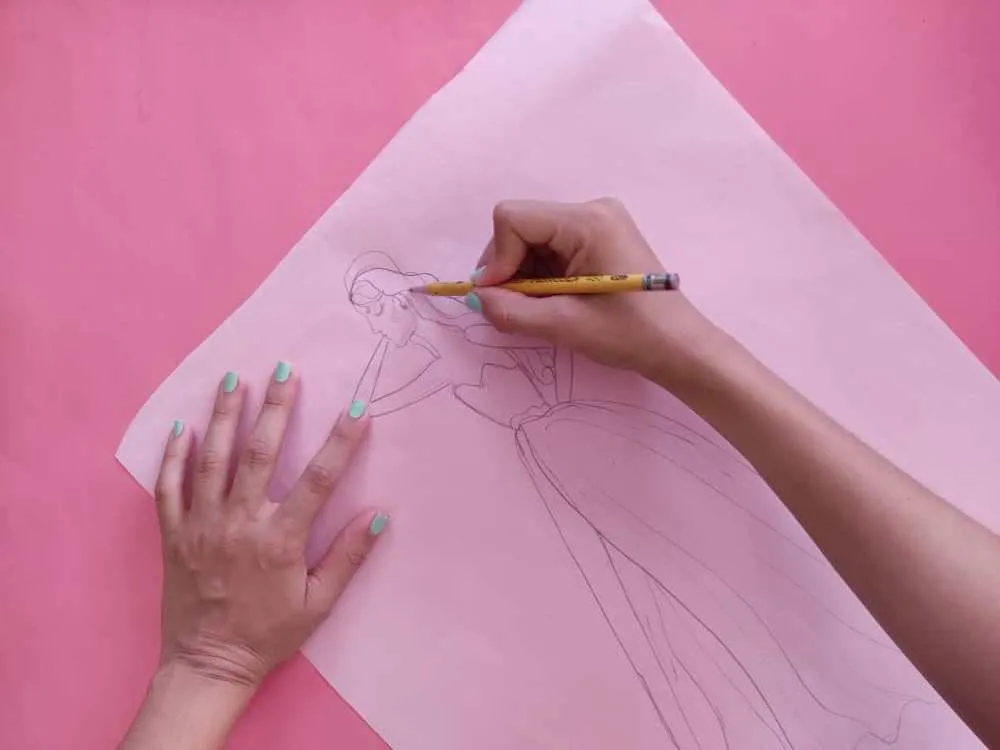
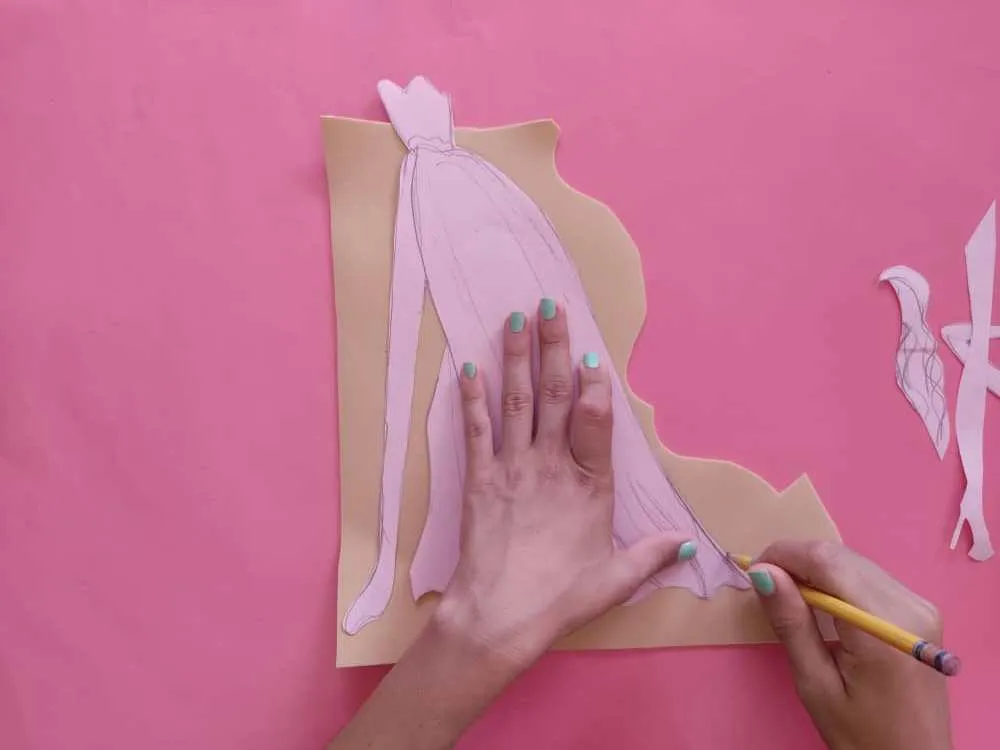
Primero, dejamos volar nuestra imaginación y dibujamos una mujer usando el vestido más lindo que puedan imaginar, yo opte por diseñar un vestido tipo princesa.
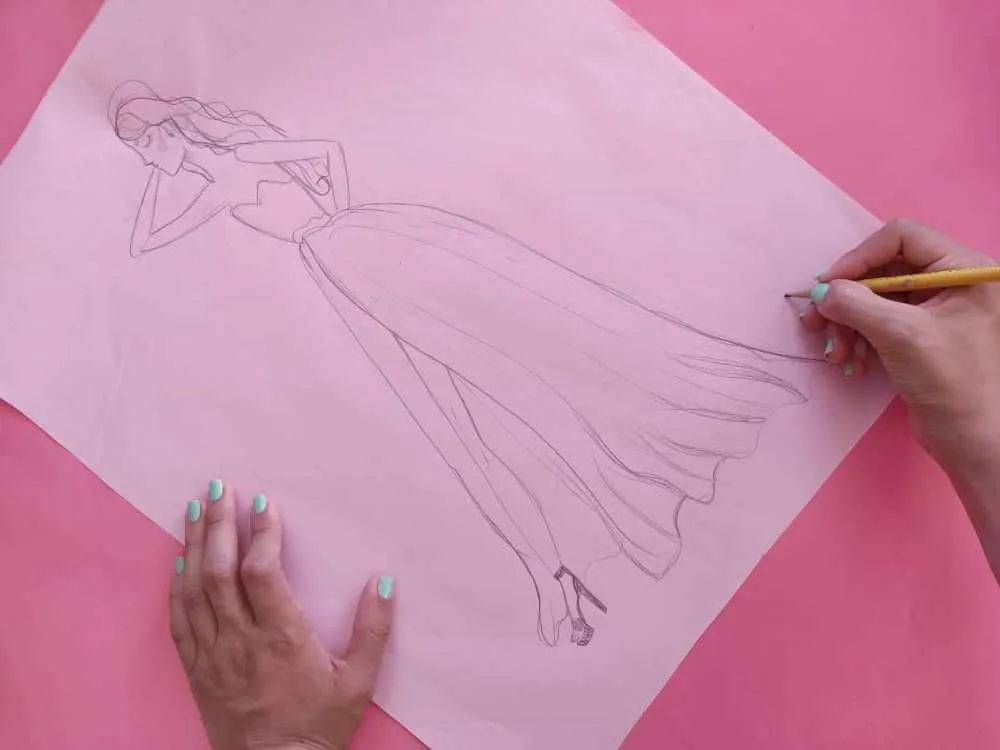
First, we let our imagination fly and we drew a woman wearing the cutest dress you can imagine, I chose to design a princess type dress.
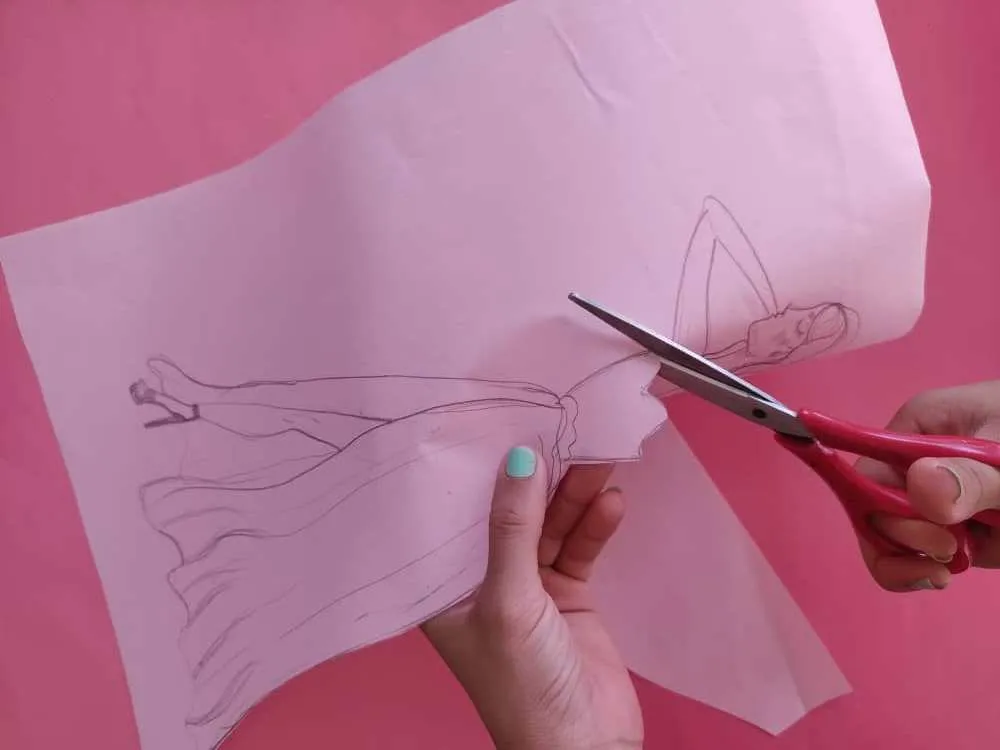
Luego de haber obtenido nuestro diseño, recortamos cuidadosamente la figura de nuestra modelo separando su parte superior, cabello, vestido y pierna.
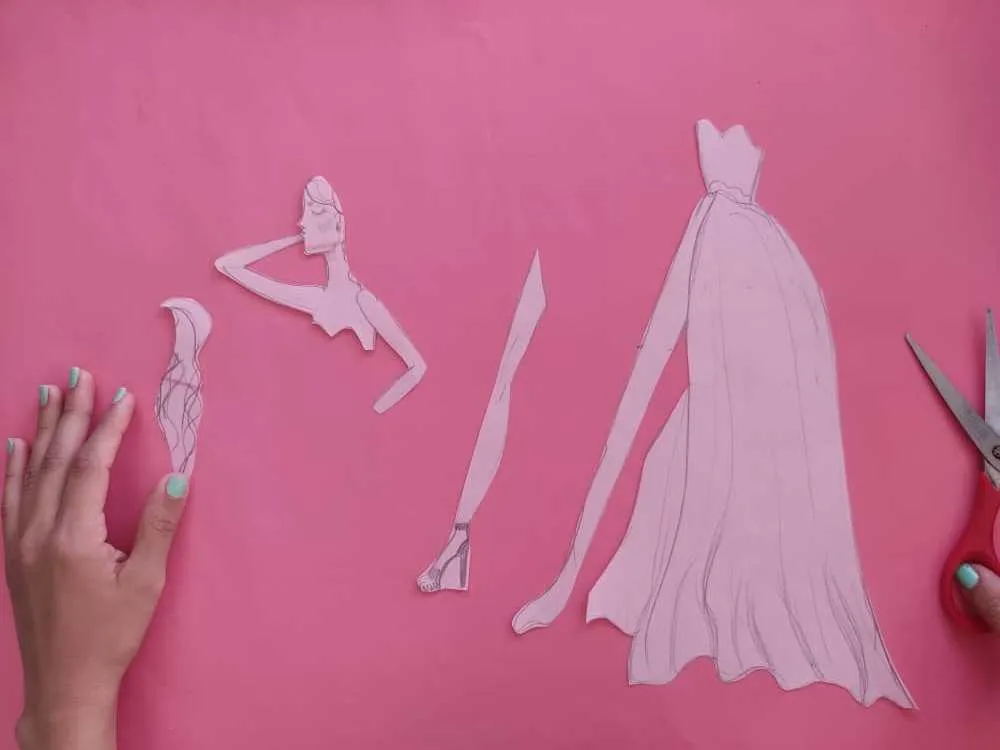
After having obtained our design, we carefully cut out the figure of our model separating her top, hair, dress, and leg.
Ahora, transferimos las figuras obtenidas al foami, recuerden hacerlo con mucho cuidado para así mantener intacta su forma, y recortamos.
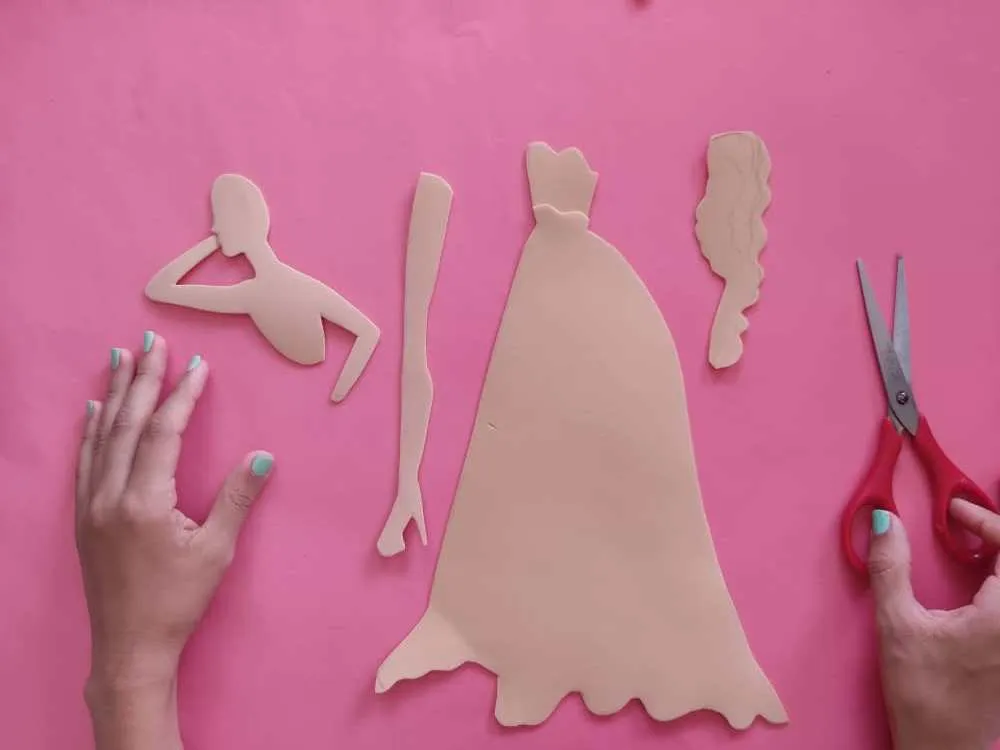
Now, we transfer the figures obtained to the foamy, remember to do it very carefully in order to keep its shape intact, and cut.
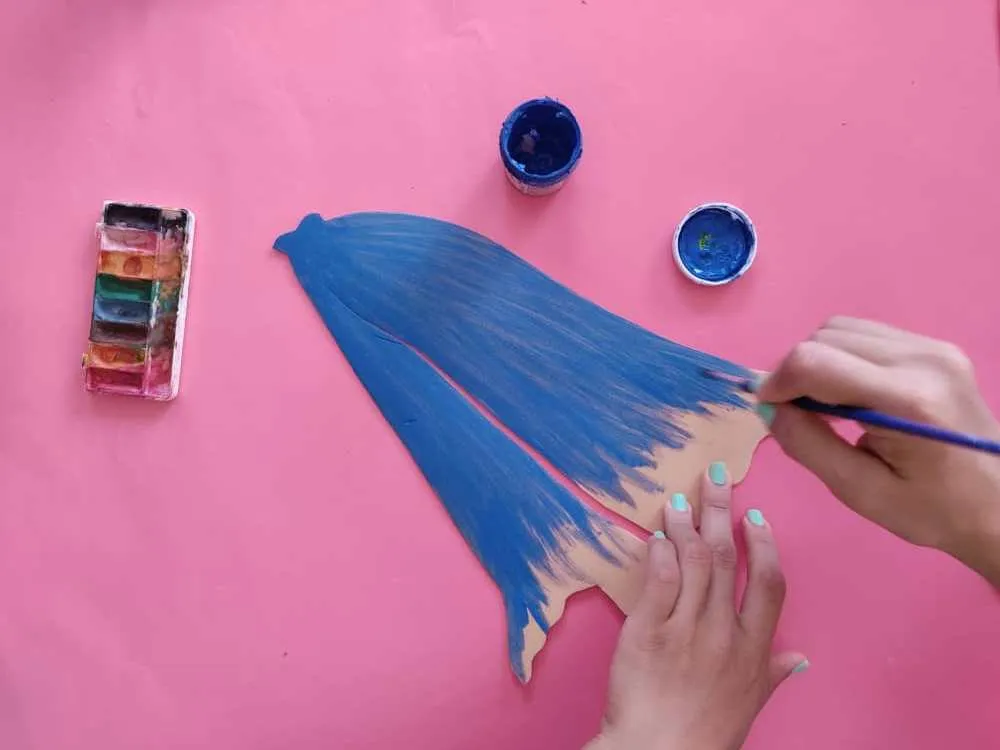
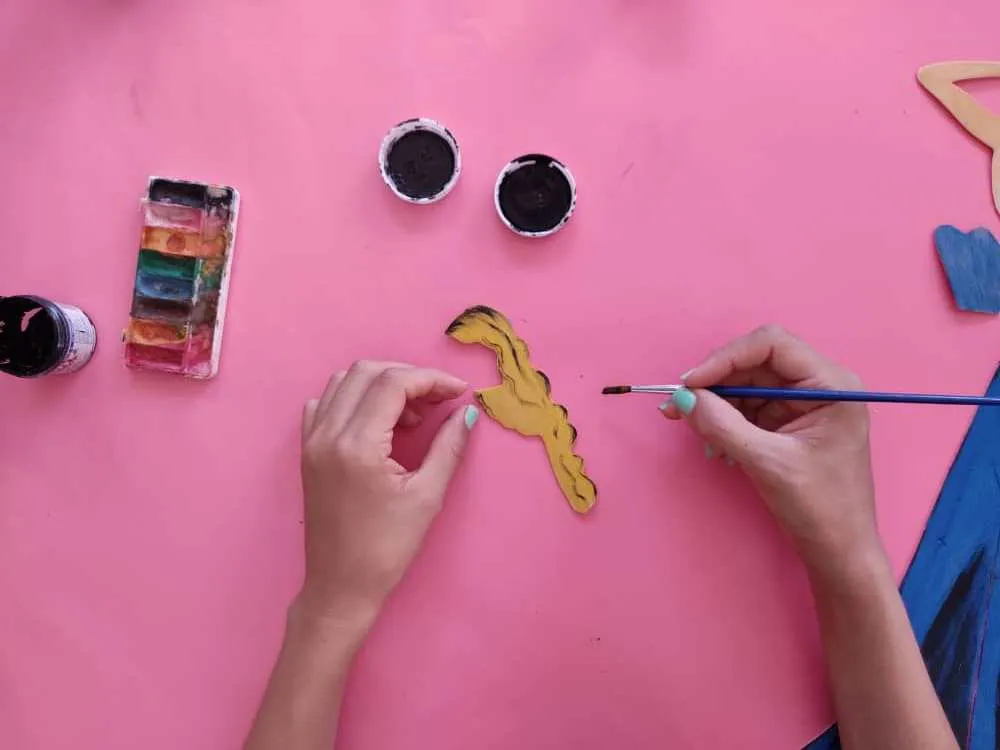
Una vez que hayamos obtenido todas las figuras de nuestra obra, comenzamos con el paso más alegre de todos, donde daremos luz, alegría y vida a todas las figuras aplicando toques muy suaves de pintura para formar un color base para cada parte.
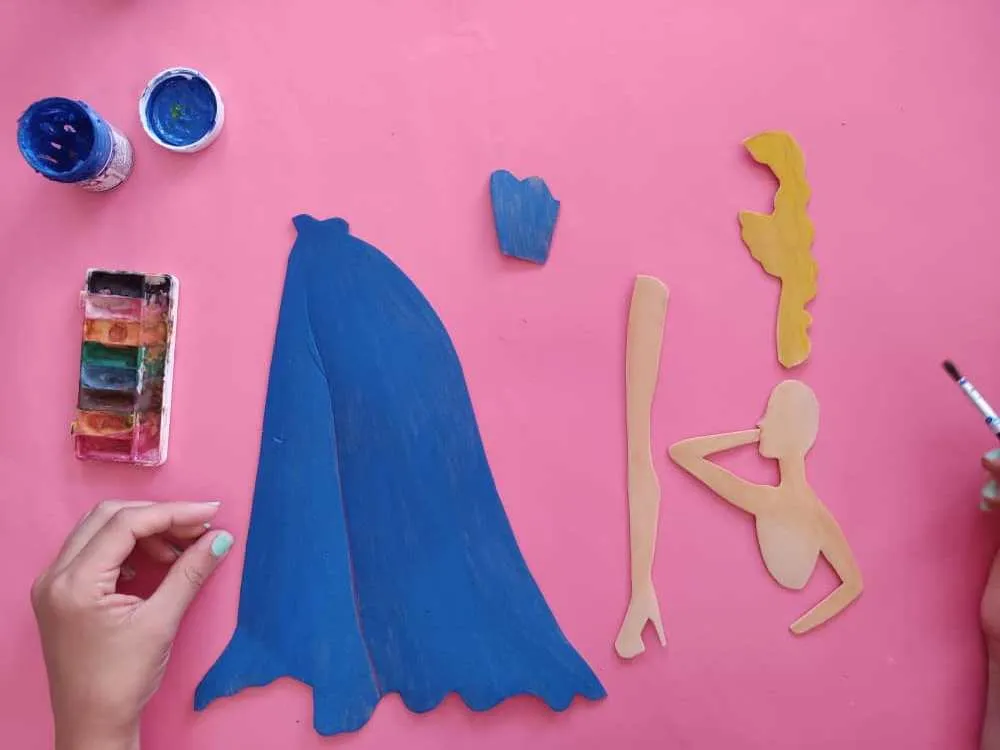
Once we have obtained all the figures in our work, we begin with the most joyous step of all, where we will give light, joy, and life to all the figures by applying very soft touches of paint to form a base color for each part.
Seguidamente, definimos los detalles de cada parte de nuestra obra con la ayuda de un pincel fino y pinturas negra y blanco, esto realmente no puede faltar, ya que, le da toques de profundidad y belleza a cada parte.
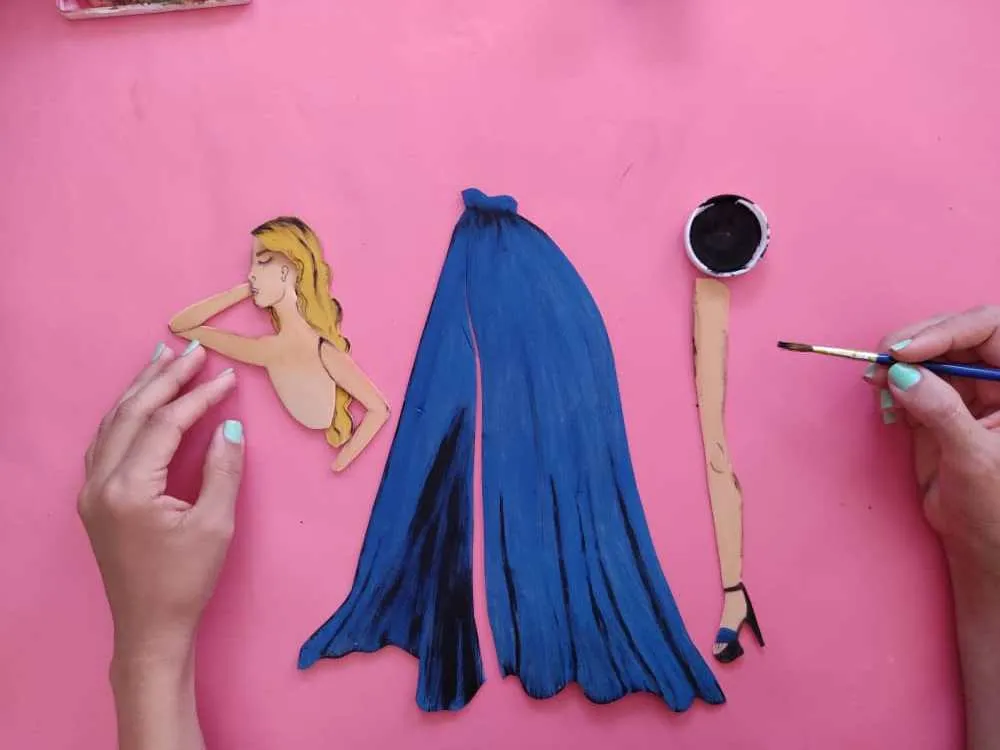
Next, we define the details of each part of our work with the help of a fine brush and black and white paints, this really cannot be missing, since it gives touches of depth and beauty to each part.
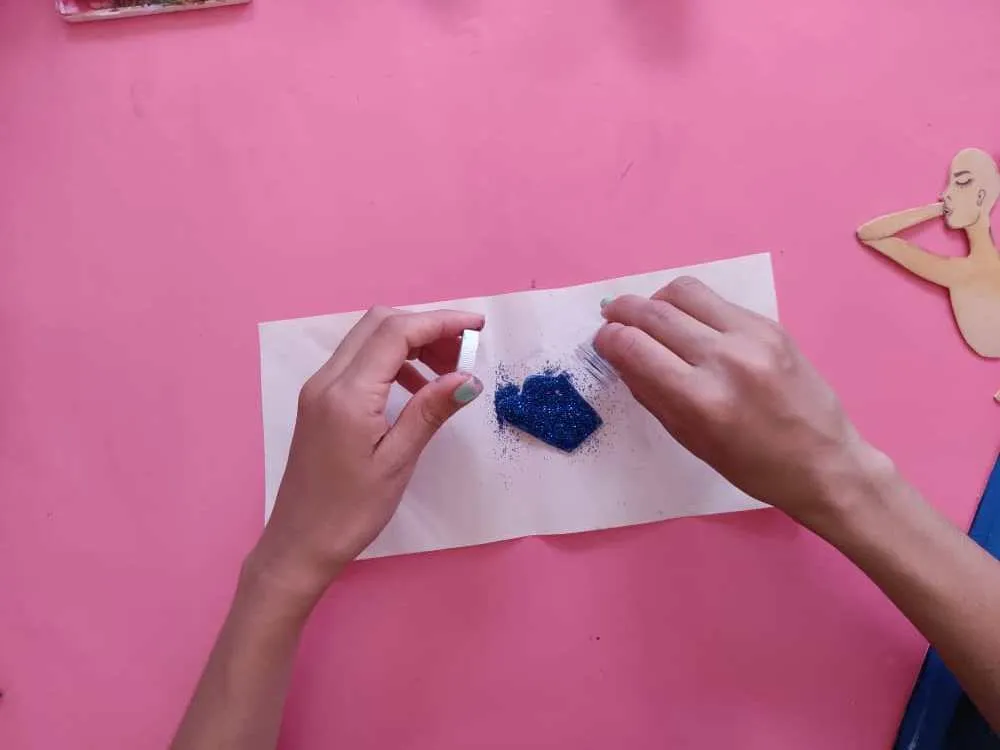
Ahora, aplicamos un poco de pega en la parte superior de nuestro vestido y le agregamos brillantina con mucho cuidado, y si es necesario hacemos unas muy delgadas líneas blancas en la falda del vestido.
Now, we apply a little glue to the top of our dress and add glitter very carefully, and if necessary we make some very thin white lines on the skirt of the dress.

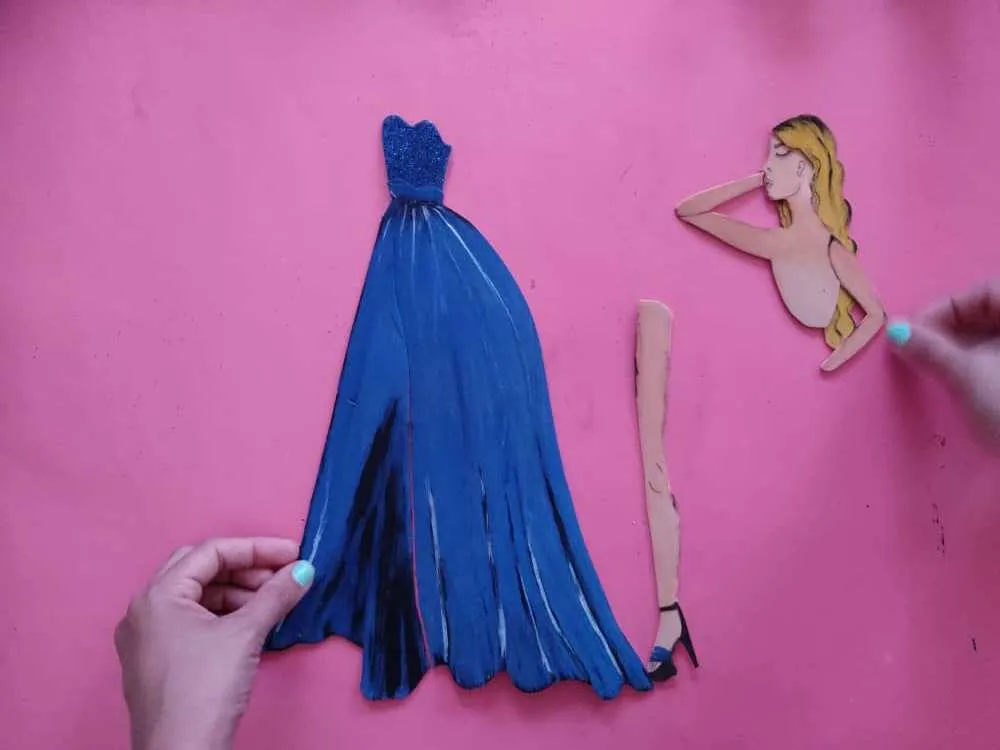
Luego, armamos nuestra elegante modelo utilizando pegamento o silicon líquido. Debemos asegurarnos que todo quede bien pegado haciendo un poco de presión con nuestros dedos.
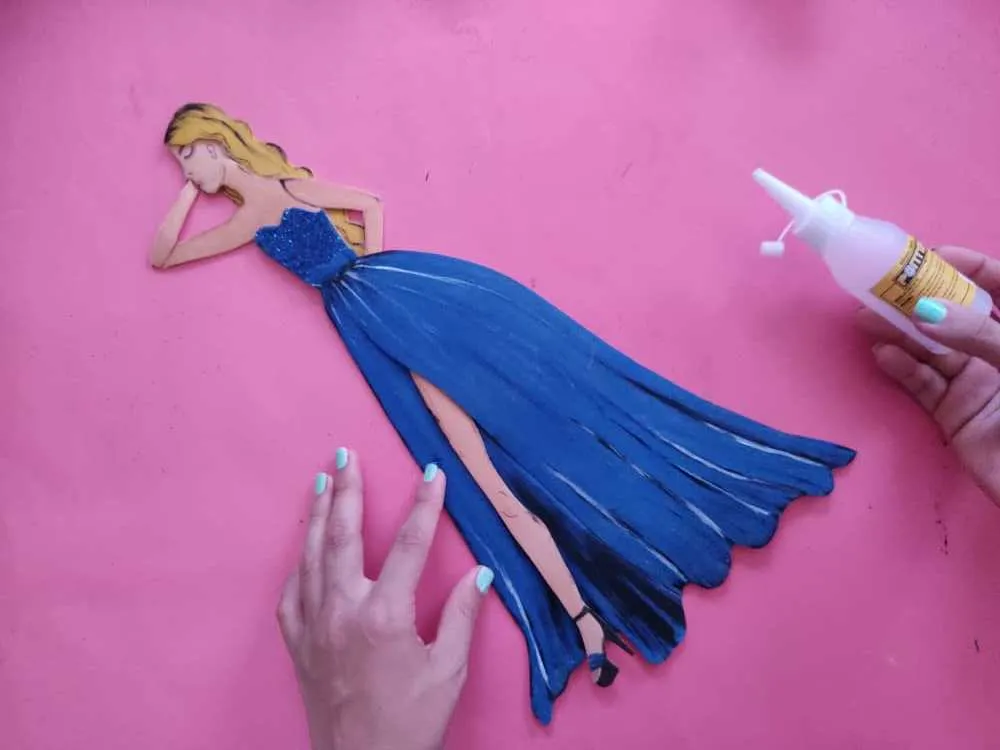
Then, we assemble our elegant model using glue or liquid silicone. We must make sure that everything is well glued by applying a little pressure with our fingers.
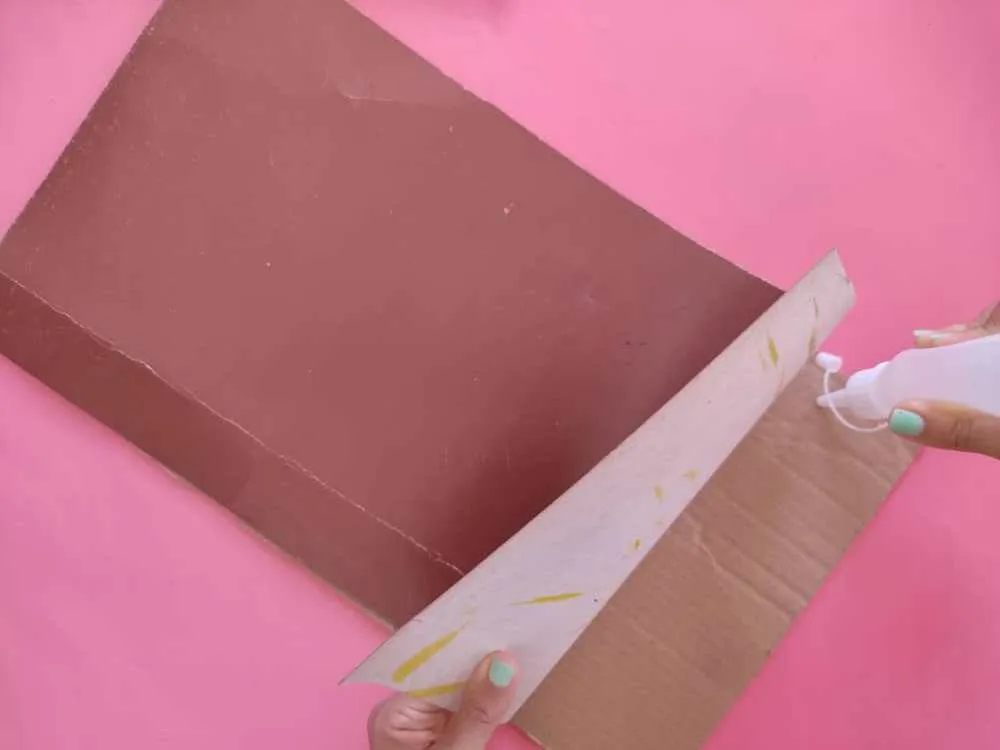
Seguidamente, elaboramos una base de cartón doble de aproximadamente 30 x 50cm, y la forramos con el papel lustrillo utilizando pegamento. Hacemos un poco de presión para que quede muy bien pegada.
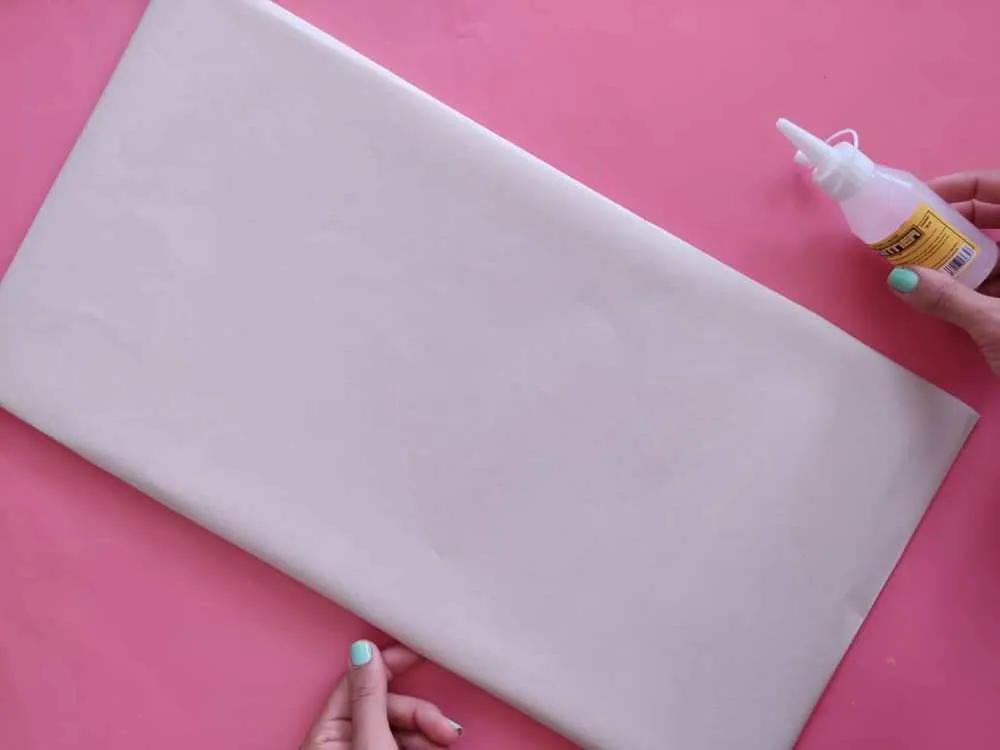
Next, we make a double cardboard base of approximately 30 x 50cm, and we cover it with the glossy paper using glue. We do a little pressure so that it sticks very well.
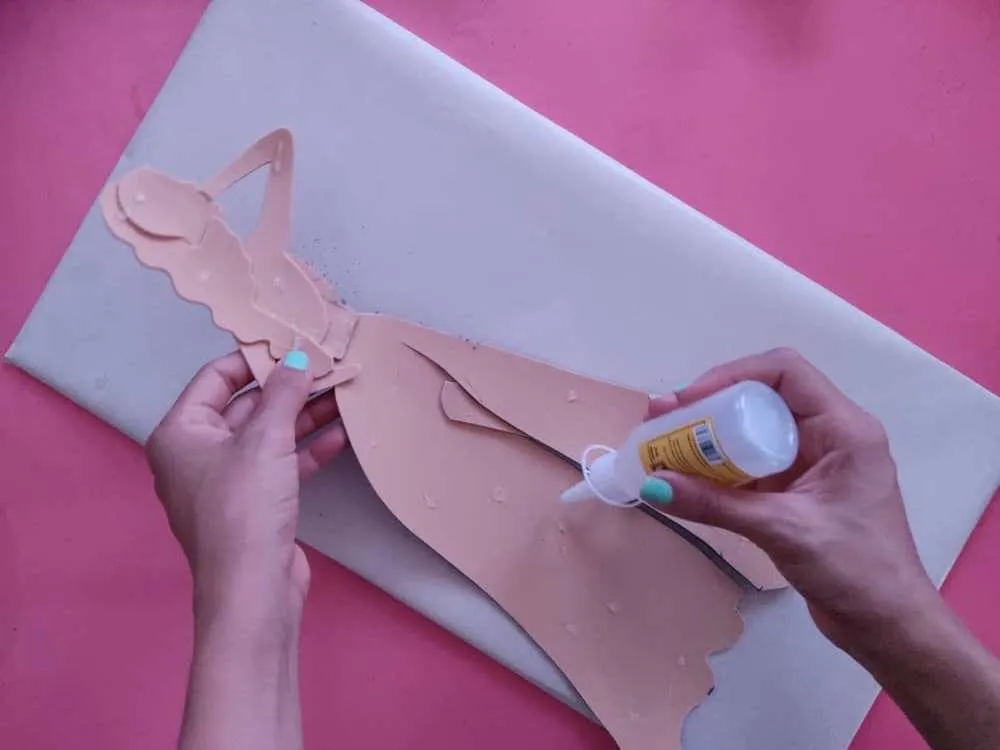
Después de que nuestra base este lista y bien firme, pegamos nuestra preciosa modelo sobre dicha base y con mucho cuidado la ubicamos en el lugar que más nos guste.
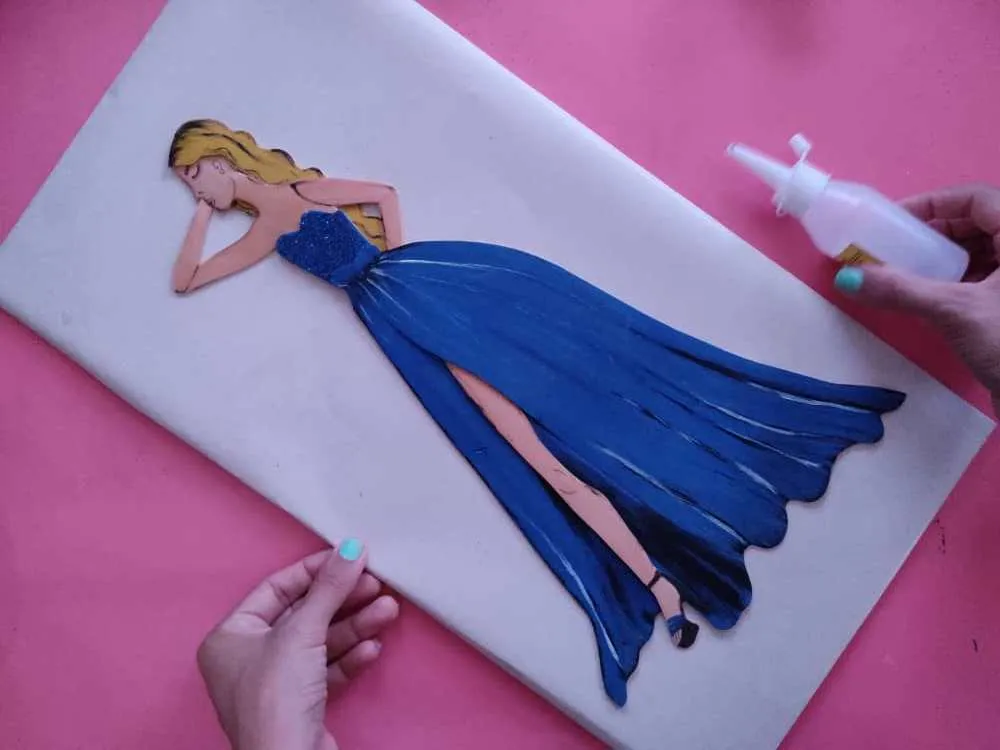
After our base is ready and firm, we glue our precious model on that base and carefully place it in the place that we like the most.
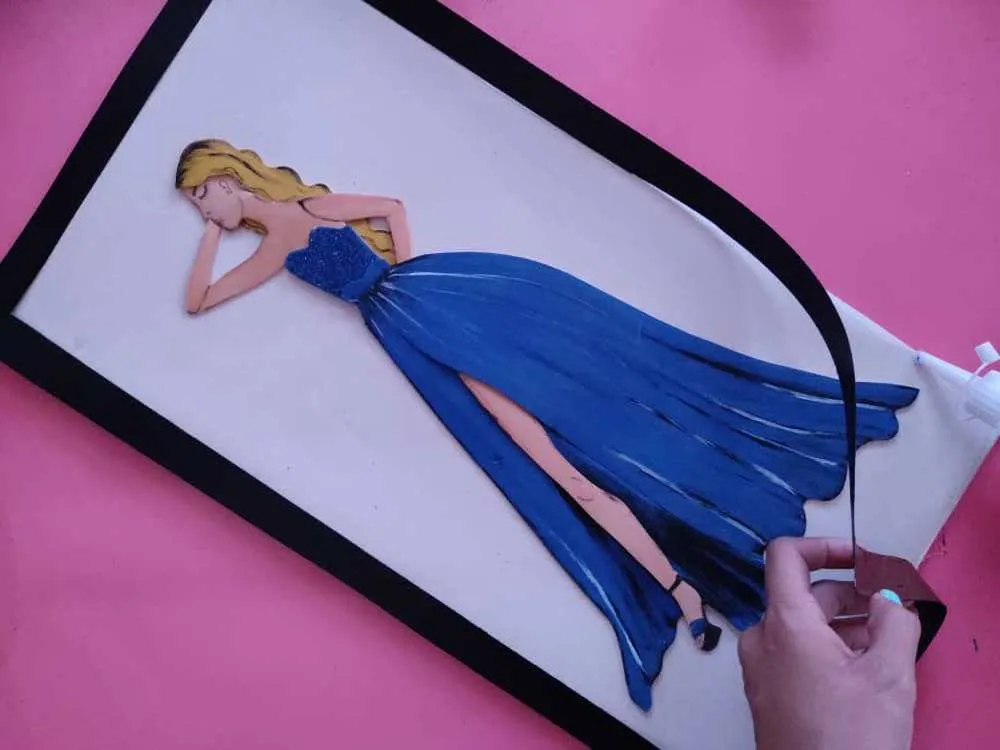
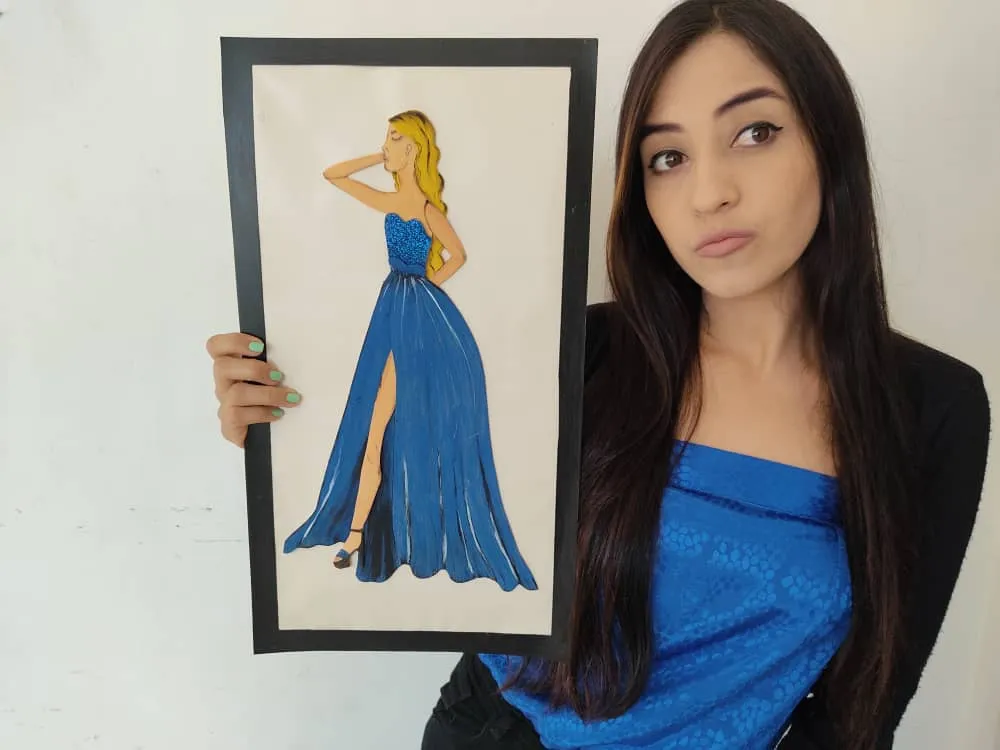
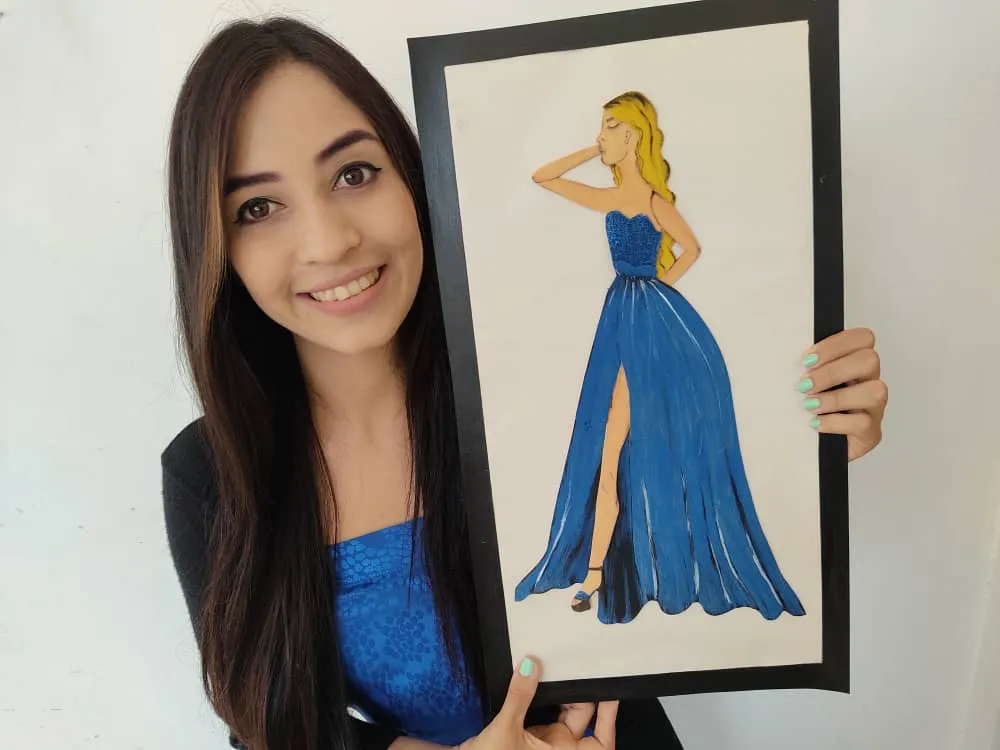
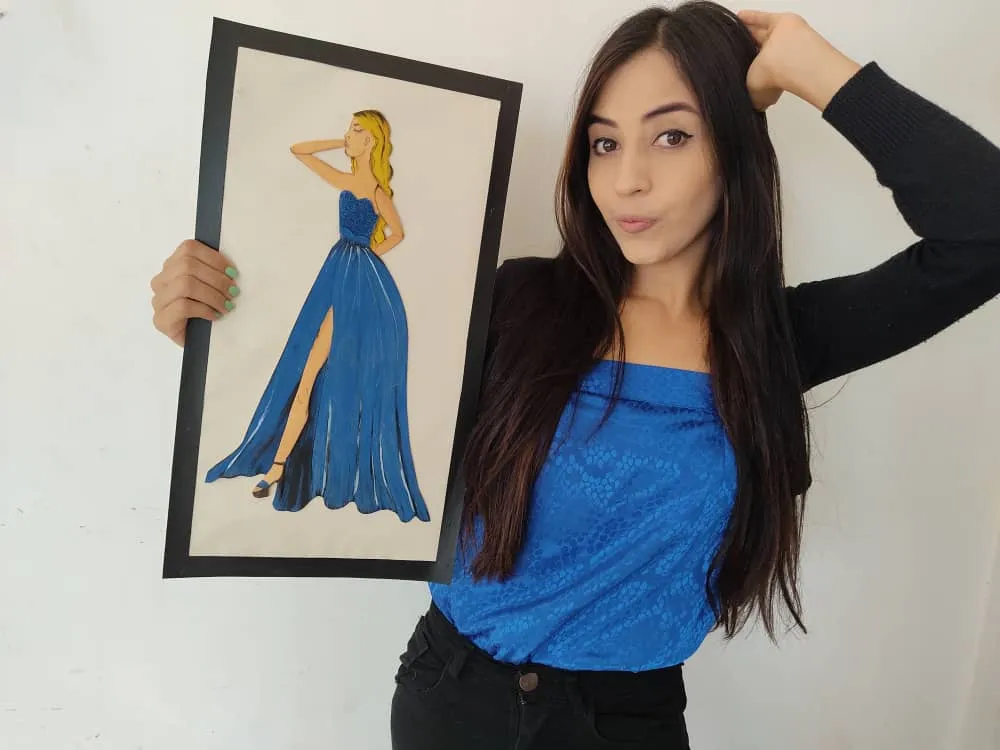
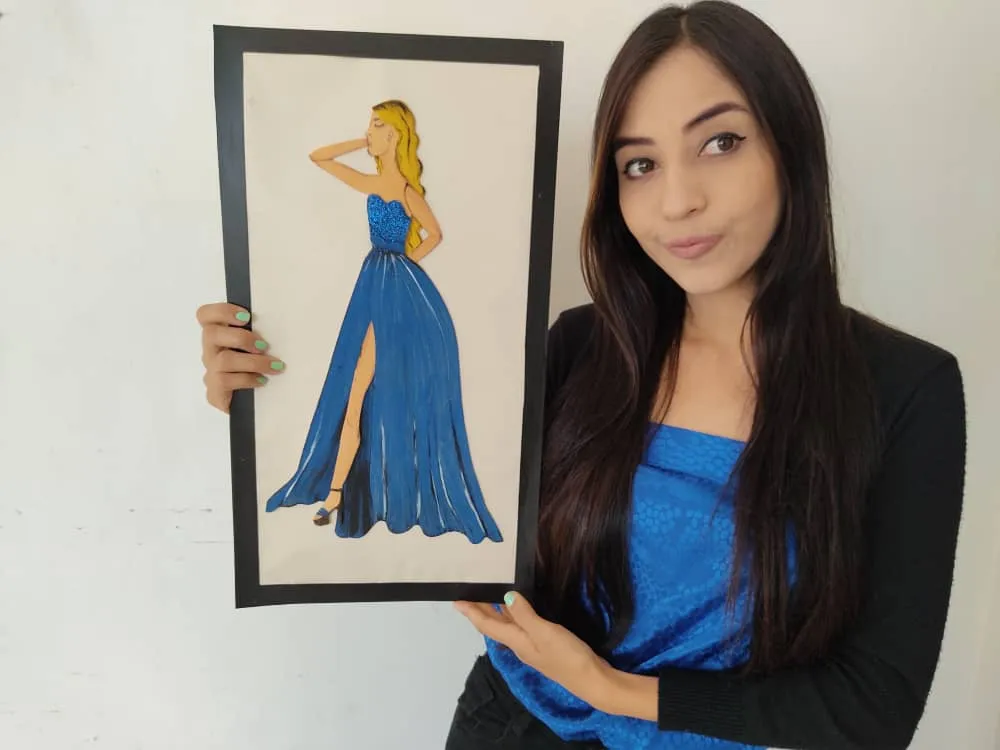
Finalmente, fabricamos un marco súper genial y lo pintamos del color que deseemos, en este caso yo decidí pintarlo de negro, para que luzca muy elegante y a la vez hermoso. Y lo pegamos en el borde de la base para culminar nuestro hermoso cuadro.
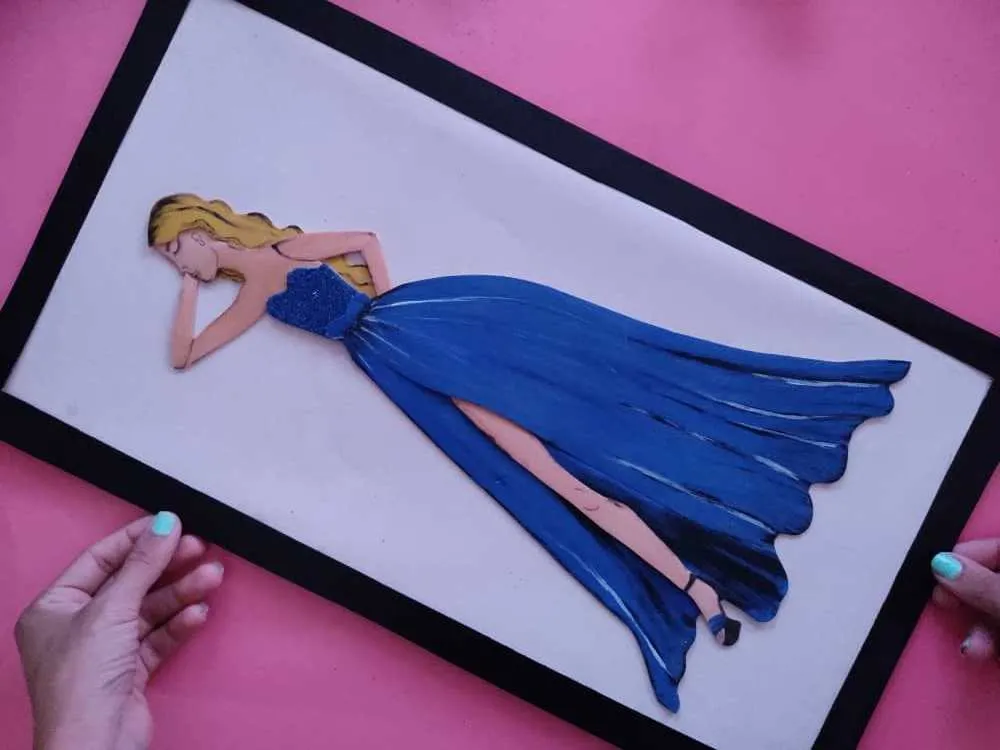
Finally, we made a super cool frame and painted it the color we want, in this case, I decided to paint it black, to make it look very elegant and at the same time beautiful. And we glue it on the edge of the base to finish our beautiful painting.
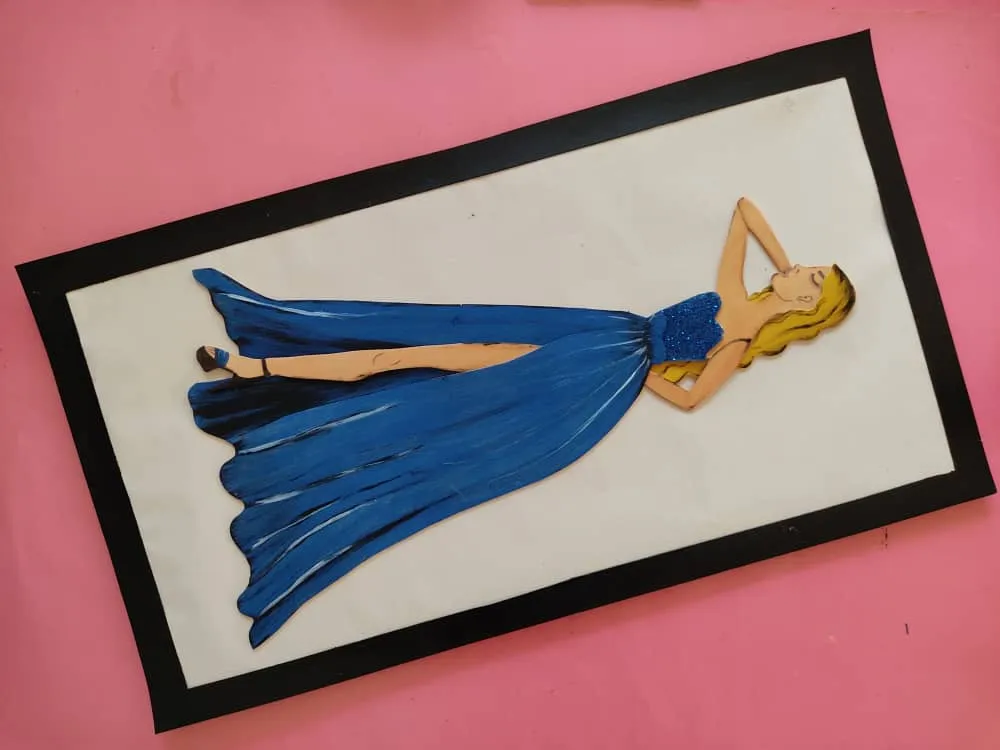
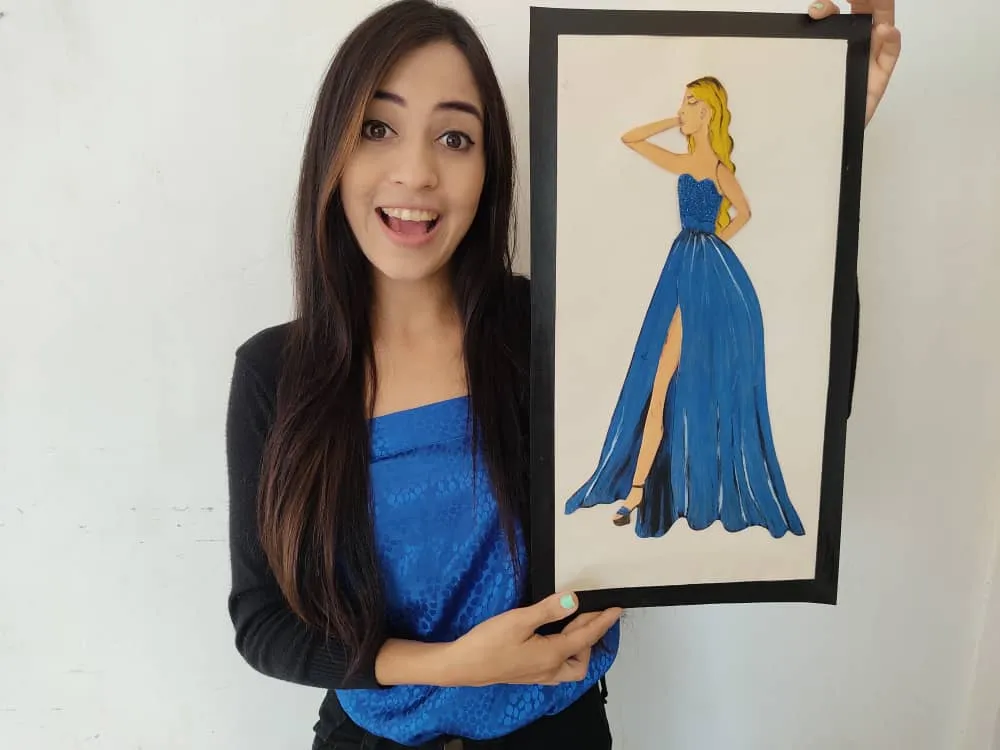
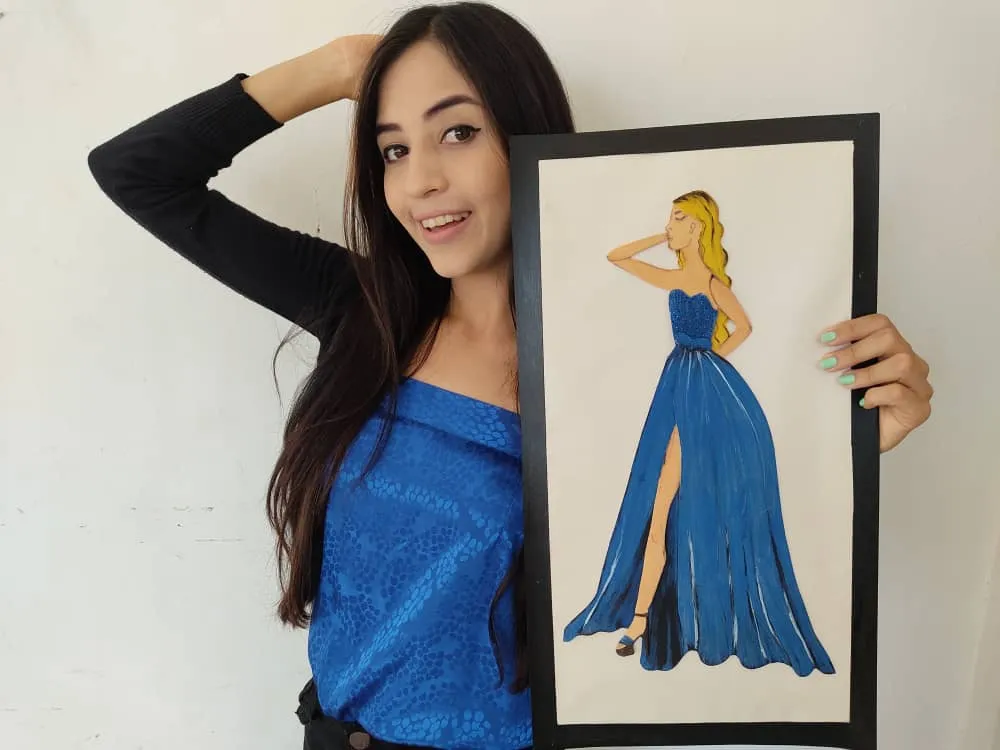
Gracias por acompañarme y espero que lo hayan disfrutado. ❤️
Thanks for joining and I hope you enjoyed it.❤️

Clic para ver trabajos anteriores | Click to see previous works