
Español
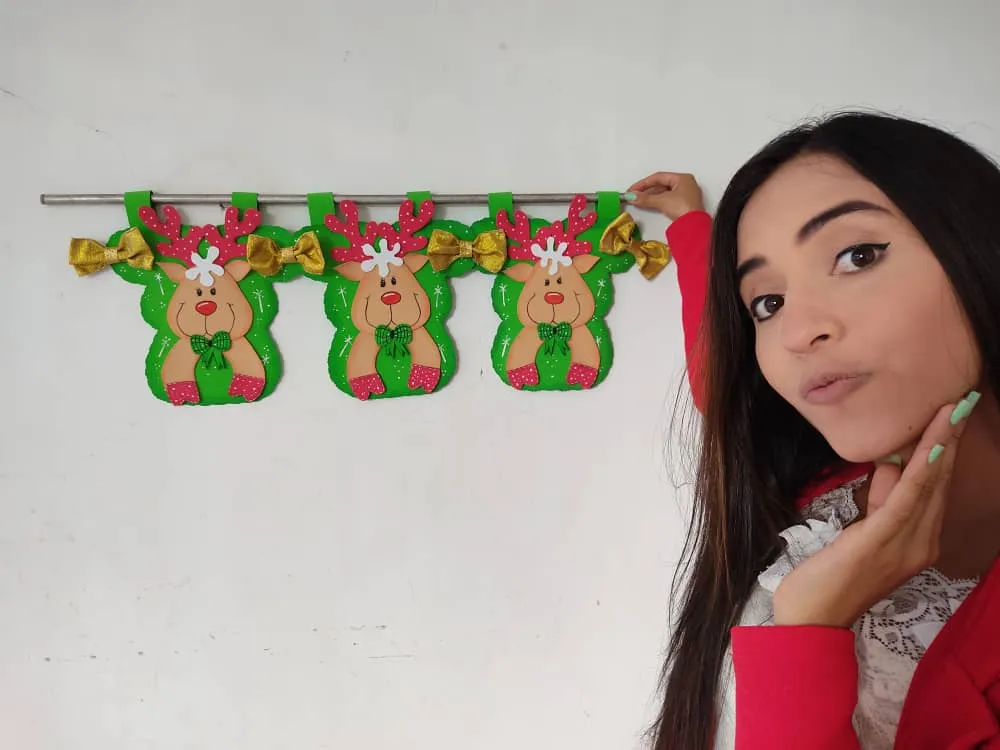
Hola querida familia ❤️ Este lindo día les traigo otro divertido y navideño tutorial donde aprenderemos a realizar una hermosa cenefa navideña, perfecta para decorar nuestro hogar o lugares favoritos en estas fechas tan especiales y lo mejor de todo es que está hecha con materiales muy económicos y fáciles de conseguir, así que, no esperemos más y démosle la bienvenida a esta navidad.
English
Hello, dear family ❤️ This beautiful day I bring you another fun and Christmas tutorial where we will learn how to make a beautiful Christmas valance, perfect to decorate our home or favorite places on these special dates and the best of all is that it is made with very cheap and easy-to-find materials, So, let's not wait any longer and welcome this Christmas.
¿Qué están esperando?
Gracias a este sencillo paso a paso podemos elaborar fácilmente nuestra propia cenefa casera, perfecta e ideal para decorar nuestro entorno y darle ese toque creativo a nuestra navidad. Antes de comenzar no olvidemos lavarnos nuestras manos.
What are they waiting for?
Thanks to this simple step by step we can easily make our own homemade valance, perfect and ideal to decorate our surroundings and give that creative touch to our Christmas. Before we start, let's not forget to wash our hands.

[Materiales | Materials]
Para realizar esta linda obra necesitaremos:
- Foamy o goma eva.
- Lápiz de grafito.
- Pinturas.
- Pinceles.
- Tijera.
- Cinta decorativa.
- Pegamento o silicón liquido.
To make this cute work we will need:
- Foamy or eva foam.
- Graphite pencil.
- Paintings.
- Brushes.
- Scissors.
- Decorative ribbon.
- Glue or liquid silicone.
Procedimiento (paso a paso)
Process (step by step)
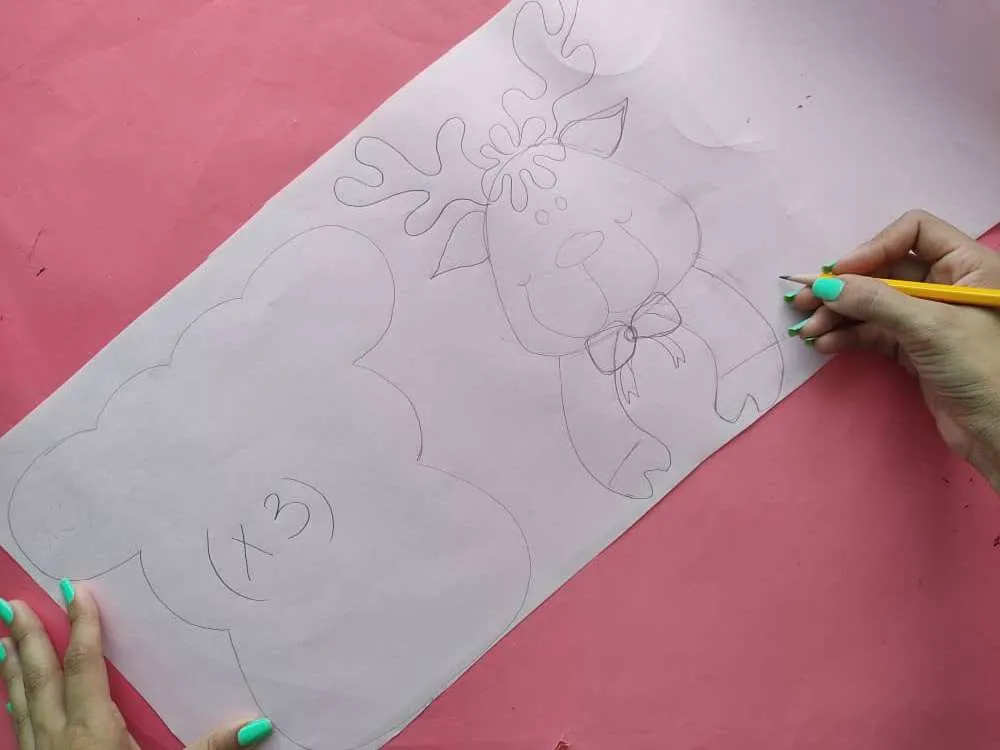
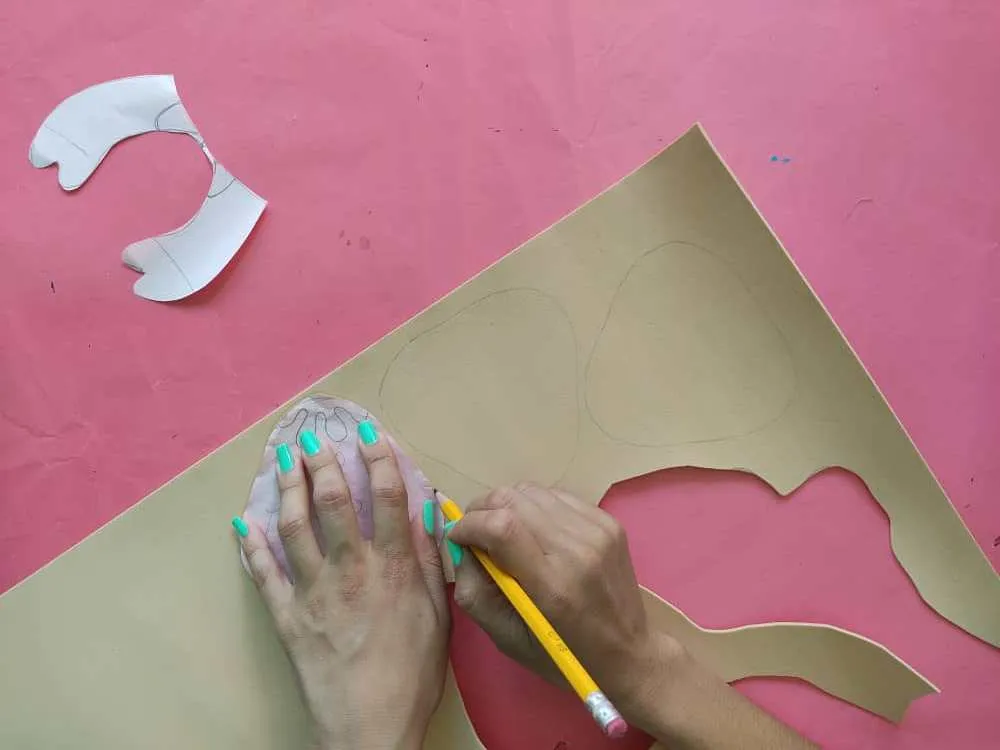
Primero, dibujamos un lindo reno y una base para nuestra cenefa dejando volar nuestra imaginación. Y recortamos separando cada pieza con sumo cuidado.

First, we draw a cute reindeer and a base for our valance, letting our imagination run wild. And we cut separating each piece with great care.
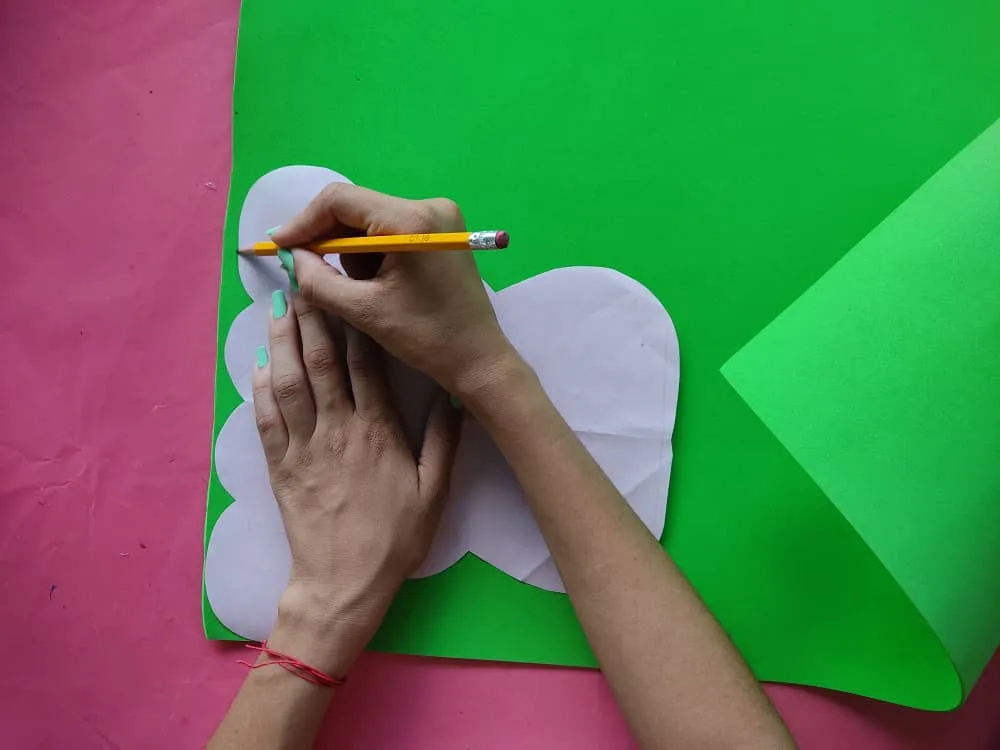
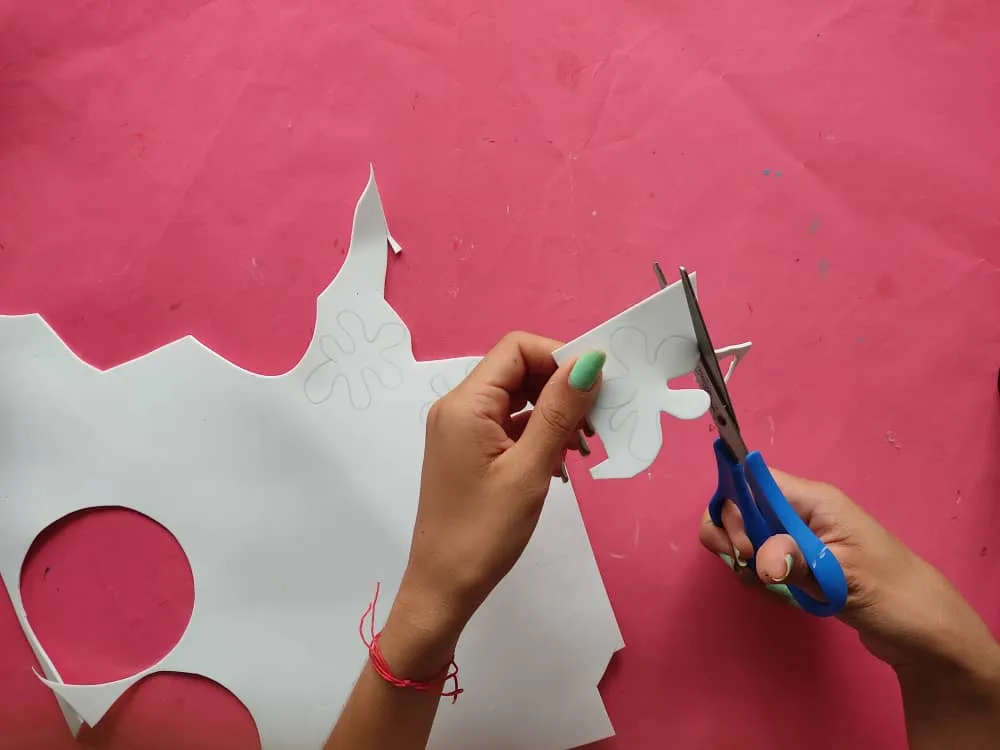
Ahora, transferimos la base 3 veces al foamy de color verde y recortamos.
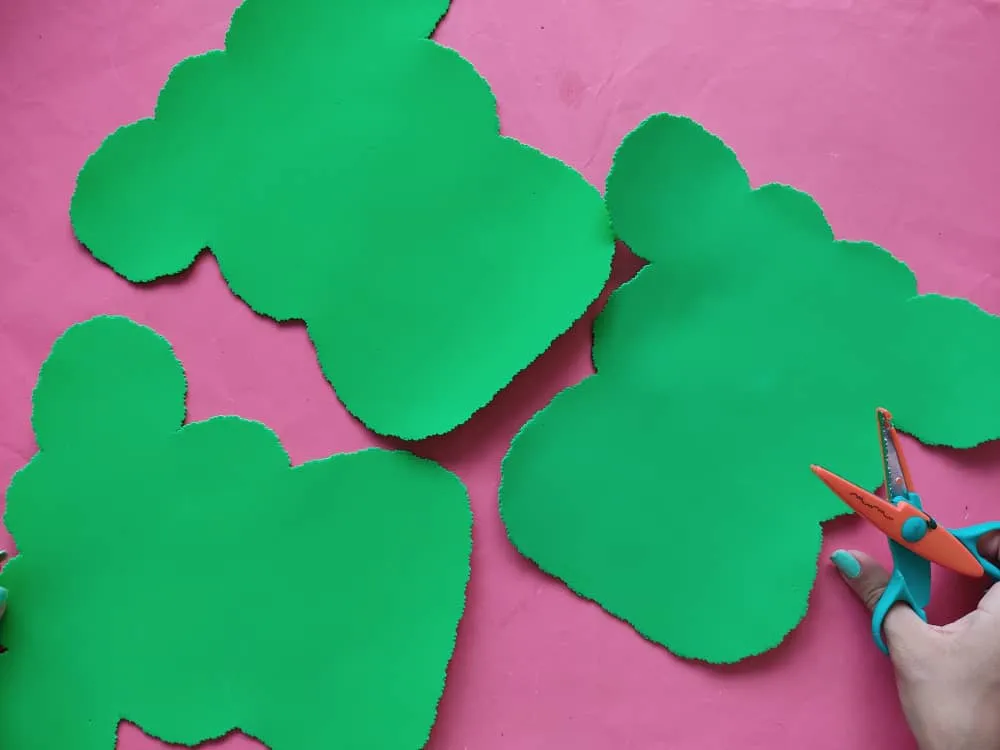
Now, we transfer the base 3 times to the green foamy and cut.
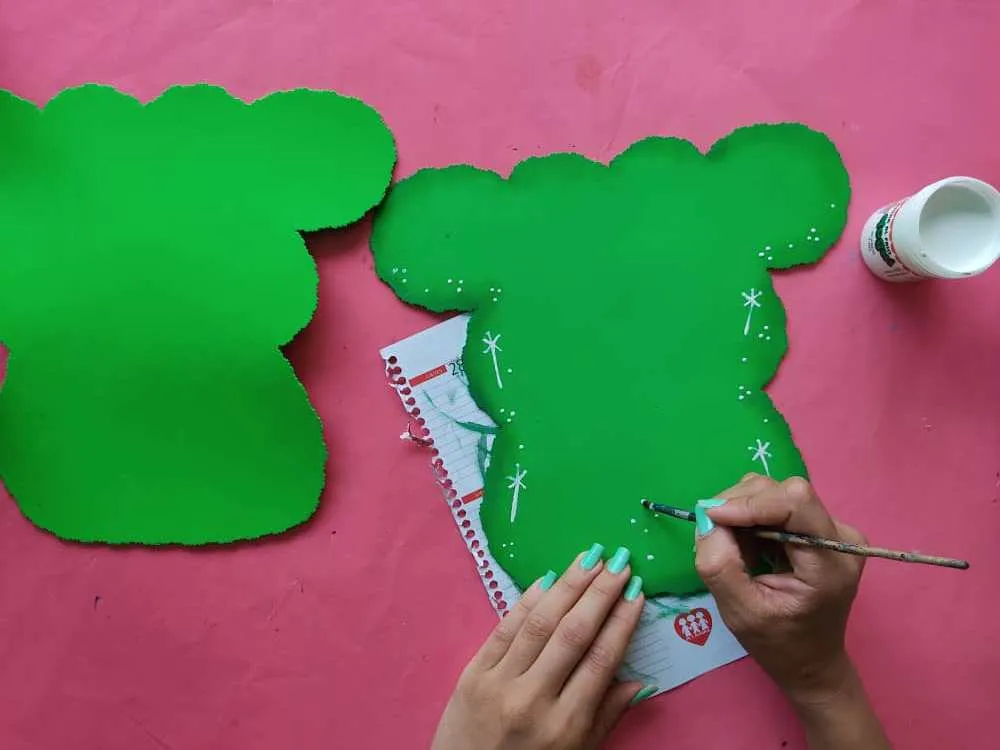
Seguidamente, sombreamos los bordes de las tres bases con un verde un poco más oscuro. Y agregamos unos detalles en blanco para darle más brillo y delicadeza a estas lindas piezas.
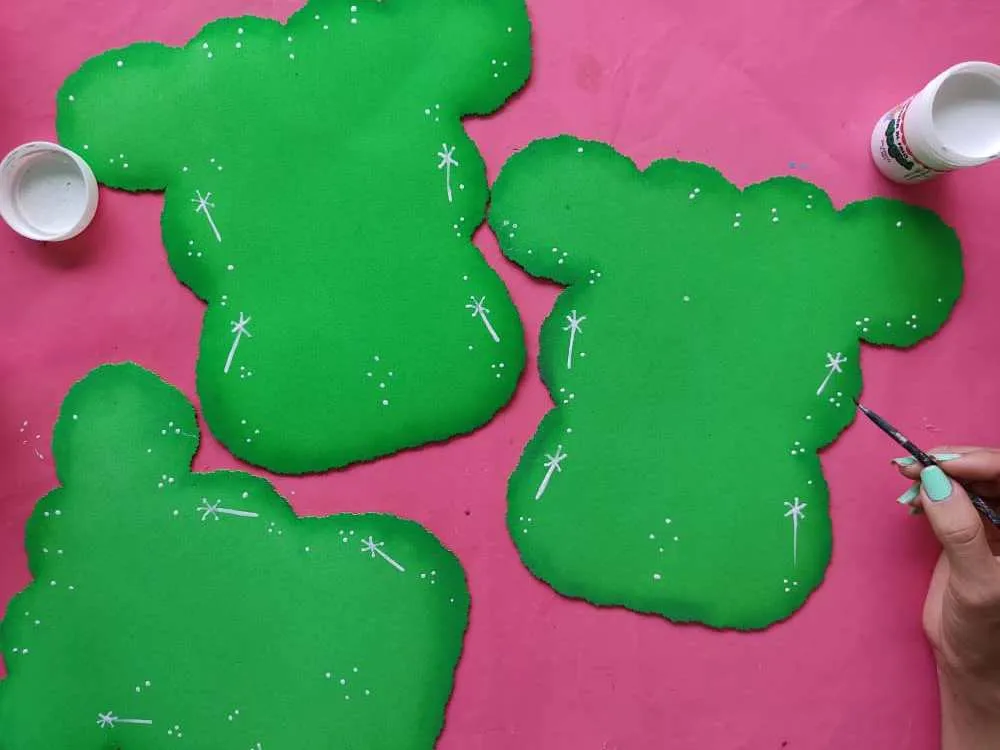
Next, we shade the edges of the three bases with a slightly darker green. And we added some white details to give these beautiful pieces more shine and delicacy.
Ahora, transferimos las siluetas de los renos tres veces (x3) al foamy de color piel, luego recortamos y sombreamos los bordes de estos con color naranja o marrón claro.
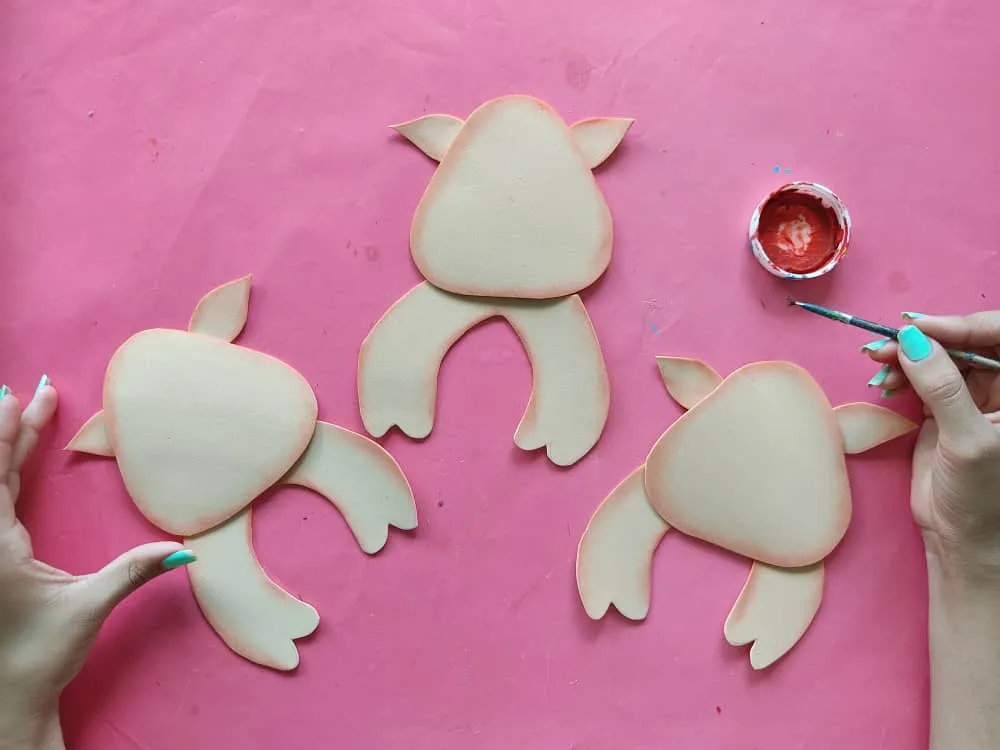
Now, we transfer the silhouettes of the reindeer three times (x3) to the skin-colored foamy, then we cut out and shade the edges of these with orange or light brown.

Después, definimos las tiernas caras de estos renos utilizando un pincel fino y hermosos colores de pintura.
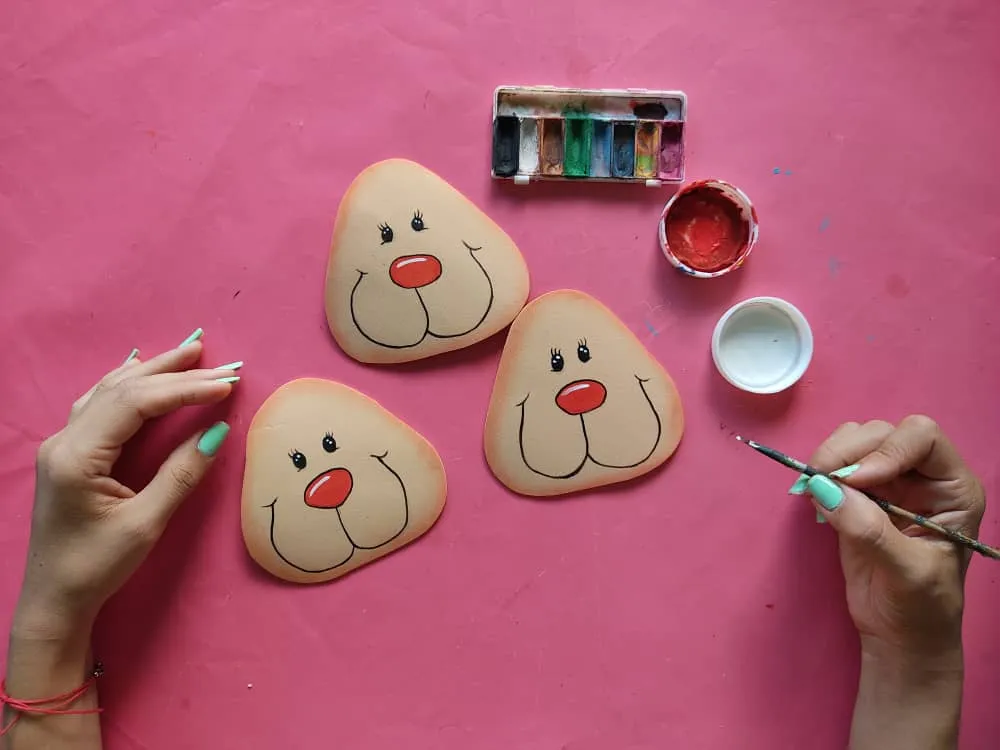
Next, we define the cute faces of these reindeer using a fine brush and beautiful paint colors.
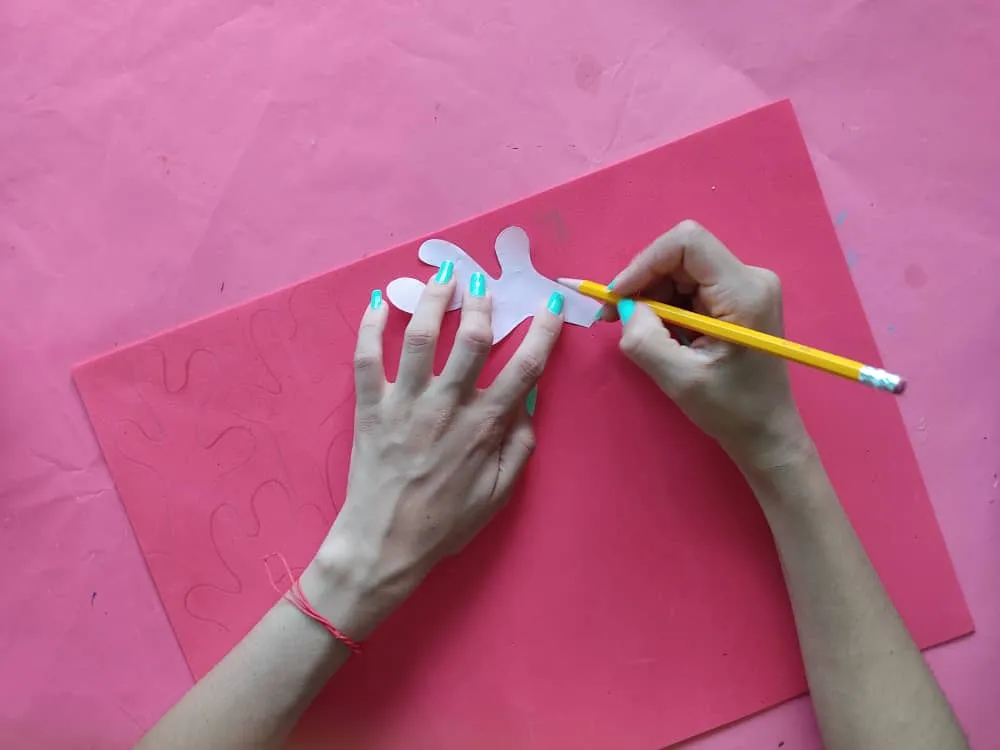
Ahora, transferimos los cuernos y patas al foamy de color rojo y recortamos.
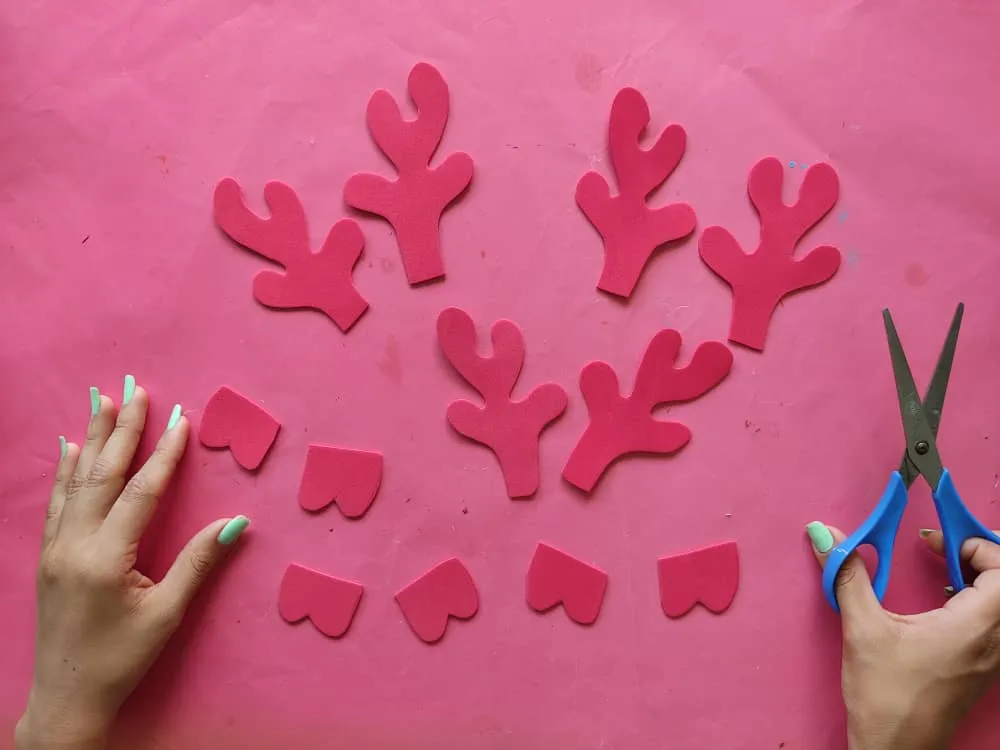
Now, we transfer the horns and legs to the red foamy and cut them out.
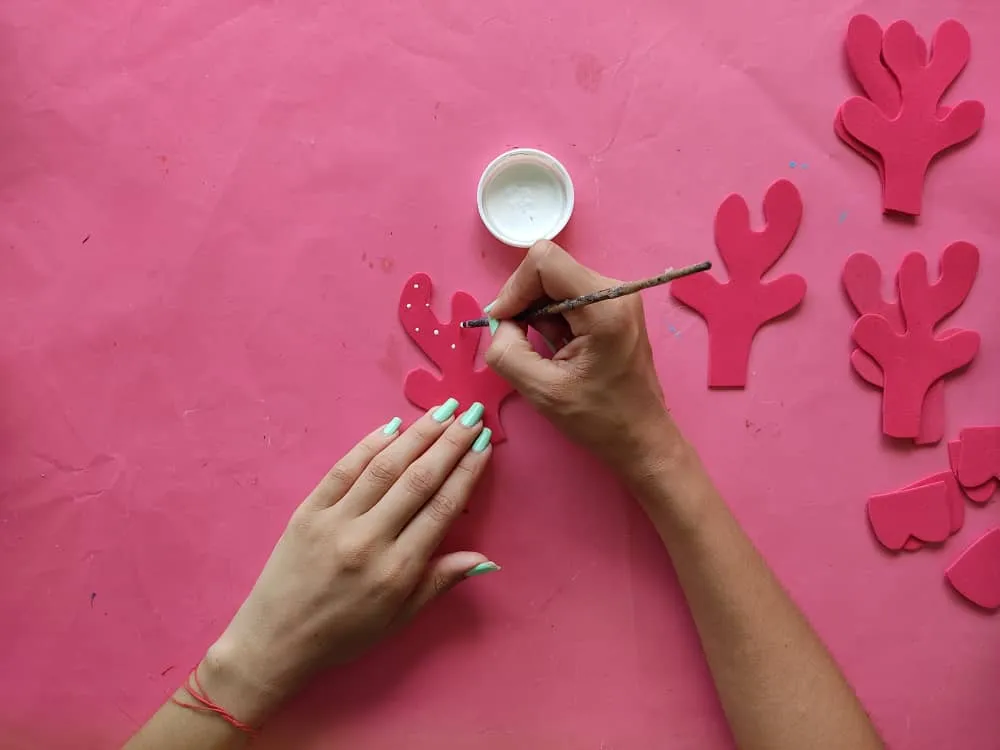
Luego, agregamos detalles en blanco para estas lindas piezas rojas.
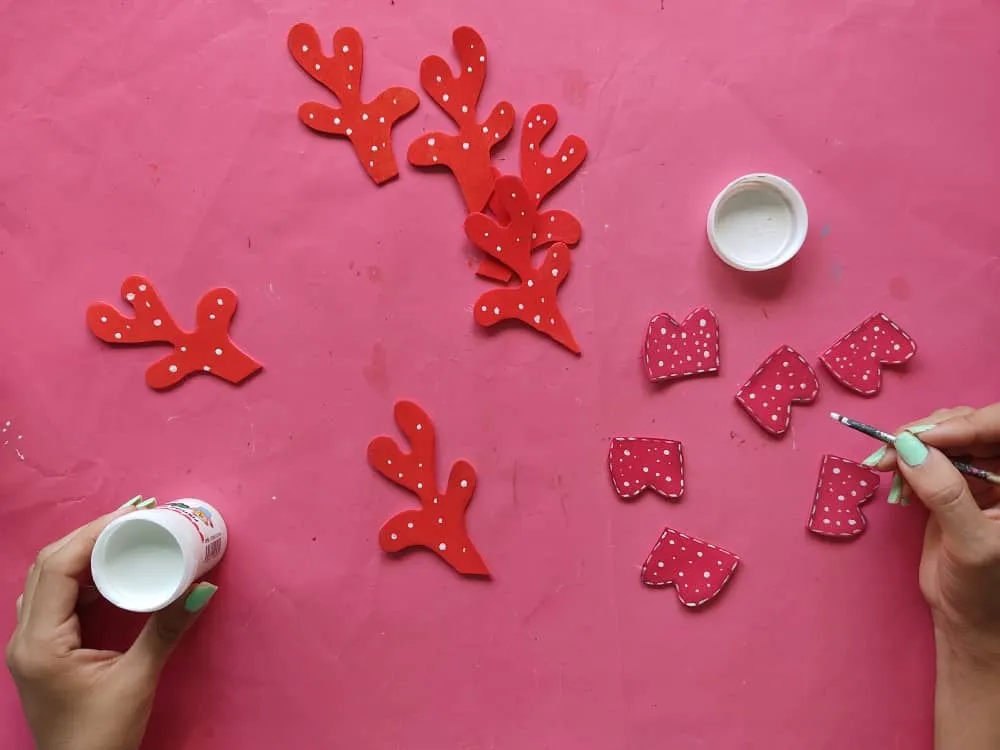
Then we add white accents for these cute red pieces.
Ahora, elaboramos la pollina de los renos de color blanco, y recortamos
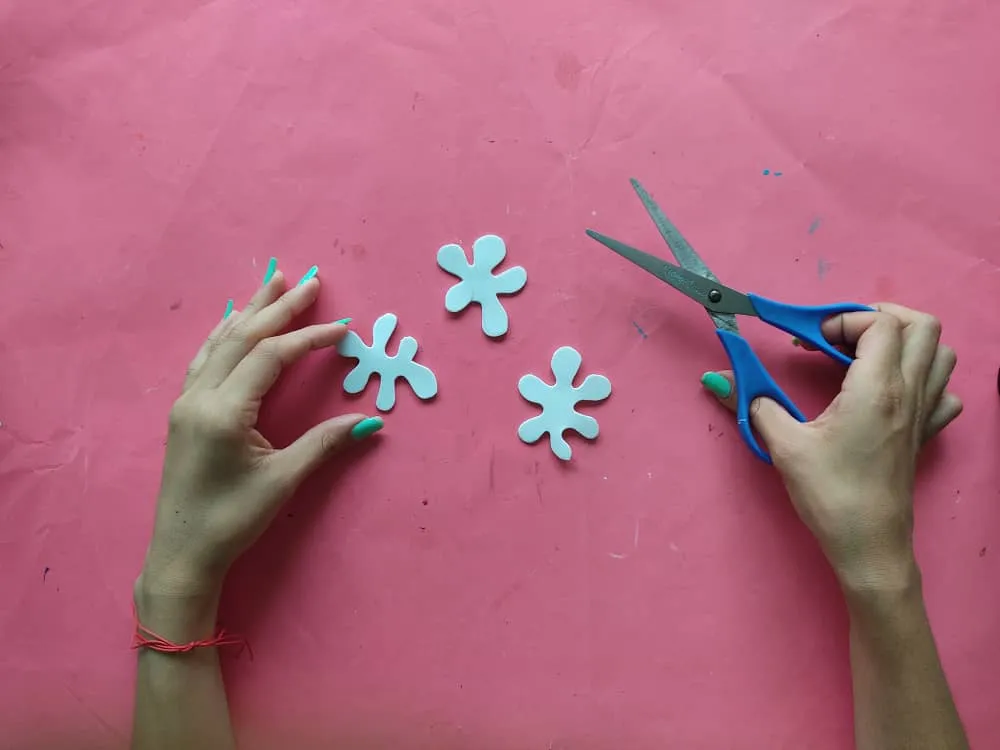
Now, we make the colt of the white reindeer and cut
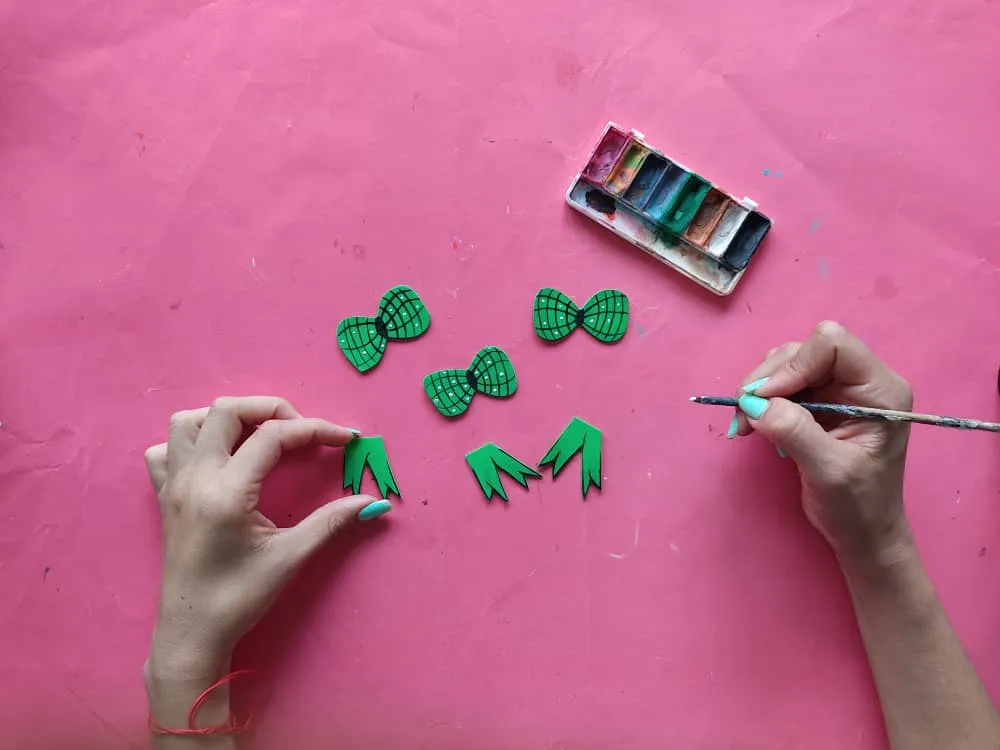
Seguidamente, elaboramos tres lazos para darle un toque de elegancia a los renos. Y los pintamos de la manera que más nos guste.

Next, we make three bows to give the reindeer a touch of elegance. And we paint them in the way we like the most.
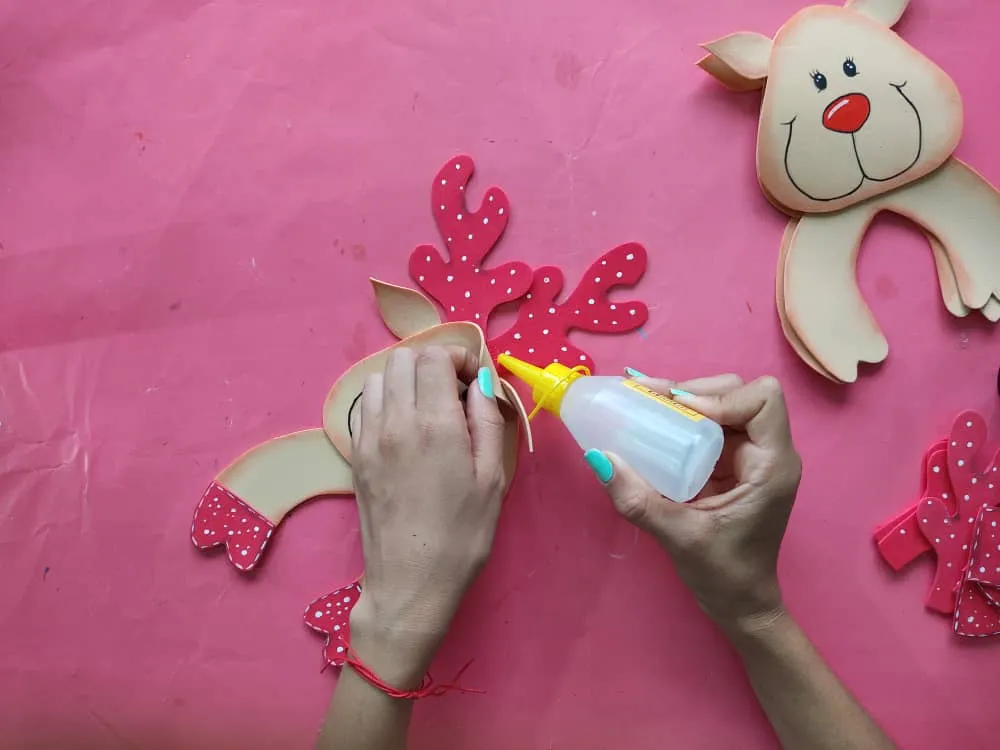
Una vez listas todas las figuras de los renos, comenzamos a armarlos pegando sus piezas con silicón frío.
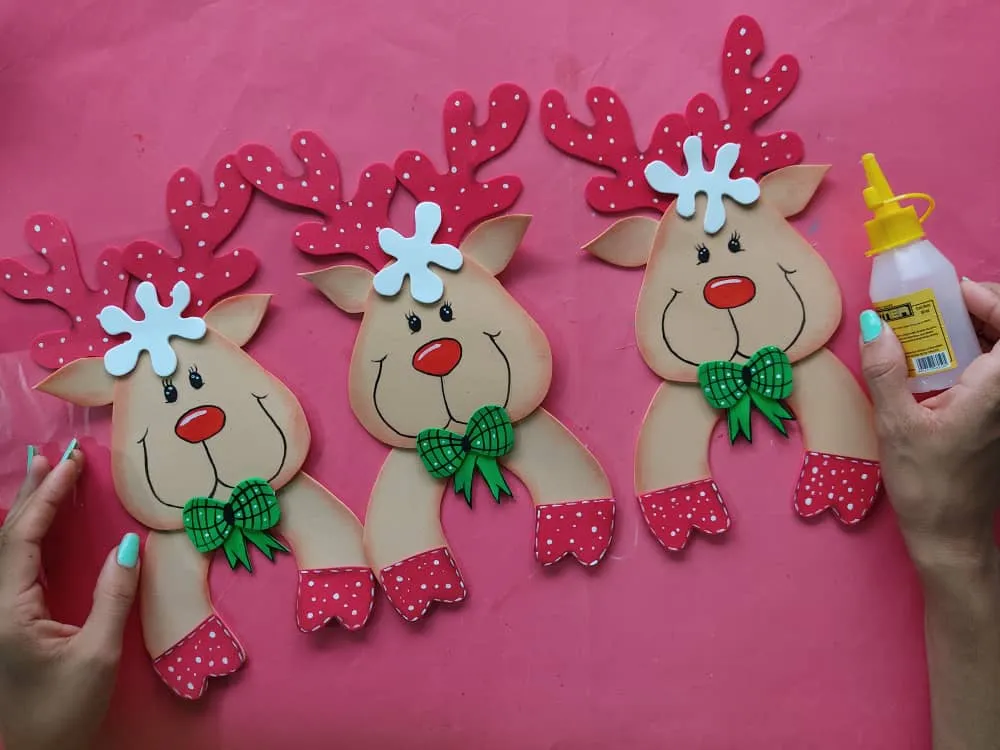
Once all the figures of the reindeer are ready, we begin to assemble them by gluing their pieces with cold silicone.
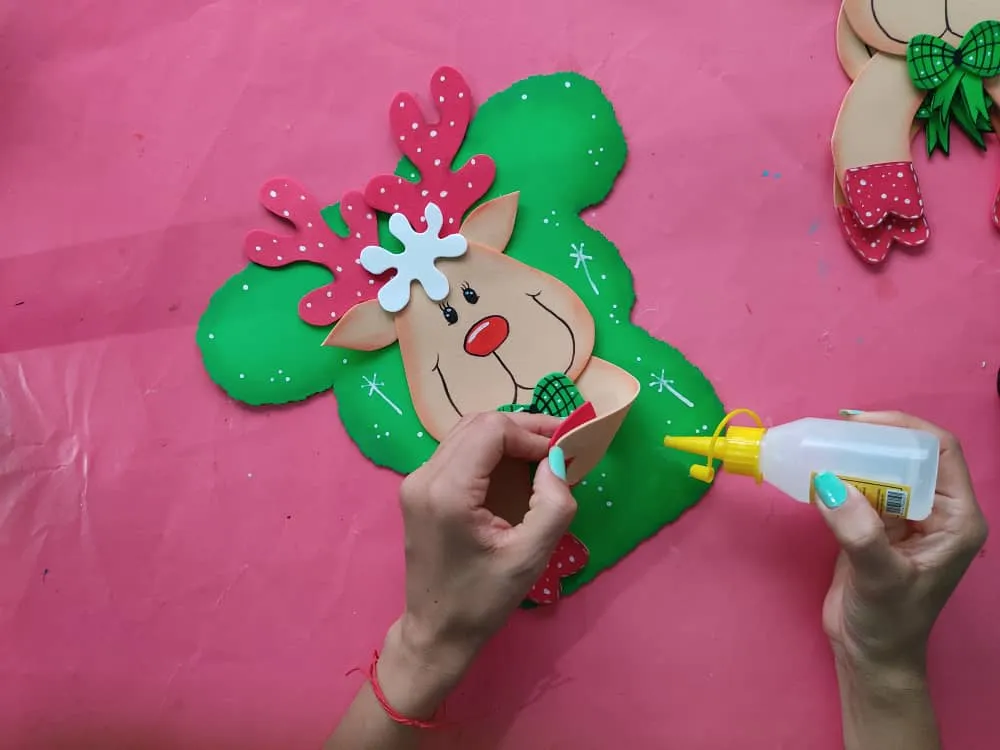
Después, pegamos cada uno de los renos a las bases verdes que hemos elaborado.
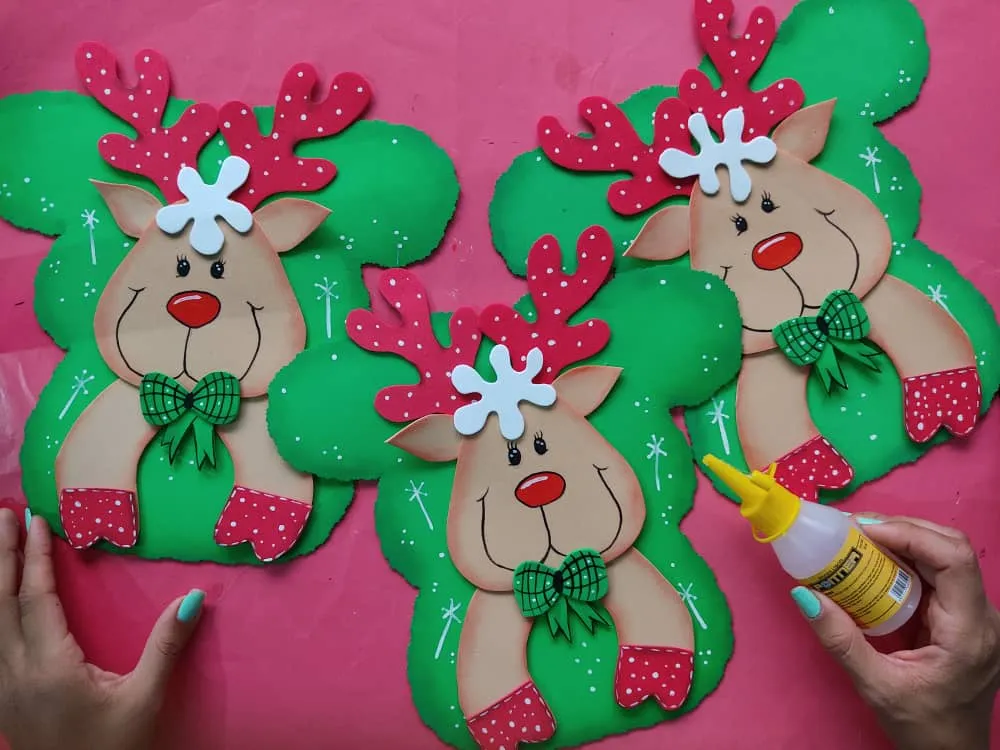
Then, we glue each of the reindeer to the green bases that we have made.
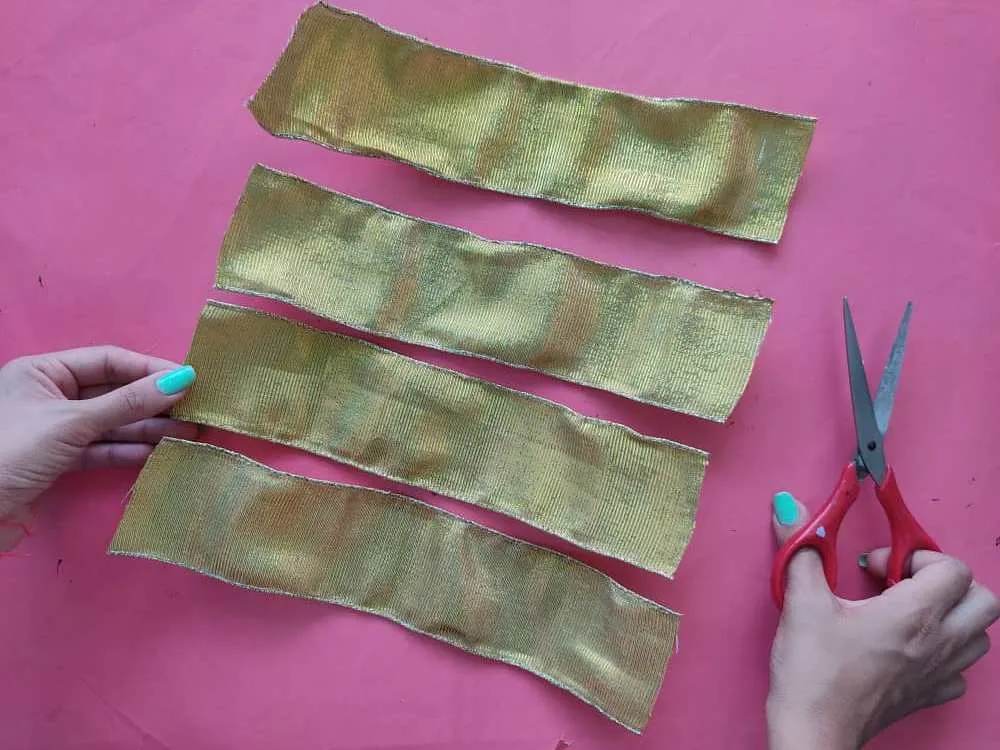
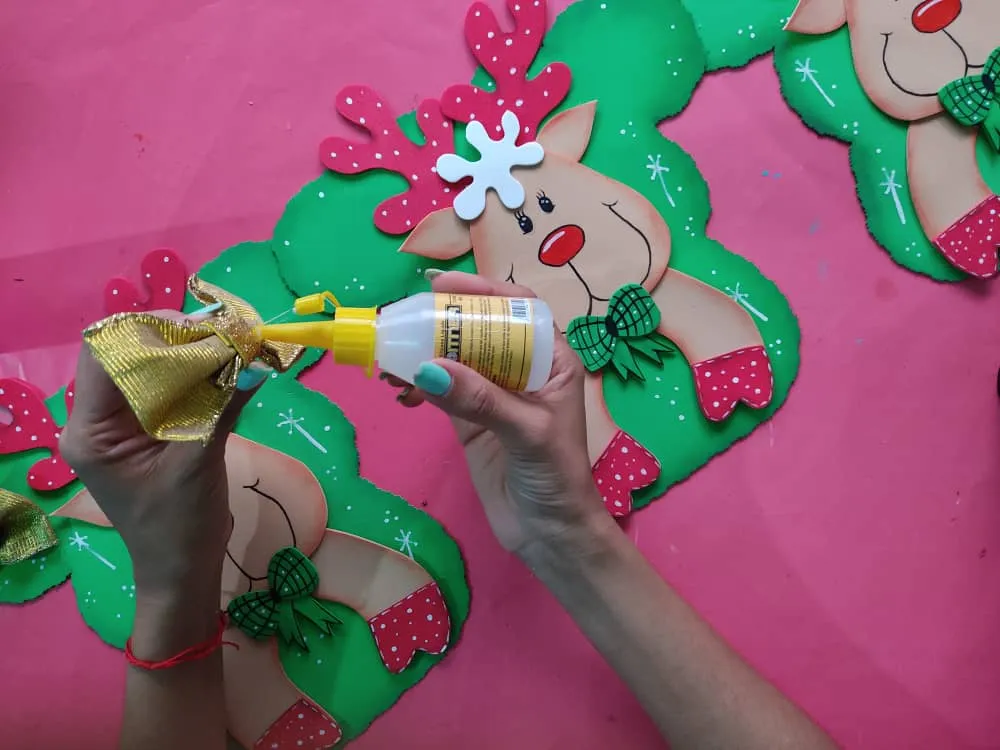
Ahora, elaboramos 4 tiras de 20cm con la cinta decorativa y pegamos sus extremidades de manera que queden dobles.
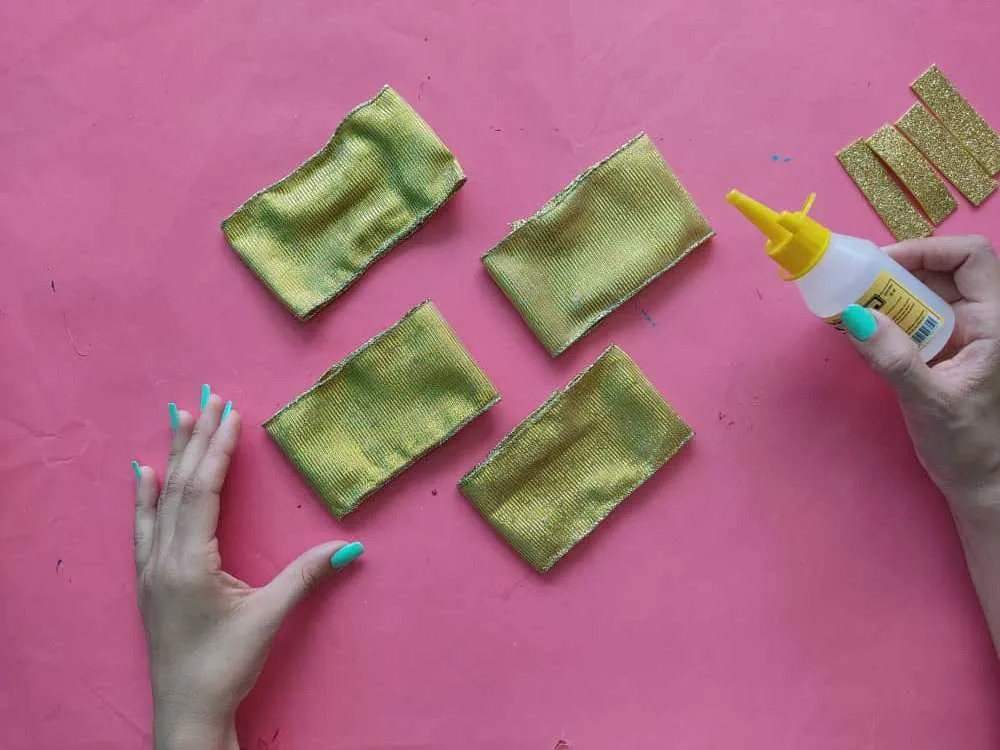
Now, we make 4 strips of 20cm with the decorative tape and glue their ends so that they are doubled.
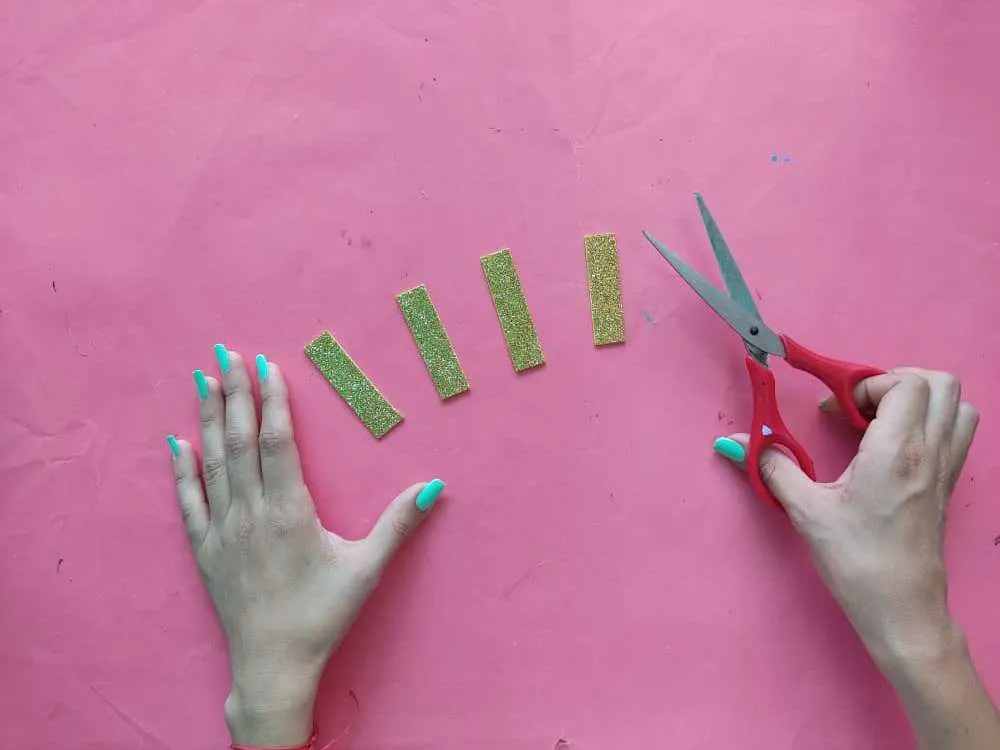
Luego, elaboramos 4 tiras de foamy escarchado de 1cm por 4cm y las pegamos en el centro de las tiras dobles, formando unos hermosos lazos para dar un toque muy elegante y luminoso a esta cenefa navideña.
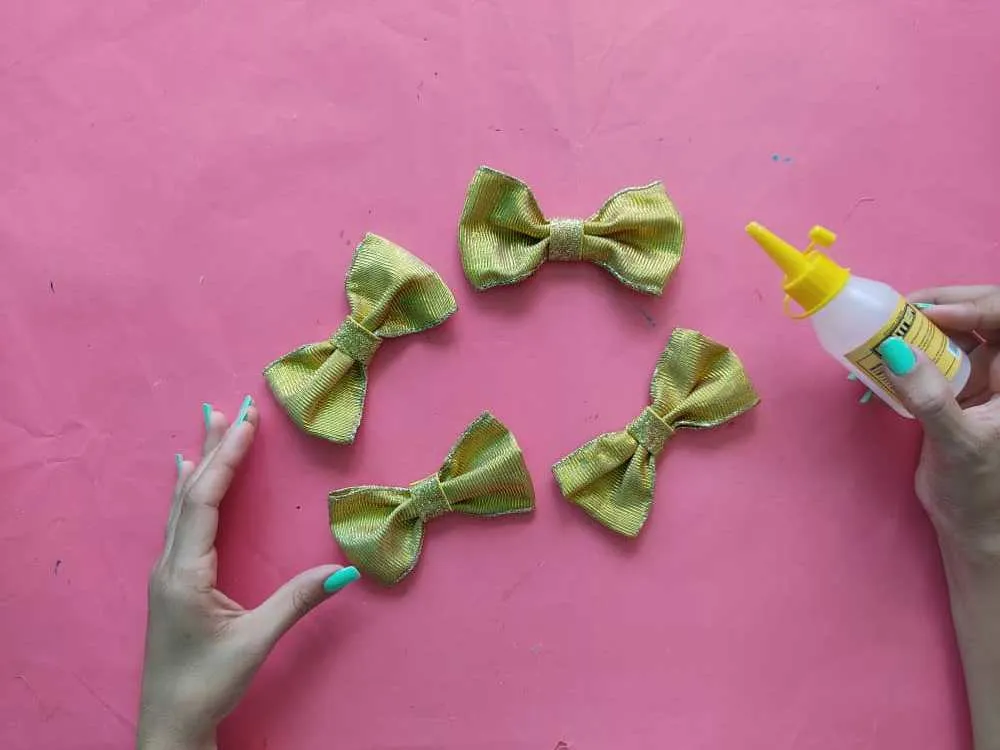
Then, we make 4 frosted foamy strips measuring 1cm by 4cm and stick them in the center of the double strips, forming beautiful loops to give a very elegant and luminous touch to this Christmas valance.
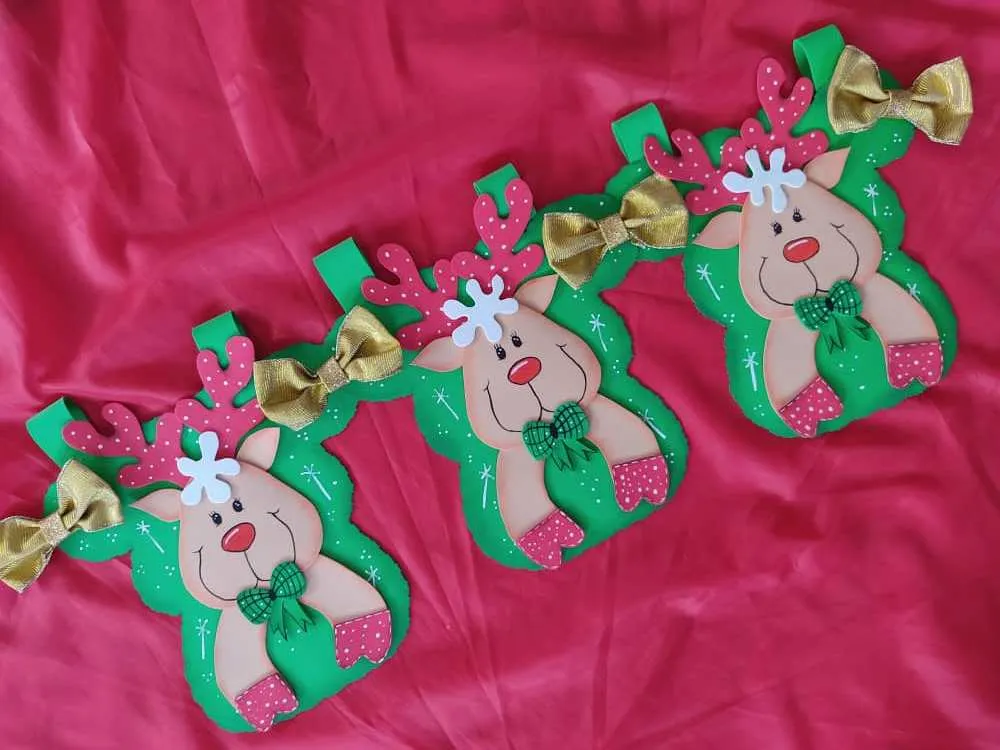
Seguidamente, unimos los extremos de las bases para formar una cenefa o guirnalda y pegamos los hermosos lazos en el lugar que más nos guste.
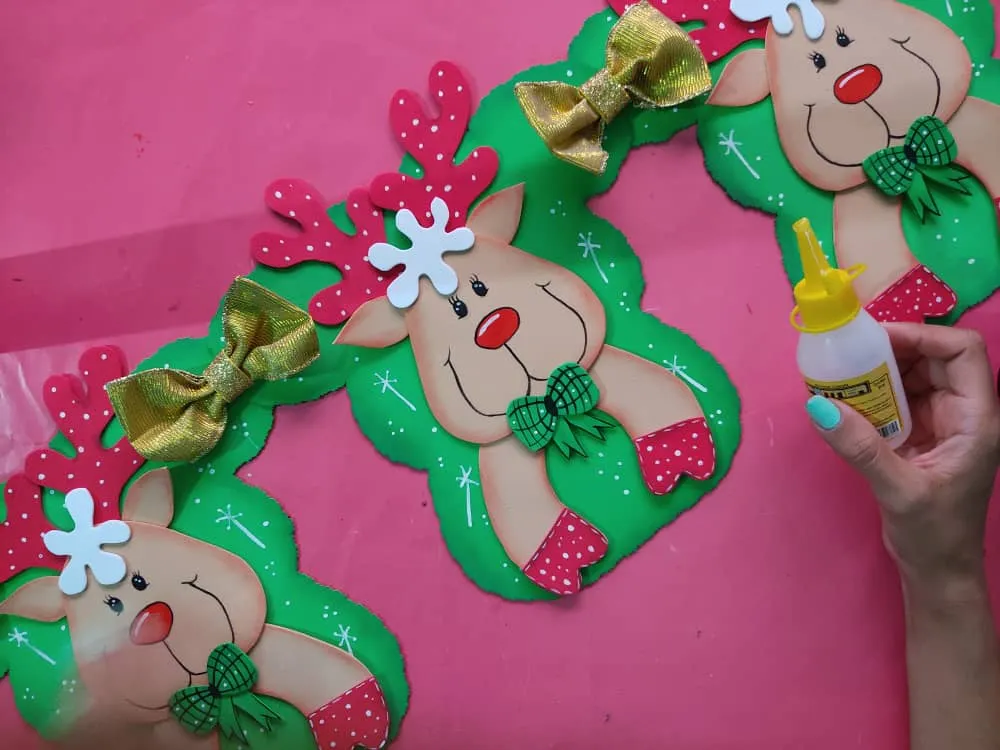
Next, we join the ends of the bases to form a valance or garland and glue the beautiful bows in the place that we like the most.
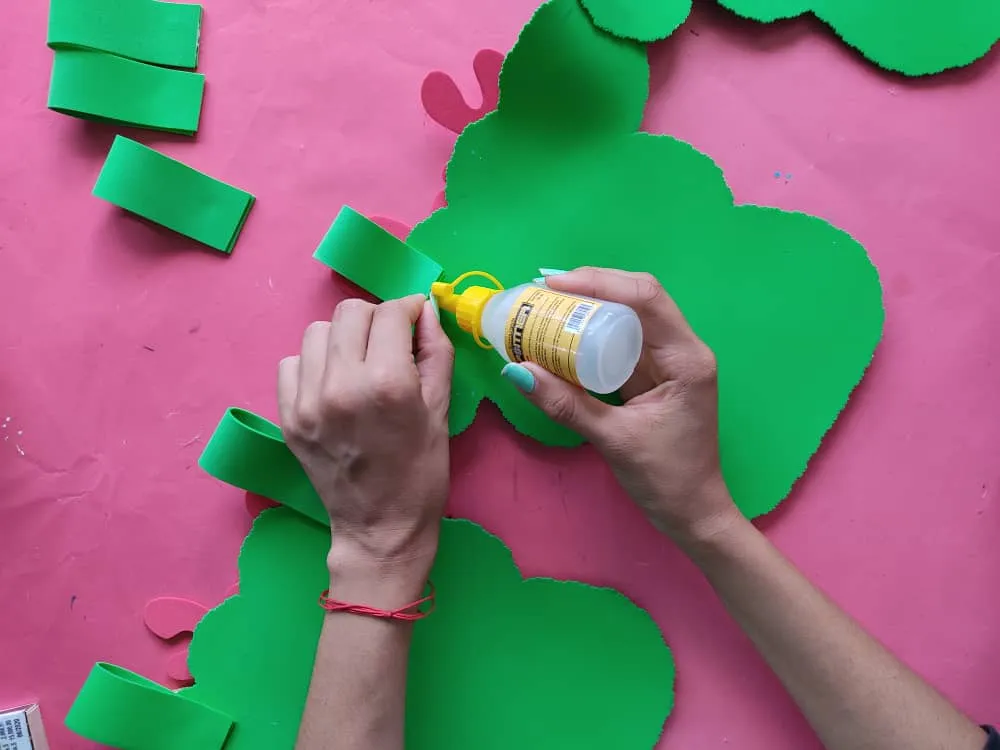
Finalmente, elaboramos unos guindaderos con tiras de foamy y los pegamos en la parte trasera de la cenefa y listo.
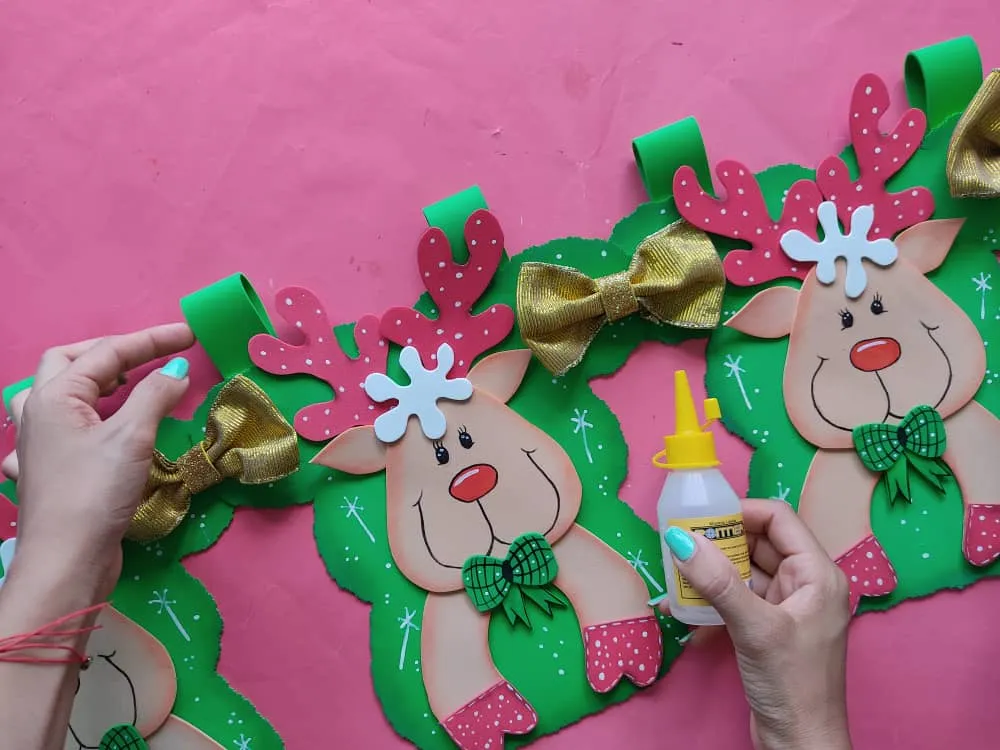
Finally, we make some guindaderos with foamy strips and stick them on the back of the valance and that's it.
Gracias por acompañarme y espero que lo hayan disfrutado. ❤️
Thanks for joining and I hope you enjoyed it.❤️