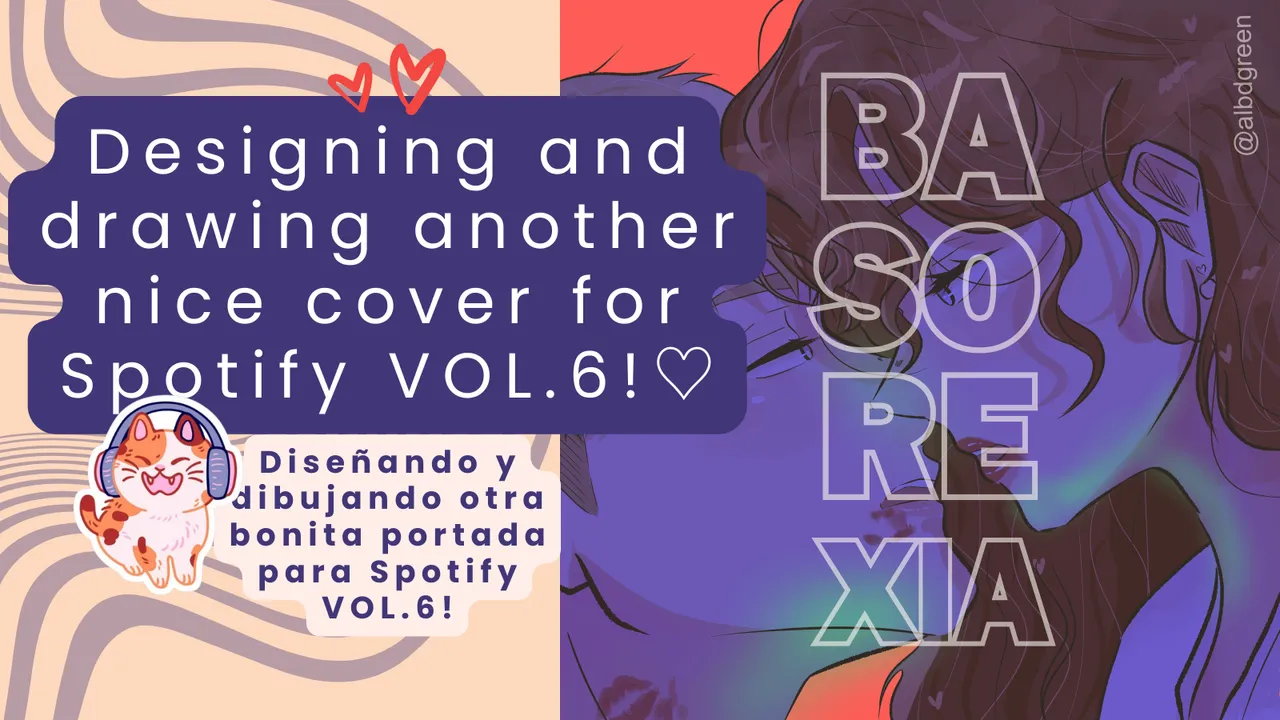

Hello everyone! 💗✨ I wish you an amazing and beautiful day, it is my pleasure to greet this amazing Hive community and clearly the members of this very talented community that is #AlienArtHive! ♡ I thank each of you for the support you give me in every post, you motivate me to keep creating for you! Today, I'm still working on my commission portfolio! 💌 Which little by little is already taking shape, I'm going slowly but surely. As you know, one of the sections of my portfolio are the Spotify covers, I've already made 5, and today I want to share with you the sixth and most recent one! If you would like to see briefly the process of this nice cover, I would love you to stay until the end! ❣️♬.ᐟ
Hola a todos! ¡💗✨ Les deseo un increíble y lindo día, es un placer saludar a esta increíble comunidad de Hive y claramente a los miembros de esta talentosísima comunidad que es #AlienArtHive! ♡ Agradezco a cada uno de ustedes el apoyo que me brindan en cada post, ¡me motivan a seguir creando para ustedes! ¡Hoy sigo trabajando en mi portafolio de comisiones! 💌 Que poco a poco ya va tomando forma, voy lenta pero segura. Como sabéis, una de las secciones de mi portfolio son las portadas de Spotify, ya he hecho 5, ¡y hoy quiero compartir con vosotros la sexta y más reciente! Si quieres ver brevemente el proceso de esta bonita portada, ¡me encantaría que te quedaras hasta el final! ❣️♬.ᐟ

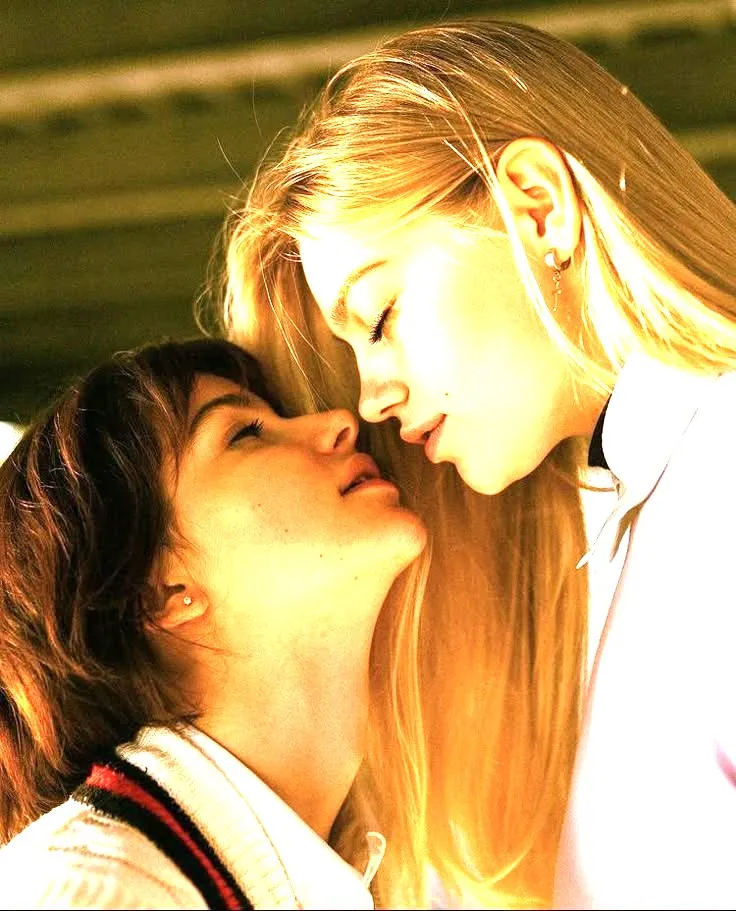
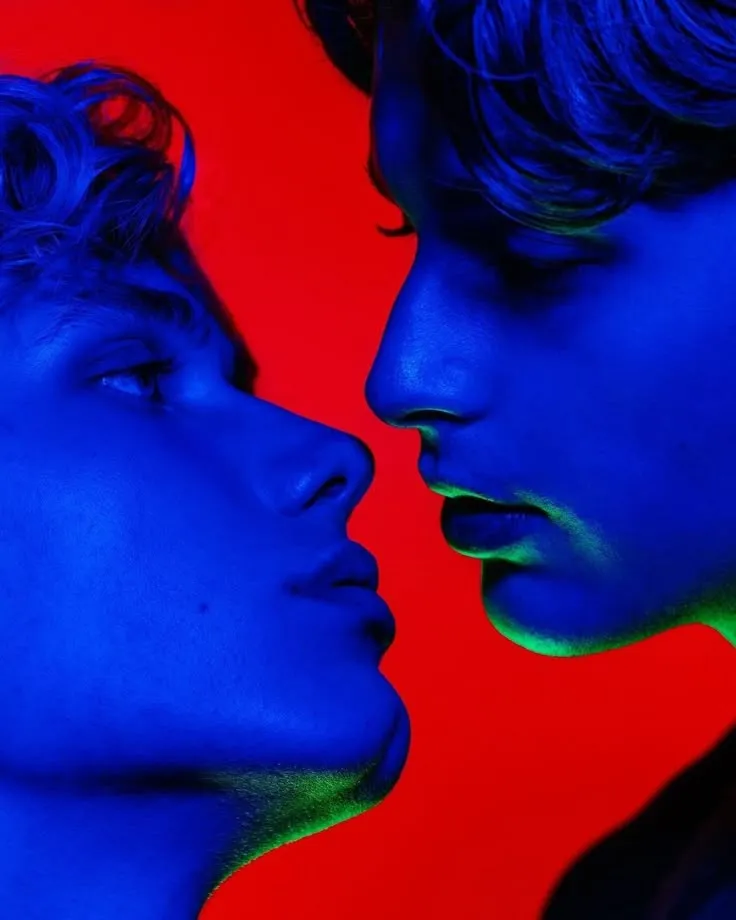
To start, I'd like to talk a little bit about the context of this nice cover for Spotify! 🎧♡ The album is called “Basorexia” something I loved, as I instantly got lots and lots of ideas for the main drawing. The term Basorexia is defined as the obsession or desire to kiss someone, so it was something KEY for this cover design. I wanted to make two characters whose expressions showed need, desire and desperation, and I wanted to complete it with strong colors that would intensify these feelings 💘.
As inspiration for the actual design of the lettering and the album, I took these images from here. I didn't want it to have too much design as I didn't want the focus of the characters to be lost, so I relied on these images and their design for the typography style and vibe! ⋆˚࿔♫⋆˚࿔📀♡⋆.˚
Para empezar, me gustaría hablar un poco del contexto de esta bonita portada para Spotify! 🎧♡ El disco se llama «Basorexia» algo que me encantó, ya que al instante me surgieron montones y montones de ideas para el dibujo principal. El término Basorexia se define como la obsesión o deseo de besar a alguien, así que era algo CLAVE para este diseño de portada. Quería hacer dos personajes cuyas expresiones mostraran necesidad, deseo y desesperación, y quería completarlo con colores fuertes que intensificaran estos sentimientos 💘.
Como inspiración para el diseño en sí de las letras y el álbum, tomé estas imágenes de aquí. No quería que tuviera demasiado diseño ya que no quería que se perdiera el foco de atención de los personajes, ¡así que me basé en estas imágenes y su diseño para el estilo tipográfico y la ambientación! ⋆˚࿔♫⋆˚࿔📀♡⋆.˚
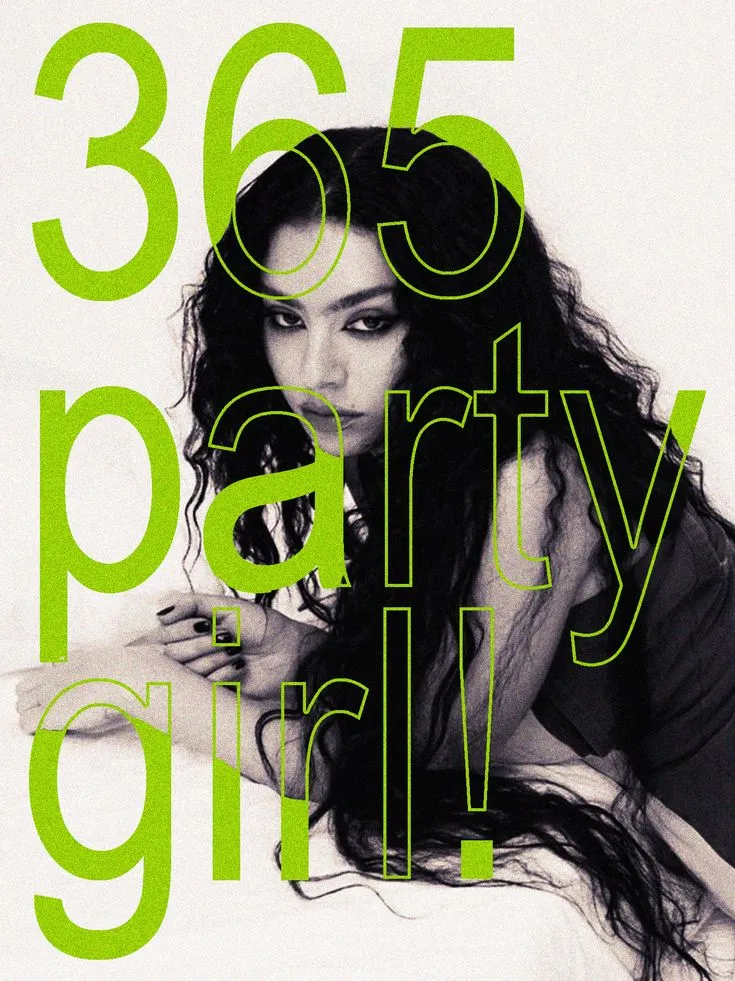
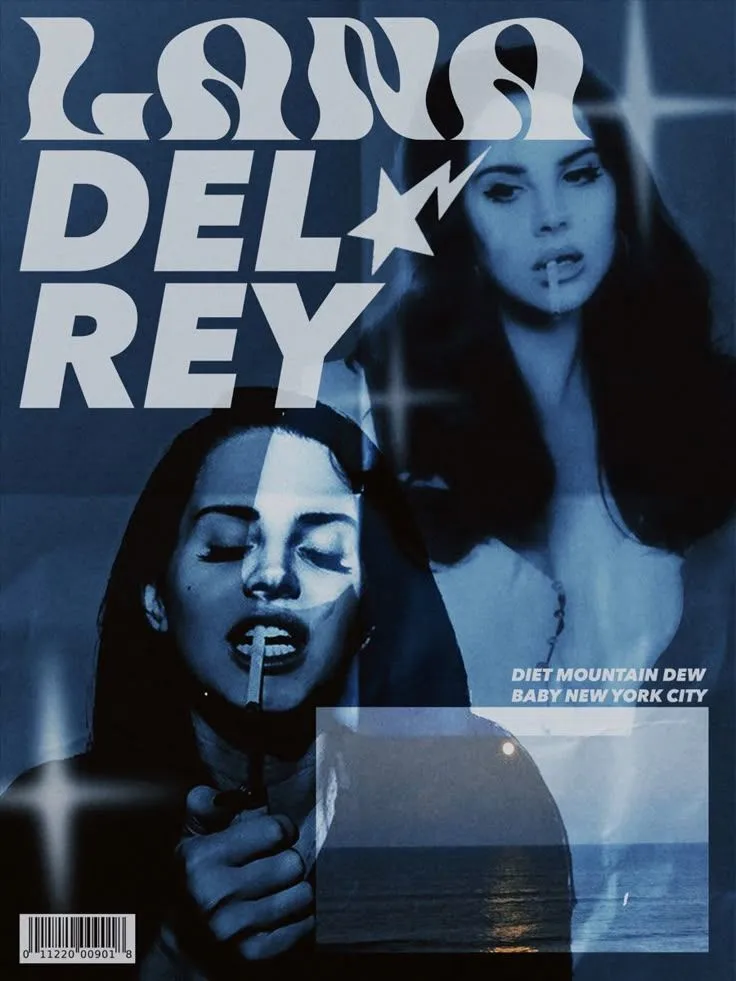
These are the references I used for this nice cover! The first image as a reference for the drawing as such main and the second image for the colors I wanted it to have ★🎸🎧⋆。 °⋆ ...
Estas son las referencias que utilicé para esta bonita portada! La primera imagen como referencia para el dibujo como tal principal y la segunda imagen para los colores que quería que tuviera ★🎸🎧⋆。 °⋆...
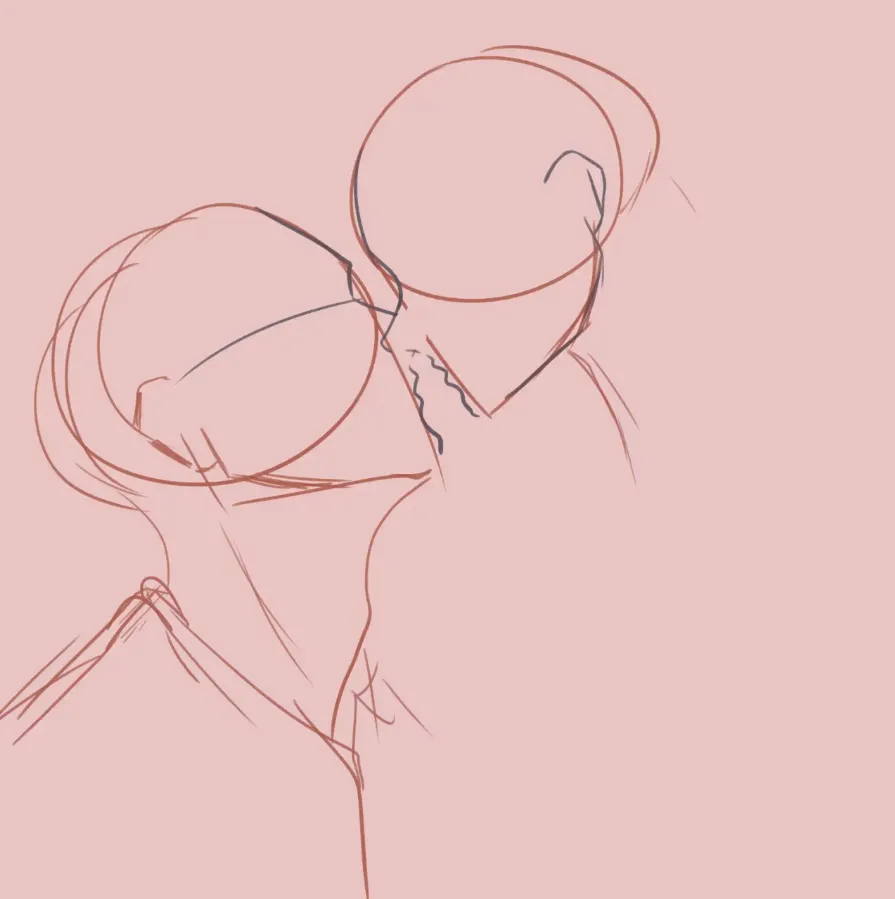
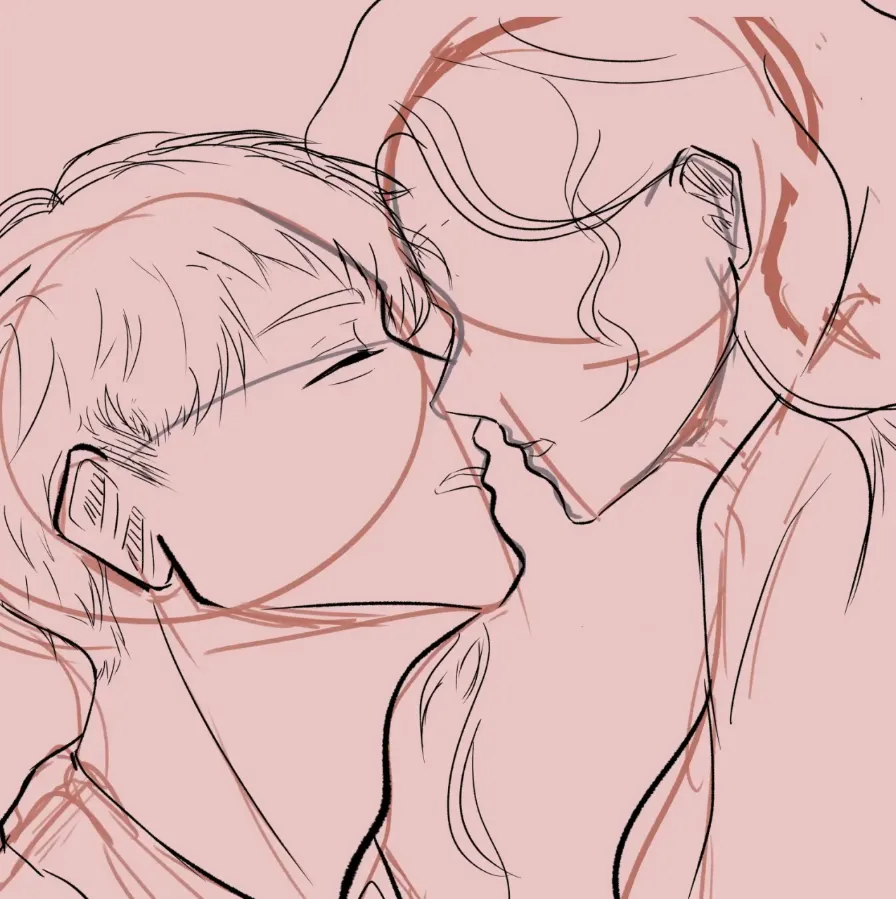
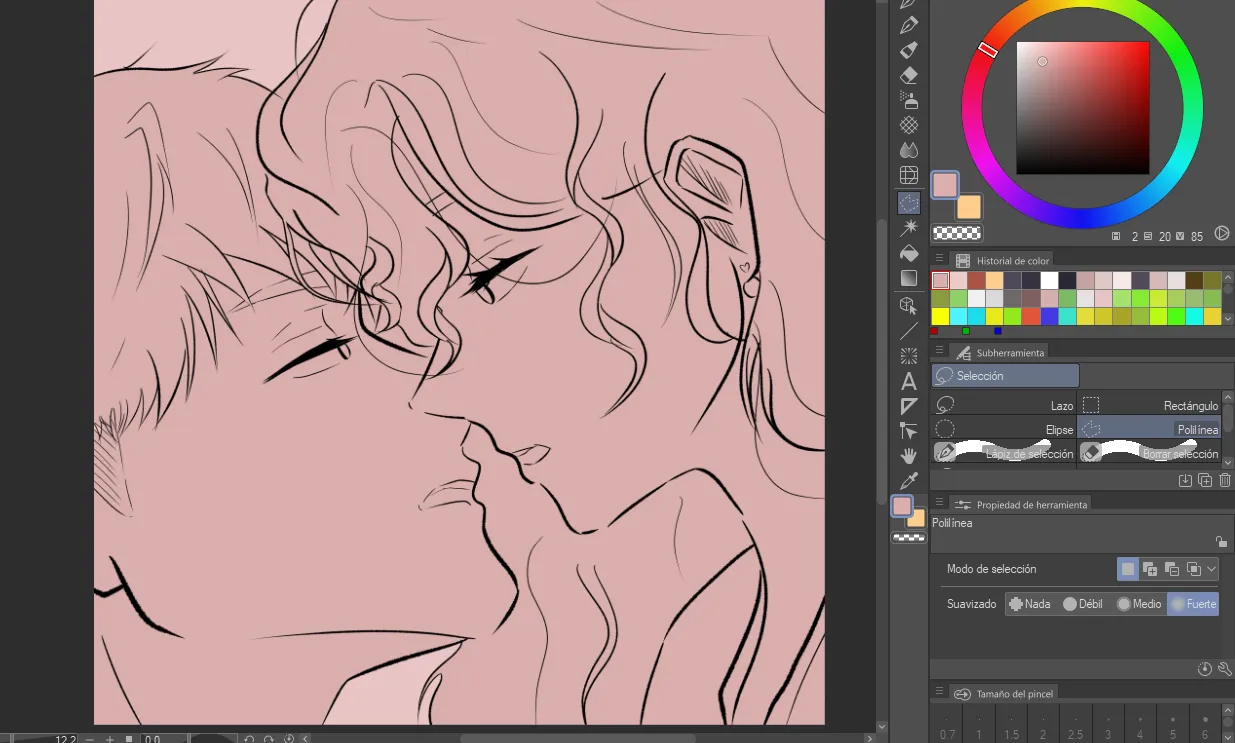
Let's get started! 𓍯𓂃𓏧♡ As I always like to mention, the program I use to do all this nice artwork is Clip Studio Paint, and my equipment is a graphics tablet, a Gaomon S620! 💌 The first thing I do is clearly the sketch, based on my reference image. For this I used a fairly light brush that I honestly feel very comfortable with when sketching. I always use red colors for my sketches, but here I also applied blue so as not to confuse the guide lines when making the lineart! ༘⋆📼˚ ༘ ೀ⋆。˚
¡Vamos a empezar! 𓍯𓂃𓏧♡ Como siempre me gusta mencionar, el programa que uso para hacer todas estas bonitas ilustraciones es Clip Studio Paint, y mi equipo es una tableta gráfica, ¡una Gaomon S620! 💌 Lo primero que hago es claramente el boceto, basado en mi imagen de referencia. Para ello uso un pincel bastante ligero con el que sinceramente me siento muy cómoda a la hora de bocetar. Siempre uso colores rojos para mis bocetos, pero aquí también apliqué azul para no confundir las líneas guía al hacer el lineart! ༘⋆📼˚ ༘ ೀ⋆。˚
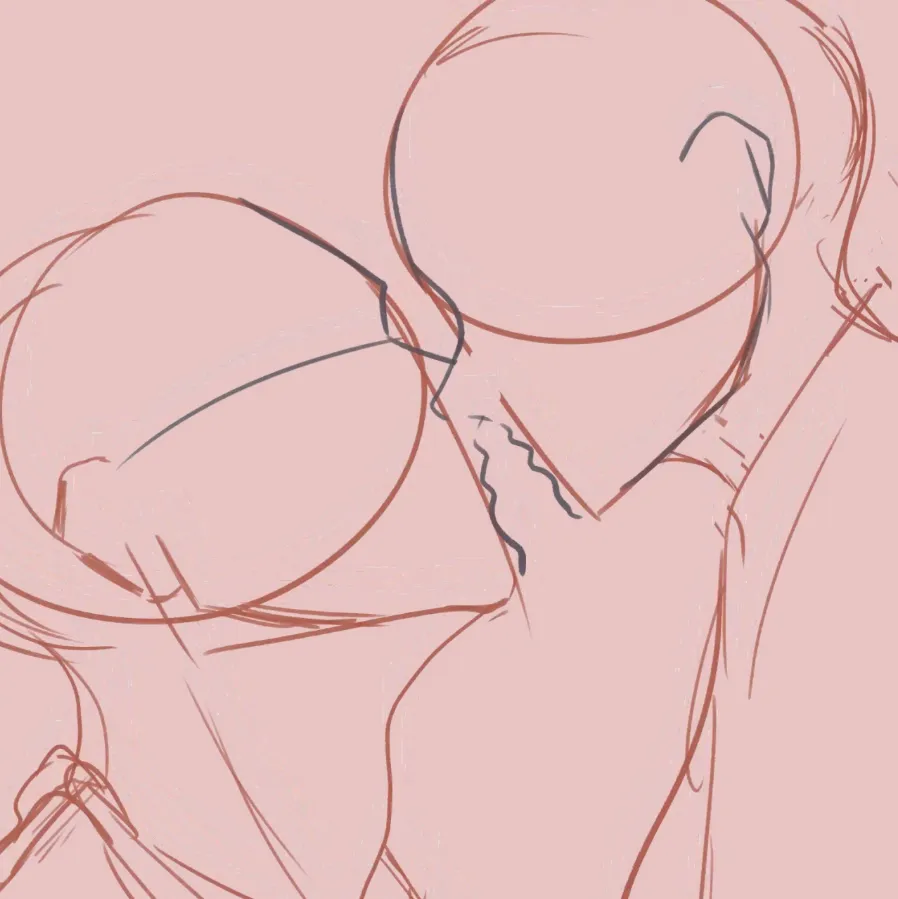
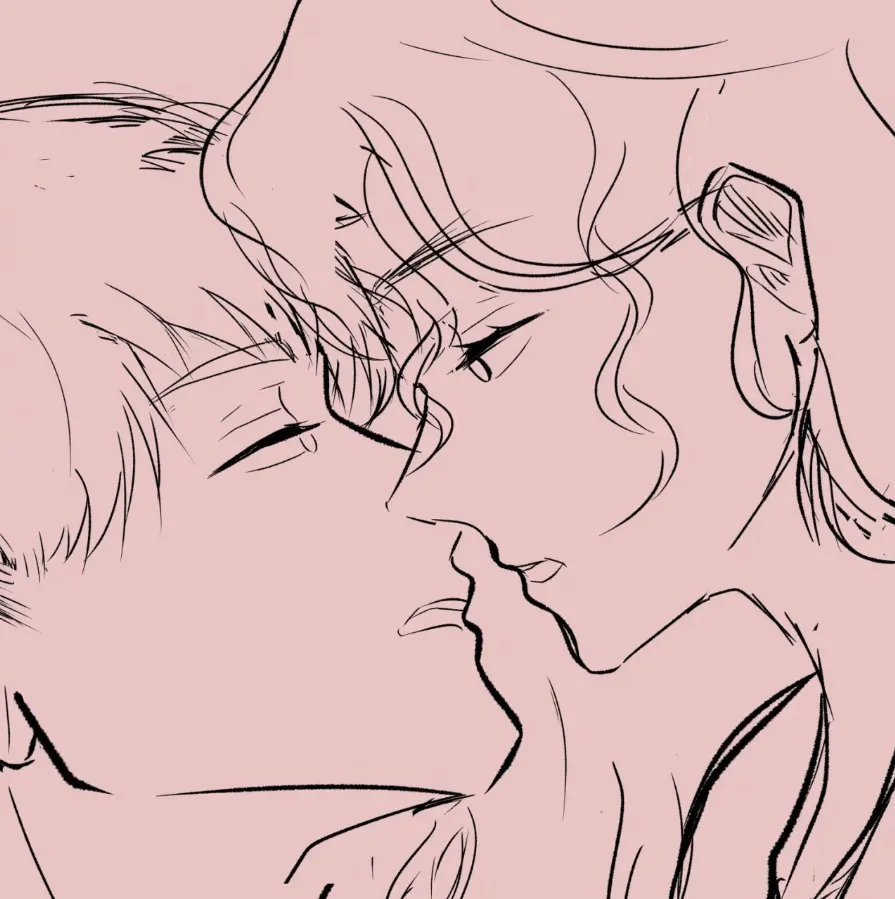
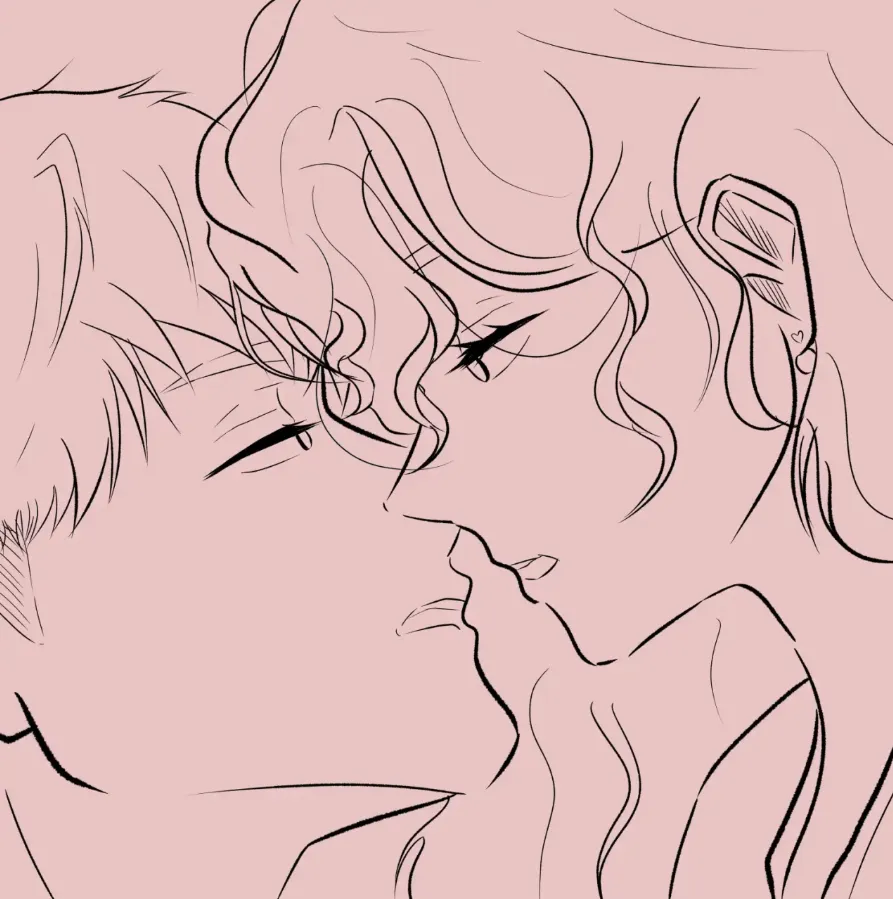
Once I was satisfied with the sketch, I went on to make the Lineart! ✨🎤♡ For the Lineart, I always change brushes, lately I'm using one similar to the feather but with a different texture, I really like it a lot although I'm still testing it🌹In this part of the Lineart I started as such with the drawing of the characters, adding their features and expressions, besides, I also enlarged the drawing much more, since I wanted the main focus to be their faces, because of the theme, so although I liked how it would look, I preferred them to look much closer. I did a first layer for the lineart that ended up being more like a second sketch, so I did another layer on top of it to clean up the drawing and make it look much better! ‧₊˚🎧‧₊˚
Una vez satisfecho con el boceto, ¡pasé a hacer el Lineart! ✨🎤♡ Para el Lineart, siempre cambio de pinceles, últimamente estoy usando uno parecido al de pluma pero con otra textura, la verdad es que me gusta mucho aunque aún lo estoy probando🌹En esta parte del Lineart empecé como tal con el dibujo de los personajes, añadiendo sus rasgos y expresiones, además, también amplié mucho más el dibujo, ya que quería que el foco principal fueran sus rostros, por la temática, así que aunque me gustaba como se viera, prefería que se apreciaran mucho más de cerca. Hice una primera capa para el lineart que terminó siendo más como un segundo boceto, así que hice otra capa encima para limpiar el dibujo y que se viera mucho mejor! ‧₊˚🎧‧₊˚
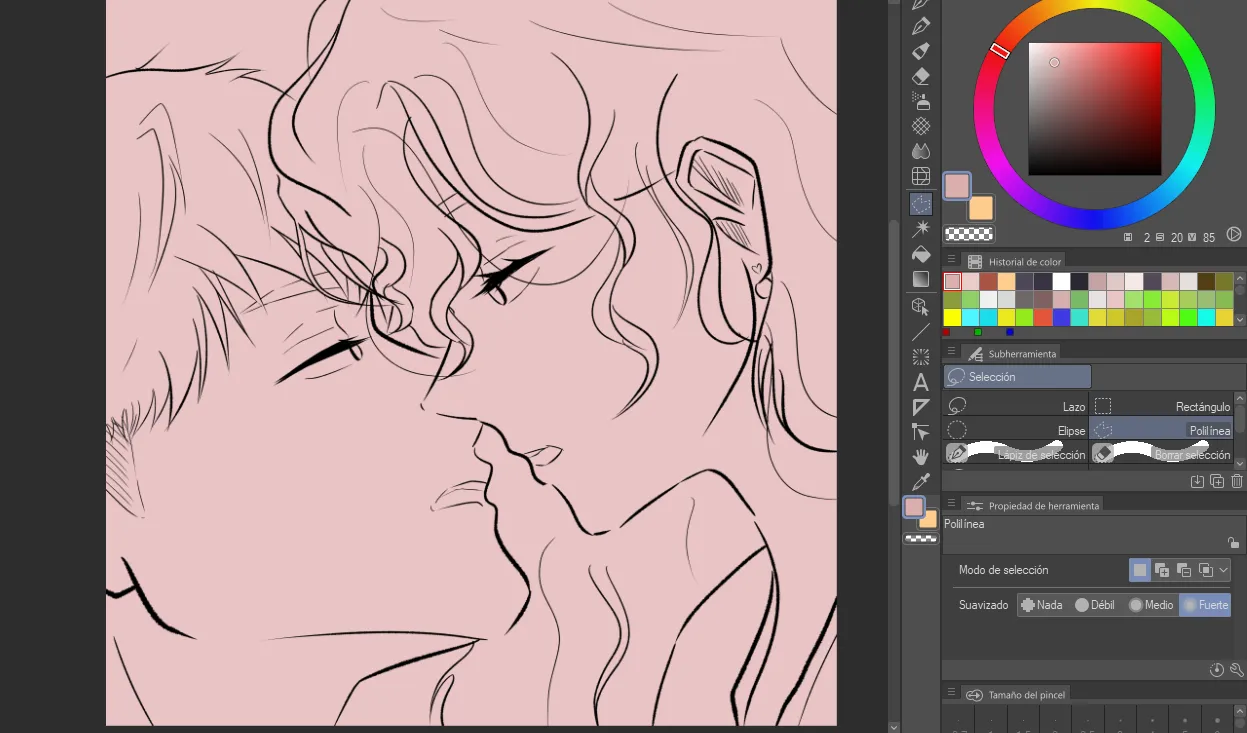
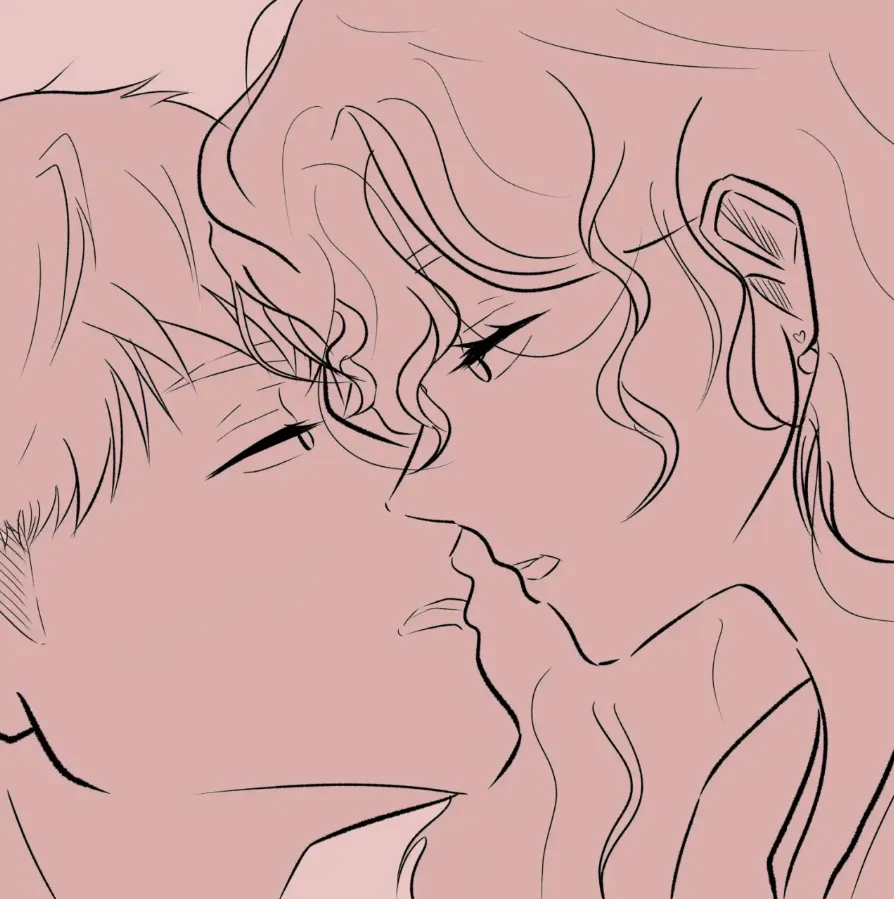
With that, the Lineart was ready! 💗🌸 The next thing I did was to start applying the base colors of this nice drawing. To do this, I always paint the whole drawing in one color, I always use gray, then I apply the base colors on top of this that I already painted, I do this so that the colors I apply don't go out of this already made outline. I applied the base colors in separate layers for the skin and hair, and I also separated the base colors of the characters from each other, to avoid mixing their colors and not to damage the rendering of any of them ˙✧˖°📸⋆。˚
Con eso, ¡el Lineart estaba listo! 💗🌸 Lo siguiente que hice fue empezar a aplicar los colores base de este bonito dibujo. Para hacer esto, siempre pinto todo el dibujo de un solo color, siempre uso gris, luego aplico los colores base encima de esto que ya pinté, hago esto para que los colores que aplique no se salgan de este contorno ya hecho. Apliqué los colores base en capas separadas para la piel y el pelo, y también separé los colores base de los personajes entre sí, para evitar mezclar sus colores y no dañar el renderizado de ninguno de ellos ˙✧˖°📸⋆。˚.
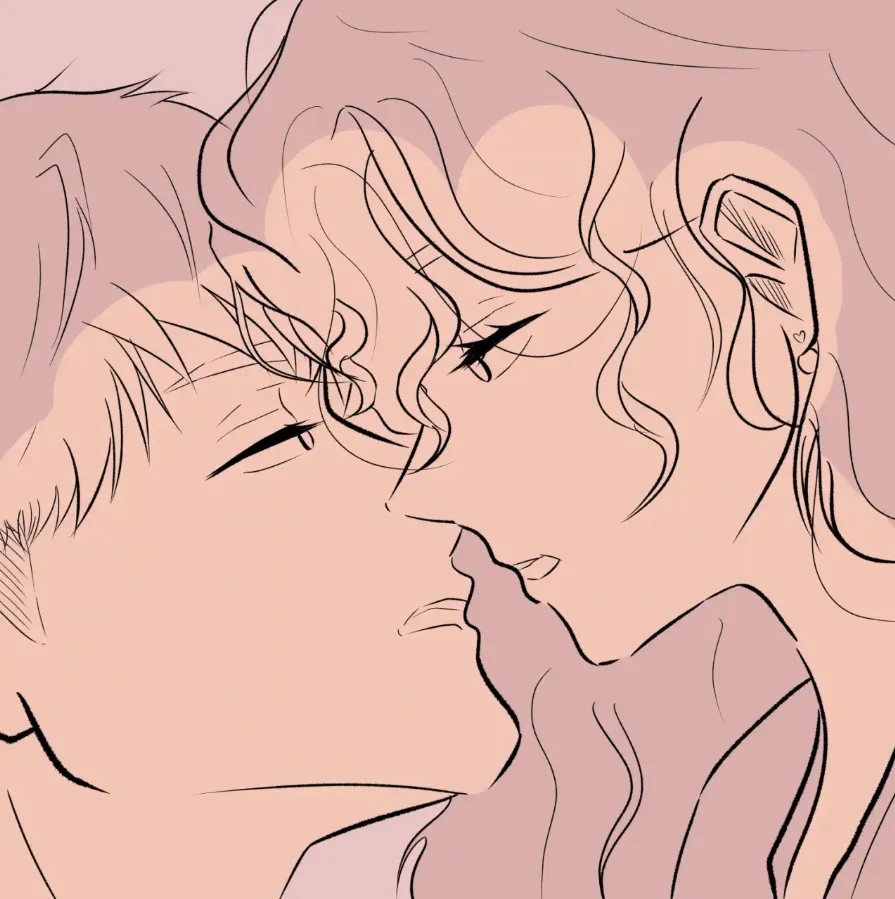
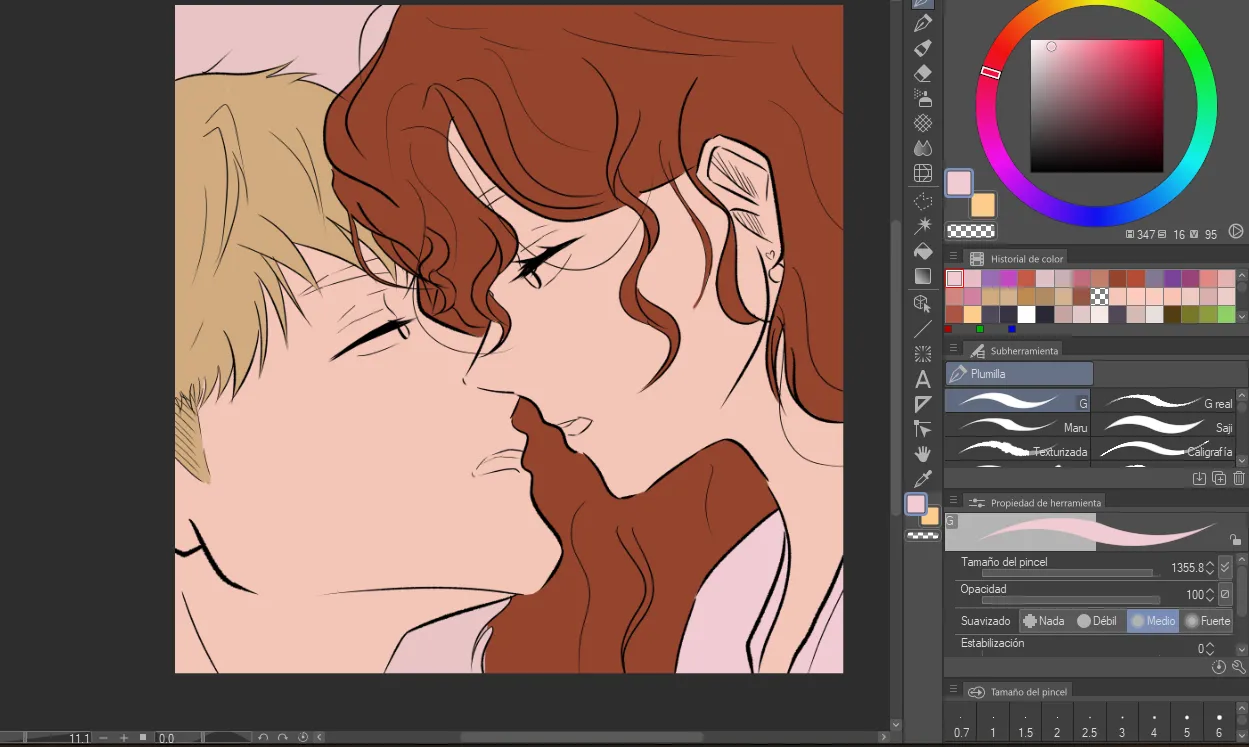
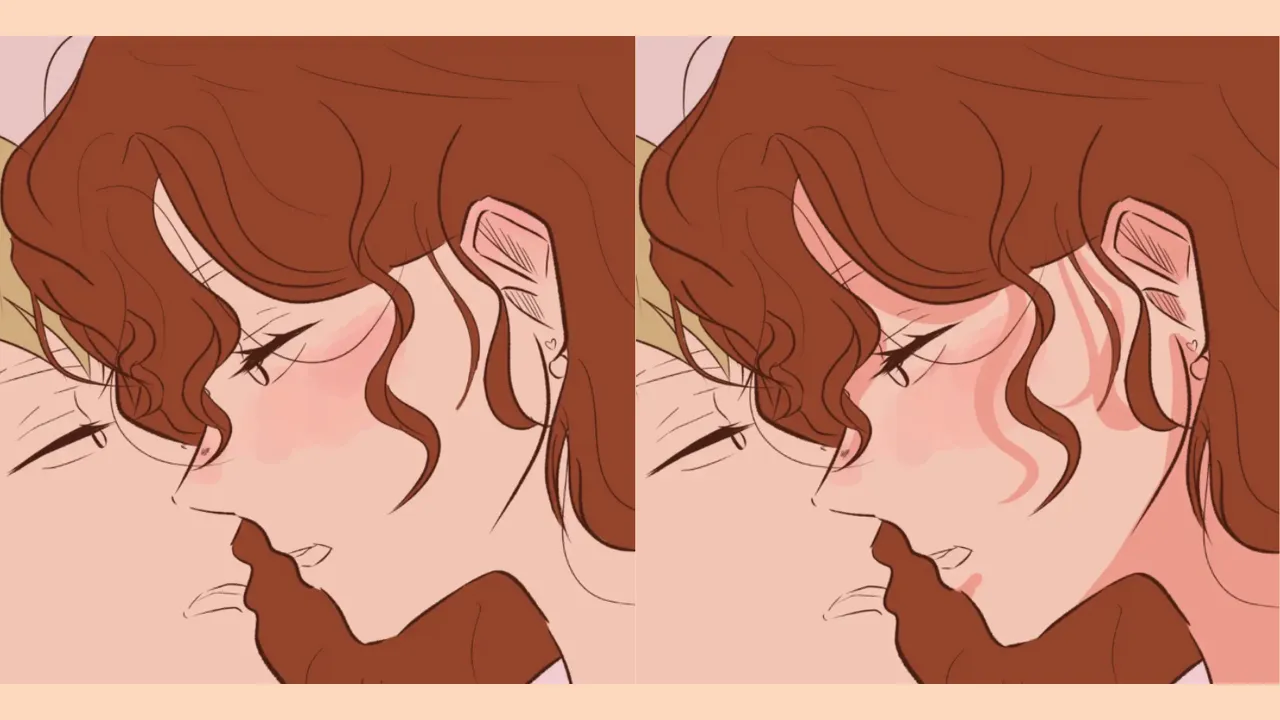
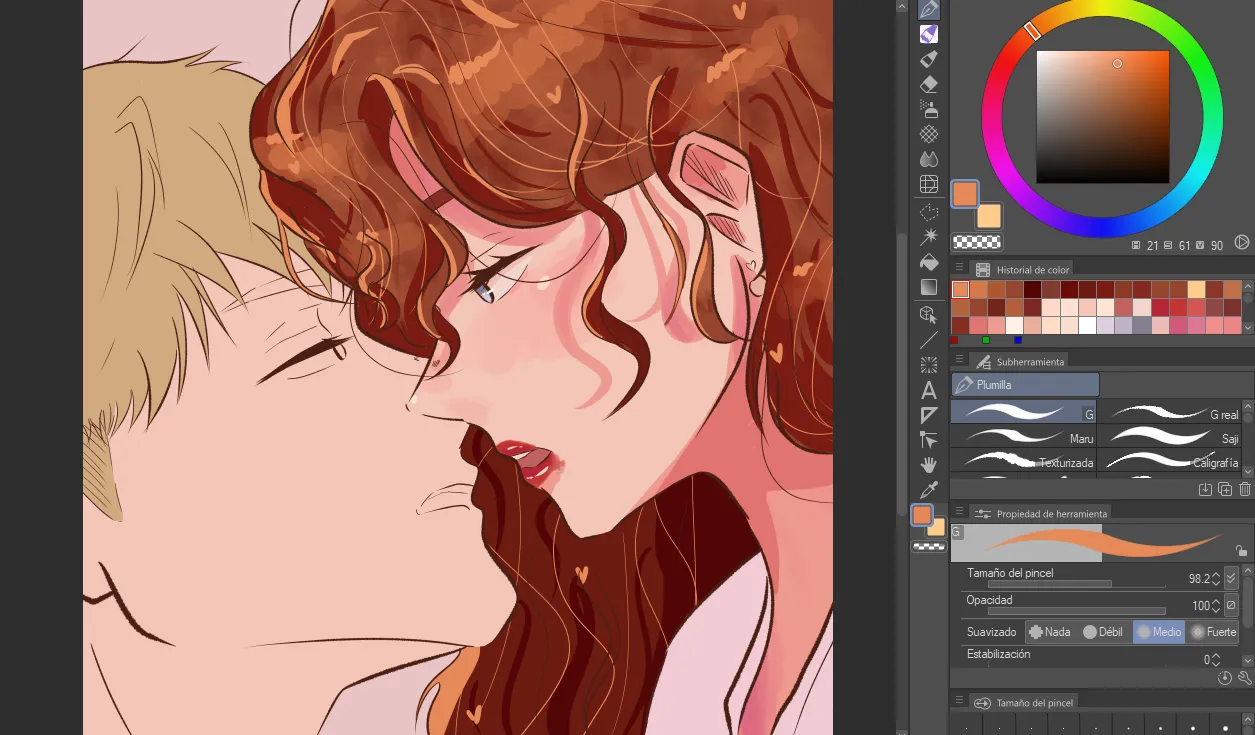
Once I had the base colors added, I started with the rendering of the drawing! 💌✨ To do this, I always start by rendering the skin, and as this time I had to render two characters, I started with the girl, as I really wanted to render her, I feel her drawing looked simply beautiful so I did her first. To render the skin I started first applying blushes, which I used to blur before but I discovered that I like it much better without blurring. Then I apply the strong shadows, do the eyes and the last details, like highlights and the lips, which I did a deep red which I loved how it looked on her! 💋✿˚ ༘ ⋆。♡˚
Una vez tuve los colores base añadidos, ¡comencé con el renderizado del dibujo! 💌✨ Para ello, siempre empiezo renderizando la piel, y como esta vez tenía que renderizar dos personajes, empecé por la chica, ya que tenía muchas ganas de renderizarla, siento que su dibujo se veía simplemente hermoso así que la hice primero. Para renderizar la piel empecé primero aplicando los rubores, que antes solía difuminar pero descubrí que me gusta mucho más sin difuminar. ¡Luego aplico las sombras fuertes, hago los ojos y los últimos detalles, como las luces y los labios, que hice de un rojo intenso que me encantó como le quedó! 💋✿˚ ༘ ⋆。♡˚

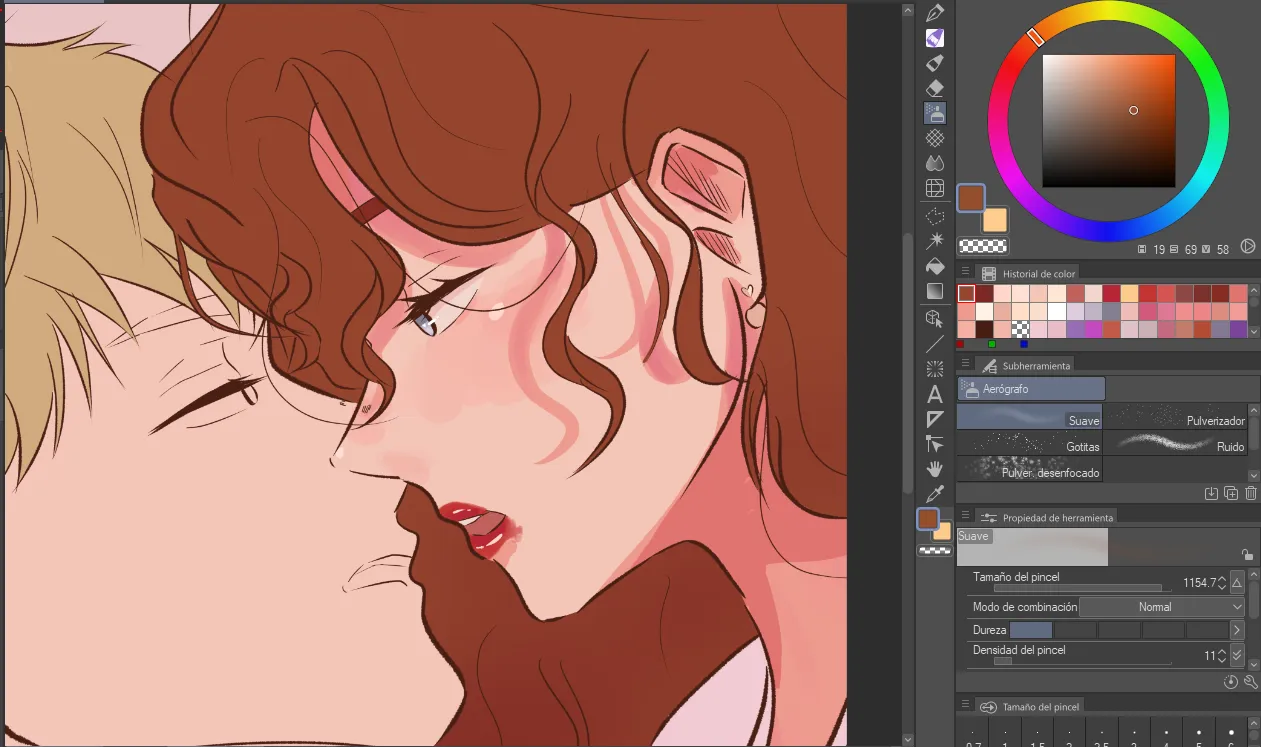
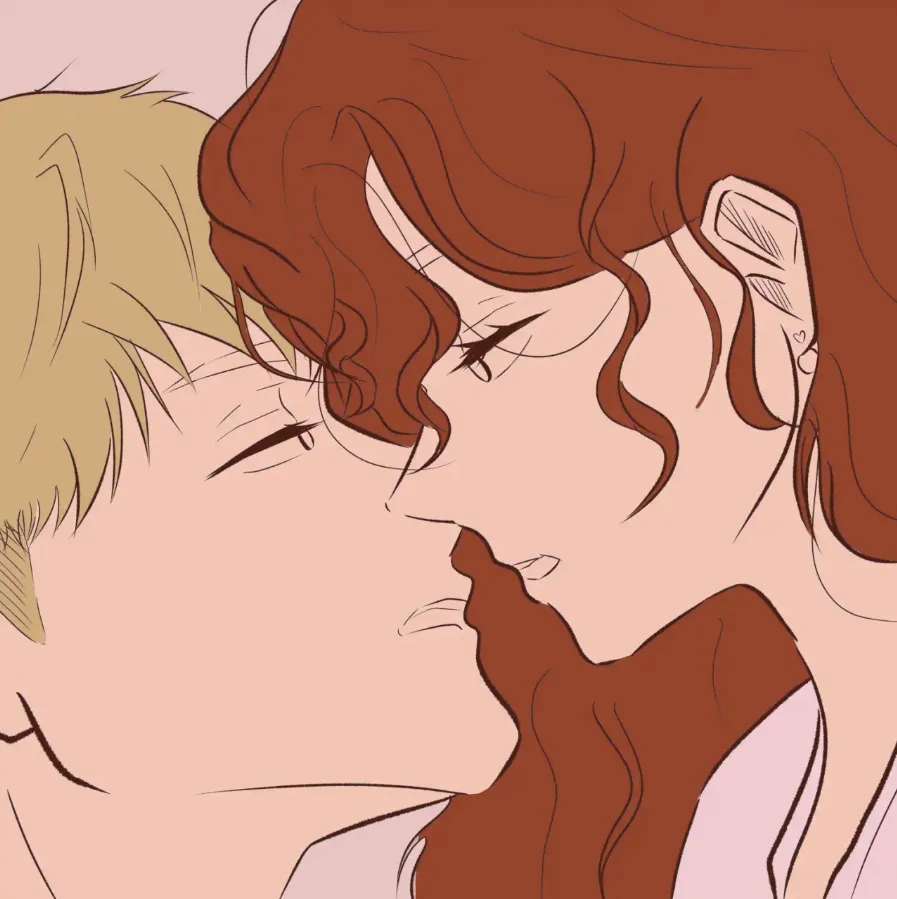
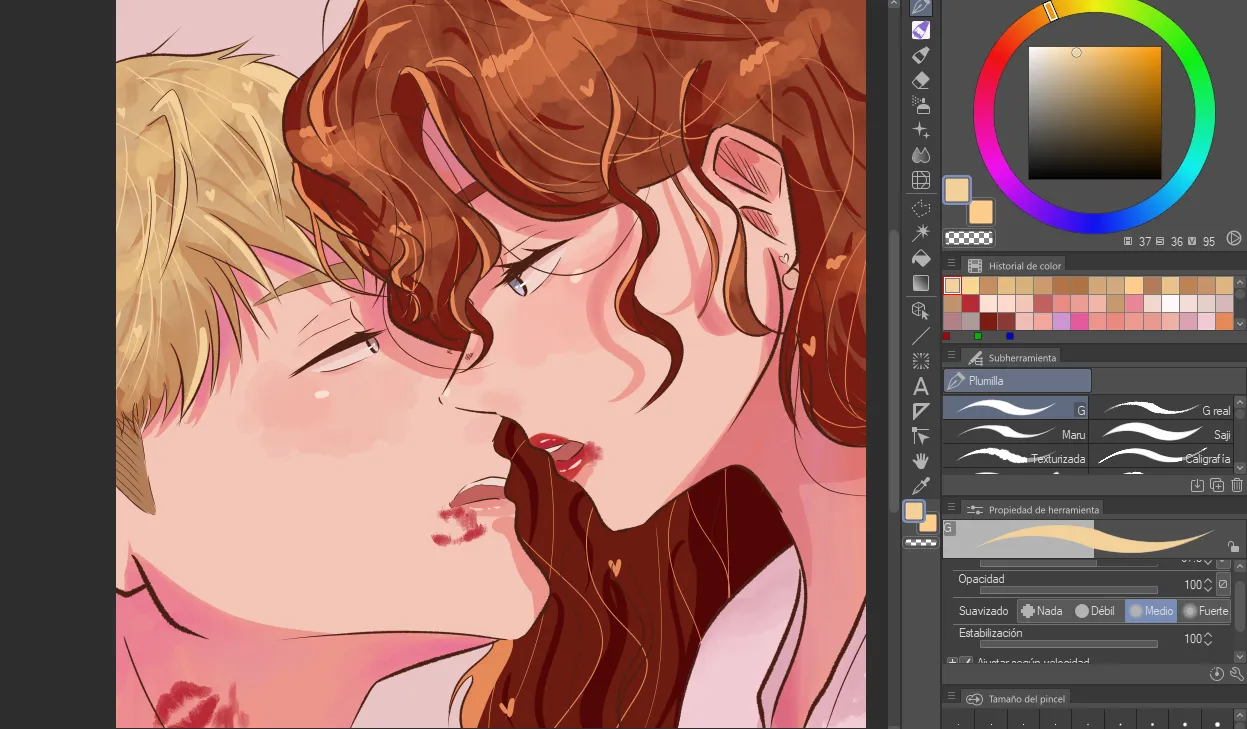
Then I went on to render the hair! Which is my favorite part, because I really like this new rendering I'm doing for the hair ❤️🩹Primero I applied many stains of different tones, but in the same range of the base color, these stains I blurred them giving the hair a texture that I love! Then I apply strong shadows and finally some soft highlights, and then some strong highlights, I feel that this final touch creates so much texture and volume, I really love this new way of rendering the hair! ‧₊˚📀✩♬ ₊˚.
¡Luego pasé a renderizar el pelo! Que es mi parte favorita, porque realmente me gusta este nuevo render que estoy haciendo para el pelo ❤️🩹Primero Apliqué muchas manchas de diferentes tonos, pero en la misma gama del color base, estas manchas las difuminé dándole al pelo una textura que me encanta! Luego aplico sombras fuertes y finalmente unas luces suaves, y luego unas luces fuertes, siento que este toque final crea mucha textura y volumen, ¡realmente me encanta esta nueva forma de renderizar el cabello! ‧₊˚📀✩♬ ₊˚.

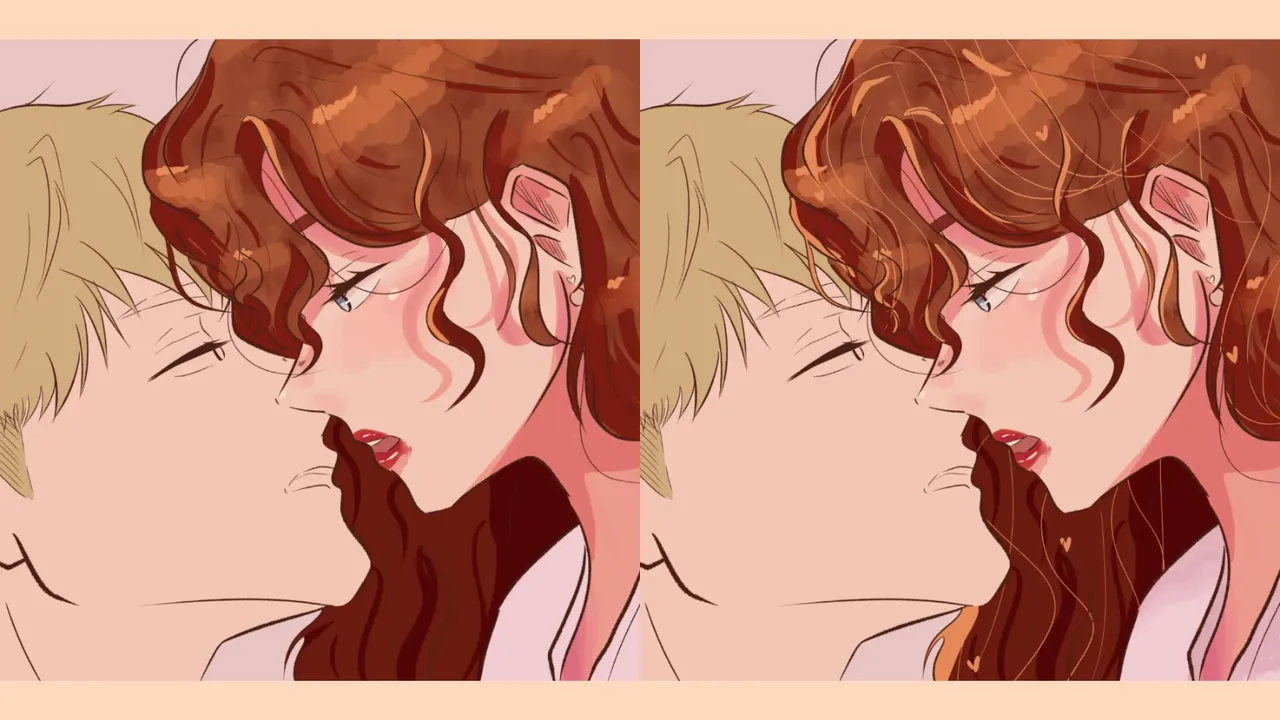
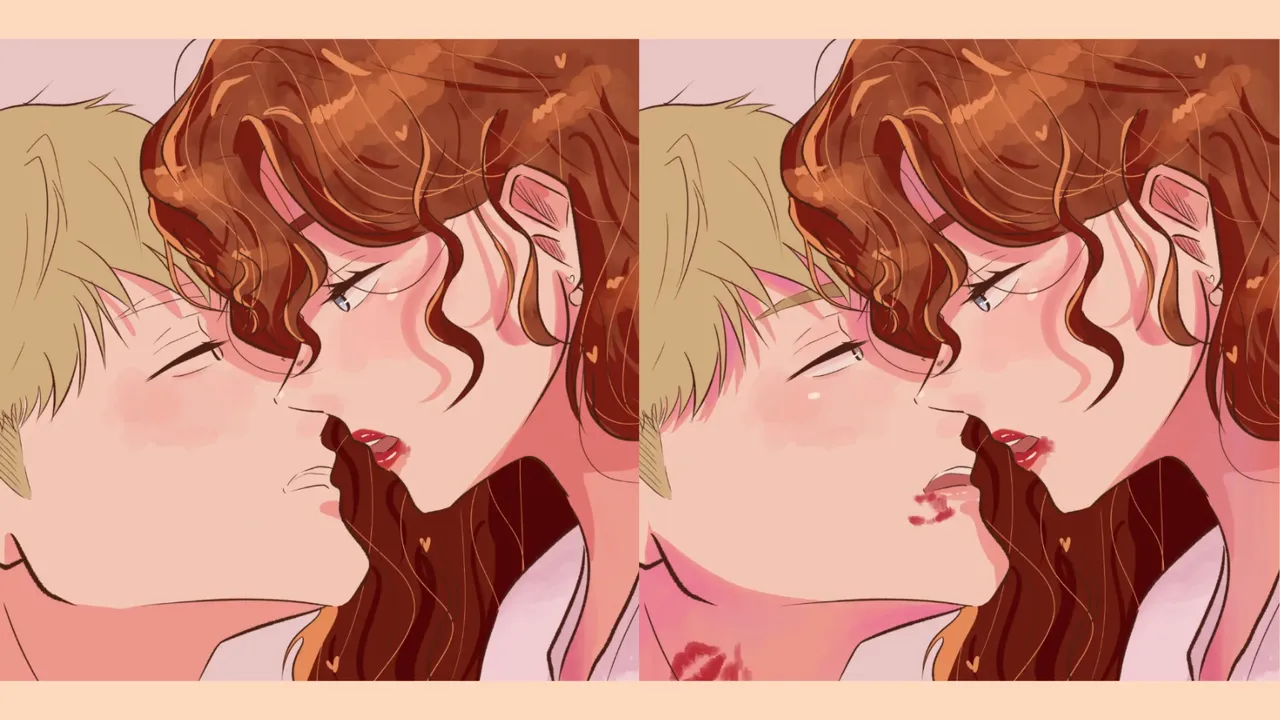
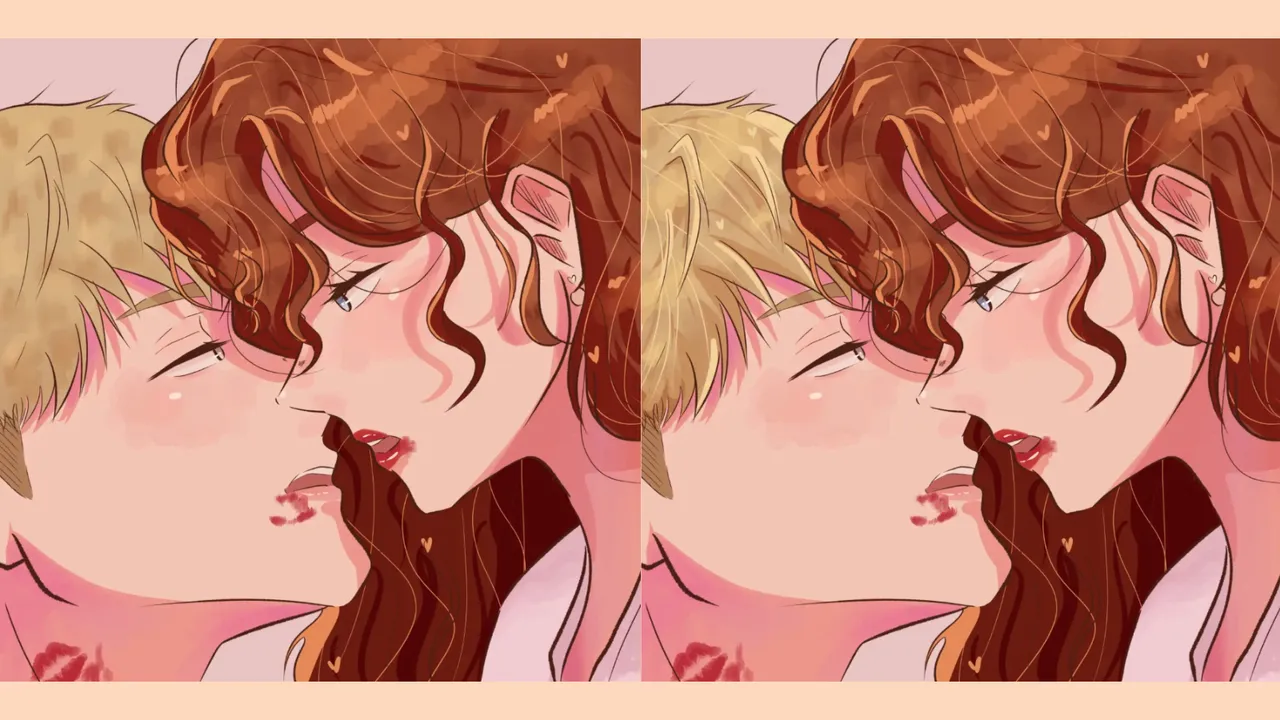
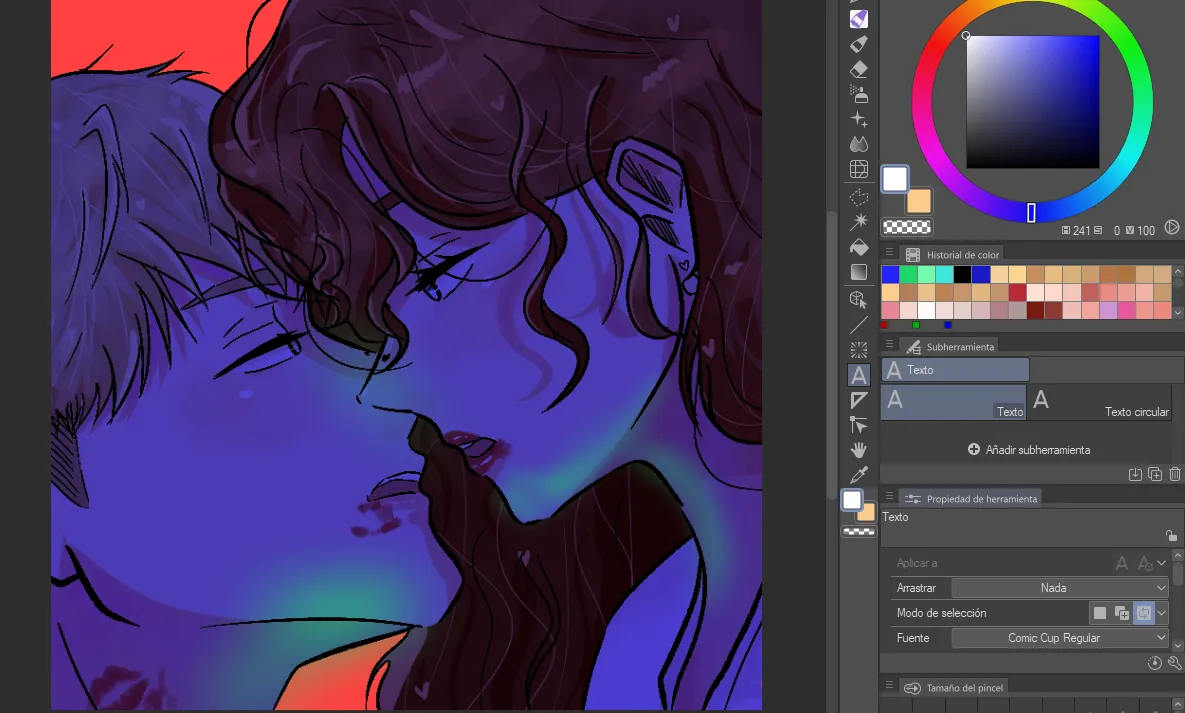
With that, I had the rendering of the girl ready, so I moved on to rendering the boy! 🎀♡ For this I followed the same procedure I previously explained rendering the girl. First the skin, adding blushes, eye details and shadows and then the hair, with the same. Honestly I loved the rendering of this cute boy, also, another thing I really liked was the lipstick marks on his lips and the kiss mark on his neck, I feel it's a great detail and it intensifies a lot more the vibe and the feeling that you want to convey in this cover 💋♡٭*🎧💿༘⋆๋࣭
Con esto, ya tenía listo el render de la chica, ¡así que pasé a renderizar al chico! 🎀♡ Para ello seguí el mismo procedimiento que expliqué anteriormente renderizando a la chica. Primero la piel, añadiendo colorete, detalles de ojos y sombras y luego el pelo, con lo mismo. Sinceramente me encantó el render de este lindo chico, además, otra cosa que me gustó mucho fueron las marcas de lápiz labial en sus labios y la marca del beso en su cuello, siento que es un gran detalle e intensifica mucho más la vibra y el sentimiento que se quiere transmitir en esta portada 💋♡٭*🎧💿༘⋆๋࣭
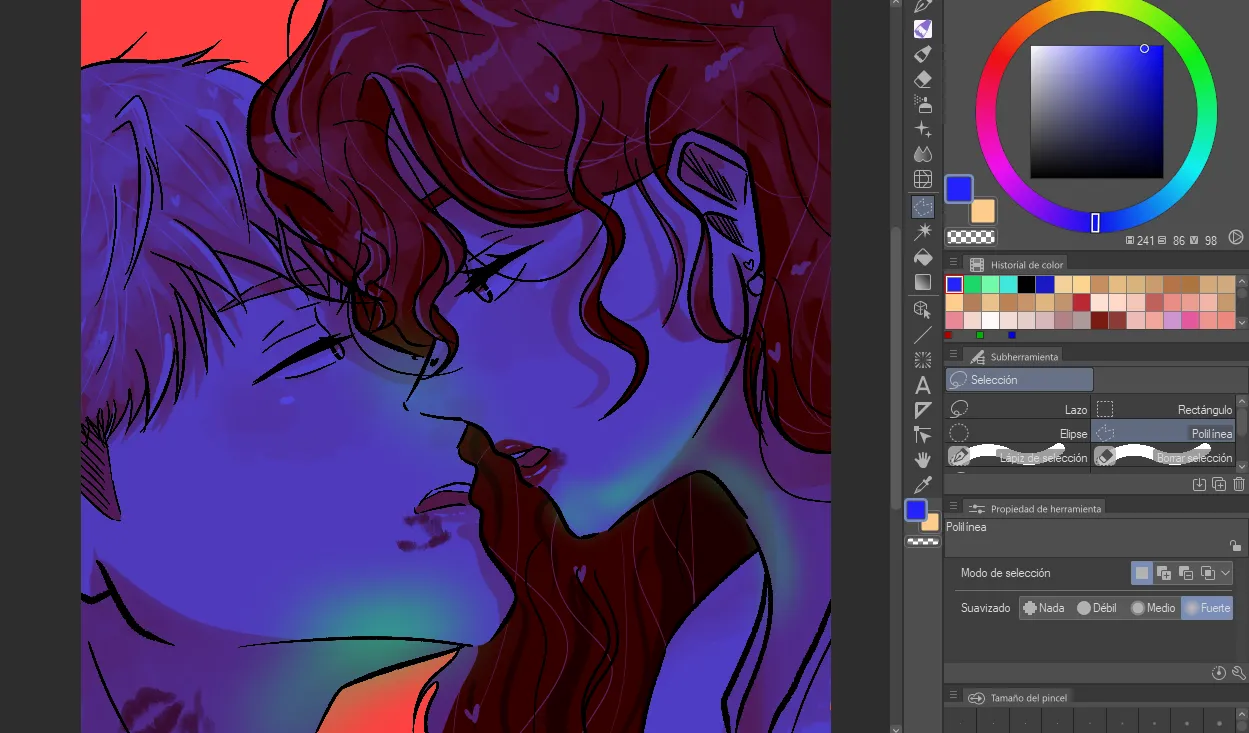
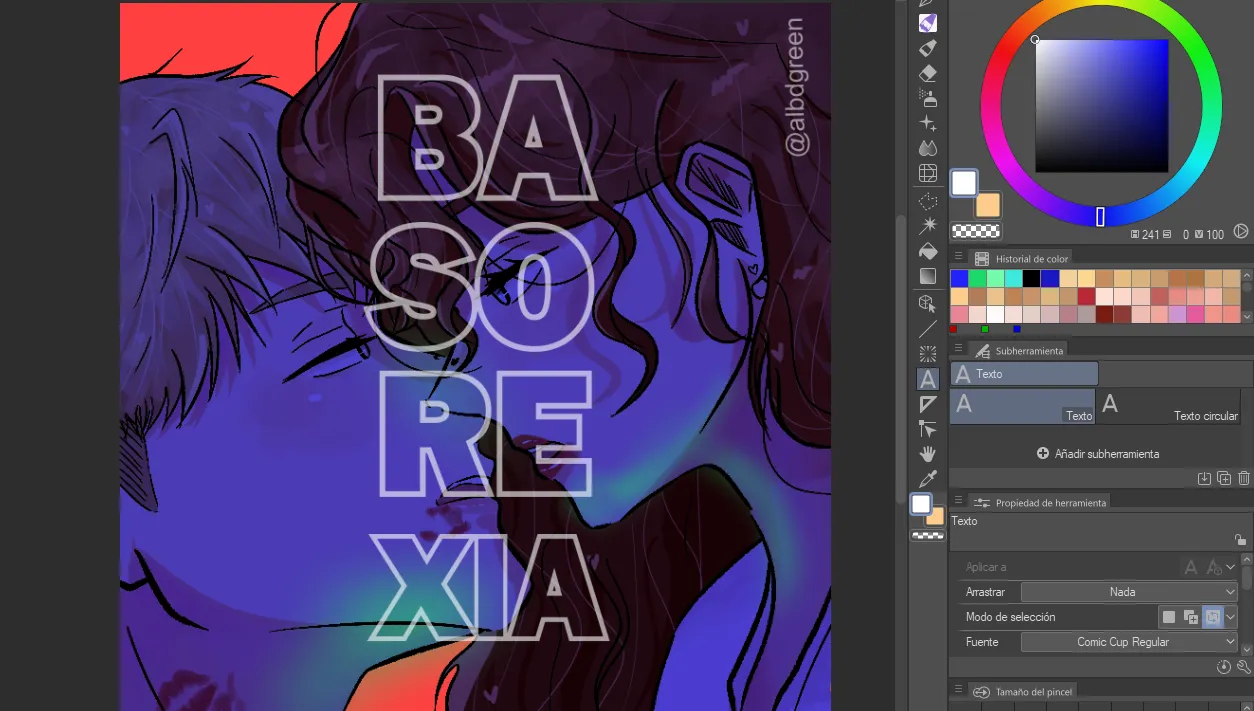
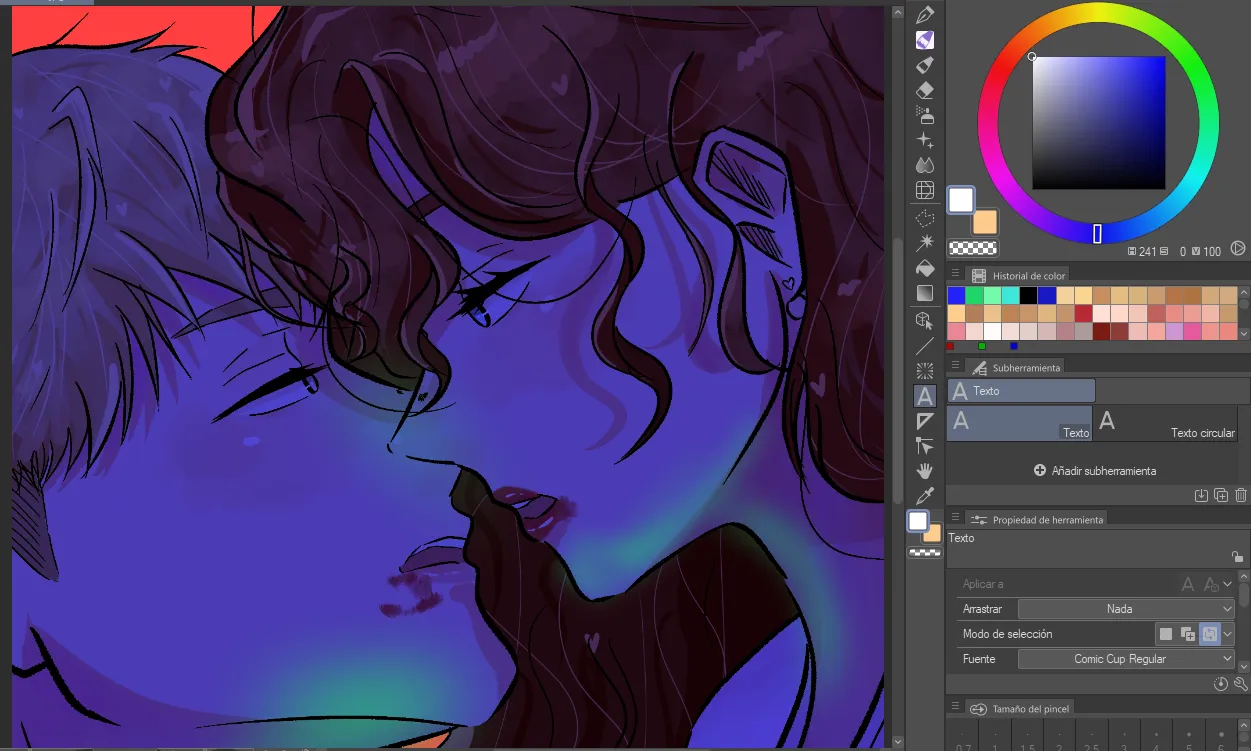
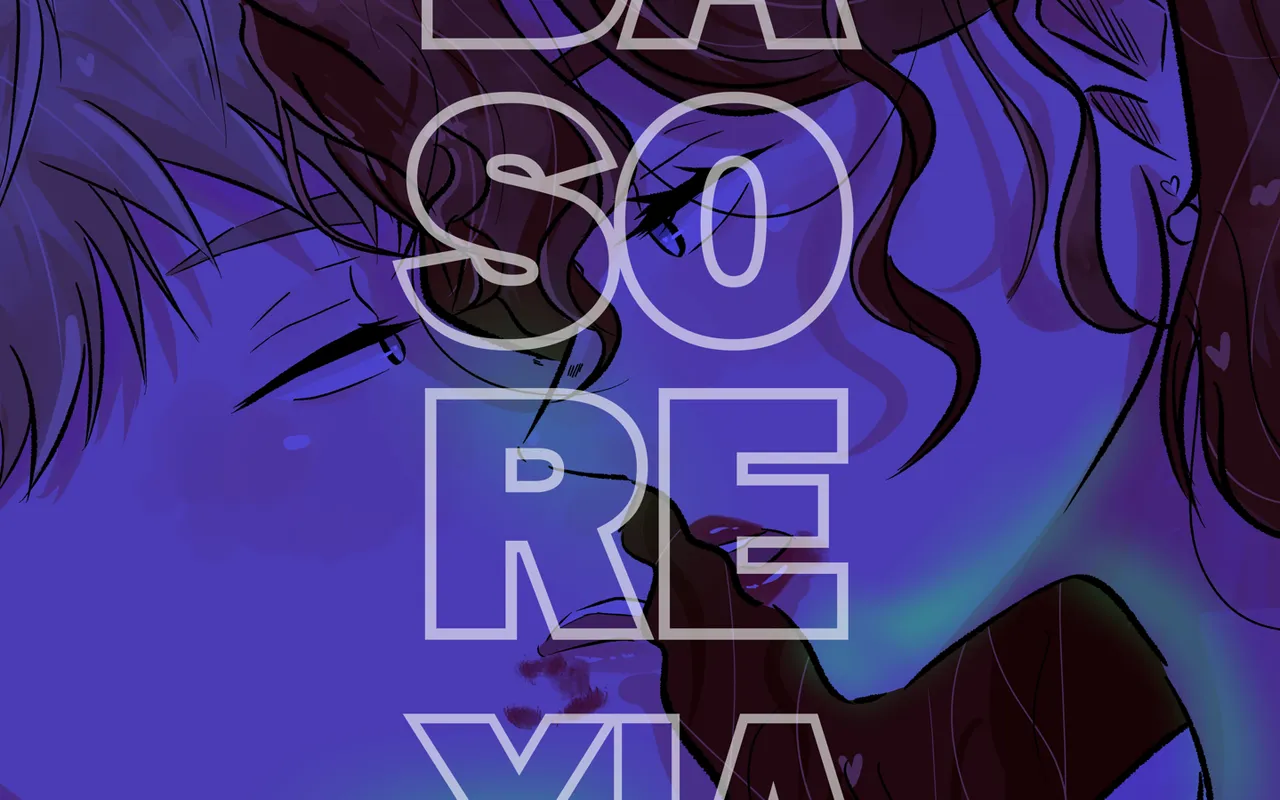
Then, I went on to focus on the final cover design and its colors! 💙 To achieve that coloring and that blue effect on their skins, what I did was to make a layer on top of them in a strong blue color, a layer to which I lowered the opacity and set the “Multiply” option To achieve this nice effect without losing what I rendered before ♡ I added some slight green lights and the background color in a red color. Finally, I added the letters with the name of the album in a white color but I also lowered their opacity ദ്ദി ˉ͈̀꒳ˉ͈́ )✧...
Luego, ¡pasé a centrarme en el diseño final de la portada y sus colores! 💙 Para conseguir ese colorido y ese efecto azul en sus pieles, lo que hice fue hacer una capa encima de ellas en un color azul fuerte, capa a la que bajé la opacidad y puse la opción «Multiplicar» Para conseguir este bonito efecto sin perder lo que había renderizado antes ♡ añadí unas ligeras luces verdes y el color de fondo en un color rojo. Por último, añadí las letras con el nombre del álbum en color blanco pero también les bajé la opacidad ദ്ദി ˉ͈̀꒳ˉ͈́ )✧...
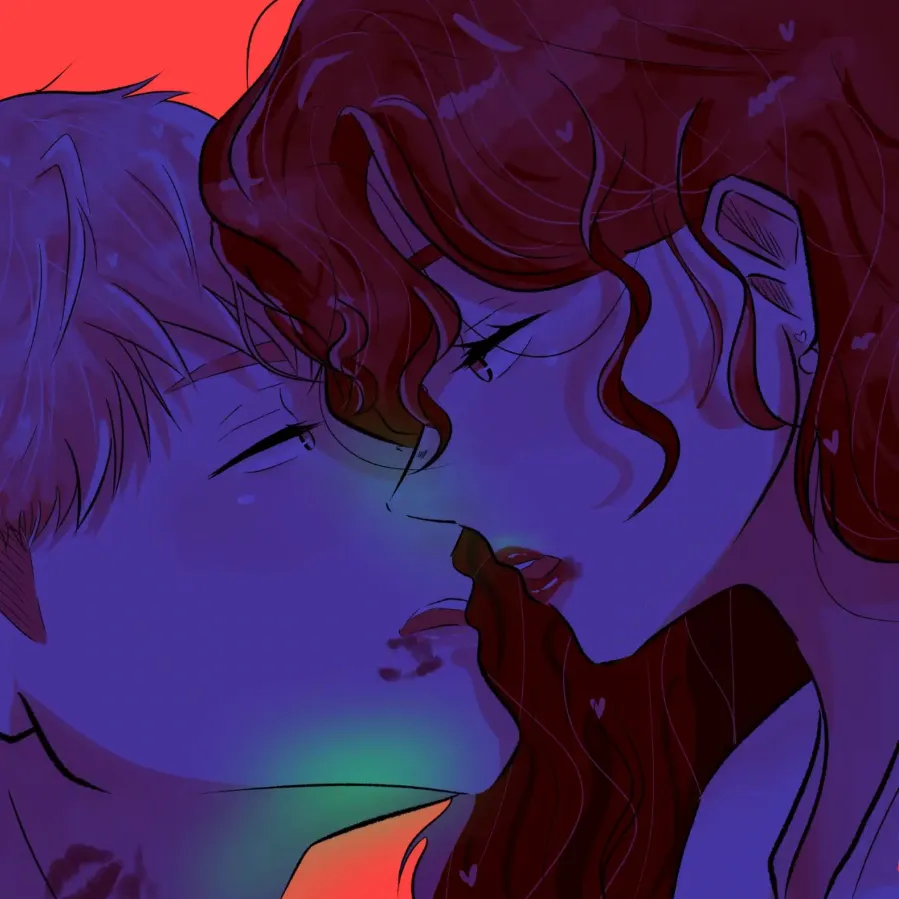
And this is how the final result turned out! 💋🎧✨...
¡Y así es como quedó el resultado final! 💋🎧✨...


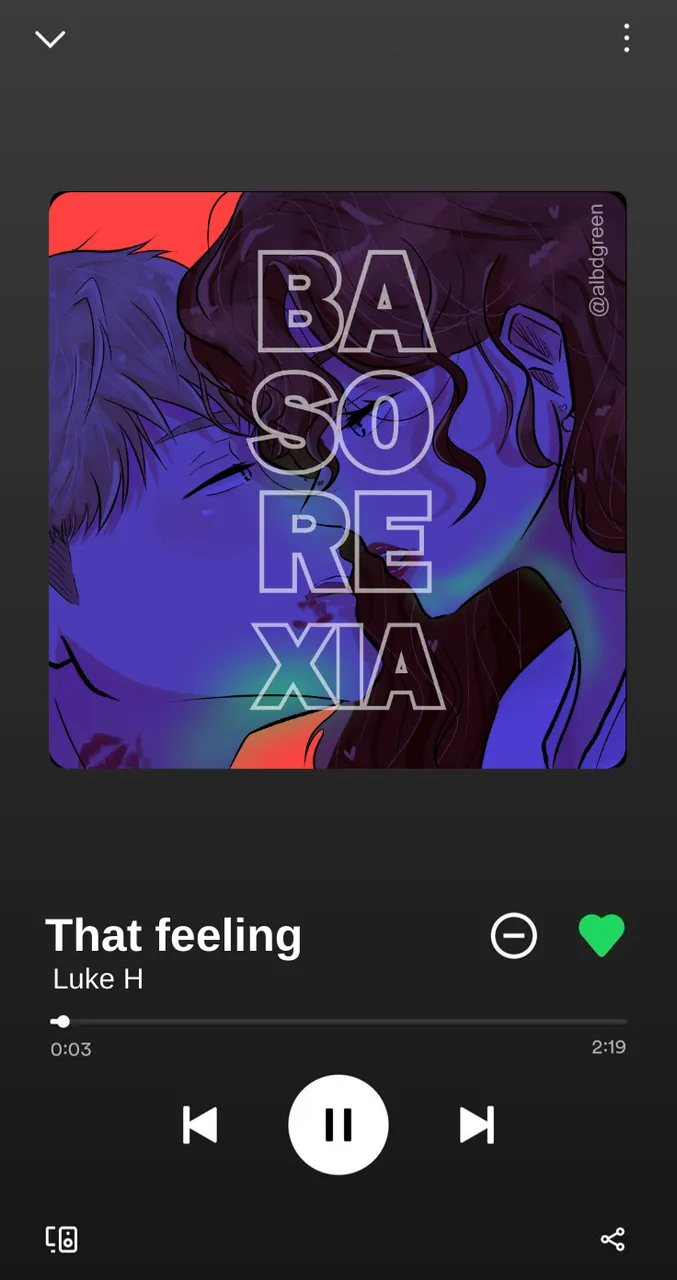
This is what the cover of this amazing album would look like inside the app ♡....
Así se vería la portada de este increíble álbum dentro de la aplicación ♡....
And finally, I also share with you the Time - Lapse as a small summary of the process! 💘ദ്ദി(˵ •̀ ᴗ - ˵ ) ✧
¡Y por último, también comparto con vosotros el Time - Lapse como pequeño resumen del proceso! 💘ദ്ദി(˵ •̀ ᴗ - ˵ ) ✧
And that was all for today's post, my dear friends of Hive and of this nice community! 🌸 What did you think? I really loved it. At first when I started making it it was a bit complicated and I wasn't liking it, but I decided to trust the process and it came out something wonderful! I loved the colors, the characters, the letters, absolutely everything, so I hope you do too, let me know in the comments! 💌
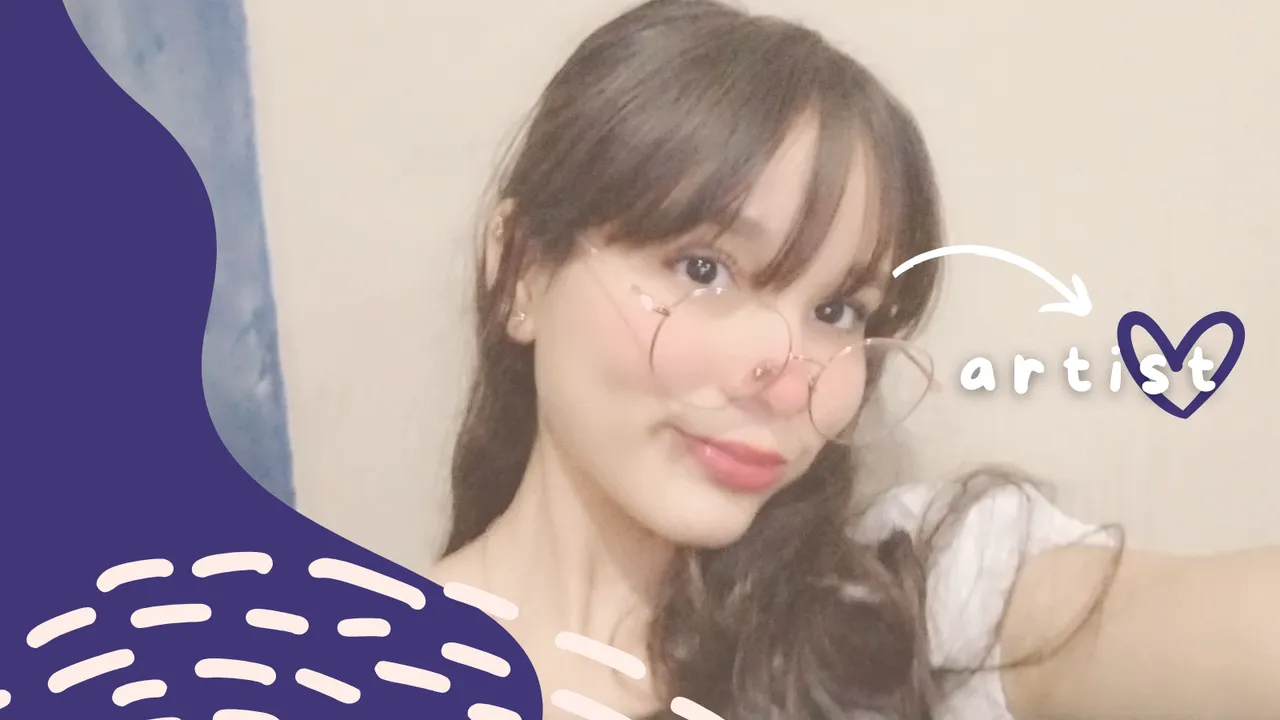
If you like, you can follow me on my Instagram where I upload cute little drawings every week! ₍ᐢ. .ᐢ₎
Thank you so much for making it this far, I'll be happy to welcome you in a next post, bye! 💓
Y esto ha sido todo por el post de hoy, ¡queridos amigos de Colmena y de esta bonita comunidad! 🌸 ¿Qué os ha parecido? A mi la verdad es que me ha encantado. Al principio cuando empecé a hacerlo era un poco complicado y no me estaba gustando, pero decidí confiar en el proceso y ¡salió algo maravilloso! Me encantaron los colores, los personajes, las letras, absolutamente todo, así que espero que a ustedes también, ¡háganmelo saber en los comentarios! 💌
¡Si quieren, pueden seguirme en mi Instagram donde subo dibujitos lindos todas las semanas! ₍ᐢ. .ᐢ₎
Muchas gracias por llegar hasta aquí, estaré encantada de daros la bienvenida en un próximo post, ¡adiós! 💓
Muchas gracias por el tiempo dedicado a leer este post y también por vuestro apoyo! ♡ Espero veros en los próximos. Hasta luego 🌸.
✿ -------- ✿ -------- ✿ --------✿ -------- ✿ -------- ✿ -------- ✿ -------- ✿ --------✿ --------✿ -------- ✿ --------✿ --------✿
Los textos y fotos son míos y las del anime son de Pinterest, las traducciones son de Deepl y los diseños están hechos en la plataforma Canva.
