For this tutorial I will be so bold to asume you already have installed Stable Diffusion Automatic1111 in your computer. In case you don't have it, there are plenty of tutorials out there, don't worry, you can go install it and come back, this tutorial still will be here! 🖤
Welcome back! 😝
Let's first learn a little about what Checkpoints and LoRAs are...
Checkpoints
Pre-trained Stable Diffusion weights, also known as checkpoint files, are models designed for generating images of a general or specific genre.
What images a model can generate depends on the data used to train them. A model won’t be able to generate a horse image if there’s never a horse in the training data. Likewise, if you only train a model with horse images, it will only generate horses.¹
LoRAs
LoRAs (Low-Rank Adaptations) are smaller files (anywhere from 1MB ~ 200MB) that you combine with an existing Stable Diffusion checkpoint models to introduce new concepts to your models, so that your model can generate these concepts.²
✨
Now we know what they are, we will proceed to download and install a few of them. We'll go to https://civitai.com/
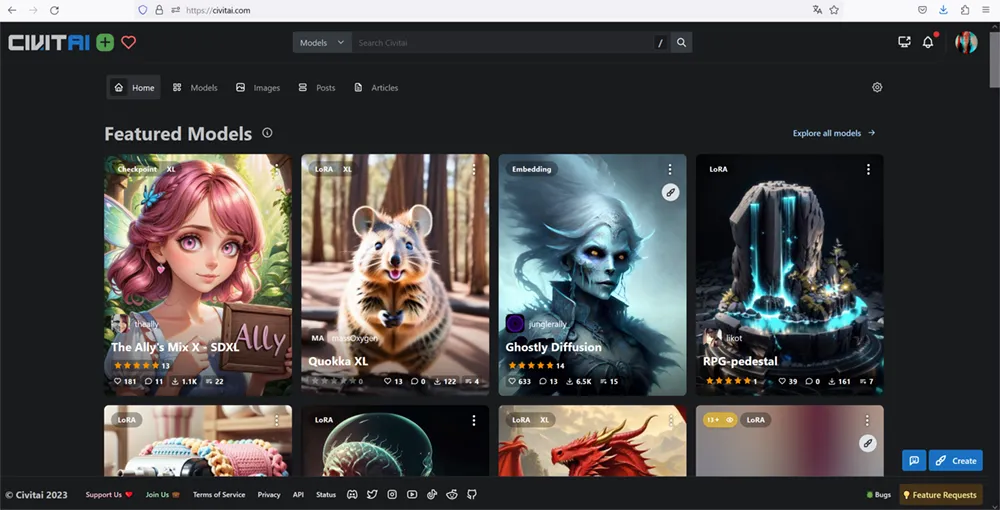
I highly recommend you to create your profile so you can add your favorite models to Liked models 🖤.
You can explore by clicking on Models, then use the filters to see only Checkpoints. You will find so many and you can download your favorite!
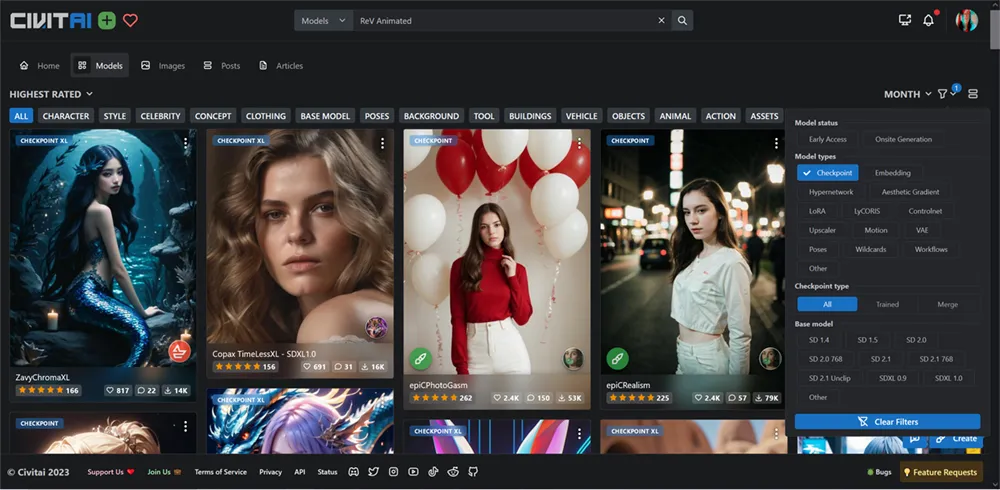
For this tutorial I will be using RevAnimated model.
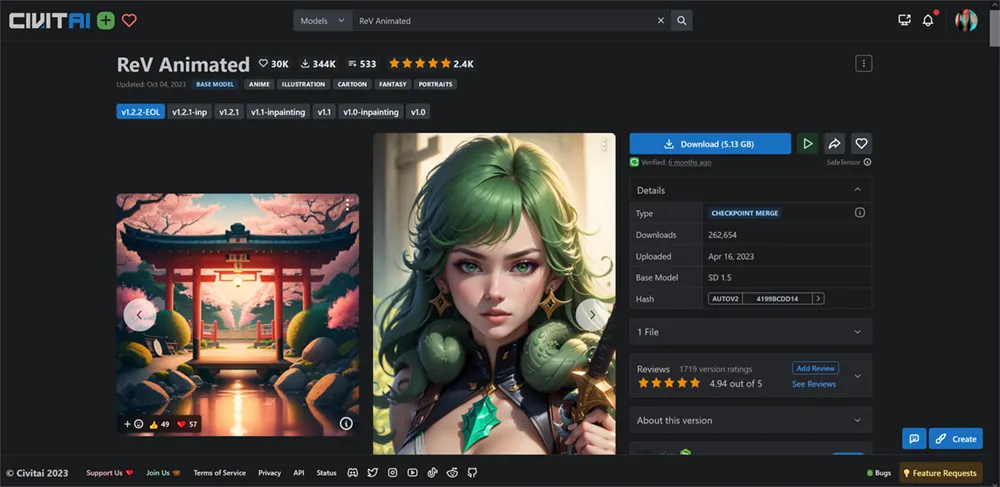
Click on Download. You need to move this file your Stable Diffusion folder models/Stable-diffusion/
Then open Stable Diffusion and click in the refresh button for the checkpoints in case it's not appearing.
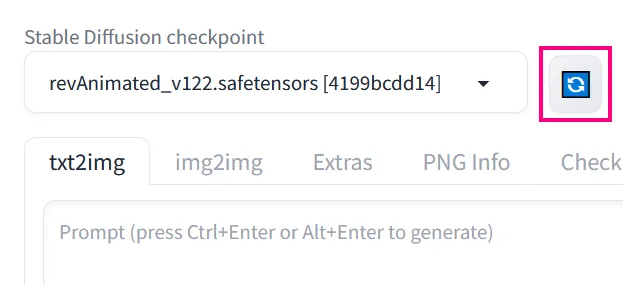
You can use it right now just by picking it here, but first let's see how to install a LoRA.
In the explore section, keep Models selected but now select LoRAs in the filter. Here you will find very interesting art styles, characters, memes, real people, cartoon styles, and much more...
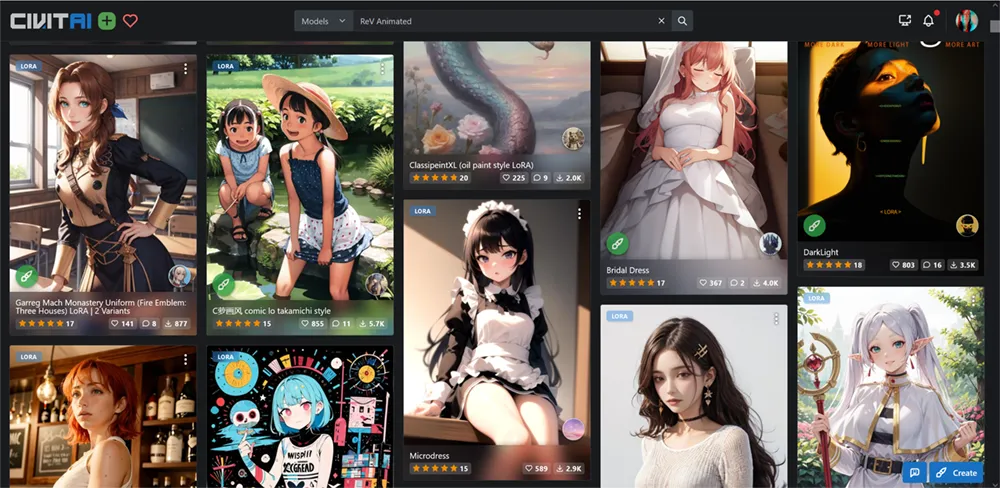
Download your favorite and save it to your Stable Diffusion folder models/Lora/
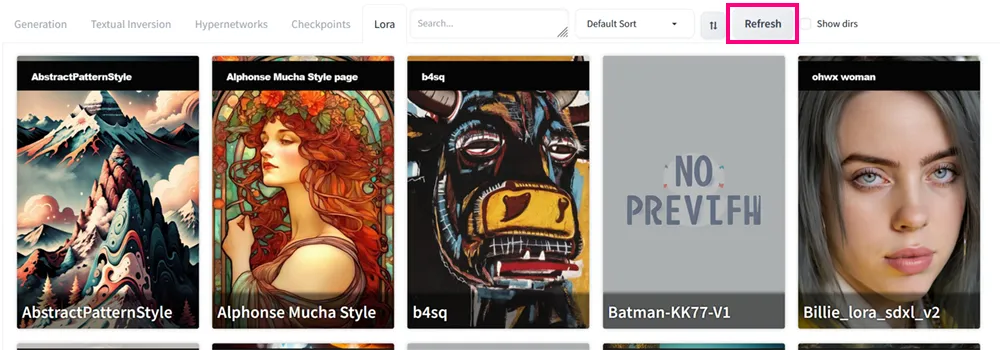
Your new LoRAs will now appear in the Lora tab, in case they don't, hit the REFRESH button and don't hesitate to restart Stable Diffusion in case is still missing.
LoRAs are a bit more tricky to use, since sometimes you need Trigger Words, for instance we will use Bubble Drip.

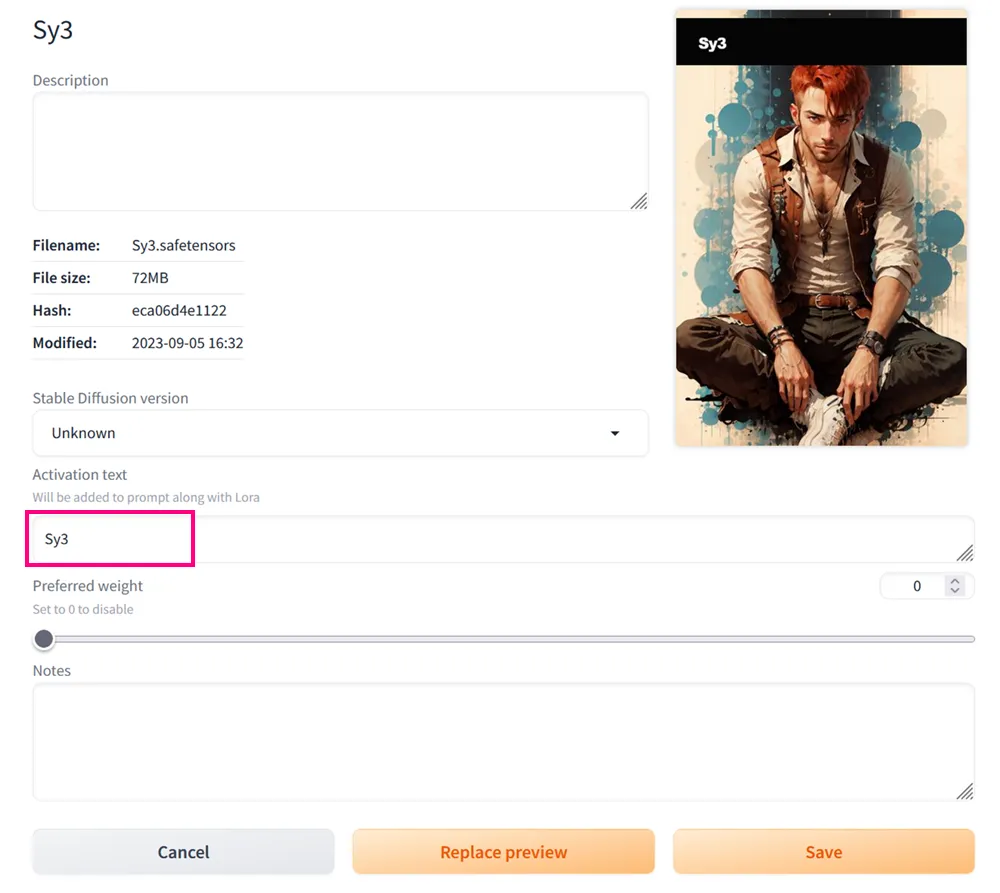
Trigger words are in the right, which in this case is only: SY3. You also need to call the LoRA by it's name, but I will tell you how to this pretty easy.
First click to copy the Trigger Word in civitAI. Now in Stable Diffusion, scroll down to find your LoRA and place your mouse pointer over it, an icon with tools will appear to Edit metadata, click on it.
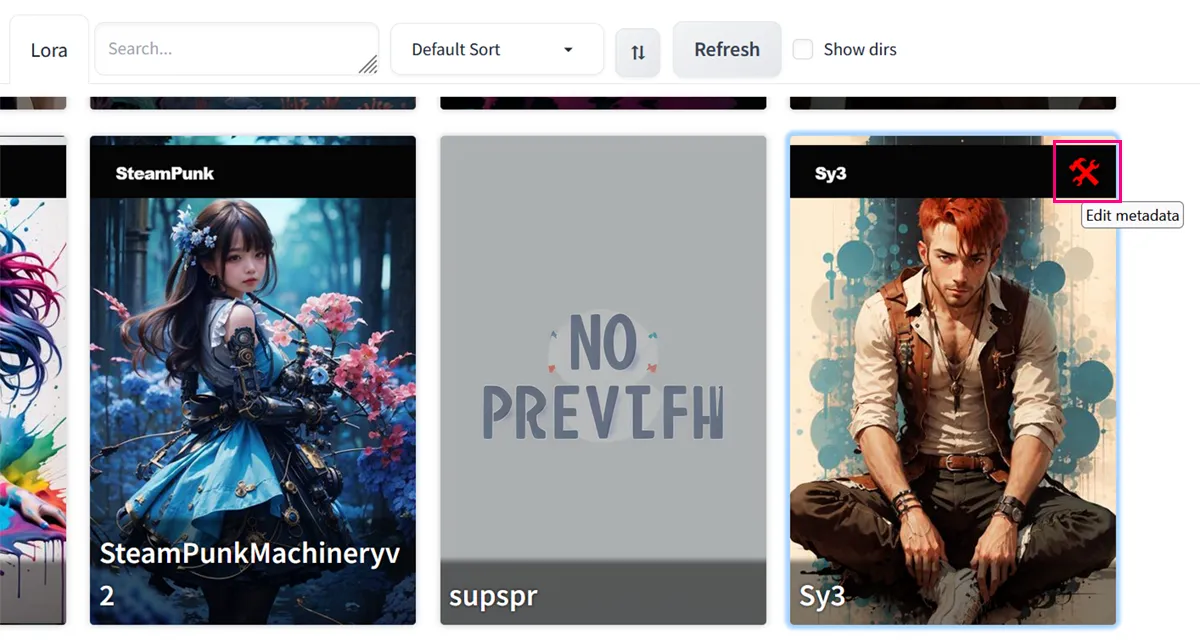
Now paste the Trigger Word in the Activation Text box, and click in Save.
So now by simply clicking in your LoRA you will have it ready to use in your prompt:
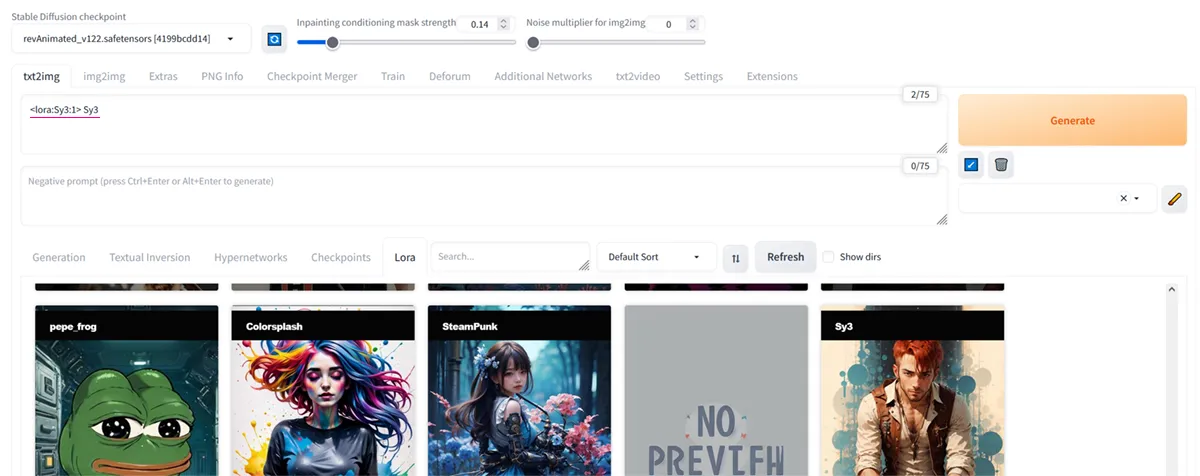
Let's give it a try!
I used this simple prompt: close up portrait, spiderman with mask
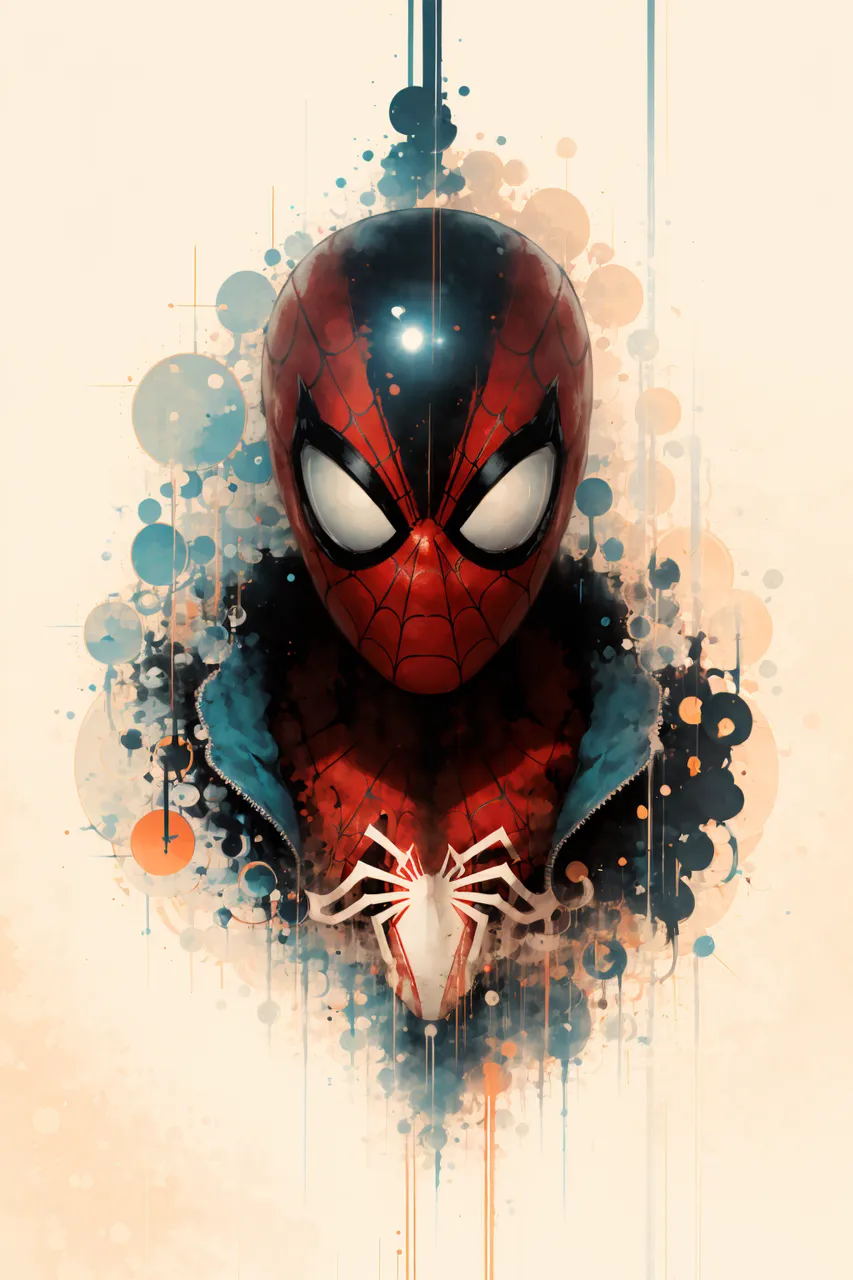
This image is my gift for you! Feel free to use it as wallpaper in your mobile, print or anything, except for selling I guess, unless you give me % LOL!
Thanks for reading and I hope you find this useful, any questions leave it in the comments 🖤 Don't forget to subscribe so you don't miss the upcoming tutorials! Fun is just starting!
✨ Sources:
¹. https://medium.com/javarevisited/what-are-stable-diffusion-models-how-to-use-different-models-in-automatic1111-13c7874ea284
² https://aituts.com/stable-diffusion-lora/
🍯 Your support means a lot!
🐝 Patreon 🐝 Twitter 🐝 Instagram 🐝 TikTok 🐝 YouTube
🍯 My Art:
🐝 Objkt collections 🐝 Zero One 🐝 AkaSwap 🐝 Makers place 🐝 Zora