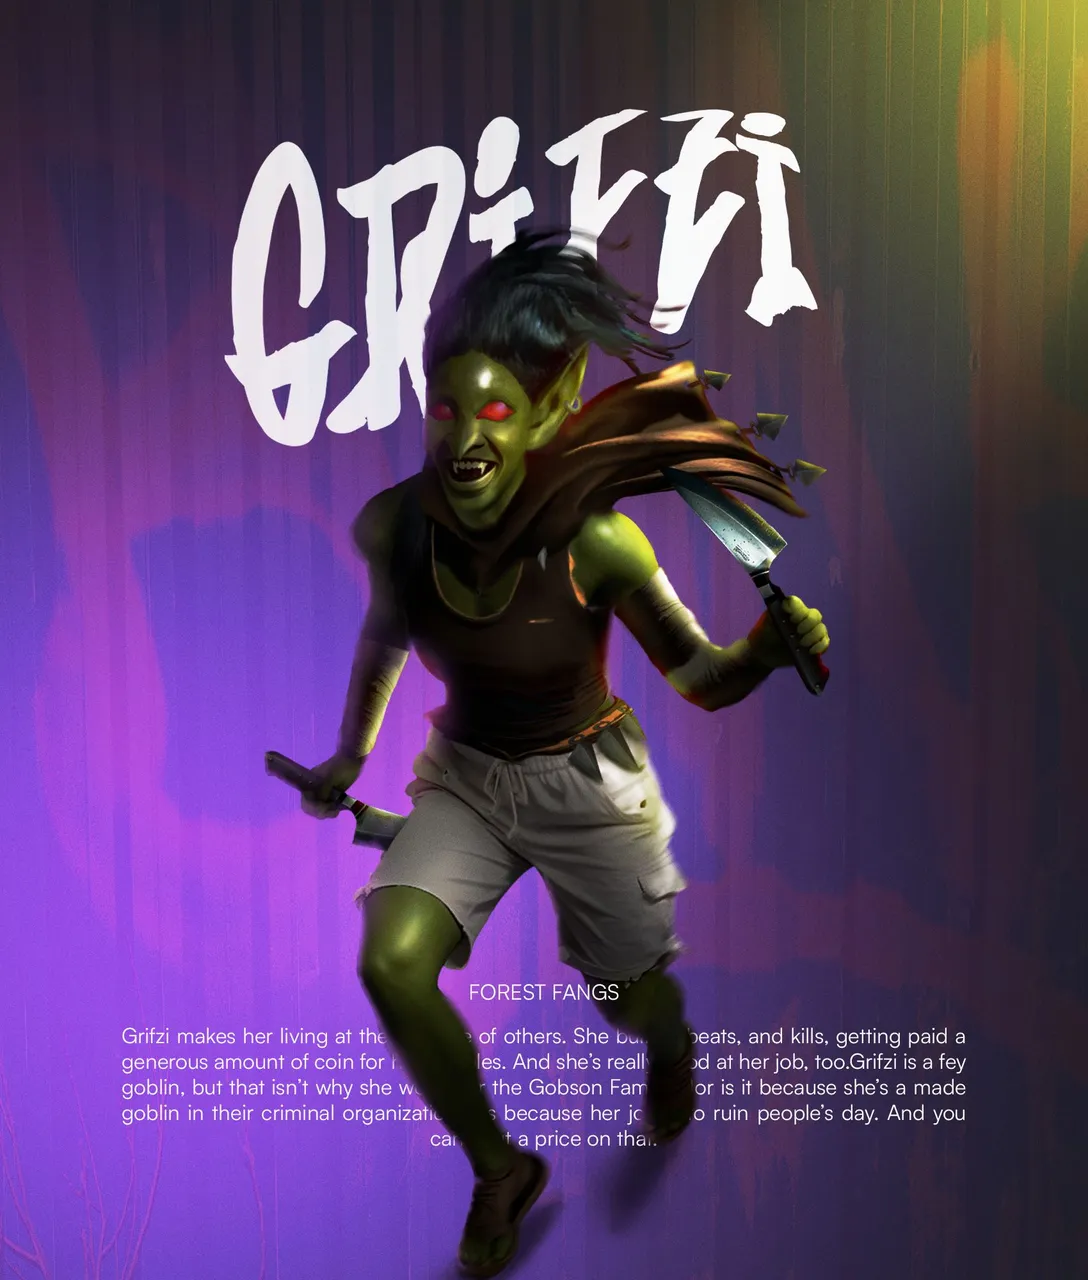
Hello Splinterlands and Alien Art community! Starting the week with a design that took me a full day to complete. It was a long process, but I finished it because I wanted to do it right and with care.
This piece has a bit of everything and is one of the ones where I used the most details or at least, the one I spent the most time on. Then came the lighting and color work, which really tie everything together in the final result. Let’s take a look at the process captures!

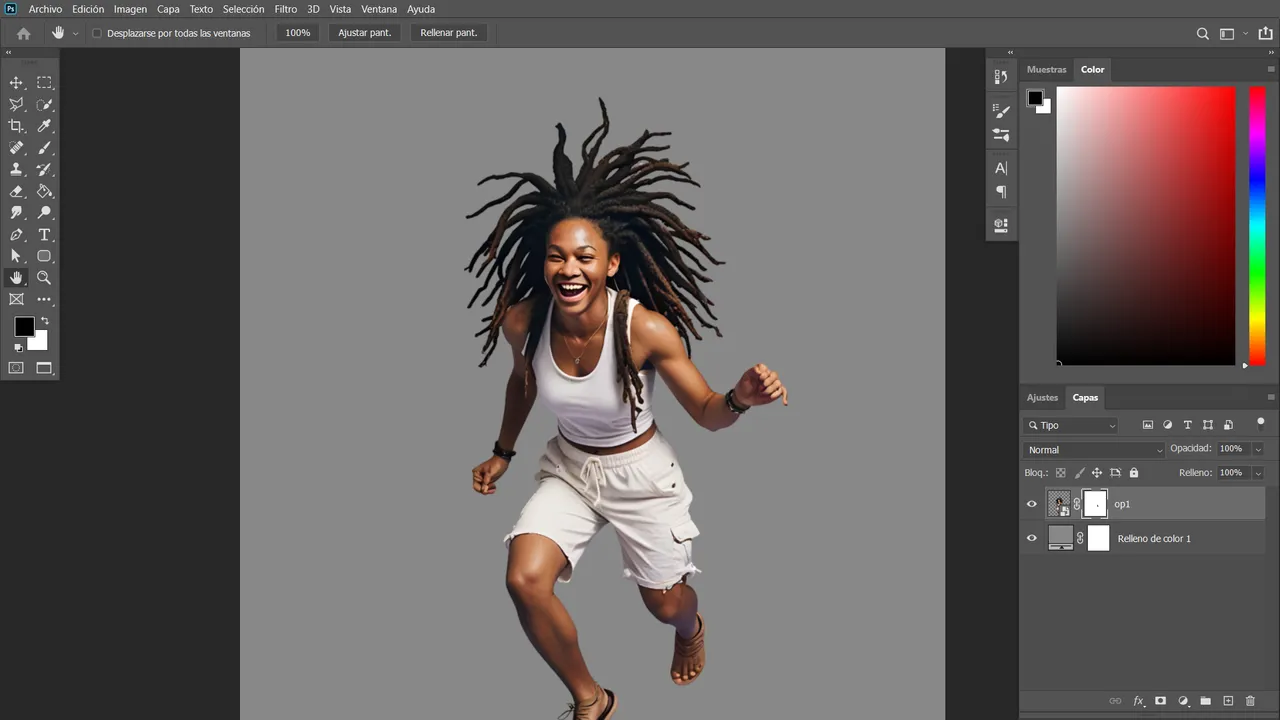
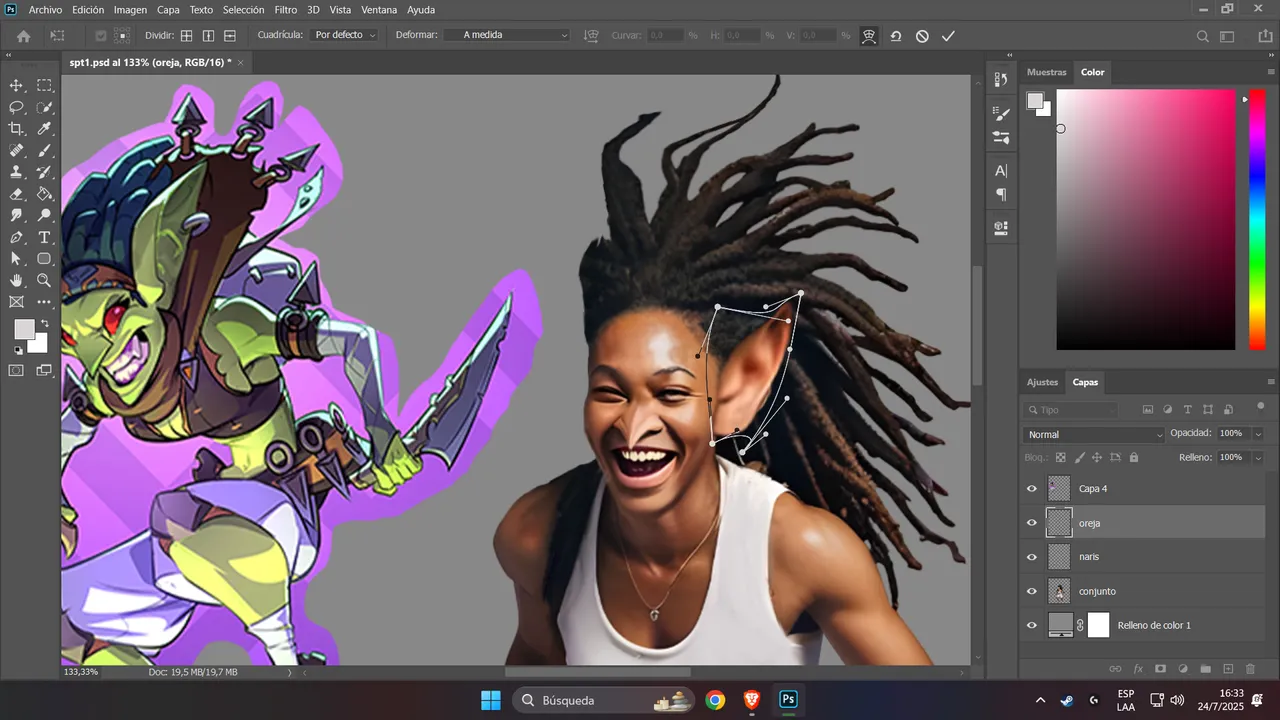
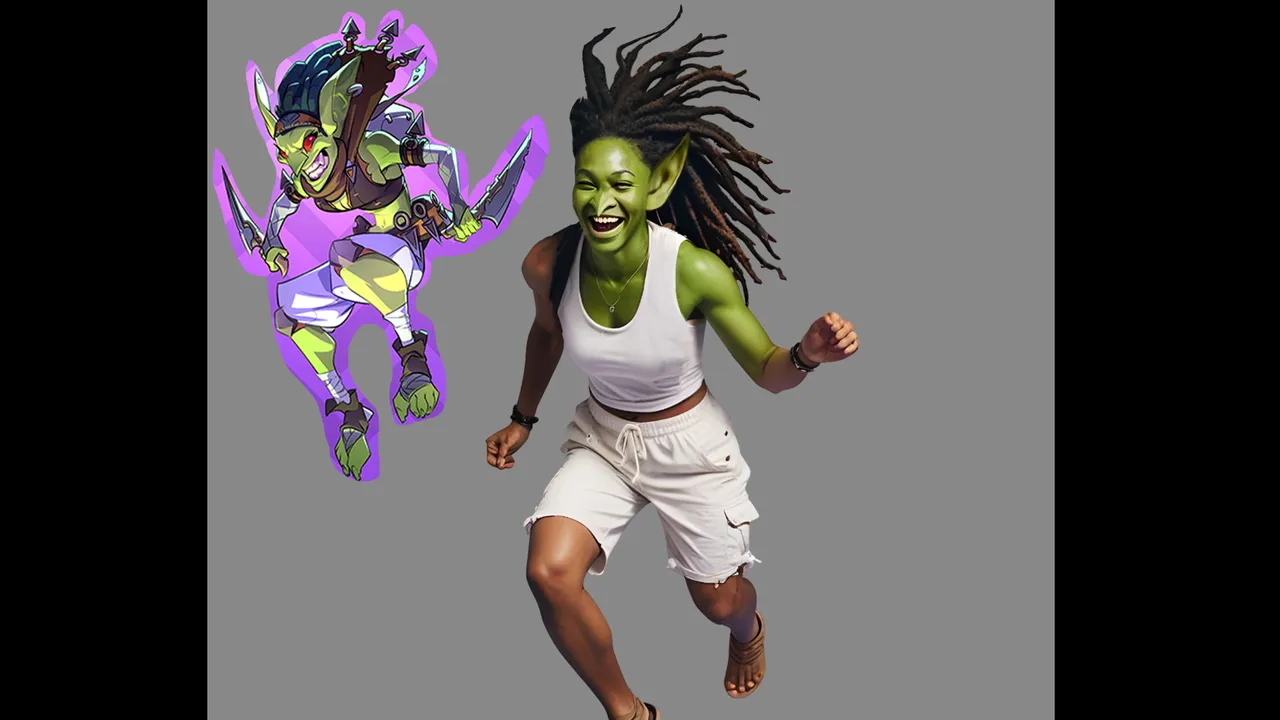
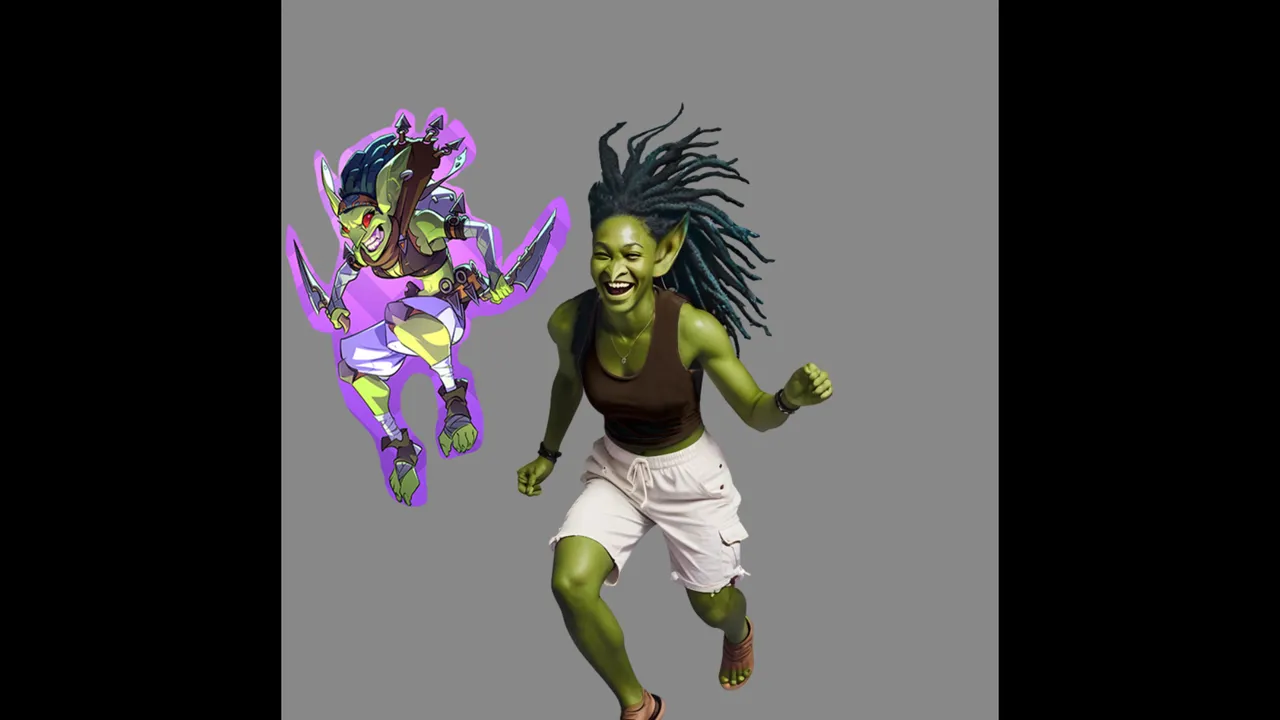
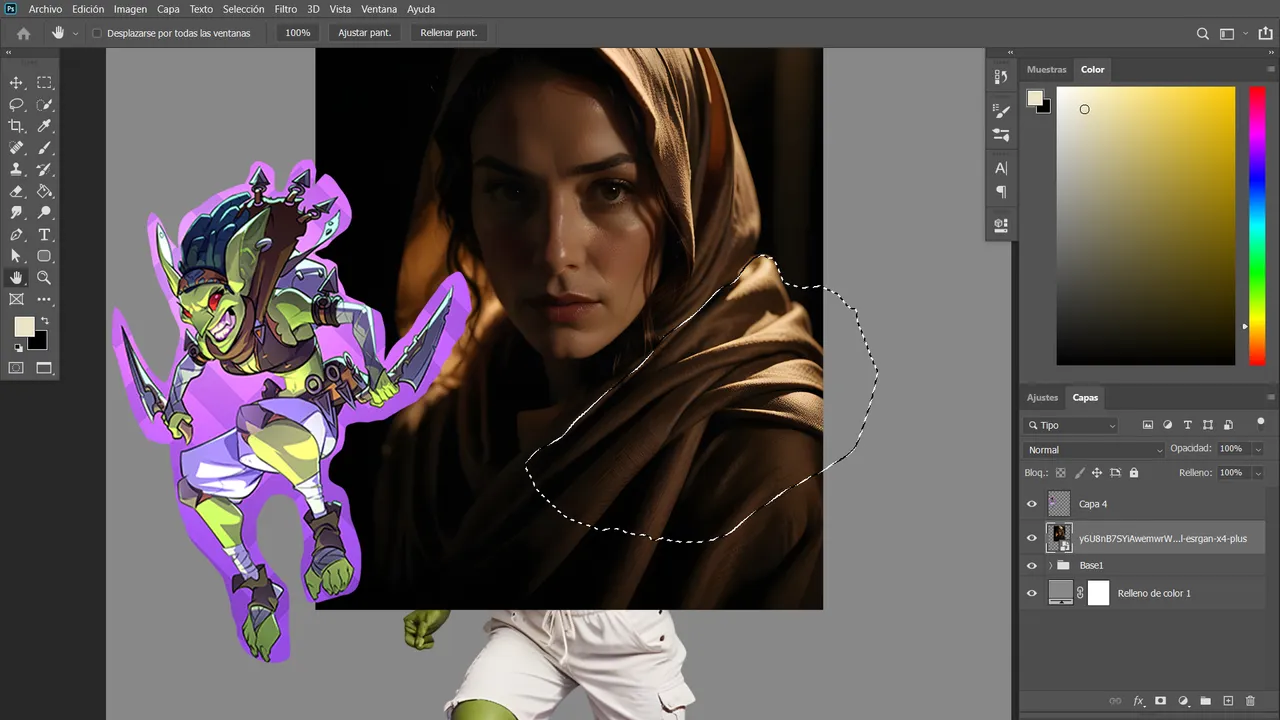
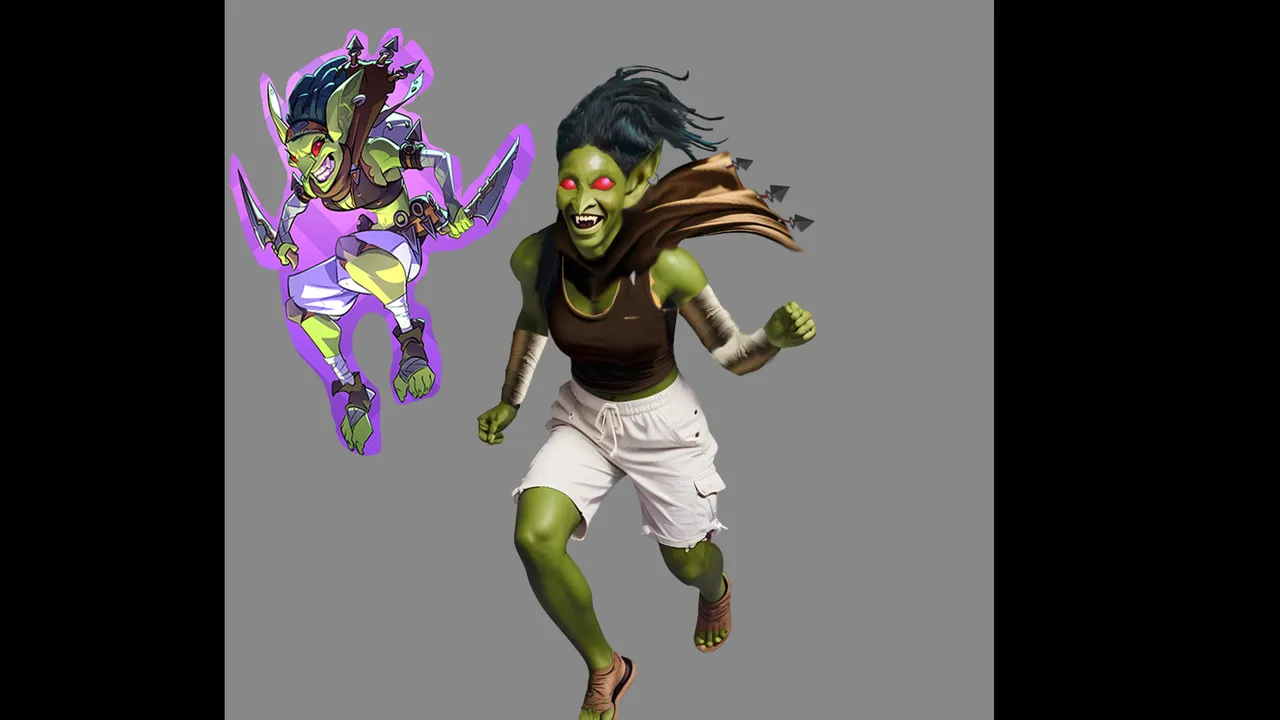
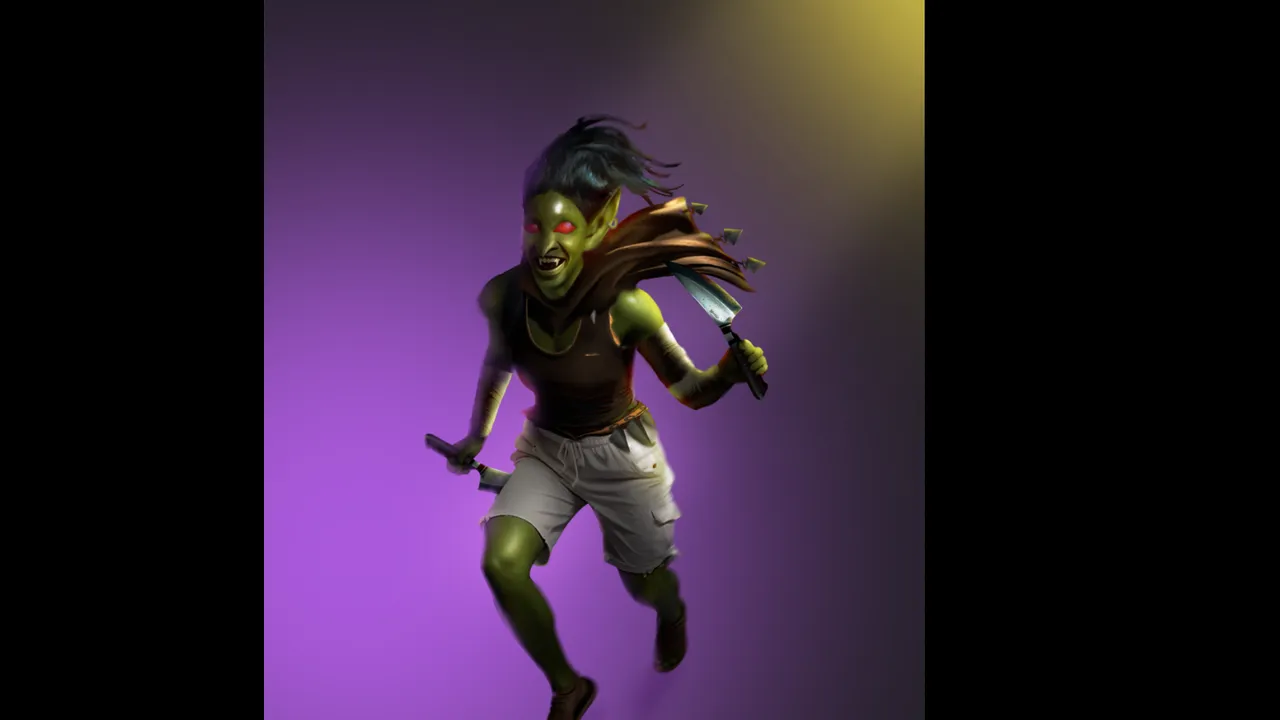
In the first image, you can see many of the elements used in the final design. I started by selecting a woman with dreadlocks, which worked well as a base to shape the character and add the elements and colors I had in mind. Plus, her dynamic pose allowed me to play with perspective.
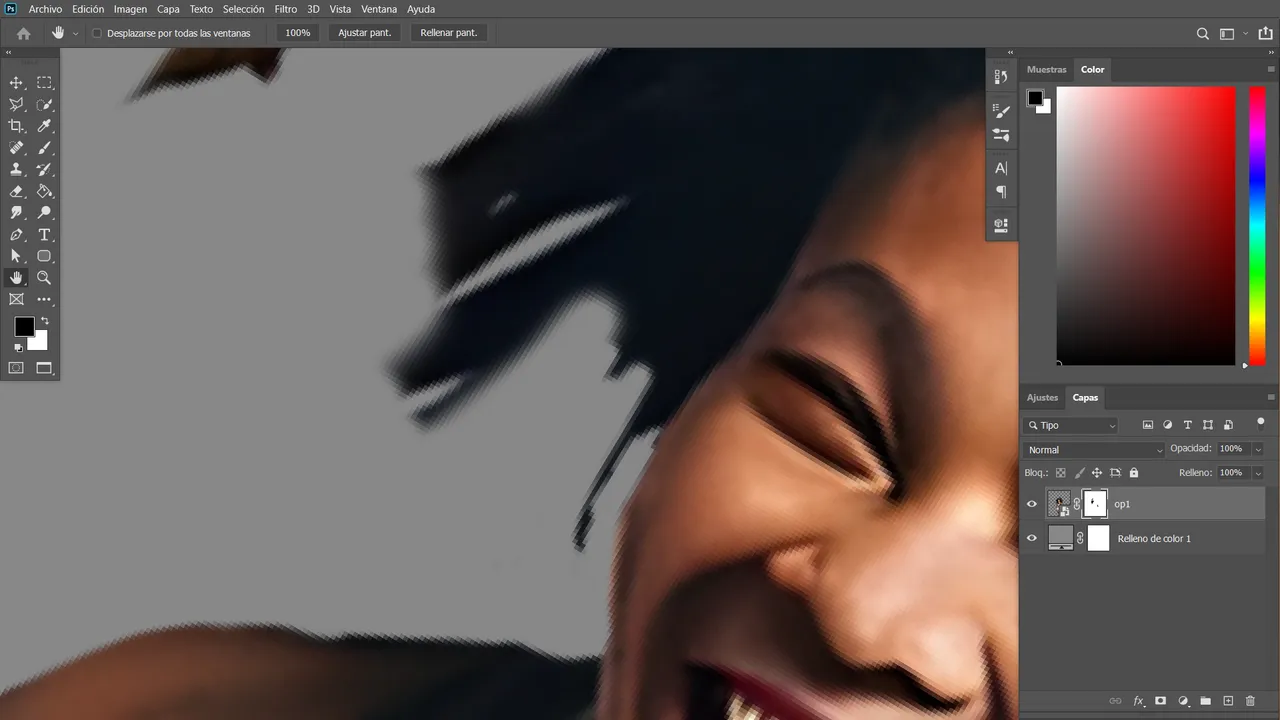
But not everything is perfect when it comes to AI-generated images, so the first step was to fix the extra dreadlocks and cut out others, since the final design didn’t require so much hair.

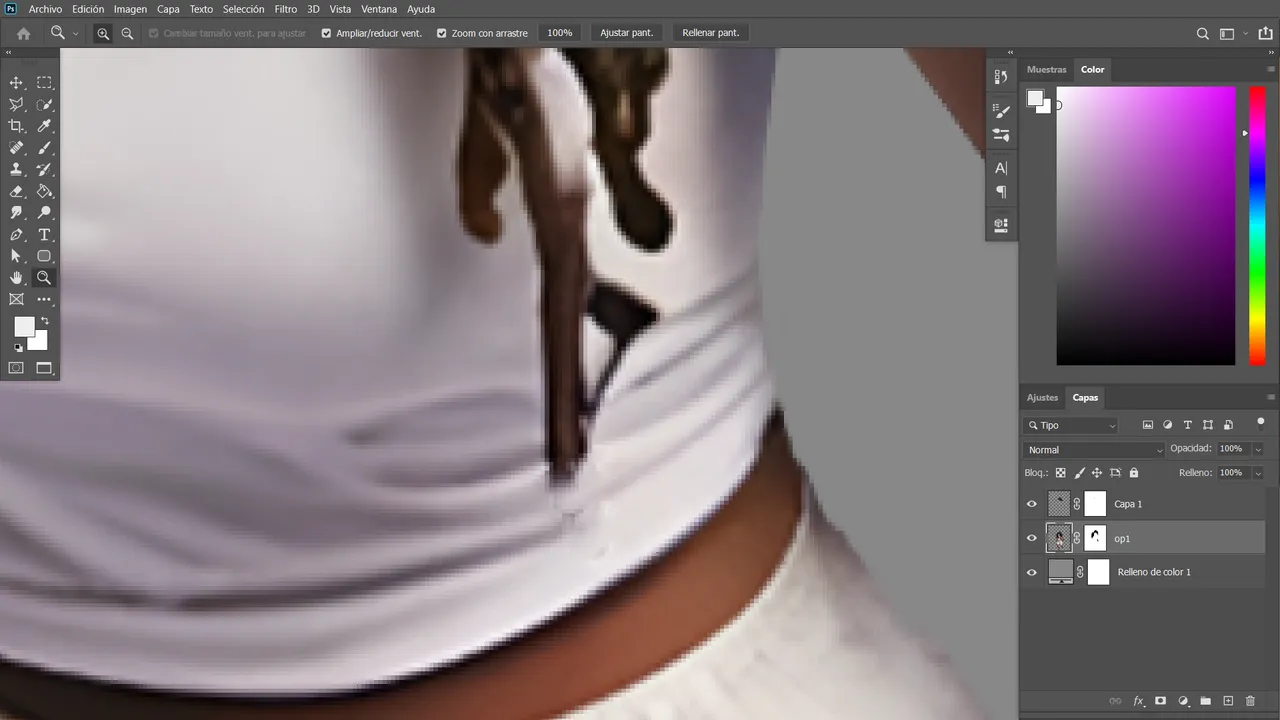
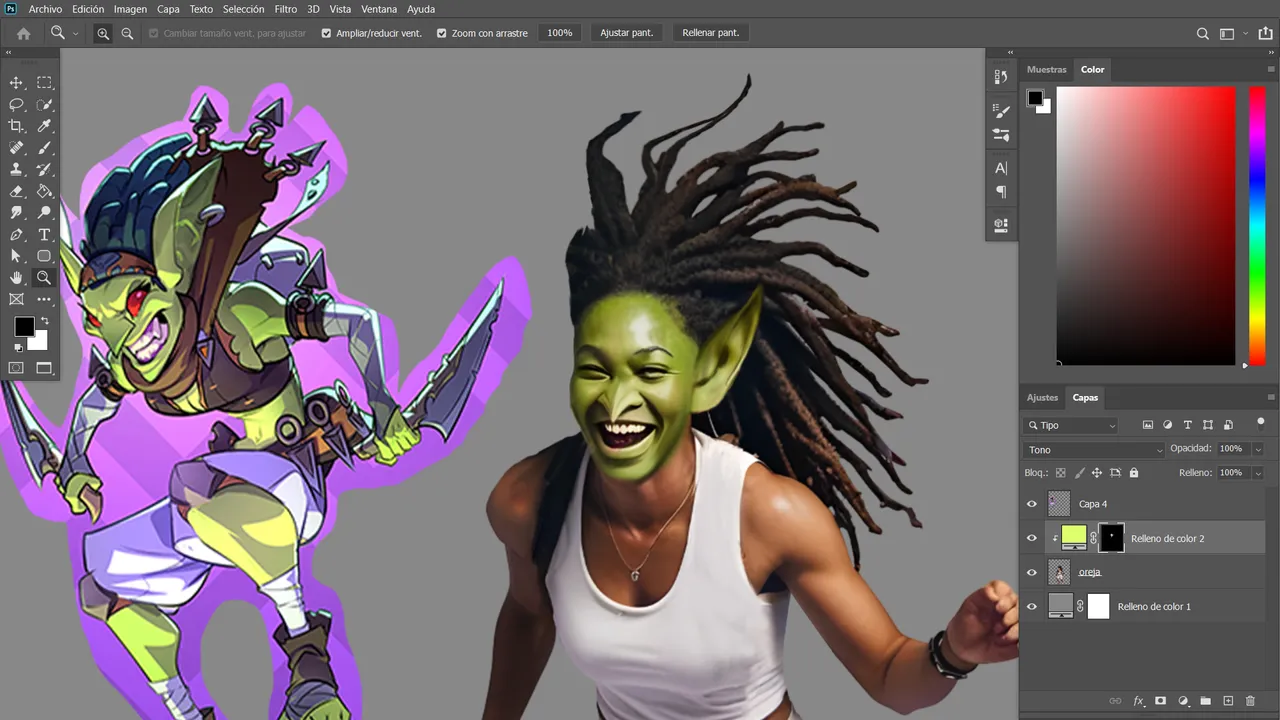
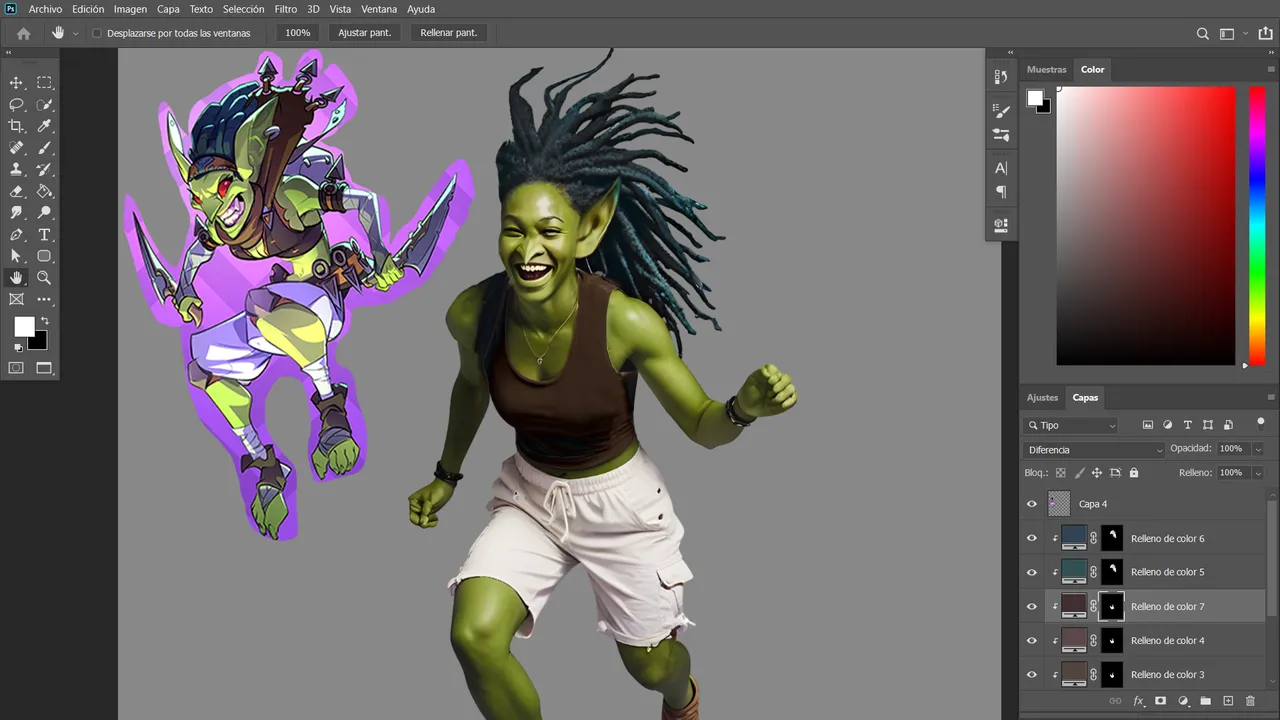
After adjusting the pose, I focused on selecting a shade of green that matched the main design. I then painted the rest of the base using an inverted layer mask and lowered the opacity, since the initial green was too intense.
In a previous step, I had also cut out the ear and stretched it as much as the pixel diffusion allowed.
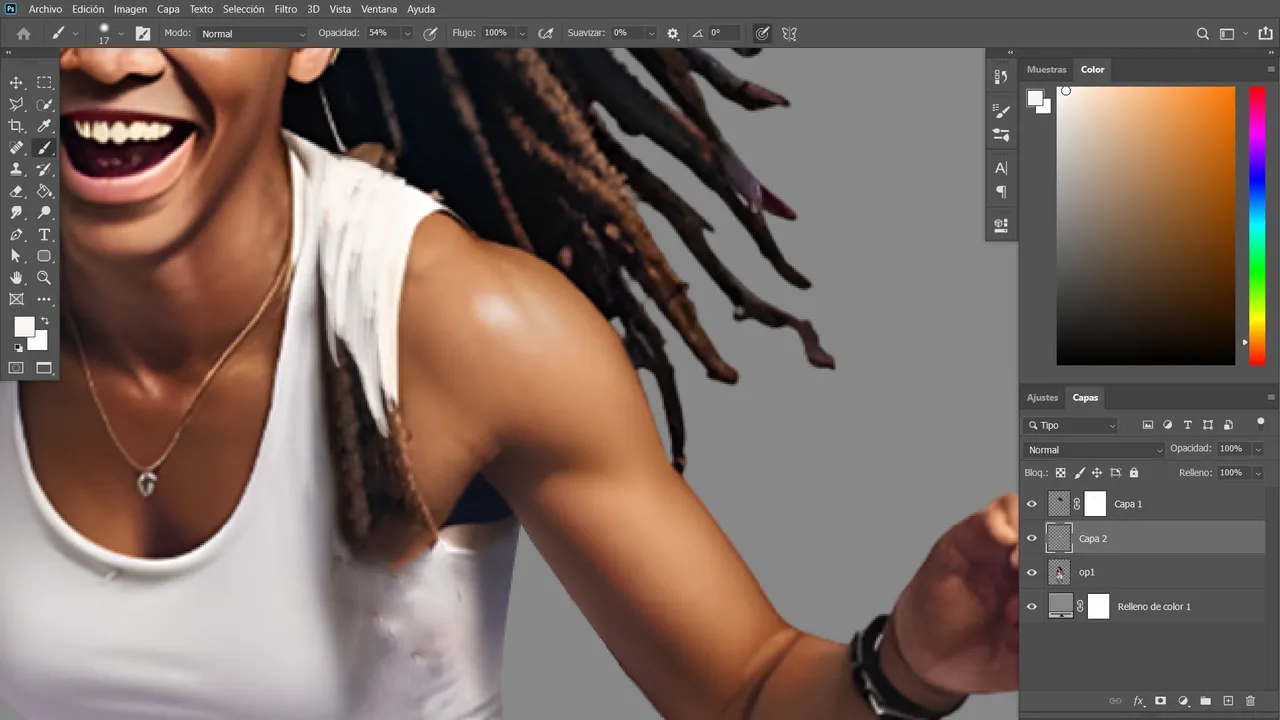
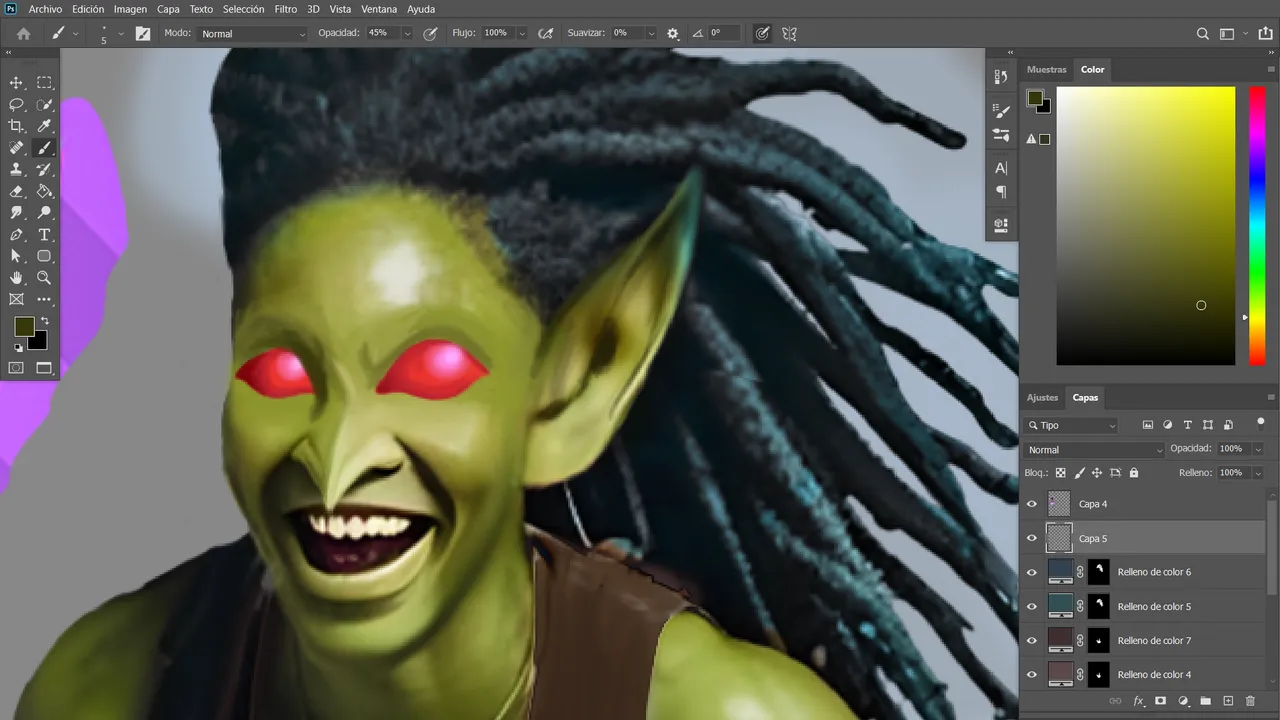
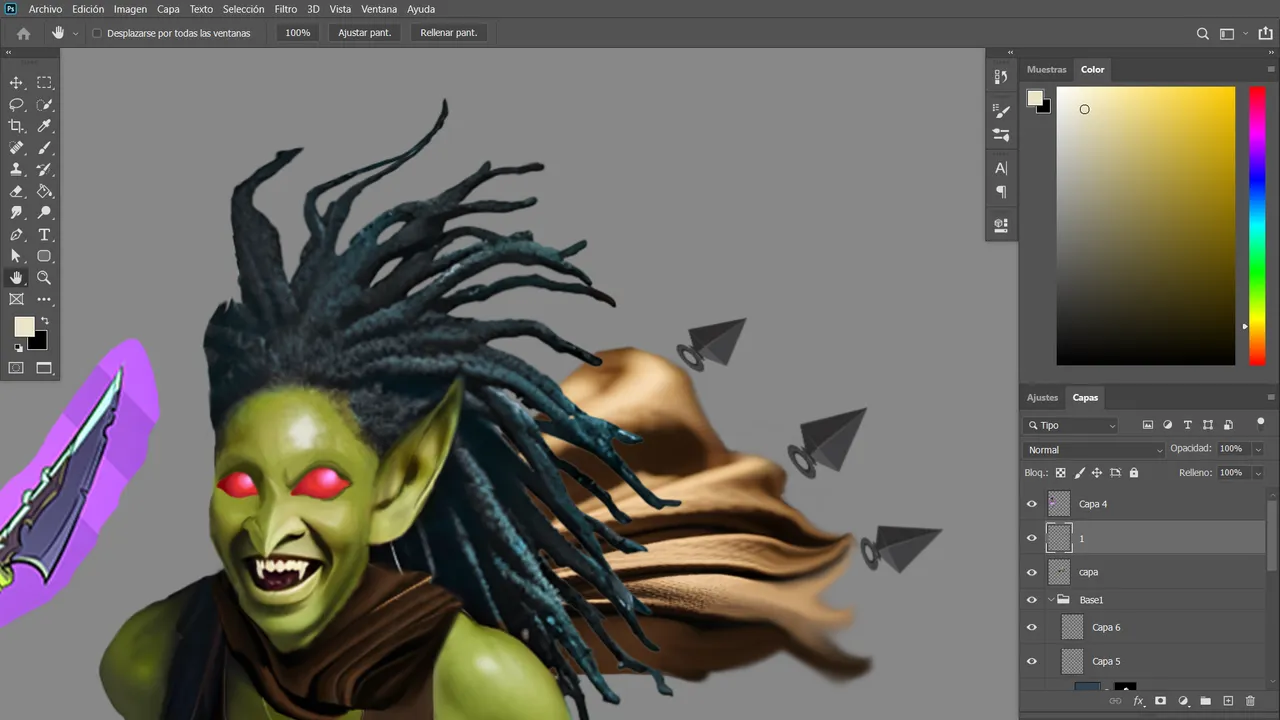
Next, I worked on her tank top, which was originally white. I used three layers of a brown or similar tone to gradually mute the white until I achieved a color I was happy with. Once that was done, I moved on to the hair, giving it a dark blue tone.

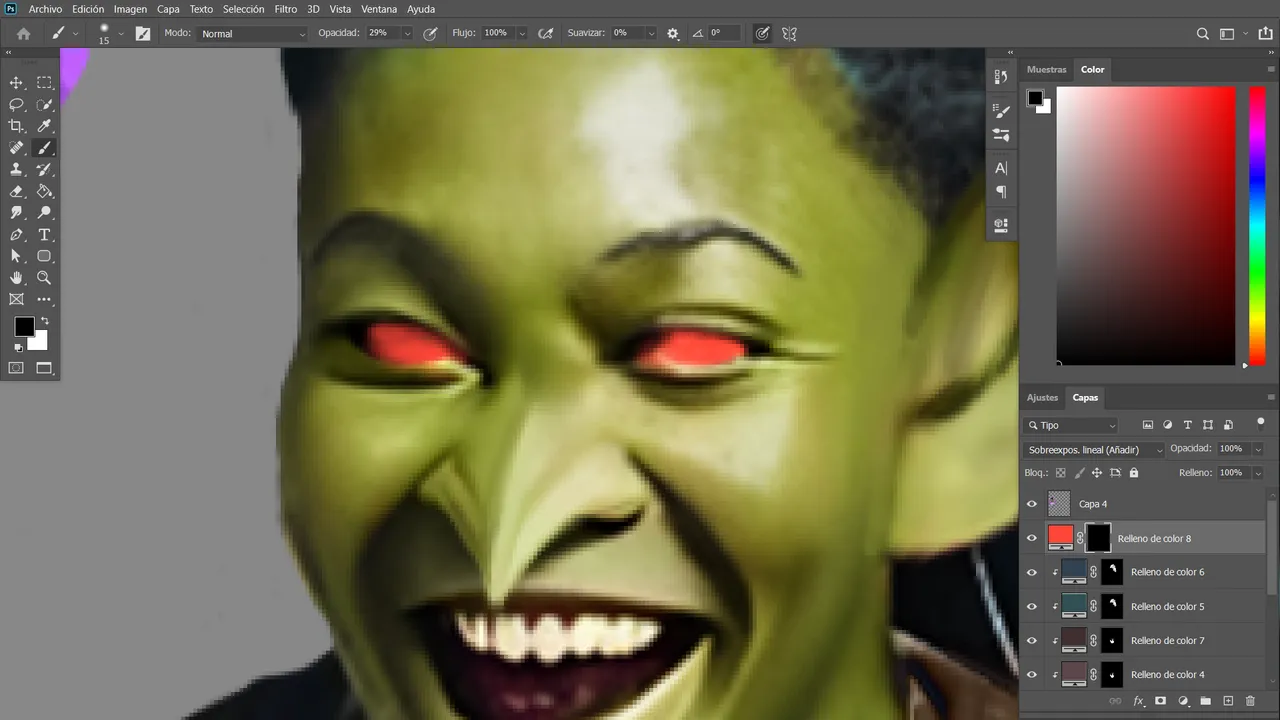
Here, there’s a significant change in the eye area. Since the base image of the woman had an exaggerated smile, her eyes looked squinted due to the emotional expression. So, I removed them using a green base and placed shiny red eyes on top. To better define them, I outlined the edges with a darker green.
I considered finishing the look with a more vibrant red to make the eyes pop and contrast with the green, but this time I chose not to allowing the background (which you’ll see later) to take on a more interpretive role.
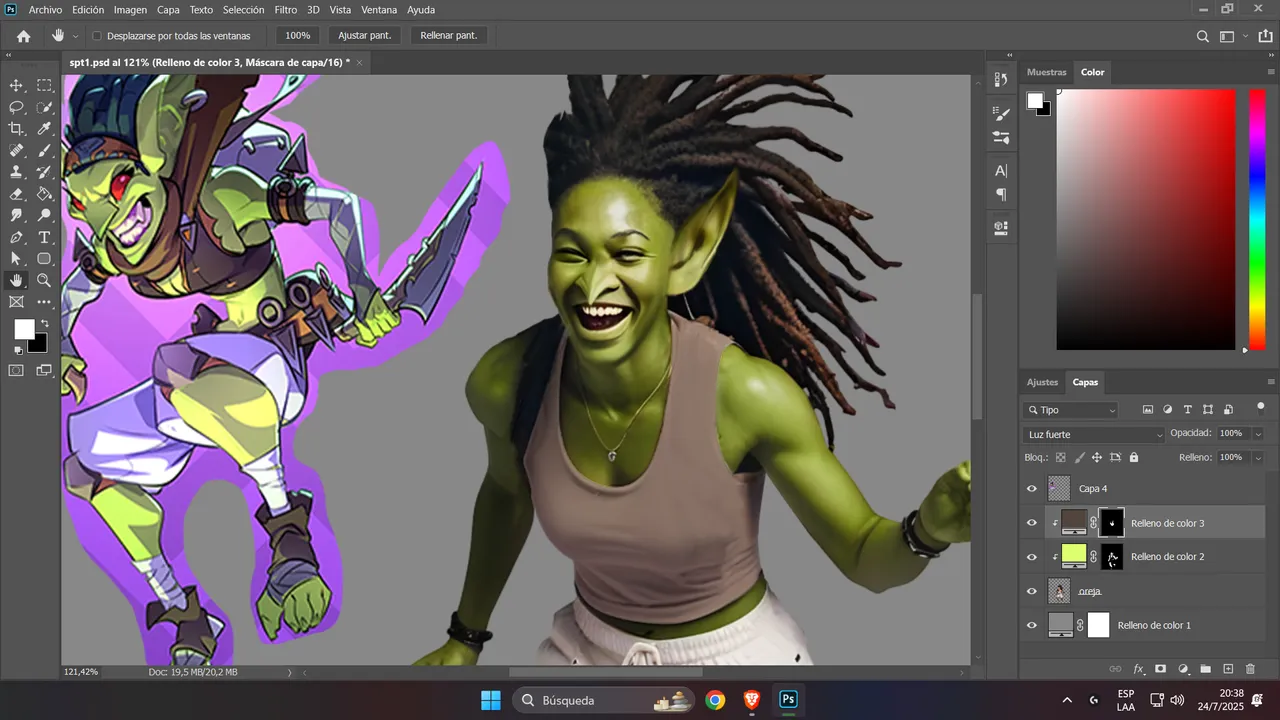
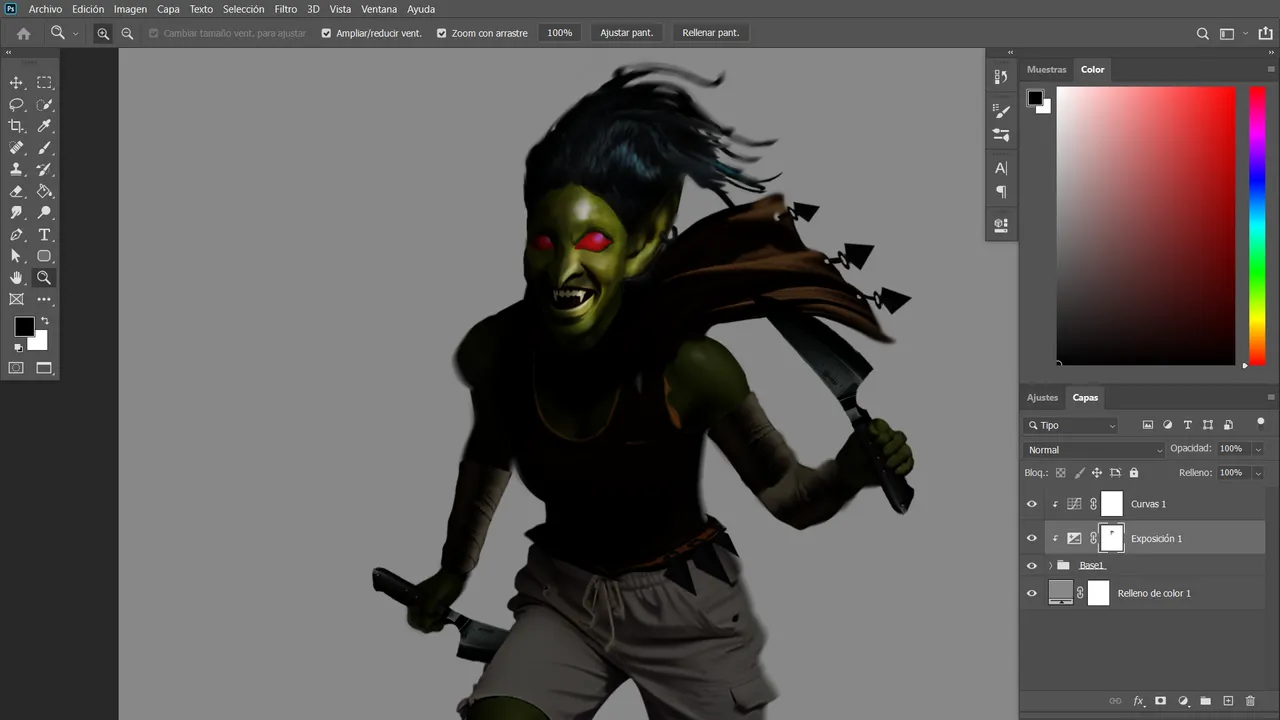
I then continued with a piece of fabric that I used as a cloak. After cutting it out, I warped it to fit the character and added hanging Japanese kunai at the end of the cape as a final detail.
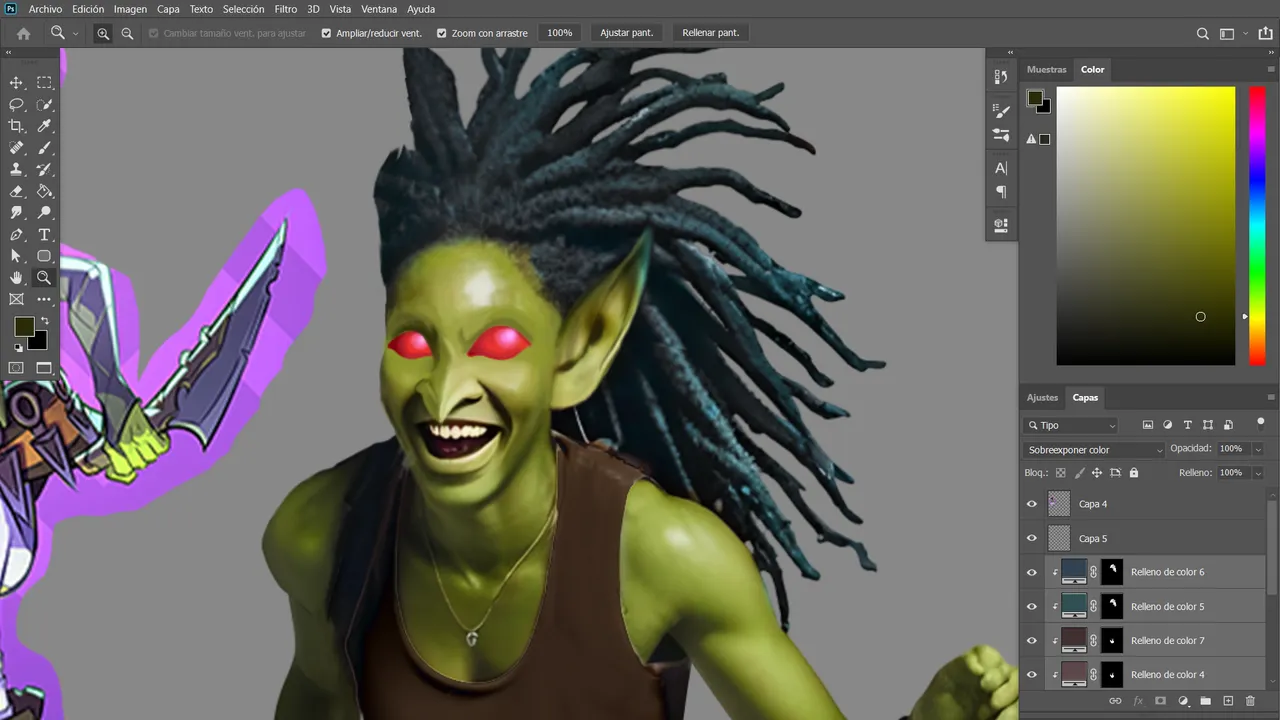
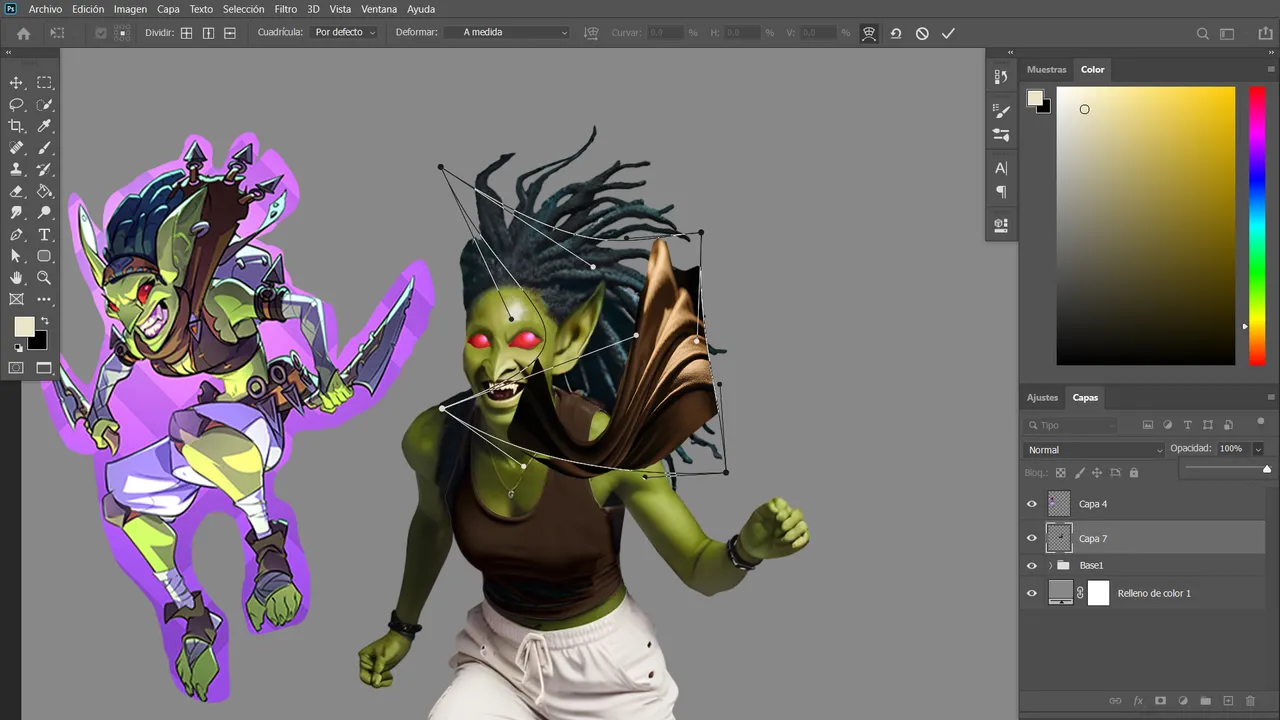
If you compare the final design with this stage involving the cape, you’ll notice many changes. I removed even more dreadlocks and improved the motion of the cape, as I wasn’t entirely satisfied with how it looked before.
The bandages were generated separately, and after cutting them out, I placed them on the arms—just like in the original image. I tried to stay true to that detail, although now that I look at it again, I realize a few might be missing... but hey, nothing is ever perfect.
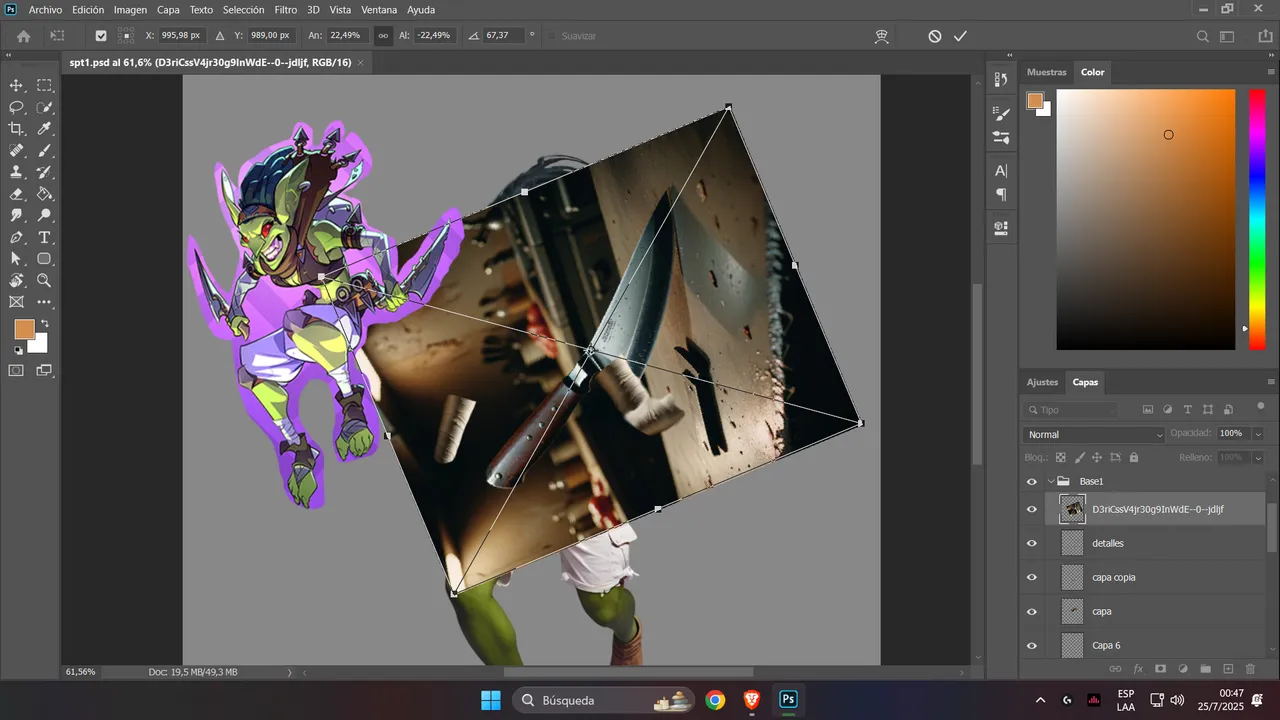
Next, I generated a butcher knife, which was the closest to my original concept. Once I cut it out, I placed it in a logical position and applied the appropriate lighting to blend it into the composition.

If you’ve been following my work, you know this is my favorite part.
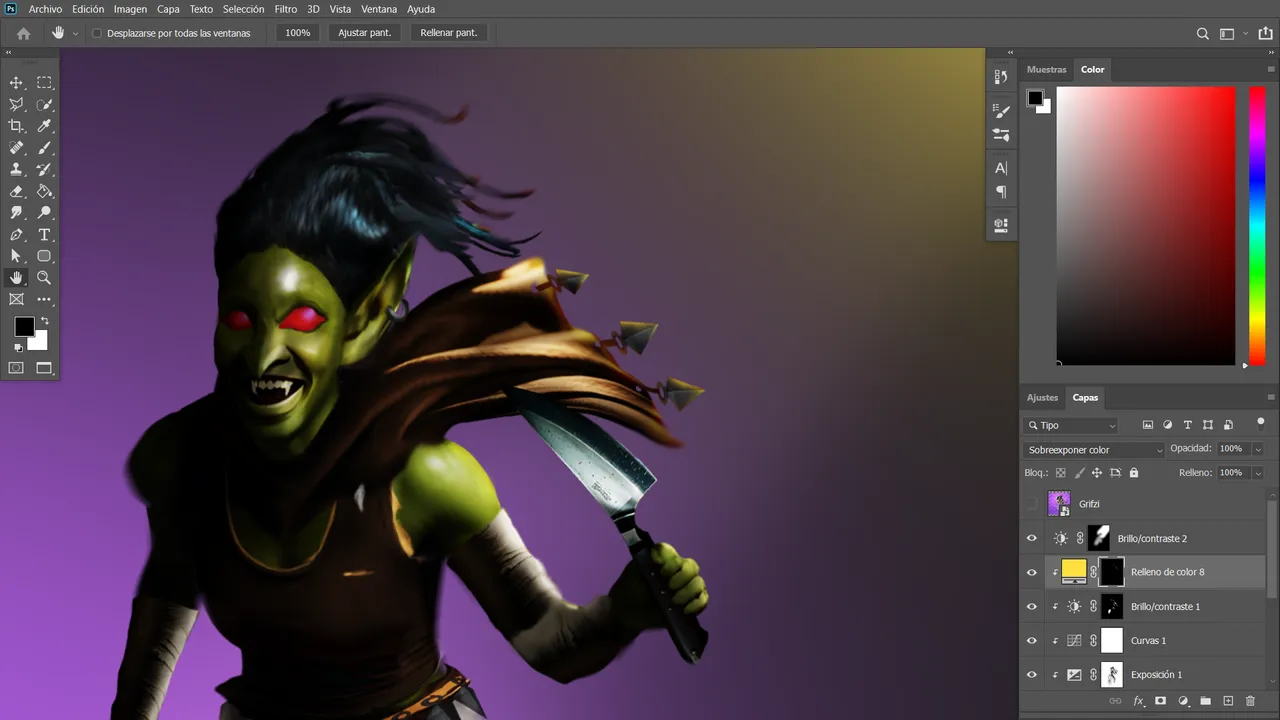
After applying exposure layers, curves, and levels, I started painting the areas where I wanted the light to come through, and then moved on to color contrasts. I chose orange and violet tones that complement the character’s green, and by using multiple glow layers, I added lighting and boosted the visual impact through contrast.
With solid colors, I painted the edges on both sides to further emphasize how the light moves across her body. To wrap it up, I added a set of fonts and text related to the character, and used a graffiti wall texture for the background, which gives the piece a more complete and urban feel.
AI used : https://www.unstability.ai/ // https://app.leonardo.ai/
Program used : Photoshop