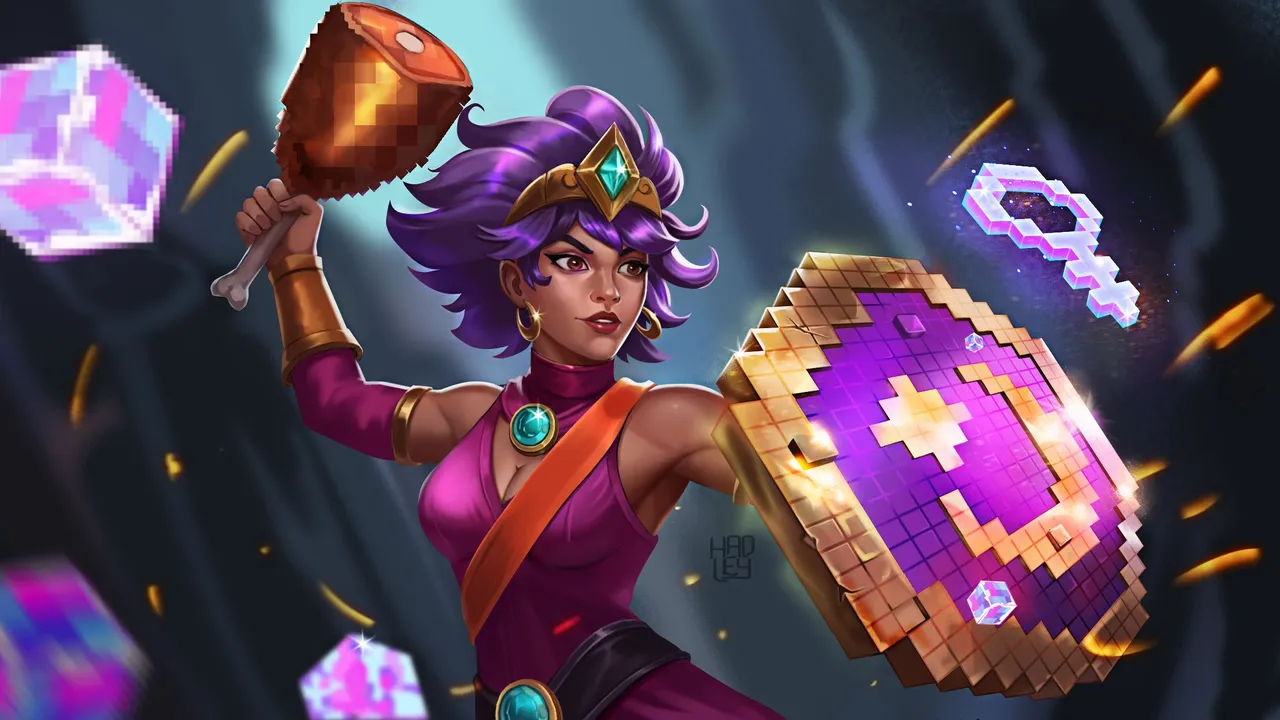
I see something I like in web3 and I draw it right away
Hey guys! How's it going? I'm doing great. Today I want to show you the illustration I just finished. This time it's not something for Holozing or Splinterlands. No, I saw this game called Forgotten Runes that's on the Ronin network, thought it looked interesting, and went in to try it out.
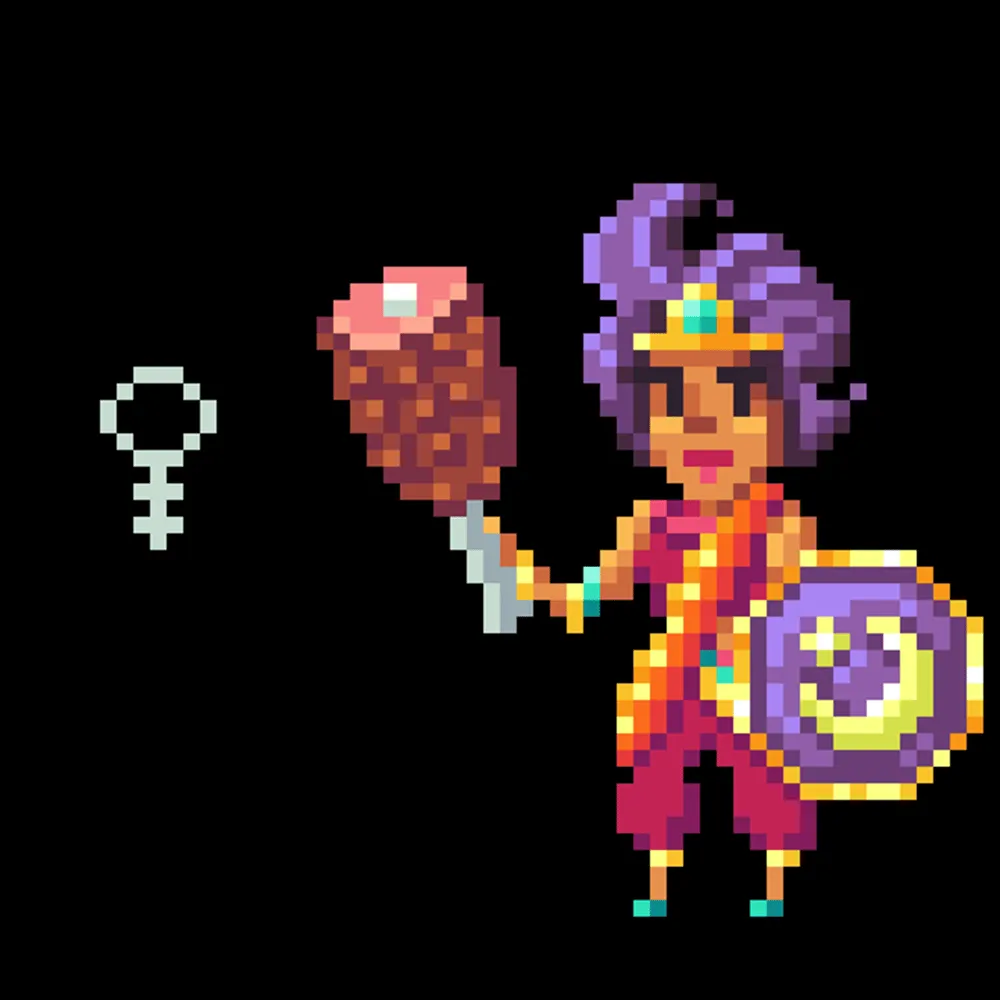
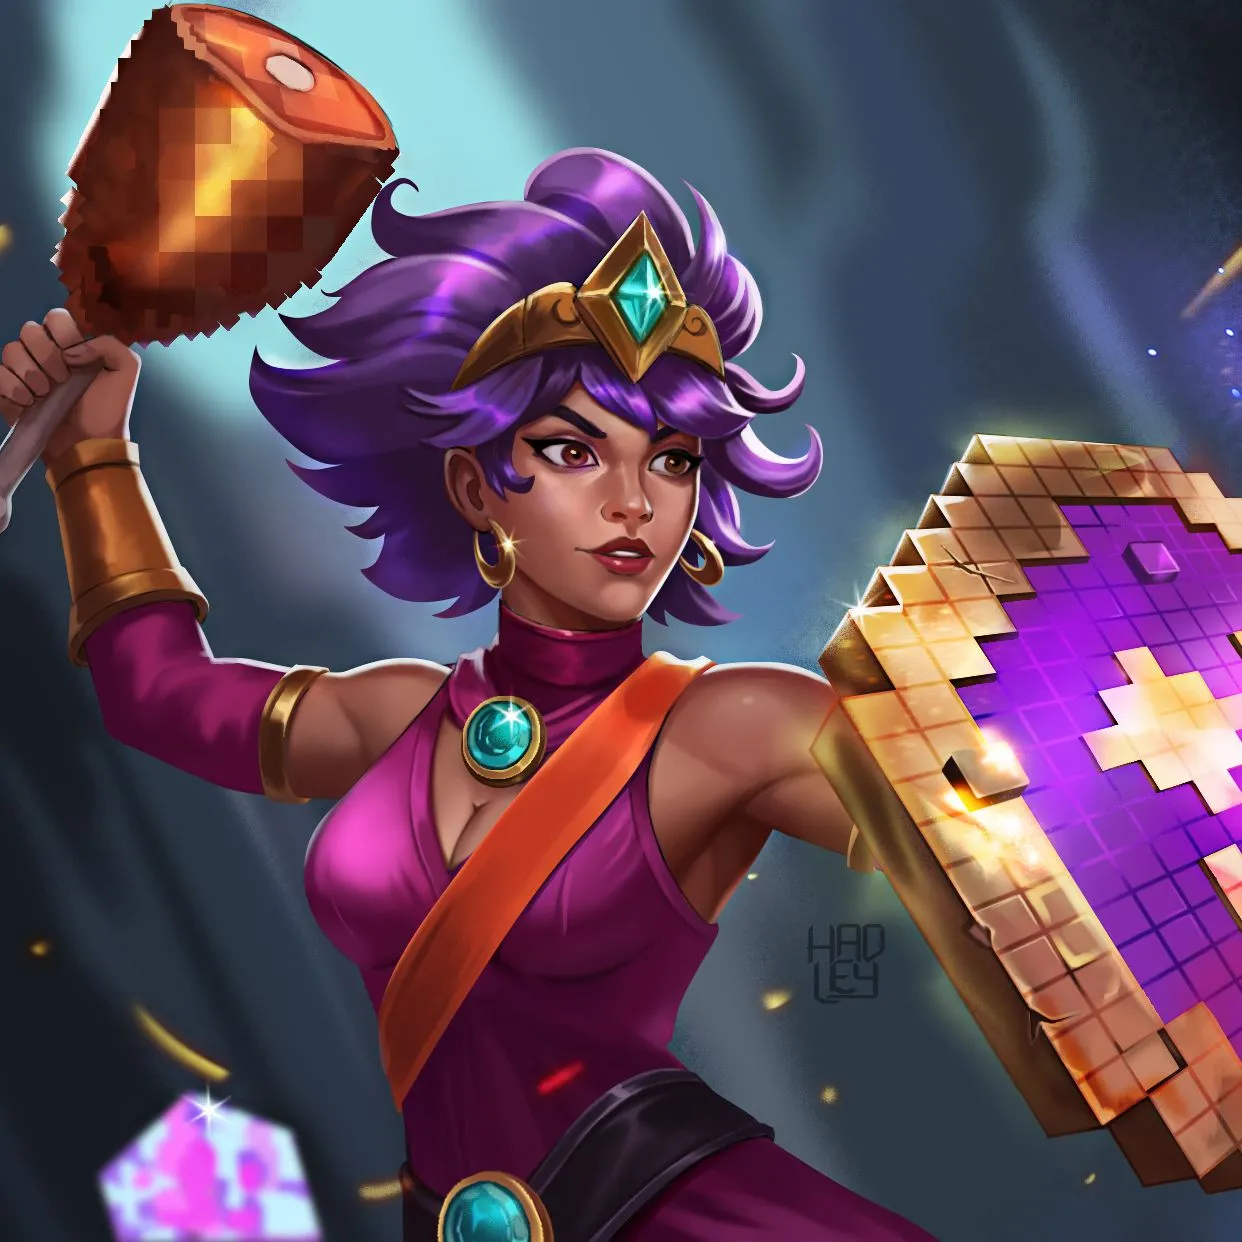
I created a character and checked it out for a while, but I wasn't really in the mood to play. What I wanted to do was draw. So I started looking for the game's main characters and found the character NFTs they sell. I chose a warrior named Inanna of Komodi – I thought it was funny that her main weapon was a piece of meat.
♦️Pixel Art & my Style
As you'll see, the original character was pixel art. I wanted to experiment a bit with my own style while giving nods to the game's pixel art. Let's see what I did to pull that off
🧠 TOOLS USED:
- Photoshop (as always, my digital salvation).
- Brushes: my trusty brush pack, with a few new ones featuring glitter effects
- Soundtrack: Any Aurora's Songs ❕
- Resolution: 2200x1240 px
Reference 👉
|
⏰ CREATIVE PROCESS
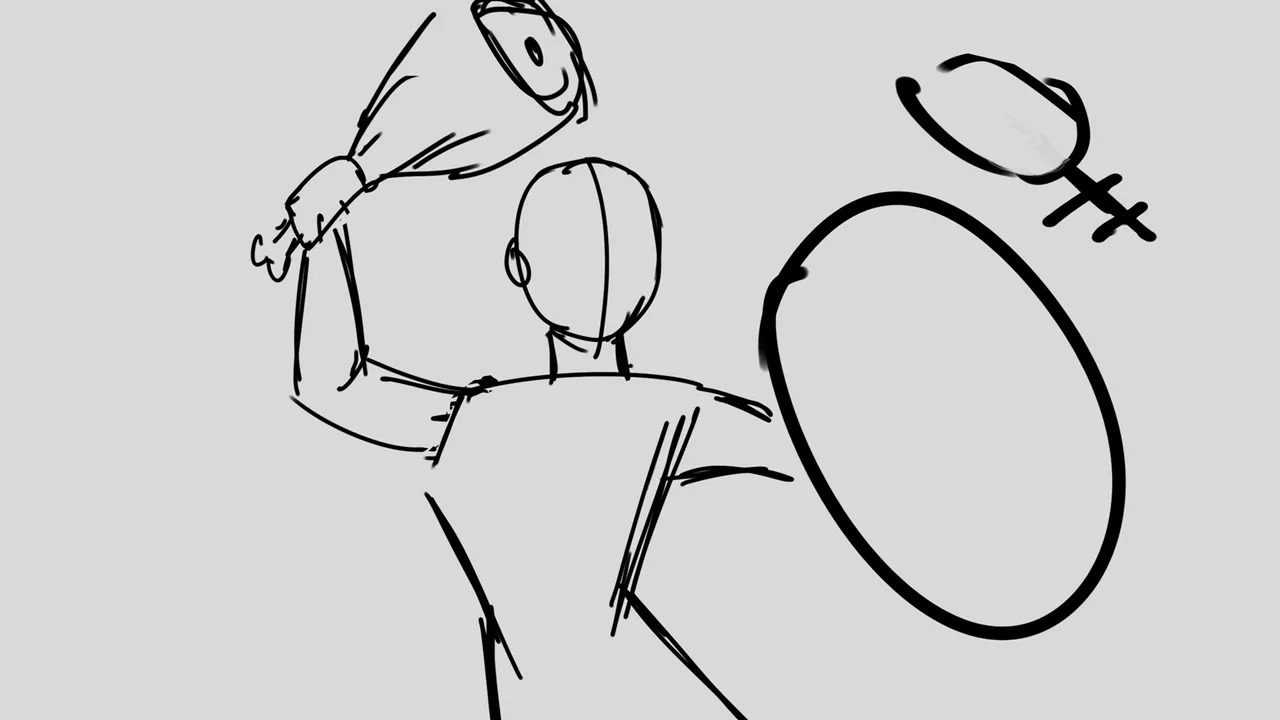
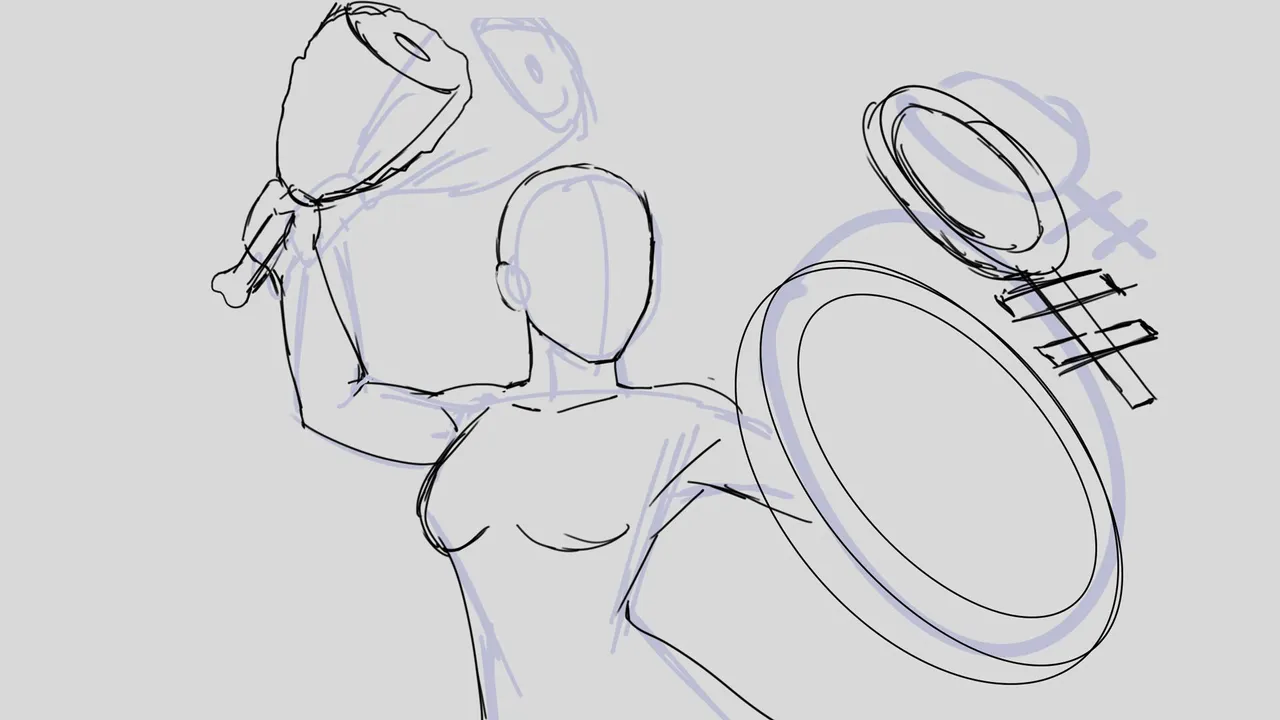
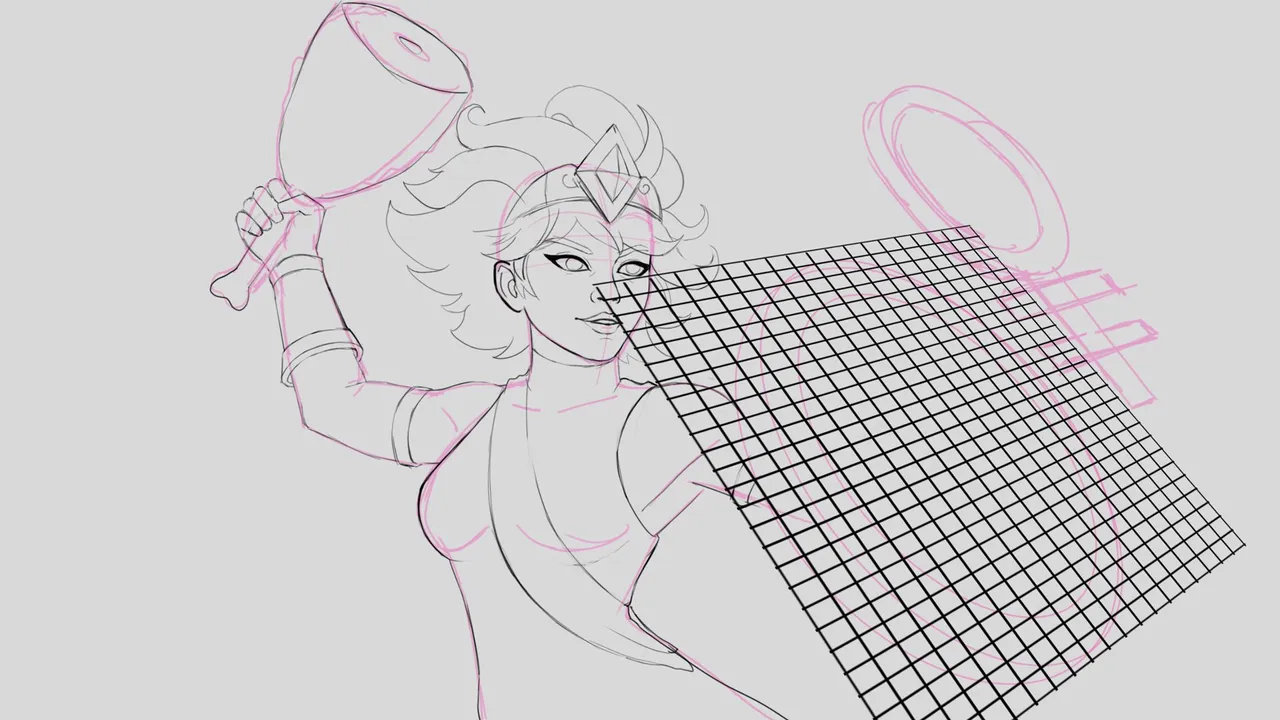
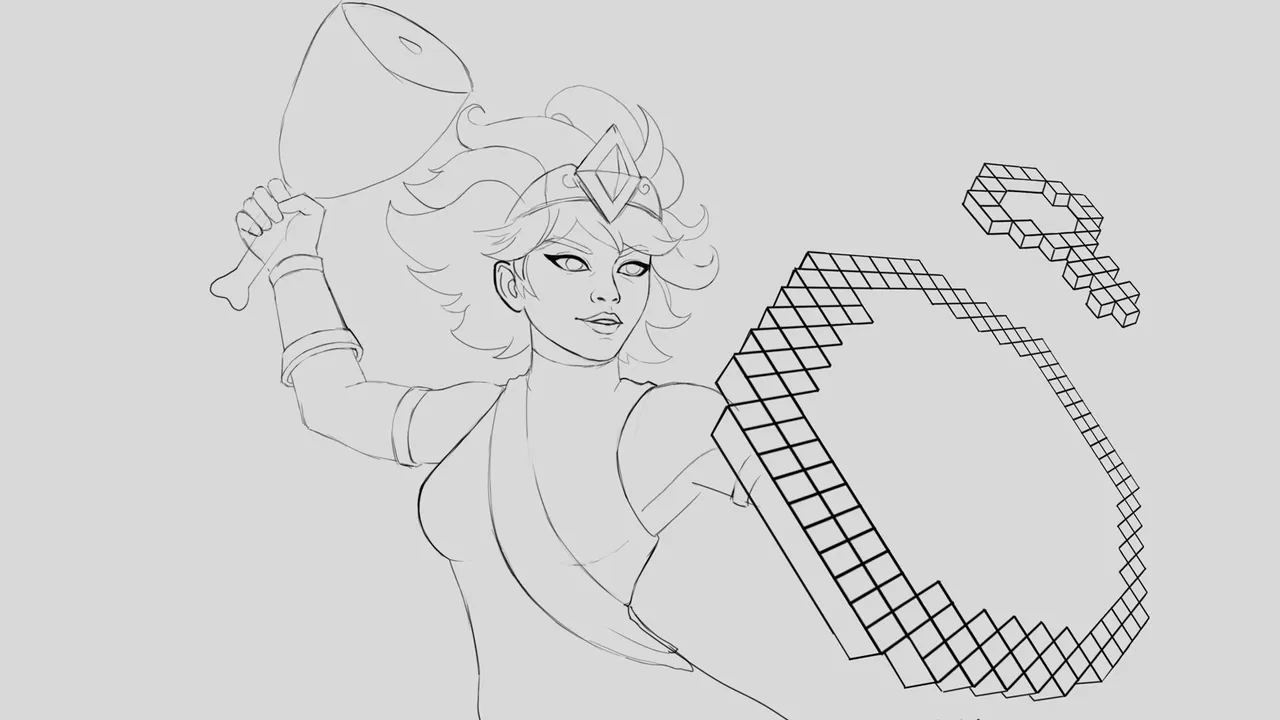
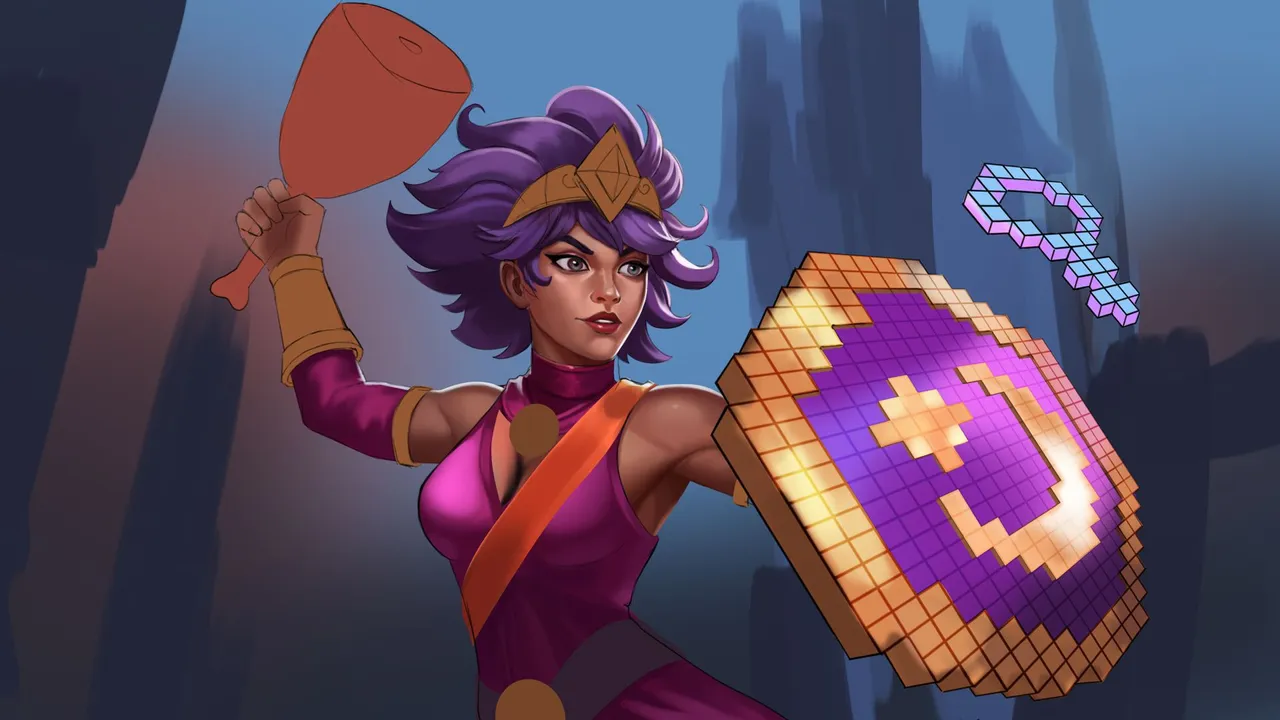
✏️ Phase 1: Sketch & Lineart
My idea was to paint the girl like I always do, but I wanted the rune, the shield, and the piece of meat to be made out of blocks. My inspiration was Adam Sandler's movie Pixels. But planning it was one thing – making it actually look good was another! I had to try to get the perspectives right so the shield could have a proper grid. And as you can see, it took me quite a while to pull it off.
 |
 |
 |
 |

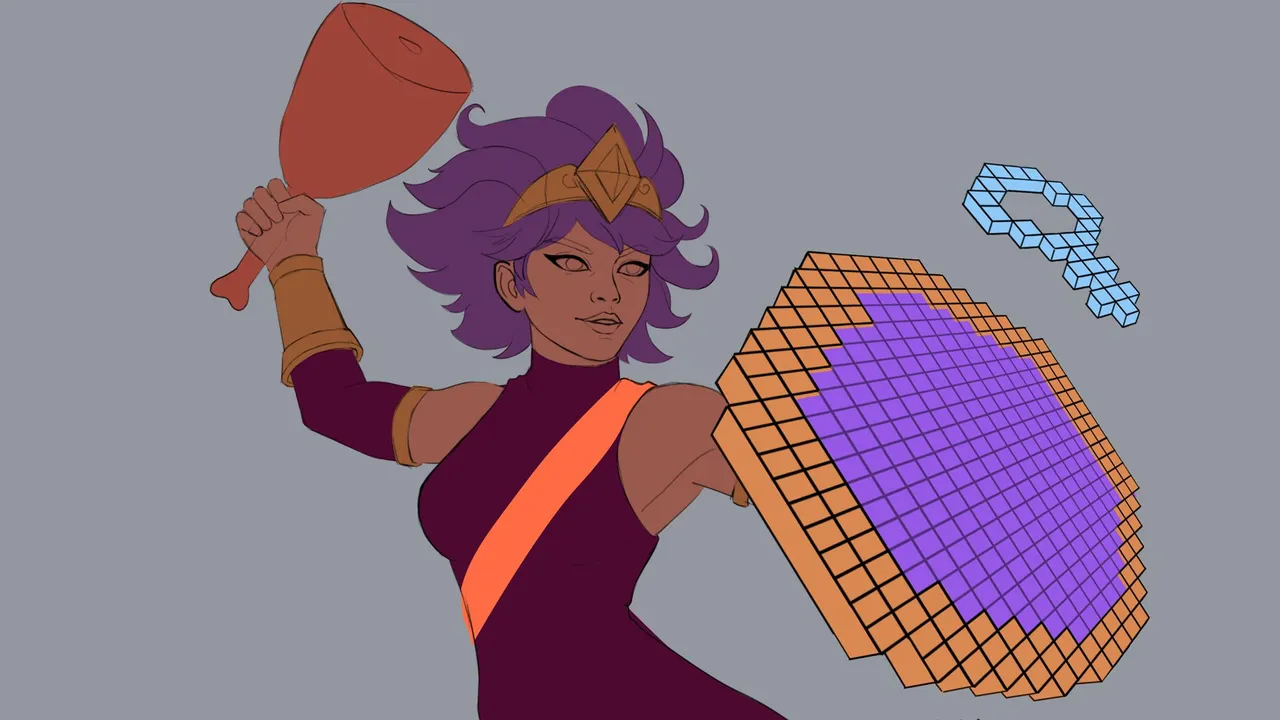
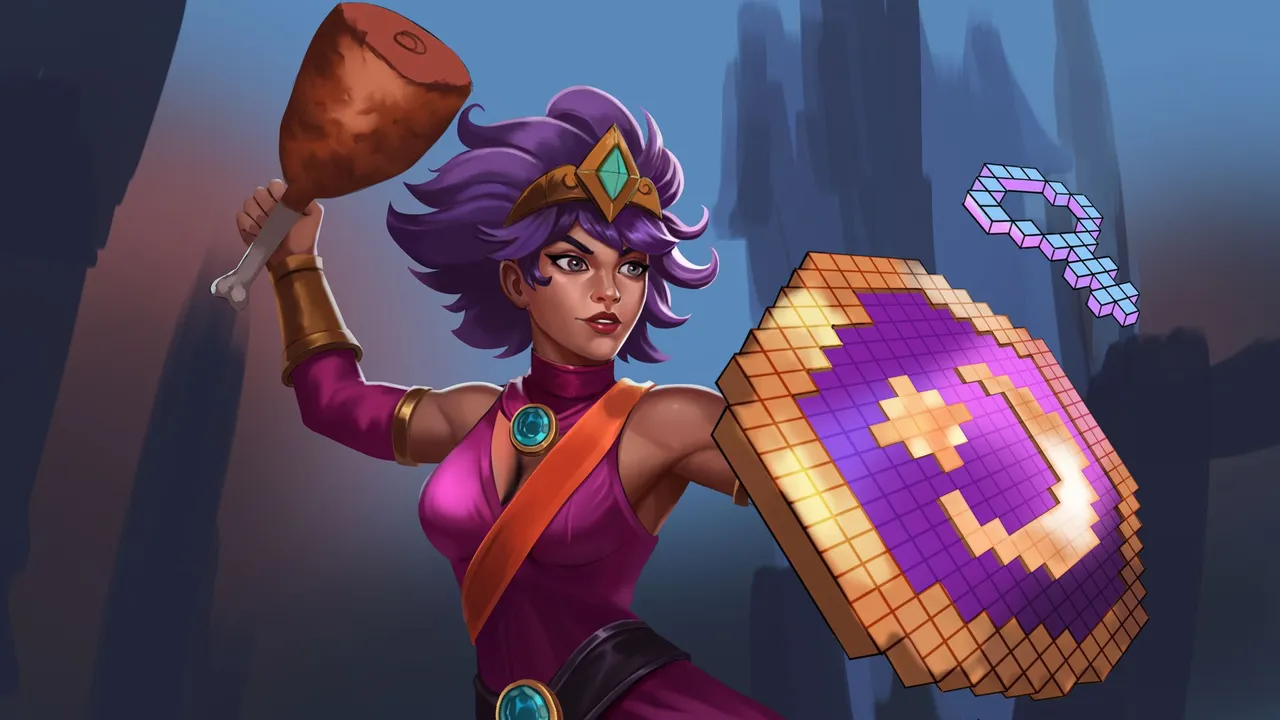
🎨 Phase 2: Base Colors
Then comes the step you all know best: using the Pen Tool to separate the character into its elements to get the base colors. But I immediately started working on the shield, because I knew this would be the most striking feature of the piece. I really wanted to see how viable my idea was for this painting, and honestly? It looked awesome!
 |  |
|---|
🌗 Phase 3: Building The Face
Then I started working on the girl's face, defining her features layer by layer—even painting over the lineart layer. I saw an Instagram reel where they scrolled through each layer until the full illustration was revealed, and I wanted to try it. But I only did it for the face construction because doing it for the whole piece would’ve been tough (I have way too many layers!). Still, this way you can see how layer by layer, I refine the illustration until I get an awesome result.
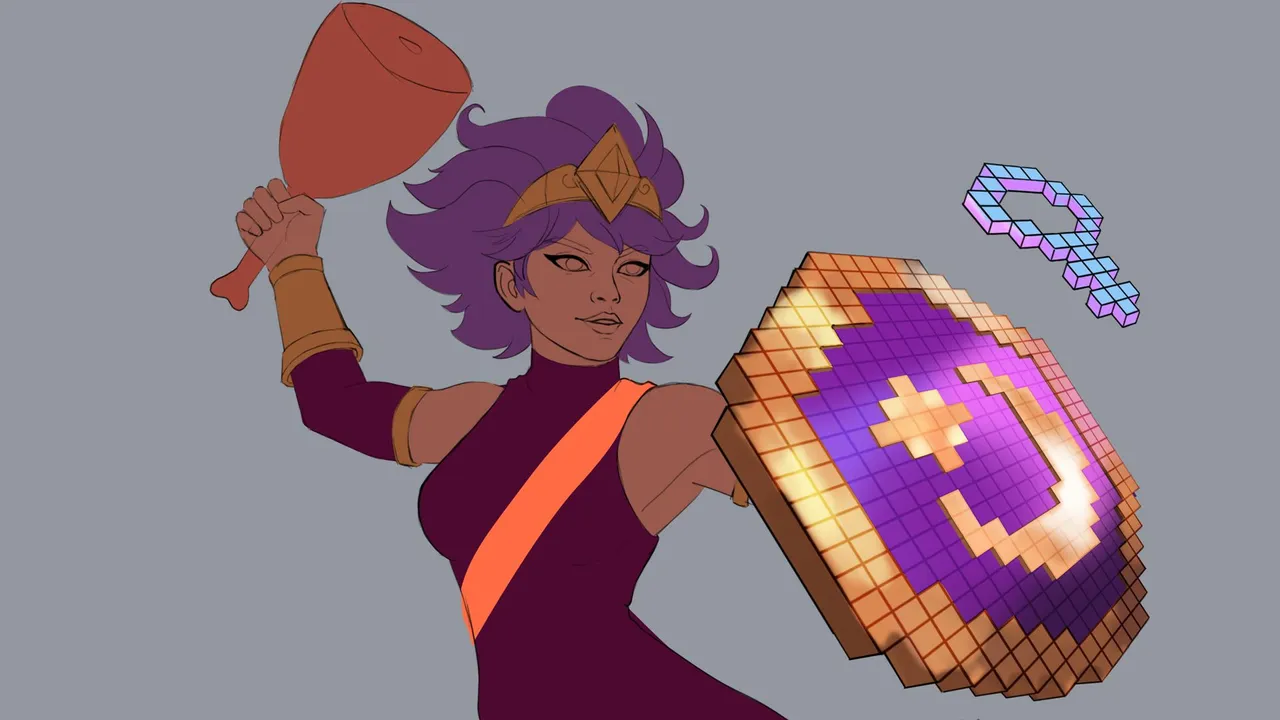
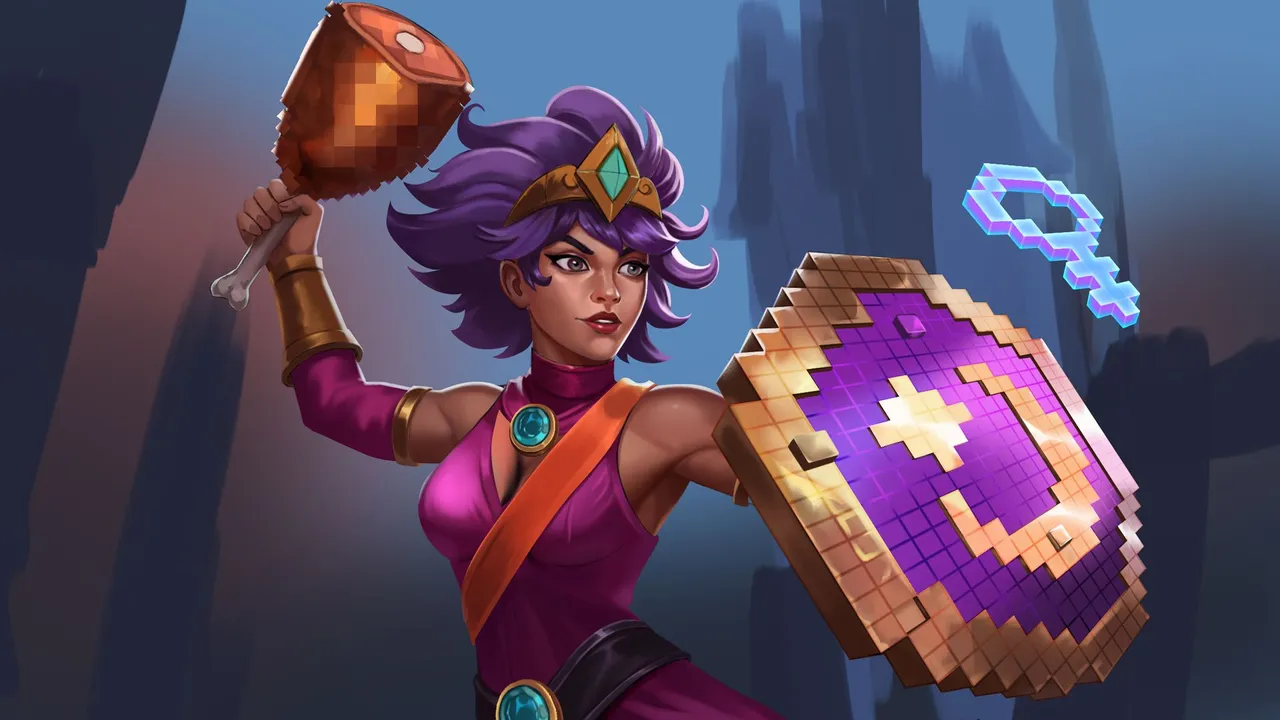
🌟 Phase 4: Final Touches
I kept painting the warrior bit by bit. For me, the highlight here was how I made the piece of meat look pixelated—and what I did was super simple. First, I added the right colors to give the meat volume. Then I converted the layer into a Smart Object. After that, go to Filter > Pixelate > Mosaic, and that’s it! With this, you can quickly make the meat look pixelated.
But I couldn’t use that same trick for the shield. So for this, I focused on detailing it to achieve that blocky appearance. I even painted cubes extending out from the shield’s main structure so it wouldn’t look flat—instead, it genuinely resembles the creatures from the movie Pixels.
And that’s basically it! The result turned out absolutely incredible—I’m even surprised. So please support this post! I’m trying to make a living from my art, and no one commissioned this piece—it’s also not part of Hive.
 |
 |
 |
|
✨ And that’s it… looks amazing!
Do you like it!?
Let me know in the comments! 👇
▶️
 |
|
 |
|
 ◀️
◀️
TWITTER |
NFT SHOWROOM |
INSTAGRAM
⬆️ Follow ⬆️
|
|
◀️
TWITTER | NFT SHOWROOM | INSTAGRAM
⬆️ Follow ⬆️