Arte Digital | Digital Art
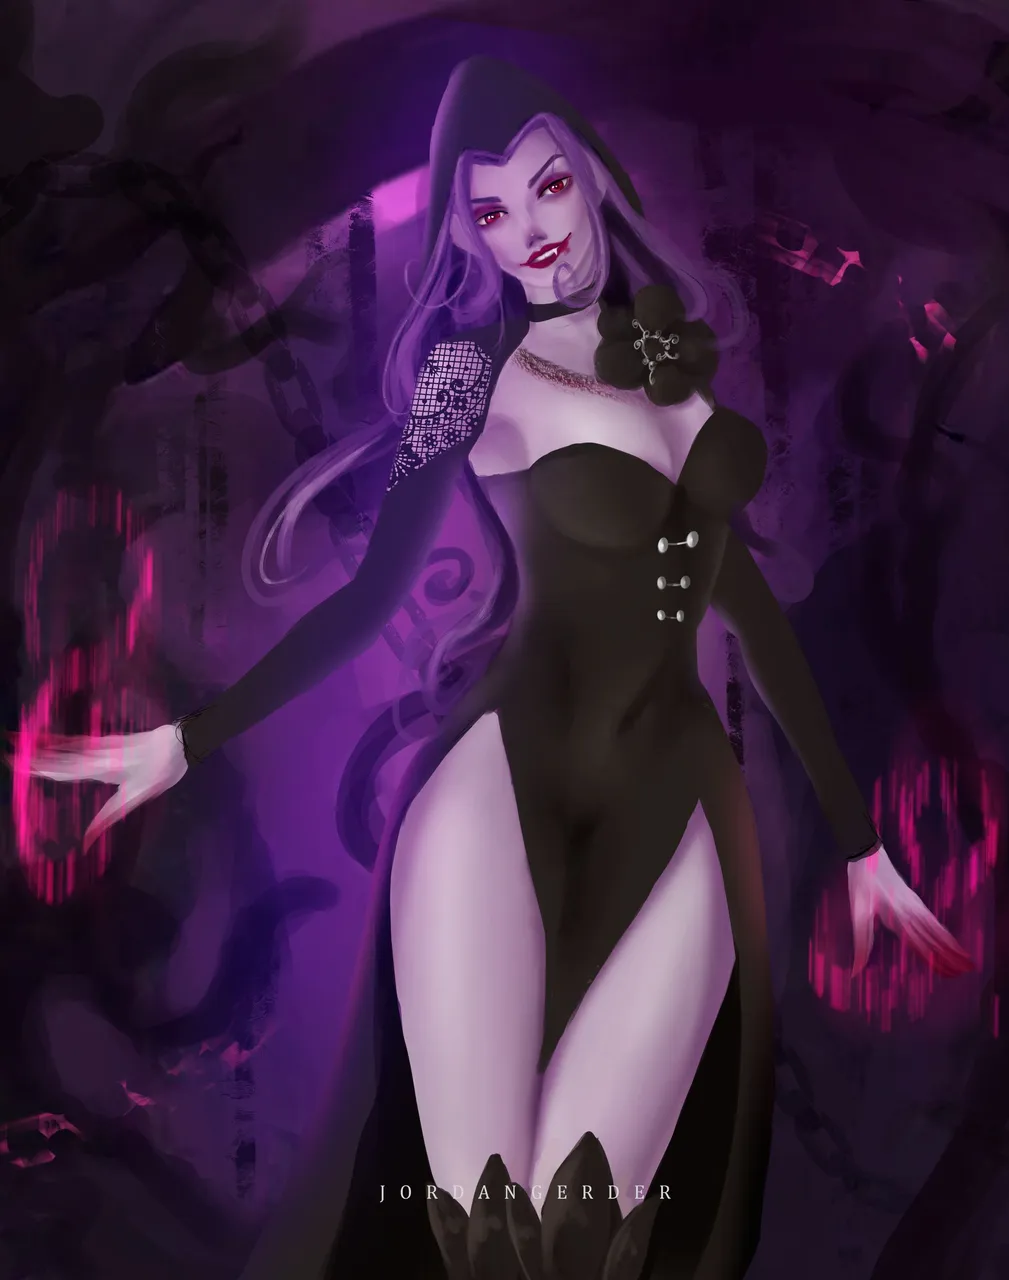
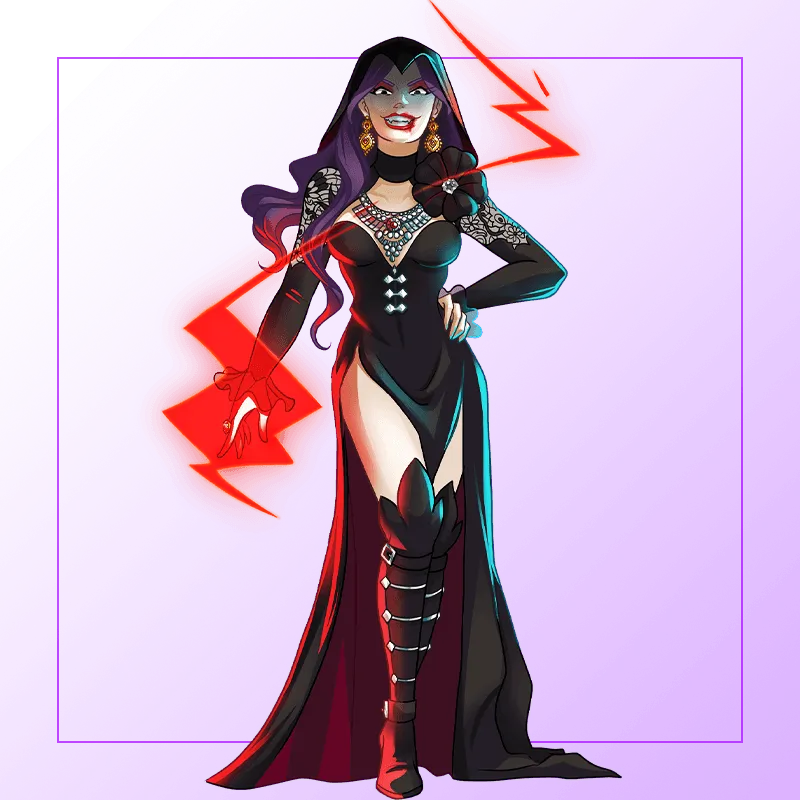
Hello people, we are back with a new digital art for the contest created by @splinterlands, it is based on the beautiful and tremendous Lira the dark, I love this rant, I wanted to do it this time in a more anime style, even so it doesn't stop look sexy, I was about to finish it last week but I couldn't get there in time, so here we are for this new edition😋...
Let's see a little about the creation process, it's always good to see what's behind each art, come with me⏩⏩⏩...
Materiales | Materials
- Desktop computer
- Tableta Huion H950P
- Programa Adobe Photoshop 2019
- Ordenador de mesa
- Huion H950P tablet
- Adobe Photoshop 2019 program
Proceso | Process
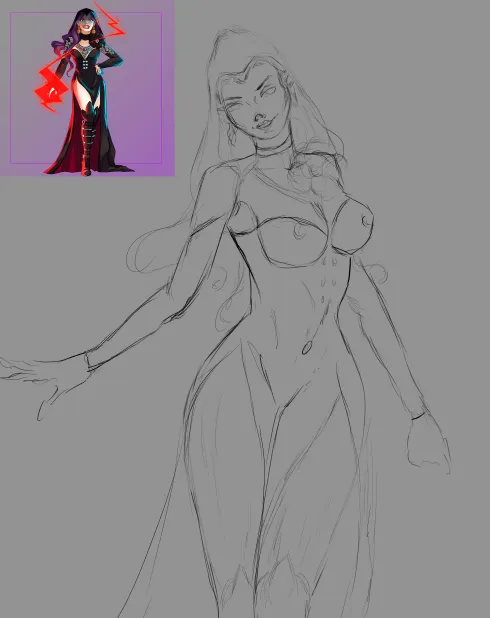
Paso 1
- Inciamos con un bosquejo de lo que sería el personaje agregué al perosnaje orginal en un extremo para captar todas las partes y no perder ningun detalle, asi es como resulta mas facil su creación:
Step 1
- We start with a sketch of what the character would be, I added the original character at one end to capture all the parts and not lose any details, this is how its creation is easier:
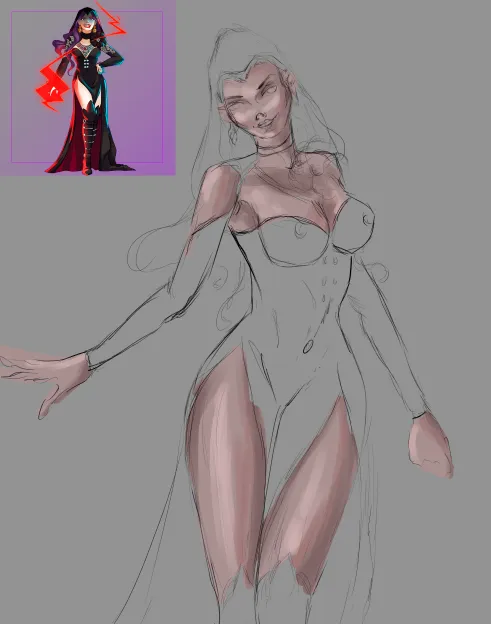
Paso 2
- Una ves que conseguimos un bosquejo mas claro, o donde se aprecie el perosnaje al cual agregaremos color, es momento de pasar a la siguiente etapa donde se seleccionan tres tonos de color no muy saturados para empezar a crear volumen en su piel:
Step 2
- Once we get a clearer sketch, or where we can see the character to which we will add color, it is time to move on to the next stage where three not very saturated color tones are selected to start creating volume in their skin:

Paso 3
- Es momento de mezclar los parches de color que agregué anteriormente (este paso lo hago con la herramienta dedo), para luego suavizar un poco con un pincel difuso, y asi es como conseguimos una piel mas trabajada:
Step 3
- It's time to mix the color patches that I added previously (I do this step with the finger tool), and then soften a little with a diffuse brush, and this is how we get a more polished skin:
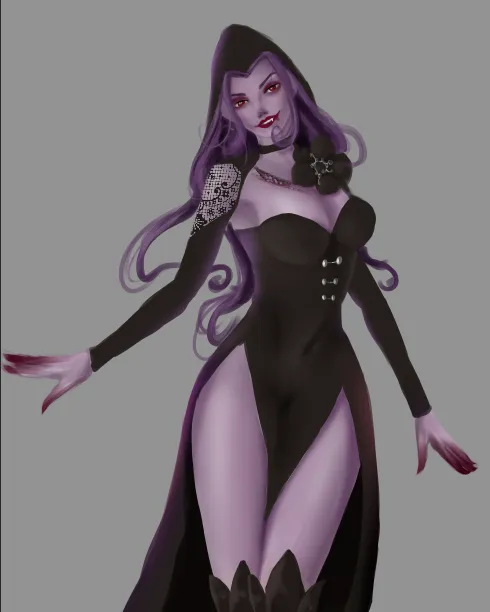
Paso 4
- Wao solo pestañearon y ya tengo el personaje 😞, siento decirle que mi concentración no me permite sacar tantas capturas de pantalla con el proceso, asi que mejor les narro un poco, en el paso anterior ya habia agregado un color base en su cabello, luego de eso agregué algunas hebras sueltas para dar volumen y claro con algunos colores mas claros para dar profundidad entre las hebras, ahora trabajé en sus ojitos hermosos, decidí crearlos en color rojo le dió un toque mas vampirezco, entonces ya estabamos listos para trabajar en su vestuario...
Step 4
- Wow, you just blinked and I already have the character 😞, I'm sorry to tell you that my concentration does not allow me to take so many screenshots with the process, so I better tell you a little, in the previous step I had already added a base color to her hair, then From that I added some loose strands to give volume and of course with some lighter colors to give depth between the strands, now I worked on her beautiful eyes, I decided to create them in red, it gave her a more vampire touch, then we were ready to work on her locker room...
Paso final
- Para finalizar todo el proceso de creación agregué detalles finales como brillos, mas luces y ajustes totales de color.
Final step
- To finalize the entire creation process, I added final details such as highlights, more highlights and total color adjustments.
We got an incredible result, I really enjoyed the creation process. I hope you liked it, I have elaborated it with love for all the viewers who visit this publication, see you in the next one 😍
𝑮𝒓𝒂𝒄𝒊𝒂𝒔 𝒑𝒐𝒓 𝒗𝒊𝒔𝒊𝒕𝒂𝒓 𝒎𝒊 𝒃𝒍𝒐𝒈, 𝒂𝒑𝒓𝒆𝒄𝒊𝒐 𝒎𝒖𝒄𝒉𝒐 𝒕𝒖 𝒂𝒑𝒐𝒚𝒐 / 𝑻𝒉𝒂𝒏𝒌 𝒚𝒐𝒖 𝒇𝒐𝒓 𝒗𝒊𝒔𝒊𝒕𝒊𝒏𝒈 𝒎𝒚 𝒃𝒍𝒐𝒈, 𝑰 𝒓𝒆𝒂𝒍𝒍𝒚 𝒂𝒑𝒑𝒓𝒆𝒄𝒊𝒂𝒕𝒆 𝒚𝒐𝒖𝒓 𝒔𝒖𝒑𝒑𝒐𝒓𝒕.
▶
◀
TWITTER ⚪ NFT SHOWROOM ⚪ INSTAGRAM ⚪ DISCORD
