
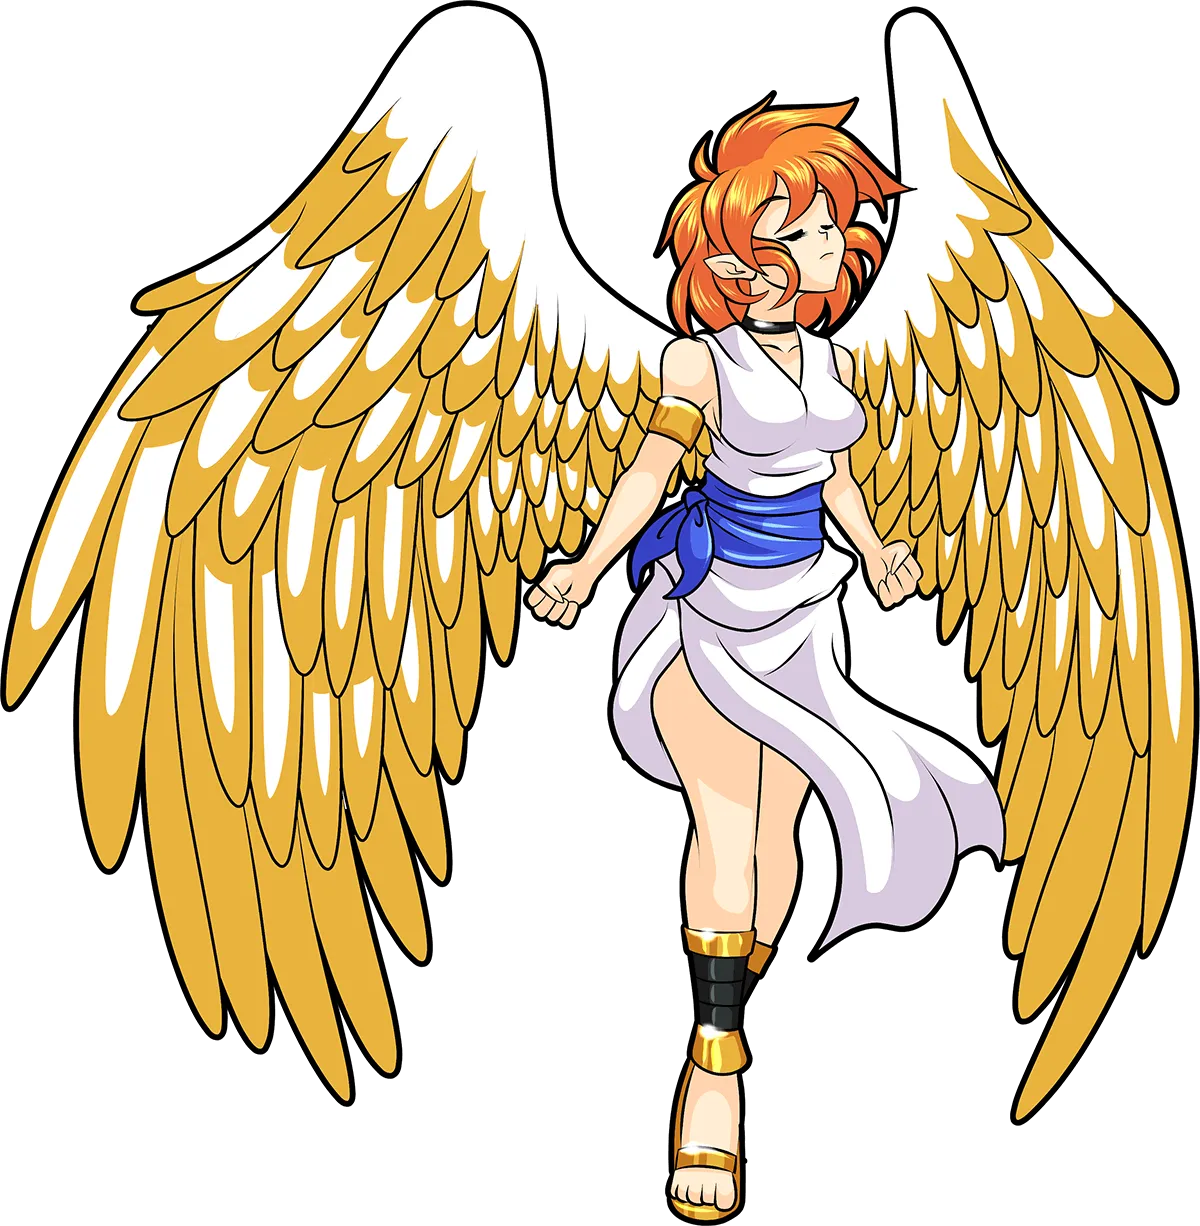
¡Hola Hivers! Les traigo mi nueva participación en el Splinterlands Art Contest. En esta ocasión quería realizar algo completamente diferente a la semana pasada, y elegí a ANGEL OF LIGHT, una carta legendaria de tipo Life. Quería ponerme un reto, esta vez haciendo algo con más perspectiva, que pienso ayudaría mucho a expresar el aspecto angelical del personaje.
Hello Hivers! I bring you my new participation in the Splinterlands Art Contest. This time I wanted to do something completely different from last week, and I chose ANGEL OF LIGHT, a legendary Life type card. I wanted to challenge myself, this time doing something with more perspective, which I think would help a lot to express the angelic aspect of the character.
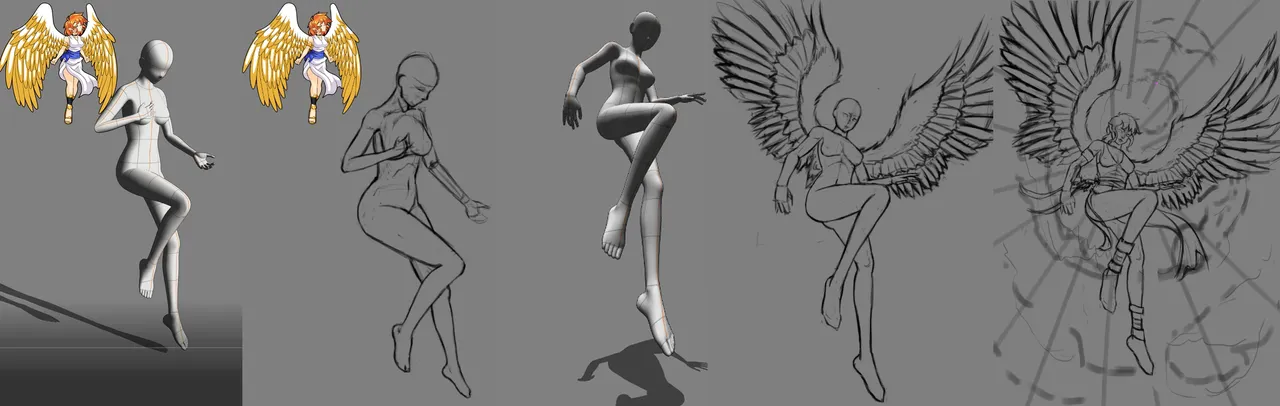
Use la herramienta de modelo 3d de clipstudio para hacer la pose del personaje y se me facilitará realizar la perspectiva que quería, es una herramienta muy útil para estos casos, como ven realice un par de ideas probando la herramienta, y decidí usar la última, ya que expresaba mejor lo que quería.
Con el modelo ya en posición comencé a realizar el boceto detallando los elementos característicos del personaje, siendo las alas la parte más complicada para mí.
I used the 3d model tool of clipstudio to make the pose of the character and it will be easier to make the perspective I wanted, it is a very useful tool for these cases, as you can see I made a couple of ideas testing the tool, and I decided to use the last one, because it expressed better what I wanted.
With the model already in position I began to make the sketch detailing the characteristic elements of the character, being the wings the most complicated part for me.

Already with the sketch ready I filled the character with a base color, separating in layers the clothes, the skin and the wings, immediately after I started with the background, a cloudy sky, placing the colors with a blue gradient and on a top layer and with the help of a special brush I painted the clouds, then I copied that layer I put it underneath, transformed it and lowered the opacity to simulate the depth in them, something simple but that works.
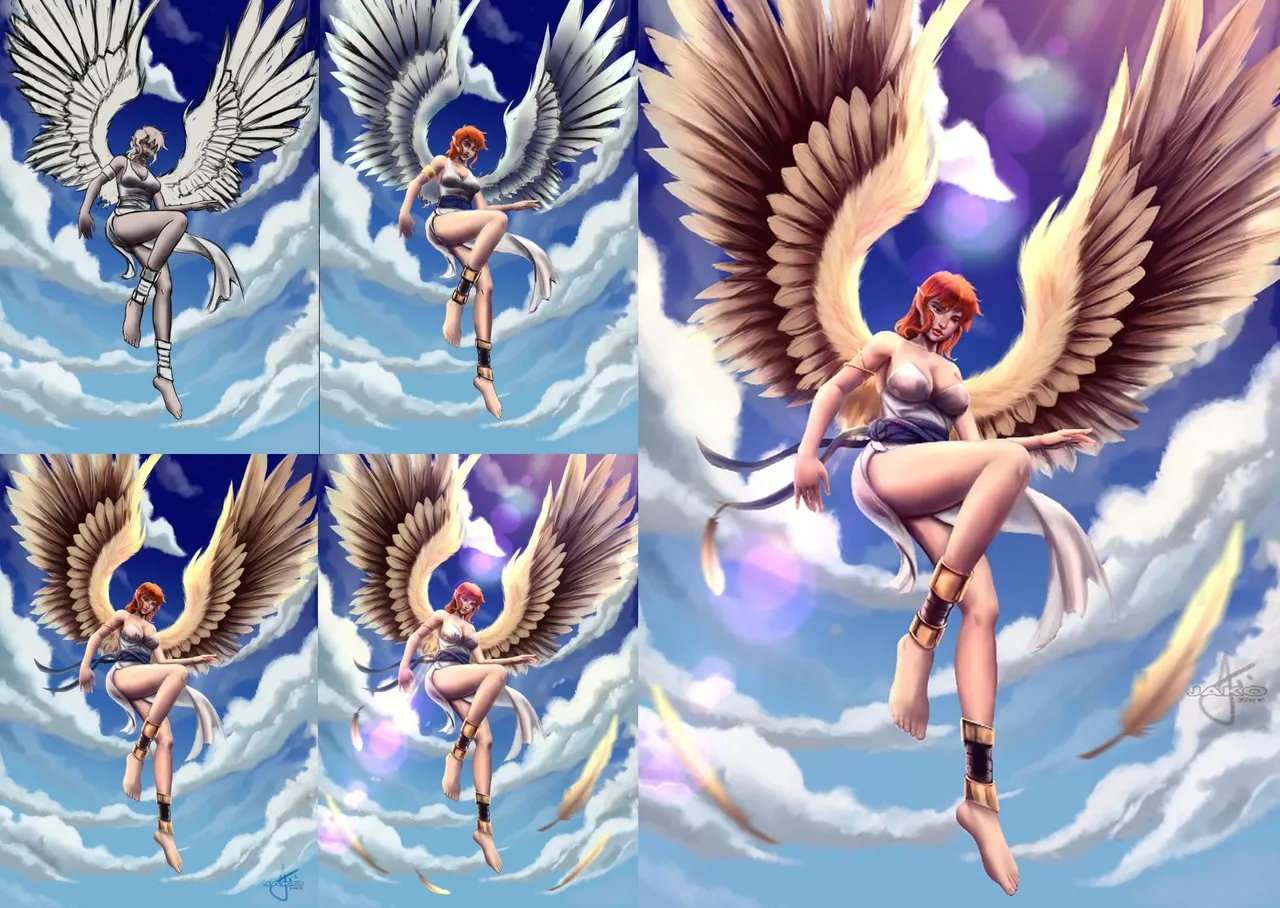
Comencé renderizar la cara y el resto del cuerpo para luego pasara a las alas, trabaje de la misma forma que el cuerpo, ajuste los tonos y sombras en capas diferentes y luego las uni en una y use esa base para hacer las plumas al tener un ala ya lista la duplique y pegue al lado y edite esto ahora mucho tiempo al momento de renderizar.
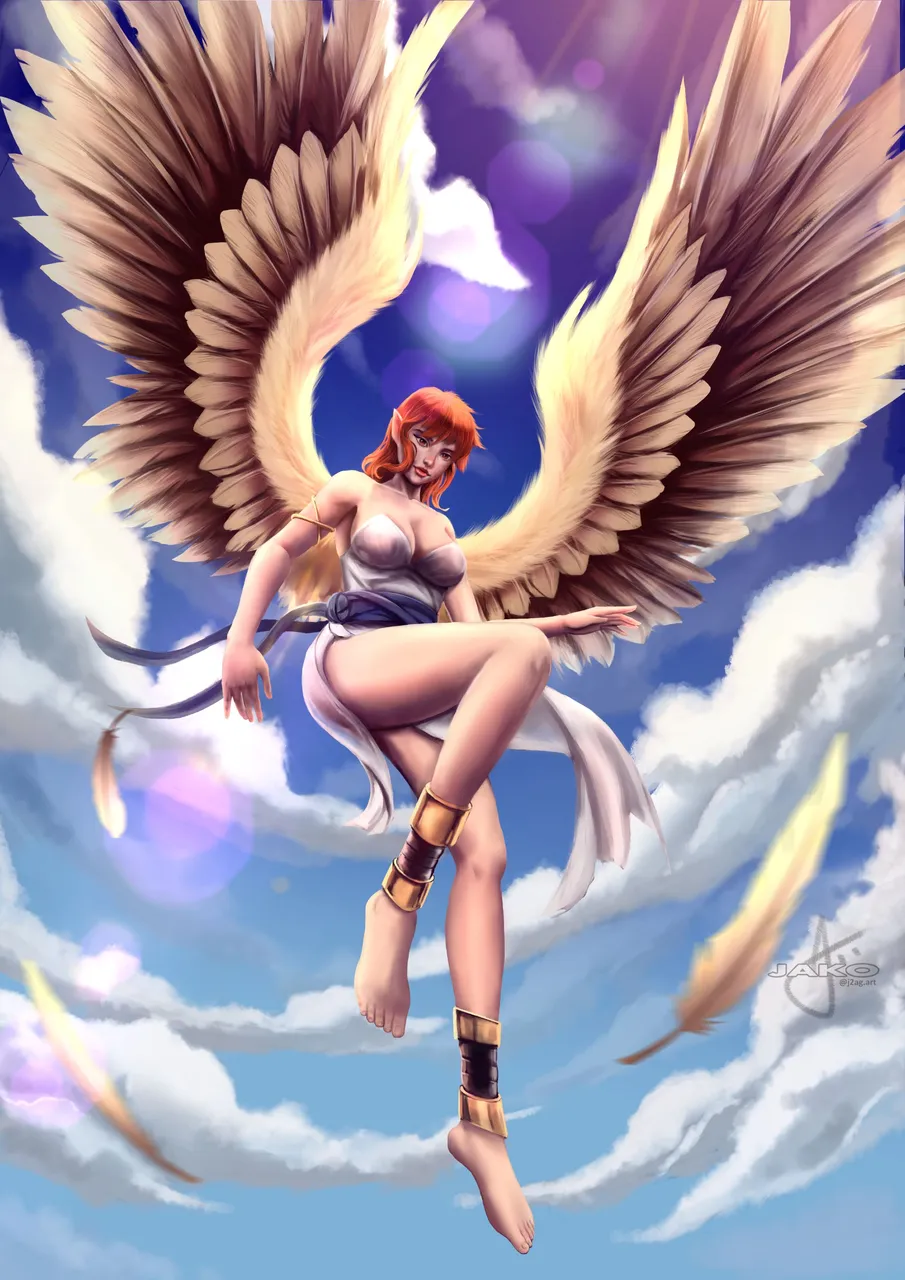
Ya solo quedaba pulir los detalles y agregar filtros y efectos como el destello de lente que le da un toque especial, y eso fue todo.
Espero que les haya gustado mi trabajo y Muchas gracias por leer hasta la próxima
¡Hasta la próxima!
I started rendering the face and the rest of the body and then I moved to the wings, I worked in the same way as the body, adjust the tones and shadows in different layers and then I joined them in one and used that base to make the feathers when I had a wing ready I duplicated it and pasted it to the side and edited this now a lot of time at the moment of rendering.
Now I only had to polish the details and add filters and effects like the lens flare that gives it a special touch, and that was all.
I hope you liked my work and thank you very much for reading until next time.
See you next time!
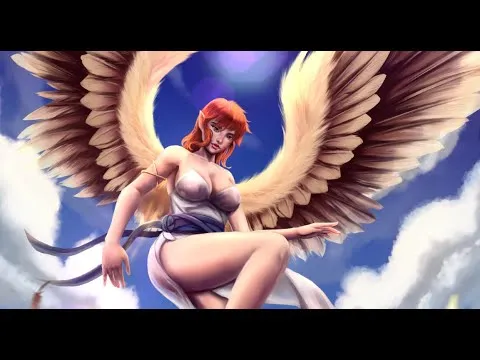
ILUSTRACIÓN FINAL | FINAL ILLUSTRATION
Gracias por ver hasta la próxima.
Thanks for watching until next time.
Instagram --- Sfw-Twitter --- Nsfw-Twitter
Herramientas usadas / Tools used
ClipStudioPaint & Photoshop & ShotcutWacom Bamboo tablet