Hello everyone, hope you are doing fine. Thank you very much for your continued support and encouragement.
In this post, I'll go through the process of how I made the 3D sculpt of the Hunari and the 2D digital paintings of the bows in this post.
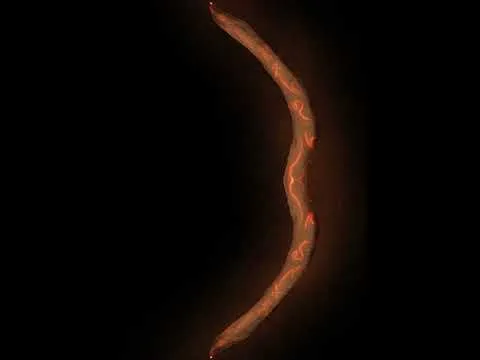
I had made the bows long before I made the sculpt, so here is the process video. I used Procreate to draw this. I made both bows in the same canvas on different layers.
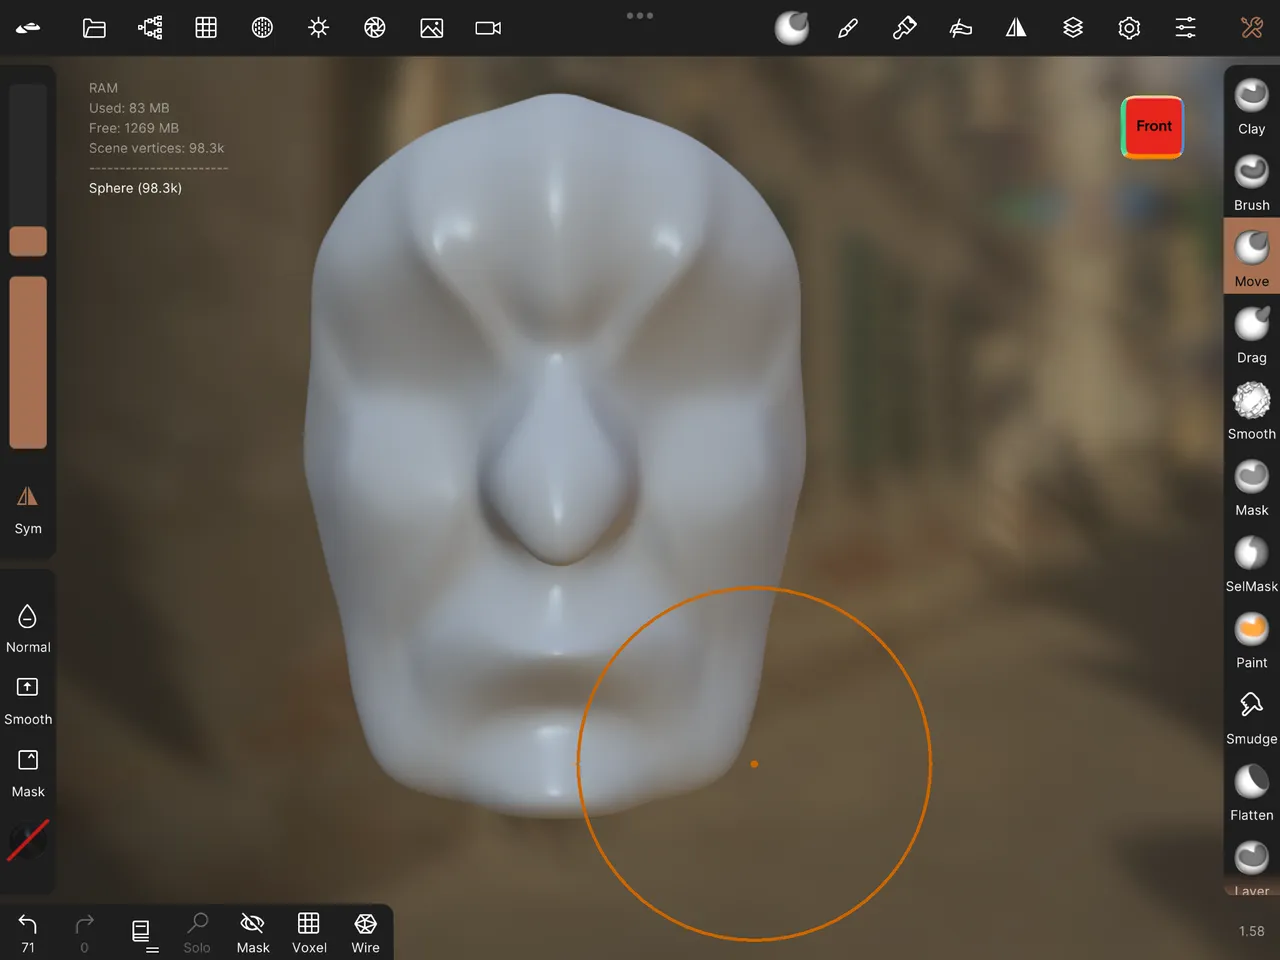
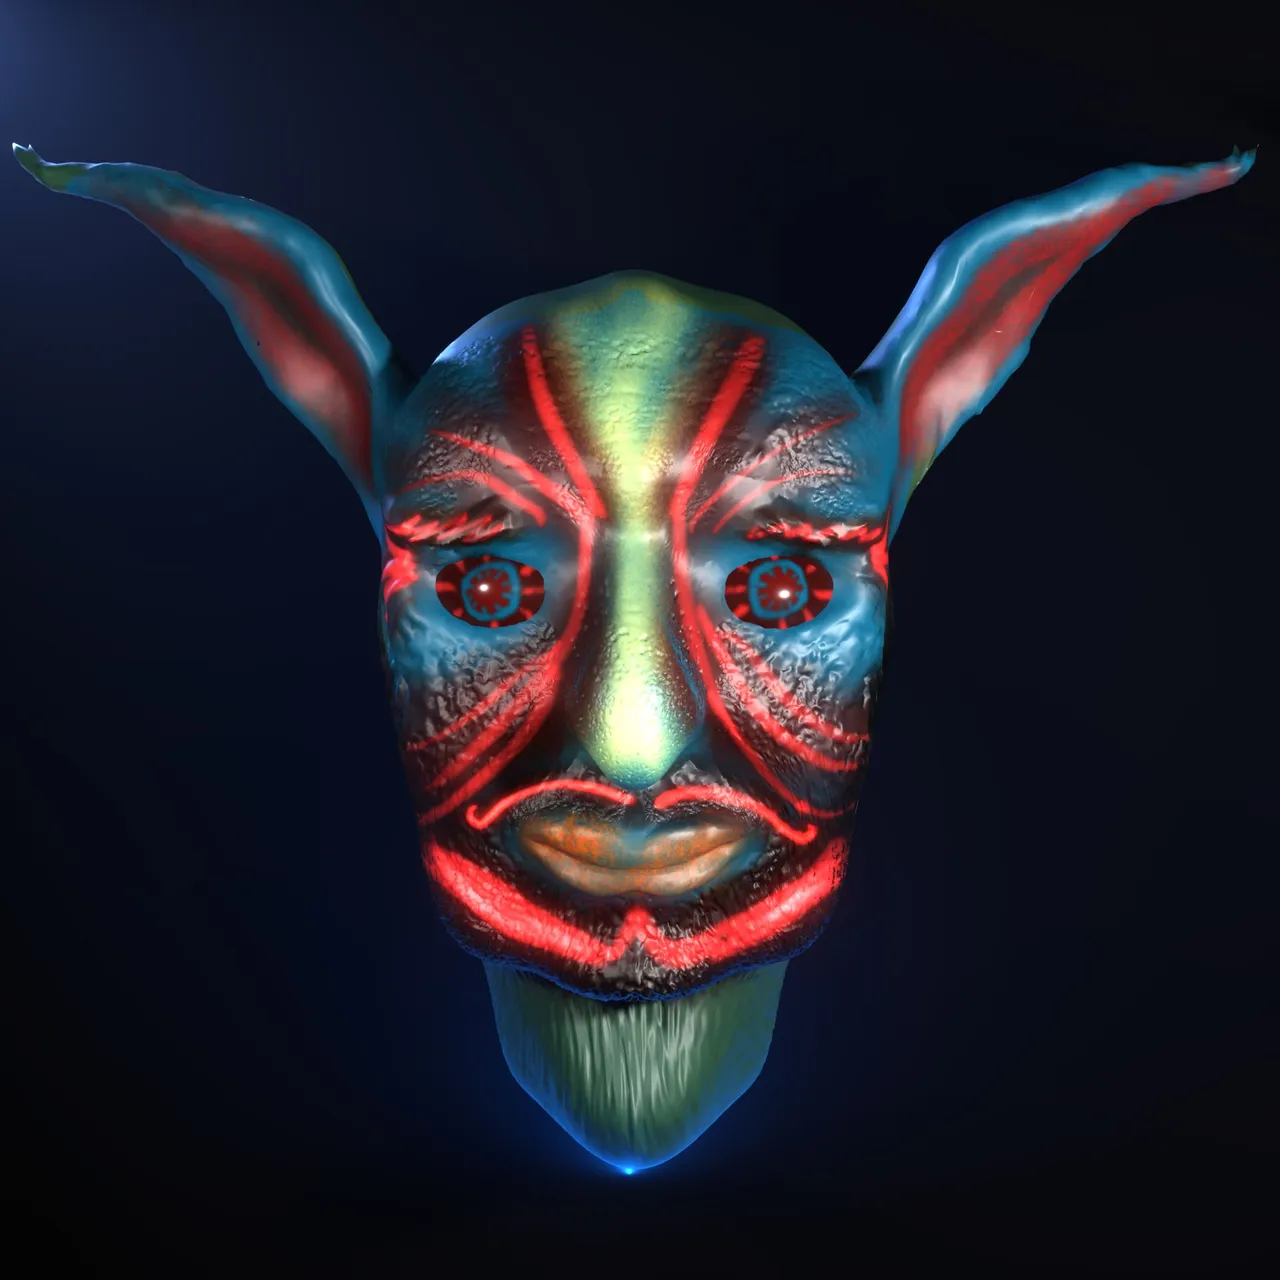
Coming to the Hunari sculpt itself, I used Nomad Sculpt for modelling and creating textures on the model itself. Then I used Procreate to paint and finally rendered it in Blender 2.9.
I started with a sphere as the base mesh and mostly used the move and drag brushes initially to get a rough outline.


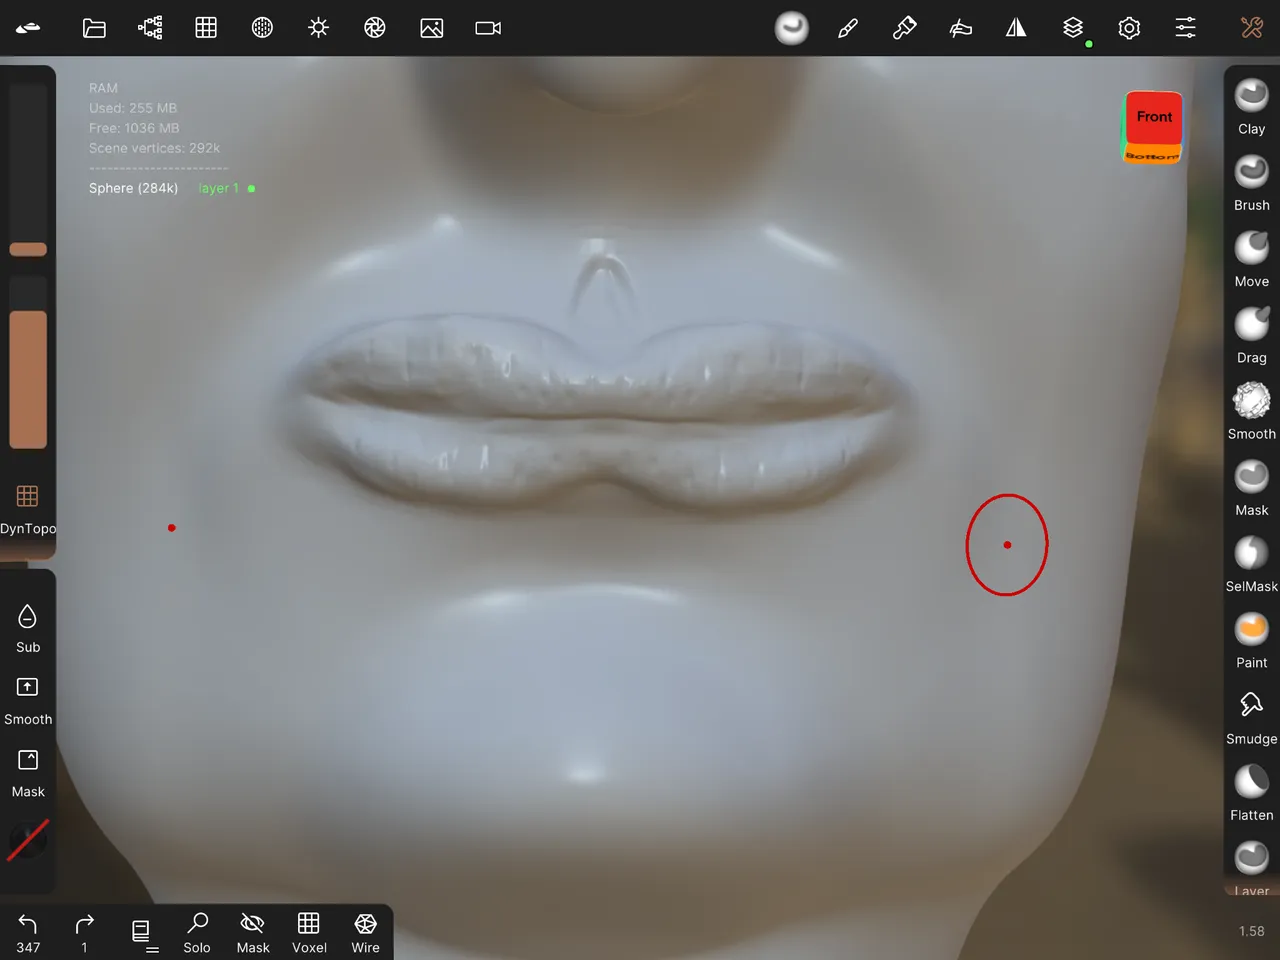
For producing the UV map, to be able to paint in Procreate, I had to decimate quite a lot, hence the lip details were lost in the final mesh.
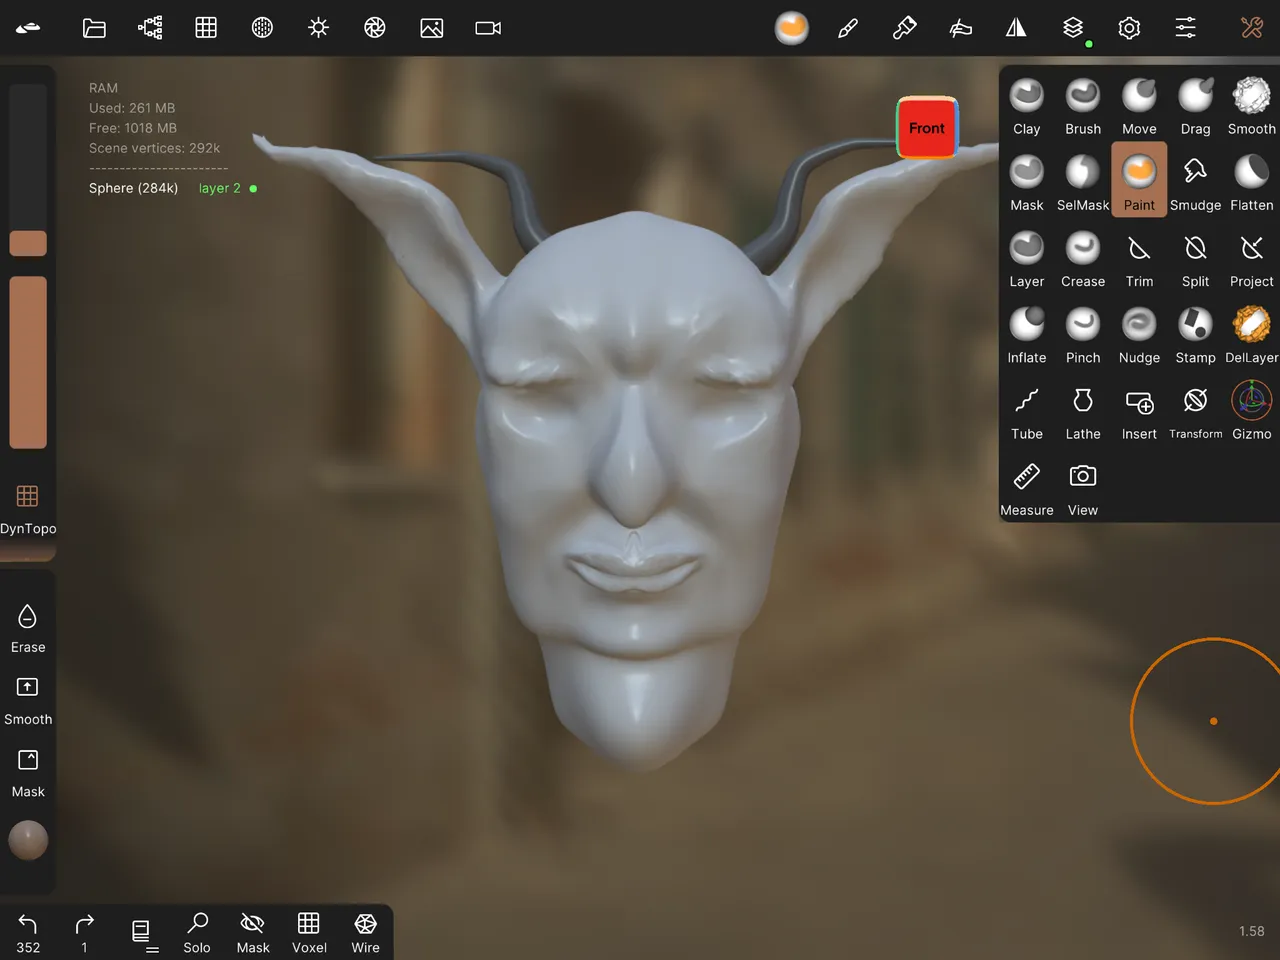
I got rid of the horns in the final sculpt.
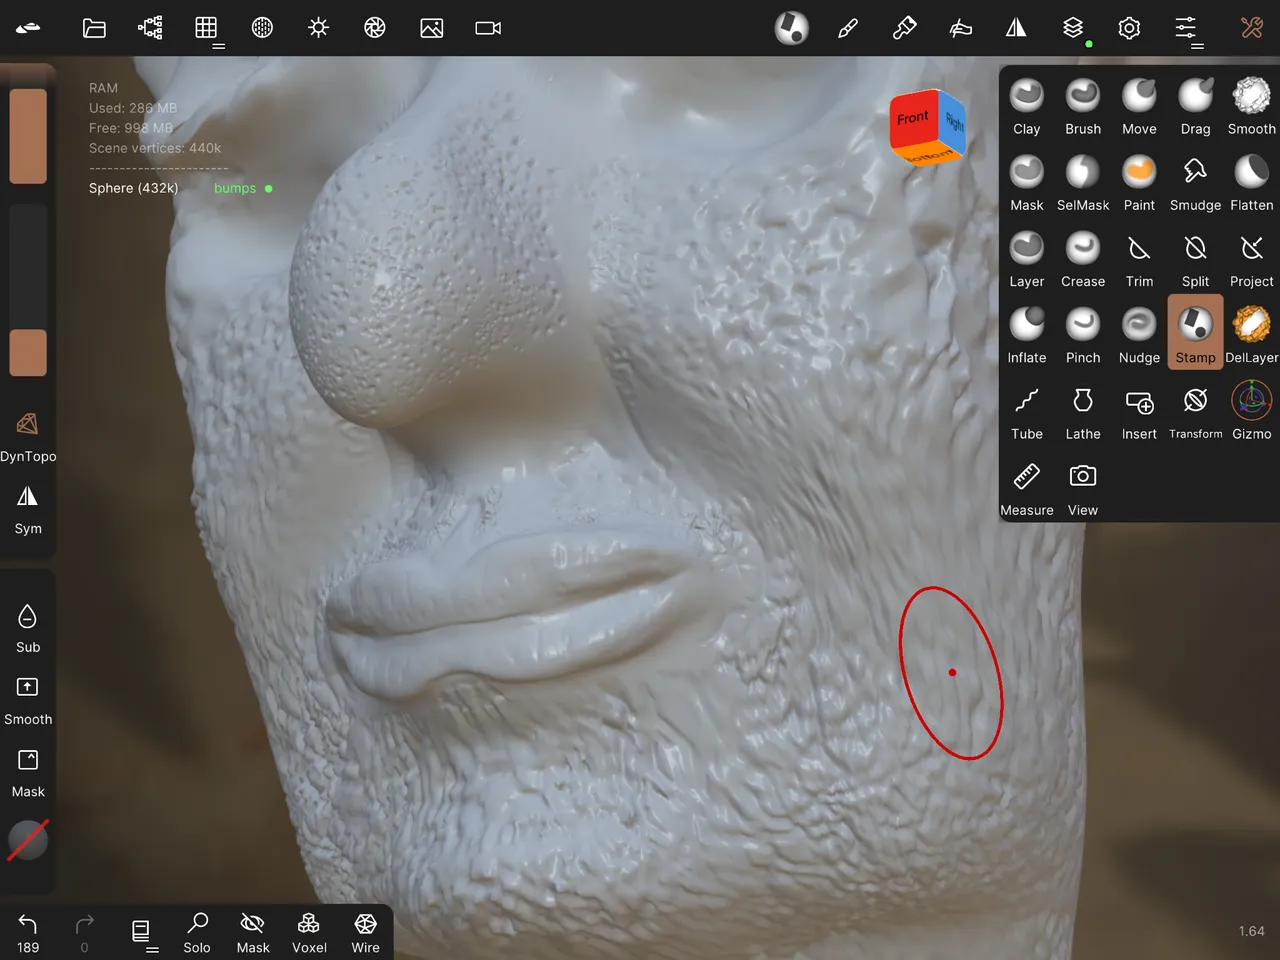
I added some texture to the mesh using alphas I had created in Procreate as stamps.
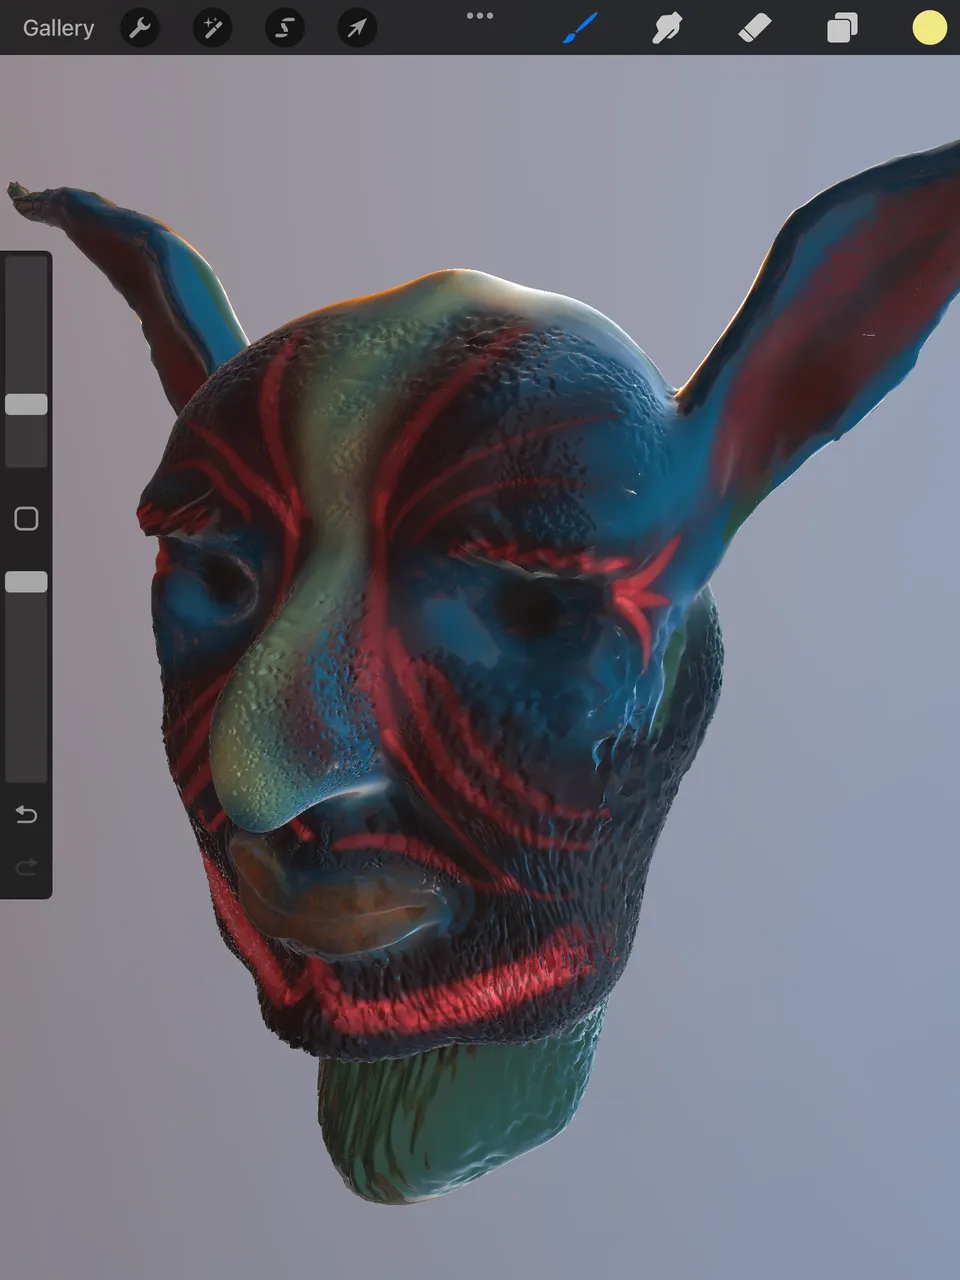
It was time to paint the model in Procreate, there is no symmetrical painting option, as the unwrapped map will obviously not be symmetrical. Hence the asymmetrical paint on my mesh.
After painting, it was time to render it in Blender.
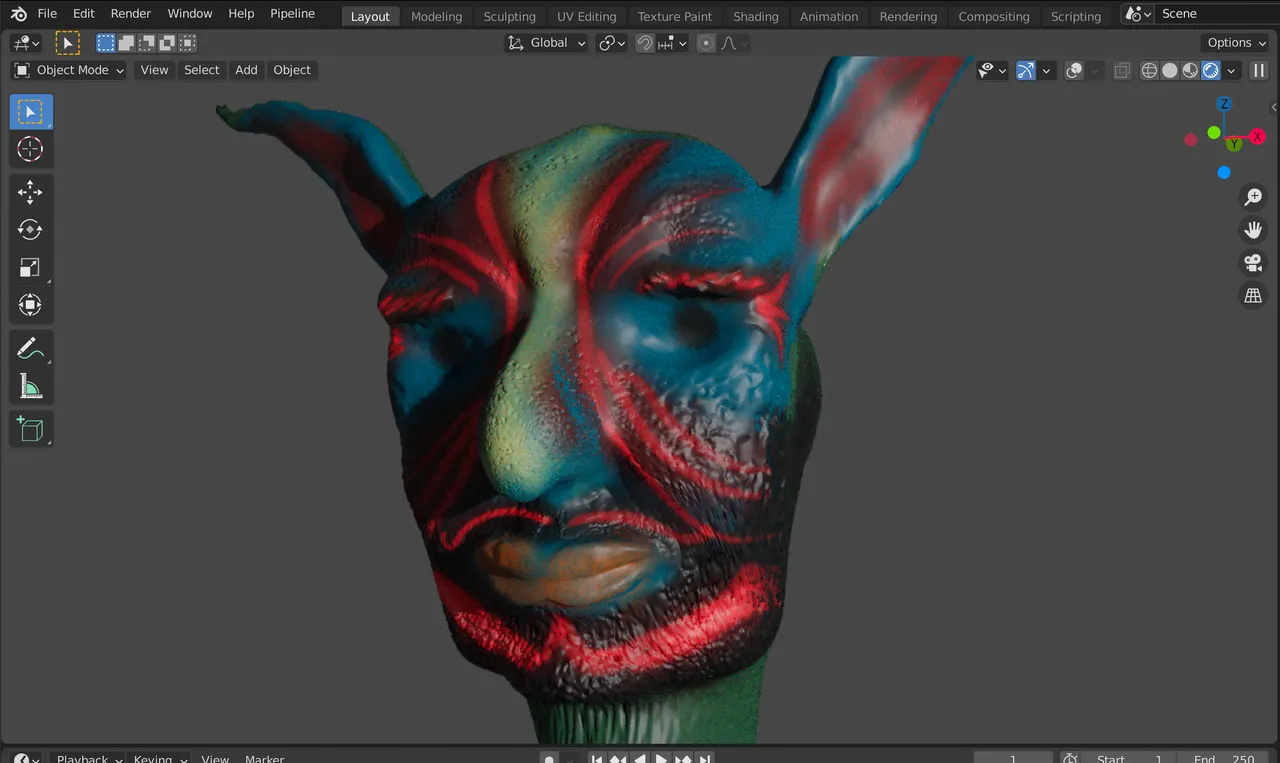
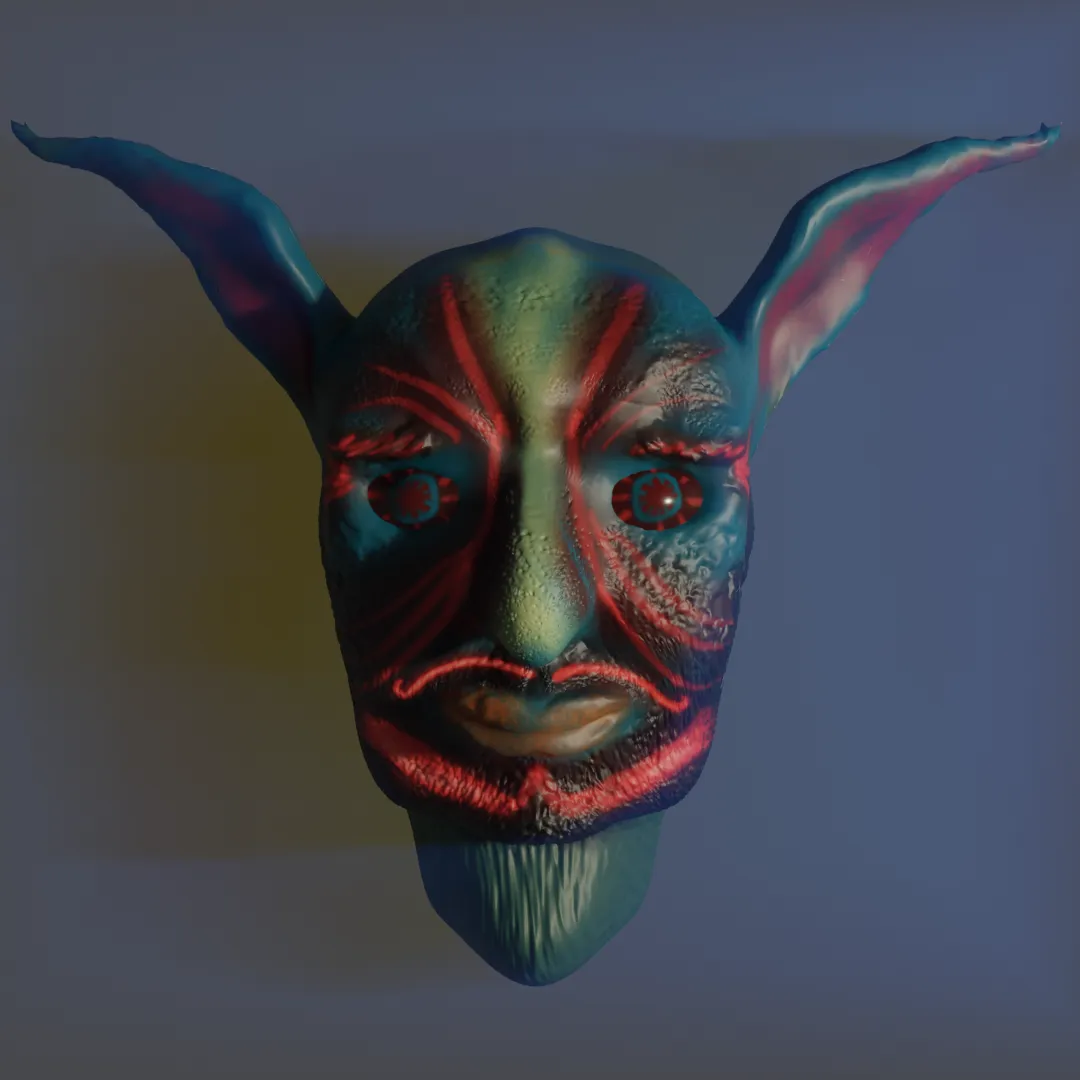
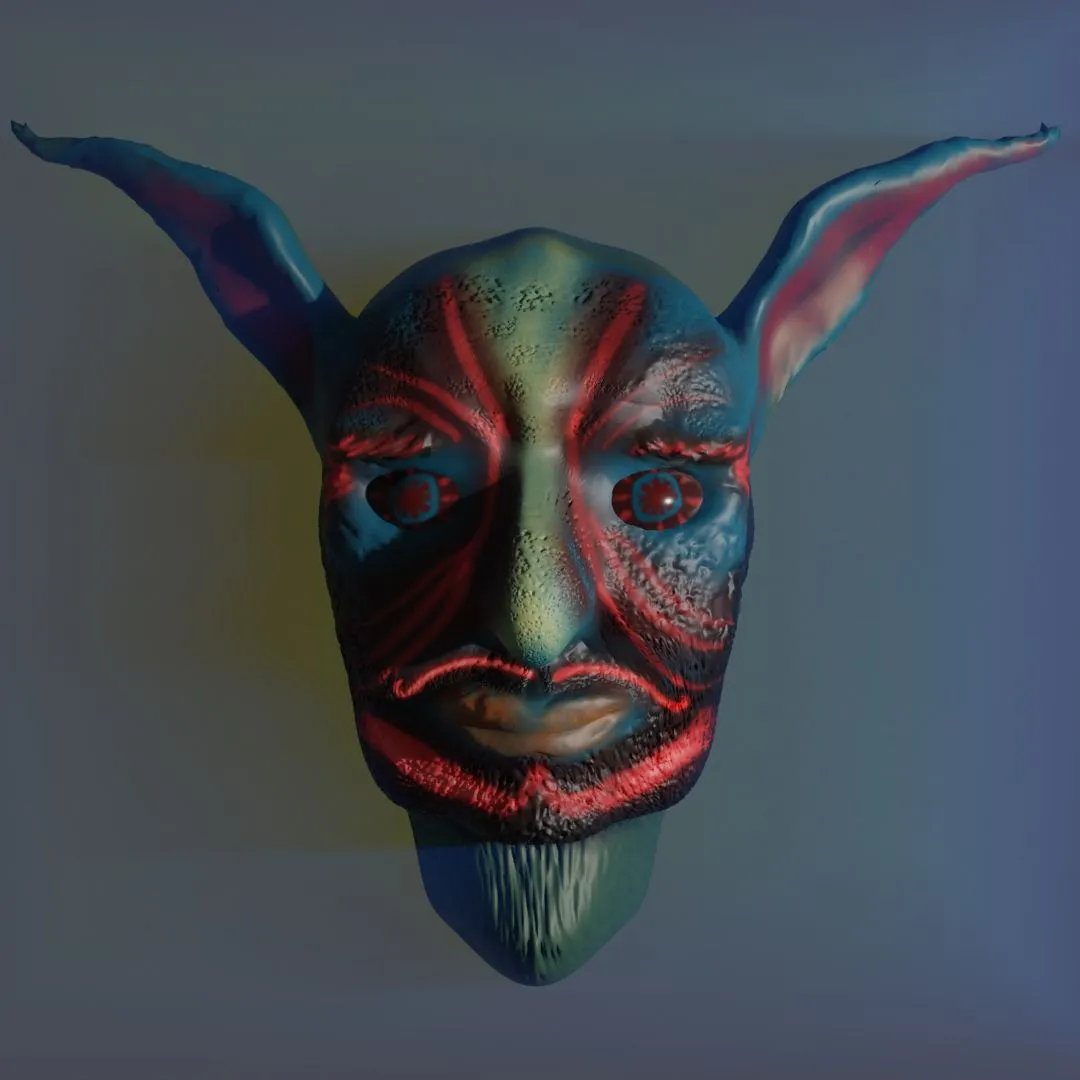
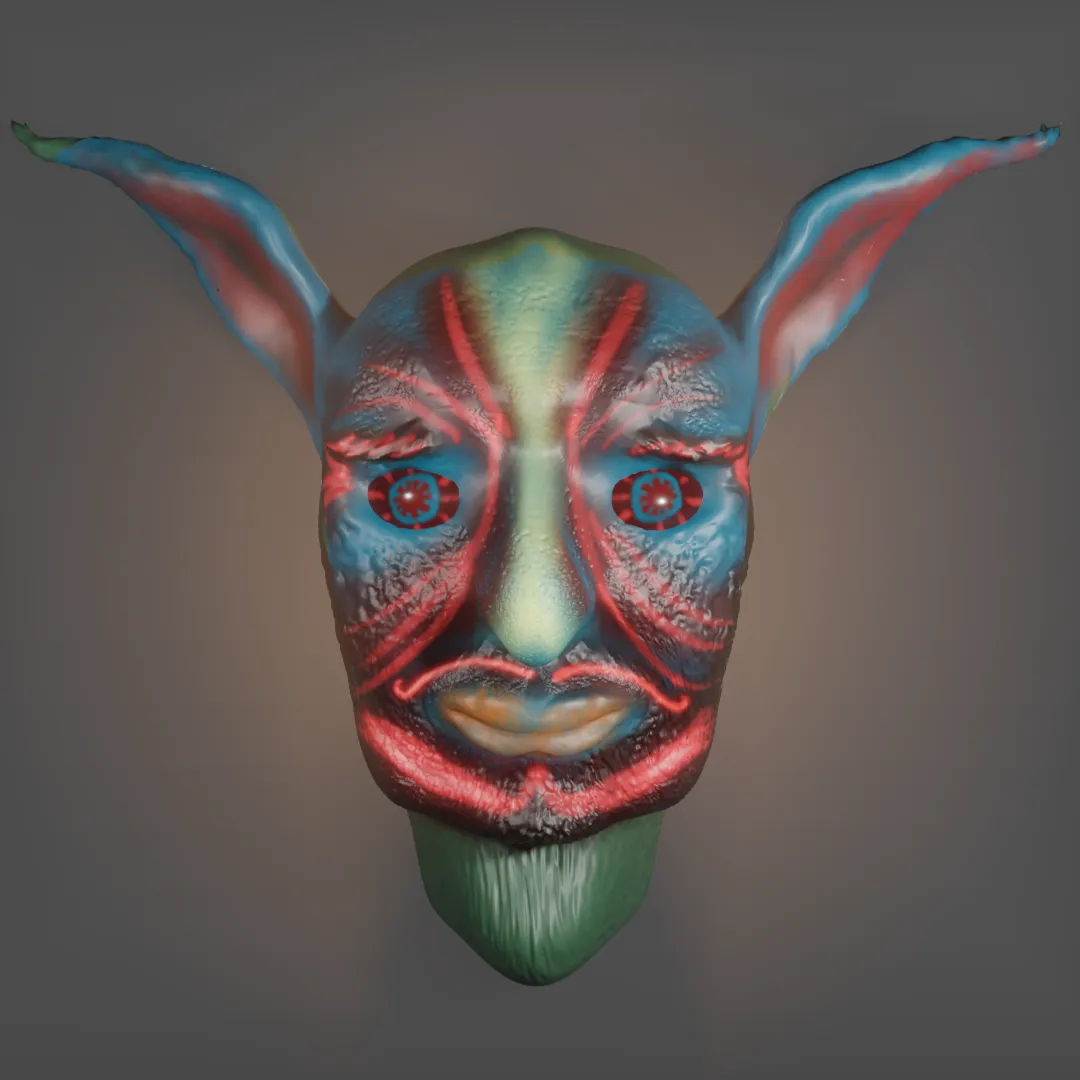
A few initial renders :
in Eevee
in Cycles
tried some volumetrics in Eevee
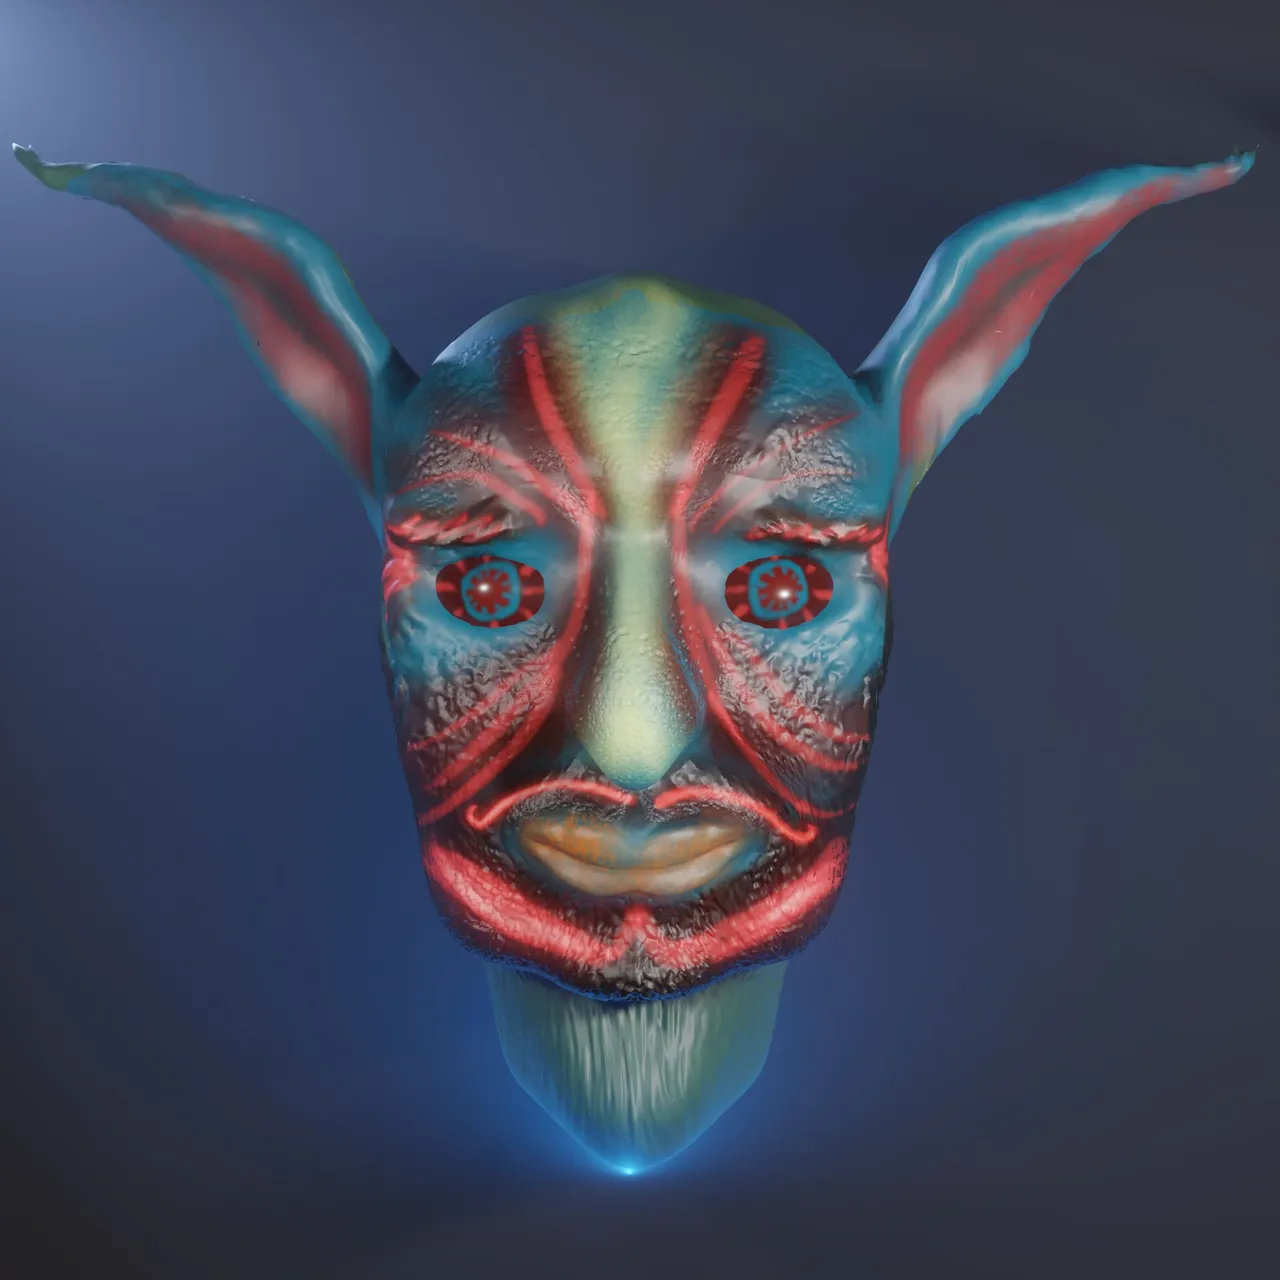
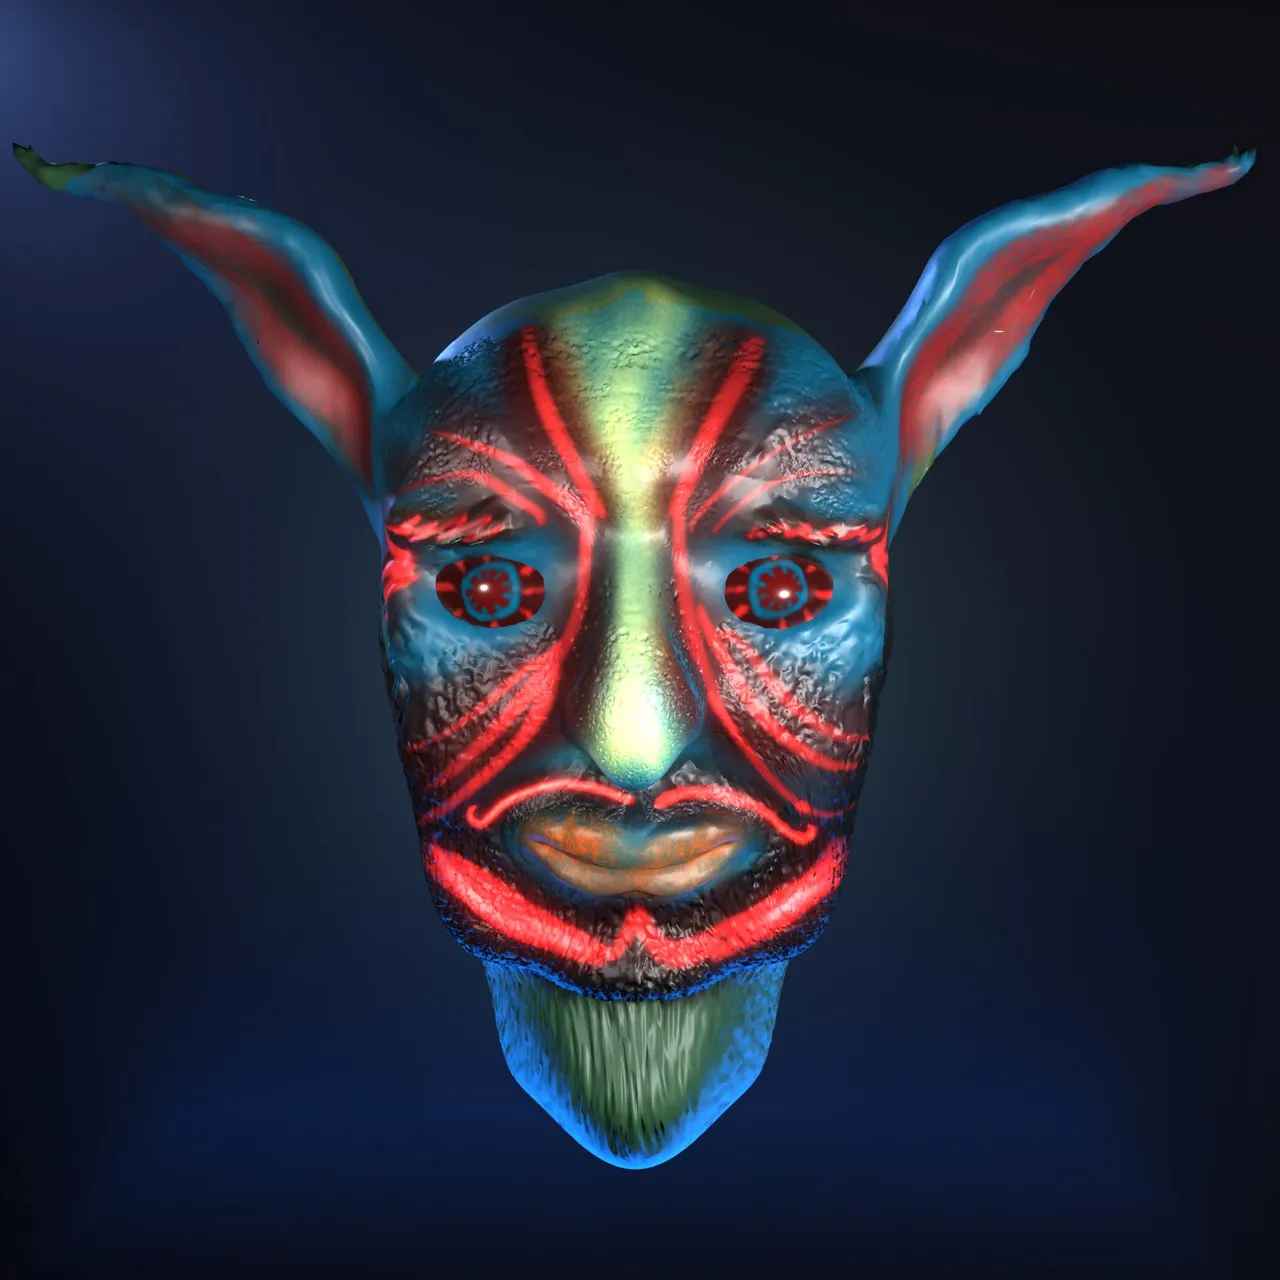
settled for this look finally and following are the final renders with standard colour and high contrast selected on cycles and eevee respectively.
Which render did you like the best? Any comments or suggestions? Please let me know. Thanks so much for reading and viewing, see you in the next one!

My NFTs on NFT Showroom
My Artbreeder profile
My DeepDreamGenerator profile
My YouTube Channels 1 and 2
My Splinterlands Referral Link