Promise is a promise! A series of free tutorials dedicated to prompt engineering is coming out from the need of my audience, where I'll be sharing countless prompts for generating images in different modalities. Do you want to create amazing images like these? Join me and find out how to do it in this post! 😃
Many hivers have had problems adding images to their writing, sometimes because they don't know where to find copyright-free thumbnails, and sometimes because they use copyrighted content. One of the uses of artificial intelligence is the generation of images from text, which we will be looking at in this new series using both MidJourney and BlueWillow.
To cut to the chase, you can use this tutorial to start using either AI, the process is the same, but of the two, you can opt for BlueWillow for a free use of this modality. Generating images isn't at all easy when you want to create complex or very specific content, so I will be with you to help you on the way to becoming a prompt engineer. I hope the whole community enjoys my humble contribution.
Let's start with characters, and why characters? Well, creating characters is the most difficult of all, if you master this part you will master the rest, being able to get the hang of it very quickly and generate simpler images with less text. Let's start with the first one:
David Harbour playing Buzz Lightyear character, perfect symmetrical face, hyper realistic, futuristic perfect rendering photorealistic, photography, octane render, anatomically correct, high-resolution, shot by Zack Snyder --ar 3:2 --v 4 --q 4
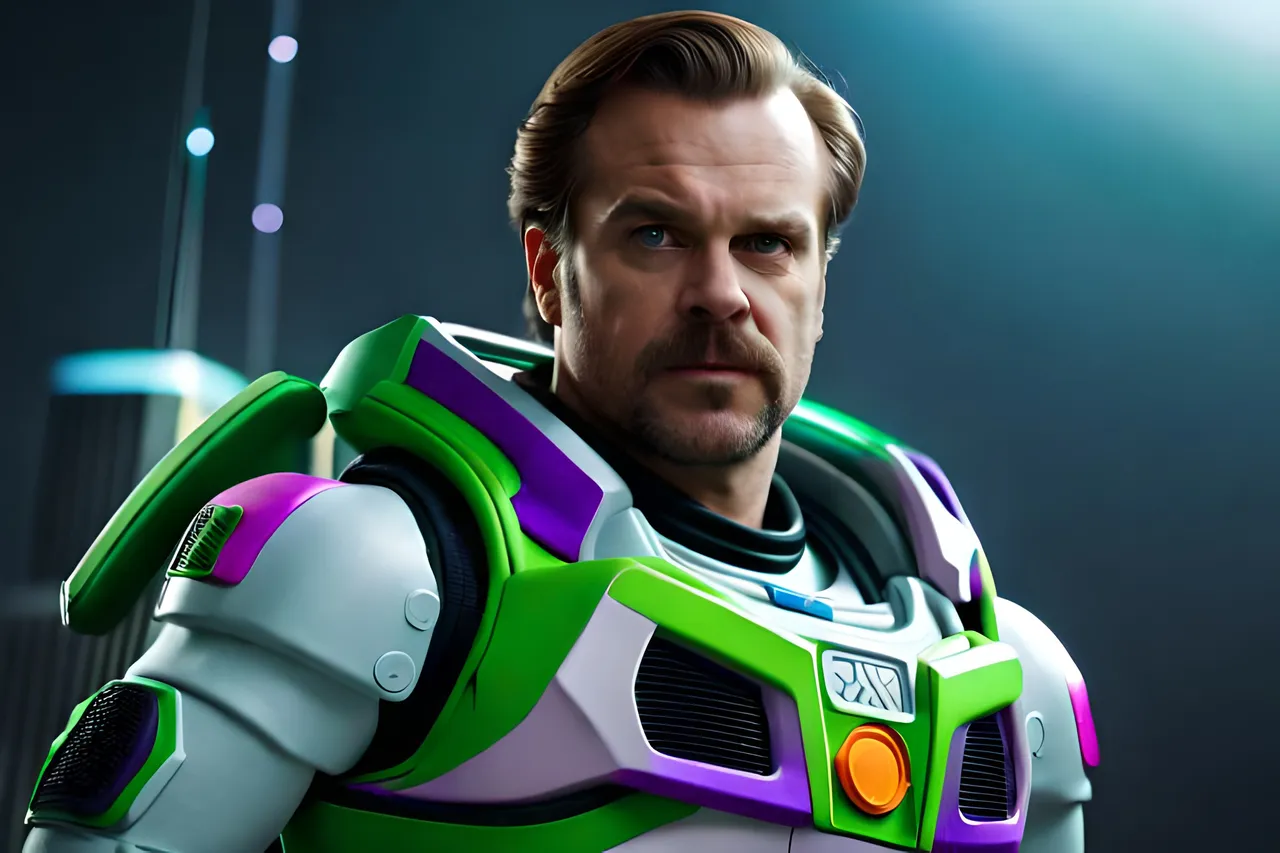
This above is the prompt (descriptive text) with which I generated this image. Let's look at it in detail: In my case, I wanted BlueWillow to generate an image of what actor David Harbour would look like as the character Buzz Lightyear in live-action, so far we have the basic idea, but it has no context. To do this, I also told it that his face had to be perfectly symmetrical and that the image had to have a high resolution photographic rendering with octane technology (all of this is indicated after the word character); finally, I told it that it had to be photographed by Zack Snyder.
You'll notice that I used some strange numbers and combinations at the end, but I'll explain what they mean: ar indicates the aspect ratio you want the output to be generated with, v indicates the version of MidJourney that will be used to generate the image and q indicates the quality. For each of these parameters you must place the character '-' twice so that the model understands the reference.
Let's see another example:
portrait of Brenton Thwaites as Nightwing from DC Titans wearing black and blue armor suit from Titans live-action series, perfect symmetrical face, ultra realistic, photorealistic, intrincate, highly detailed, depth of field, 8k, front view, shot by Zack Snyder, ambient occlusion, cinematic --ar 3:2 --v 4 --q 4
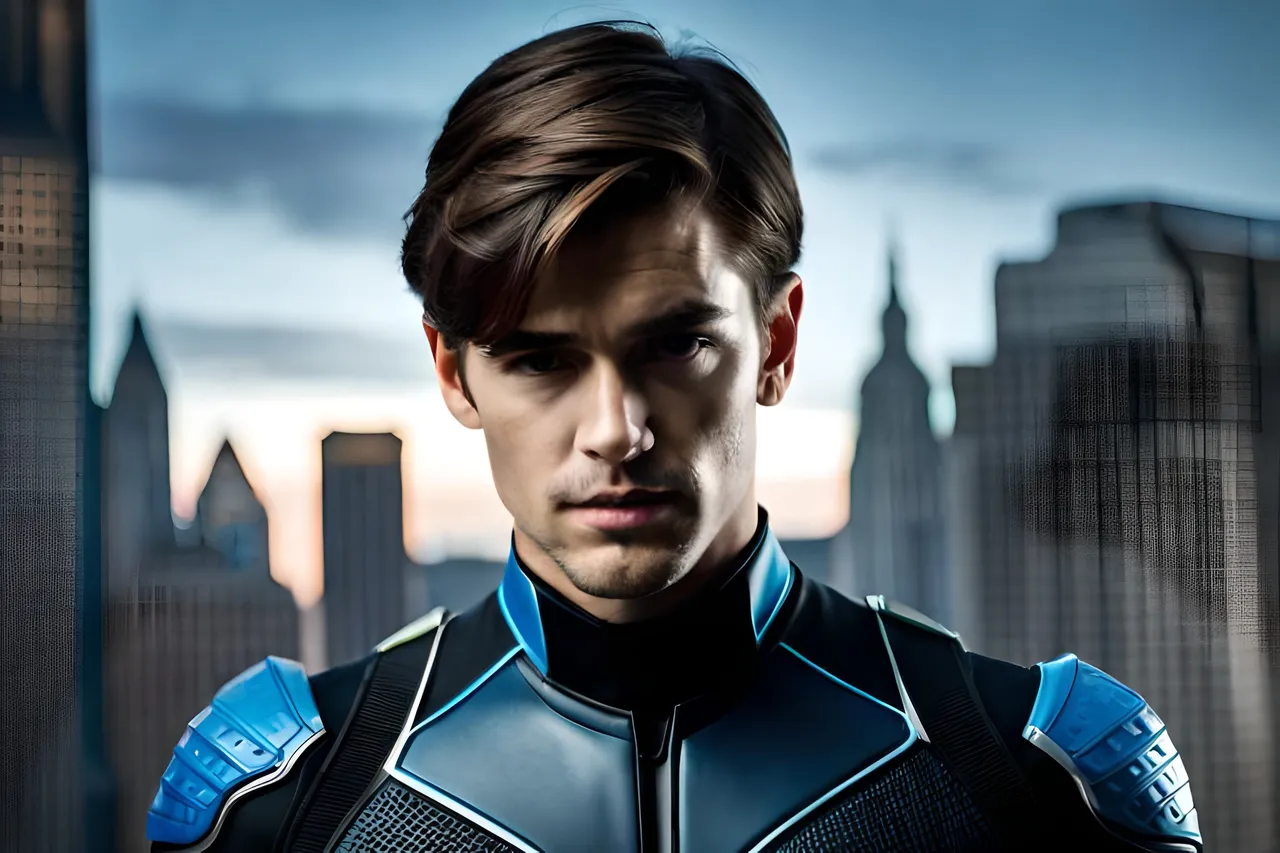
Here I wanted to recreate actor Brenton Thwaites in the mantle of Nightwing, where I indicated how I wanted his costume. You can see that I used other parameters such as ultra realistic to indicate an almost realistic level of detail, photorealistic for a photographic style, intrincate for detail definition, highly detailed to increase details, depth of field to give depth to the background, 8k for resolution (although not exactly the usual height by width), cinematic to give it a film-like feel and ambient occlusion to simulate shadows.
Now I bring you one last example for today:
Scorpion from Mortal Kombat, combat position, metallic futuristic armor, two swords in his back, full body, chains in his arms, bloody, background in fire, beard, yellow and black suit, cinematic, photorealistic, unreal engine 5, high details, shot by Zack Snyder, ambient occlusion, dark scene --v 4 --ar 3:2 --q 4
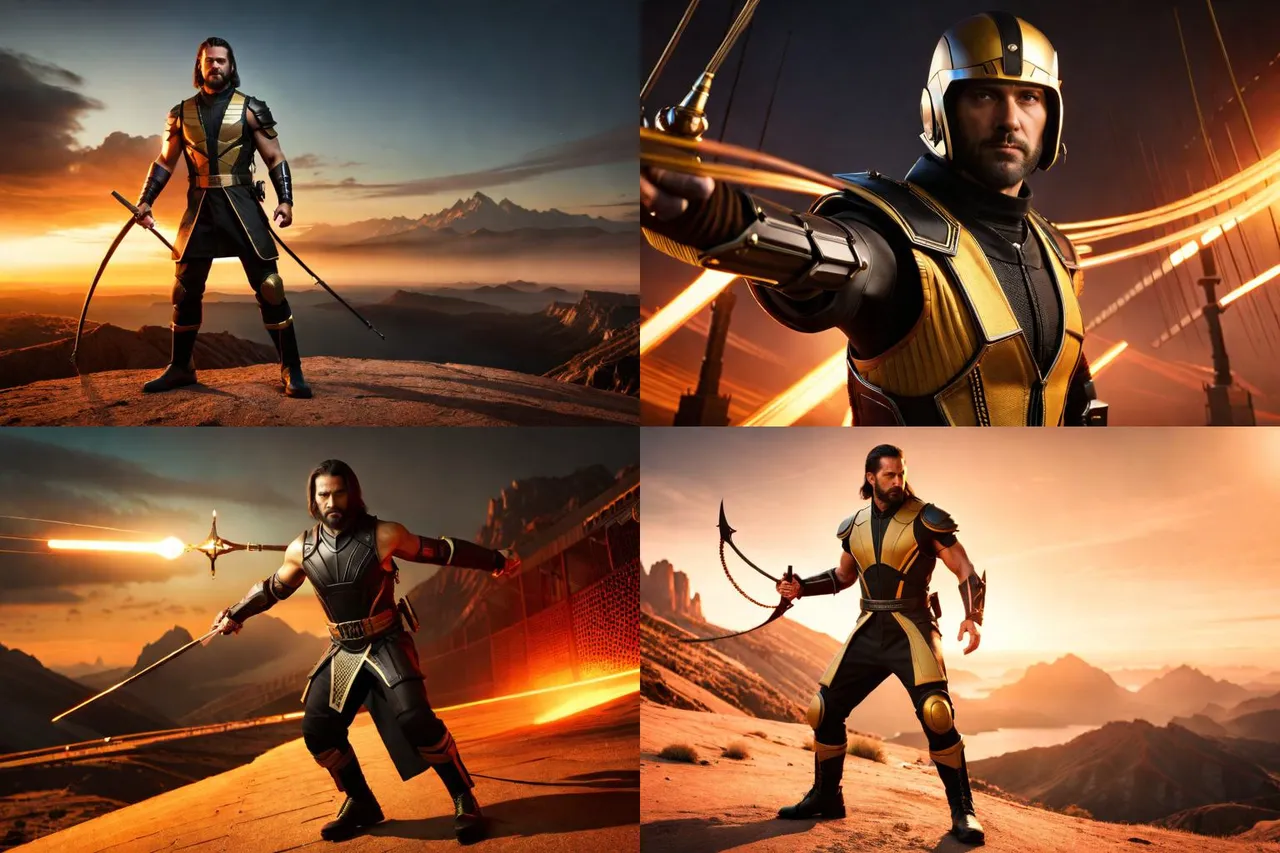
The difference here is that I didn't want it to mix an actor with the character, but to decide for itself the facial image (with a beard). I also instructed it to create him in a combat position, to add a futuristic yellow and black metallic armour and two swords, a bloody character with chains on his hands, but also to have him in full body.
Generating images with artificial intelligence has several advantages, including the ability to create realistic and detailed images from data and tailor images to the specific needs of users. In addition, AI-powered image generation also has applications in fields such as virtual reality, animation and graphic design, yet you can use it to enliven your own Hive posts.
Please, do not be afraid to share with me the images you have generated from these awesome prompts, I wanna see them! 😃 The best one will get a surprise 🎁 See y'all in a next chapter 👋
Main image created in Canva
Images generated in BlueWillow